Goodmorning sweeties,
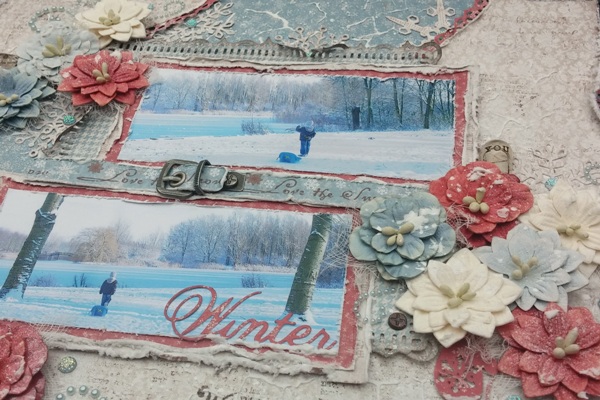
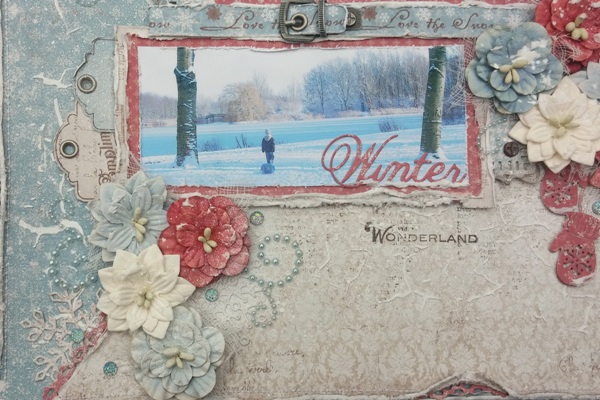
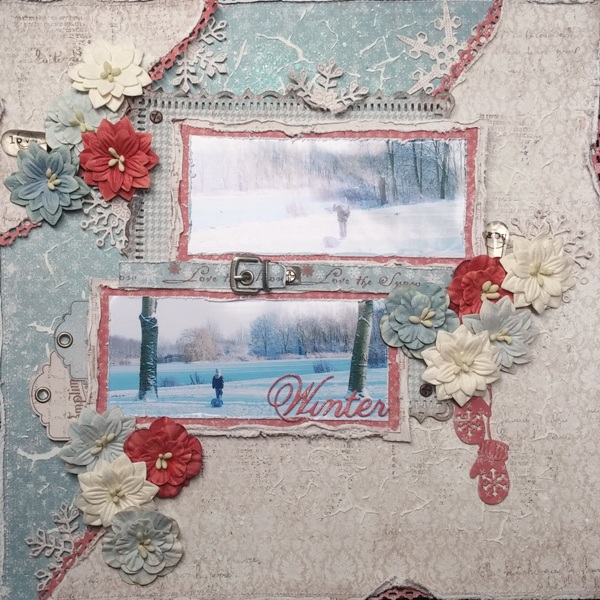
When I got the new “Home for the Holidays”collection I instantly fell in love with the soft blue & red tones. This is such a lovely collection to work with. So today I will show you a layout I made with this stunning collection. Also I have a photo tutorial on how I made this layout but prepare yourself for a bomb of pictures. I normally just go ahead and make my layout’s but for this one I stopped and took shots in between.
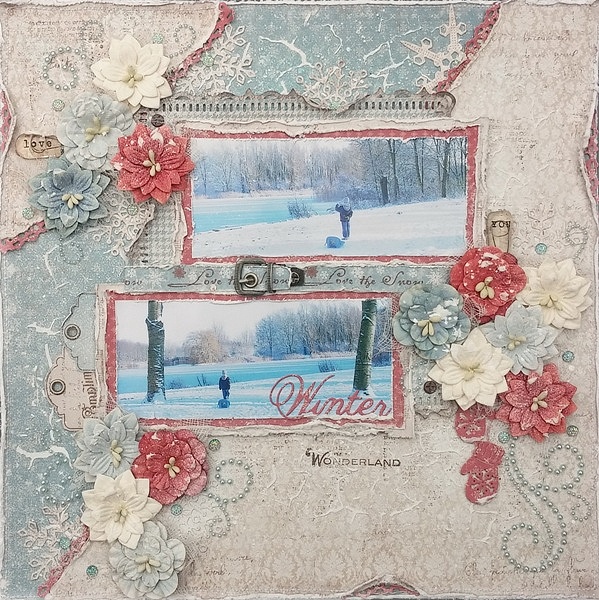
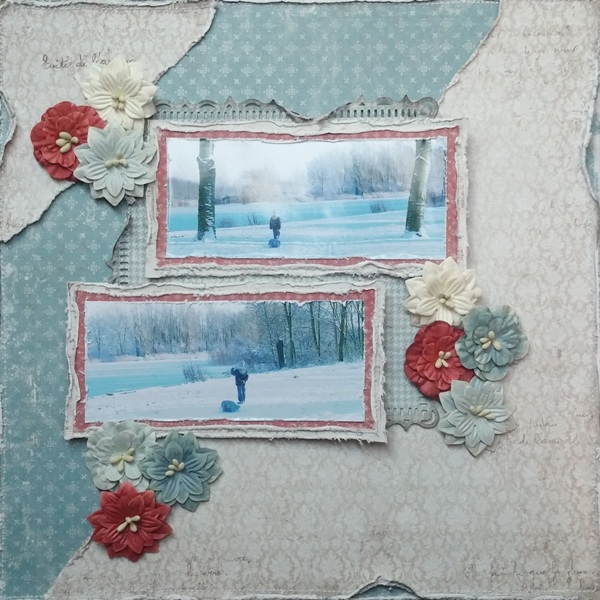
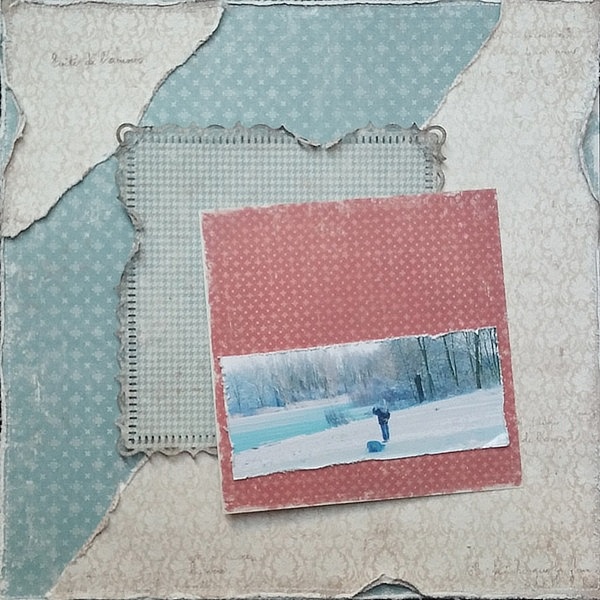
These pictures were taken about four years ago when there was snow for the last time I was playing with the camera that’s why it has such a pretty blue glow.
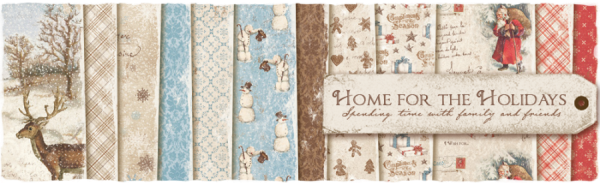
Maja Design papers used: Family, Christmas Chorus, Never to old, Happy New Year & Together and the 6×6 paper pad
Here is my tutorial:
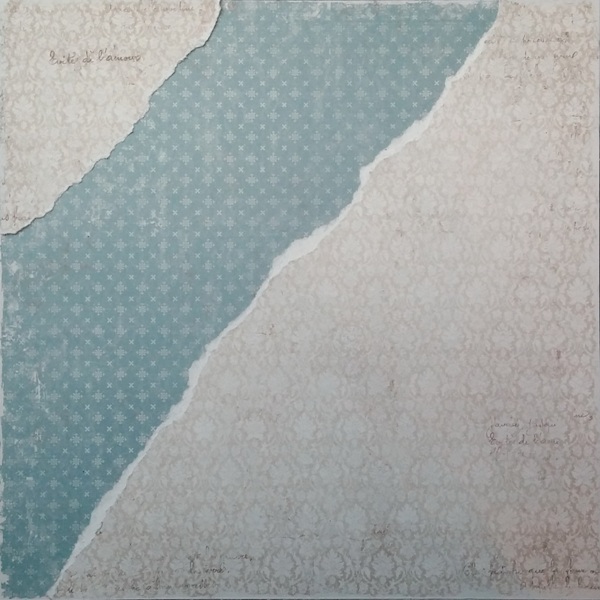
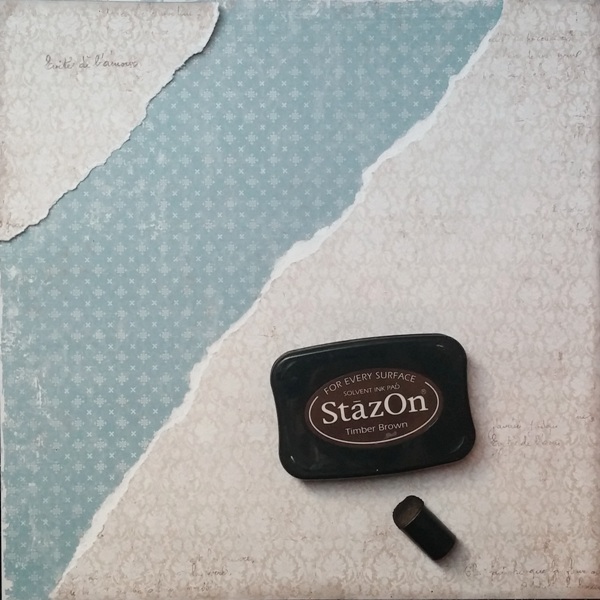
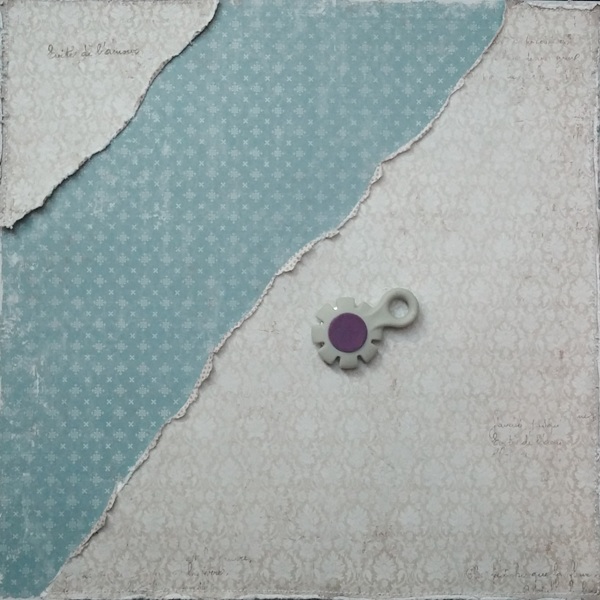
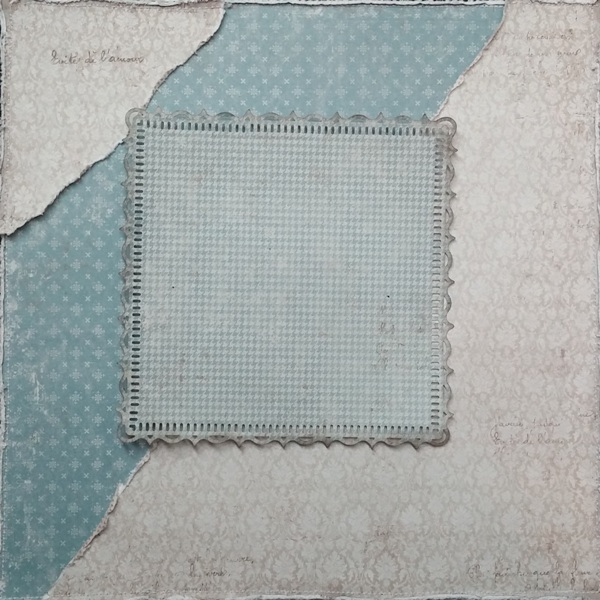
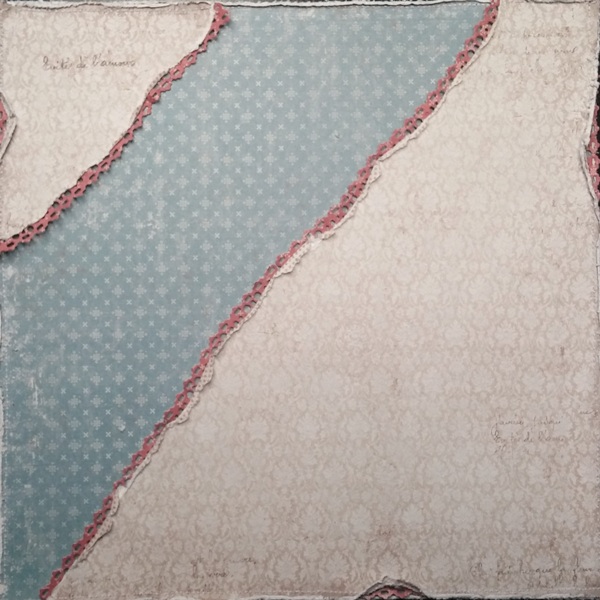
First I started by tearing a piece of the “Together”sheet so it got me one small piece and one large piece like in the pictures below then I inked the edges of my papers to later on stitch and distress them it’s always such a blessing to distress with Maja Design papers. For the square in the middle I took out my Martha Stweart Flourish Lace Punch and I knew I was going to place my pictures on there after I printed them out in a 14 cm by 6 cm size {5,5 inch by 2,4 inch}
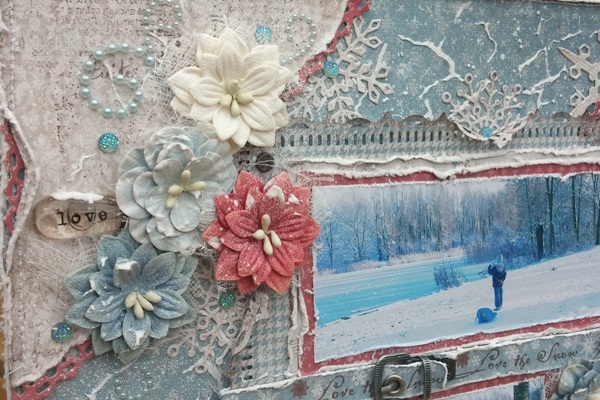
This part I like best is choosing my flowers to go with the papers {and when I don’t have any in that specific color I make them myself but for this layout that wan’t necessary} Then I took out my 6×6 paper pad to matte my picture also I punch our a pretty lace die on the “Never to old”sheet in the 12×12 collection times 6 to go under need my teared parts like shown below.
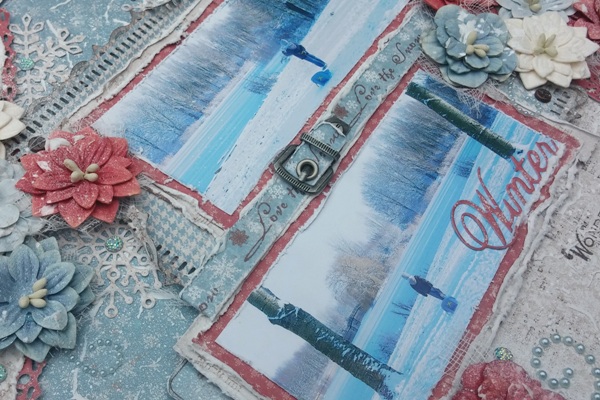
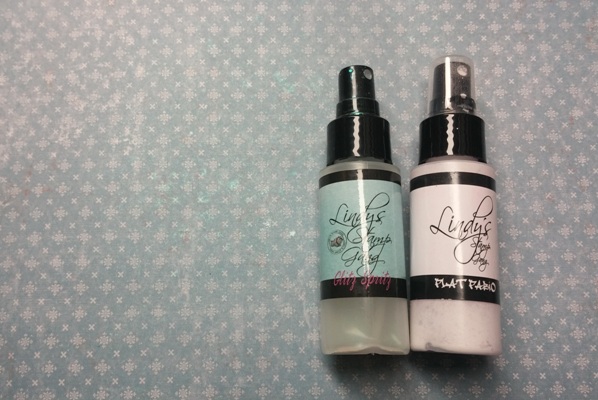
Now I take out my mixed media products like paste, stamps, sprays and stencil. First I sprayed the “Happy New Year”sheet that’s the blue one with northern stars on it. The sprays I used are Sidewalk Chalk & Royal Peacock Fire by Lindy’s Stamp Gang. I also sprayed both colors on the “Together”sheet. Now I am ready to add my stencil{one manufactured by Prima sorry I don’t know the name} with Crackle Paste.

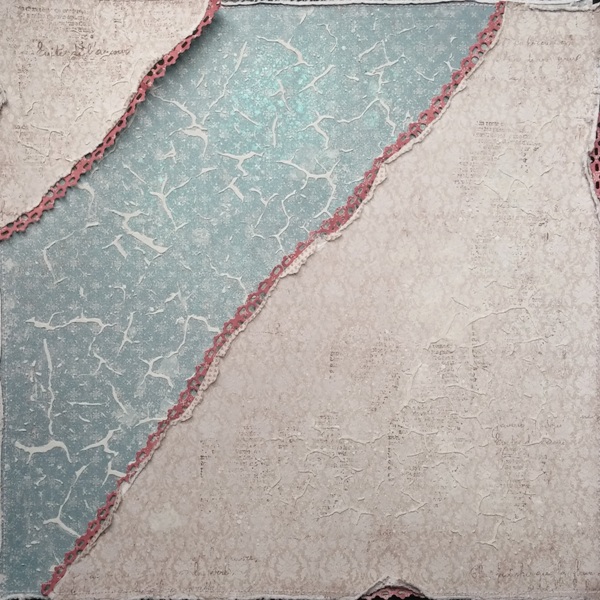
Here you see I am done with the sprays, paste and stamps. I will lift up the two creamed colored sheets with some double sided tape {about 1 mm} to get some depth in my layout. Now it’s time to embellish my layout yeahhh ;-)! Oops I almost forgot to tell you that in between I punched out some beautiful snowflake dies and a mittens die to go with the theme.

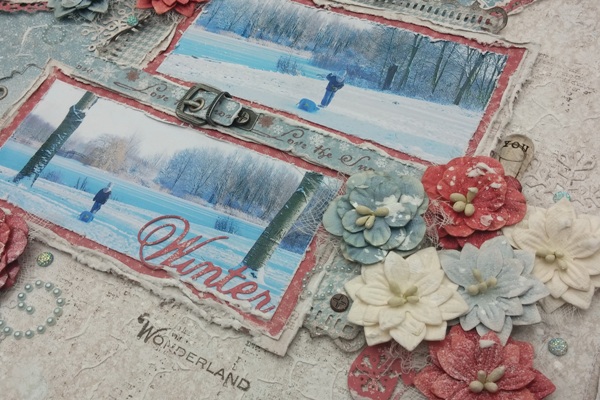
This is almost how I wanted my layout to be. Now I will glue down all my pieces using some hot glue, crackle accents and cheese cloth to spice up my flower clusters. At the end I sprayed some more sidewalk chalk over my flowers to be ending my layout with some snow touches. I hope you have enjoyed my tutorial and if you love this collection you can always visit my blog {I have a giveaway there} Thank you so much for your visit today and have a wonderful weekend.
Love
