Special Memories

2

Posted by Amy Voorthuis

31 July, 2016 - , , , ,

Write a comment

Goodmorning everyone,

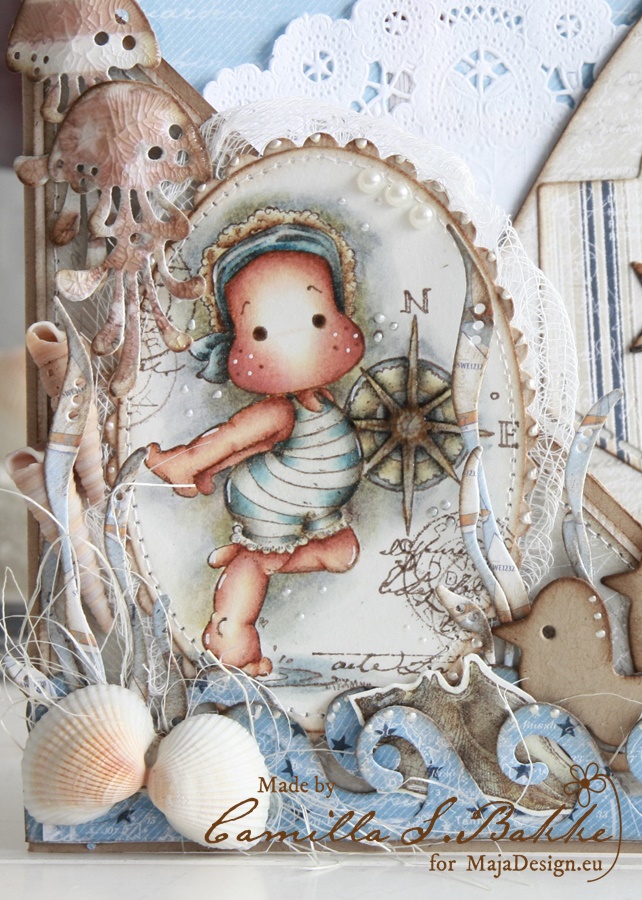
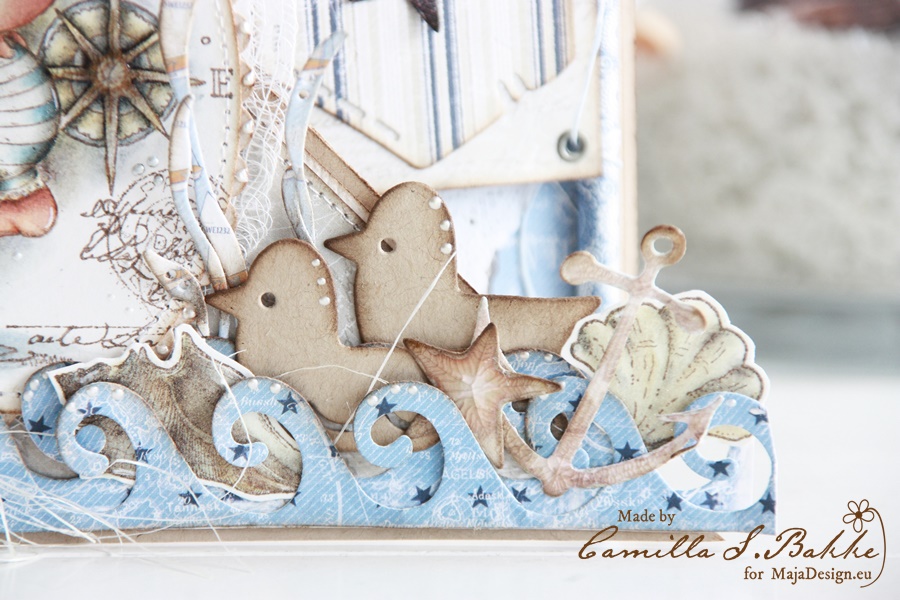
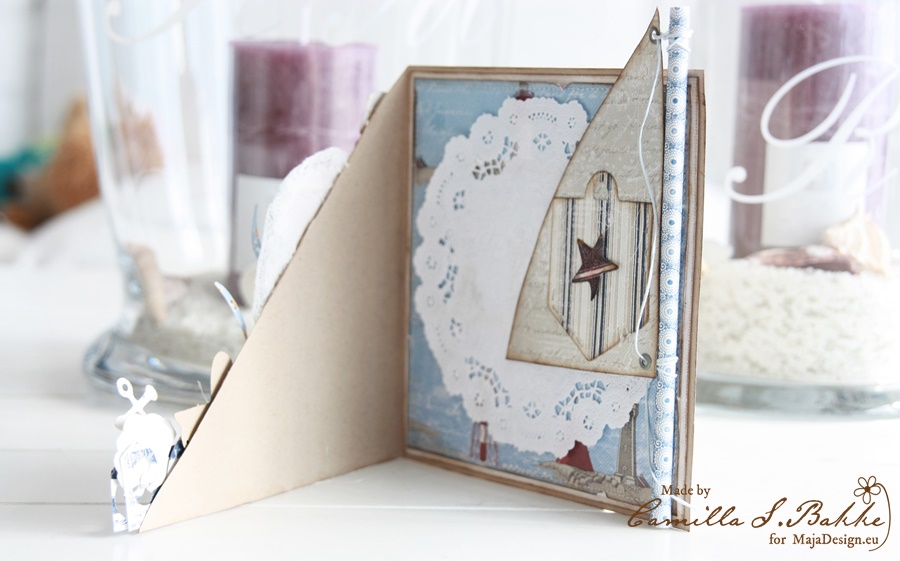
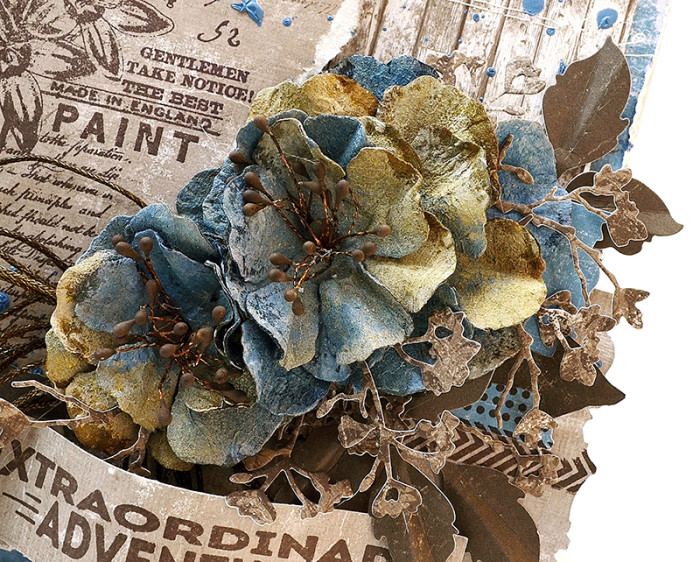
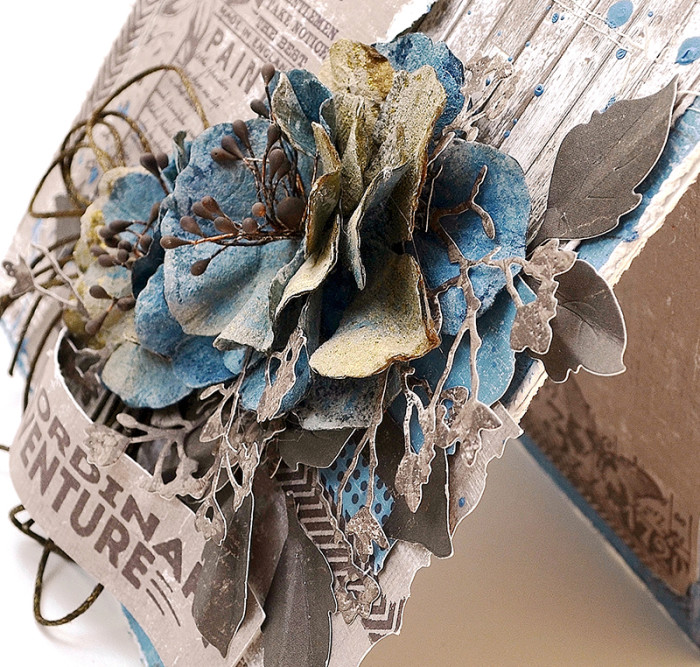
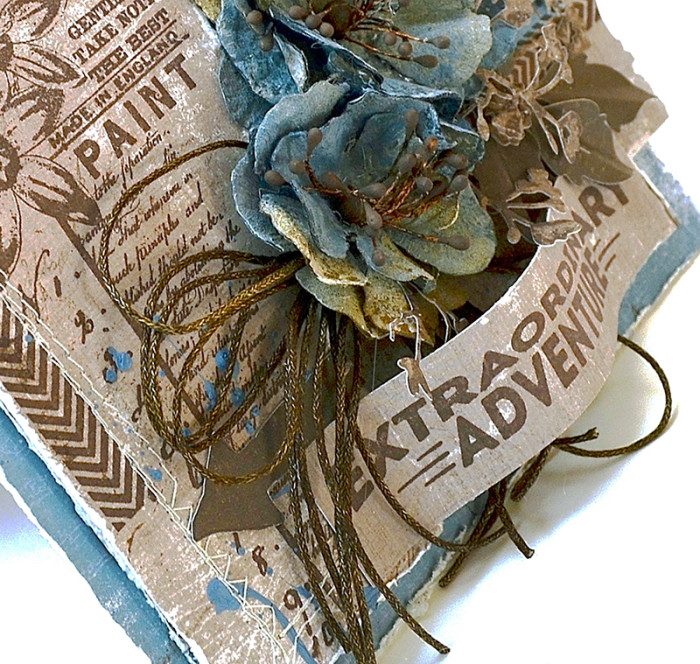
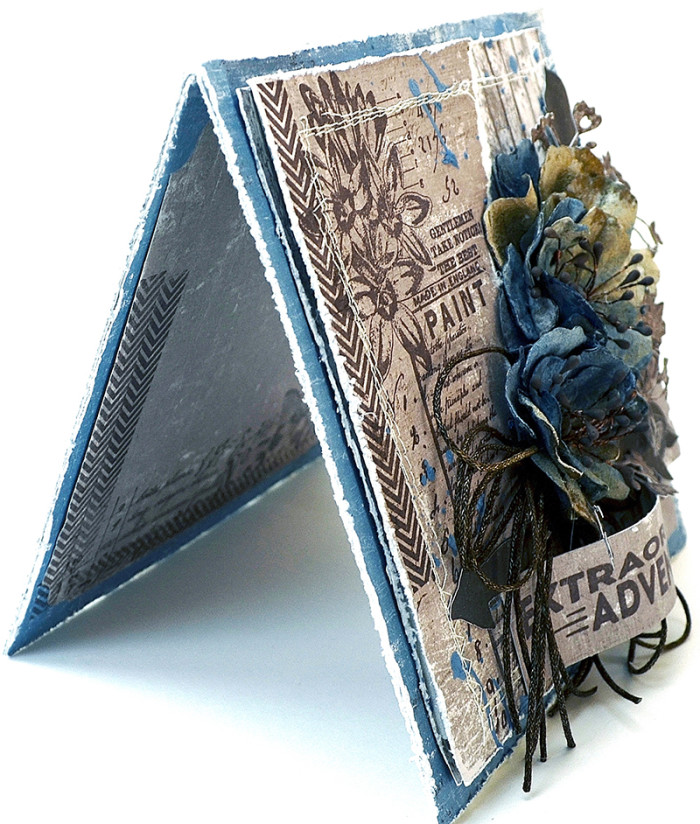
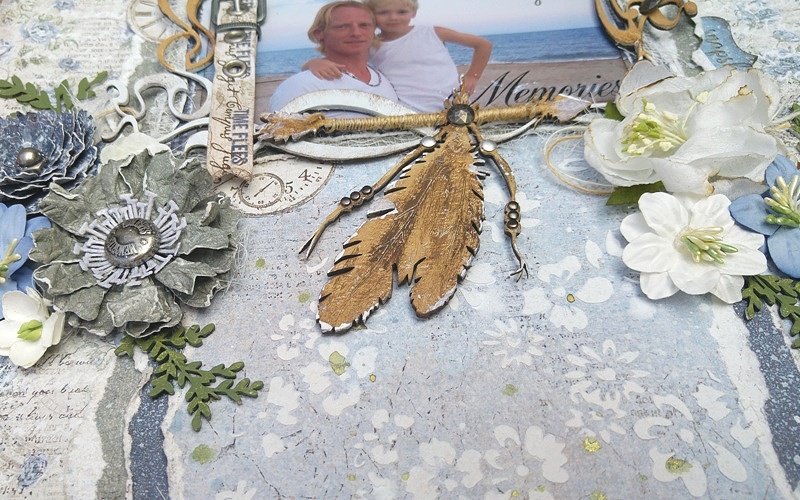
So glad I am here with you on the last day of the month! Are you all enjoying your summer vacation? Today I have a little treat for you. I made a video tutorial my first {so be gentle with me} with a little help of my husband because I don’t know the program we use for video for editing that good well not jet anyways. For this layout I used the always gorgeous “Vintage Autumn Basics” collection plus one of the blue sheets from the “Vintage Baby” collection this time I went for the blues, green & cream papers. I also added some Dusty Attic chipboard pieces on my work with some handmade {dies by Cheery Lynn Designs}, petaloo & dusty attic flowers. It’s so much fun to use all products from the three design teams I am in……it feels like a true blessing.

m123

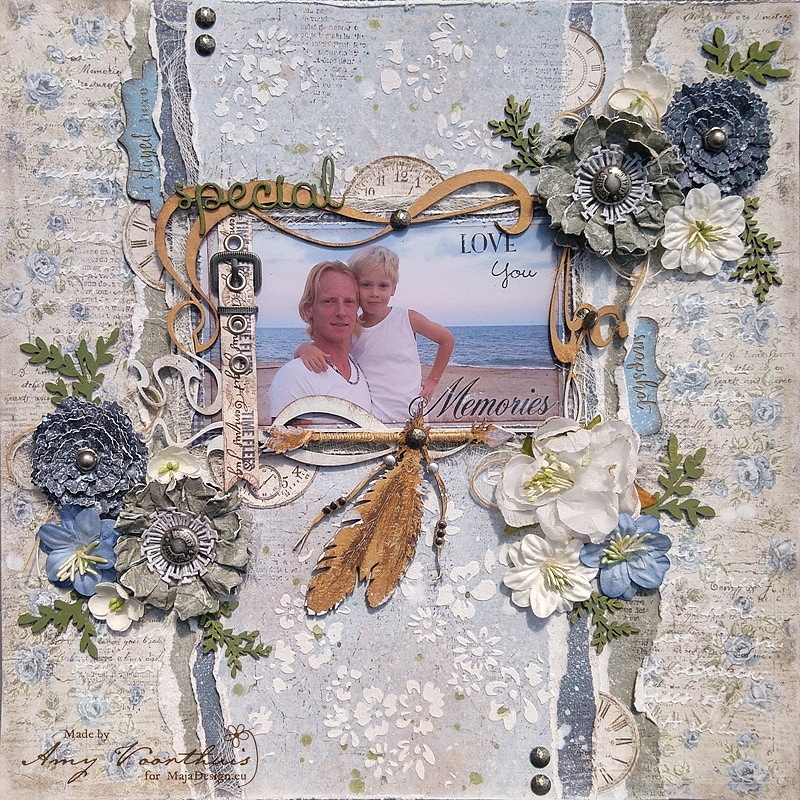
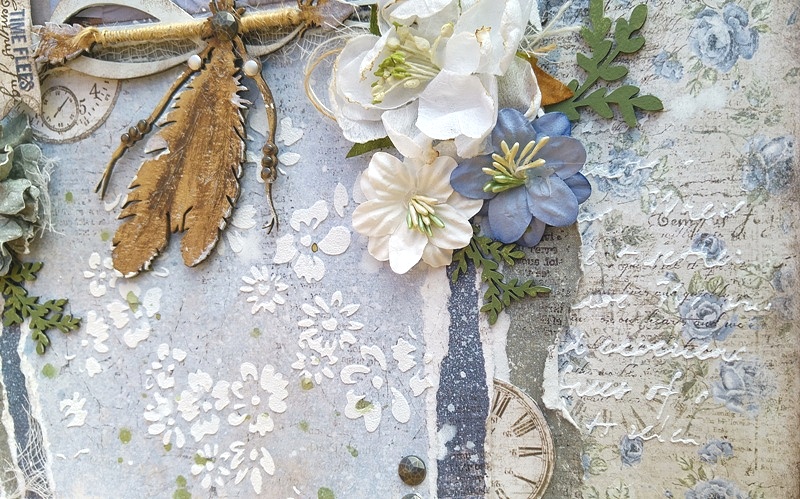
The blue and green flowers are the ones that I made myself as you will see in the video. The picture is of my little family well without me lol. I was planning on using the background sheet with the blue flowers on it for ages but I always took out the pink tones in this paper collection because I always have trouble finding the correct blue toned flowers, but this time it worked out very well because I made my own flowers.

Here is my tutorial:

Hope you liked my video and I think I am hooked now but I still have to figure out a lot on how to make it better because on this video you don’t see things because I am working out of the screen sometimes.

m2

m5

m3

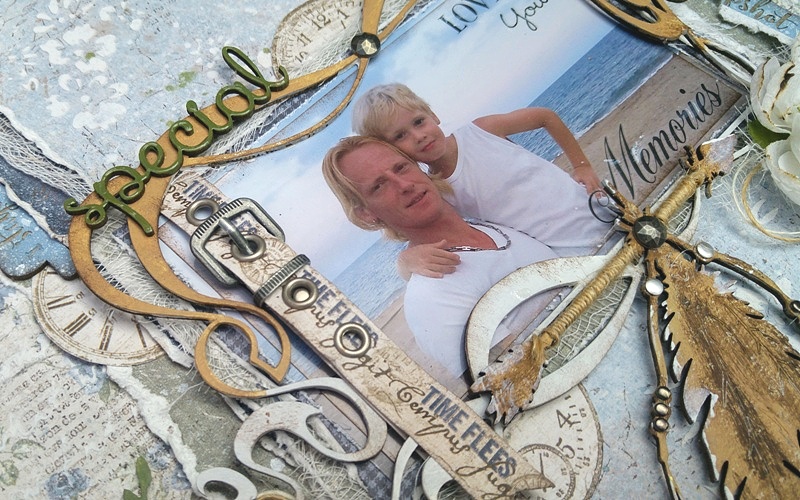
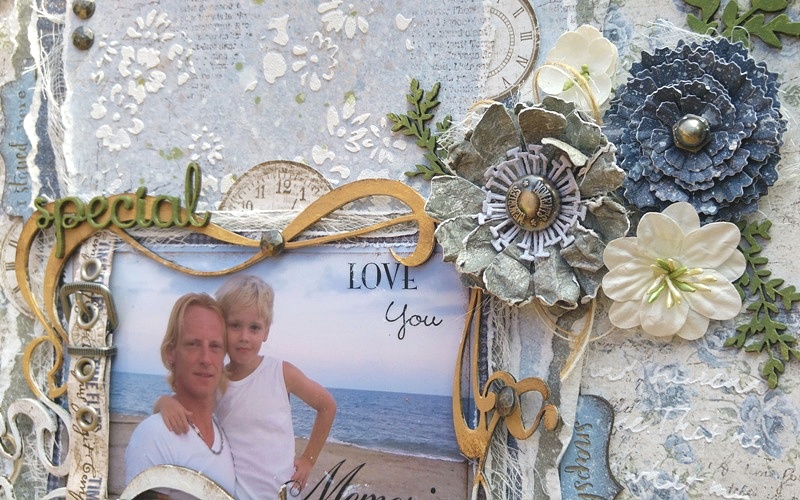
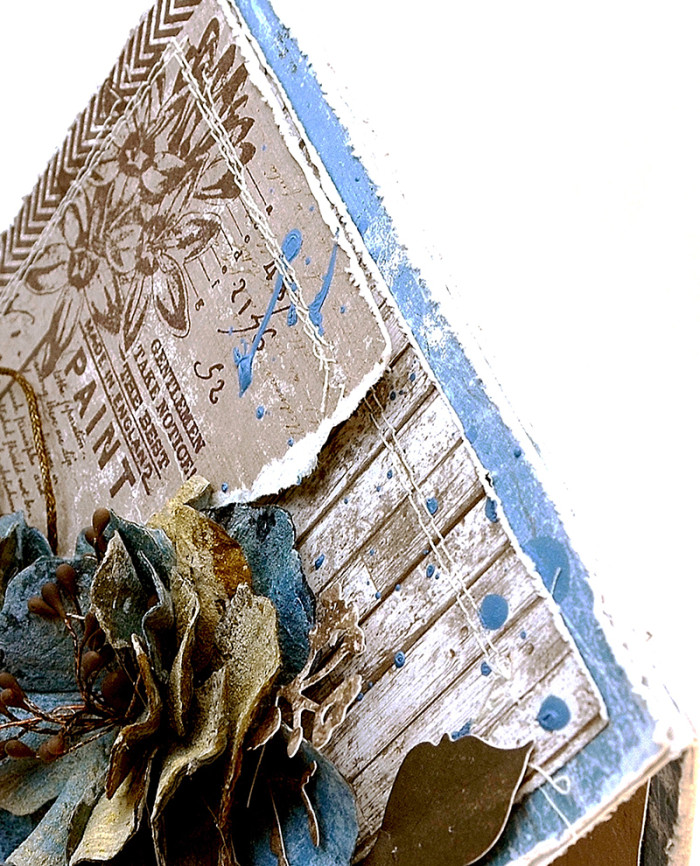
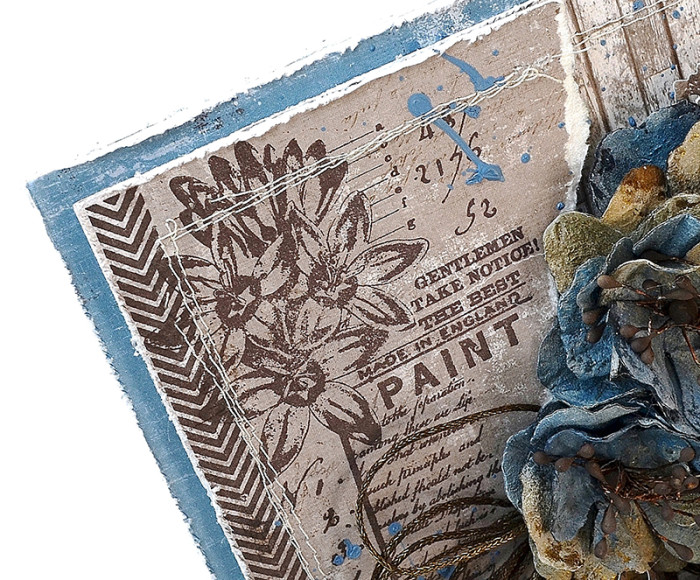
As you see here I used some different stencils one with the flowers and one with the text! I really enjoy using mixed media on my layouts. I also stamped randomly on my papers and used many different Lindy’s sprays. For the coloring of my chipboard I used the dusty attic acrylic paints. Don’t you just love the tabs? They add so much to your layout.

m12

m6

m7

m8

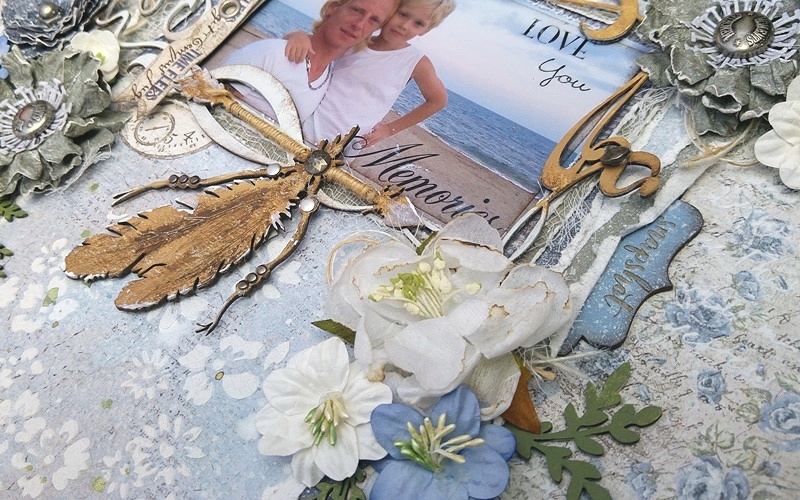
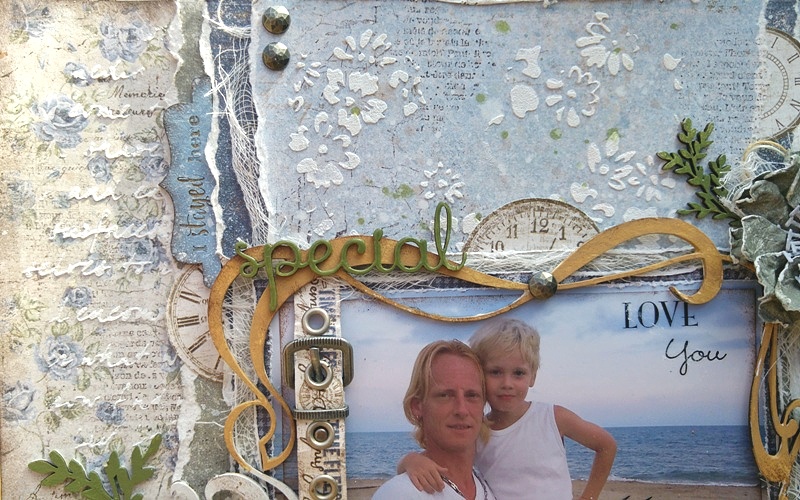
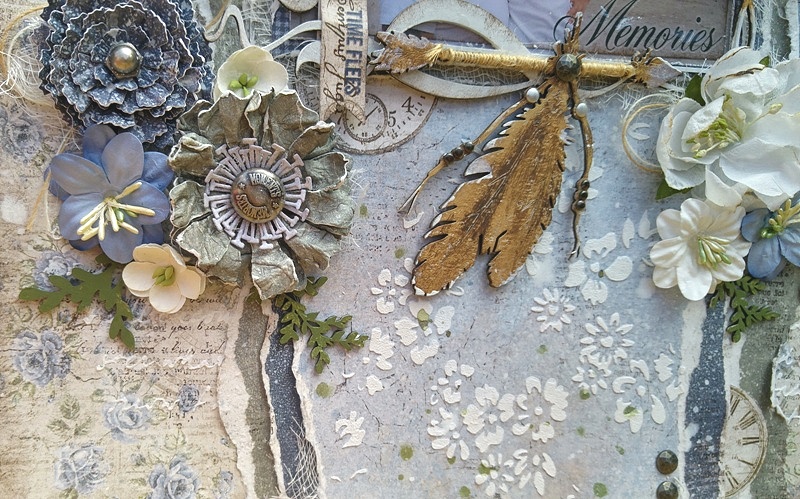
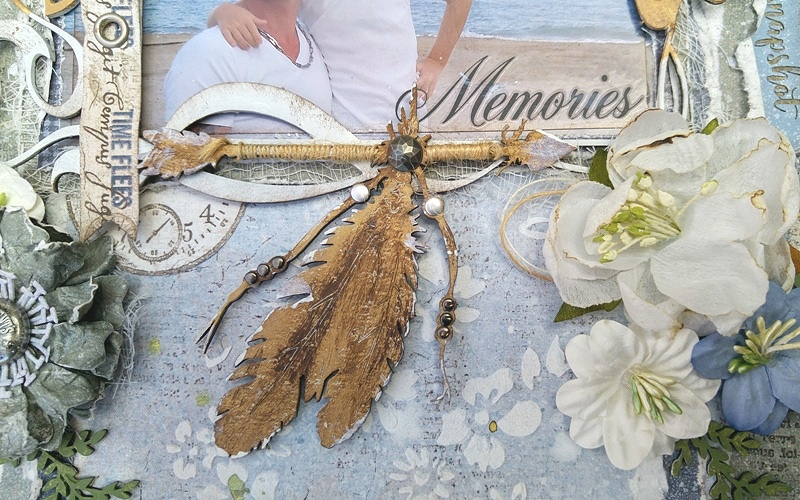
On the arrow with feathers underneath my picture I used some treat and some metal gems to make it prettier. I painted that particular pieces with some dusty attic acrylic paint but also with the rust paste set by Finnabair oh boy how I love that stuff. To make my layout complete added some clocks from the same collection I used here.

m4

m11

m10

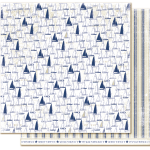
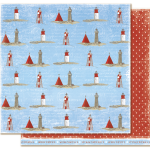
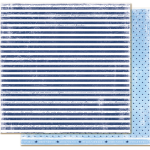
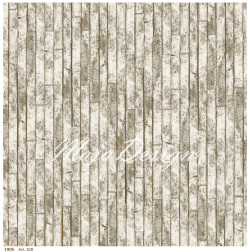
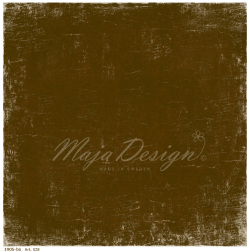
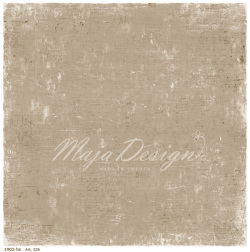
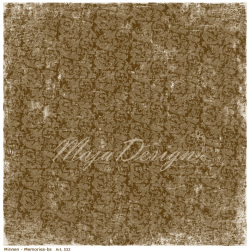
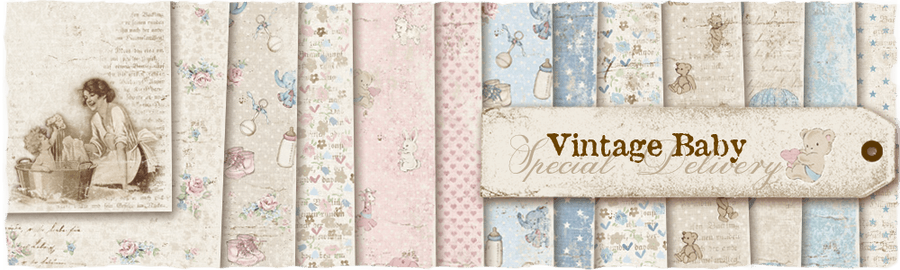
Maja Design papers used: From the Vintage Autumn Basics collection: no.XXII, no.XXI BS, no.XXII BS, no.VII BS, no.XVI, no.XIX BS, no.XXIII BS and from the Vintage Baby collection: Special Delivery bs.

Autumn-Basics-P (1)

Vintage-Baby-P

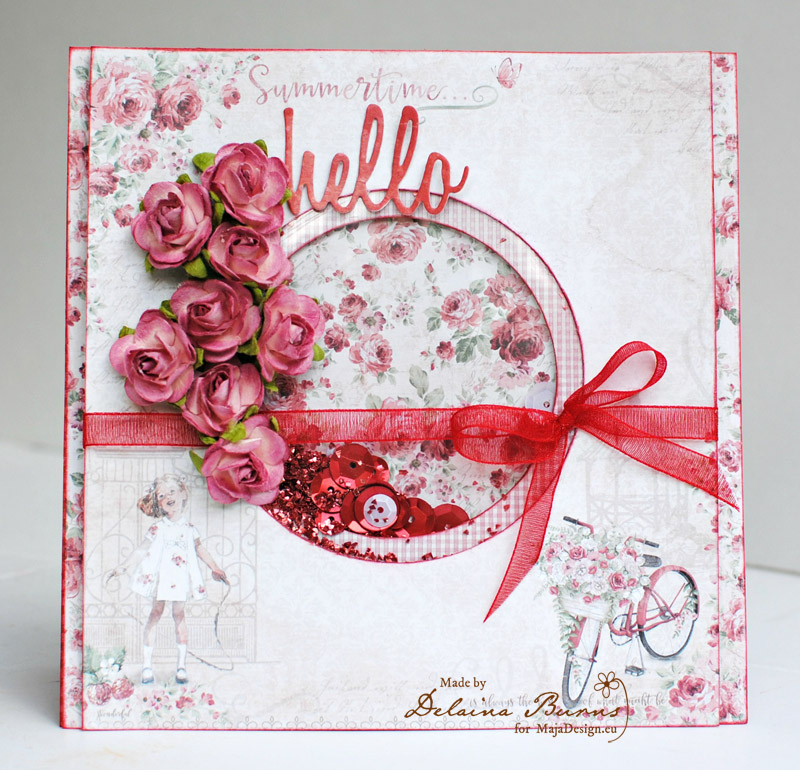
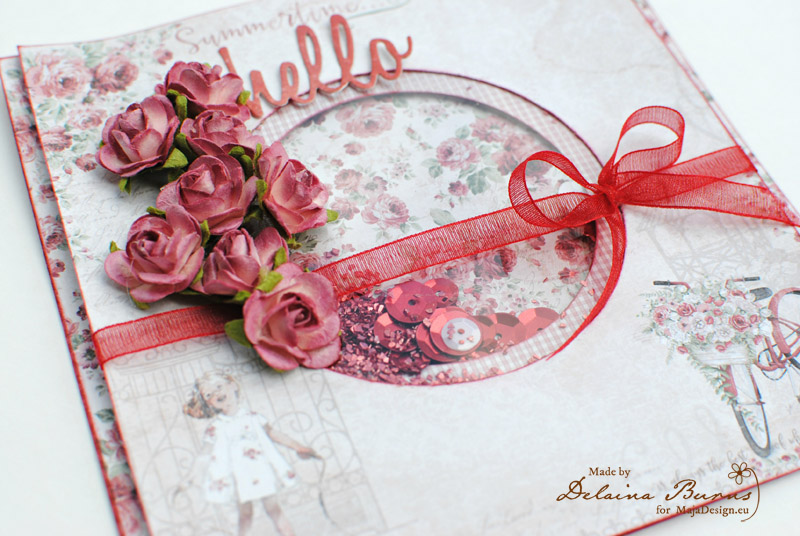
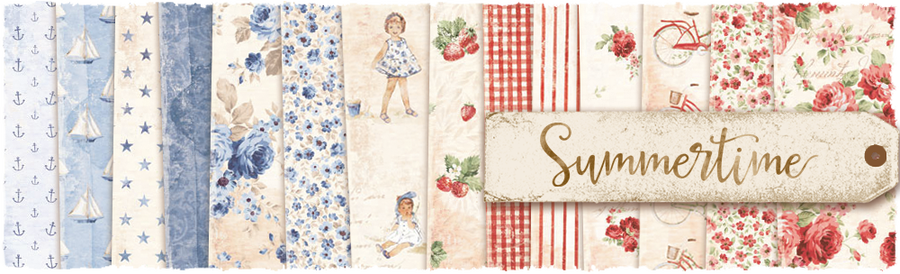
Thanks for being here with us today and I hope you will visit my blog later today since it’s the last day to enter ==> “HERE” <== for your chance at winning the gorgeous “Summertime” collection…..have a lovely week everyone!

Hugs

4

Wedding card

2

Posted by Evgenia Petzer

30 July, 2016 - ,

Write a comment

Hello dear friends! Its Evgenia Petzer with you and I wanted to share with you my card that I made from one of the newest MajaDesign collections- the Vintage Romance. I love how all the vintage series collections complement each other, this one is not an exception. You can take any sheets from these collections and combine them.

I love weddings, in this card I used some die cuts, lace, pearls, chipboard.

majadesign_vintage_romance_petzer_card1and some close ups:

The small resin frame fitted the couple so perfectly…

majadesign_vintage_romance_petzer_det1as always- some stitching, layering, lace- thats all what the shabby/vintage style is about.

majadesign_vintage_romance_petzer_det2

To create this card I have used the paper pad from the Vintage Romance collection:

Have a lovely sunny weekend,

Summertime Hello Shaker Card

2

Posted by Delaina Burns

28 July, 2016 - ,

Write a comment

Hello and Happy Summertime!

I created this sweet shaker card for a special friend using the fabulous Summertime Collection.

Shaker Cards are all the rage right now, plus they are lots of fun to make!

DSC_0925edsized

I used a circle punch in a few different sizes and a few of the papers for the 6×6 pad to create the opening for the shaker. I used left over plastic packaging for the window and sprinkled glitter and sequins inside.

DSC_0942edsized

Products:

Summertime-P

Flowers- Prima

Word Die- Sizzix

Delaina-sign

Life by the sea

2

Posted by Camilla Støen Bakke

27 July, 2016 -

Write a comment

IMG_3331

Welcome to the Maja Design blog today! i hope that you are having a lovely week. I have let me inspired by the lovely “Life by the Sea” collection and made this nautical card.

Life-by-the-Sea-P

I will give you a list of the papers used at the end of the post:)

IMG_3335 – Kopi

The image is from Magnolia and is called #”Tilda playing in the water”. It is coloured with Distress Ink, reinkers. I have put crackle accents on to the jellyfishs and the starfish. The shells are from a local interior shop. The postmarks around the image are stamps from Stempelglede. I have also added some spots with liquid pearls here and there.


IMG_3345

I have cut the waves out from Maja papers, and the ducks from Bazzill Kraft paper.

IMG_3347

Under you see the inside of the card. I have made a sail, just to build up under the nautical look;)

IMG_3348

Here are the papers I have used:

Thank you so much for visiting the blog today!

Camilla

Extraordinary Adventure!

7

Posted by Nancy Dynes

26 July, 2016 - ,

Write a comment

A 1

Welcome to the Maja Design Blog! It’s Nancy, and I’m so excited to be here with you today! I’m sharing a new card inspired by Maja Design’s stunning Vintage Summer Basics Collection. This week I’m opting for a soothing, neutral palette, handmade mixed media blooms, and some fun rubber stamping.

The base of the card is formed by distressing, layering, and stitching lovely Maja Design papers.

A 2

The flowers are created with mulberry paper and a plethora of products to add texture and color. They coordinate with the card perfectly in real life. I think the camera picked up on the sheen in some of the sprays, giving them a brighter gold tone in my photos. My hands will be stained for days, but these flowers were ever so much fun!

Below is a side view of the bouquet and it’s many layers.

A 4

Artistic tearing reveals a second layer of  design paper.

A 5

Below is a closer look at the stamped image and stitching. One of the rubber stamps is an ad for paint, so I blended some acrylics to coordinate with the design paper and randomly splattered it about the card.

A 6

The twine bow and flower stamens are stained to fit in with the color palette.

A 8

The interior of the card is finished in design papers and stamping, but my photos of it didn’t turn out well. The picture below gives you an idea of how it’s completed. A 7

Maja Design Papers Used: Vintage-Summer-BasicsK

Additional Supplies – Dies: Tim Holtz Tattered Florals, Magnolia Rose Leaf, Memory Box Flourish. Stamps: Carabelle Text et Negatif, Paper Artsy Hot Picks 1602, Inks: Archival Ink (Potting Soil). For Flowers: Prima Heavy White Gesso, Prima Texture Powder, Distress Stains, Prima Color Blooms, Lindsay’s Stamp Gang Starburst Sprays, Flower Stamens,  Flower Shaping Tools, Mulberry Paper, Acrylic Paints. Pop Up Foam Adhesive, Tim Holtz Distress Tool, Natural Twine, Sewing Machine, Thread

Thank you so much for joining us on the blog today! I also want to thank you for your kind words on my last post. I treasure each of crafty friends and your comments warm my heart. I wish you carefree, fun filled summer days!

Hugs,Nancy-sign