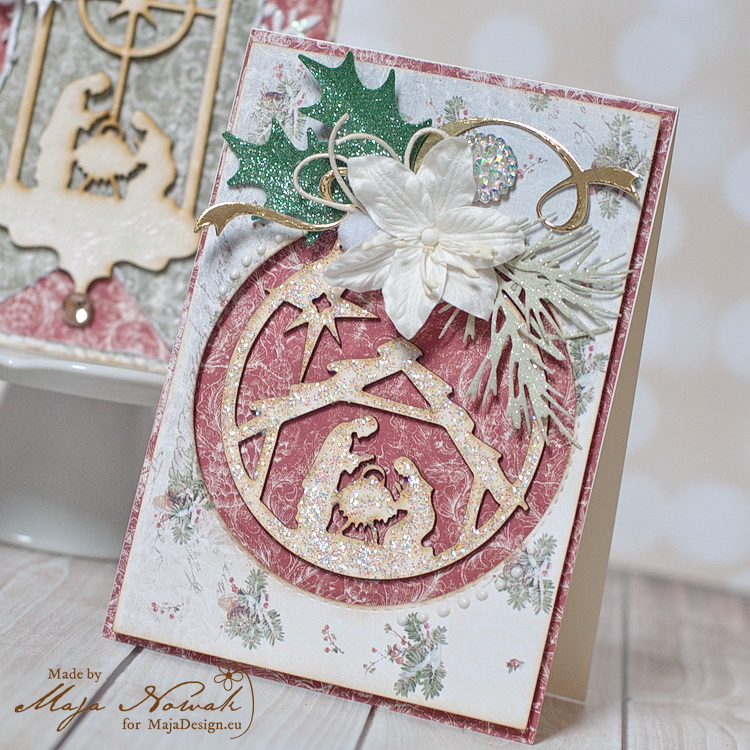
Home decor – Winterwonderland

2

Posted by Kerstin-Inga Peters

25 November, 2017 -

Write a comment

Welcome!

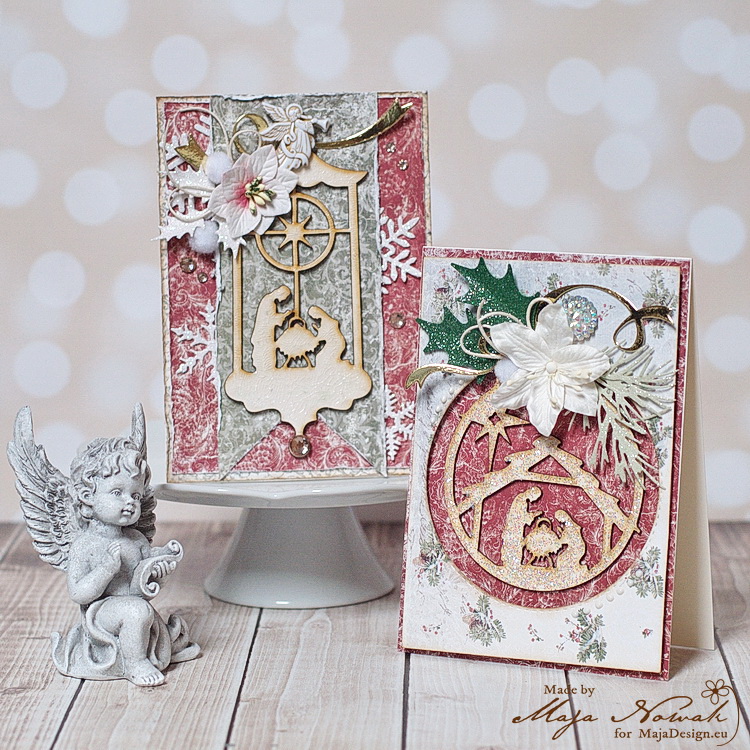
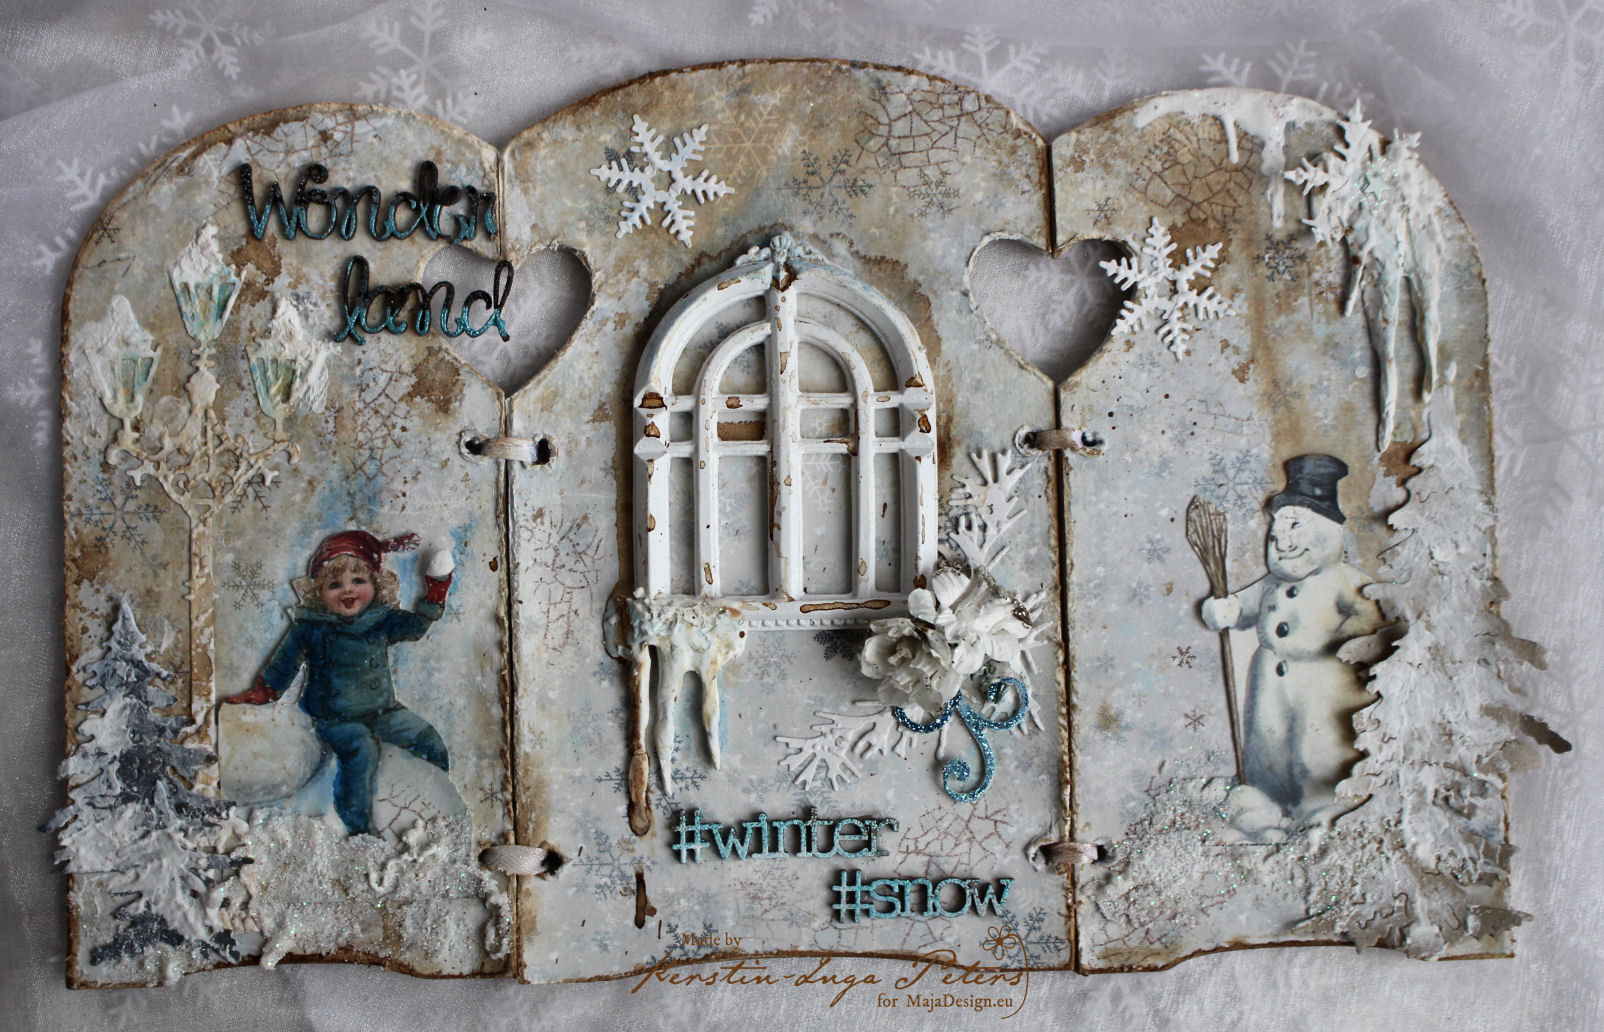
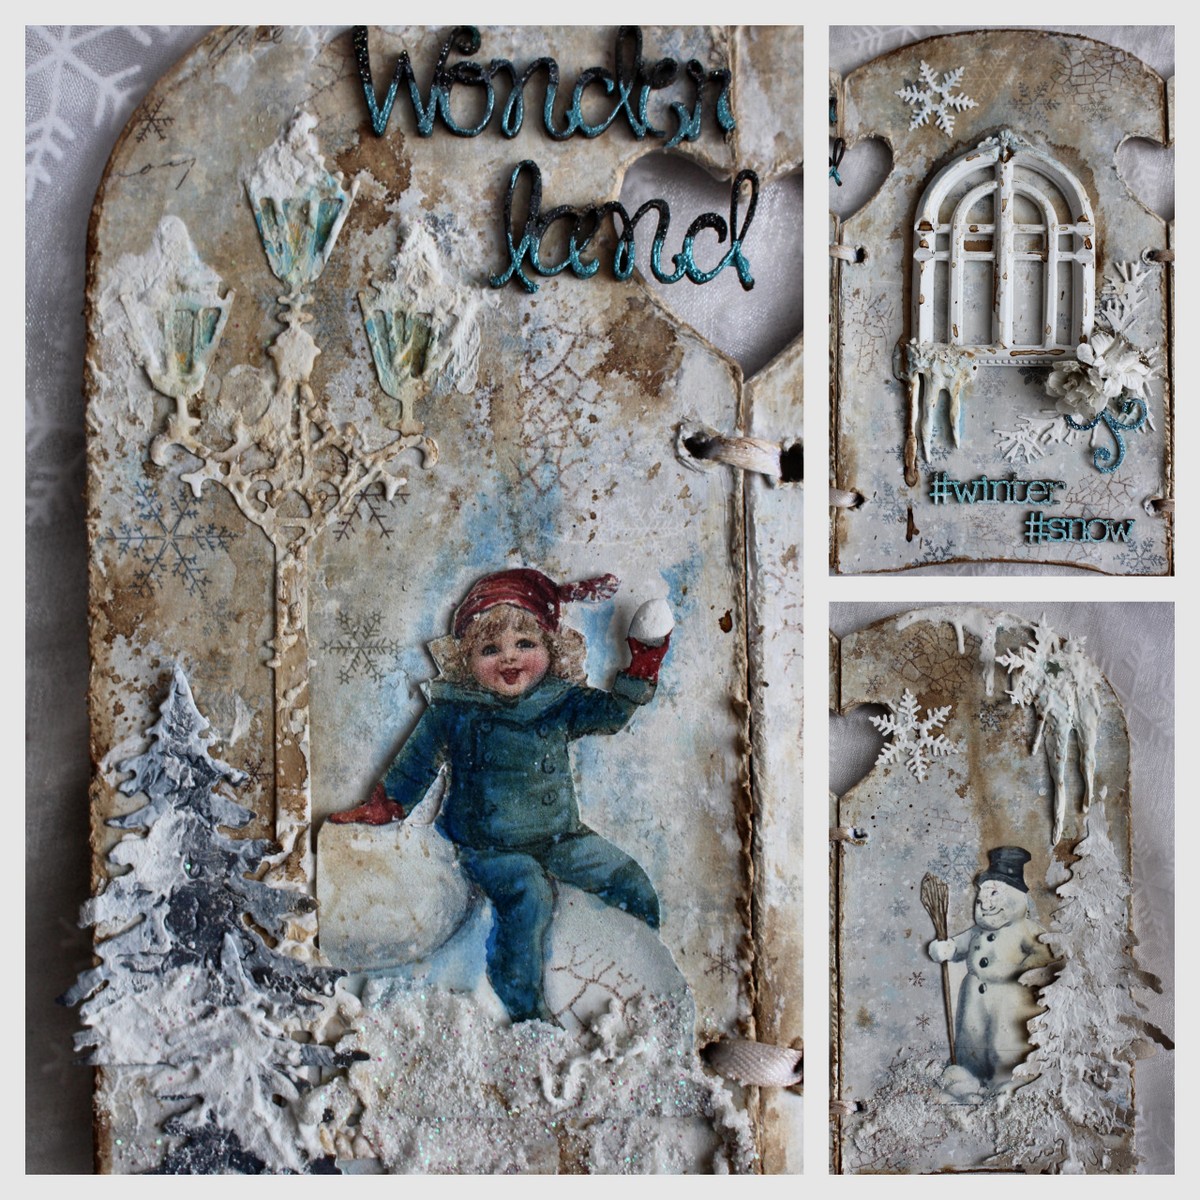
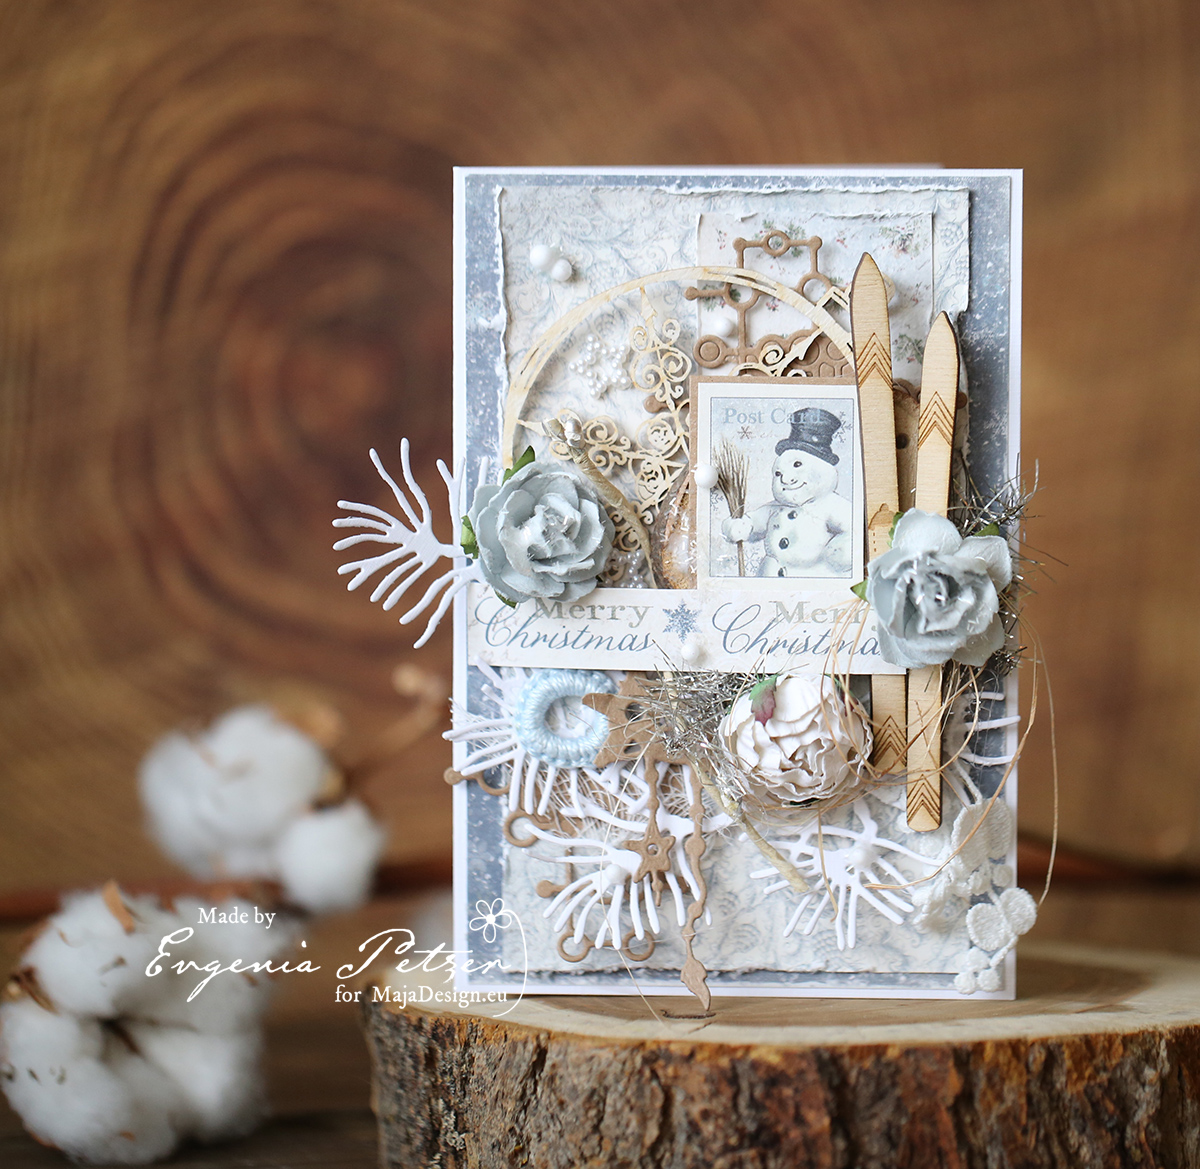
Today an ‘Out off the page’ project in vintage style, it’s a triptych with wintry feeling.

IMG_4118

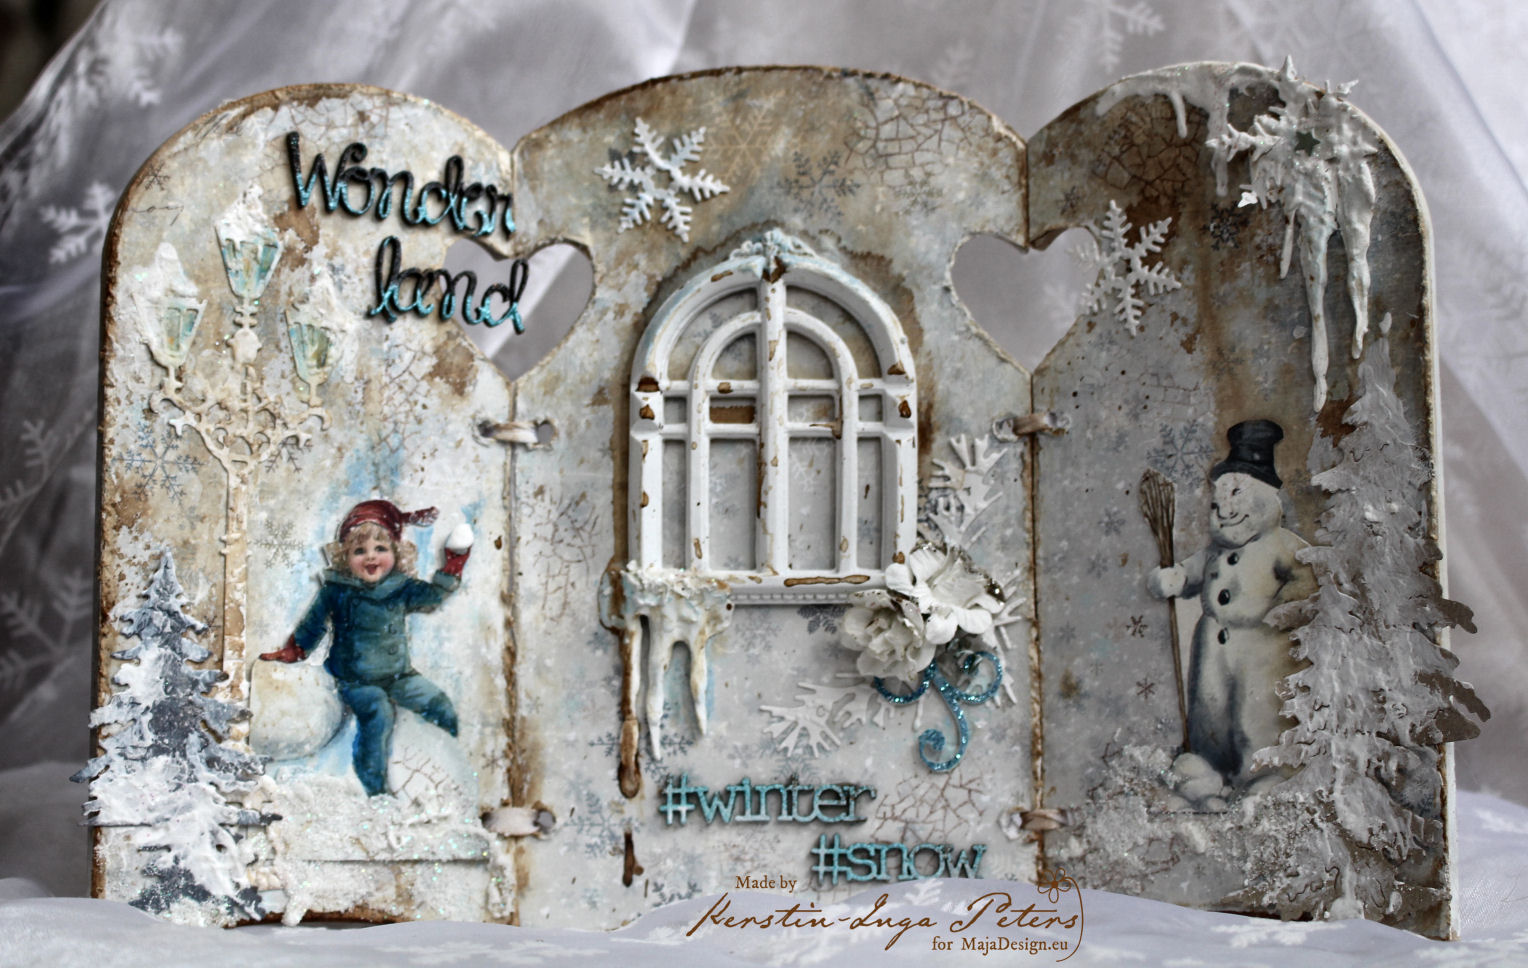
As I saw the wonderful new collection papers ‘Joyous winterdays’ I was inspired to create a new home decor project for christmas as little gift for a good friend.

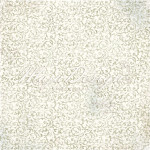
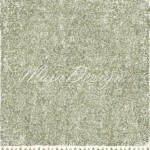
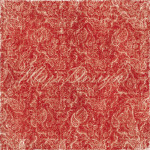
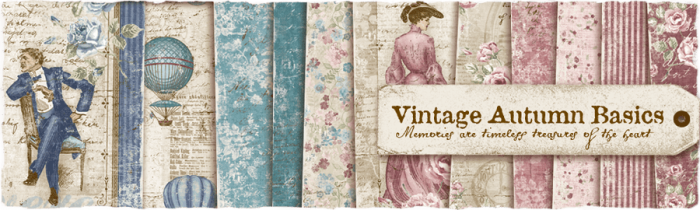
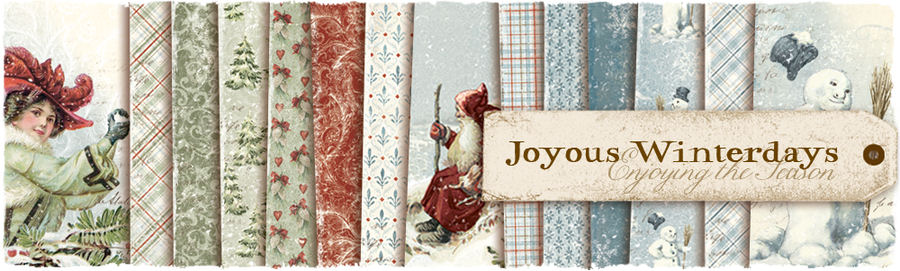
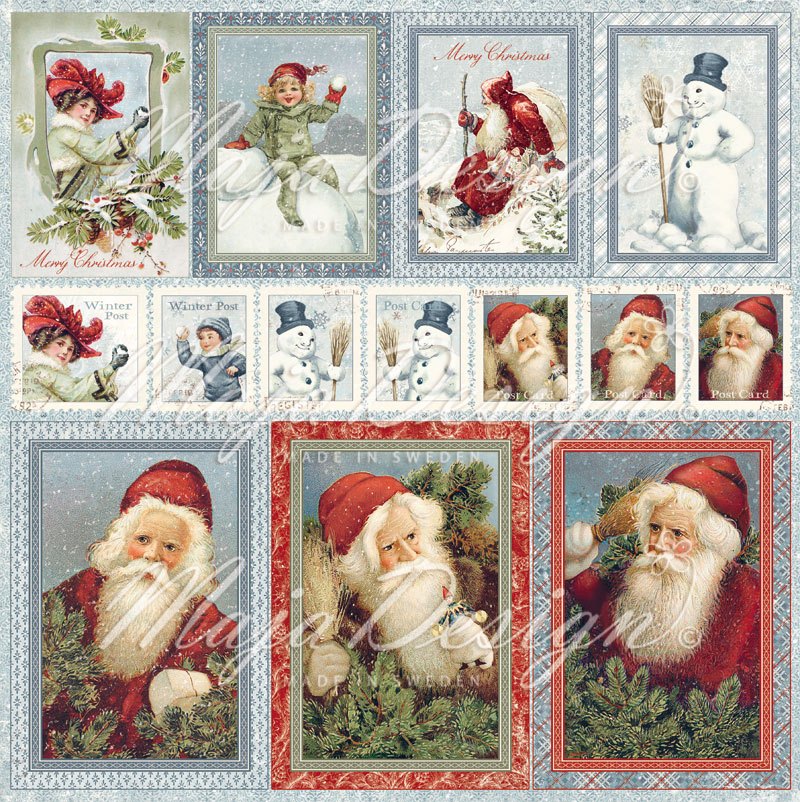
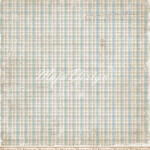
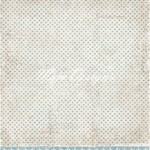
used Maja Design papers

Joyous-Winterdays-P

948-Ephemera

946-Blizzard 942-Frost

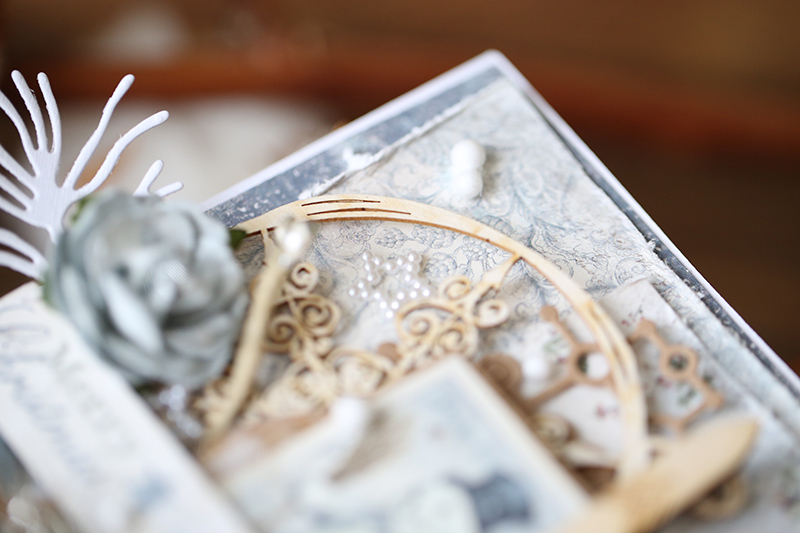
other used materials

modelling clay white, Snow tex (DecoArt), Silikon mould ‘Icecycle’, Distress ink ‘Walnut stain’, clear stamp ‘Crackle’, chipboards (Scrap FX), cutting dies, Resin treasure window

How I made this

2017-11-01

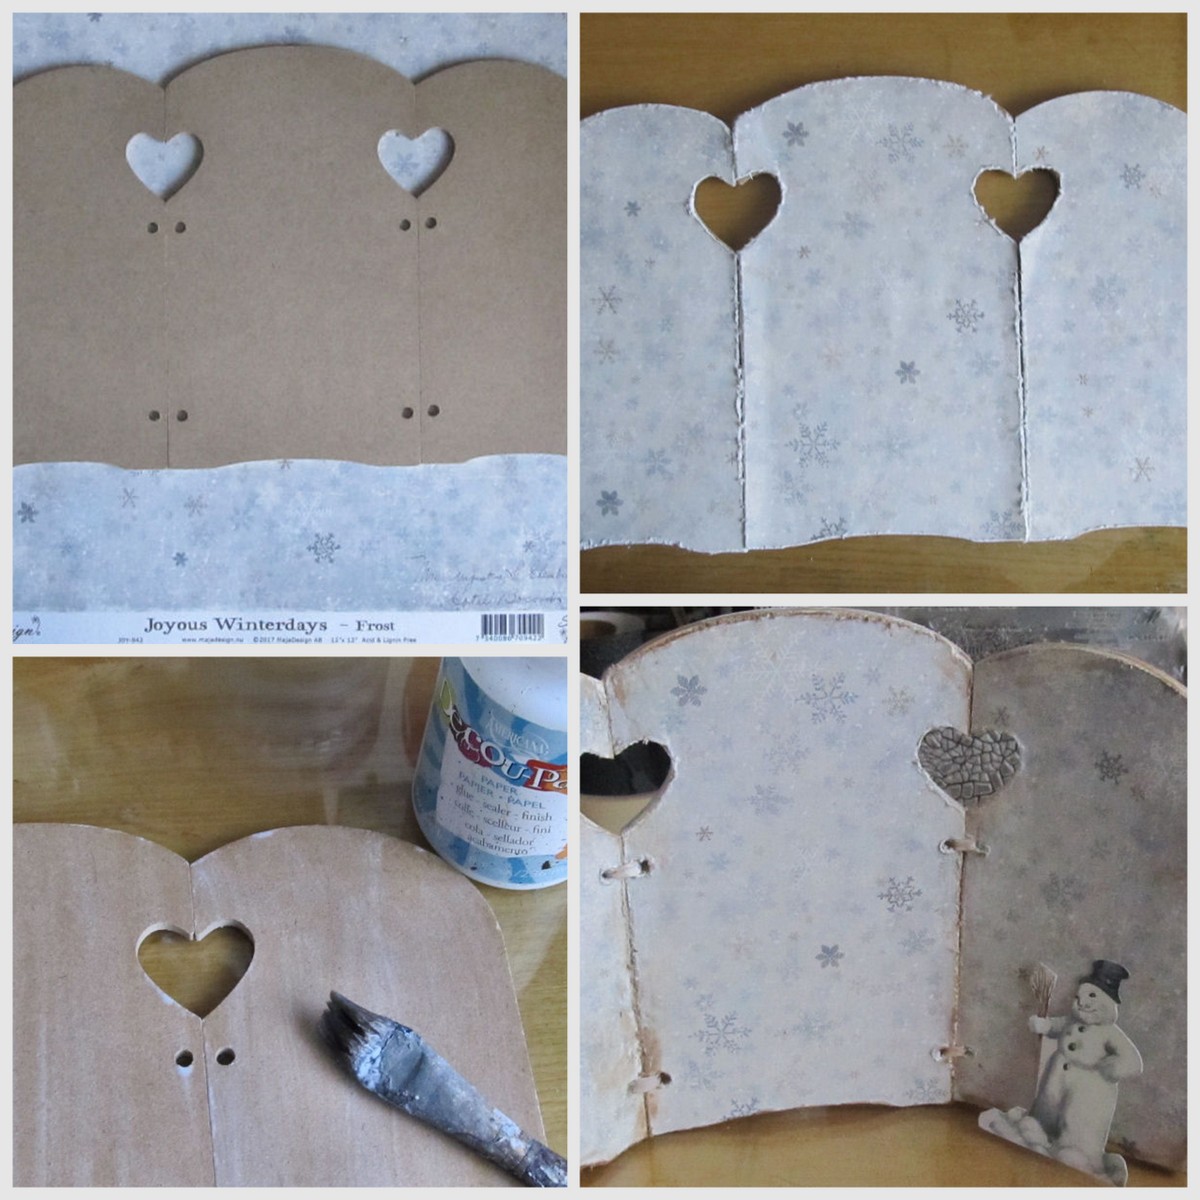
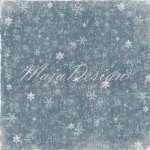
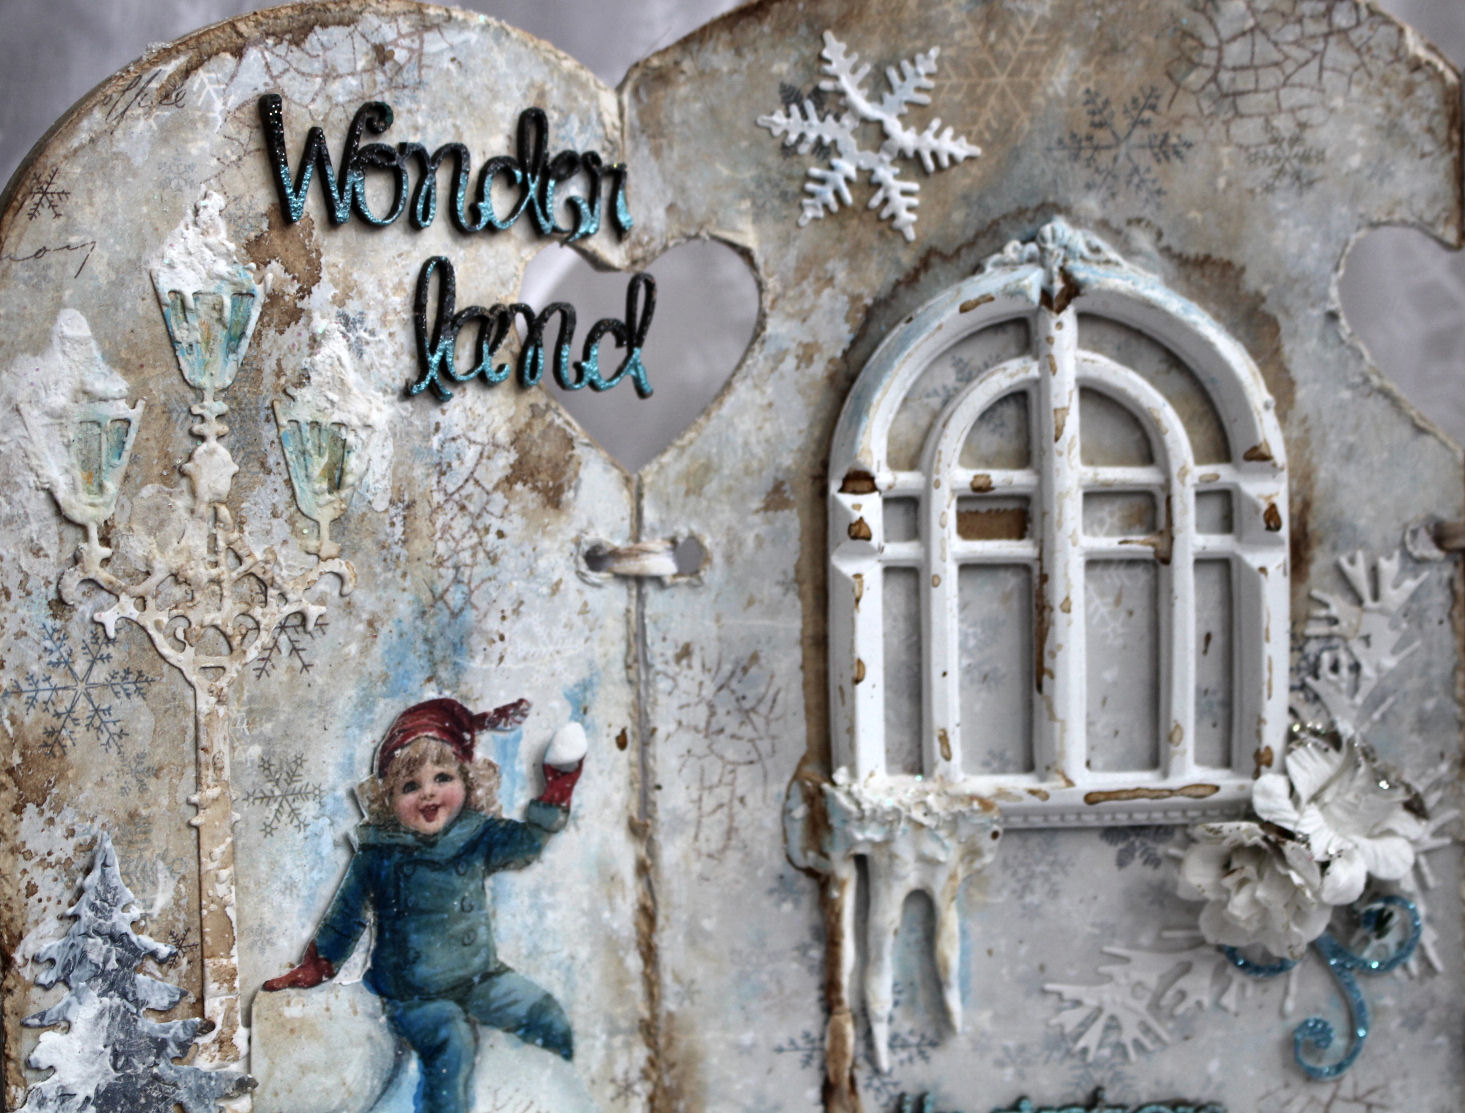
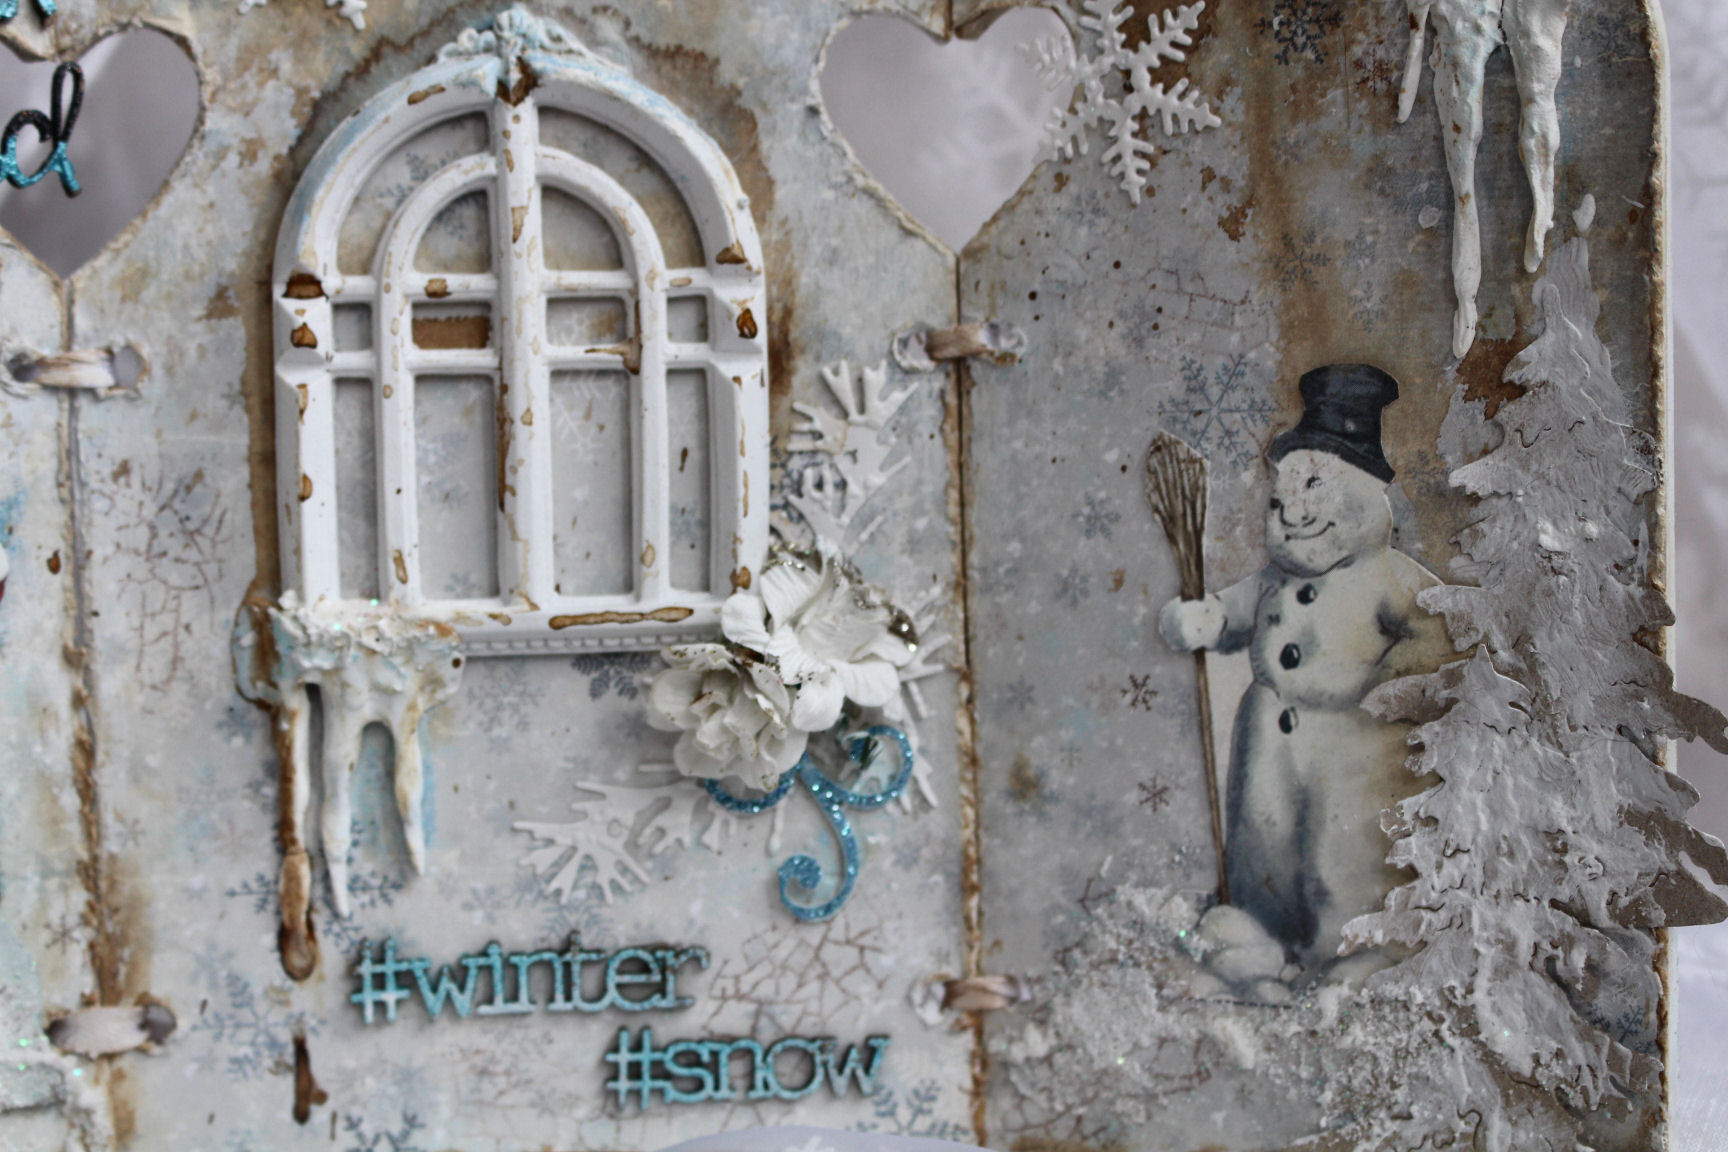
  • I choose background paper ‘Frost’ and cut out all three MDF pieces
  • then I glued the paper with Decoupage Glue (DecoArt) on it
  • I connected the three pieces and used the paper distresser tool for the edges, it gives an beautiful altered effect
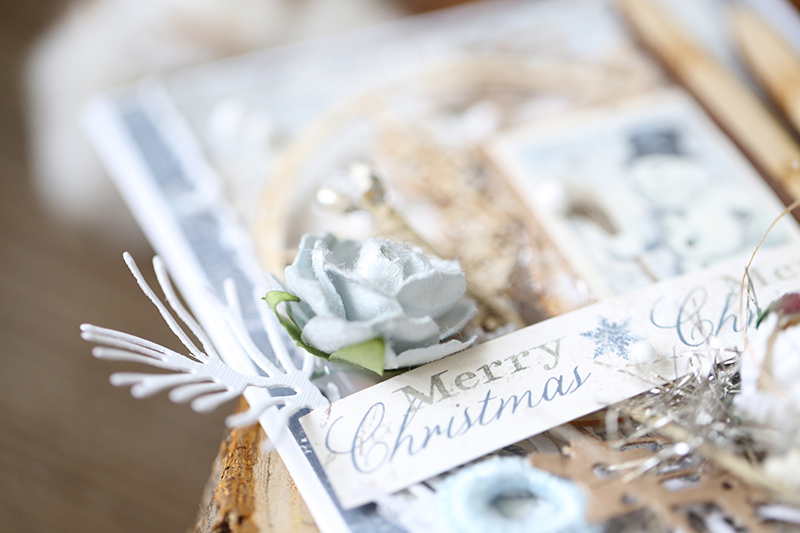
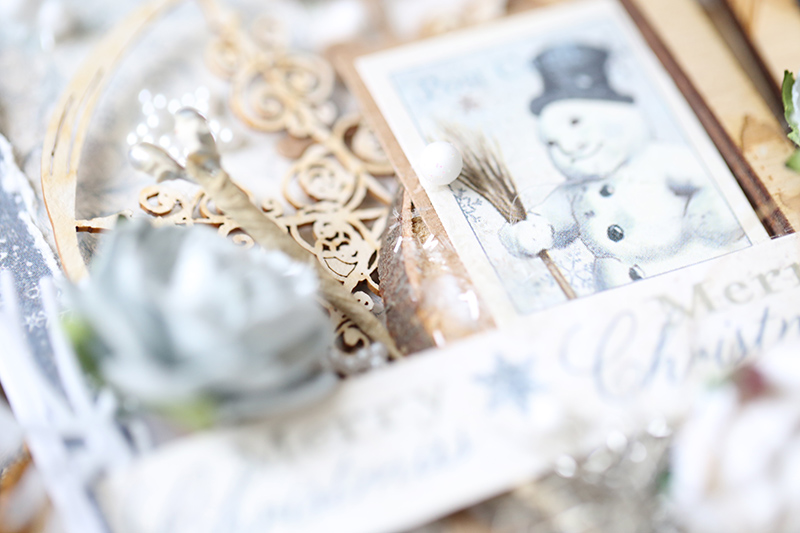
  • then i chose two motives from this new amazing Christmas/ Wintercollection and cut out – the sweet snowmen and little boy

2017-11-011

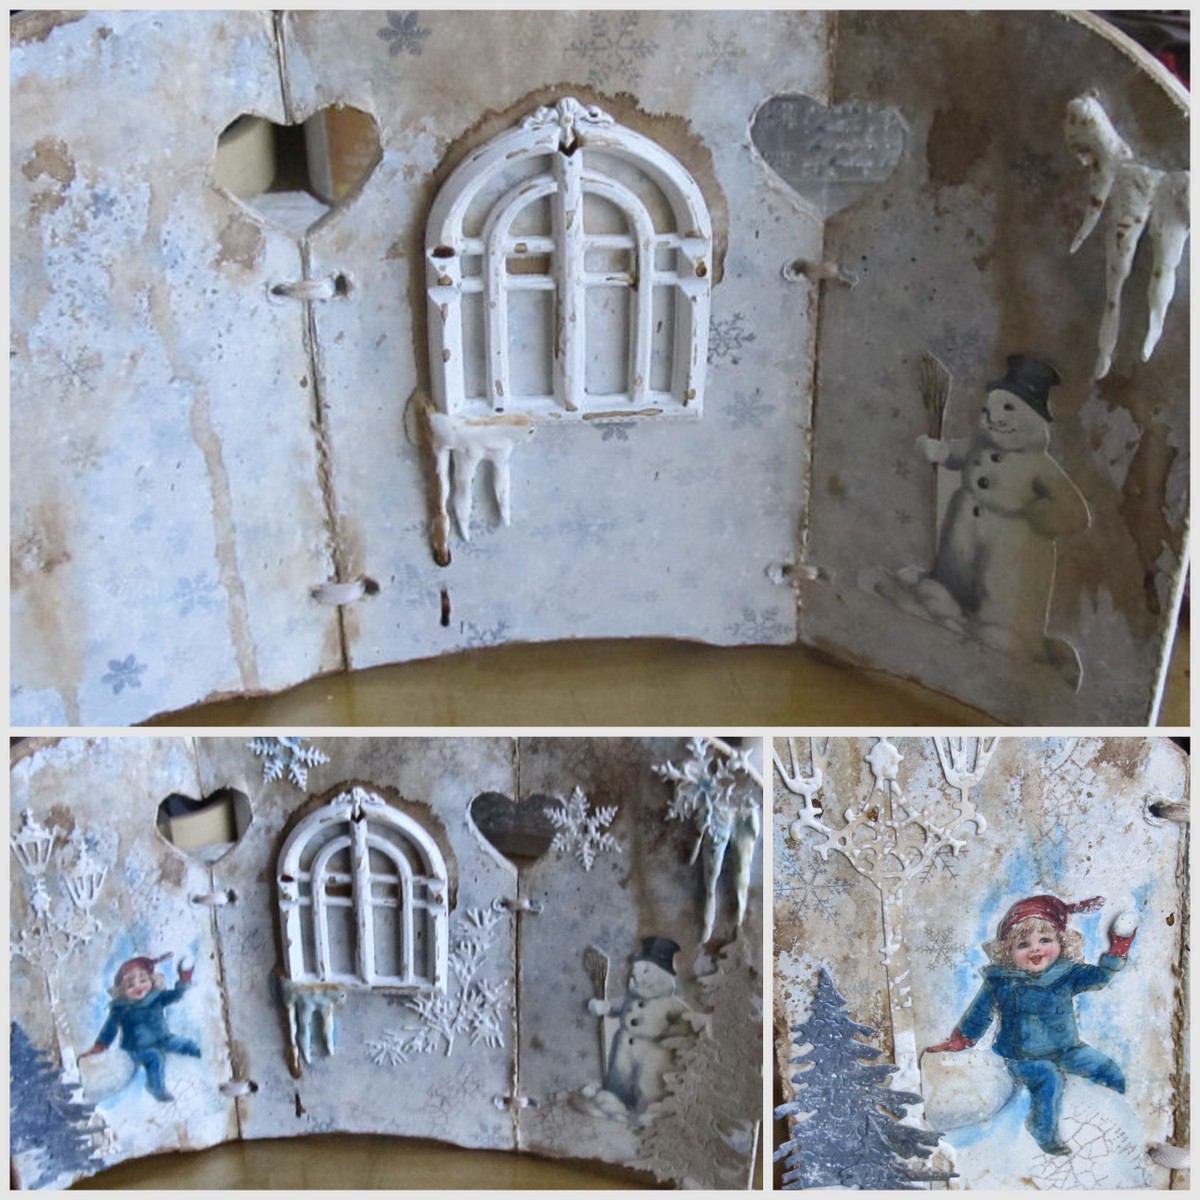
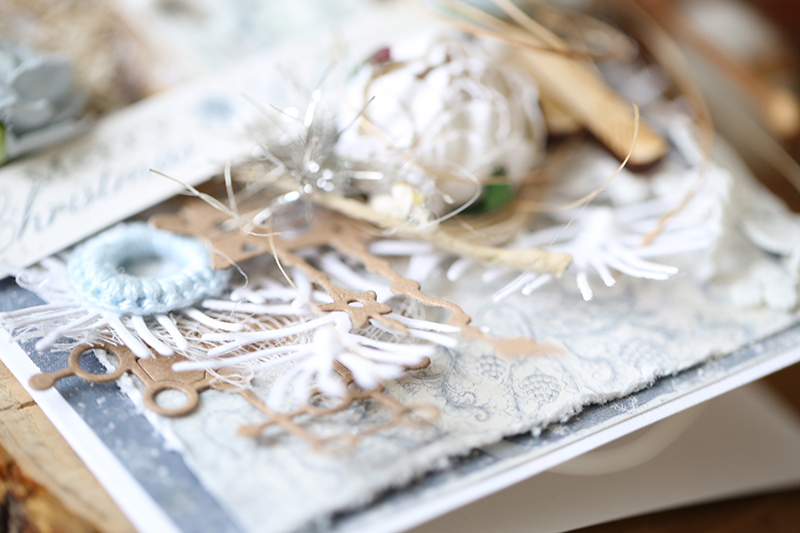
  • icecycles were made with white modeling clay and a mould
  • to complete the background, I added Distress Ink ‘Walnut stain’ with a little bit water for some running effects, it will give you a worned altered look
  • I used the ‘Blizzard’ paper, textured paper (leftovers from a wallpaper) and a craft paper for cutting dies – trees, lantern, winter leaves and snowflakes
  • glued all also embellishments with a transparent adhesive medium
  • create the snow effect with Snow tex (DecoArt)
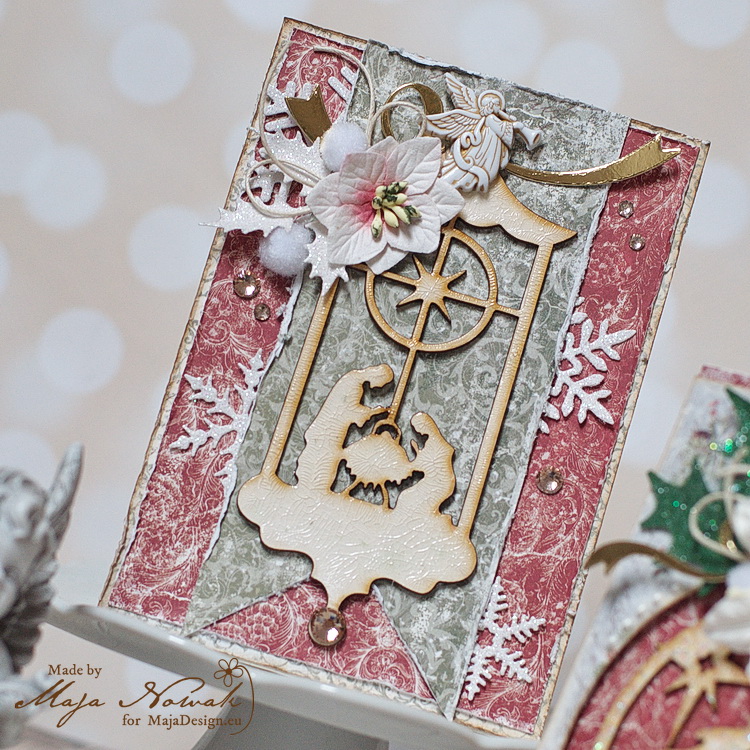
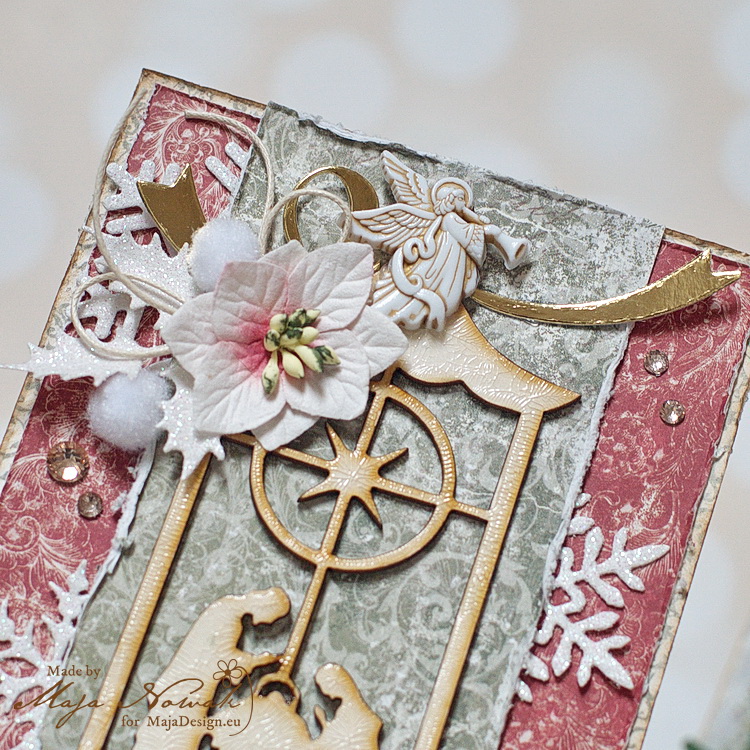
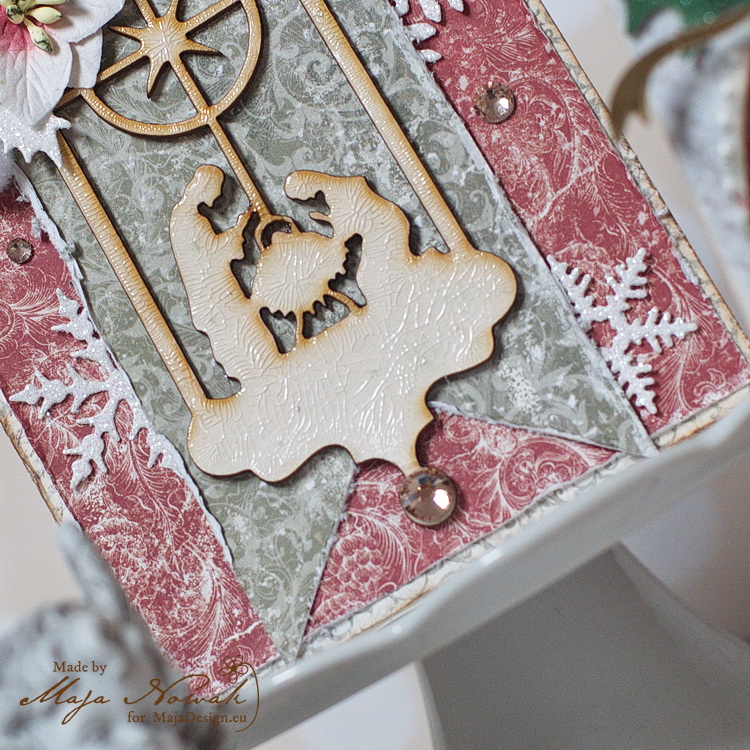
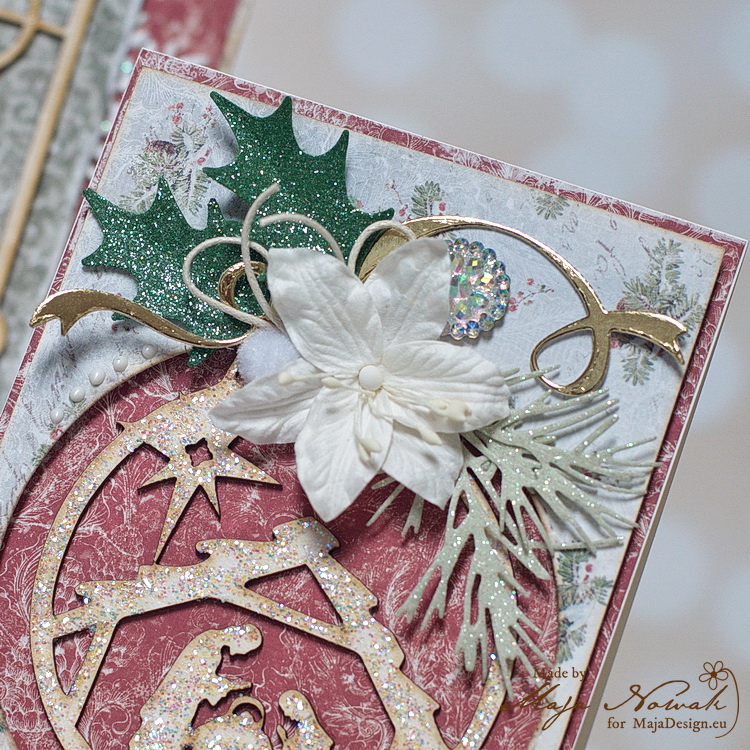
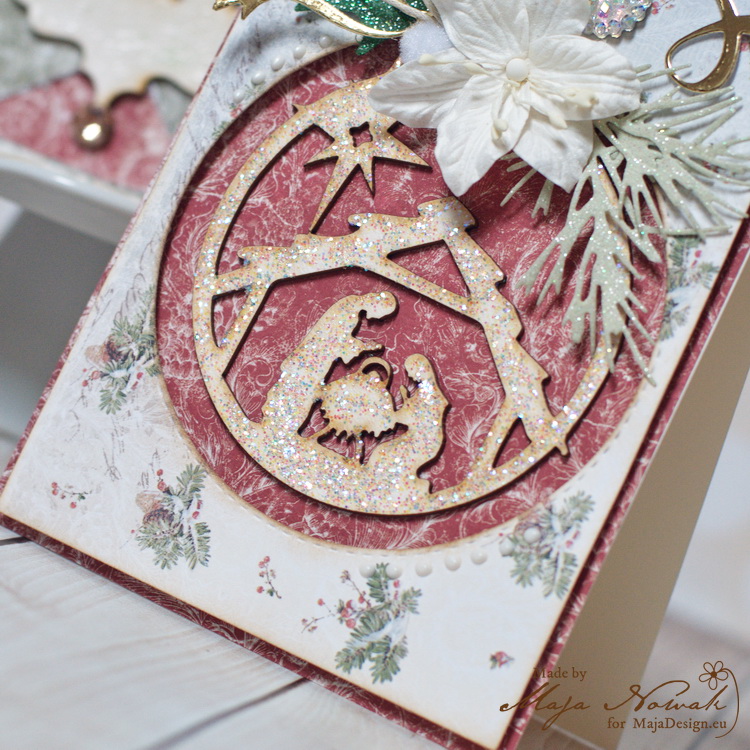
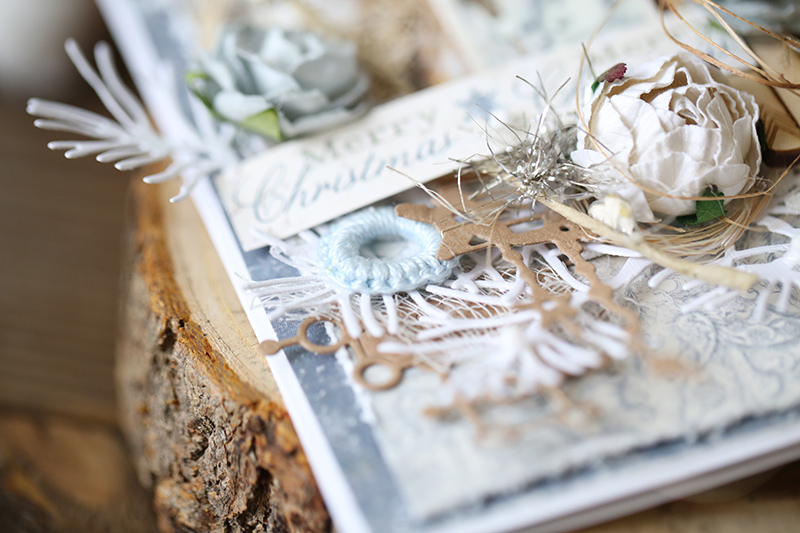
IMG_4113

some close up’s

IMG_4116

IMG_4117

2017-11-21
This project was so much fun to create and I love the scene that you can build up, using all the beautiful background papers from Maja Design.

And if you wonder why the little boy is suddenly blue now, even though he is on the original green, it was very cold in the snow 😉 … ?

yes, you can change the color of these papers later, for example with alcohol markers 🙂

Many thanks for your visit!

Enjoy your weekend!

Kerstin-Inga-sign


Winter Wonderland Cards

1

Posted by Elena Olinevich

24 November, 2017 - ,

Write a comment

Hello, The winter Season is right behind the corner, I feel. So it’s time to create the snow inspired cards

WinterWonderland_Cards_MajaDesign

Though I don’t like the winter season at all, I like creating the cards this time of the year. I used the Home for The Holdays collection. It reminds me about the heavily snow times we have when I as a child. Now the climate has changed.

WinterWonderland_Cards_MajaDesign_1

I’ve added the die cut ornaments and the chipboard frame

WinterWonderland_Cards_MajaDesign_2

I also added the crochet snowflakes and it really came out cozy and warm

WinterWonderland_Cards_MajaDesign_3

Products used:

Spellbinders Ornaments Dies, Crochet snowflakes

Elena-sign

Snowman card

1

Posted by Evgenia Petzer

23 November, 2017 - ,

Write a comment

Hello dear friends, Evgenia Petzer with you today. I have another card in soft neutral christmas tones that I love. Of course it features the new line Joyous Winterdays.

the flowers are from WOC, Russian dies and some polish chipboard.

Joyous_winterdays_snowman_card1_Petzer_MBlogand some close ups:

Joyous_winterdays_snowman_card1_Petzer_det1I have used lots of layers, little bits and pieces that I love to include in my cards.Joyous_winterdays_snowman_card1_Petzer_det2 Joyous_winterdays_snowman_card1_Petzer_det3using the die cuts gives you wonderful layering quite easy,Joyous_winterdays_snowman_card1_Petzer_det4the snowman is fussy cut from die cut sheet and I have added some kraft underneath it, as well as made some die cutting from the kraft cardstock.Joyous_winterdays_snowman_card1_Petzer_det5Joyous Winterdays collection is just so pretty:

Have a lovely day,

Away In A Manger

0

Posted by Maja Nowak

22 November, 2017 - ,

Write a comment

Good morning, Maja Friends, welcome to the blog today 🙂

With Christmas coming closer and closer, I think it’s a good moment to start some serious Christmas cardmaking 😉 For my today’s post I created two cards, using the latest Joyous Winterdays collection and the traditional holiday red and green palette:

mdtrad

Both my cards feature a manger scene chipboard pieces. In the first card I chose darker red and green flourish patterns layered upon light paper for contrast:

mdtrad1

I covered the chipboard piece with crackle accents and decorated it with die-cut leaves and snowflakes, a petaloo flower, tiny pom-poms and crystals and an acrylic angel button:

mdtrad2

mdtrad3

In the other card I created a shadowbox frame for the chipboard piece, but as the card is to be mailed, I kept it just barely raised:

mdtrad4

I covered the chipboard manger with glitter and decorated with a mulberry flower, large crystal that looks like frozen ice, and some die cuts:

mdtrad5

mdtrad6

I really love how easy it is to get a vintage, shabby look for your projects with Maja papers! Just perfect for traditional Christmas cards 🙂

And here’s what I used to make my cards:

Maja Design papers:

Other: dies: Magnolia, Impression Obsession, Sizzix, Joy!; holly punch: Woodware; flowers: Petaloo, Wild Orchid Crafts; chipboard: Wycinanka; glitter: Ranger; pom-poms, button: my stash.


I do hope you find some inspiration for your Christmas cards 🙂

See you soon!

Maja-sign

“Summer” by Tina Ollett

1

Posted by Tina Ollett

21 November, 2017 - ,

Write a comment

Welcome and a very big hello !

Tina O with you here today. It has been a couple of months since I was last here and I am so very happy to be back on board creating again for Maja Designs. I have been away recuperating from shoulder surgery but I am very happy and so glad to be back at my table again creating.

2017-11-20 2017-11-20 001 031 (800x794)

Today I have something beachy for you. Here in Australia Summer is a very special time for our family. Lots of trips to the beach and just getting out and enjoying the beautiful sunshine and our gorgeous beaches. The photo I have used today is of my youngest who just loooooooves the beach. And every chance she gets she will be found digging away in the sand, or mud digging holes or just building sandcastles. I adore this photo of her from back in 2012 at a holiday gettaway in Forster, New South Wales. Again she is digging away and very much caught up in the moment !

Autumn-Basics-P

Since the togs she was wearing are a navy blue I decided to keep with these colours and add some neutral tones and have kept it very earthy. I have only used a little media being distress inks and gesso along with Rust Paste.

2017-11-20 2017-11-20 001 019 (600x800)

My starting point was tearing up my sheet of Vintage Autumn Basics and layering it using both sides along with some Dusty Attic corrugated board. These pieces were laid over the top of Vintage Autumn Basics and then primed with some clear gesso. I did some drying brushing with white gesso to give that whitewashed beachy look and also did some splatterings of white.

2017-11-20 2017-11-20 001 022 (800x600)

I have used some new Dusty Attic release beach chipboards, lots of 49andMarket Floral Mixology and Garden Seeds flowers along with some seashells to help with my embellishing of the page.

2017-11-20 2017-11-20 001 024

The chipboards were dressed in gesso and I randomly applied rust paste let it dry for a few moments and rubbed the rust paste until the colour bleed into the gesso.

2017-11-20 2017-11-20 001 025 (800x600)

Well that is all from me today, I do hope I have inspired you in some way big or small to create something this week for yourself! Enjoy the time you create and happy scrapping.

Tina-sign