Merry Christmas Cards by Tina Ollett

3

Posted by Tina Ollett

20 November, 2020 -

Write a comment

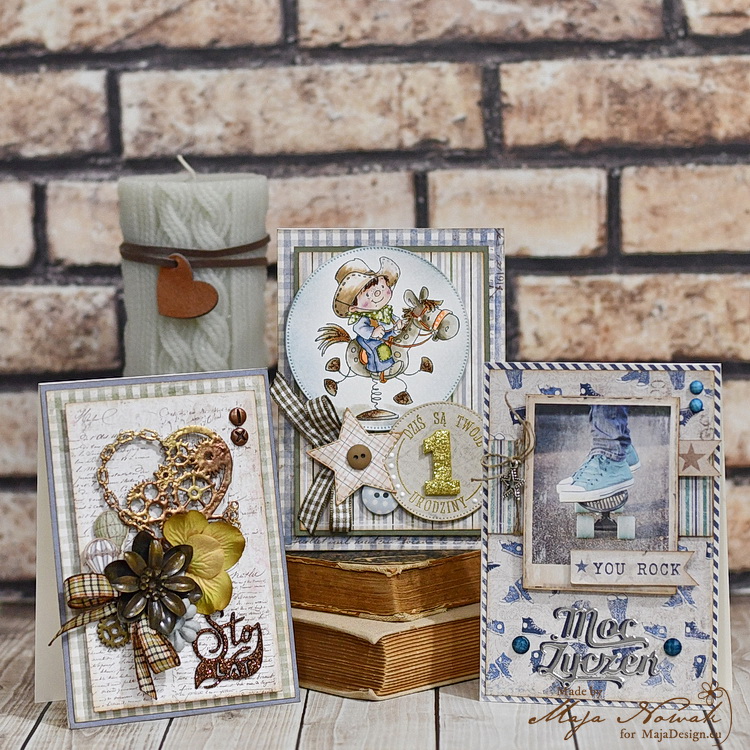
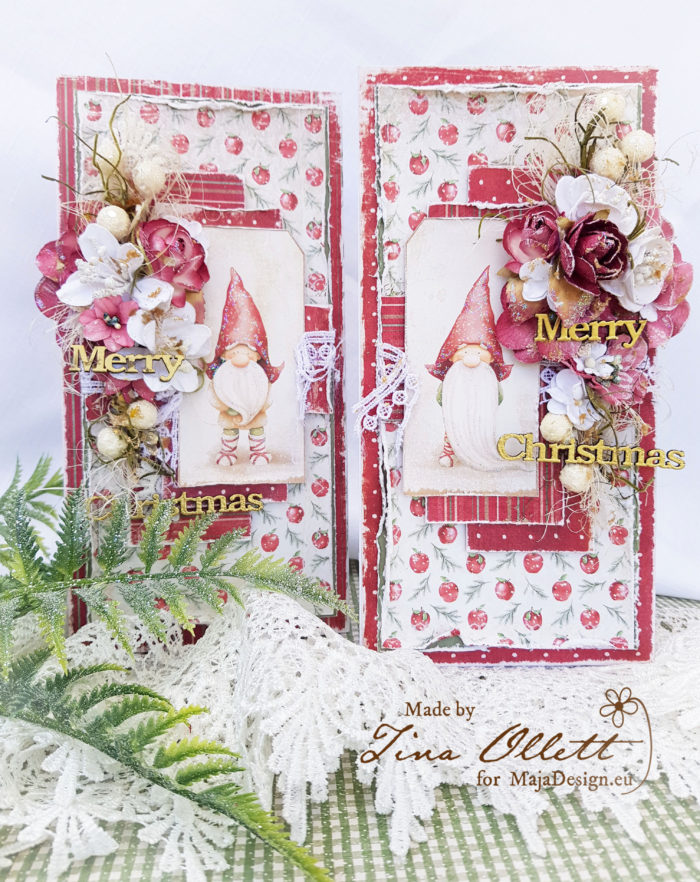
Welcome Maja Design friends. Tina here with you today to share a couple of very cute Christmas Cards that I created with the newest Christmas collection : “Traditional Christmas.”

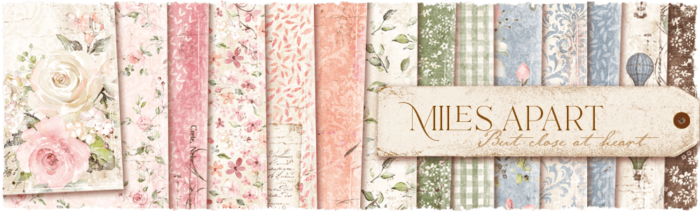
For those that know me well probably know that cards are really not my thing. I am a scrapbooker but when I opened up my goodies box from Marie I could not resist. This new collection truly is a remarkable Christmas collection filled with soft and elegant vintage touches.

Diecuts


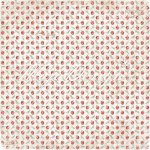
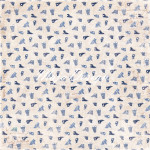
Christmas Apples A and B side


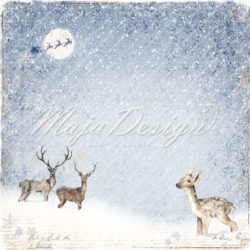
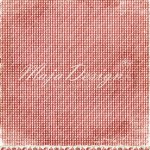
Family Gatherings A and B side

Moss Green

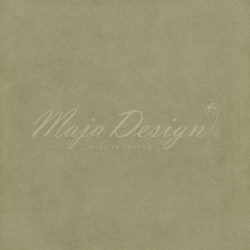
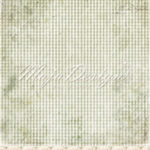
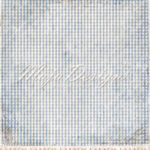
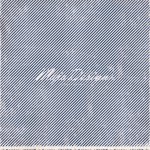
Monochrome Moss Green

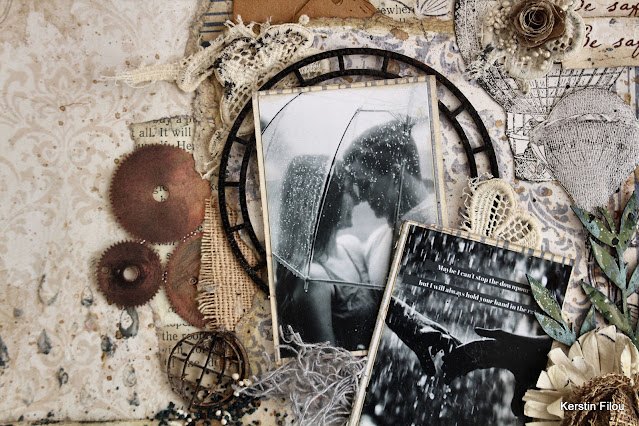
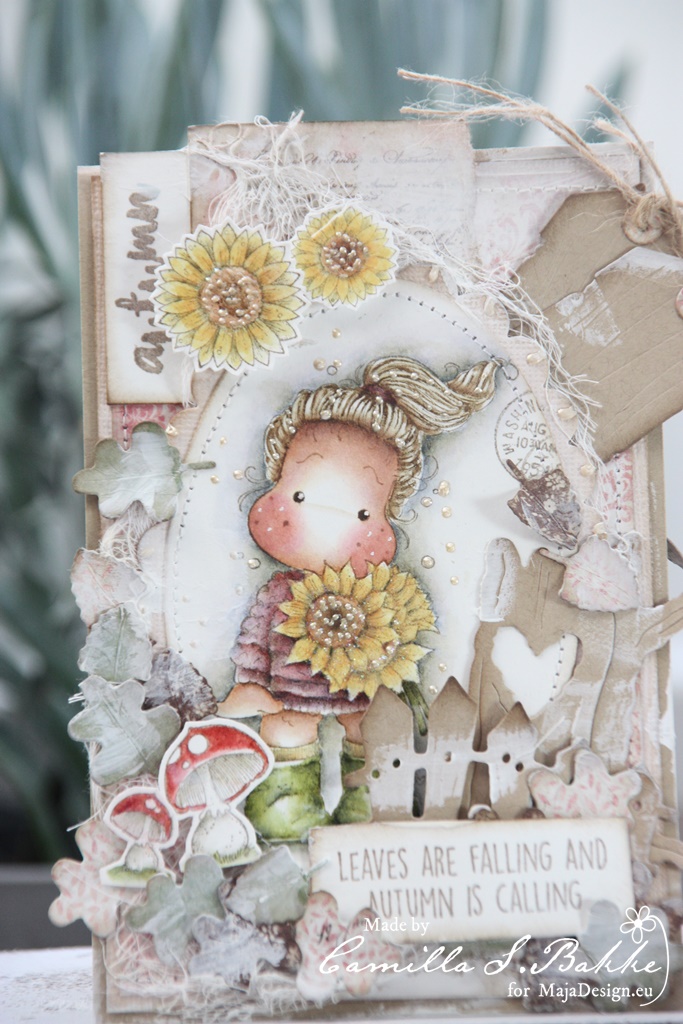
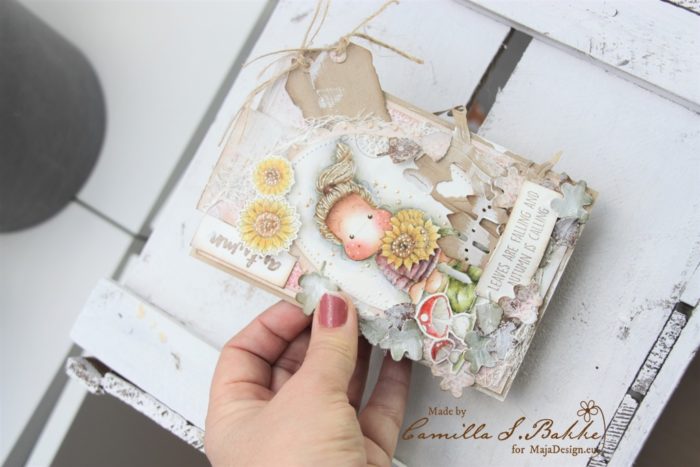
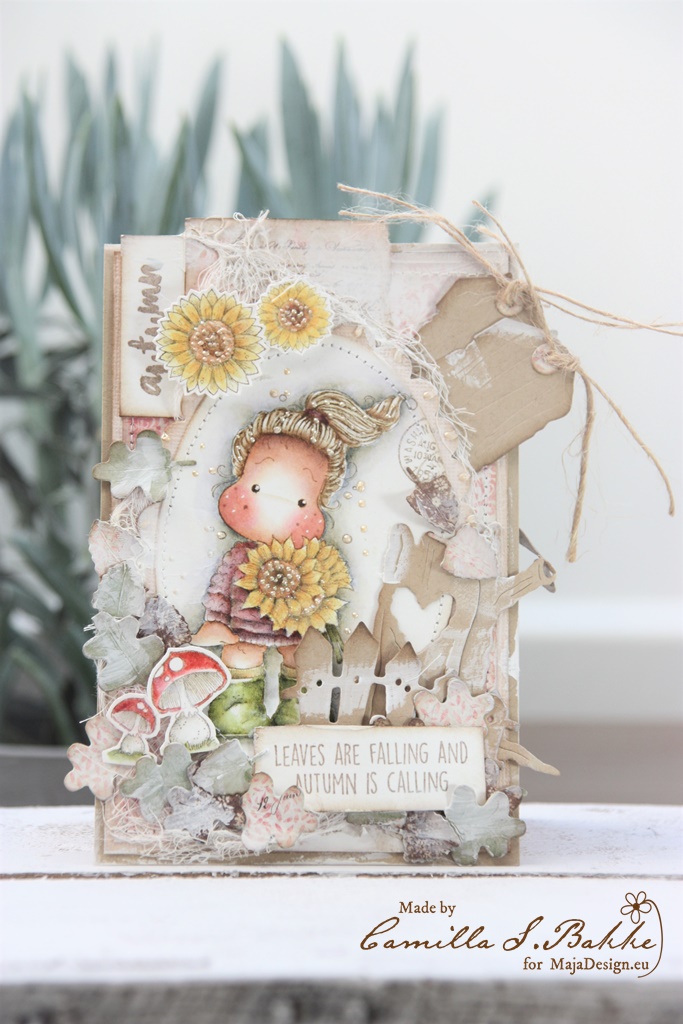
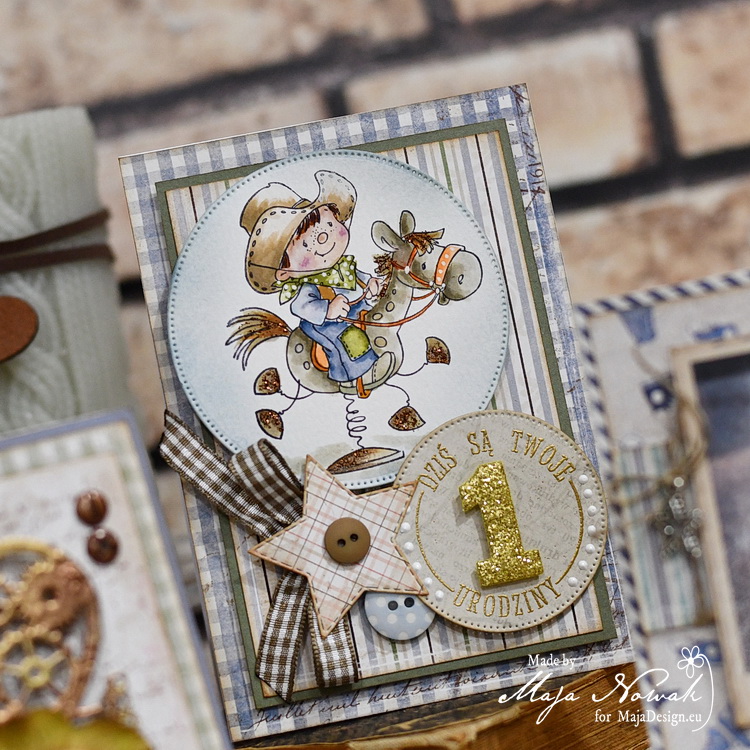
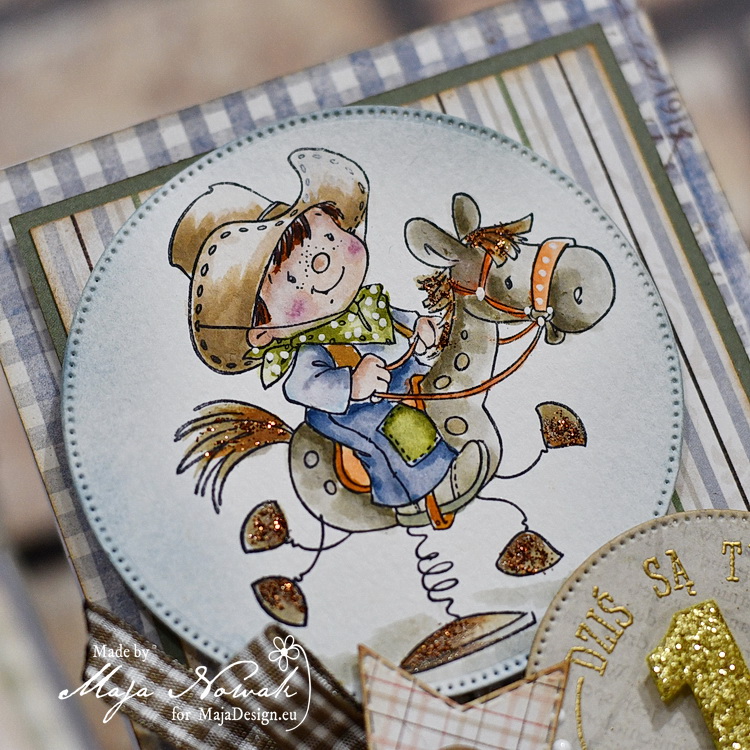
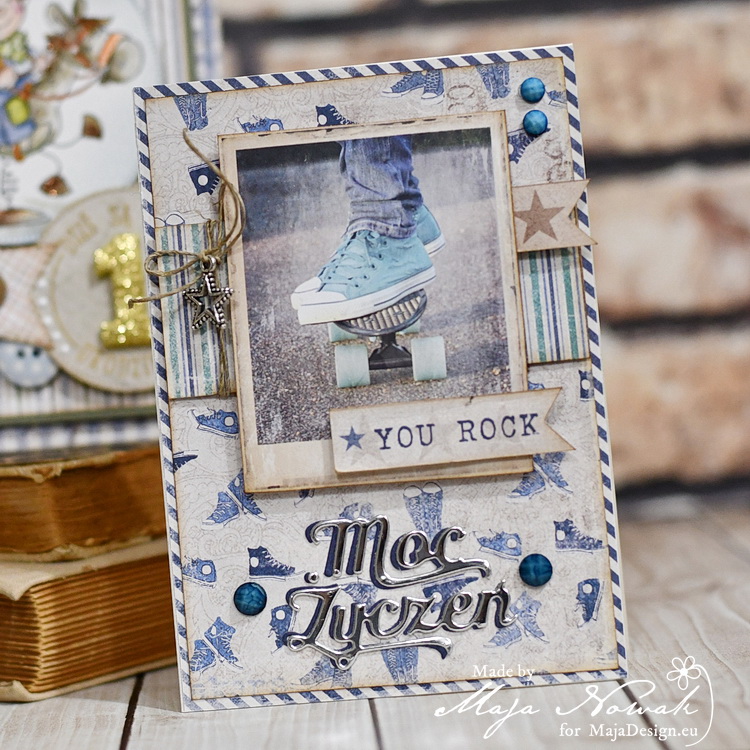
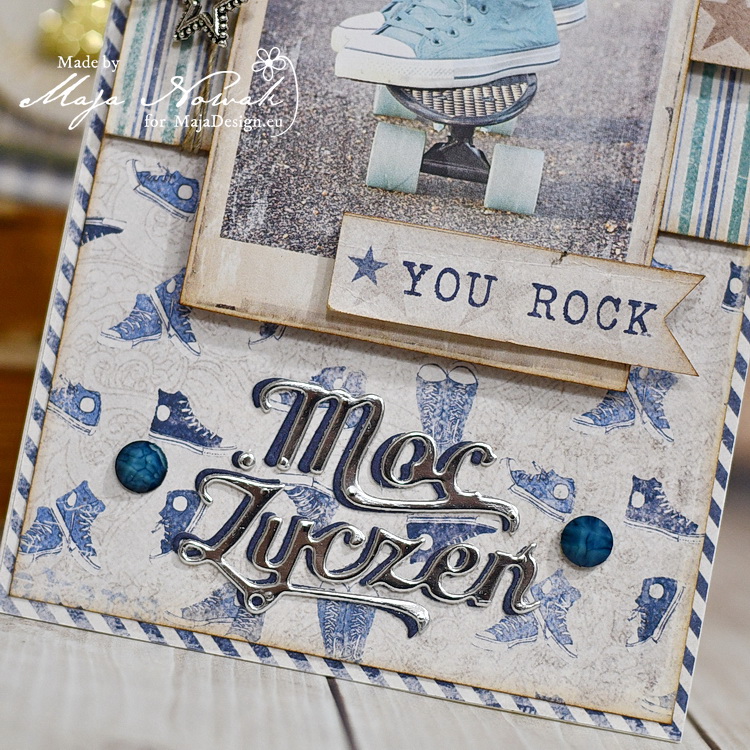
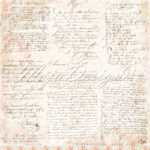
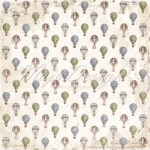
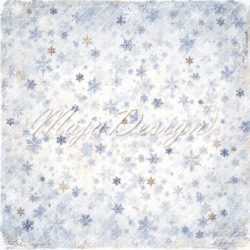
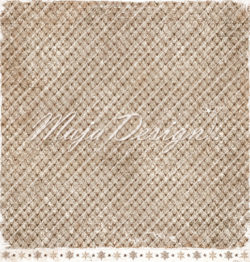
And these little guys, aren’t they just the cutest Elves or Gnomes ever? And the papers are just amazing…. and I especially love the sheets of apples and also the present parcel pages. So the apples paper were my starting point. I also used the polkadots and the striped pages as well as a couple of tags from the ephemera page, just some of my favourite pieces from this collection.

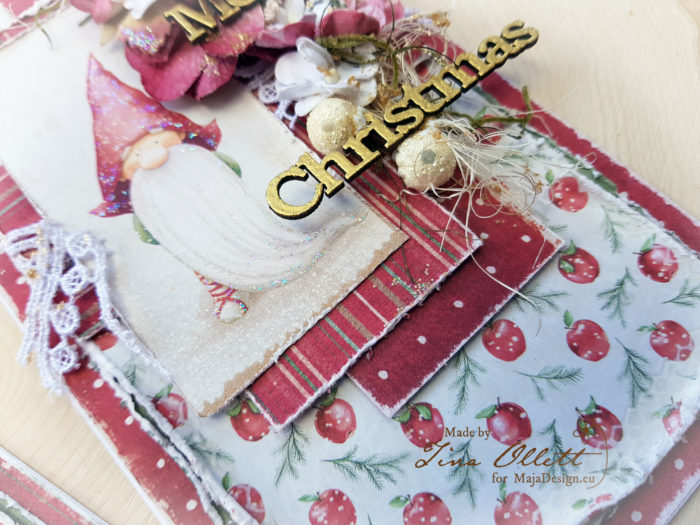
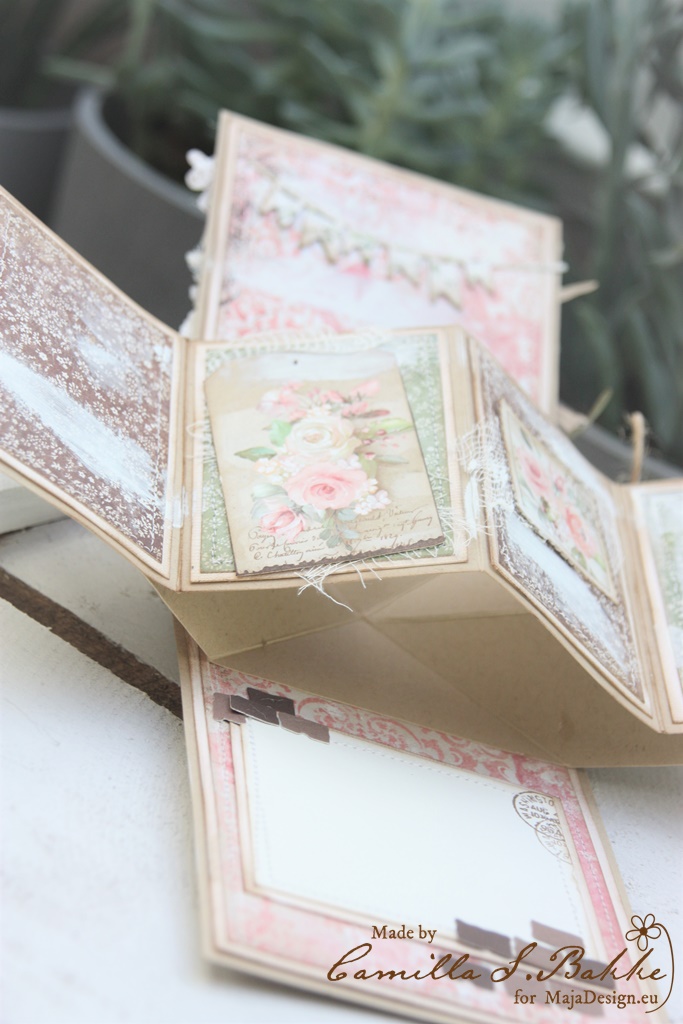
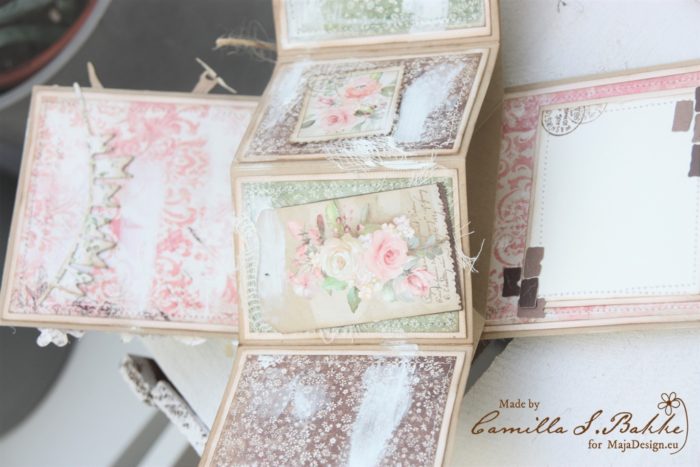
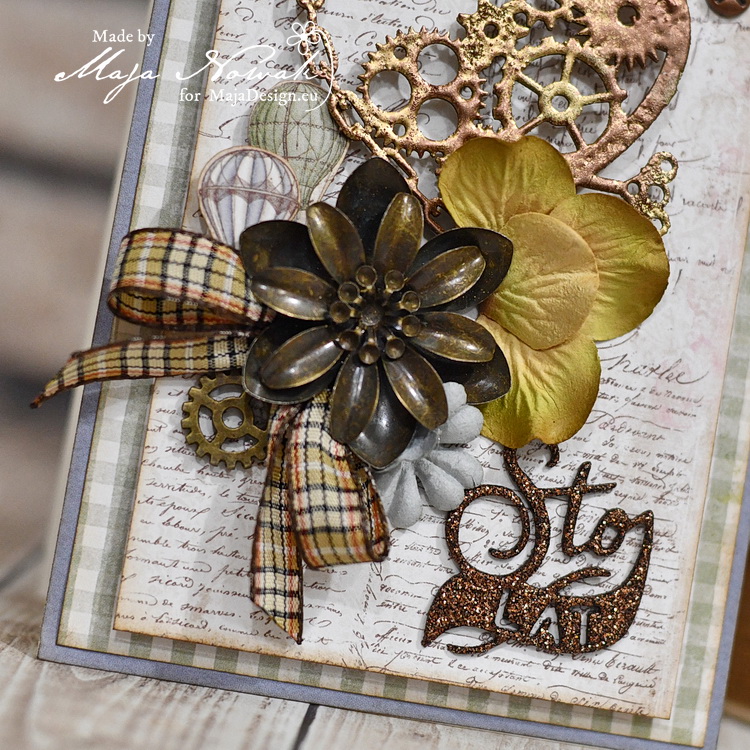
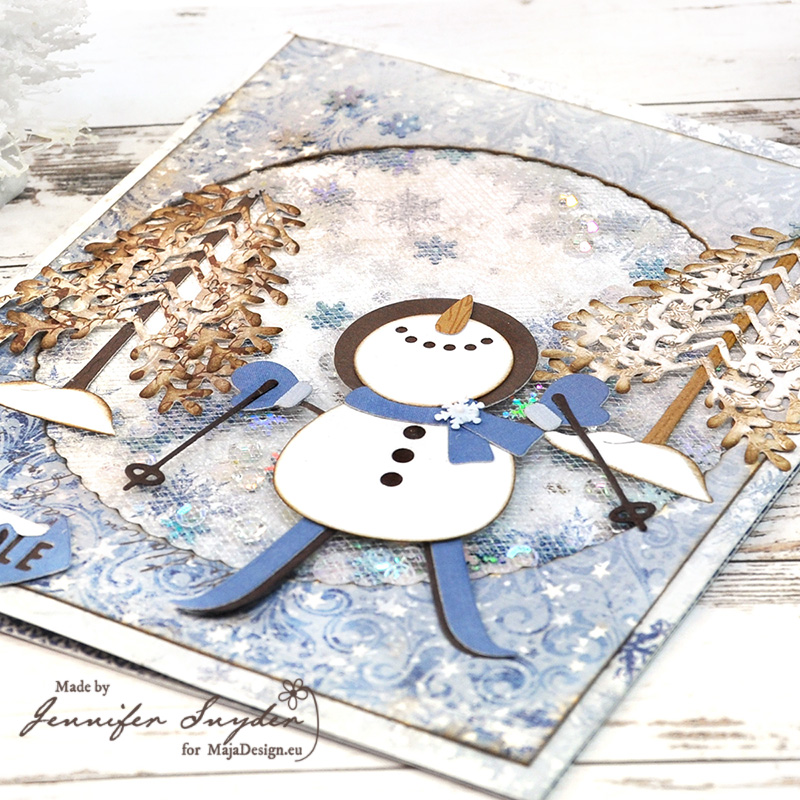
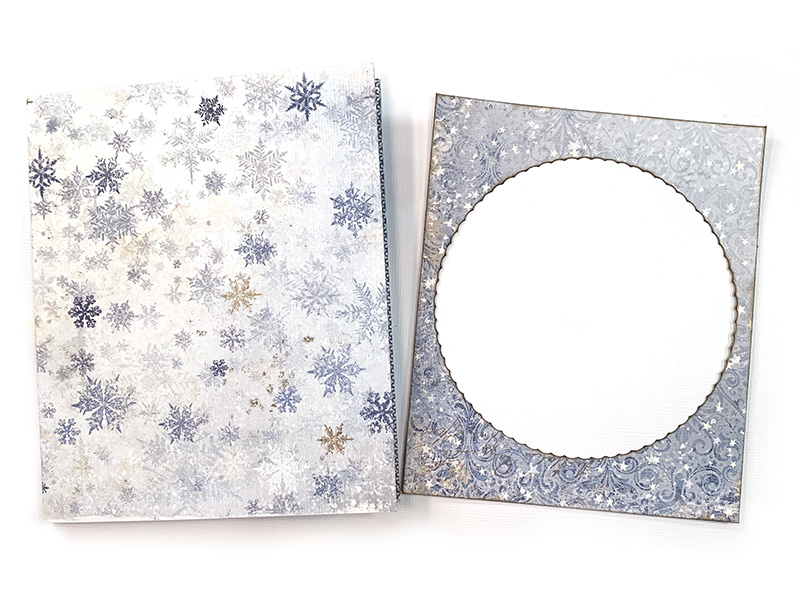
I made many layers from the papers using a and b sides distressing and sanding the edges.

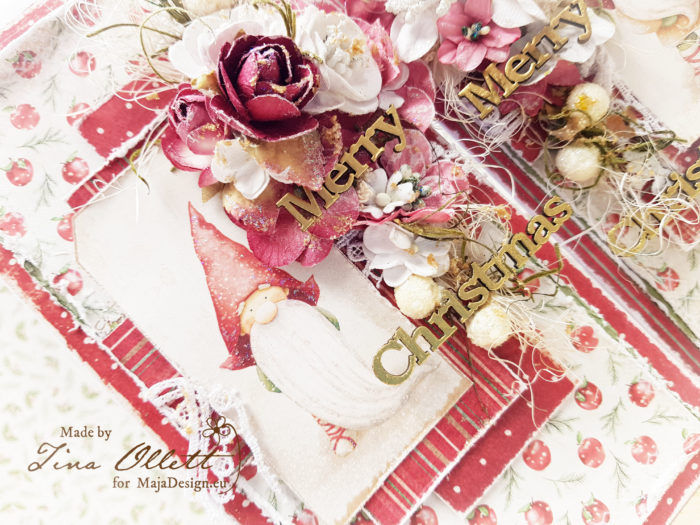
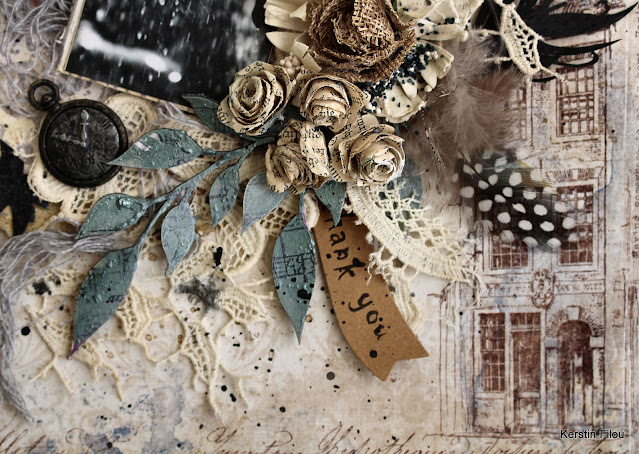
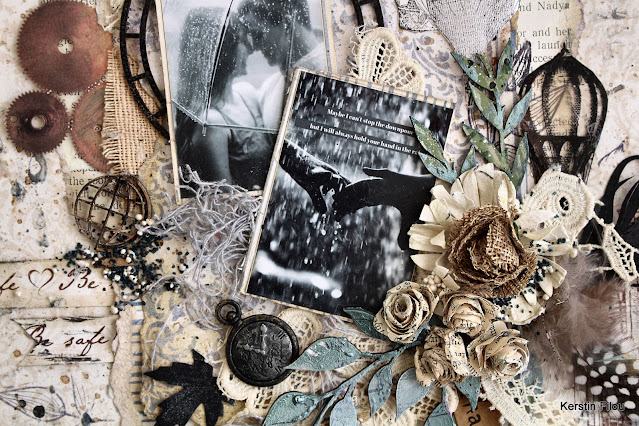
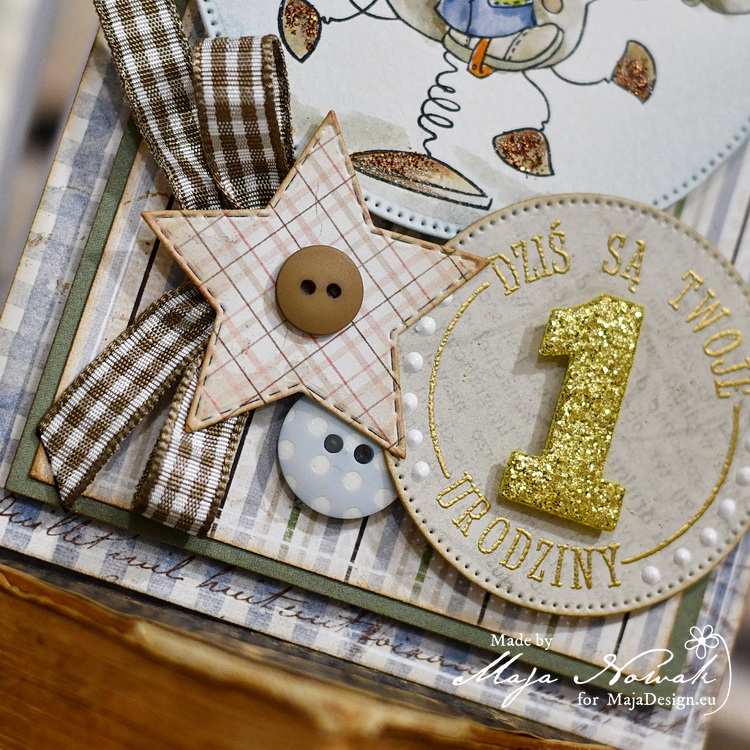
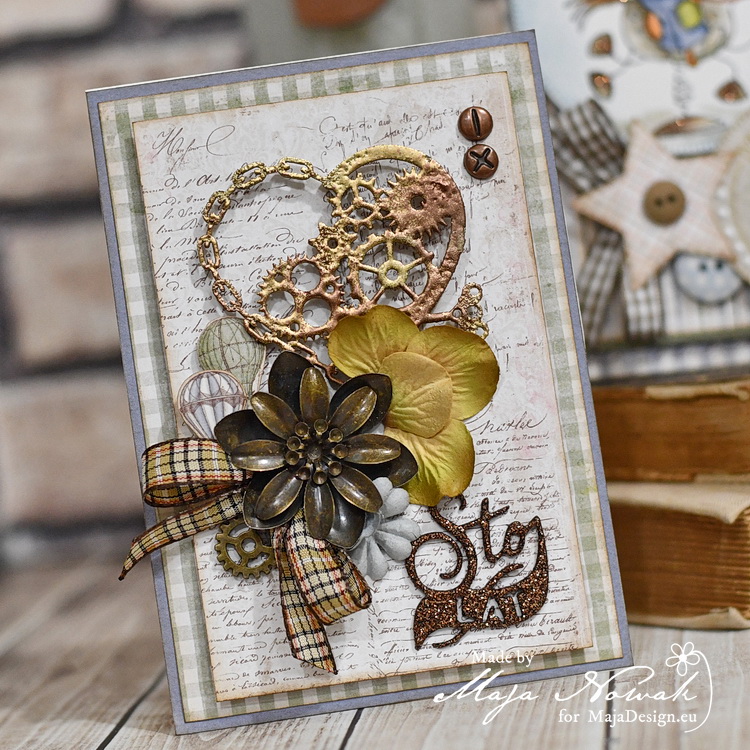
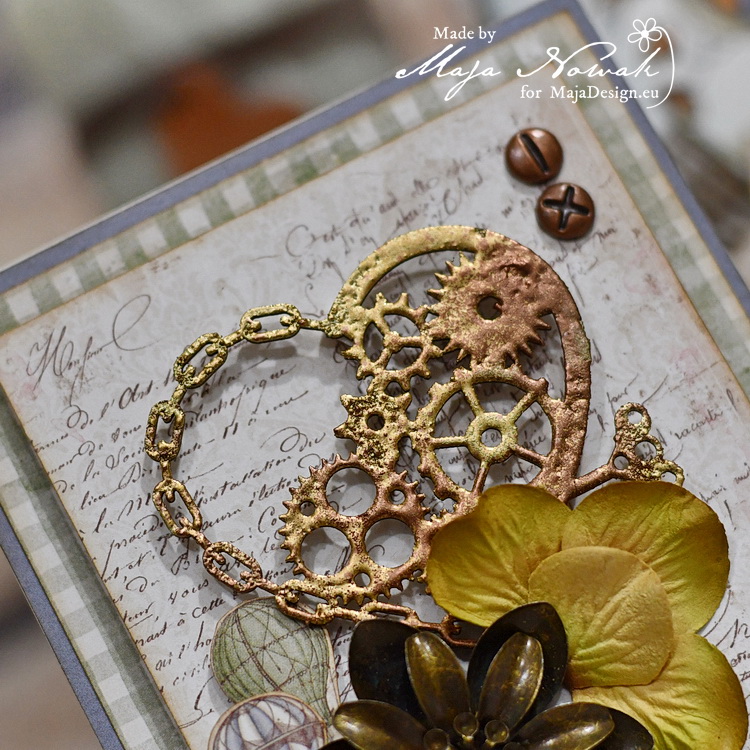
I embellished with lots of gorgeous flowers and trims from 49andMarket and a chipboard title from Dusty Attic that was dressed in gold embossing powders. I also added in glitters and fibres.

Well that is all from me today. I hope you enjoyed your visit. Take care and stay safe. xx


Rainy days

2

Posted by Kerstin-Inga Peters

17 November, 2020 - ,

Write a comment

Welcome creative friends!

Have you yet seen our latest amazing paper collection ‘ Miles Apart’ ??

If not – check them out! You’ll love them!

Delightful colours and inspiring motifs, I was immediately in love with the motives.

I think it’s a beautiful mixture of soft colors that are also suitable as background for masculine layouts maybe in grundge style.

I have decided for a 12 x12 layout in vintage style suitable to the grey month November but also to this difficult times for all of us.


paper sheets: Stay home and , Hopeful + bs


some close up’s

+
+

Thanks for your visit!

Stay safe and healthy!

Kerstin

Twist and Pop Card

2

Posted by Camilla Støen Bakke

16 November, 2020 -

Write a comment

Hi there! I am back with a new card. And I have tried to make a Twist & Pop Card, which is my first time. But I understand that they have been popular some time. It was fun to make one, so you should have a go too!

After making some pinkish wedding projects, I have tried to give this card a more Autumn look. This collection is wonderful for that too.

The Magnolia image is coloured with Distress Ink, reinkers and Markers. The sentiment is also from Magnolia. I have cut out the leaves from different Miles Apart papers.

To make this card I have watched Srushti Patil’s tutorial on YouTube, called Twist & Pop Card Tutorial.

Here is how it looks like when it is open. The inside is decorated with yummy Miles Apart papers.

And I have tried to show how it looks like when you close it.


Almost there 🙂


I have painted here and there with white Gesso. In the middle of the sunflowers (and in Tilda’s hair) I have put some liquid pearls. Behind the image there is some cheese cloth.

Some more details from inside of the card. You can decorate it however you want. With images, sentiments ect.


Thank you so much for visiting the Maja Blog!

With love,

For a Boy, a Teenager, a Man

2

Posted by Maja Nowak

10 November, 2020 - , ,

Write a comment

Good morning Maja Friends, welcome to the blog today 🙂

By common opinion among cardmakers, masculine cards are rather difficult to make. Would you agree? Despite being the only woman in our home, I do struggle when I have to make a card for a man. So once I got into “that” mood, I decided to take advantage of that unexpected mojo and make three birthday cards for three age groups: a baby boy, a teenager and a grown-up man:

For the boy card I used the papers from the Miles Apart collection as the pastel background to a hand-coloured stamped image. I also added a star cut out from one of the mini pad sheets, a plaid ribbon bow, some buttons and a stamed and embossed sentiment circle:

In the card for a teenager I featured the Denim&Friends papers, with a skater image decorated with a metal star charm and a mini flag cut out from a signature strip. I die-cut the sentiment from metallic silver sheet and matted it with a dark navy blue piece to make the whole sentiment pop out:

The last card features the Miles Apart papers again, with a chipboard steampunk heart embossed with various eps for a more rusty look, a metal flower, screw brads and plaid ribbon. I die-cut the sentiment from glitter foam and added some paper flowers too. Can you spot the mini balloons I cut out from one of the sheets? 🙂


Here’s the supply list for my cards:

Maja Design papers:

Other: flowers, chipboard heart: Prima; dies: Rosy Owl, CreaLies; metal ger: Mitform; metal flower: Craftmania; brads, ribbon: Rayher; acrylic gems: Scrapberry’s.


Do you struggle with masculine cards or do you make them with ease? 🙂

See you soon!


Jolly Winter Snowman Shaker Card

1

Posted by Jennifer Snyder

9 November, 2020 -

Write a comment

Hello Maja Design friend.  Jennifer Snyder here with a jolly snowman shaker card crafted using Maja Design’s classic Christmas collection called, ” Holiday In the Alps”. You can see the collection below along with the individual 12 x 12 sheets I used: Winter Night, Let it Snow, Deers.

Winter nightLet it snowDeers-bs

I really love the warm vintage appeal of the collection.  By the smile on the snowman’s face, I think he likes the vintage look as well.  Scroll down and I’ll show you how I made the shaker card base.

Shaker Card Base Instructions: 


Step 1.  “Holiday in the Alps – Let it Snow” is the base of the card. Cut the paper 10in x6 in and crease in the middle at 5 inches.  This card is 5in x 6in when folded.

Step 2.  The top layer is “Holiday in the Alps – Winter Night” and is slightly smaller than the card base.  I die cut a circle  in the sheet and inked the edges for definition.

.  

Step 3.  Flip the layer over and add double sided tape around the circle.  This is going to be your window so you need to make sure there are no gaps in the tape .  Cut a piece of tulle (or acrylic) to cover the window.  Secure in place.

Step 4.  Add shaker mix to the center of the card base and glue the window layer in place securely over the shaker mix.   Now you are ready to decorate.

I decorated this shaker card using Spellbinders dies and shaker mix from Buttons Galore and More.

The trees were diecut from”Holiday in the Alps – Deers ” paper.

Happy crafting friends.  Thank you for stopping here to visit.