What a Lovely Day – Cards

1

Posted by Elena Olinevich

30 March, 2021 - ,

Write a comment

Hello Friends,

I’got a Spring Inspiration for you today.

I used beautiful papers from Sofiero collection, it is so eye candy and soft.

I played blue pastel tones and added some soft pink accents and 2 types of lace.

I also added paper flowers and just a few leaves dies cuts

So the recipe is quite simple how it looks cute.

So if you look  something for your Spring or even Summer projects, so look through in your stash for blue candy pastel tones.

Products used:

Die cut flowers. crochet lace. lace.

Easter Cards

1

Posted by Maja Nowak

24 March, 2021 -

Write a comment

Good morning, Maja Friends, welcome to the blog today 🙂

Easter is just around the corner, it’s high time to send out some cards to friends and family, especially now that many countries, Poland included, entered lockdown yet again and we won’t be able to travel and meet our close ones. So today I bring you two cards to inspire you to send out Easter wishes 🙂

I used the Miles Apart collection for my cards. The first one is a patchwork Easter egg card:

I first applied a stencil frame upon a layered background and then placed an egg decorated with pieces of papers. Patchwork patterns are very decorative and useful ways to utilise even smallest bits of paper leftovers, and they are a great fun to make! Easy enough to create with your kids too!

For the second card I embossed a stamped “stained glass” image of Christ Risen, hand-coloured it with Distress inks and placed upon a delicate damaska background. I also used a piece of the signature strip from one of the papers as a decorative border.

I tried to make several layers for each card yet still keep them flat enough to go into an enevelope.

Here’s what I used to make the cards:

Maja Design papers:

Other: dies: Marianne Design, X-cut, CreaLies, Craft&You Design; flowers: Prima, Wild Orchid Crafts; stamps, stencil: Agateria; acrylic pearls: my stash.

That’s all for today, thank you for visiting! I also wish you a very happy Easter, filled with joy and hope for better times!

“The journey of a thousand miles” by Tina Ollett

1

Posted by Tina Ollett

20 March, 2021 -

Write a comment

A very warm welcome back Maja Design friends. I am back with you today to share my next project which I have created by combining a mix of Maja Designs beautiful papers. I had a very special photo to start off with of my son down at the creek in the school holidays netting for yabbies. Something that we loved to do when we had spare time.

So because it showcases my son, I decided to create with the blue and brown tones with additional highlights of grey and black. I started out by tearing Miles Apart’s “Stay Home”. It was the base of this that was torn. I wanted to keep those cute balloons to complete the scene. To the base of this I added in an older piece but a huge favourite for me from the Autumn Basics collection, No.XXI. I adhered these two together and then added over some textures using the Brick stencil from Dusty Attic. Over the stenciled texture I coloured in the edges of the bricks using Distress Inks in the colours of Walnut Stain and Black Soot. I also did a little random stamping using a numbers stamp and Archival Ink in the colour of Watering Can. Once this was dried I then added in some rub-ons in a navy colour to match my papers and photo.

I then moved on to adding in my photo. For this project I used a 4 x 6 inch colour portrait photo. The edges of the photo were sanded and behind the photo I added in lots of layers of my leftover papers and I also added in an additional piece of Denim and Friends “Stonewashed” paper. All of these layers were distressed heavily and layered behind my photo.

Once all the base pieces were adhered down I moved on to embellishing my layout. To it I added in some , well lots of Dusty Attic chipboards and 49andMarket flowers. I also made some extra acetate embellishments using a stamp and embossing powders. These were fussy cut and layered amongst the chipboards.

I also added in a little birds nest in the left corner of the layout. I made this using wood wool, a fabulous fibre that comes in handy quite often. I moulded the birds nest and glued it using gel medium. I added in a couple of cute eggs and a little ephemera bird from my stash. I also added in some art stones in differing sizes.

Finishing off my project I cut some more of those cute hot air balloons from the Miles Away paper of “Dream Away”. Some of these were adhered flat and some were popped up on tapes.

Well that is all I have for you today. I hope you enjoyed my project. Until next time take care and happy crafting.

Moments to Smile Everyday

2

Posted by Amy Voorthuis

16 March, 2021 - , , , ,

Write a comment

Goodmorning lovely Maja Design Fans,

How nice of you to visit the blog today! As most of you know I love to mix and match collections what is amazing to do with all the Maja design lines. For this layout I used five collections because I wanted to follow a moodboard at a challenge site which was light teal, pink, grey and white. The grey flowers are handmade and super easy to do. The white paper with the clocks is my favorite sheet from the “Crea Diem”collection I used two, from one I cut out the clocks to add extra on my layout.

The grey paper I used as the base of my layout on that one I added the sheet from the “Vintage Summer Basics” in the light teal color. All the papers are distressed and I used  stamps and a stencil on the background. The rest of the flowers are off course by 49 and Market. I love to use pictures of our little Abbey she is growing up so fast trying to say difficult words just to funny she makes our lives compleet & happy.

The chipboard pieces are by scrapaholics and are treated with white gesso, ink, paint, sprays and the words with embossing powders. From the ‘Miles Apart”collection I cut out a whole bunch of roses & leaves that I placed around my picture. The cute little butterflies are from a sheet from the ‘Vintage Spring Basics”collection.

The stencil I used is by the very talented Gabrielle Pollacco whom I totally miss in this creative world….On the 6th of this month it was my husband’s and also my birthday he turned 50 this year I made him a Abrahim lol just too funny. I turned 43 this year a green leaf like he always sais lol hahahaha…..He was so sweet to give me such a nice present he gave me a new sewing machine for scrapping but they could not deliver it because they all had to back because there was something wrong with them {I am so sad about that hopefully I will have it back soon} I miss sewing on my layouts it was one of my trademarks on my work and now it was a long time I did…

Maja Design papers used: Crea Diem: den oersattliga tiden, Nyhavn: king’s square, Vintage Summer Basics: 1943, Miles Apart: the little things & ephemera, Vintage Spring Basics: 6th of May.


What are the most collections you have ever used to make a layout? I am very curious I think this is mine but to make sure I really have to go back in time. I will tell you in my next post….have a wonderful day and please stay safe & healthy.

Love

Loaded Giftbag.

1

Posted by Lenet Mos

12 March, 2021 -

Write a comment

Hello sweet Maja Fans.

A few weeks aga I played along with a loaded bag valentines challenge. I loved it so much I think I will do this more often , It’s a very nice way to make a big gift out of little gifts.

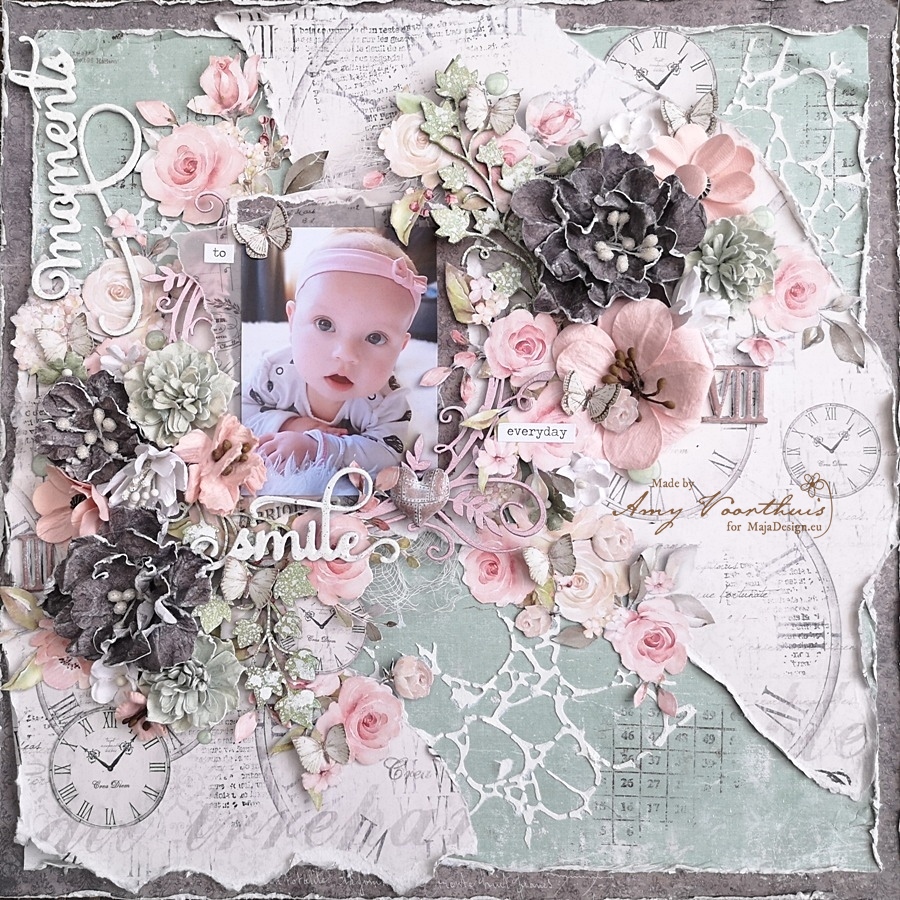
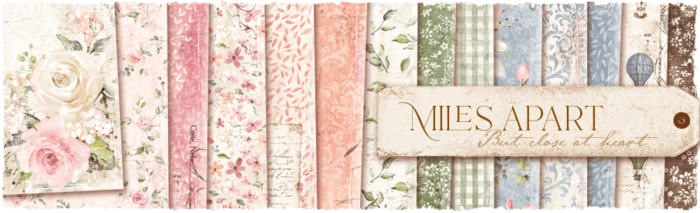
I used the Miles Apart collection ( I so Loooveeee this one ) together with a kit from Kimya . This kit contained the basic things paperbags, envelops and tags and such..

Designpaper ,embellisments ,everything else you have to provide for your self.   I really loved it and want to show the outcome of my project to you.


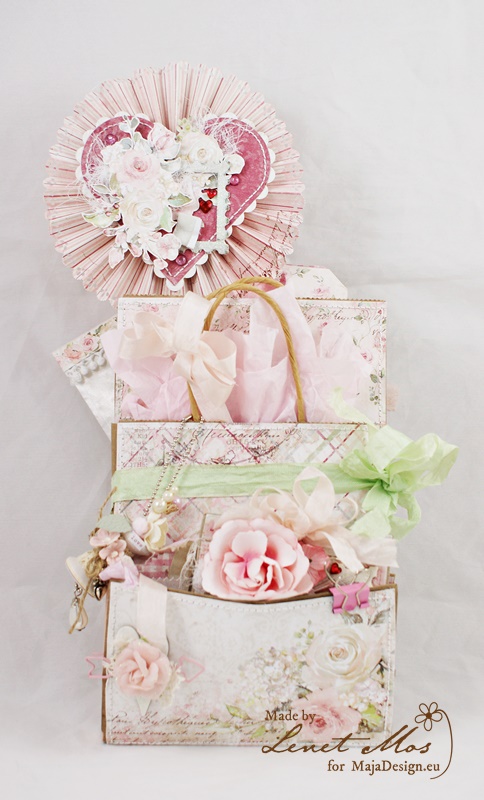
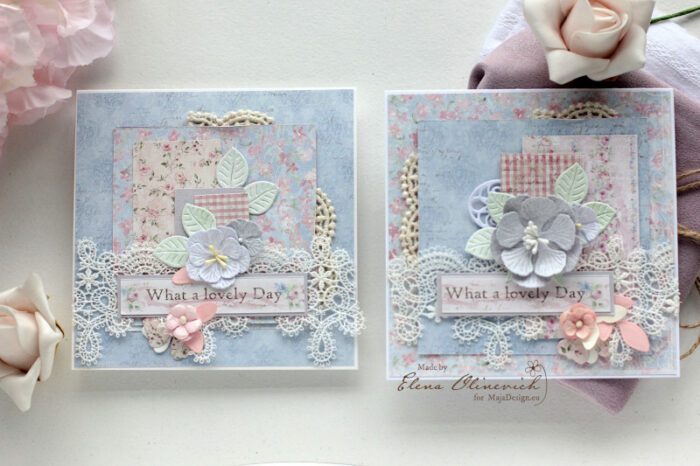
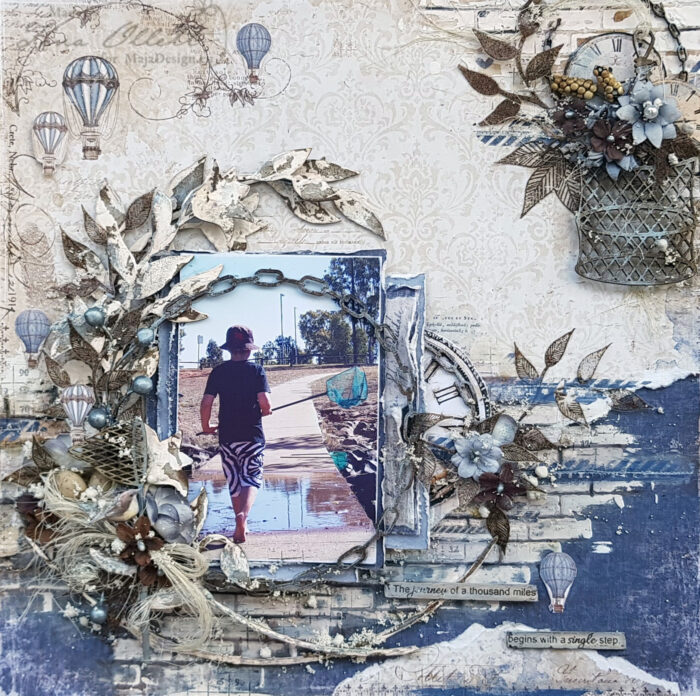
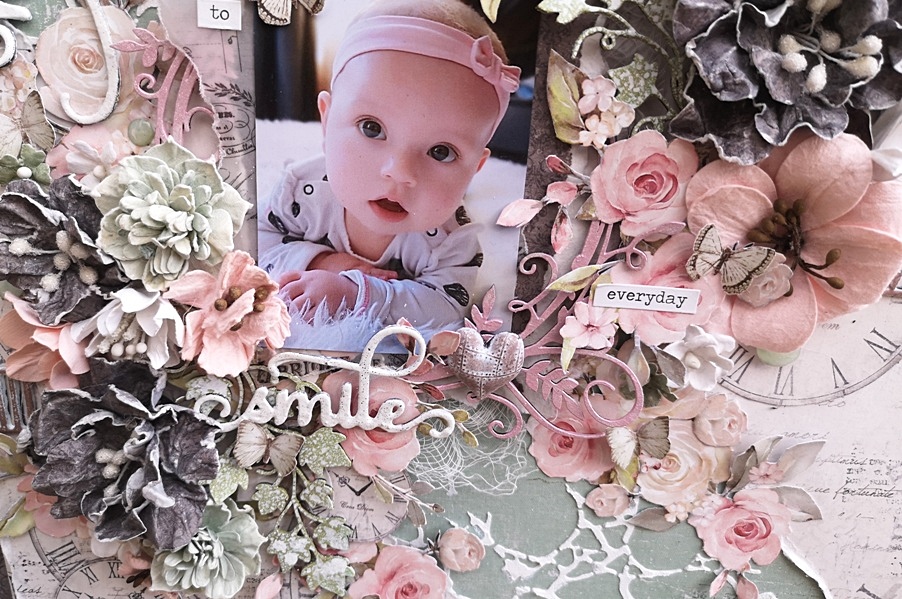
This is the front of the bag loaded with fun things.

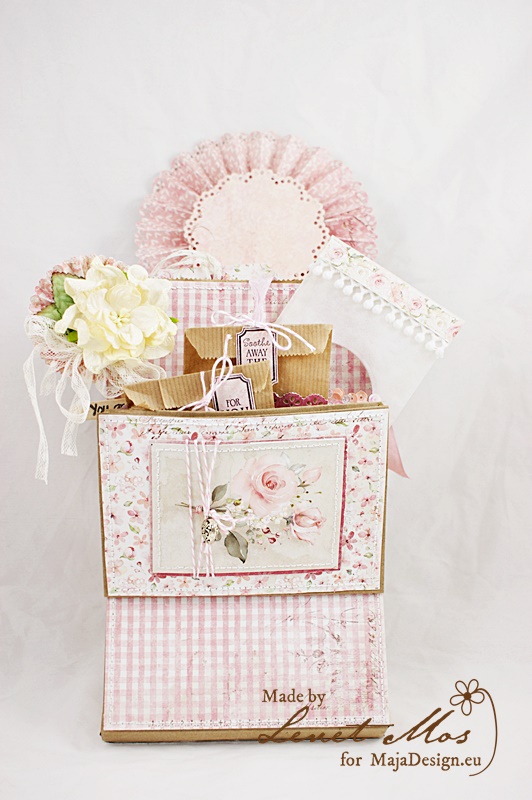
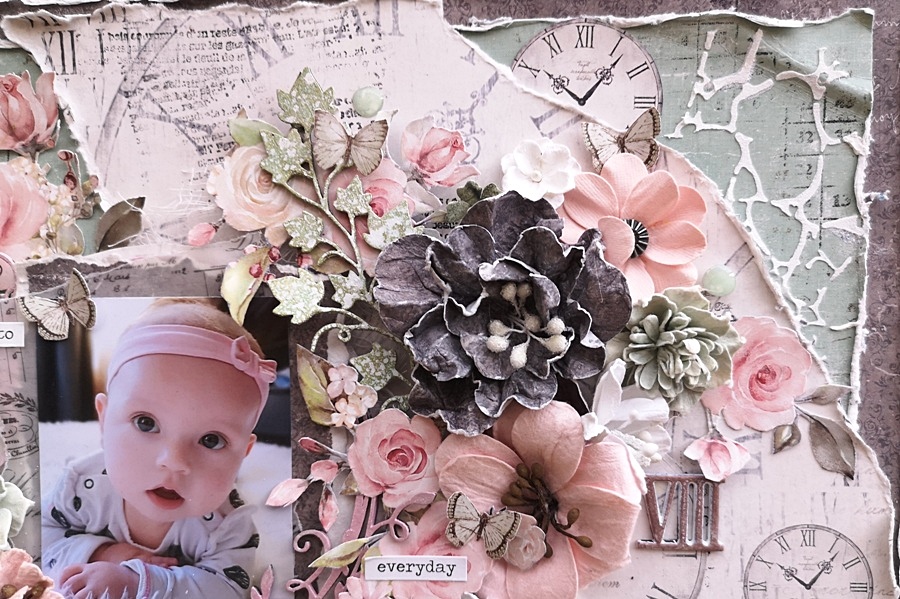
and this is the back.

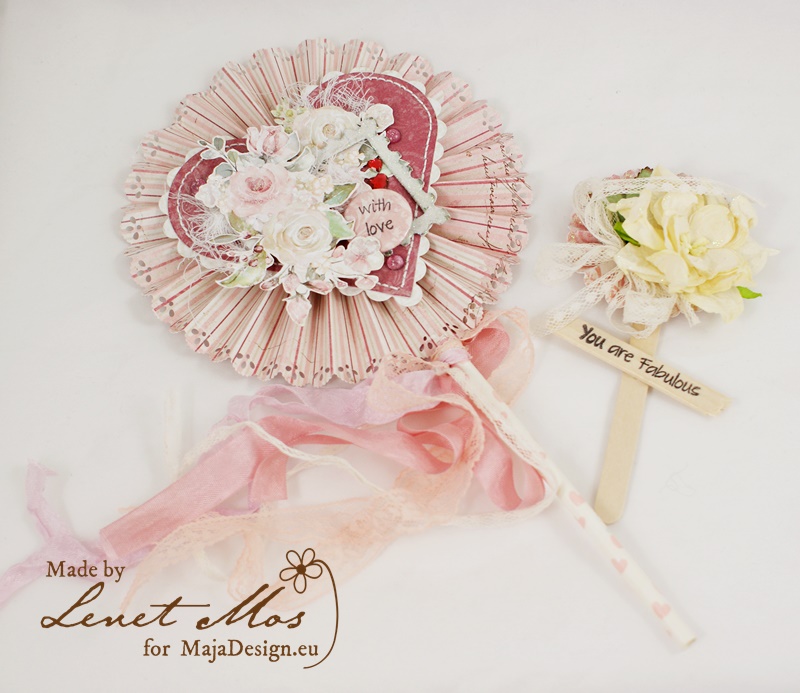
In it two decorative items just for fun:  a lollyop made with a big rosette and a altered popsicle stick .

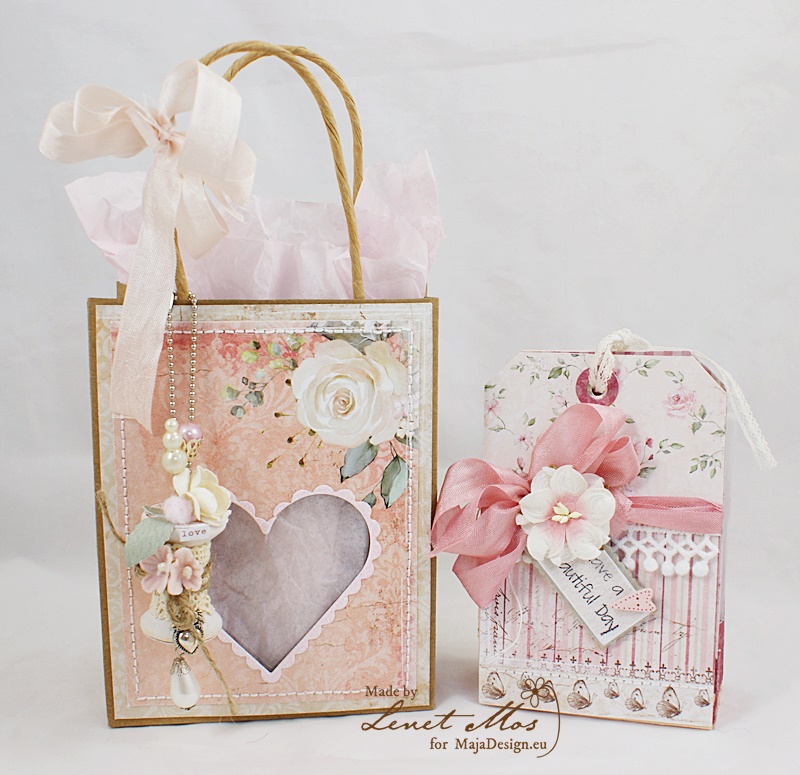
A decorated giftbag with alteredspool and a little bagholder made from two  manilla labels.

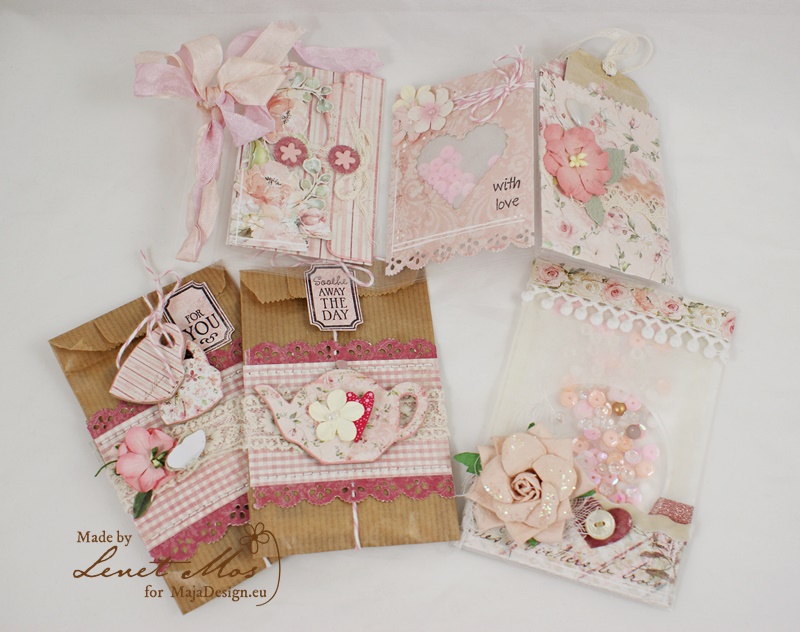
A little pocketletter containing a small envelope for maybe a message or giftcard, shakerpocket and pocket with label.

two little brown bags with thea and powder choclate milk, and a bigger shakerpocket made of a glassline bag because shakers are fun.

The stamps I used are from Waltzing Mouse.


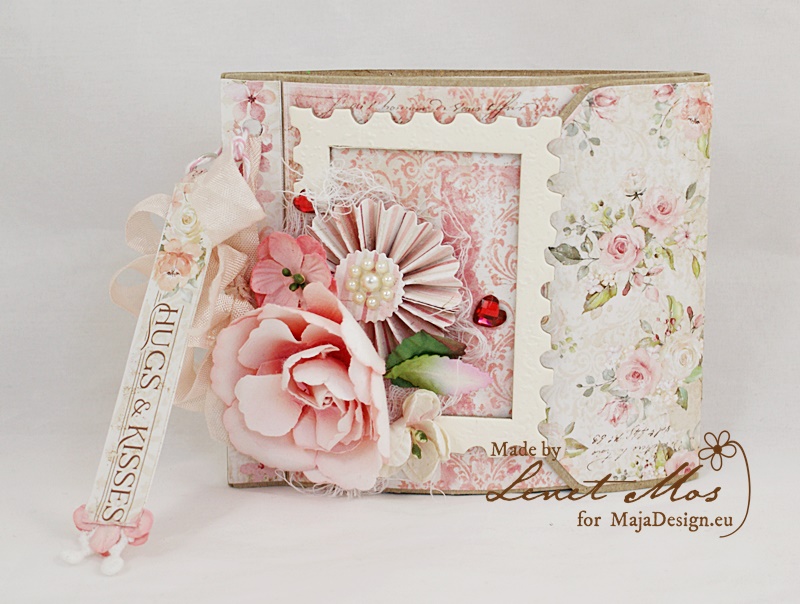
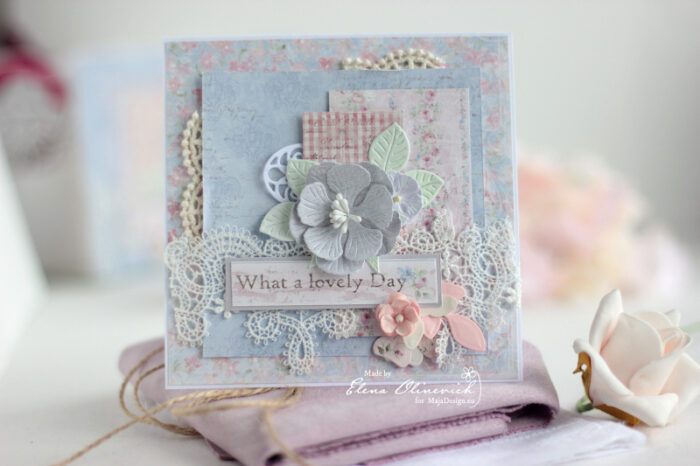
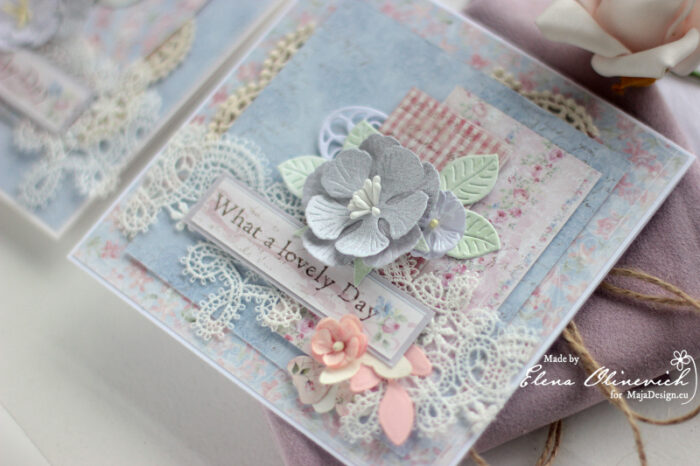
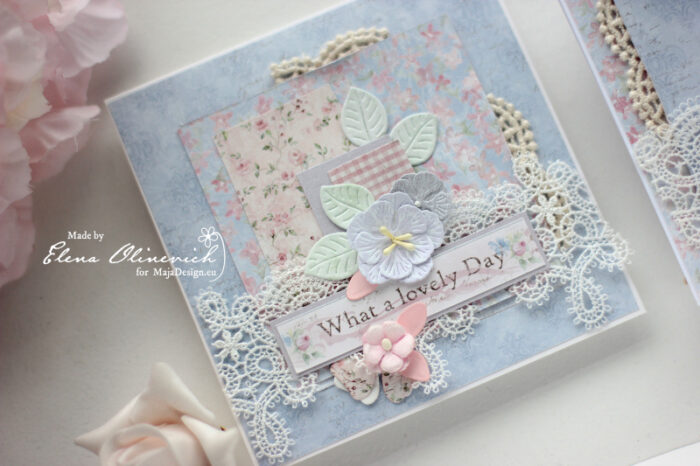
And a minialbum made with 3 little craft envelopes.

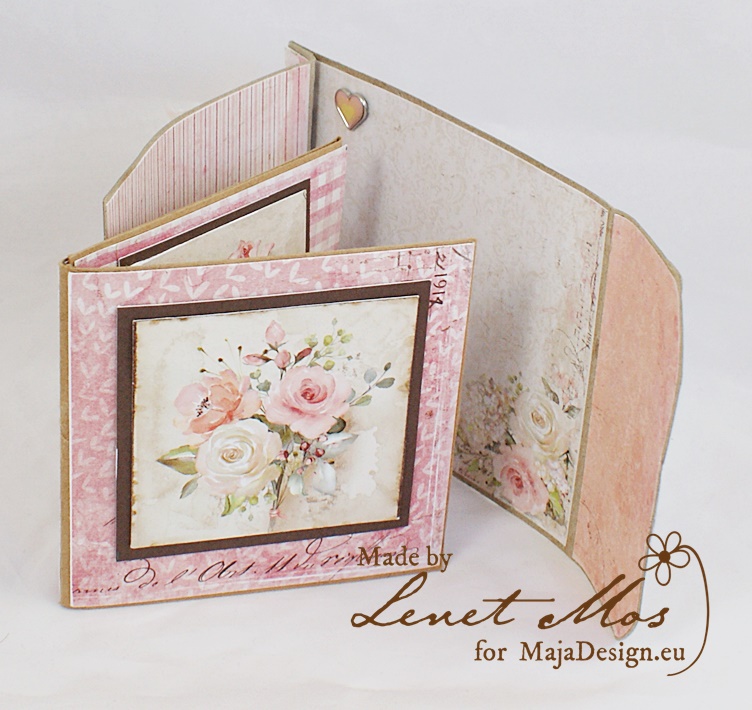
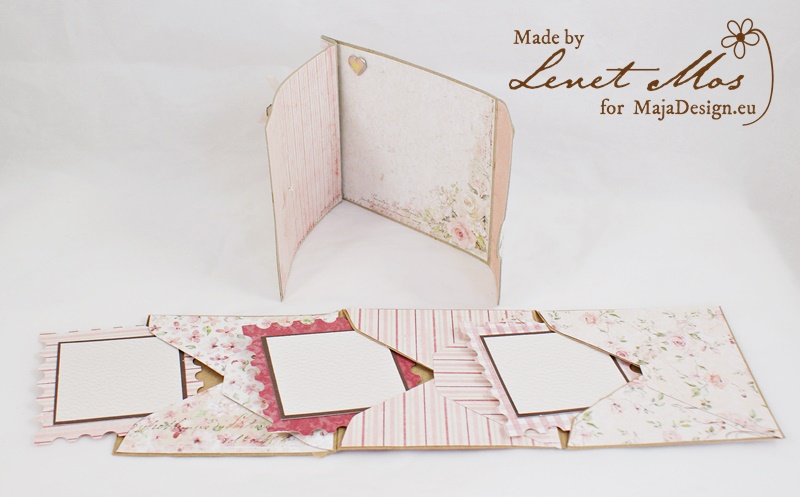
Each envelope contains a little card with photomat on the back and front.

I hope you like this project just as much as I do. It was so much fun to make. I know I will make  some more it’s just a perfect gift to give for some one who already has everything.

Thank you very much  for visiting, hope to see you back next time.

Thank you,  and stay safe.