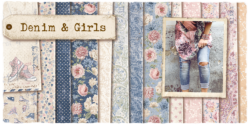
Welcome Maja friends. I hope this post has found you happy and well. Tina with you today to share a layout project created using a mix of papers from differing Maja Design collections.
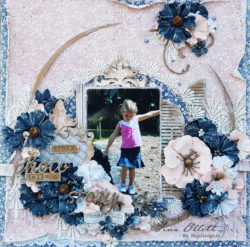
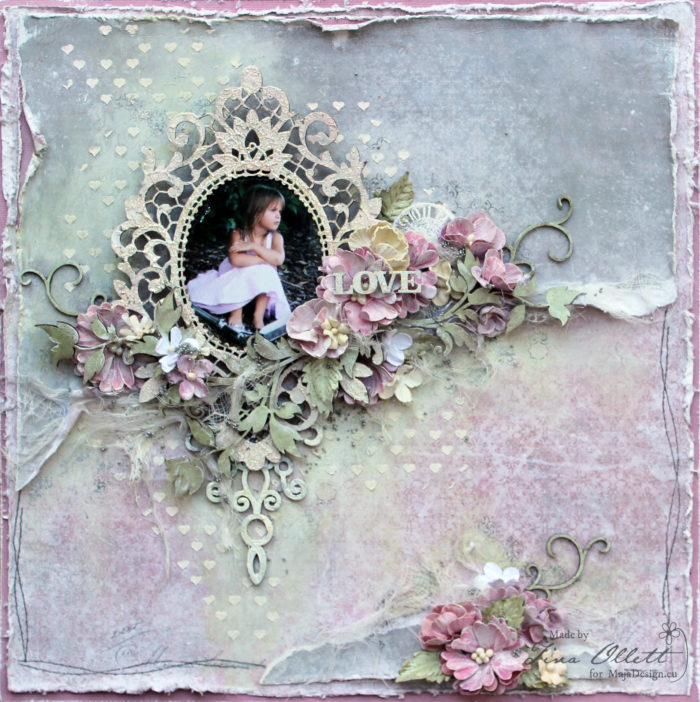
I have called this “My Sunshine”.
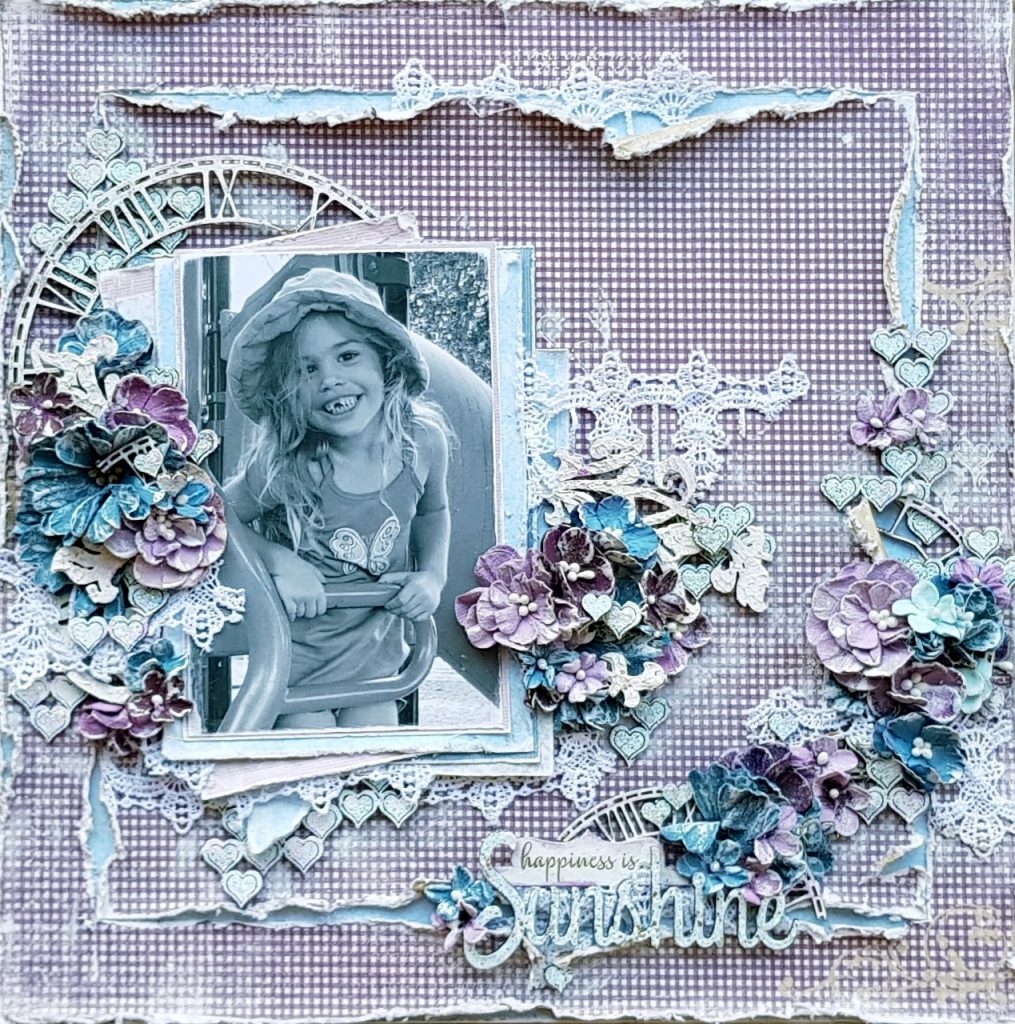
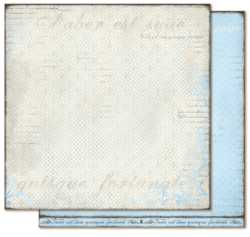
My background page was made using the Fika’s Sockerkaka and Crea Diems Sin lyckas smed. I created a framework 2.5 cm around the Sockerkaka paper and distressed it heavily. I then added Crea Diems Sin lyckas smed behind Sockerkakato allow the blue to shine through.
-
-
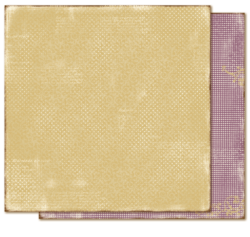
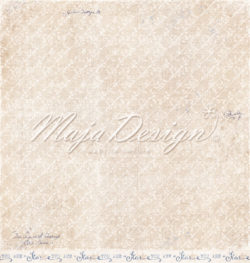
Sockerkaka
-
-
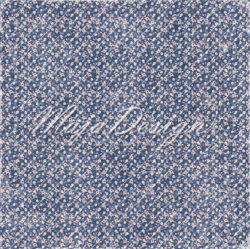
Sin lyckas smed
-
-
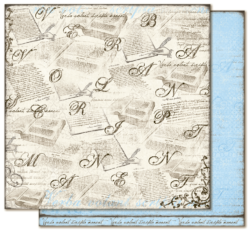
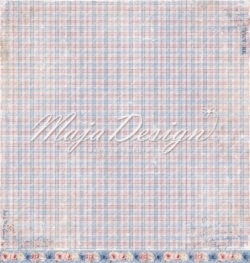
Det skrivna består
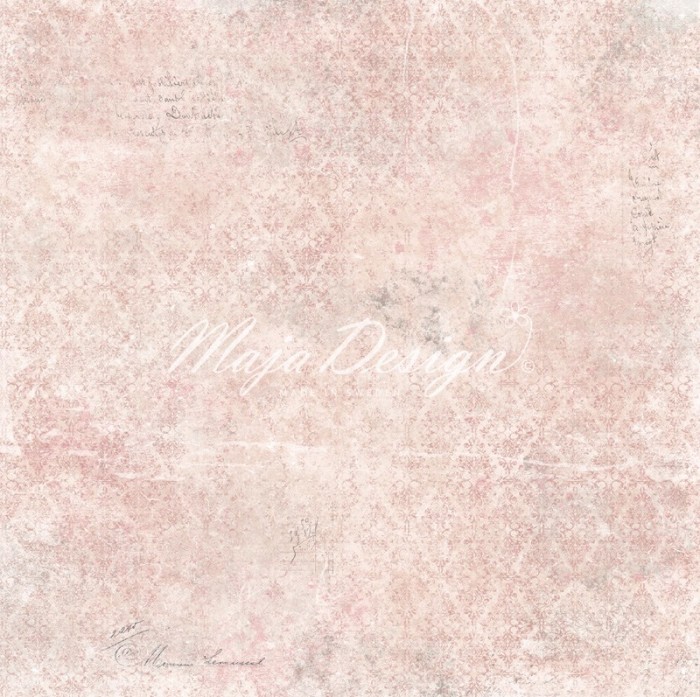
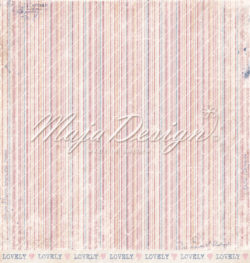
Vintage Pink
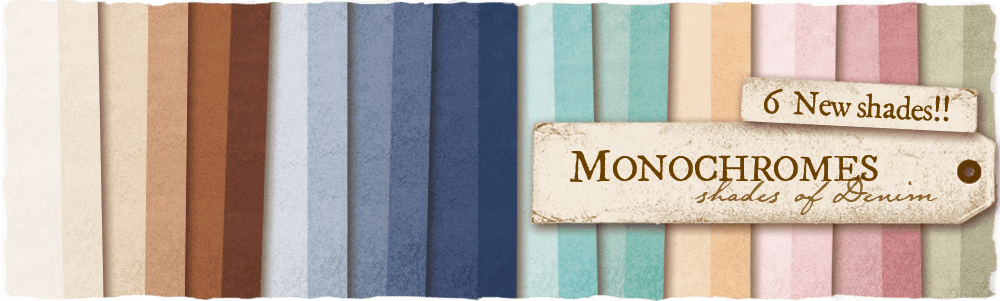
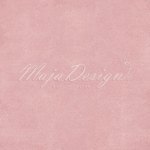
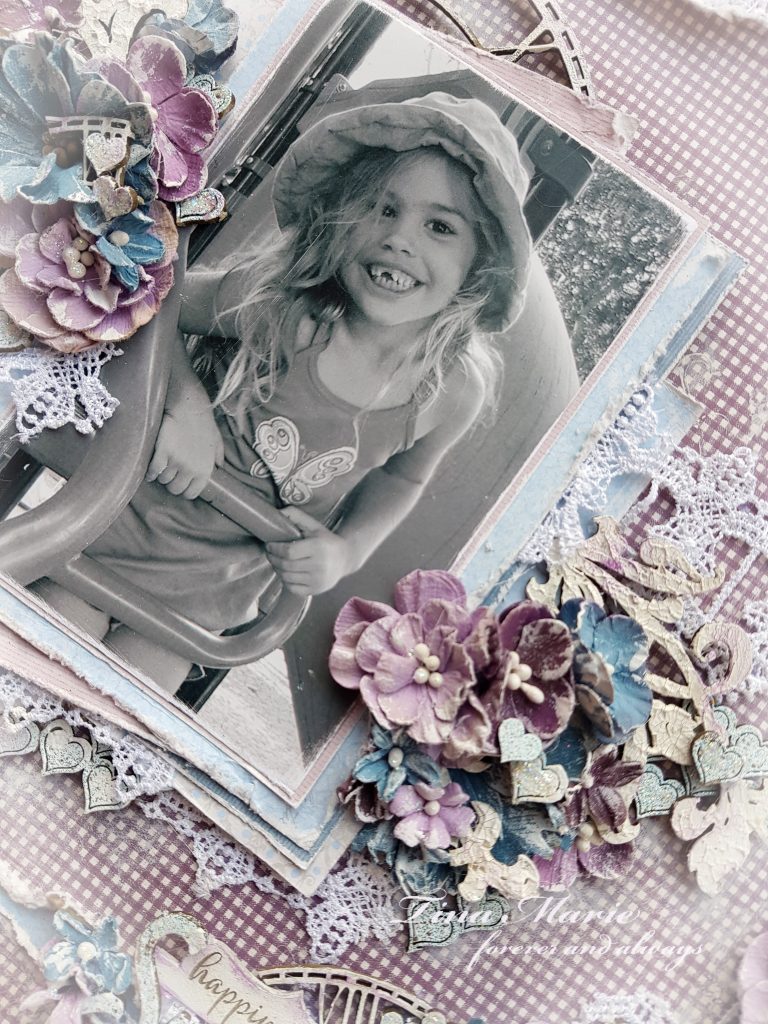
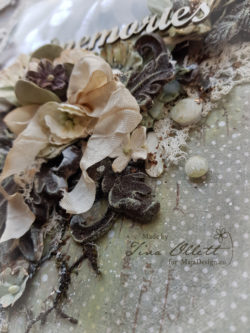
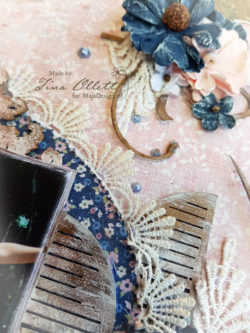
The sheet of Det skrivna består was cut into rectangular mats in differing sizes. I also added some rectangular mattings in differing sizes using Monochromes shades of Denim in Vintage Pink. These were all distressed heavily and randomly adhered together. I mounted the whole piece including the photo upon some 3D mounting tape and adhered it to the left of the layout.
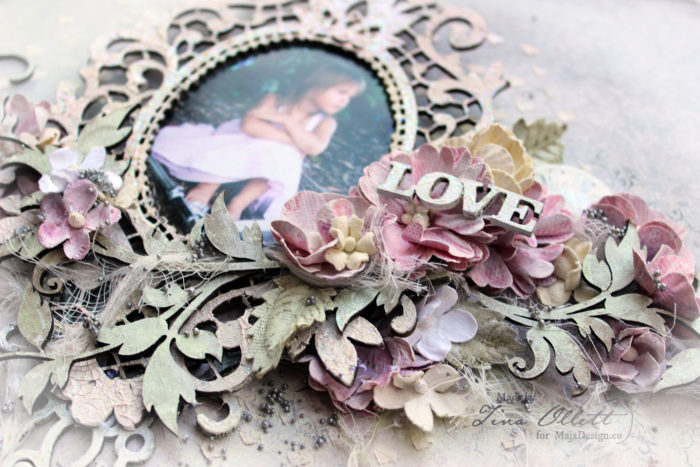
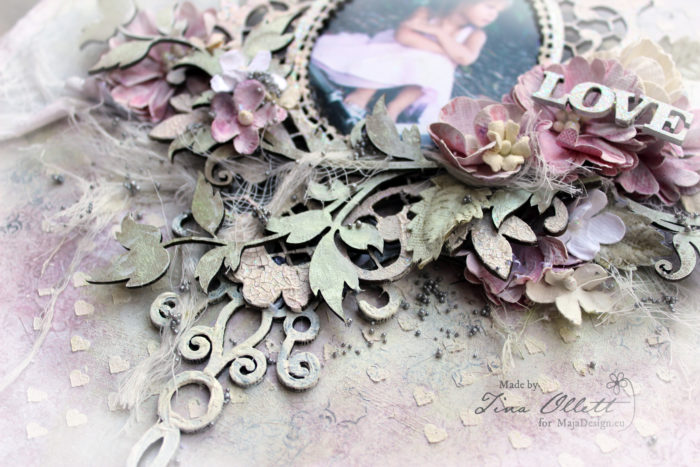
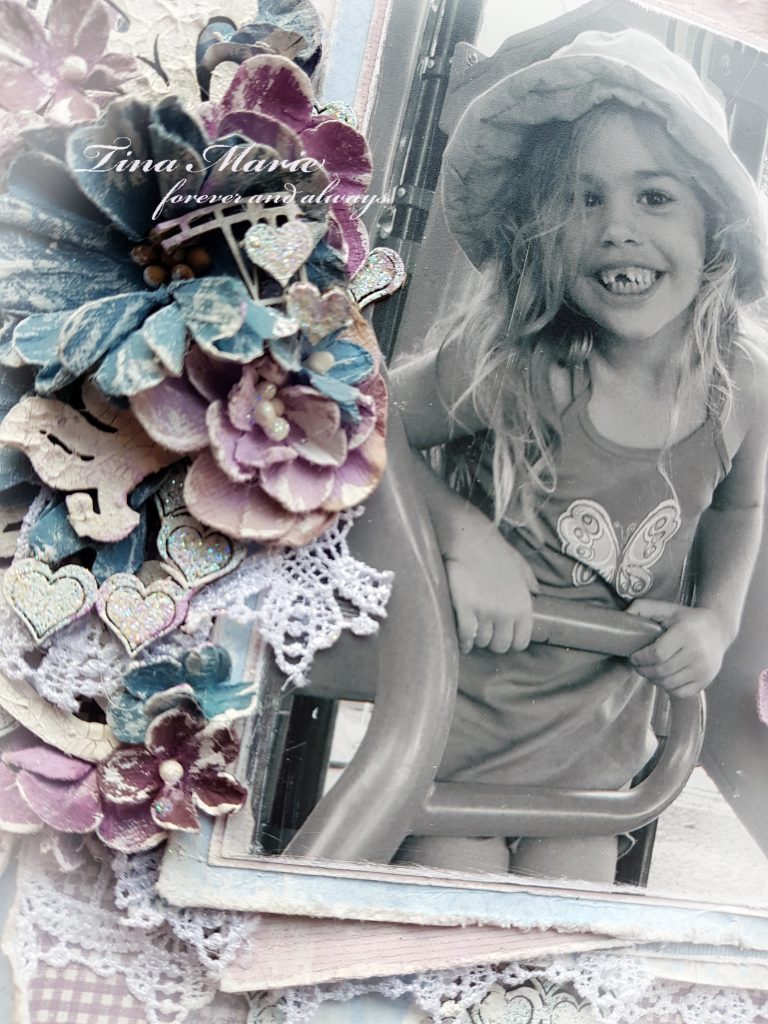
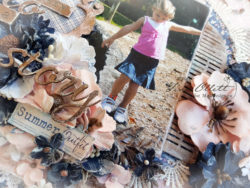
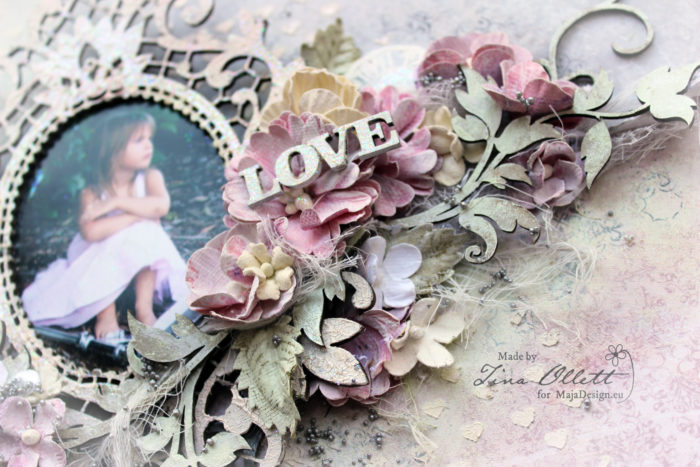
I have used this adorable photo of my eldest daughter who just turned 18 this month. And because she has just turned that fabulous number I have used the Skeleton clockfaces to represent time gone past. I used two clocks from the collection and cut the smaller one in half to sit at the right of my layout.
The clockfaces were primed with white gesso and then coloured with Inka Golds in Hydrangea.
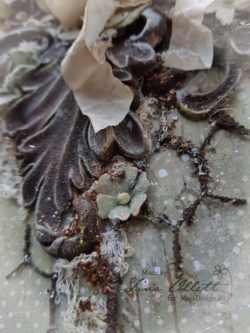
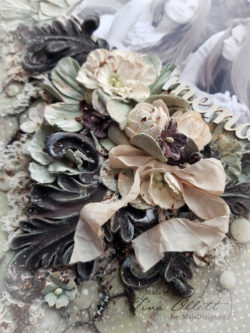
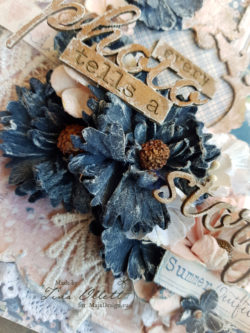
I have also used a panel of the Heart Attack Small. For this project I decided to simply emboss the full panel with Shabby Blue Embossing Enamel from Stampendous. I cut the panel into quite a few pieces and layered them around and in between layers of the Maja Design papers and lace and of course the other chipboards and flowers. Some of the itty bitty hearts I took out of the panel and scattered them around and through the clusters. You can see below the hearts taken out separately.
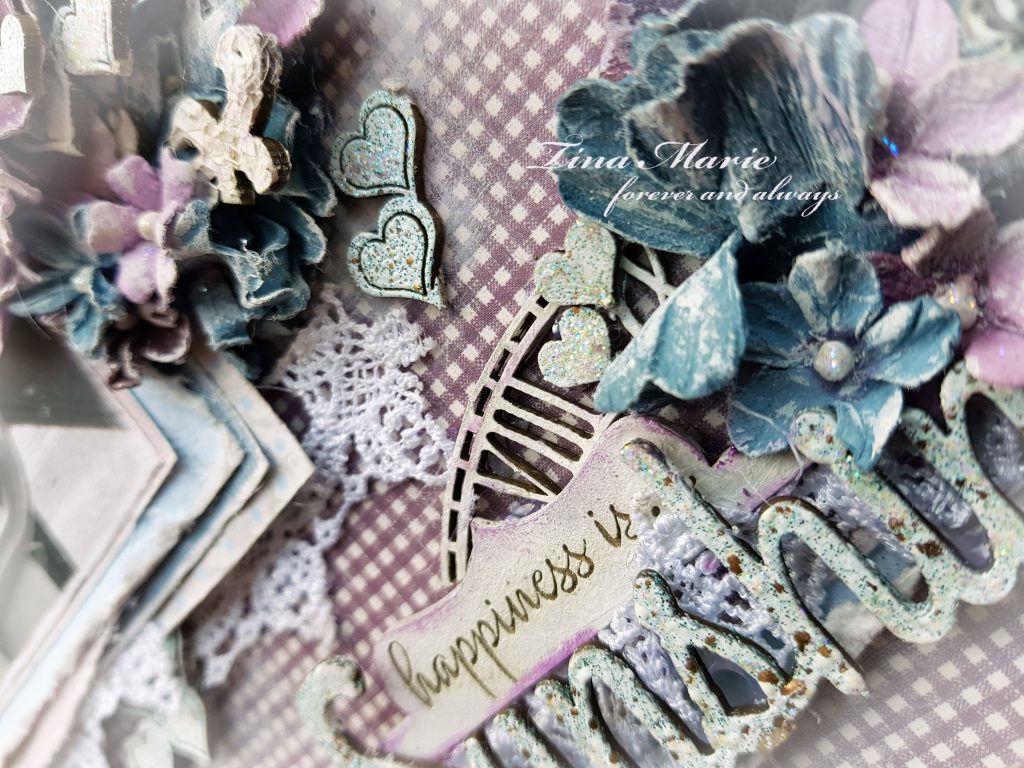
The Dusty title Sunshine was also dressed in the shabby blue enamel. You can see it above. The tiny weeny specs of gold that shine through are just so cute.
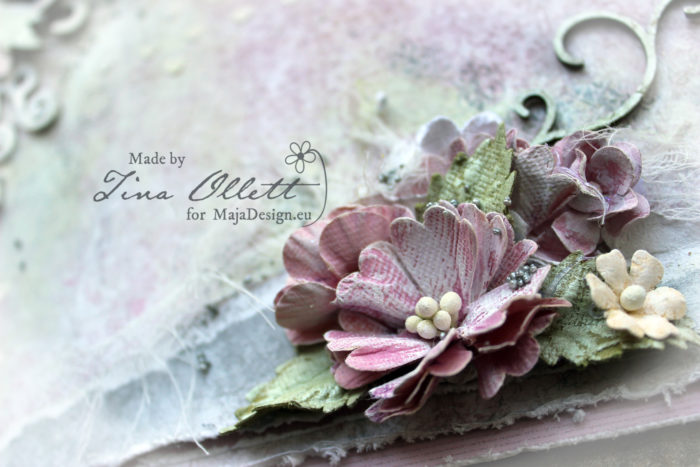
I have used lots of distressing to highlight the layers of papers also. Some sanding of my papers was also done to create the shabby style look. You can see this above.
I have also used one half of the pack of Ornate Scrolls another one of my favourite pieces. this was cut into two and divided behind the photo. I dressed this piece in Crackle Texture Paste and coloured it a little with the Hydrangea Inka Gold and some Ranger Star Dust Stickles to make it shine.
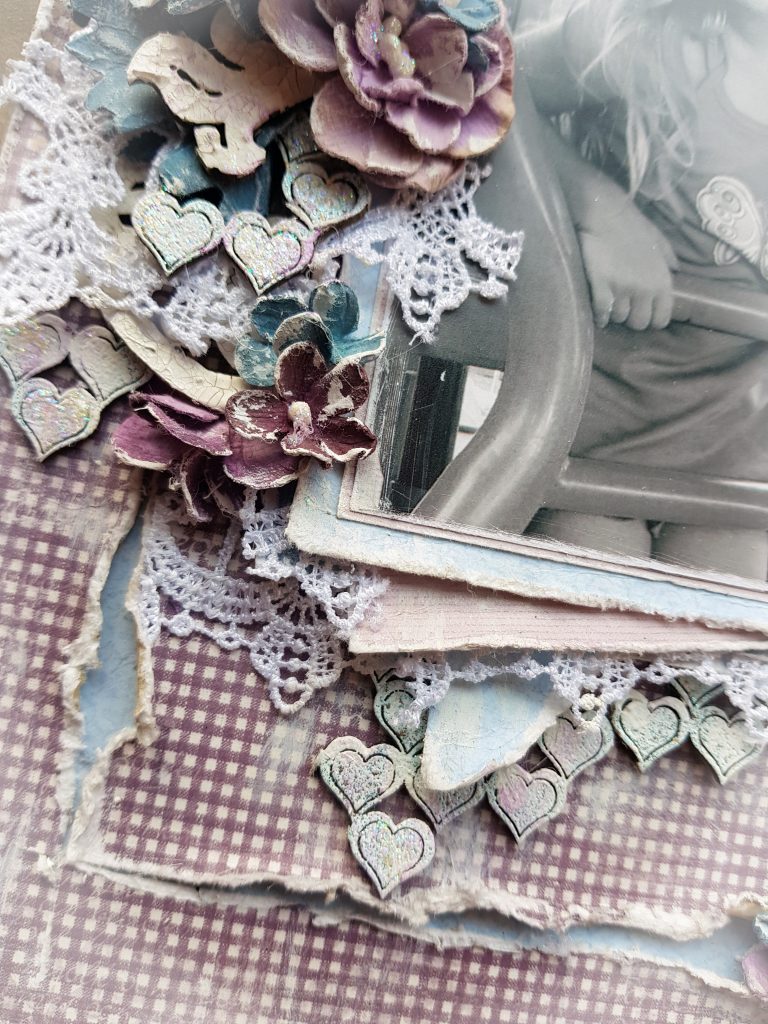
I have also used some gorgeous Birch lace cut into segments.
And that is all from me today. Until next time take care and happy creating.


 Eating Out