My beautiful girl

3

Posted by Amy Voorthuis

2 July, 2020 - , , ,

Write a comment

A very good morning to you all,

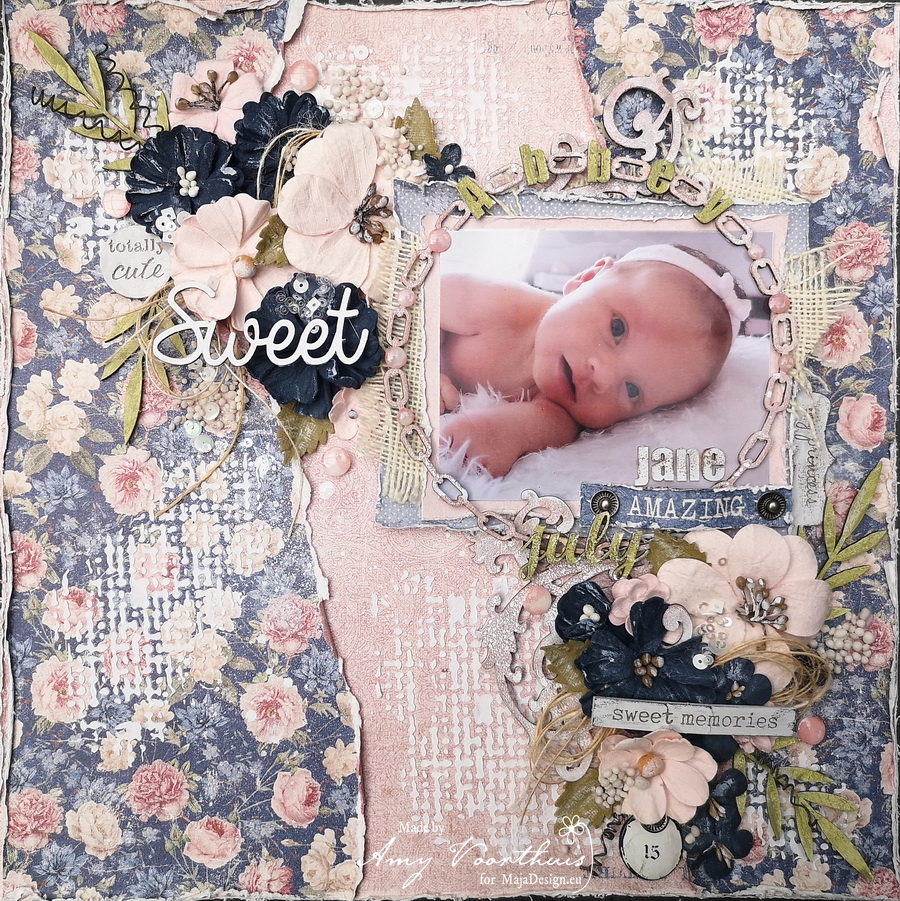
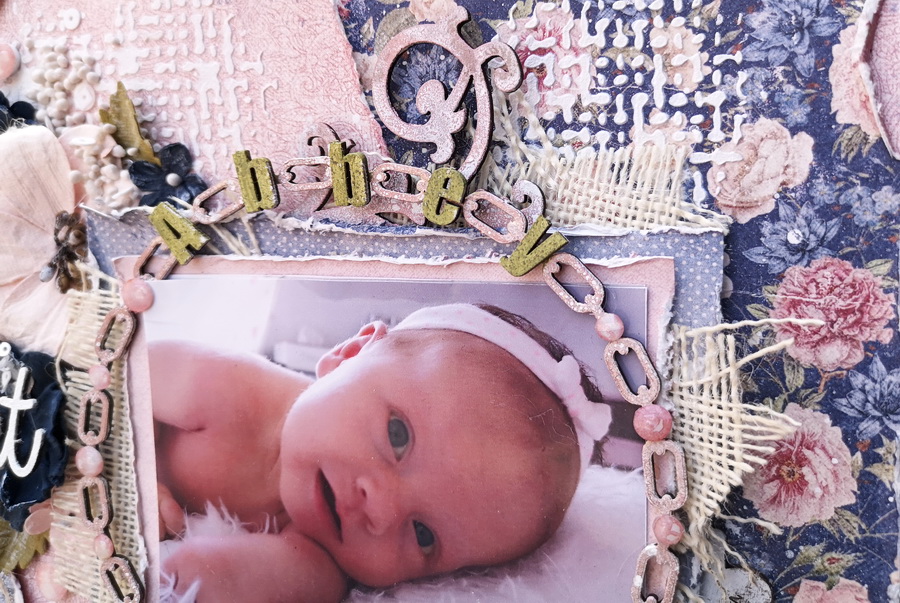
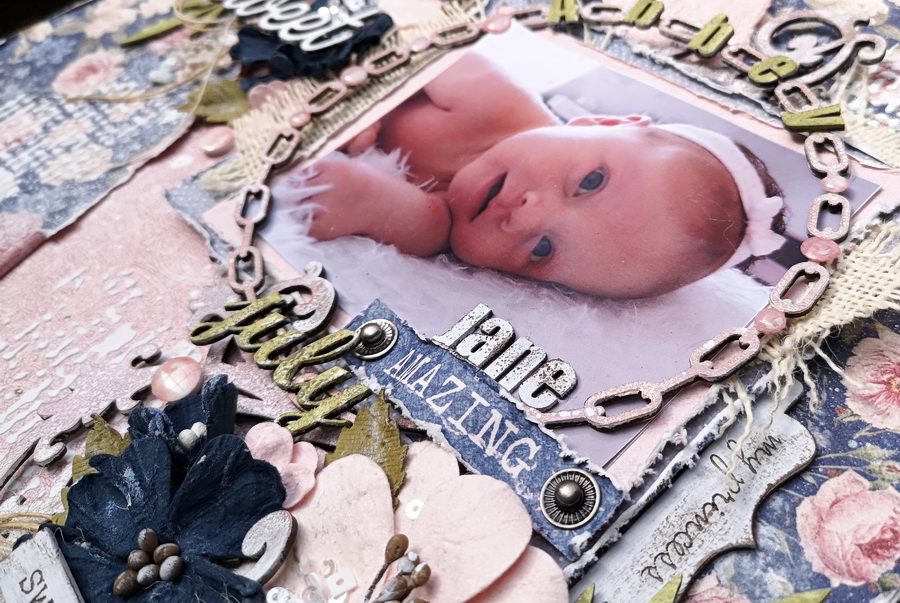
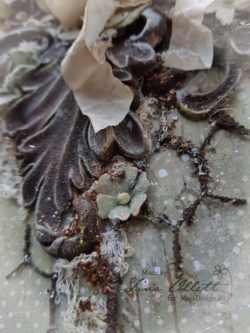
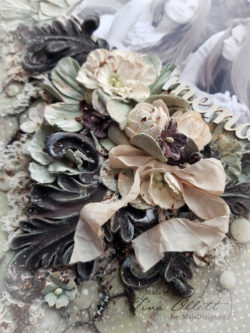
Today I present you my second layout I made since my creative juices are flowing again….the colors {blue & green} I used are totally into my comfort zone so this layout was created very quickly. And look at that picture I am so totally in love with our daughter it’s nuts. I really like to use the opposite parts of my chipboard pieces that you normally throw away that is what I used here to. Alle the chipboard pieces I used here are treated with gesso and some them later on with Finnabair wax.

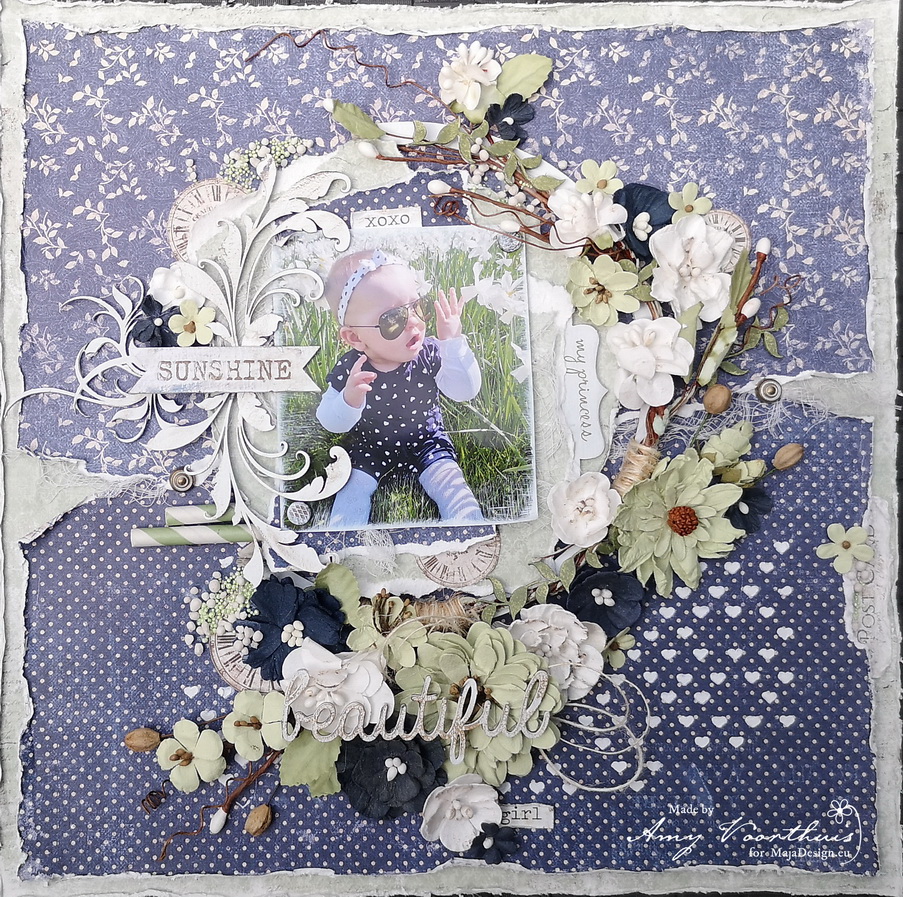
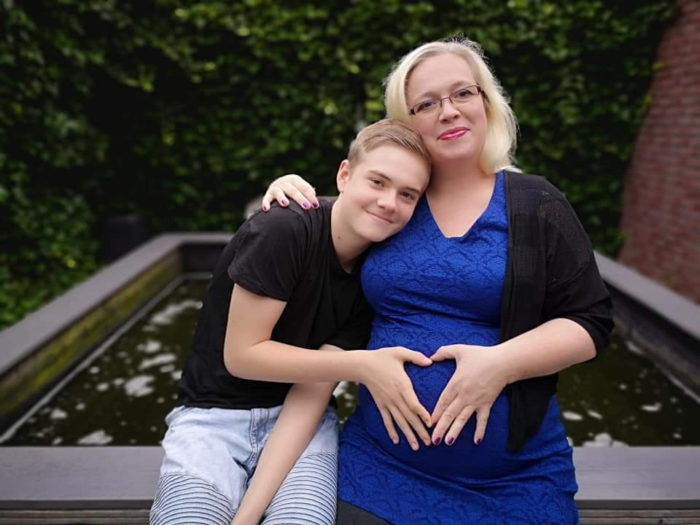
The picture in this layout was a lucky shot too….that little girl brings so much joy to our life’s I can’t imagine not to have her. Being pregnant with her was amazing so much better then with our now 15 year old son who also adores his little sister. Here a picture when I was pregnant:

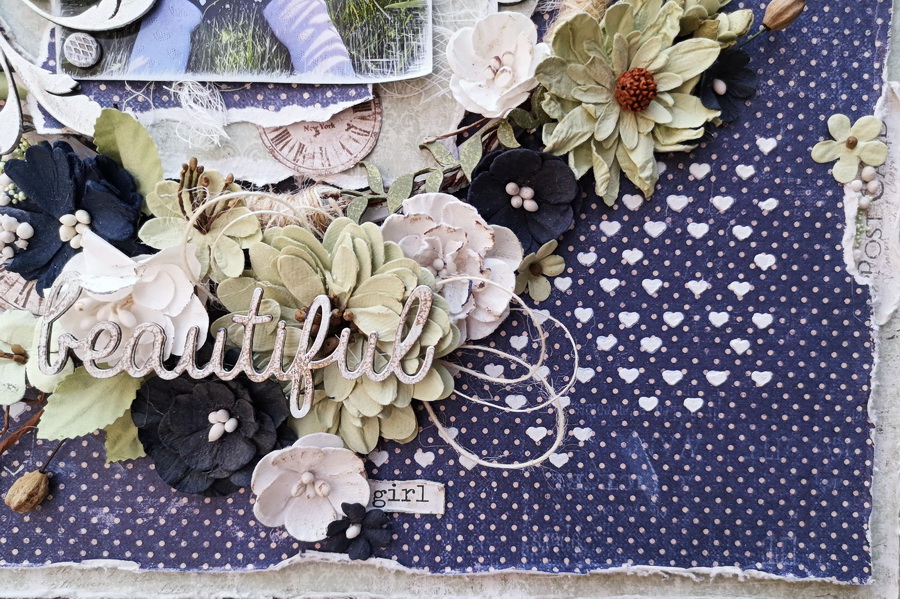
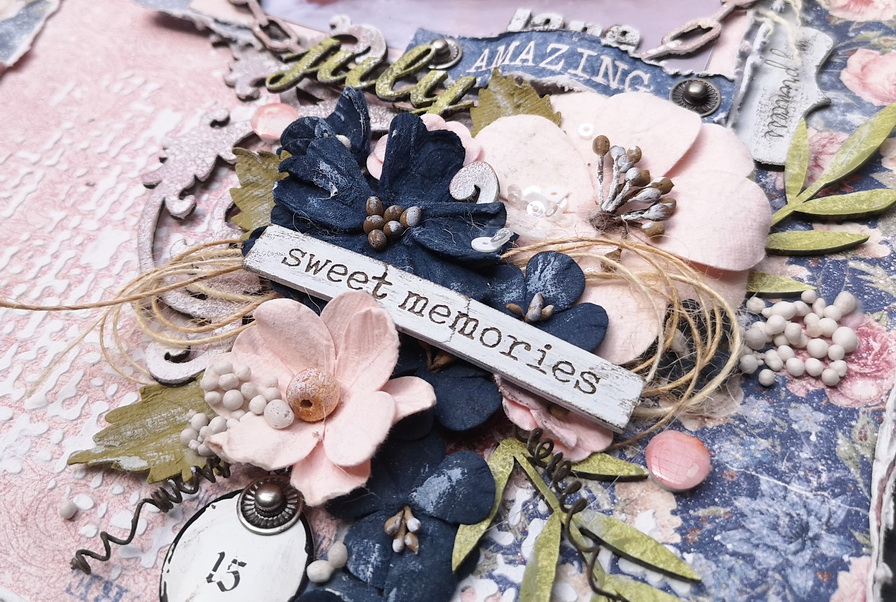
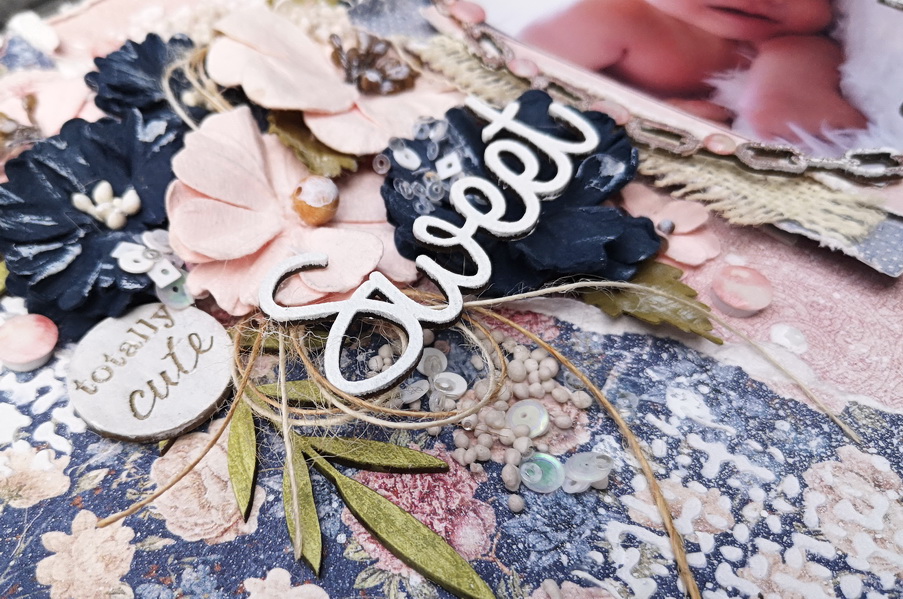
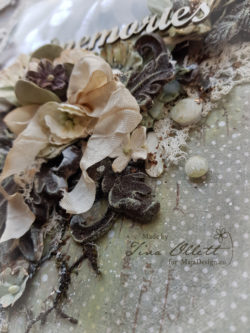
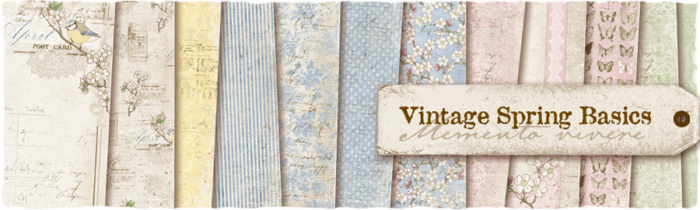
I like to add little details on my work like sequins, art stones, prills and those amazing clocks from a sheet from the “Vintage Autumn Basics”collection. I cut apart I think three of those sheets and keep them in a envelop to use whenever I like to it’s just a little addition on your page. I am a hugh sucker for flowers and especially the ones by 49 and Market because they fit so amazingly well with all the Maja Design papers.

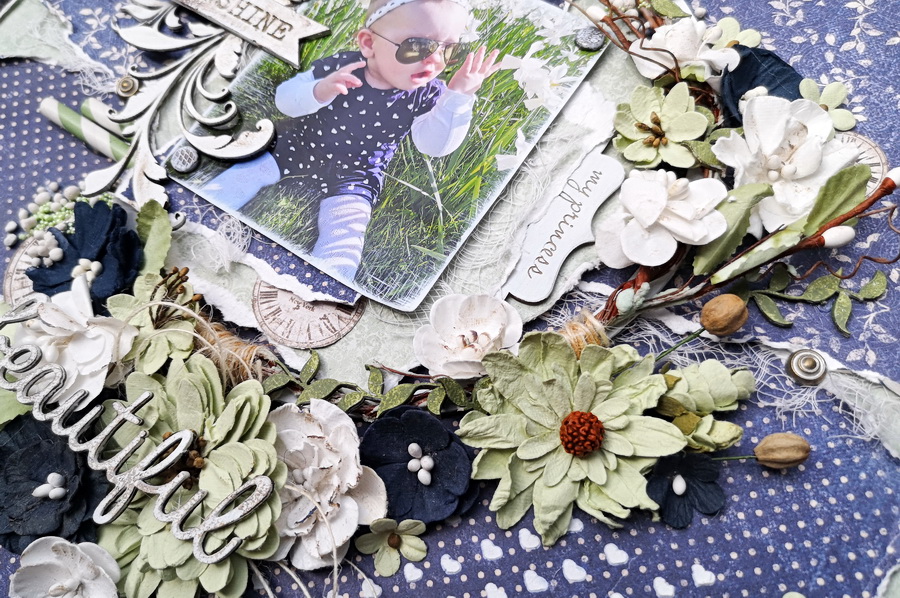
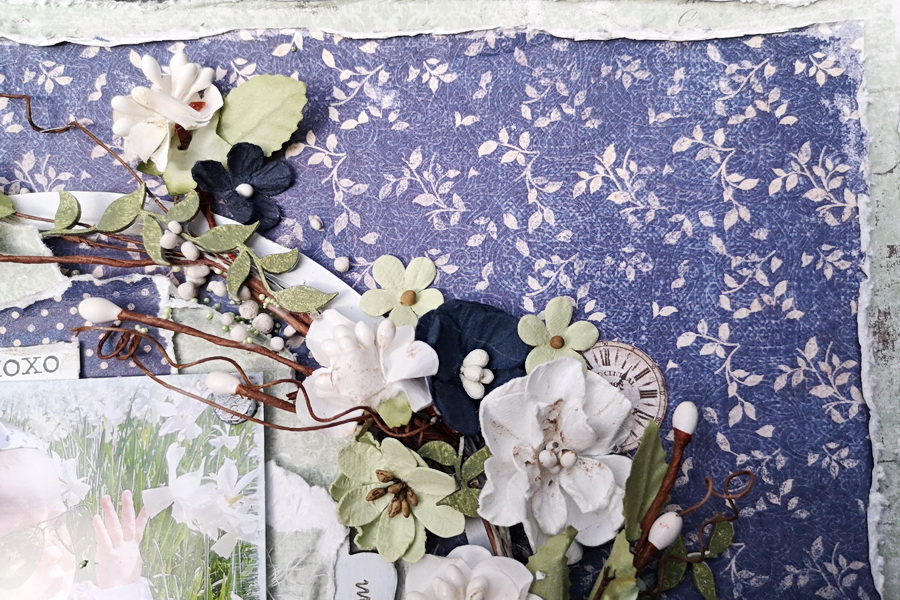
As a finishing touch I added some wax on my white flowers so they blend in a little more. Thank you so much for visiting the blog today. And I will be back posting in two weeks on my normal post day the previous post was Lenet her day that I used because I could not wait anymore to post lol…

Love

‘Abbey Jane’ our little present

4

Posted by Amy Voorthuis

25 June, 2020 - , ,

Write a comment

Goodmorning sweet Maja Design followers,

It’s been ages since my last post and since I have been creative. I have to tell you it feels so good 😉 to create again, I have a lot of inspiration luckily! So hopefully you will like my work the next view posts. This is my first layout I made with our precious little girl in the spotlights ‘Abbey Jane’ is her name and she was born on the 15th of July last year, so she is almost turning one. It’s sad that due to the corona virus we have to keep it small but hey she will not remember it anyways lol ….

We feel very blessed that we have such a healthy little girl and she is a very happy baby, we could not have wished for more {our little present} For me this layout is kind of messy but it’s my first one since a long time so I don’t mind that it is. For this layout I used the beautiful “Denim and Girls” collection which I totally adore so more to come for sure. The chipboards I painted and sprayed with different mediums. The background is purely made by using a stencil and some crackle paste.

I am still figuring out how to make the best pictures with my phone still not getting it the way I want to, I think it’s time for me to read the manual for once lol….. but where do I have the time oh oh….because when I do have time I want to scrap. for this layout I used two of my favorite sheets, Ripped Jeans bs and Romantic Blouse:


Hopefully you all liked my first post glad to be back again…..love to see you soon! And I wish you a wonderful day and weekend. Be creative and happy thank you for visiting the blog today 😉

Love

A day to celebrate

1

Posted by Lenet Mos

12 March, 2020 - , ,

Write a comment

Hello Sweet Maja Fans.

Lenet here and today I made you this celebration card.

It’s one that can be used for many occasions , always handy to have some of these in stock.

I made this one using the  6″x 6″ paperpack of Denim and girls.

Here I have a close up  from the centerpiece for you.

The flowers all come from my own stock .

The ticket stamp is an old one , I believe from Autumn Leaves.

I hope you all like my card, don’t forget to come back for more inspiration by the other Maja Girls.

And for now stay safe.


Welcome Baby Shaker Card

3

Posted by Maja Nowak

10 October, 2019 - , , ,

Write a comment

Good morning, dear Maja Fans, welcome to the blog today 🙂

I really love the look of shaker box projects. They offer some dimension and fun elements and are simply interesting to look (and play!). But I seldom make shaker box cards. And when I decided to make a welcome baby shaker card, I was quickly reminded why.

First of all, it’s easy to make shakers with square or rectangular shapes, but not so easy with other, even as basic as the circle. The capsule must be sealed tight so that the contents of the shaker do not fall out. I made many of shakers using adhesive foam squares, but with round shapes they might still leave tiny gaps, so I decided to die-cut round frames and stack them up to make the shaker box, thinking it would save me some time. Boy, was I wrong! To make a 0,5 cm high frame I had to die cut 8 pieces and then glue them one by one together. By the fourth layer the frame started to get crooked no matter how precise I tried to be! The frame is pretty thin, so that was the problem. But finally I managed to create a more or less even frame.

The next problem appeared with the window. I use thick laminating foil for my shakers and with smaller elements I never had any problems, but with this pretty large window the sequins I put in were jumping out or clinging to the foil due to the static electricity. I used soem anti-static spray to deal with it, some also use anti-static powders or pads that are designed for embossing. Finally I was able to assemble my card 🙂

I kept the design very simple so that the shaker remains the main focus. I only added some more die-cuts and a couple of pom-poms to decorate the frame and added a stamped and embossed sentiment.

The image inside the shaker is coloured with Kuretake Twin markers. I accented the details with glitters to get an ombre effect on the moon:

It wasn’t easy, it wasn’t quick, but I still like the result. Do you? 🙂

The list of supplies:

Maja Design papers:

Other: stamps: Whimsy Stamps, Lemonade; dies: CreaLies, ScrapMan; pom-poms, glitter cardstock: my stash.

Do you make shaker box projects?

That’s all for today, thank you for visiting and drop by tomorrow!

“Memories” by Tina Ollett

5

Posted by Tina Ollett

23 September, 2019 - , ,

Write a comment

Hello and welcome back Maja friends. Today I am here to share my monthly project with Maja Designs papers. And I really couldn’t resist using this months moodboard, as these are my favourite colours! Thank you Marie for the fabulous inspiration.  Have you seen the moodboard yet? Well if not I have added it below for you.

There is still over a week left to enter the challenge if you wish to do so. The monthly winner wins a collection of Maja Designs of their own choice.

And this is my interpretation of the moodboard for September. This is “Memories”.

For my project I have combined two collections to allow for the moodboard. I have used the gorgeous polkadots from Denim and Girls with a sheet of the monochromes in sage and a sheet of 22th of December from the Vintage Frost. All three of these papers were used to create layers in the background of my photo. I love to do this so the interest is bought back to my photo. This photo is from a series of photos that I took a couple of years back. I do love these photos of my girls just caught up in a moment hanging together.

        Easy Going – Denim and Girls

     Monochrome Denim – Light Sage

               22th of December bs

With keeping in line of the colours of the moodboard I have used some handmade moulds and coloured them in a rust and then some acrylic greens to compliment the papers. I have also used some cream flowers from 49andMarket to bring out the polkadots in the background. I added in a distressed doily and also some hand dyed ribbons to compliment the page.

Above you can see the addition of chicken wire. And no this is real. I was lucky enough to come across some miniature chicken wire. I have rusted these pieces which really brings up the added textures in the wires. I have also added in some highlights of bisque to add some of the orange shades from the moodboard. These are only very light but I feel made all the difference to the colours.

And from another angle you can see all the additional flowers in their layers added to the moulds.

Well I hope you have enjoyed my moodboard inspiration today. Please stay tuned for more gorgeous work from our Design Team.