Good morning, dear Maja Fans, welcome to the blog today 🙂
I’m sorry to dissapoint you if you expected some good ol’ rock now – even though I love that Guns’n’Roses’ classic, this post is going to be about a true sweet child of mine 😉
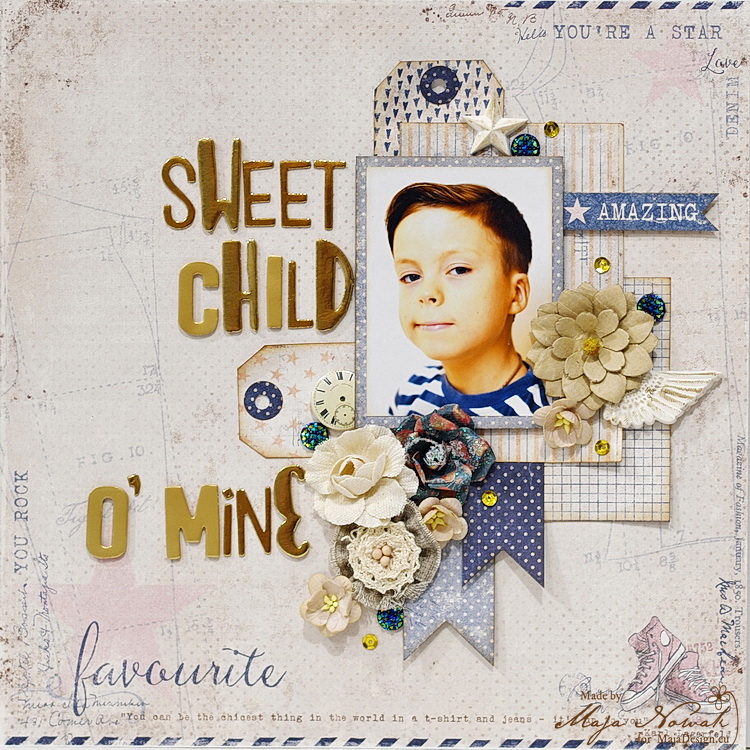
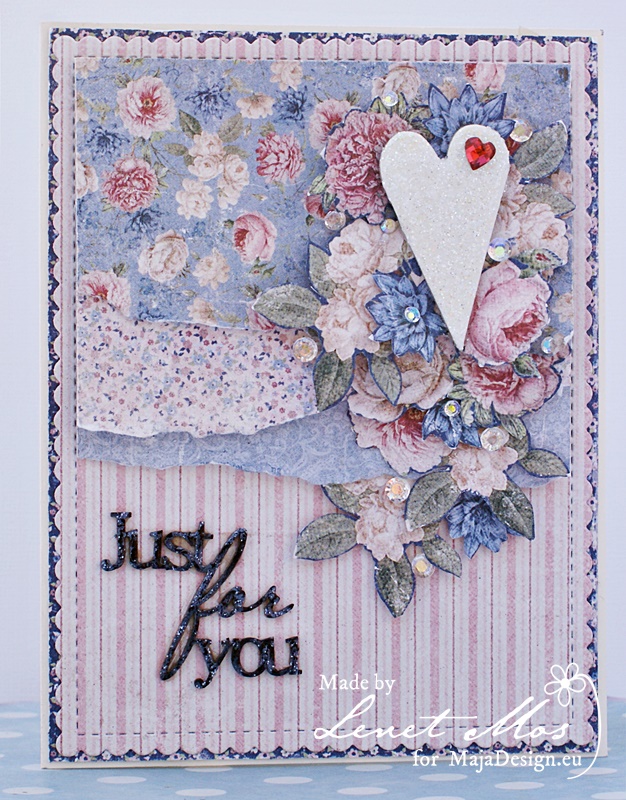
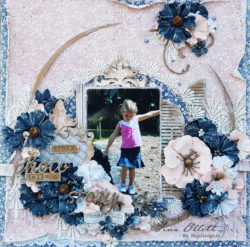
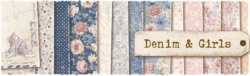
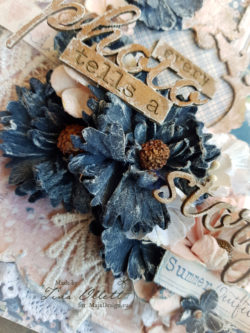
Going through some photos I took just two years ago I’ve been shocked to see how my eldest boy has changed! He’s no longer a sweet kiddo, and although he’s a sweet young man now I still miss that little boy of whom I thought “He’s so big now” while taking that photo… And to embrace the sweetness theme of the layout, I used the Denim&Girls collection to make this layout 🙂
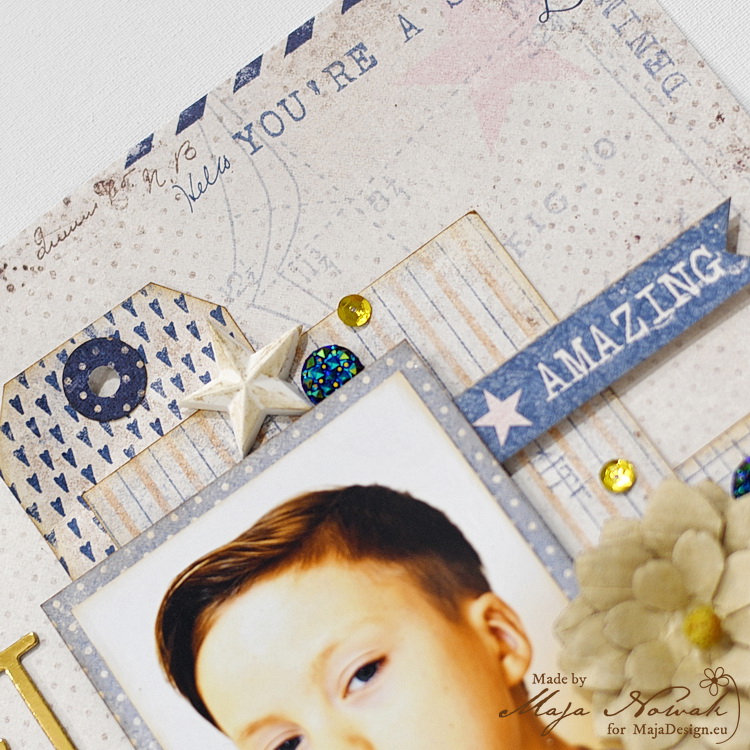
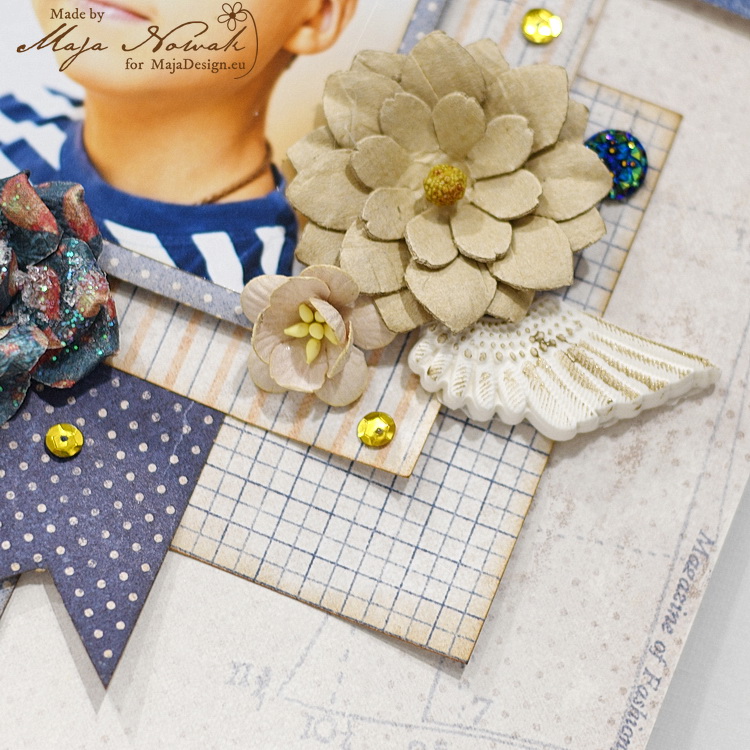
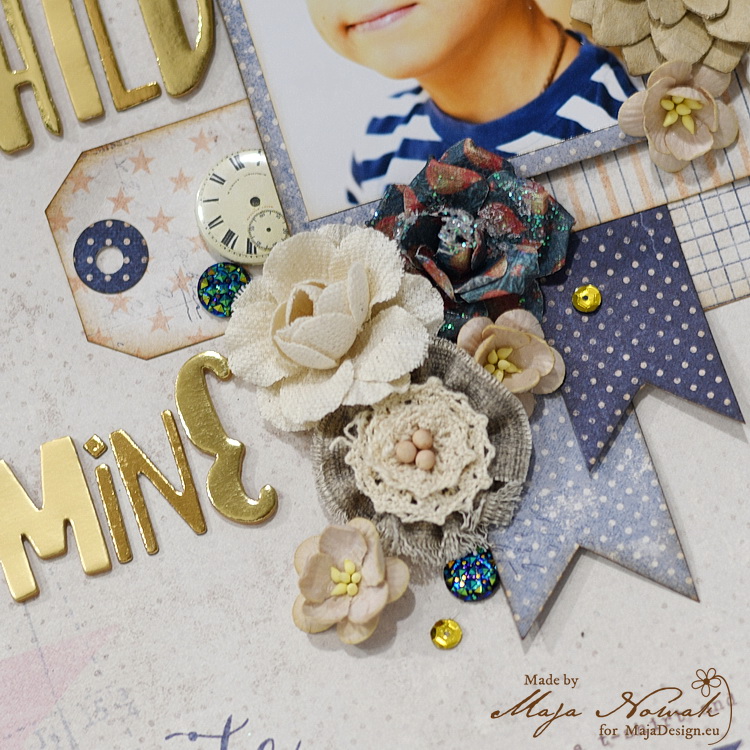
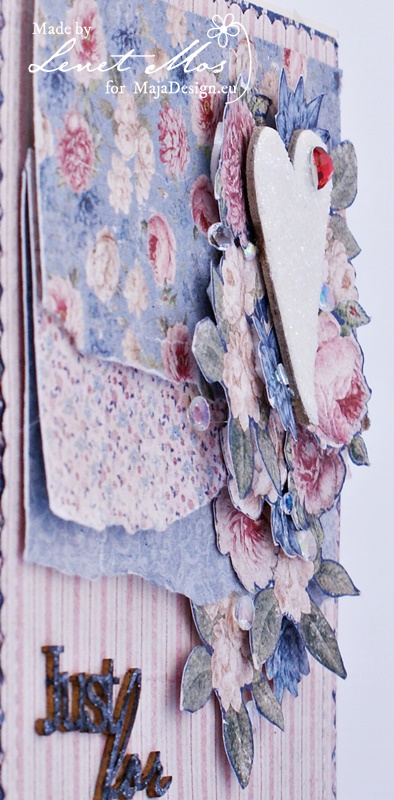
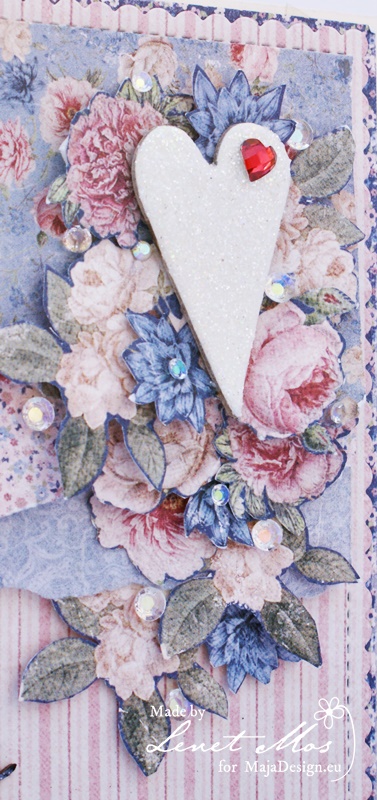
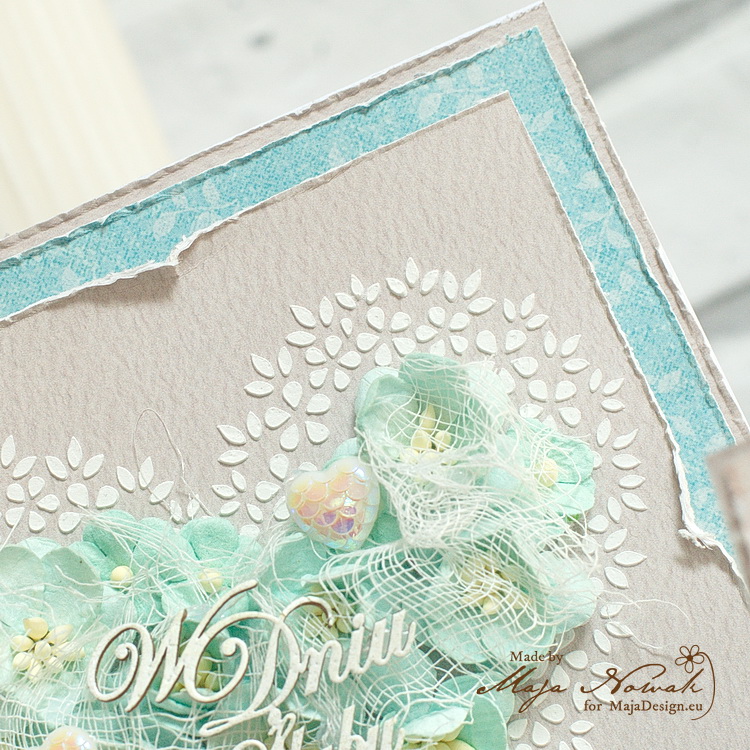
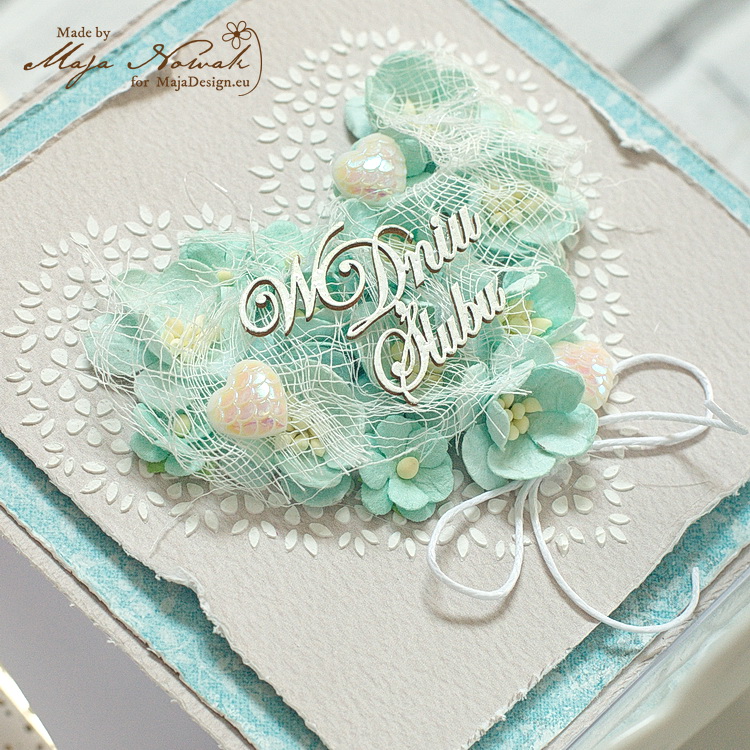
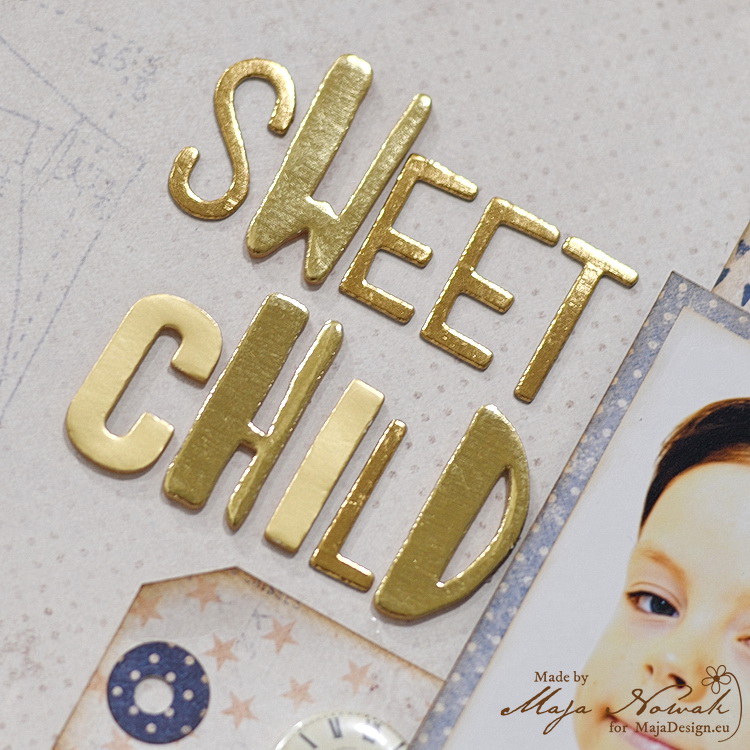
I used scraps of various papers to mat the photo and to hand-cut some tags and banners to decorate it. I added flowers, acrylic gems, sequins and clay embellishments to complete my design. The title is composed of various golden foam letters – I used up some leftovers and added visual interest to the words as well 🙂
As you can see, you can make a boy page using pink papers of a girly collection too 😉 What do you think?
Here are my supplies:
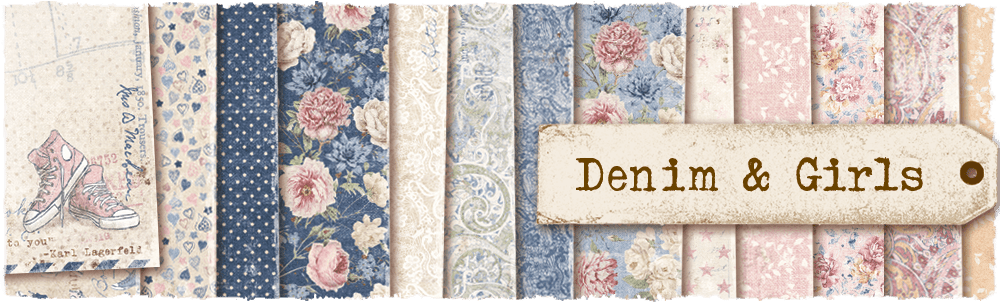
Maja Design papers:
-
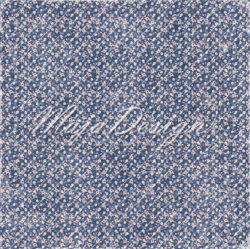
- My favourite Jeans
-
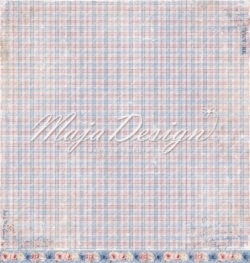
- Loose fit-bs
-
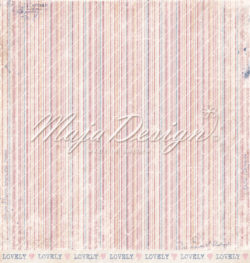
- No doubt
-
- No doubt-bs
-
- Floral top-bs
-
- Tight fit
-
- Love my Jeans
Other: letters: American Crafts; flowers: Prima, Wild Orchid Crafts; button: Lemoncraft; sequins, gems, clay elements: my stash.
Thank you for visiting our blog today, make sure to come back for some more inspiration every day 🙂