Good morning, dear Visitors to the Maja Design blog 🙂
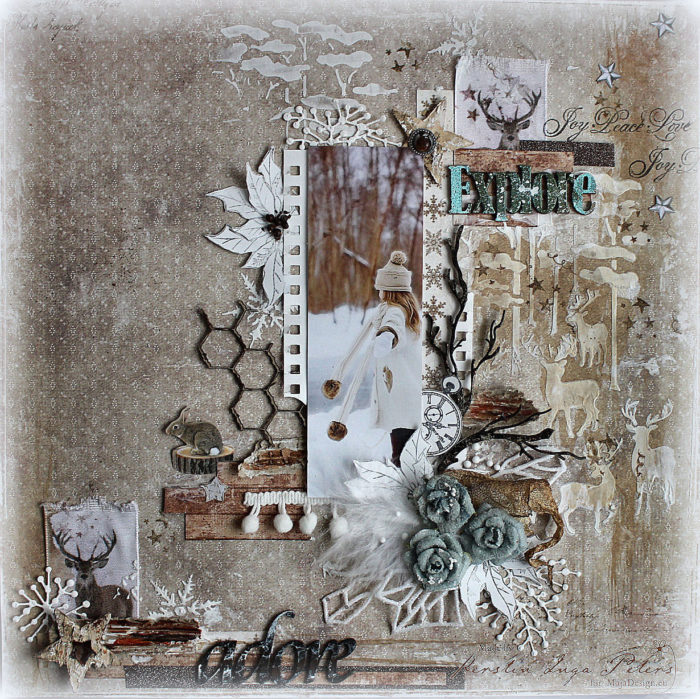
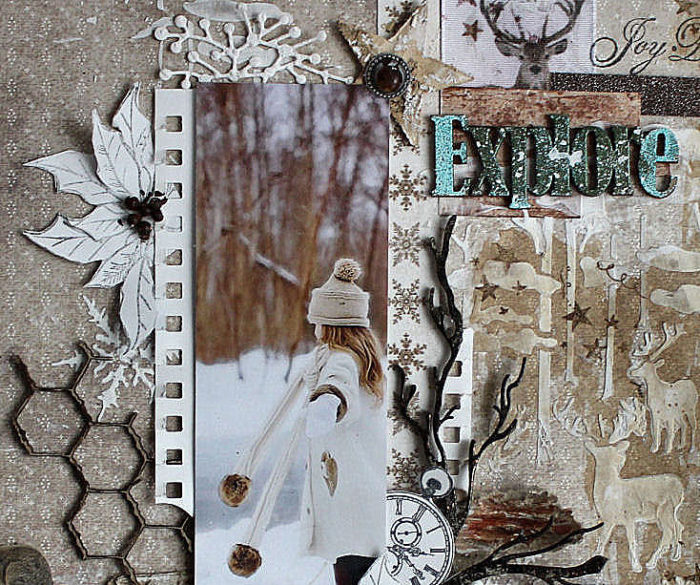
Today I have a layout to share, featuring a photo of my younger son with his signature look, that is smiling widely 🙂
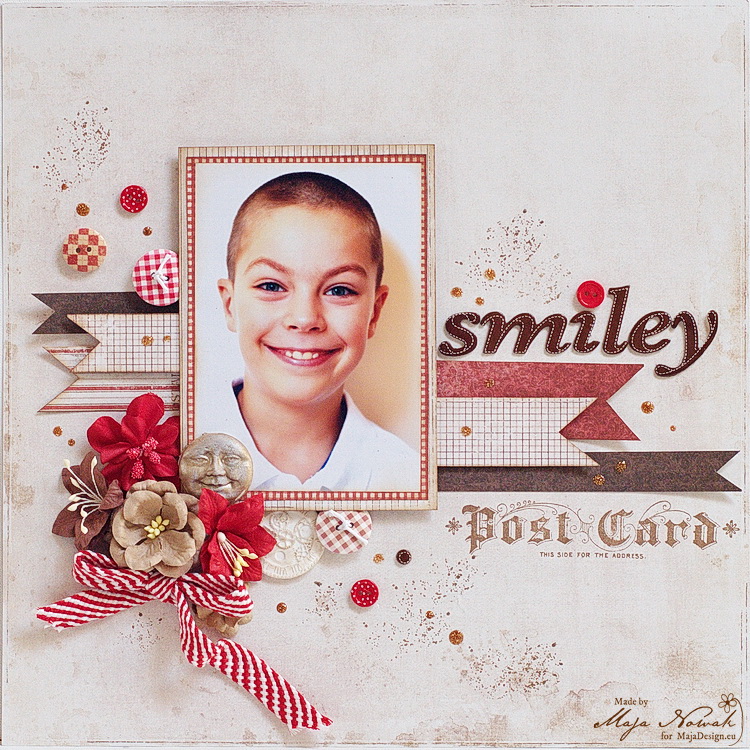
Since the moment he was born he was a very joyful child, always positive and ready to play. When I look through our family album, on almost all photos he looks like this:

Of course, there are moments of a worse mood, especially now that he is in his early teens, but if I were to characterise him in one word, that would be “smiley” 🙂 And I wanted to document this in my layout.
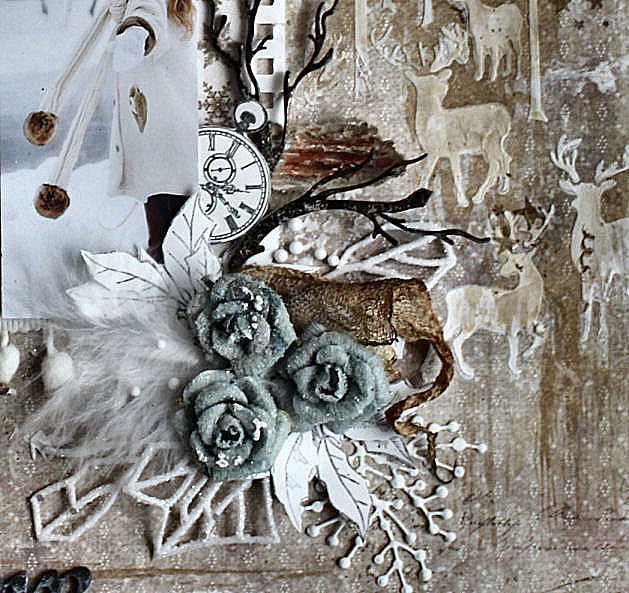
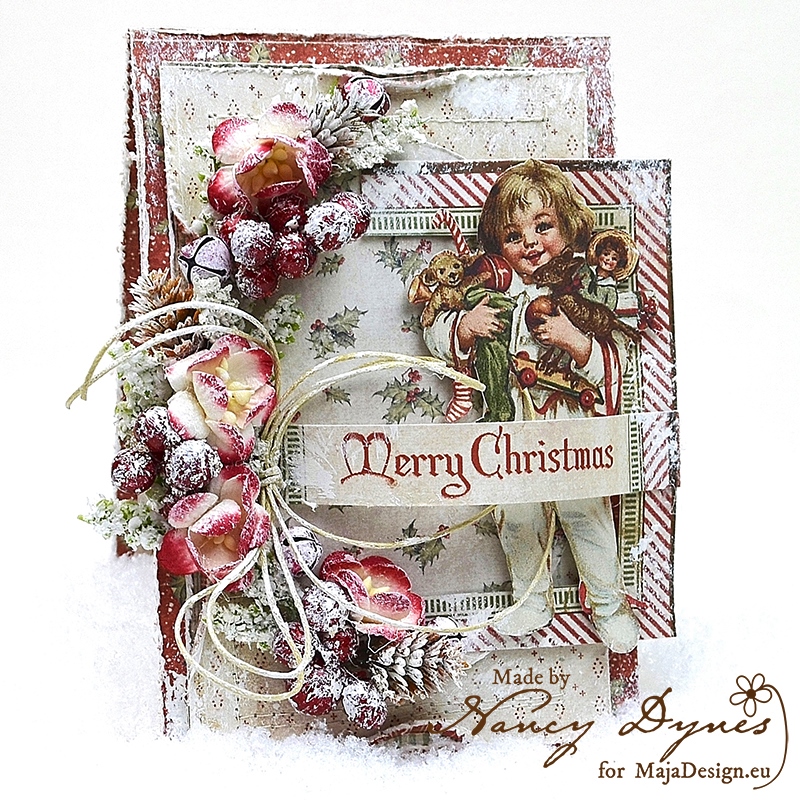
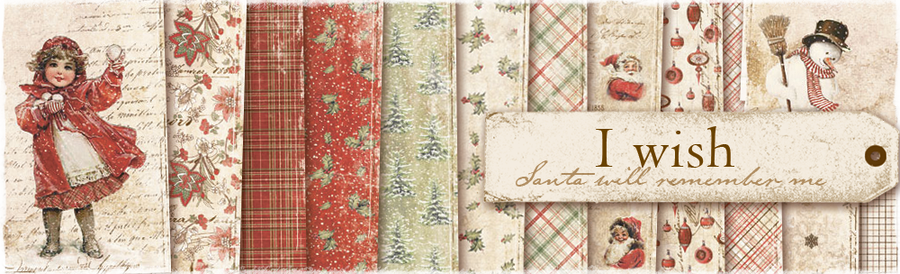
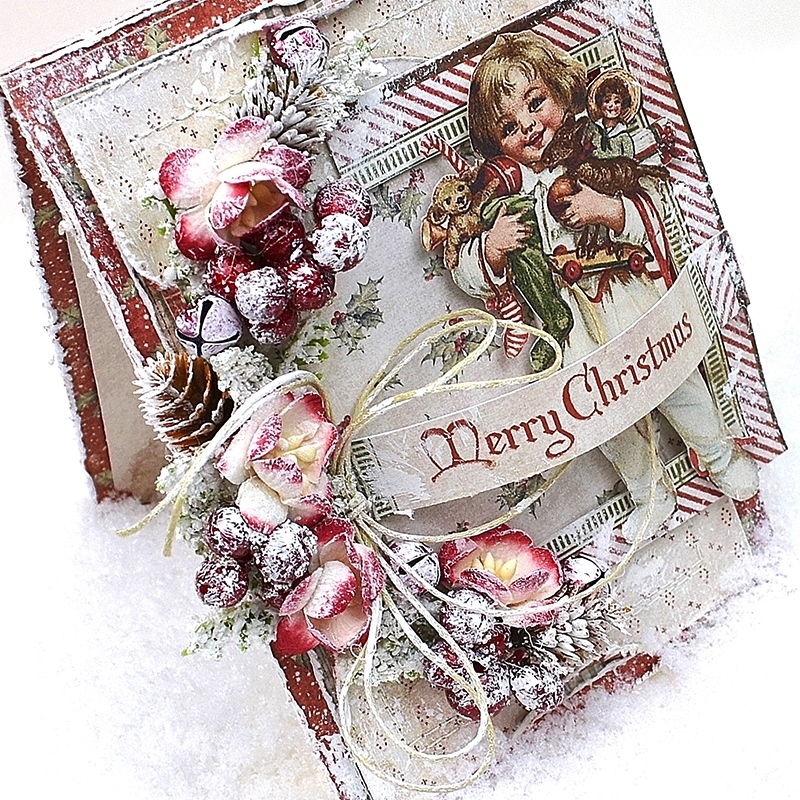
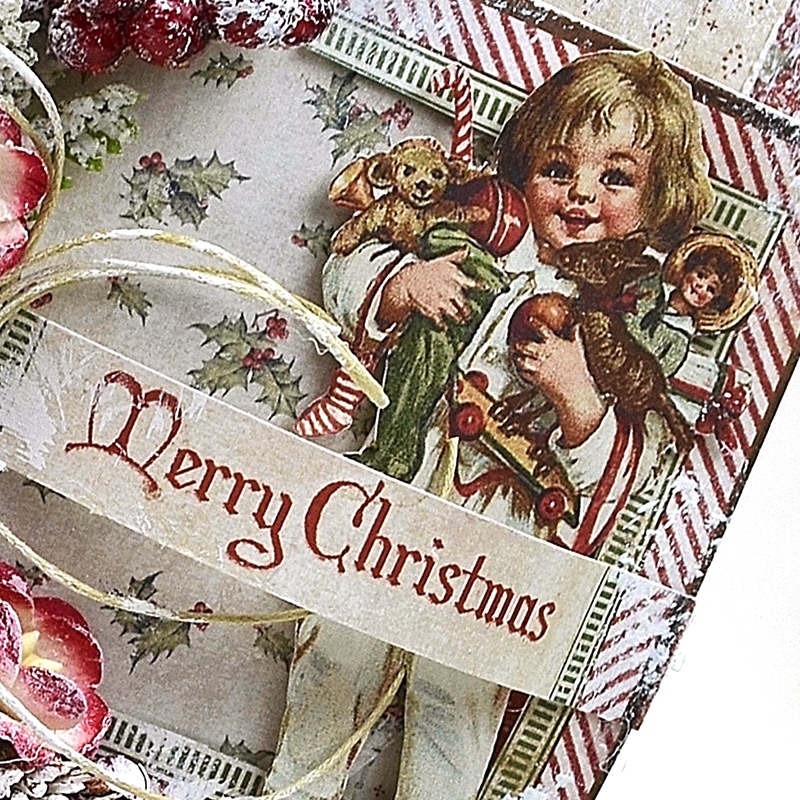
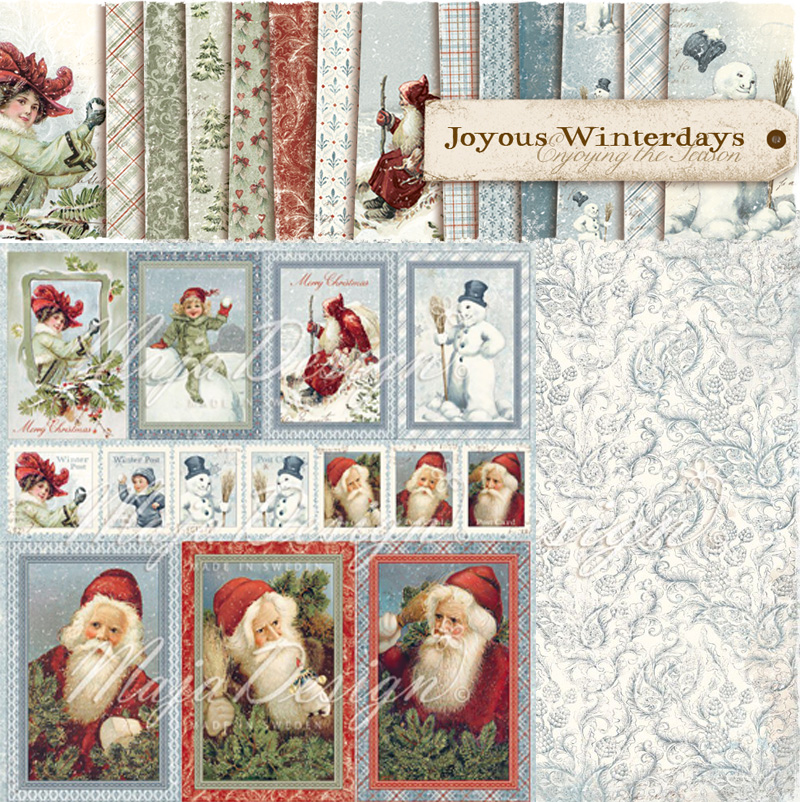
For my page I used one of our older Christmas collections, I Wish (I always use Christmas papers for non-holiday projects, usually the papers are too beautiful to use them once a year! 🙂 ) The design is very simple: just a couple of banners, some buttons and the title made of chipboard sticker alphabet:

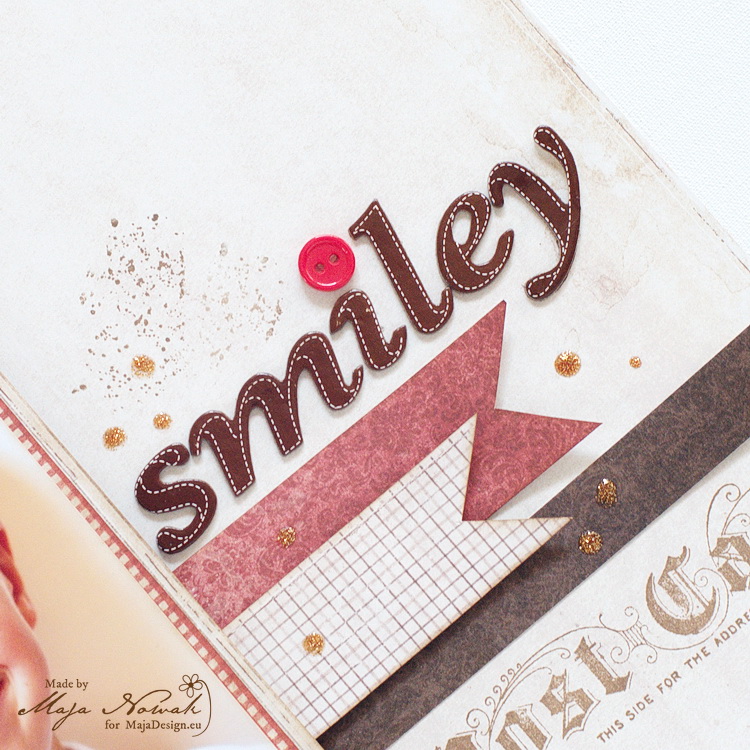
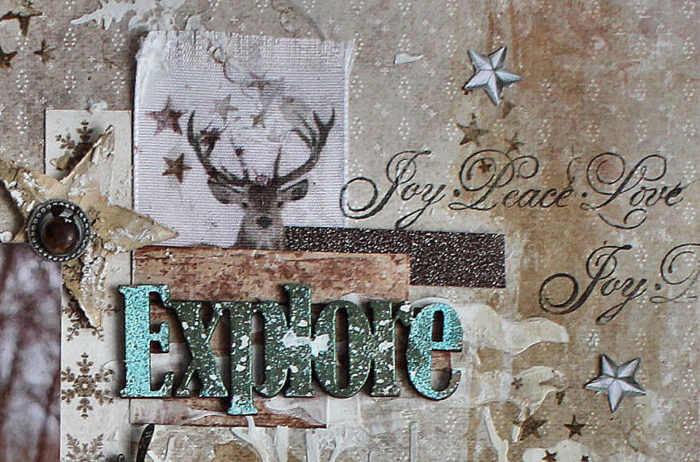
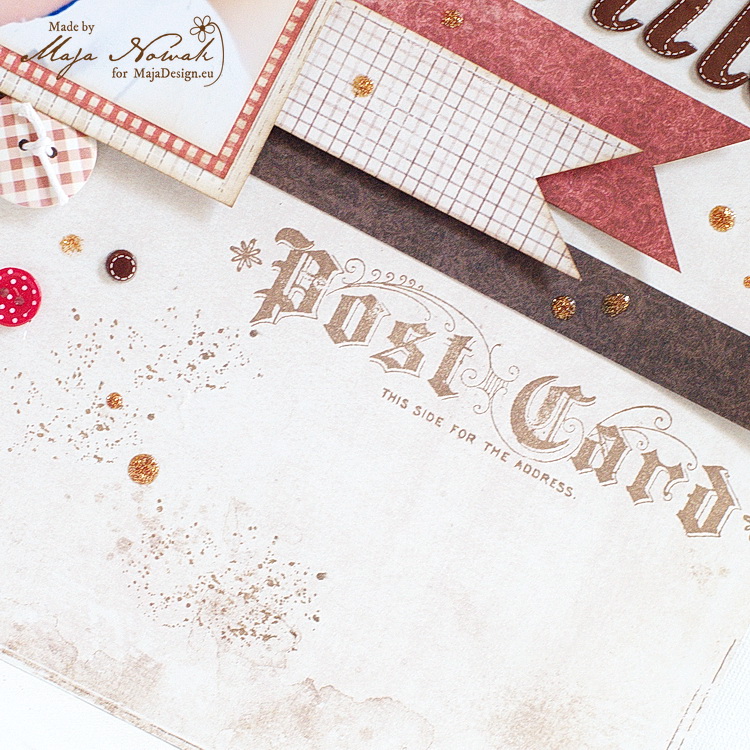
I also added some stamping in the background:
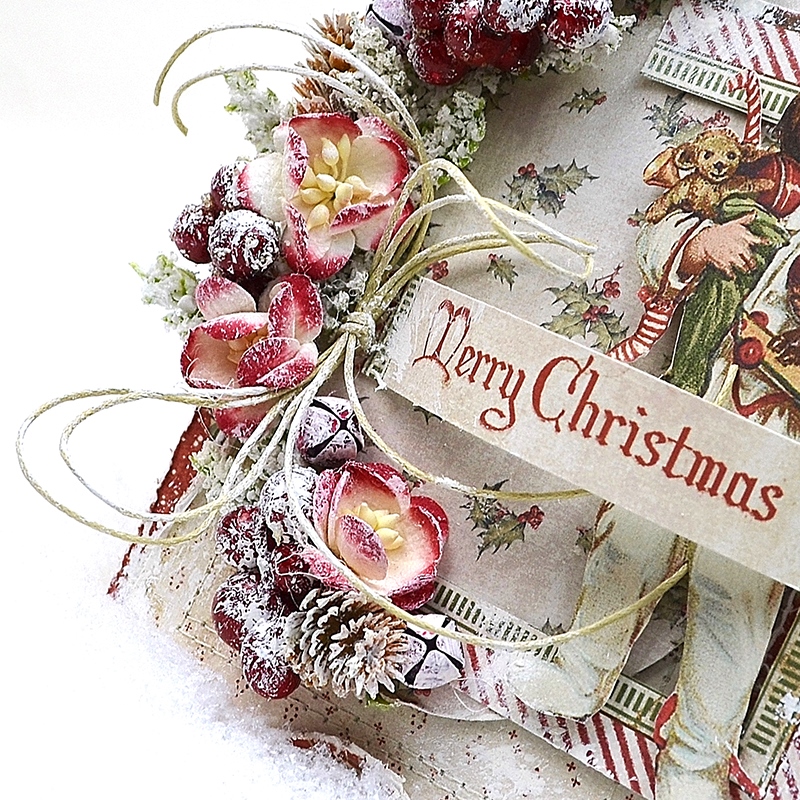
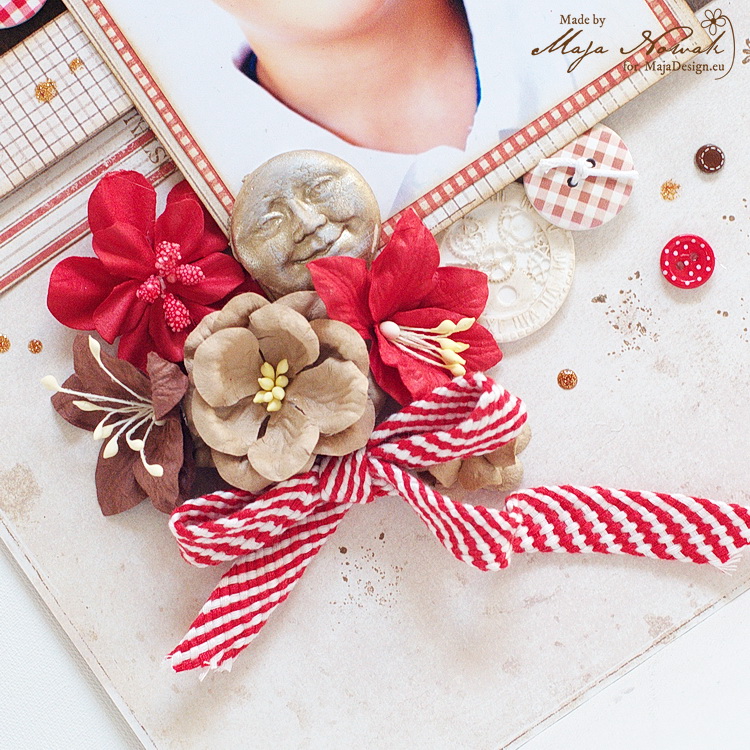
In the flwoer cluster I put a clay face that looks very similar to my boy’s smile 🙂
I do hope my son would always have a reason to smile!
And here’s the list of my supplies:
Maja Design papers:
-
-
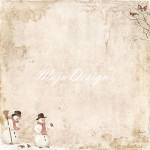
I wish to play in the snow-BS
-

-
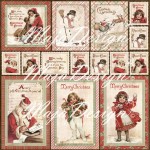
I wish those memories will last-BS
-
-
I wish you a Happy Holiday bs
-

-
I wish for lots of snow bs
-
-
I wish you a Happy Holiday
Other: stamps: Tim Holtz; flowers: Wild Orchid Crafts, Prima; molds: Prosvet; art clay: Martha Stewart; cotton ribbon: Prima; buttons Dovecraft, glitter ink: 13@rts.
And that’s all for today, see you soon!