Merry Christmas

1

Posted by Lenet Mos

22 November, 2018 - , , ,

Write a comment

Hello sweet Maja fans.

Lenet here , today it’s my turn to bring you some inspiration.

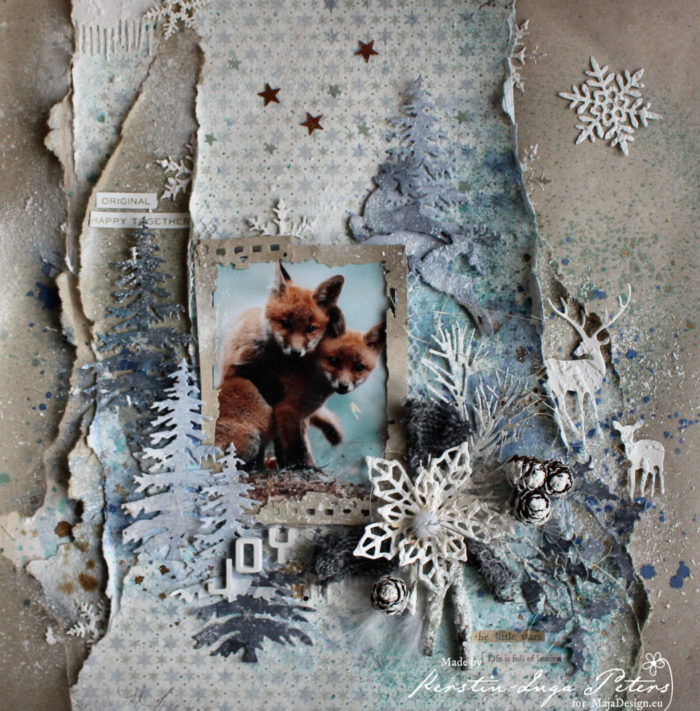
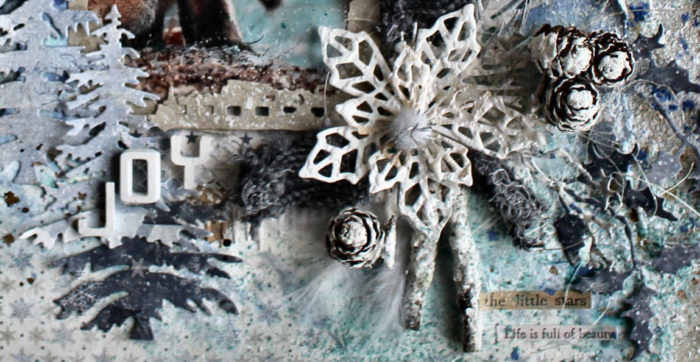
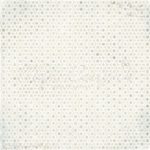
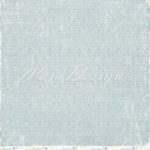
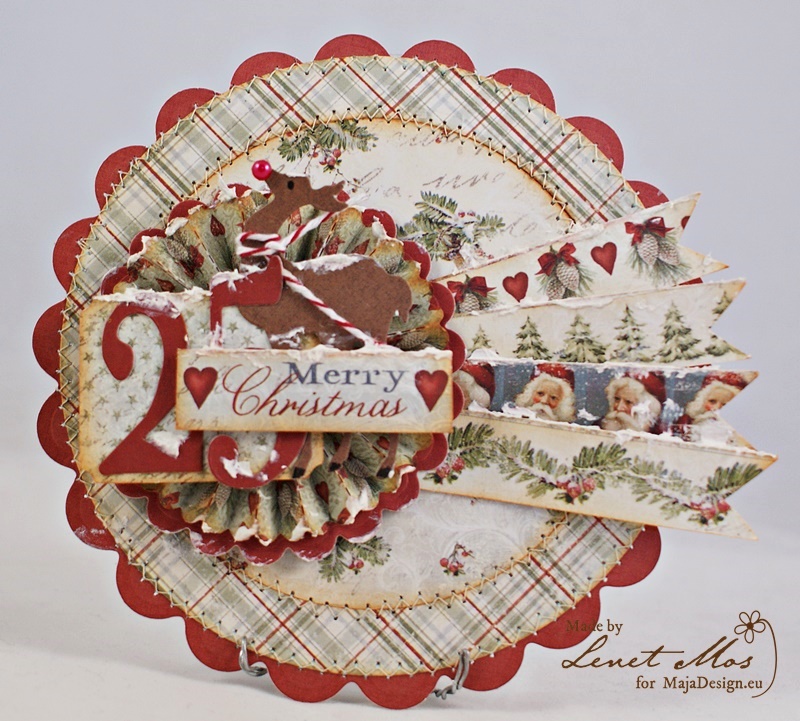
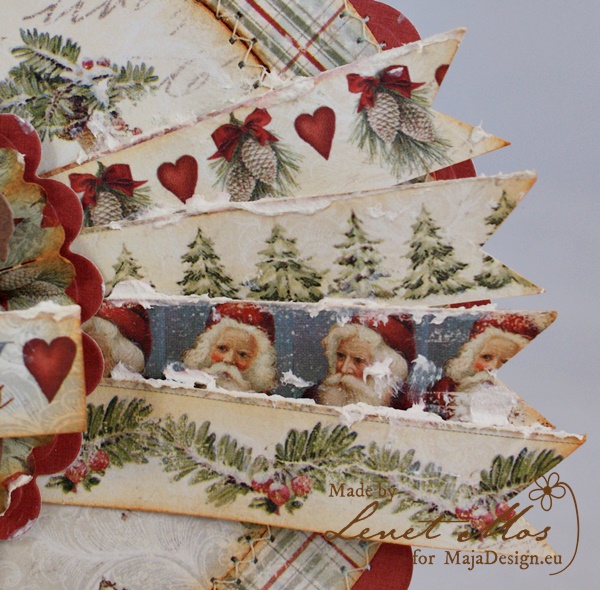
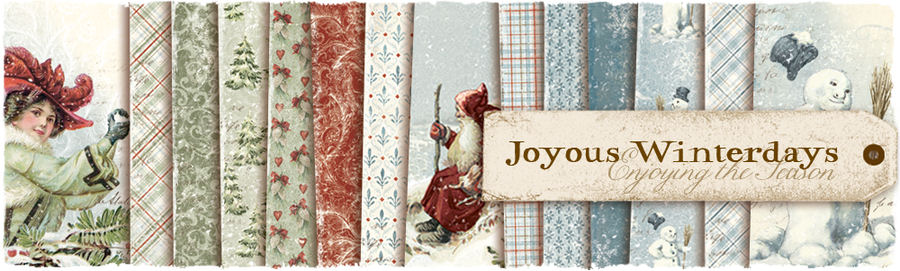
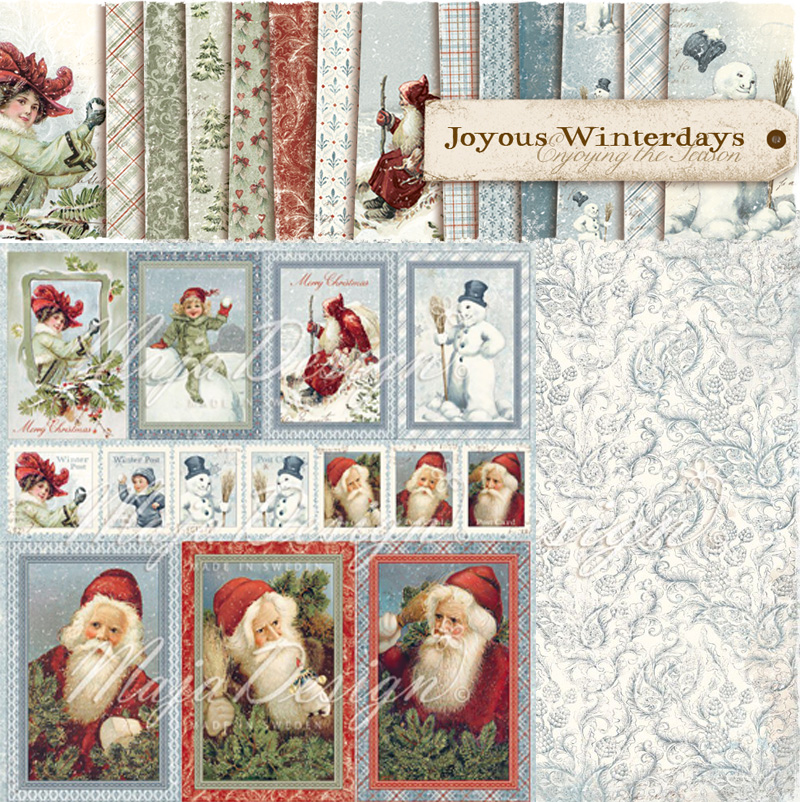
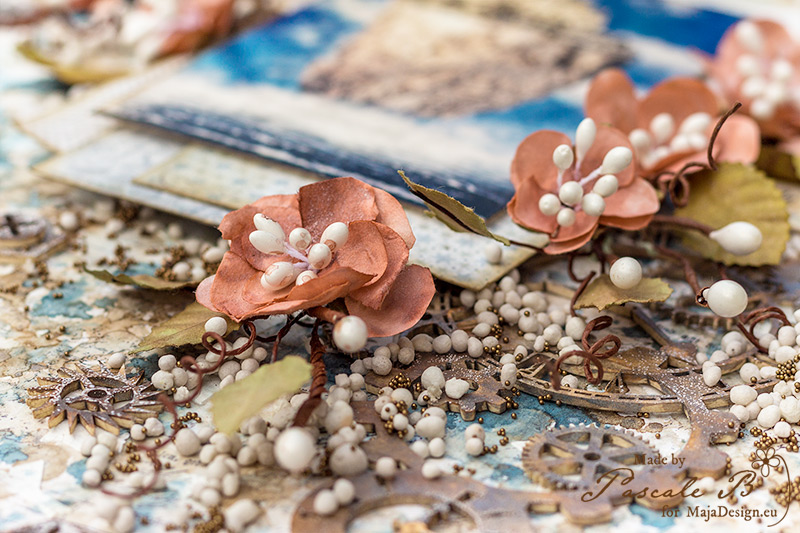
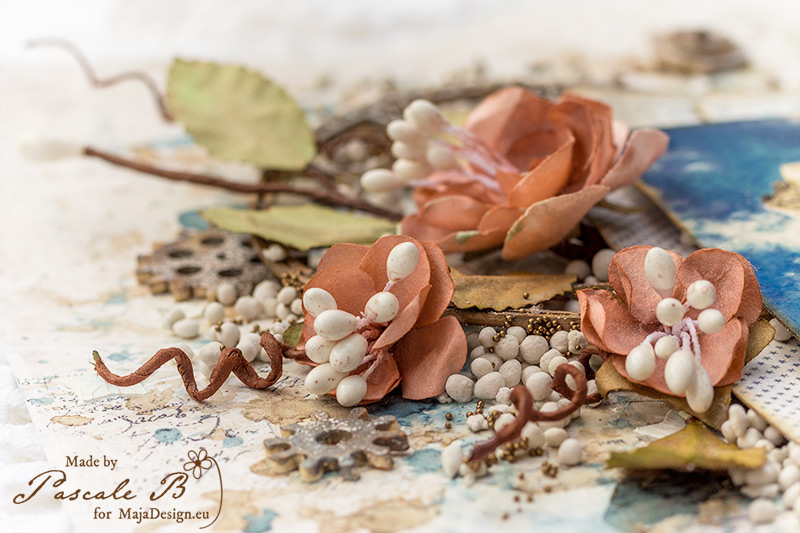
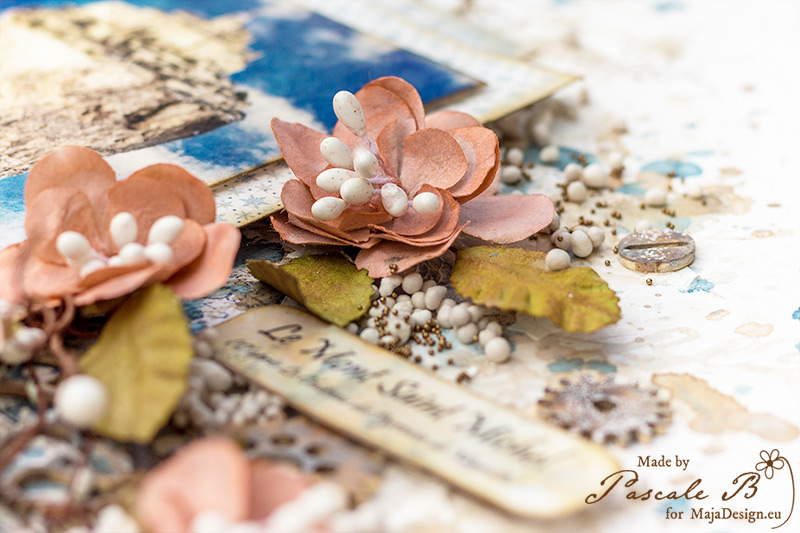
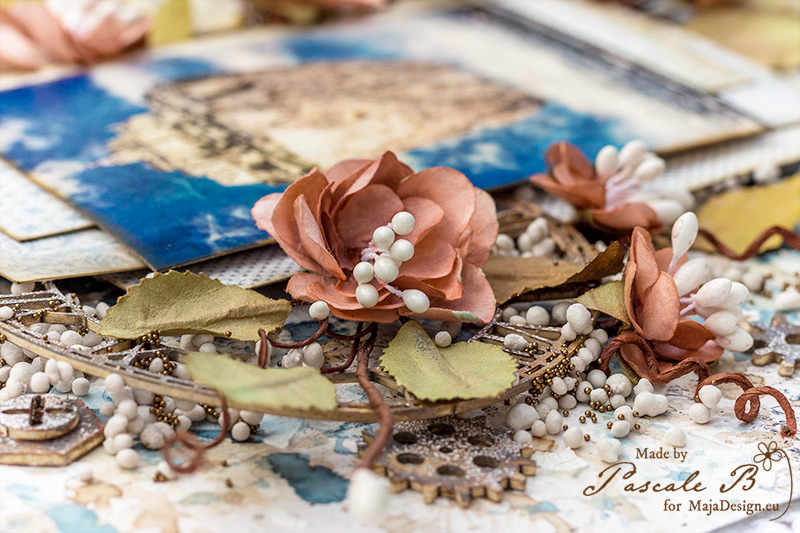
Today I have this Christmas card for you made with the wonderful Christmas collection Joyous winterdays and Monochromes- Shades of Winterdays.

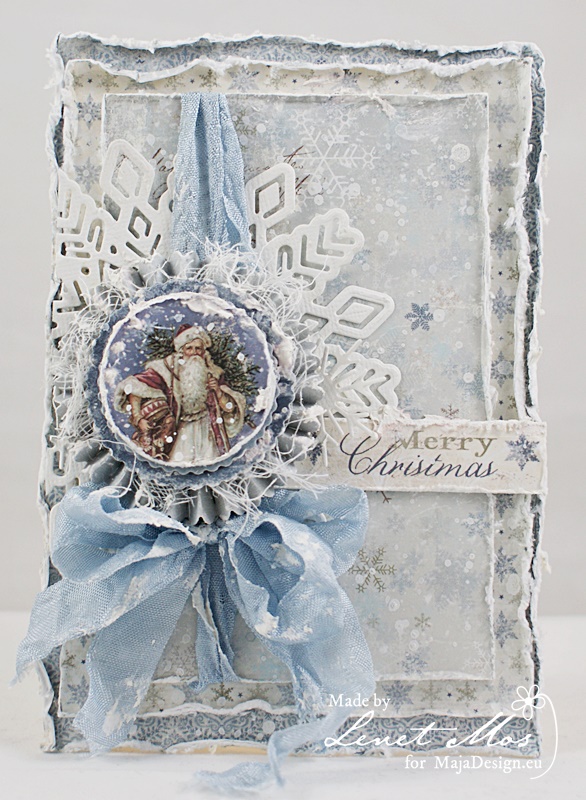
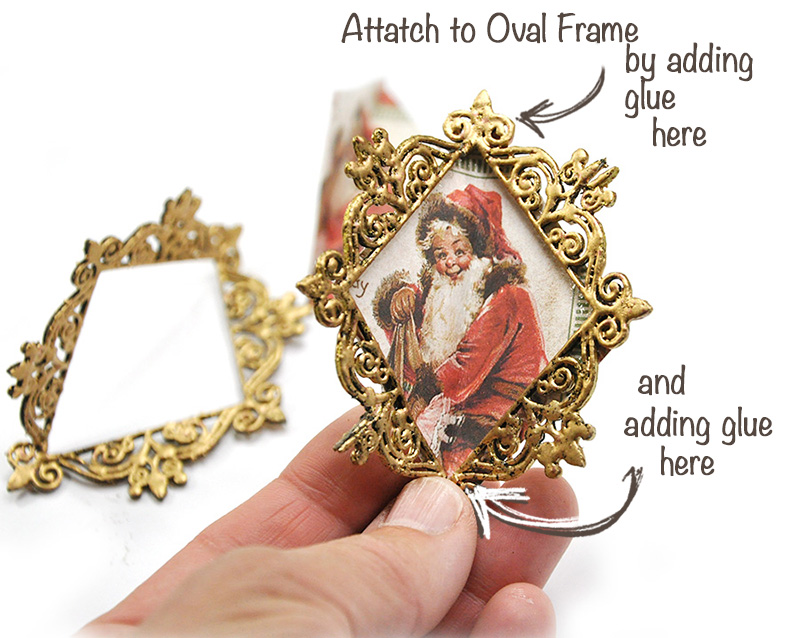
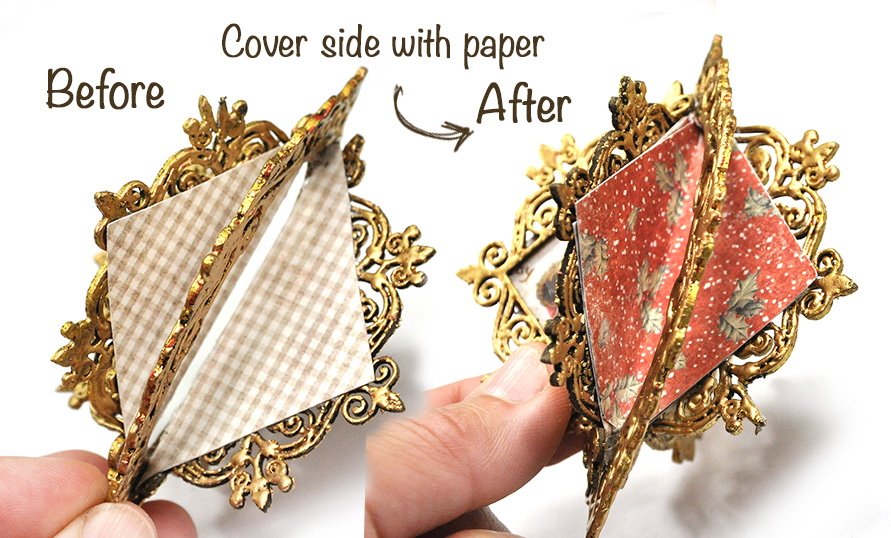
For the card topper / centerpiece I made a rosette  using the Tim Holtz minipaper rosettes die.

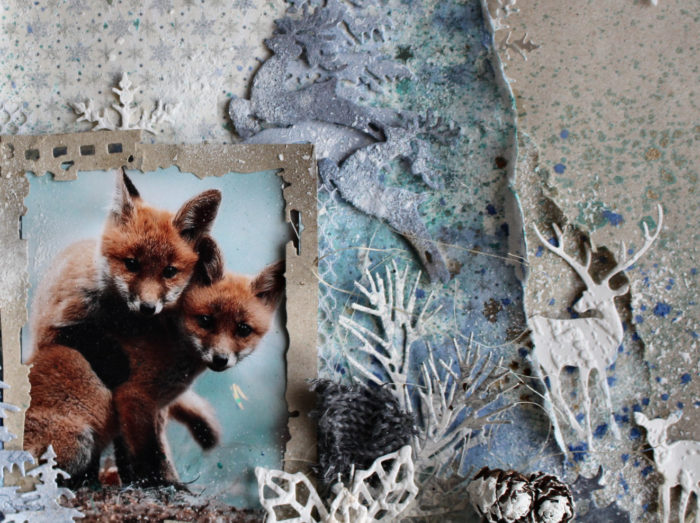
I used a a 1.5″ circle puch for  the Santa picture , it comes from the vintage frost Basics 14th of December sheet.

The scallop circles underneath are made with  Spellbinders Nestabilities.

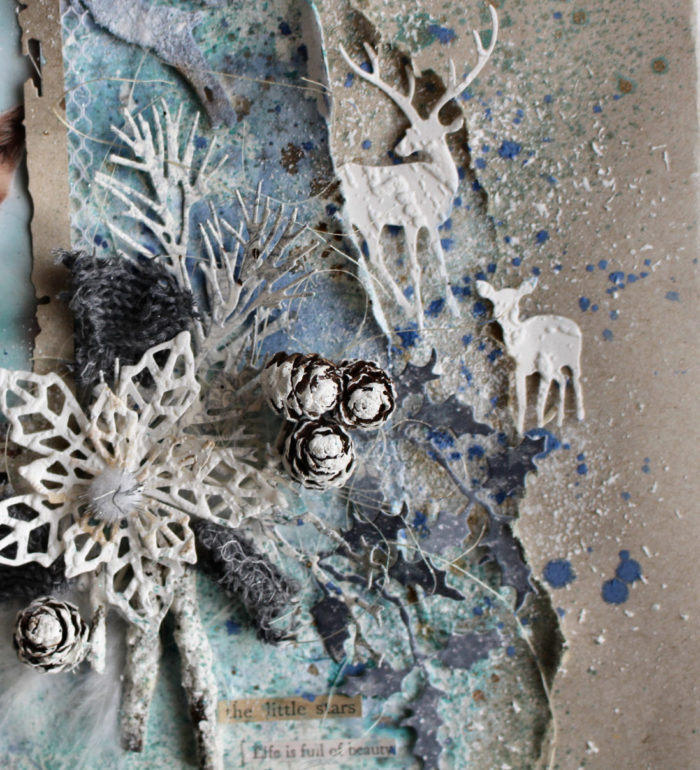
Behind it all you see a snowflake made with the snowflake die  of the Winter trails collection from studio Light.


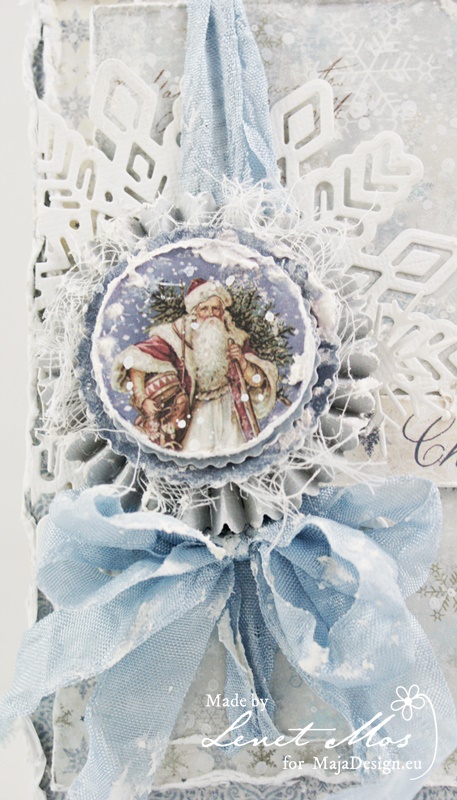
I added an seambinding bow and some “snow” made with paper texture paste from Finnabair to complete the card and winter feeling.

Thank you for visiting , I hope you like the christmas card I made for you and that it gave you inspiration to get crafty.

Make shure you come back for lots more inspiration given by the other wonderful Maja Girls.


Little Stars

1

Posted by Kerstin-Inga Peters

14 November, 2018 - , , ,

Write a comment

Hello Maja friends!

Today a season inspired layout, winter time is knocking at the door,
best time for crafting, if it’s warm and cosy.
I created a nature inspired mixed media layout,
where I used a mix of torned monochrome and winter papers.
some details
I used some paper sheets from the wonderful ‘Joyous Winterdays’


Thanks for your visit!

Heratful greetings from Kerstin

Merry Christmas card.

1

Posted by Lenet Mos

8 November, 2018 - , ,

Write a comment

Hello Sweet Maja Fans

It’s my turn again to give you a little inspiration. Today I bring you this Christmas card.

As christmas is getting closer I went to my christmascard stash and noticed I ned to make some more cards if I want to sent my loved ones a hand made card.

So this is one less to make.

For this card I used  papers from the Joyous Winterdays,  a beautiful collection in red, green and bleu….love it , the Monochromes -shades of winterdays.

for the centerpeice of the card I made a rosette using the large Tim Holtz rosette die,  the number 25 and rudolf ( who I gave a red nose with a little pearl )are made with movers and shakers dies from Tim Holtz as well.

The ribbons and the Merry Christmas are made with the cut off strips of the 12″x12″ papers.

I hope you enjoy this card I made for you.

Happy crafting  and don’t forget to check in tomorrow for new ispiration brought to you by one of the other Maja Girls.


Frosty and Joyful Ornaments

6

Posted by Jennifer Snyder

22 September, 2018 - ,

Write a comment

 DIY Frosty and Faux Gold Filigree Christmas Ornaments

 Jennifer Snyder here with a jump on Christmas.
Maja Design has some of the worlds best Christmas collections.  I pulled some of these collections out and got to work like a little elf.
I made some tree ornaments by combining Creative Embellishments chipboard frames with  papers  from Maja Design – I Wish collection and Maja Design – Joyous Winter Days collection

If you scroll down, I will show you how I made the ornaments.


The chipboard on this first ornament has been transformed into faux gold filigree using gold embossing enamel.


These are the papers I used from Maja Design:
Maja Design – I Wish collection
I Wish Ephemera
I wish for a Holly Jolly Christmas

This short video shows how the ornament looks from all sides.  
Photos simply cannot capture the dimension and angles of the project.  

[youtube https://www.youtube.com/watch?v=yJFVwnU1-N8?feature=player_embedded]

Instructions for DIY Ornaments
So how did I make these? 

You’ll need two packages of  Creative Embellishments chipboard – Small Intricate Frames.  The great thing about that is you can now make two ornaments like I did or save the unused frames for other projects.

Step 1.  Emboss or paint both sides of the chipboard.  You’ll need one oval and two matching square frames/diamond frames.

Step 2.  Using the square frames as your sizing guide, cut paper to fit behind the squares and then cut two more pieces a little larger to use as side panels. Once again, I used the Ephemera page from Maja Design – I Wish collection

Step 3.  Glue paper to each of the square chipboard frames.  Then fold the chipboard to form a 45degree angle.

Step 4.  Glue the square chipboard frames to the oval.  You will only be gluing the top and bottom of the square to the oval.  At this point, the squares are not really secure enough and need more support.

Step 5.  Glue the paper squares to the sides of the ornament.  This now

 This is the second ornament I created. 
The chipboard pieces have been embossed with aged ivory embossing enamel.

This short video shows how the ornament looks from all sides.  
Photos simply cannot capture the dimension and angles of the project.  

[youtube https://www.youtube.com/watch?v=rJ0NPGlLXv0?feature=player_embedded]

These are the Maja Design papers I used:
Maja Design – Joyous Winter Days collection
Ephemera
Chilly

Thank you for stopping.

Mont Saint Michel

2

Posted by Pascale B

26 January, 2018 - , ,

Write a comment

Hello Sweeties

Today I’m up on Maja Design blog with a new layout featuring the Joyous Winterdays collection. I chose to work with a photomontage I’ve made, inspired by The Castle of The Pyrénée by René Magritte. Oh, I forget to tell you that there is a step-by-step video showing you how I make this layout.

Mont Saint Michel by Pascale B.

I stamped randomly the background with two of my stamps Pascale’s Form and Pascale’s Grammar with a black Archival ink. Next, I primed the background with clear gesso.

Mont Saint Michel by Pascale B.

When dry, I used different stamps to add some color to the background with different inks. I finished with splatters of the same inks. When happy with the result, I added a design with a stencil and white crackle paste.

Mont Saint Michel by Pascale B.

While the paste was drying, I colored the Archival board with Magicals. Next, I sprinkled them with an embossing powder to add some interest.

Mont Saint Michel by Pascale B.

I colored the flowers with two inks: one peach, one vintage rose.

Mont Saint Michel by Pascale B.

I cut a few papers to add under the photo and I glue all the embellishments with a 3D gel. To finish the layout I added some Art Stone and microbeads.

Mont Saint Michel by Pascale B.

And here is the video link:

[youtube https://www.youtube.com/watch?v=2s-oy6QRhcQ]

Maja Design products:

Joyous Winterdays collection
Ephemera bs
Ephemera bs
Sparkle
Sparkle
Blizzard bs
Blizzard bs
949-Paper-pack-Joyous-Winterdays-w
6×6 pad

Pascale-sign