Life by the sea

2

Posted by Camilla Støen Bakke

27 July, 2016 -

Write a comment

IMG_3331

Welcome to the Maja Design blog today! i hope that you are having a lovely week. I have let me inspired by the lovely “Life by the Sea” collection and made this nautical card.

Life-by-the-Sea-P

I will give you a list of the papers used at the end of the post:)

IMG_3335 – Kopi

The image is from Magnolia and is called #”Tilda playing in the water”. It is coloured with Distress Ink, reinkers. I have put crackle accents on to the jellyfishs and the starfish. The shells are from a local interior shop. The postmarks around the image are stamps from Stempelglede. I have also added some spots with liquid pearls here and there.


IMG_3345

I have cut the waves out from Maja papers, and the ducks from Bazzill Kraft paper.

IMG_3347

Under you see the inside of the card. I have made a sail, just to build up under the nautical look;)

IMG_3348

Here are the papers I have used:

Thank you so much for visiting the blog today!

Camilla

“Henry Boy” By Di Garling

3

Posted by Di Garling

23 June, 2016 - ,

Write a comment

Henry Boy

Hello there Maja fans. Thanks for stopping by the blog. Today I have a layout to share with you & it features my baby grandson, Henry. I don’t do that many boy layouts so when I saw these gorgeous papers from the “Life By the Sea” collection, I thought how perfect they were for a boy layout.

Henry 2

For my background I have used  “The Westcoast” paper. Love these gorgeous nautical stripes. I have put a strip of the “Landmark” paper behind the top & bottom. Because it is a plainer paper, I think it makes a nice contrast.

The little kite I have made at the side of the photo was out of some of the scraps I had left over of both the “Landmark” & some “Sailing” papers.

Henry 3

Next up I decided to make a little pinwheel. I used the “Drop the Anchor” paper for this. I like the way you can see both side of the paper on this.

I also used up some of the decorator strips which are on the bottom of every Maja paper, & ran them vertically down my page to add a graphic element to the design.

Henry 4

Next up I decided to make a little circular pleated embellishment using the “Landmark” paper too. I just love the way this collection mixes & matches so perfectly.

Henry 5

Some string for texture, some ink splatters,  a little stamping,  a few layers & some 2Crafty chipboard.

Henry 6

Hey presto, all done.  I know we all like to do pretty creations using pretty papers & lots of flowers, but occassionally we have to do some boy things & what better range to do it with, than this “Life By The Sea” collection.

These are the four Maja Design papers I have used….

PicMonkey Collage

Life-by-the-Sea-KL

Until next time.

Di's Signature

Di Garling

Hi my name is Di Garling. I am married to a very patient man, I have two grown up sons, two grandchildren & a little dog. I owned & operated a Scrapbook shop for eight years here in Australia until I recently sold it & retired. I think retirement is the best kept secret. I love it, it gives me lots of time to enjoy my craft. I still teach scrapbooking & cardmaking once or twice a week, so all in all I am as busy as ever & wouldn't have it any other way.

Lovely Treasure

6

Posted by Amy Voorthuis

6 May, 2016 - ,

Write a comment

Goodmorning lovelies,

Today I am up on this amazing blog again to show you what I made using the lovely “Life by the Sea”collection. The chipboard pieces are all by Creative Embellishments. The picture I used is one very dear to me {because we are not that wealthy we don’t go on far away vacations every single year} it’s from our last vacation to Spain back in 2010. We made ourself’s a promise that we are going to celebrate our time off this summer in the pretty Turkey because we so need some sun and wonderful family time.

MD12

On the seaweed & seagrass I used some glass beads and mini art stones {which are so cool} but first I colored them with blue ink and cream embossing powder. I also used a couple of spray’s and added paste on two different stencil to give my background sheets more dimension.

1

20160506_074129_HDR (1)

I just so love this collection with all the chippies this was such a fun layout to make and also very dear to me. O really love these to men of mine. <3

20160506_074209_HDR

20160506_074231_HDR

Maja Design papers used: Bottle Message, Landmark bs, A Day at Sea, Sailing bs,  & no. XVI

Bottle-message Landmark

A-day-at-Sea Sailing

Life-by-the-Sea-P

And this is another sea layout for another DT using some pretty Maja papers  😉

20160419_0852371

Thank you so much for visiting the blog today and I would like to wish you a wonderful, creative & sunny weekend. We are having some amazing sunny & warm weather so I will be enjoying it for sure. I hope you enjoy your weekend as well hugs sending your way xox!

Love

4

Baby Nautical Album

1

Posted by Elena Olinevich

29 April, 2016 - ,

Write a comment

Hello Maja Friends, Elena is here.

I like doing baby projects. No paints, no flowers – I am joking. Sometimes I like to enjoy only papercrafting. It makes me feel relaxed and concentrate on atrue and initial kind of scrapbooking, I guess.

So today I am sharing an album I made for a baby, for the first `12 months. and I used absolutely not a baby collection, but one of my all time favorite – Life by the Sea.

It seems that I say this every time, no matter what collection I use, but it is true,

BabyNauticalAlbum_2

I made a lot of die cutting using almost the same dies for the whole album. But anyway, it has been an issue for me how to make an album without flowers, no I know – dies are the question.

АльбомДляМалыша_ПервыйГодЖизни2_купить.

So I made a lot of die cutting using the papers from the collection, and trying to keep nautical blue-white brown color combo.

BabyNauticalAlbum1

So many photos are coming in this post as well as the video clip if you would like to skip them and turn the pages with me.

BabyNauticalAlbum_3

I like doing the flaps as well as creating the tags.

BabyNauticalAlbum_5

Each page is supposed to feature one month for a baby.

BabyNauticalAlbum_5-6

BabyNauticalAlbum_7

BabyNauticalAlbum_8

BabyNauticalAlbum_9

BabyNauticalAlbum_10a

I also used some of the negatives left after die cutting I suppose it’s a great way to save on and use all of your paper scraps as well.

BabynauticalAlbum_11

BabyNauticalAlbum11-12

I also made a fabric cover and sew some paper pieces on the top of it.

АльбомДляМалыша_ВМорскомСтиле

and here is a video clip for you to check all the details

https://youtu.be/FZNwSYdh_dM

Products used;

Life by the Sea collection


Elena-sign


Saying Farewell ~ All Smiles

5

Posted by Gabrielle Pollacco

23 March, 2016 - , , , ,

Write a comment

All Smiles_resized

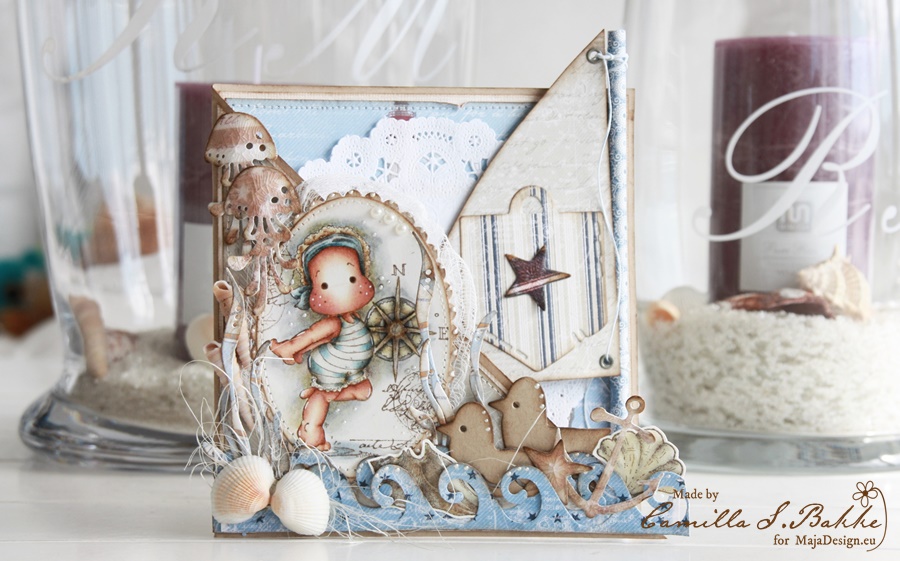
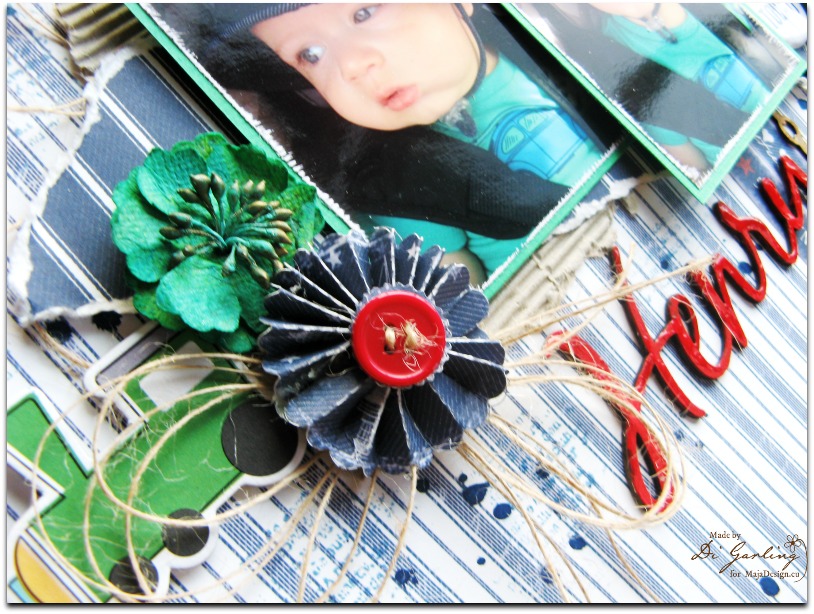
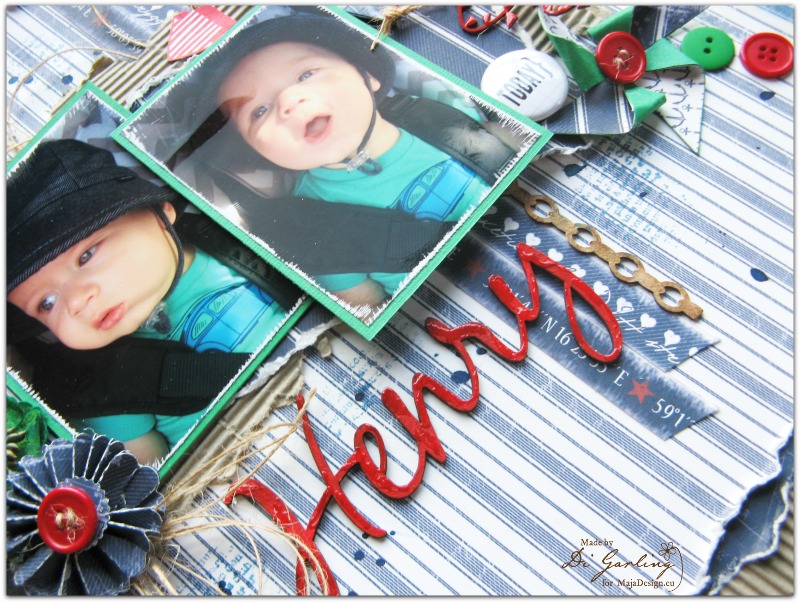
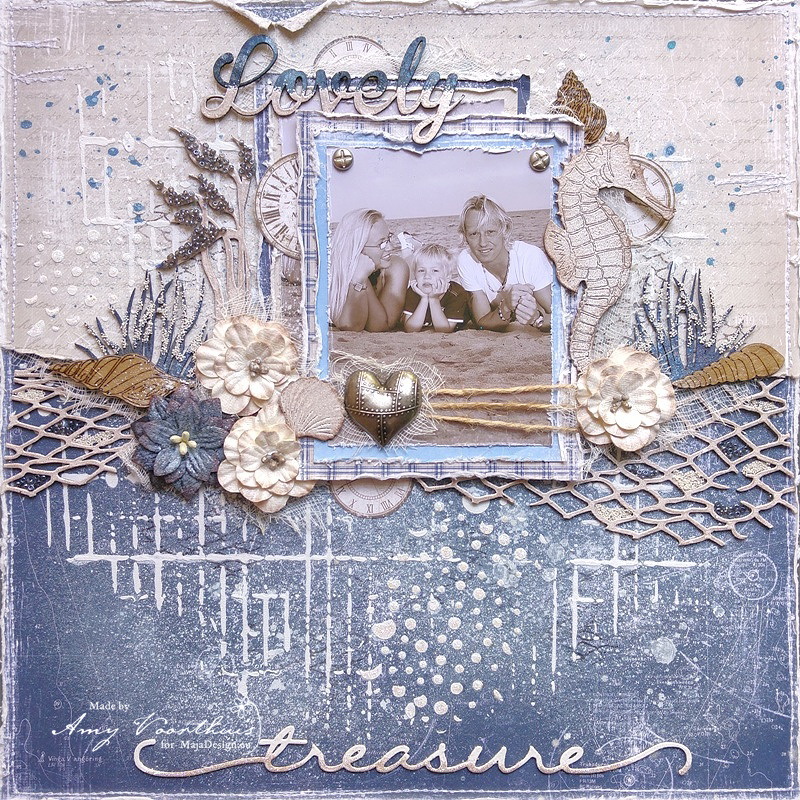
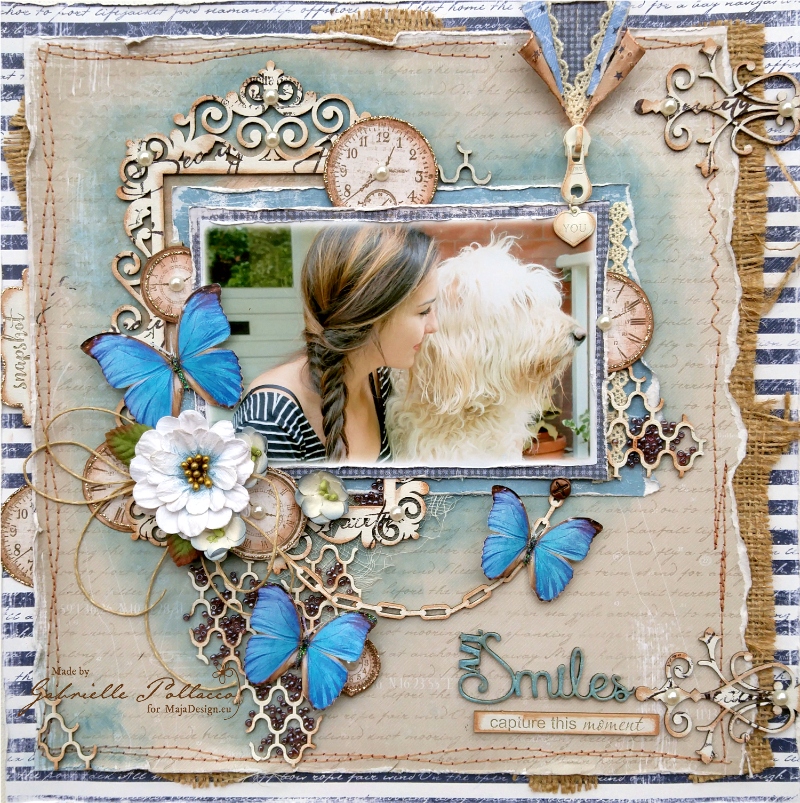
Hello Maja Fans, Gabrielle here with you today to share a very special project, dear to my heart.  As many of you know I have been with the Maja Design team for over 4 years now.  Today will be my last post for this wonderful team.  It was very hard for me to come to this decision as I have very much enjoyed creating with these beautiful papers.  But as I have a lot on my plate as of late, I felt it was time to make a few changes.  I decided to end my journey as I began…..the very first project I did for Maja Design was using their signature blue’s and neutrals….so today I finish my journey using these classic colors.

Life-by-the-Sea-P

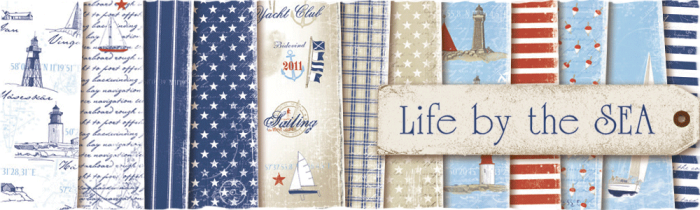
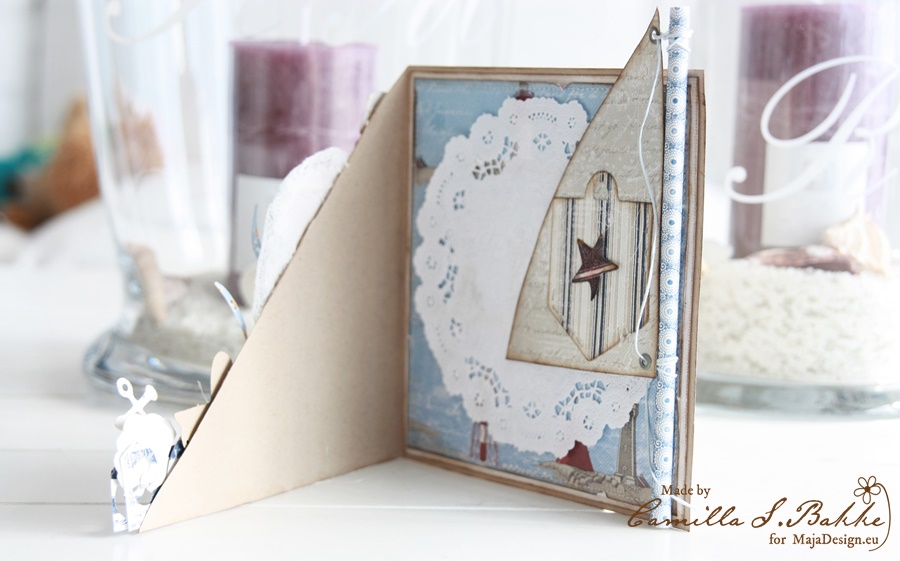
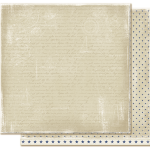
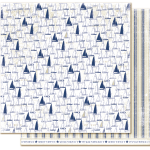
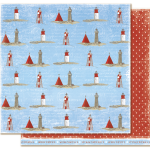
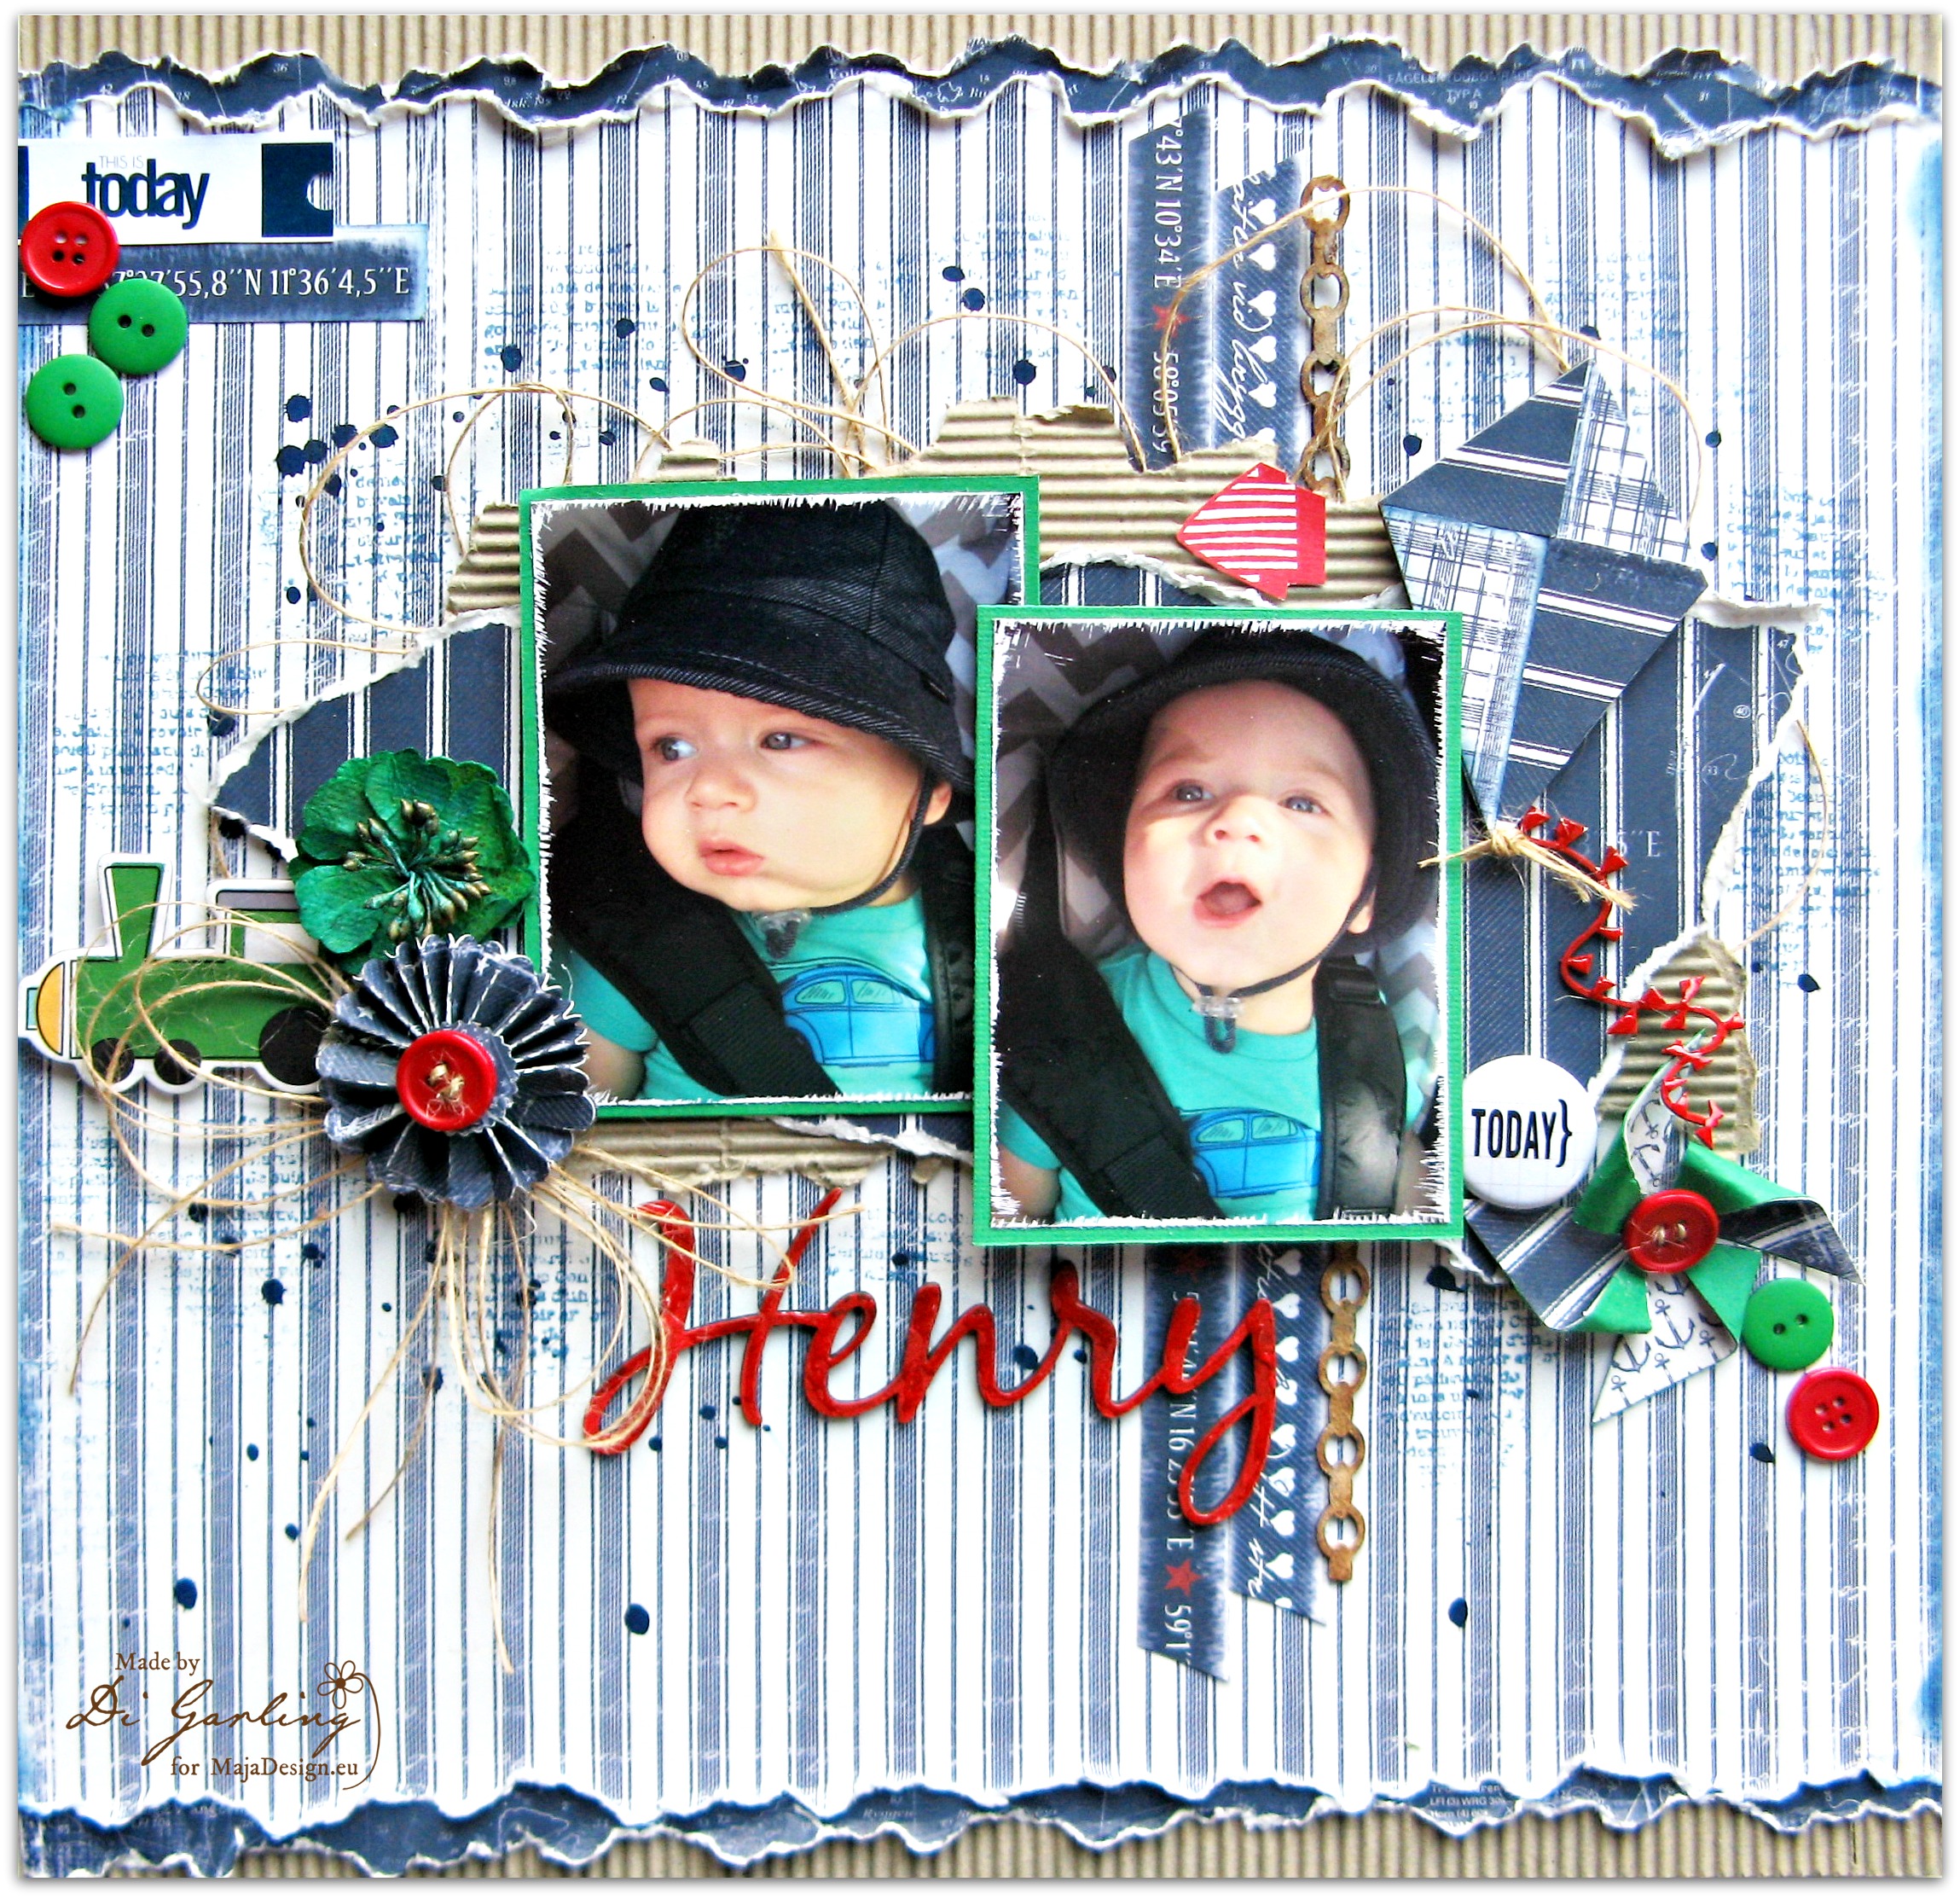
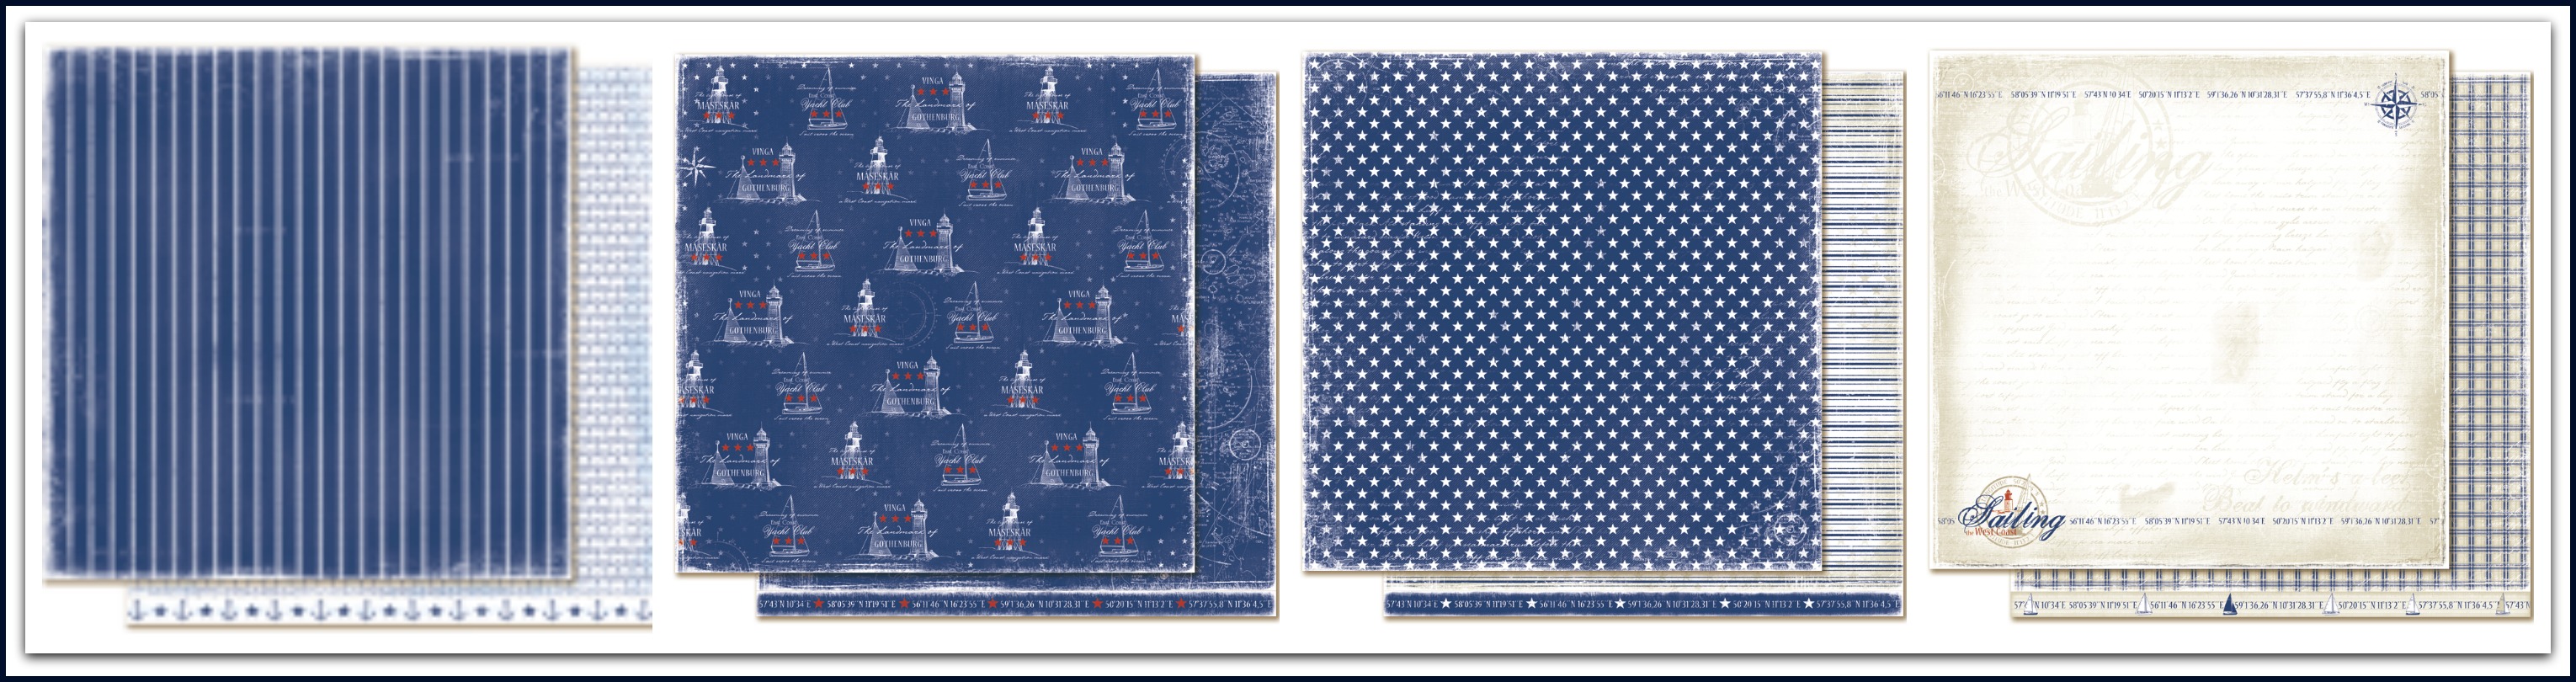
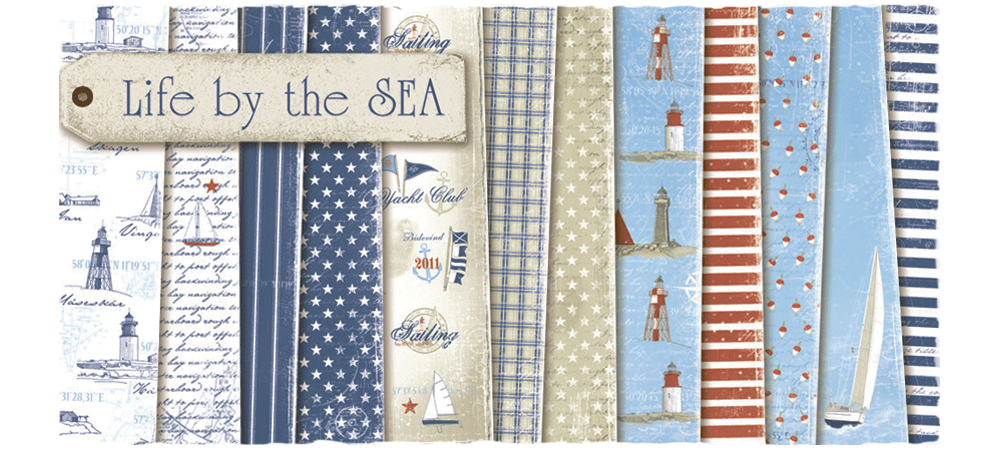
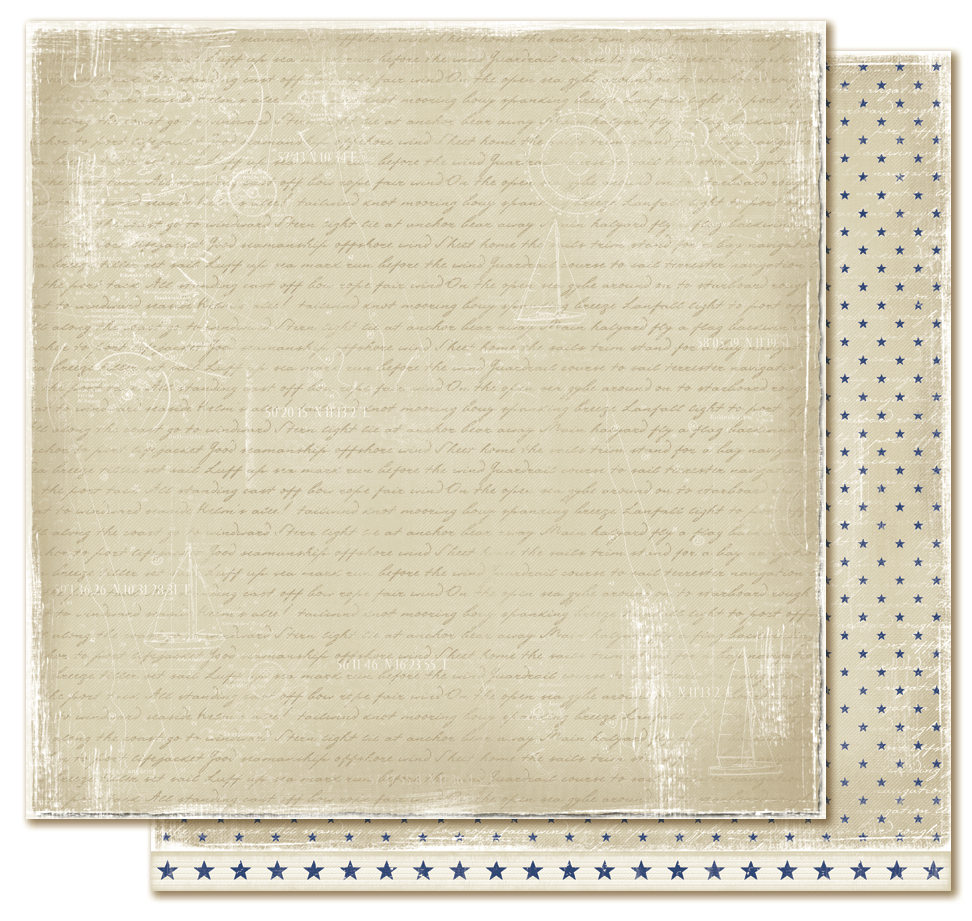
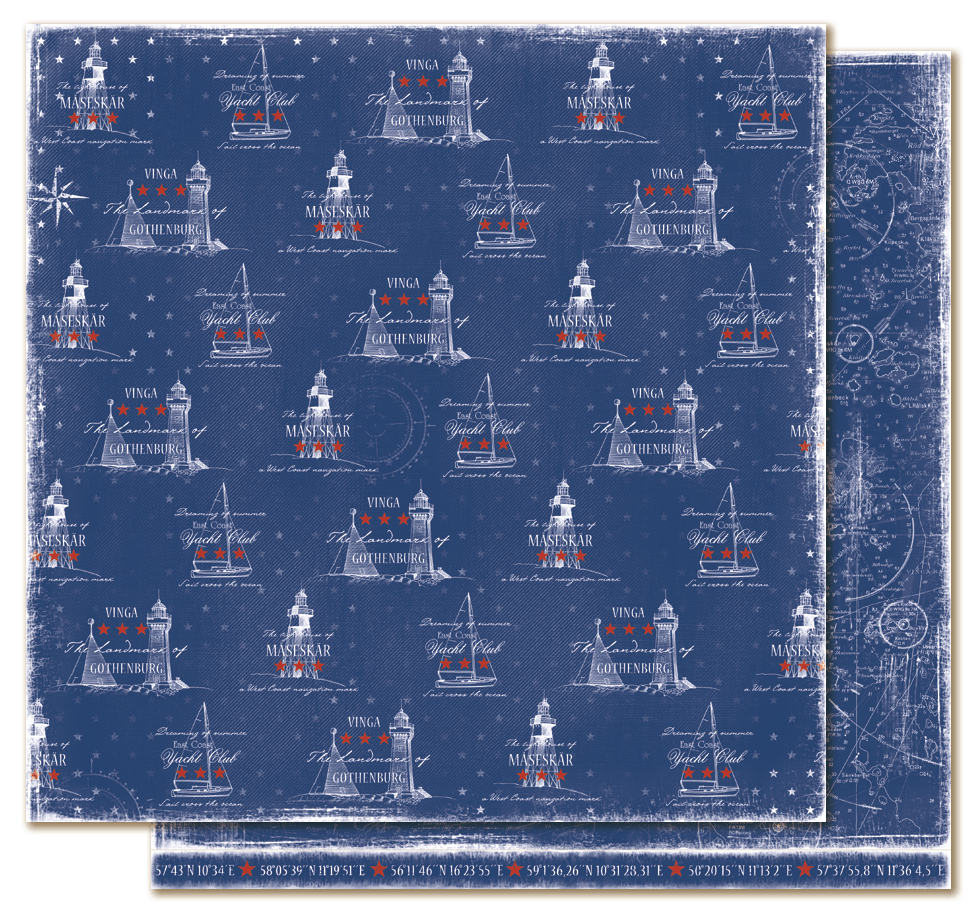
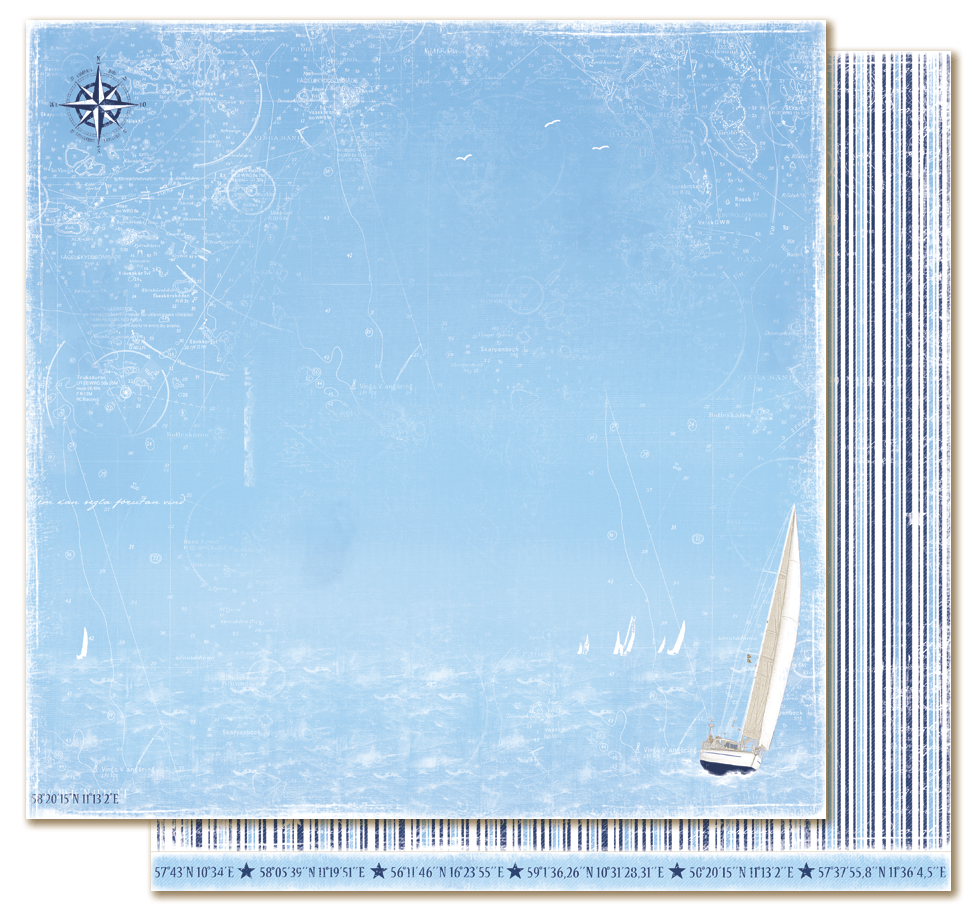
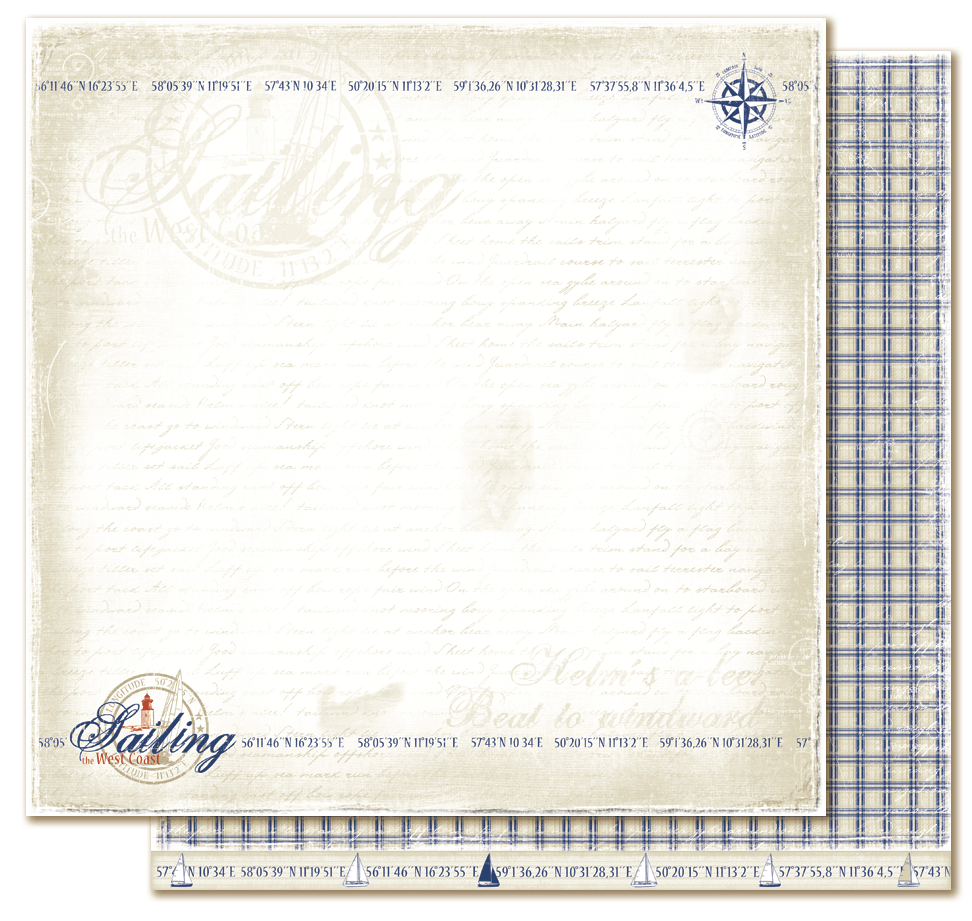
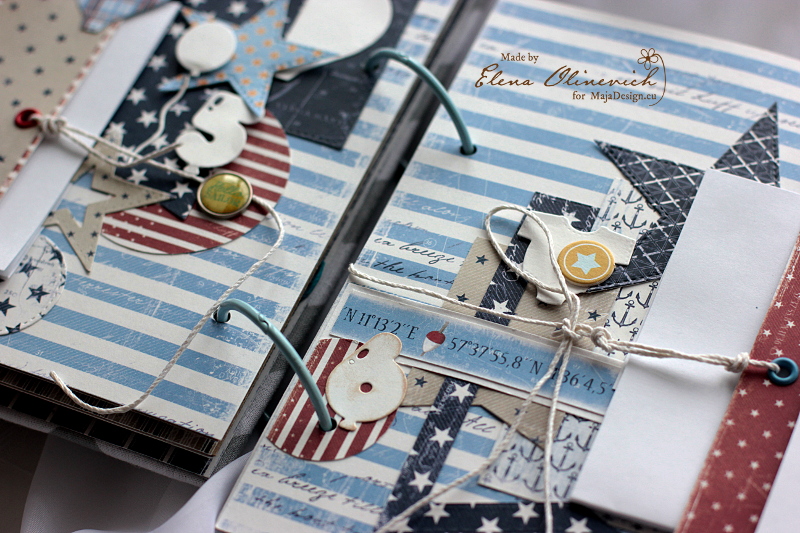
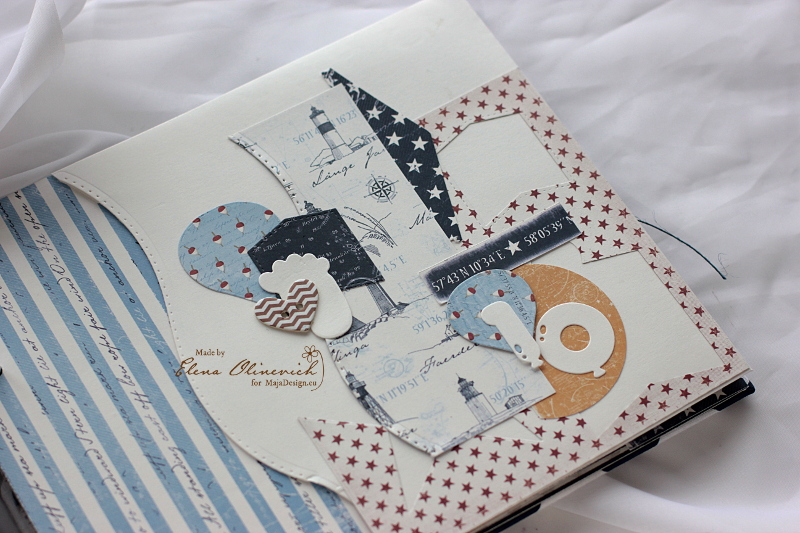
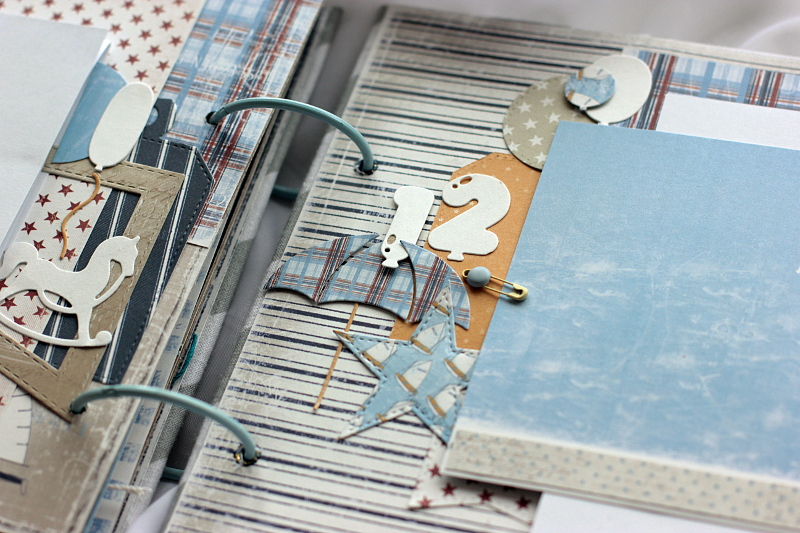
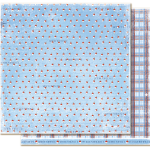
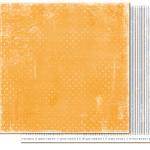
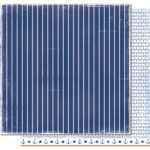
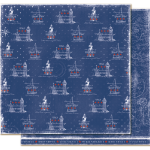
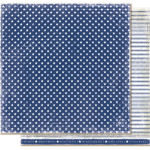
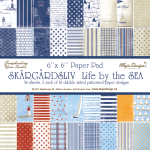
As always I used a variety of collections in one layout (5 in all), but I mainly chose papers from the Life by the Sea collection.  I drew my inspiration from the navy and white stripe top my oldest daughter is wearing in the photo above of her and our dog.  These are the papers I used on this project:  Life by the Sea (Seaside Cottage, Bottle Message), Vintage Summer Basics (1945-bs), Vintage Autumn Basics (XXIII-bs, XVI).

All Smiles closeup1

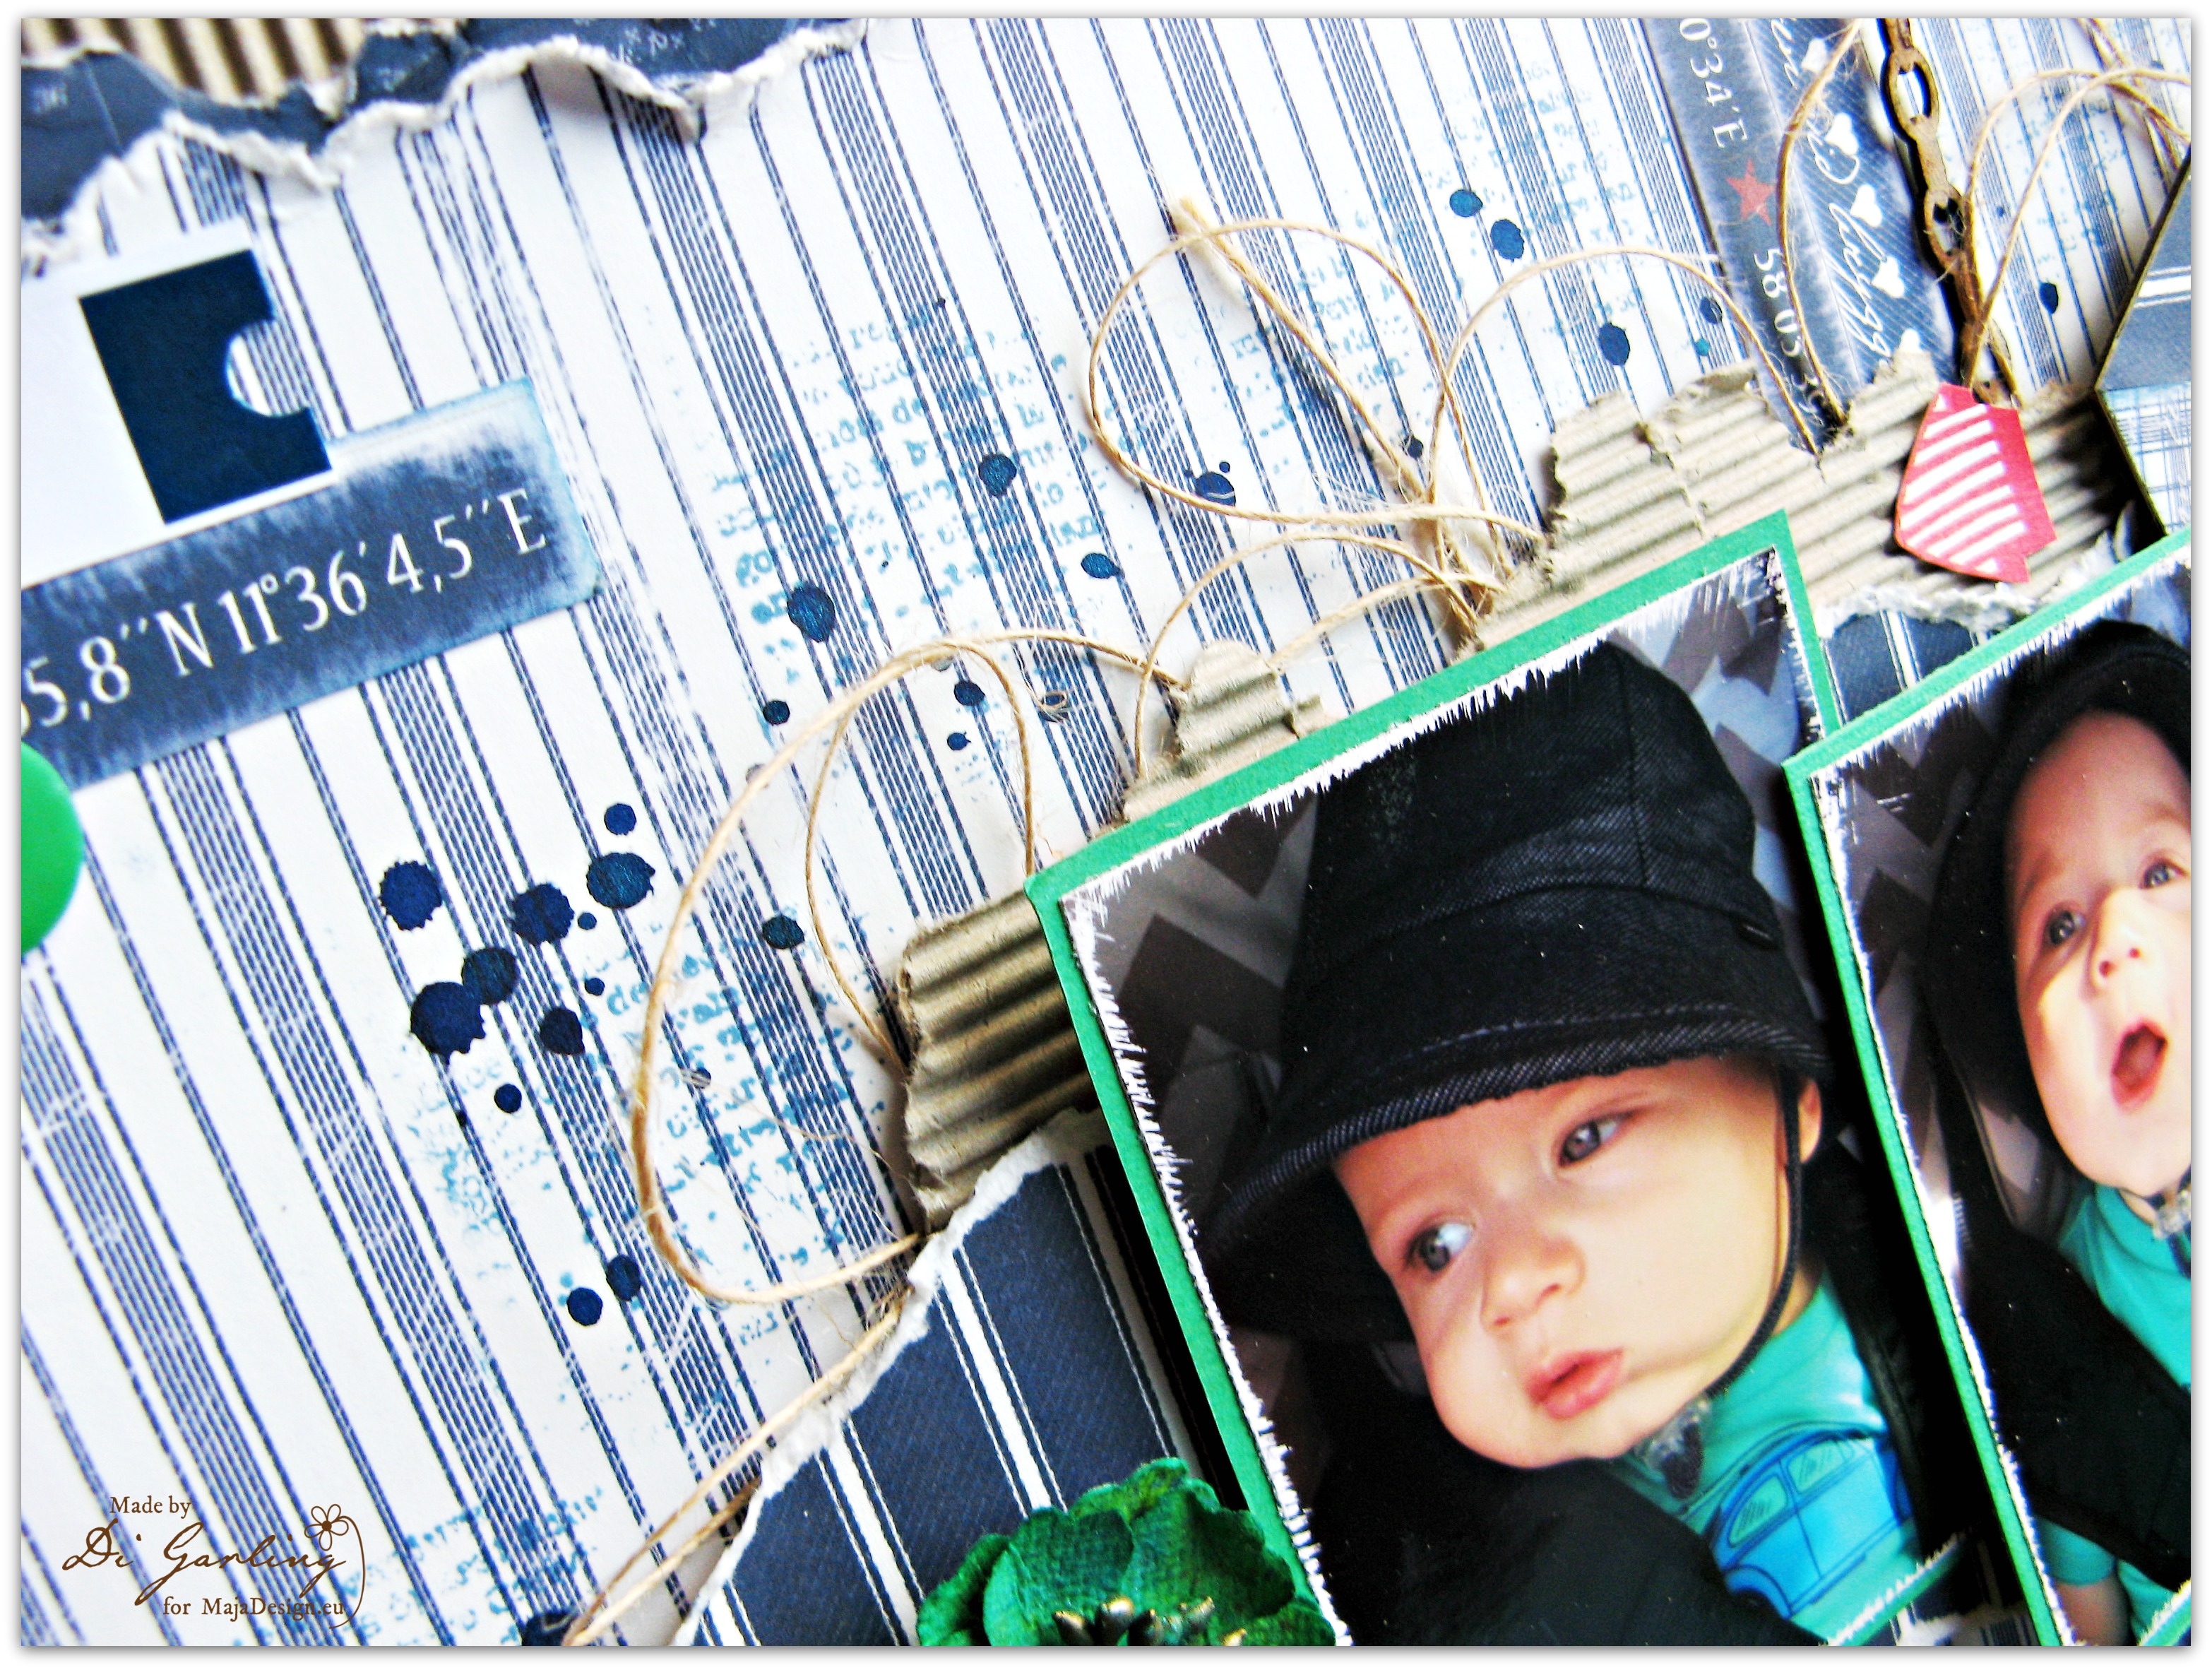
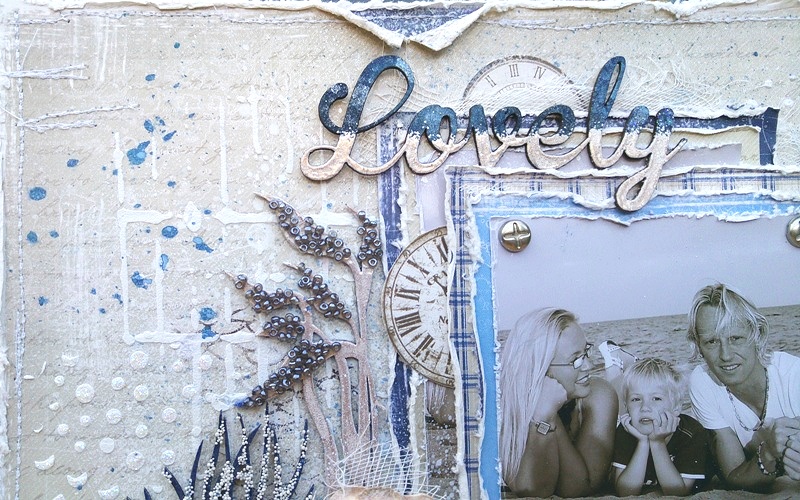
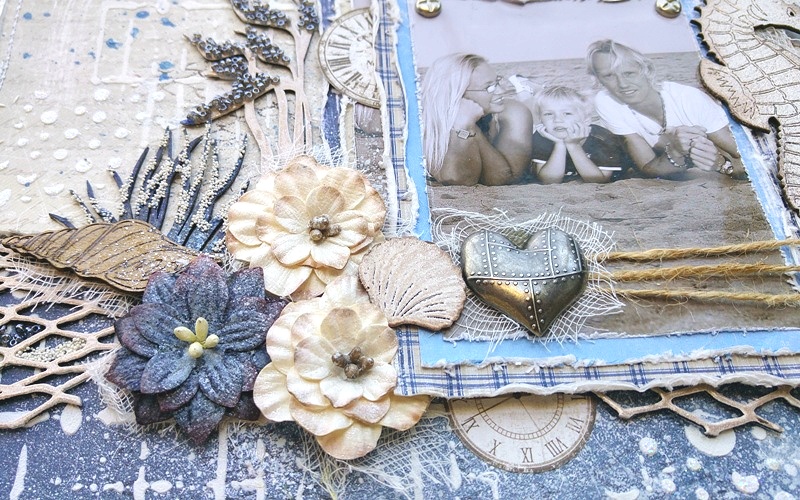
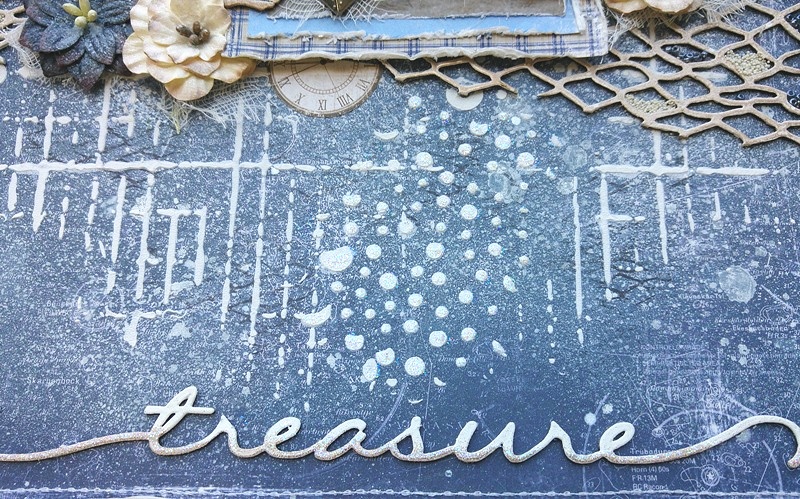
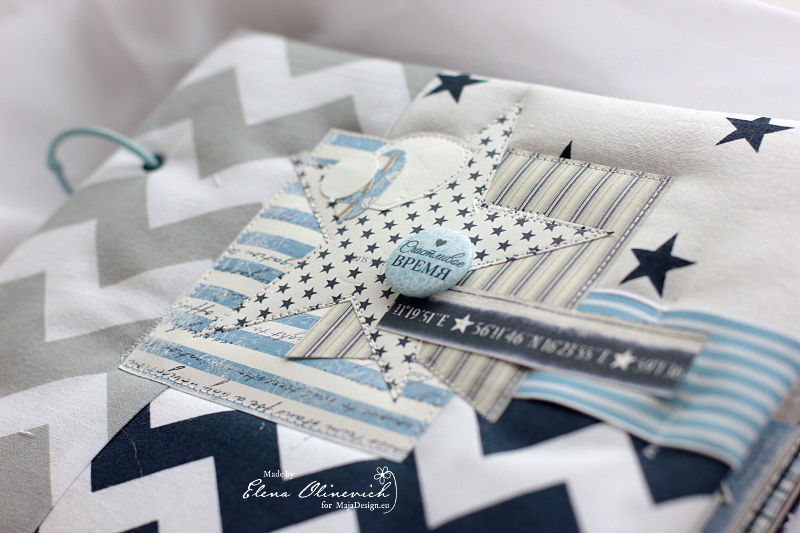
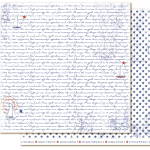
I chose the fresh and pretty ‘Seaside Cottage’ strip paper as my matting paper….and the softly scripted ‘Bottle Message’ paper as my background.  I decided on my photo and embellishment placement and then softly tinted the surrounding area with some Colorbox Mixed Media Inx in a Patina color.

All Smiles closeup2

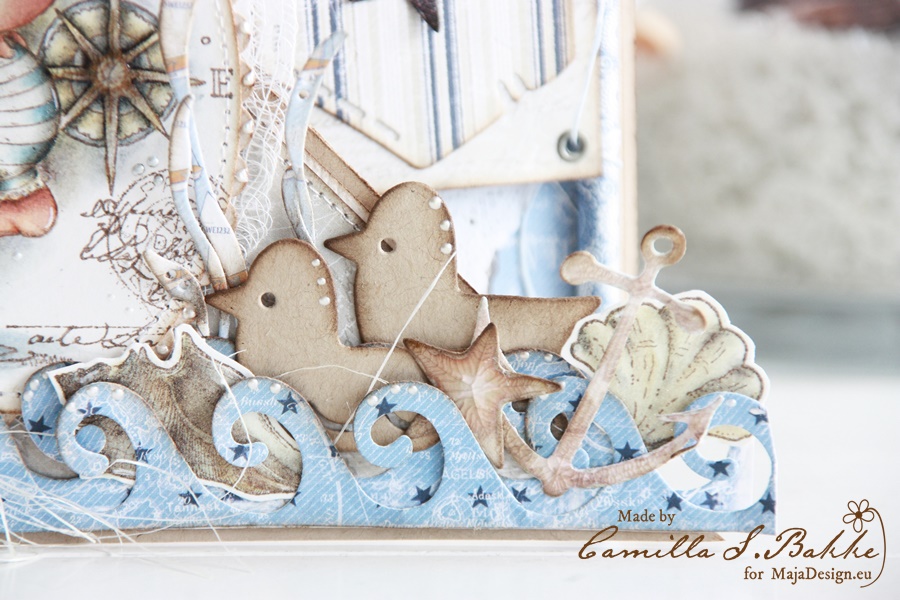
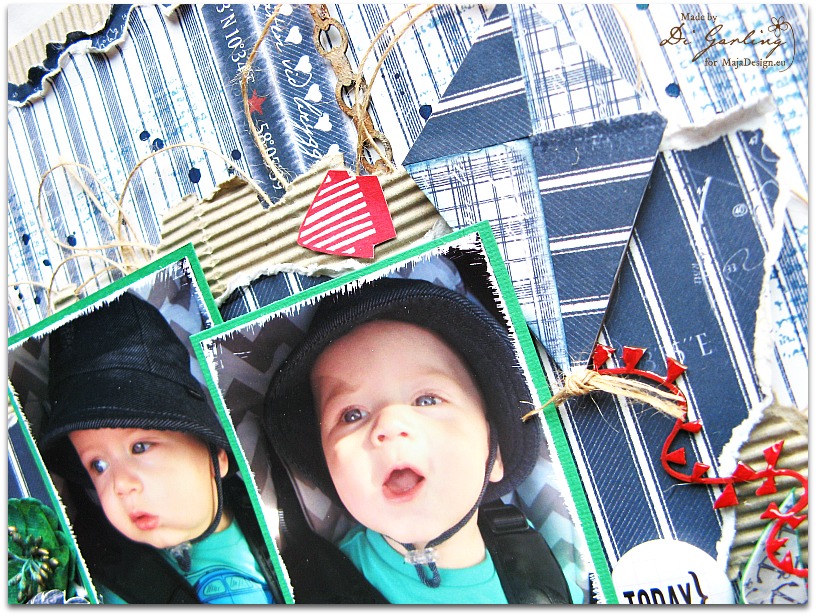
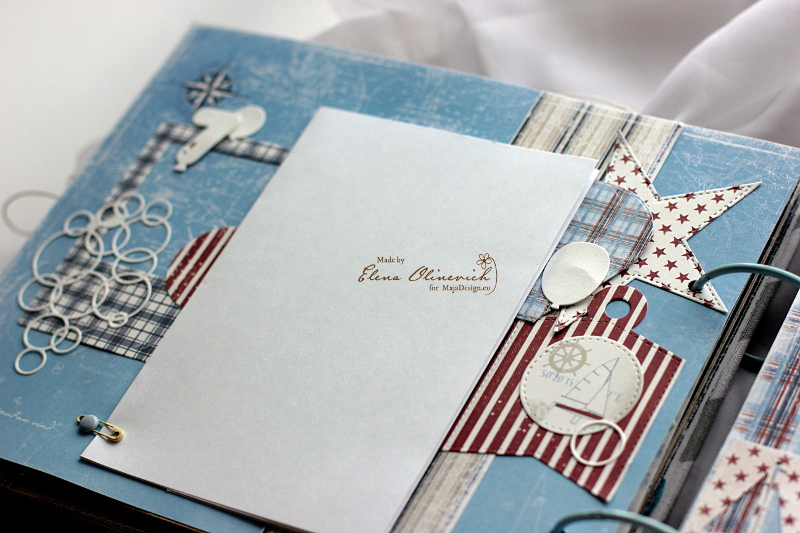
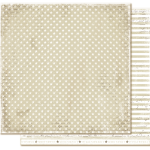
Before adhering my background paper to the matting paper, I added a little accent by tearing the two papers and curling back the edges to reveal the pretty check paper from the Vintage Autumn Basics collection with a little peek of lace as well. I added a small zipper pull from Prima Marketing to finish the look.  I also sandwiched a strip of burlap between the two papers before I finally adhered the two pieces together.  As an added finishing touch I added two ‘hinge’ designs by cutting a Dusty Attic ‘French Flourish’ chipboard design in half and glued them to the top and bottom of the right side.

All Smiles closeup3

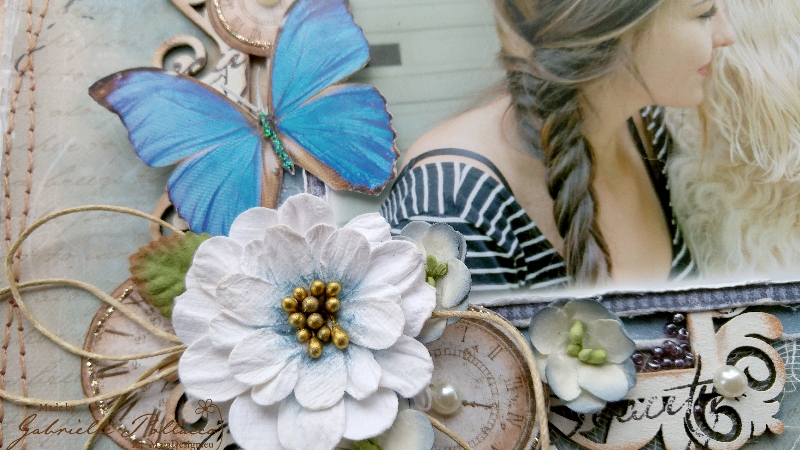
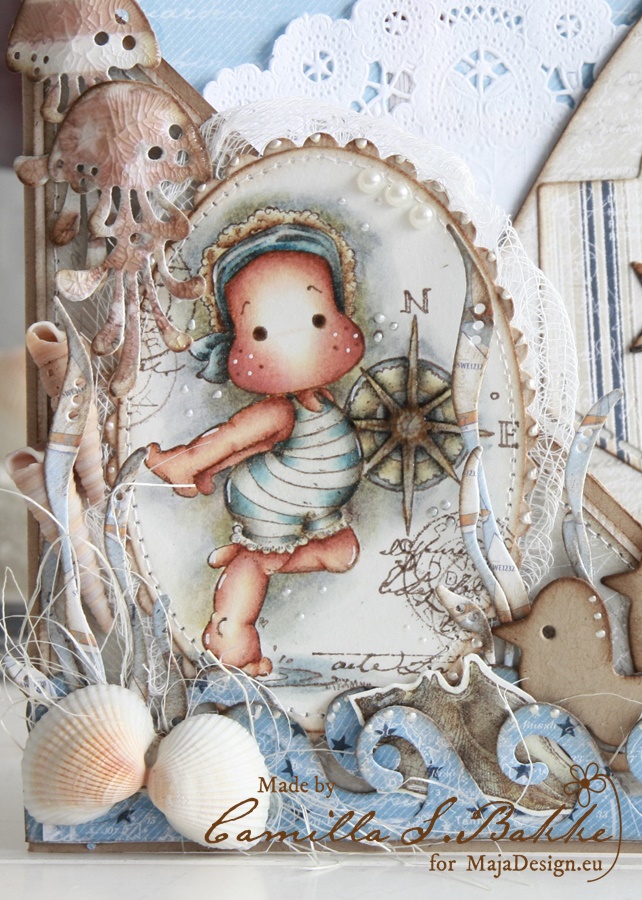
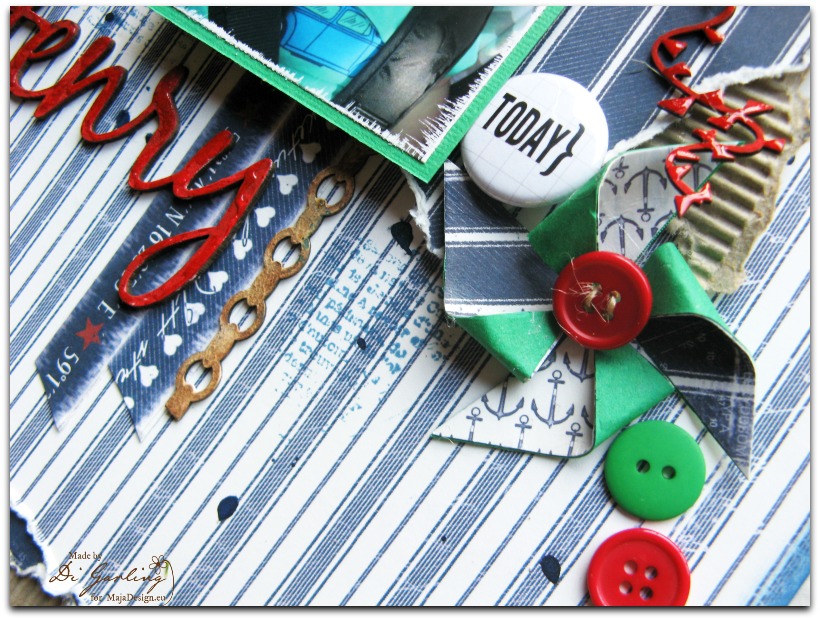
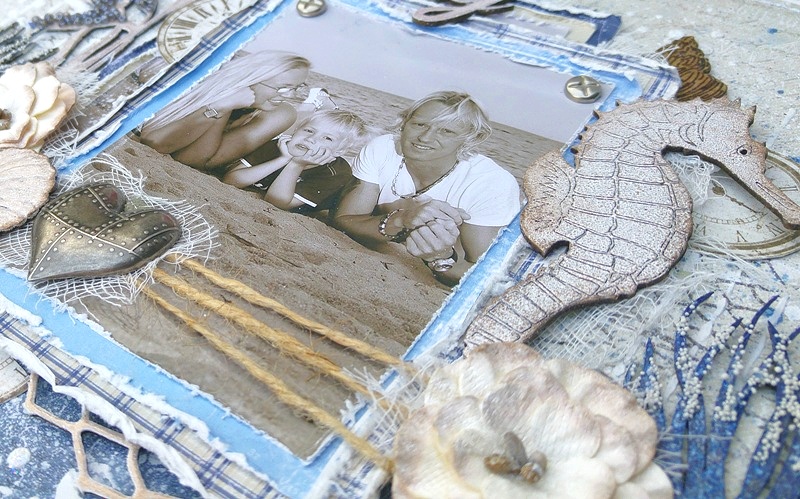
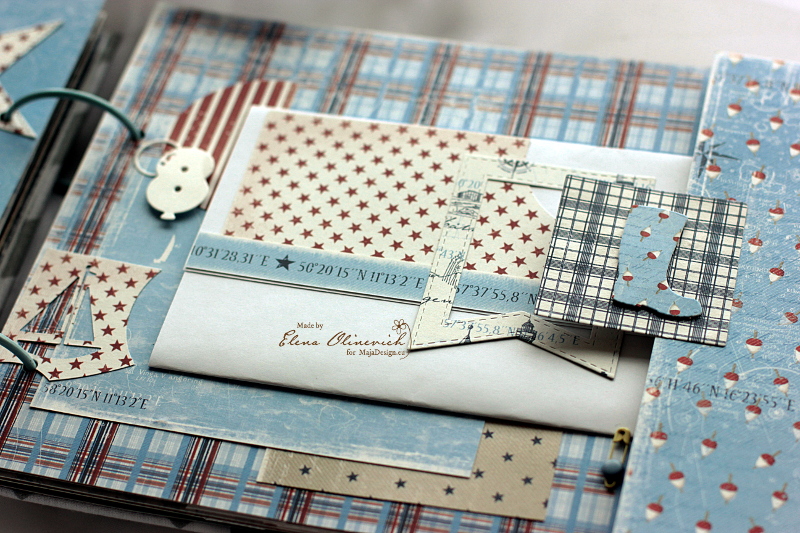
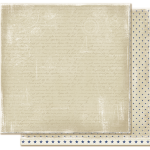
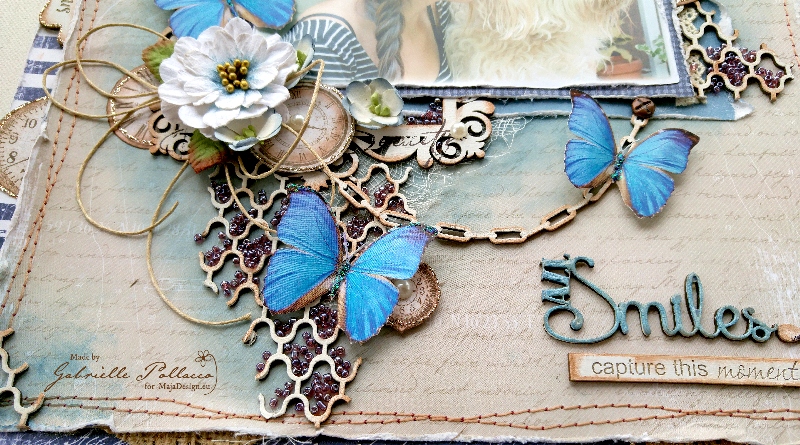
I double matted my photo with papers from Vintage Autumn Basics and Vintage Summer Basics, sandwiching the Dusty Attic ‘Vintage Frame #4’ between the two layers.  Then I added some butterflies (just some images I printed off from the internet), blossoms and clock images that I fussy cut from the Vintage Autumn Basics XVI paper, and applied with pop dots, adding a border with Platinum Stickles (glitter glue).

All Smiles closeup4

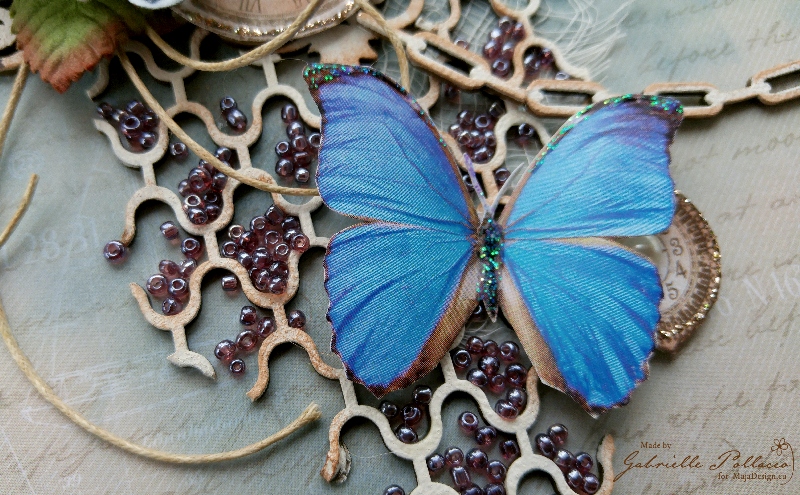
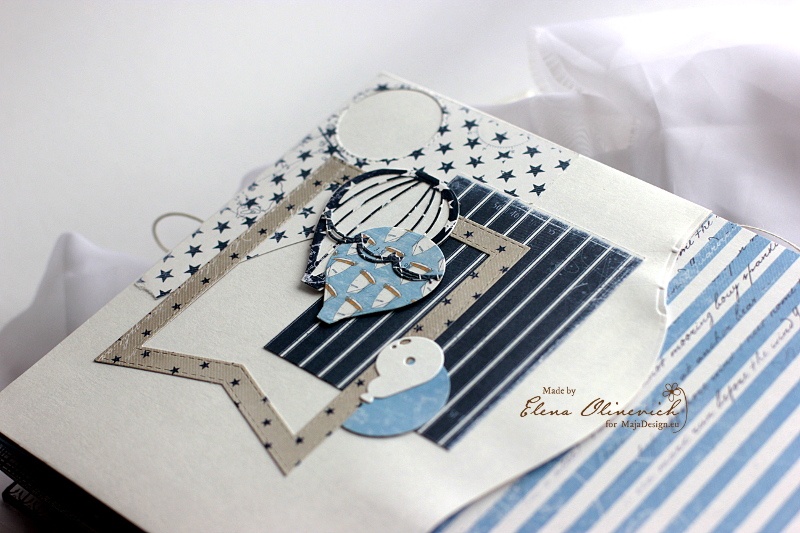
I also added some randomly cut sections of Dusty Attic chipboard Lattice…..and as a final touch used some Dusty Attic Clear Gloss Varnish to attach some seed beads in around the lattice (Prima – Licorice seed beads).

I hope you enjoyed checking out my project as much as I enjoyed creating it!  It has been my absolute pleasure being on this wonderful design team and want to thank Marie Janson for her kind generosity and support all these years, as well as Camilla Lillieskold, our awesome design team coordinator and Jennifer Snyder, our social media coordinator for all their hard work on our behalf.

Suffice it to say I will be using all the lovely product I still have in my stash for years to come! xo

Gabrielle-sign