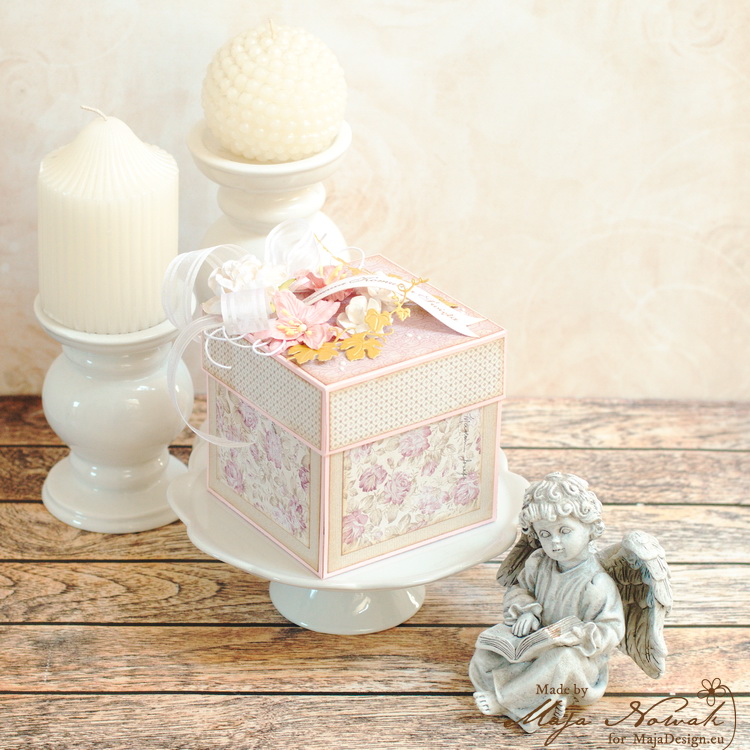
Good morning, Maja Friends, welcome to the blog today 🙂
Although the pandemic caused closure of schools worldwide, it doesn’t mean studying stopped as well (but perhaps pupils aren’t so happy about it 😉 ). And of course it doesn’t mean teachers stopped working. Running online classes is no less demanding and many claim they spend even more time getting the lessons ready than at school. Most students in Poland won’t be returning to schools before the summer break, but they still want to express their gratitude towards their techaers who help them deal with this difficult situation we’re all in. And so I made two cards thay say “Thank you!”:
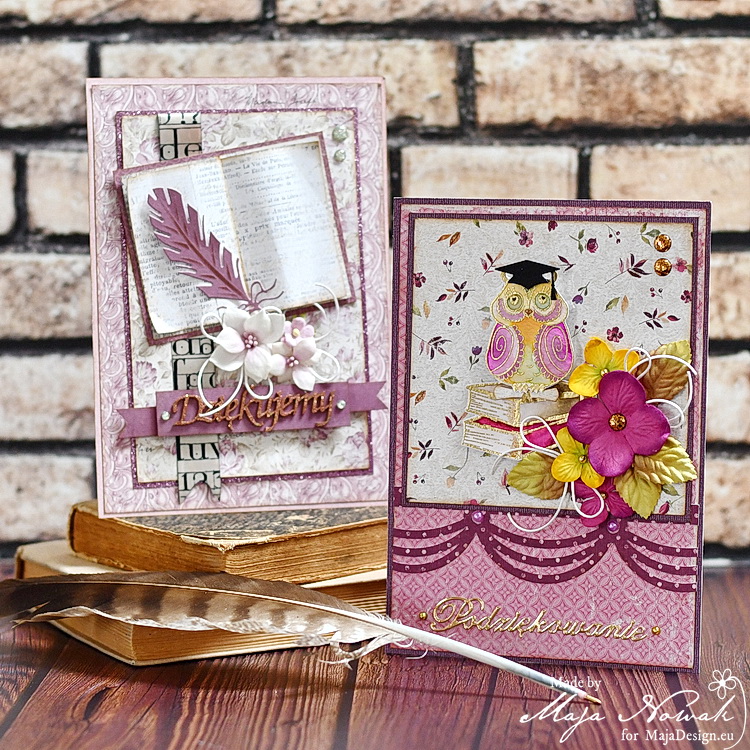
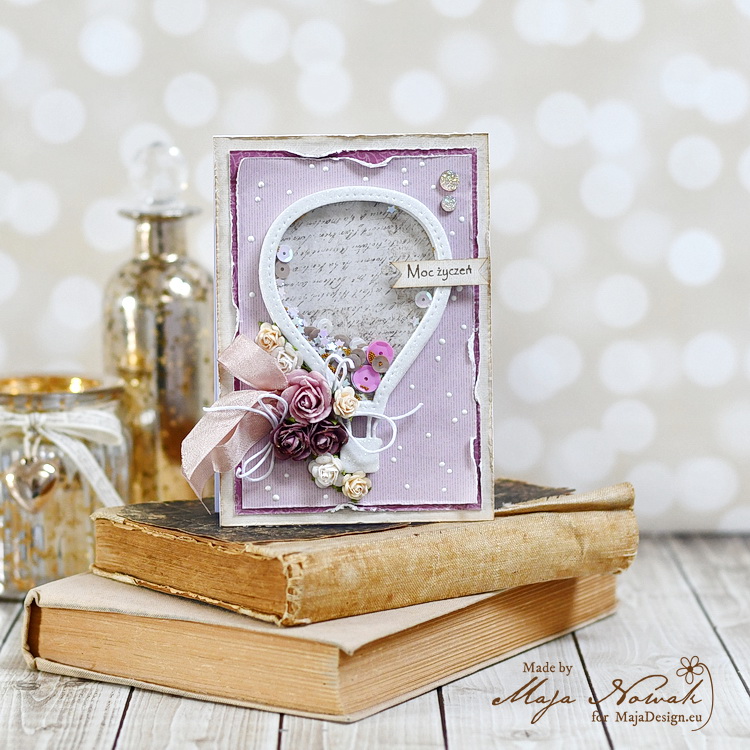
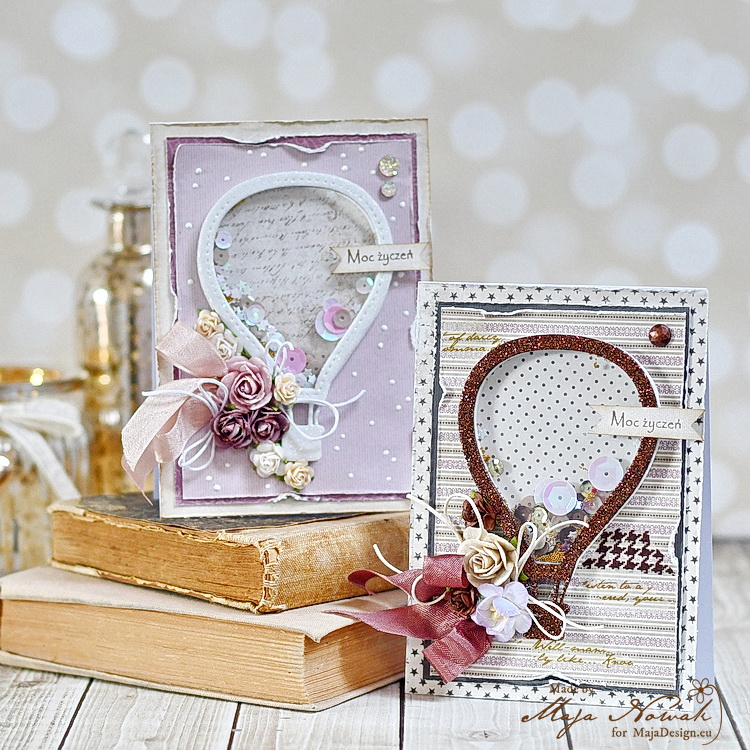
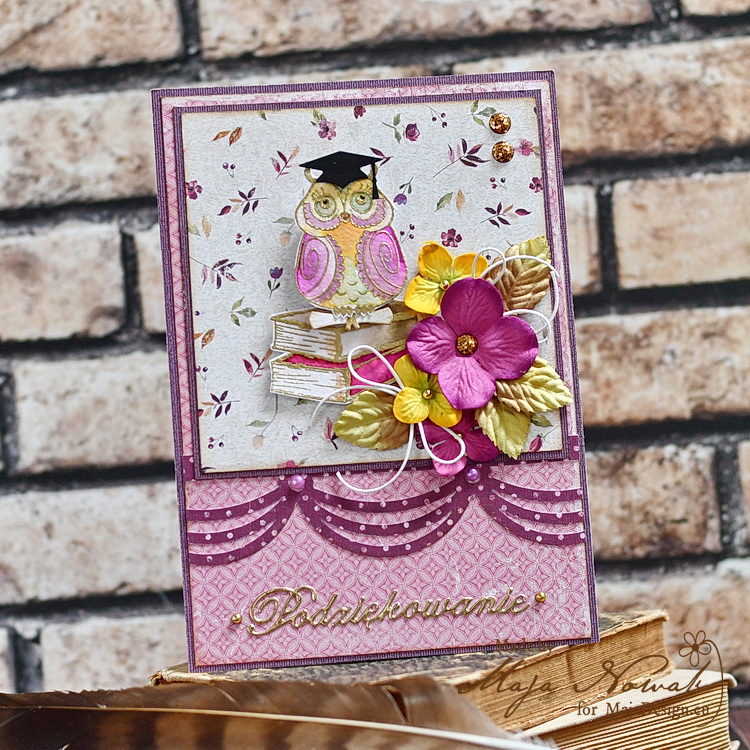
They are larger than my usual cards, measuring 15×20 cm (so twice the regular size), I guess these pupils are particularly grateful! 🙂 One is for the headmaster:
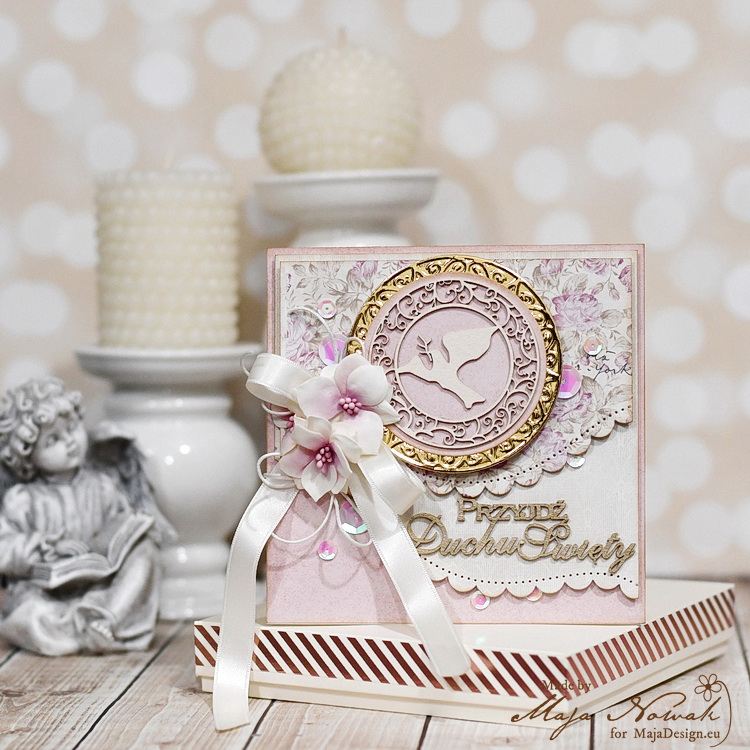
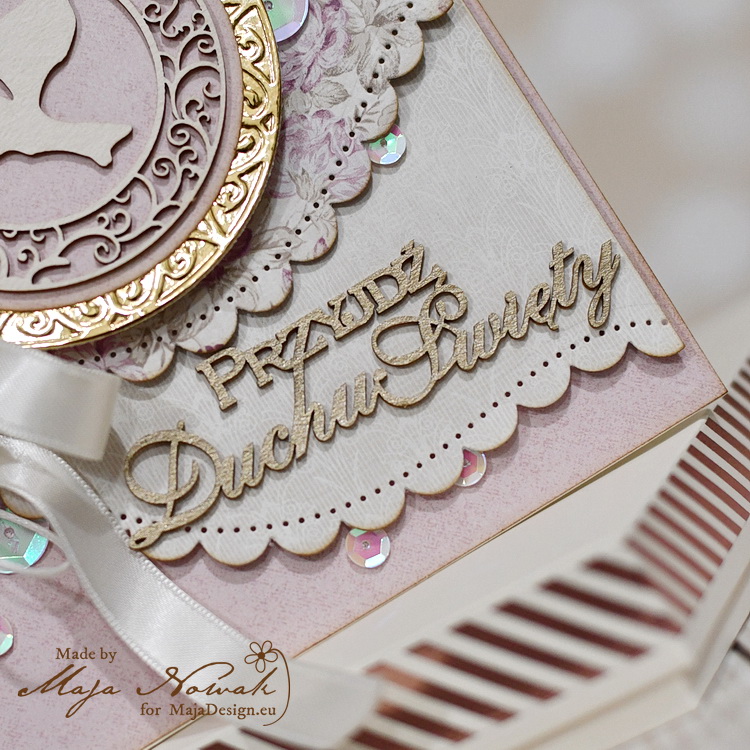
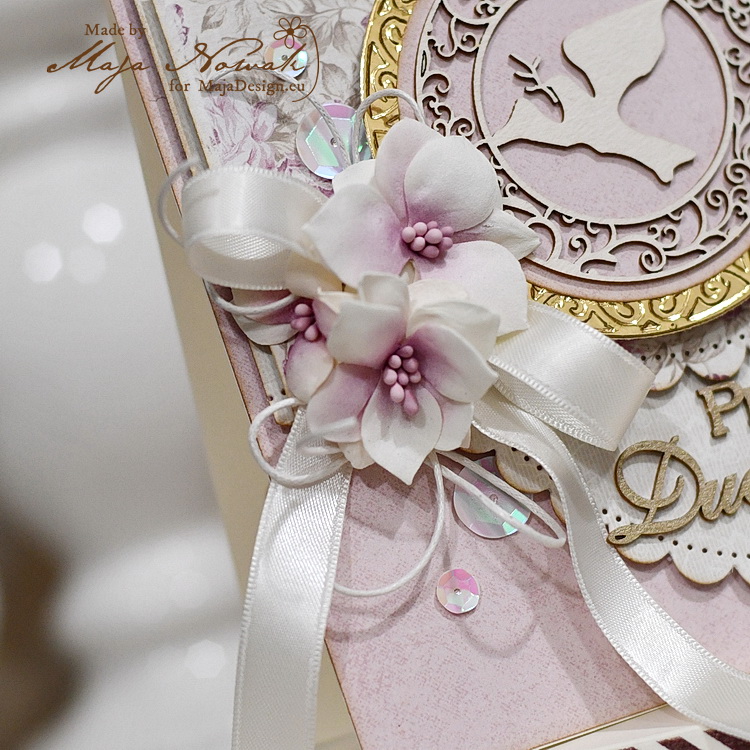
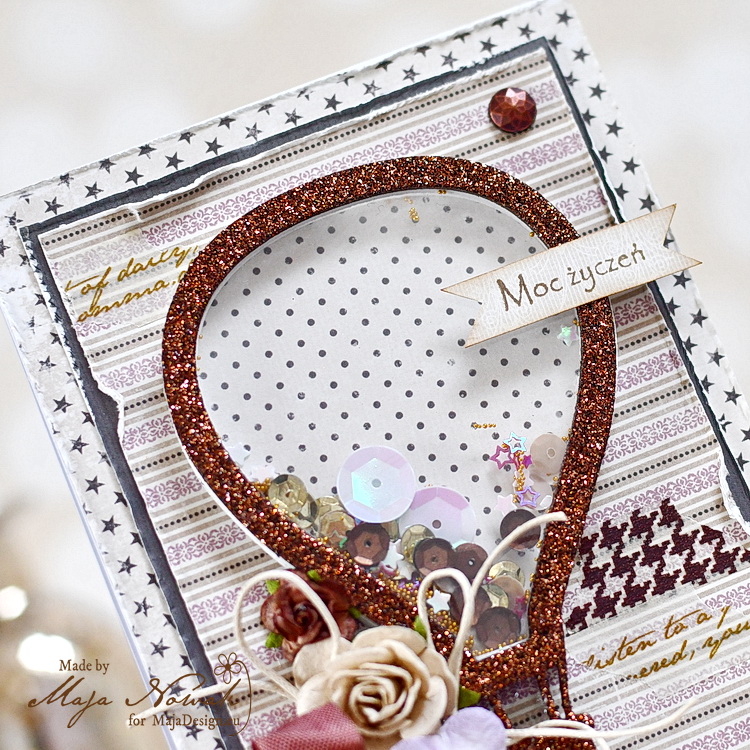
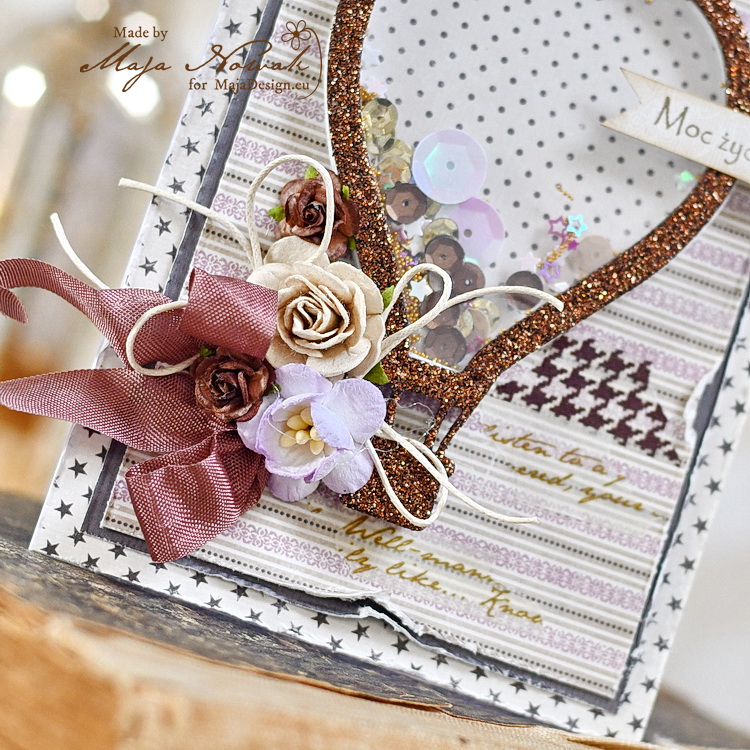
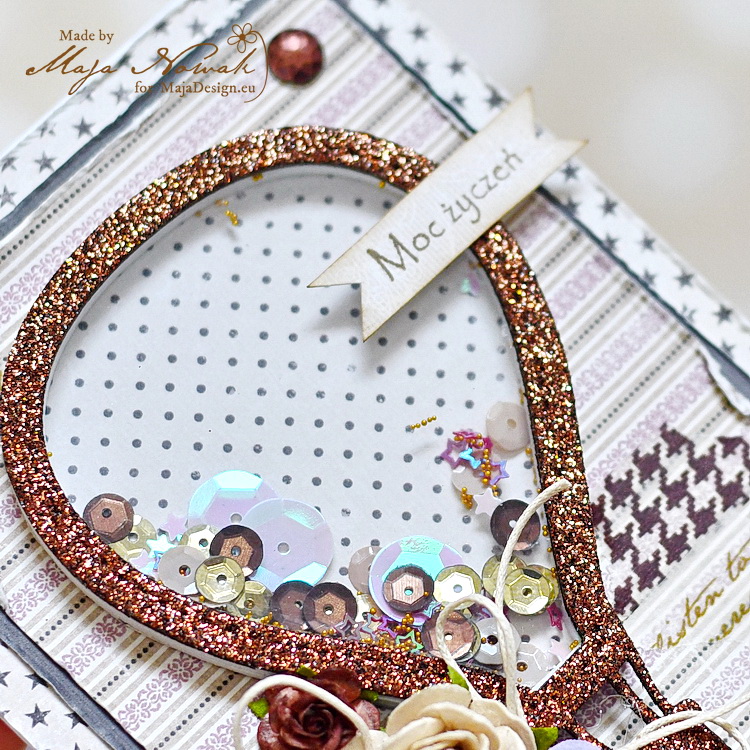
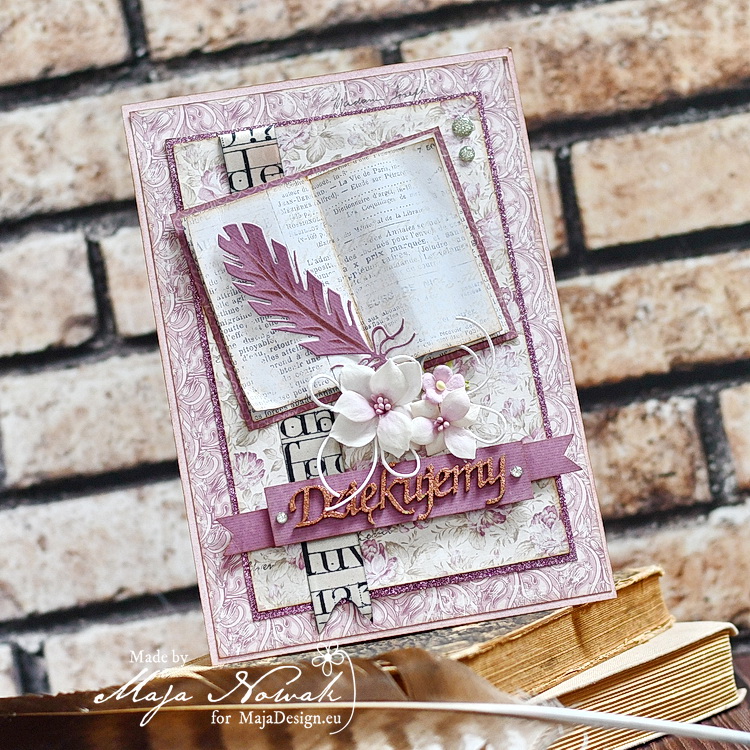
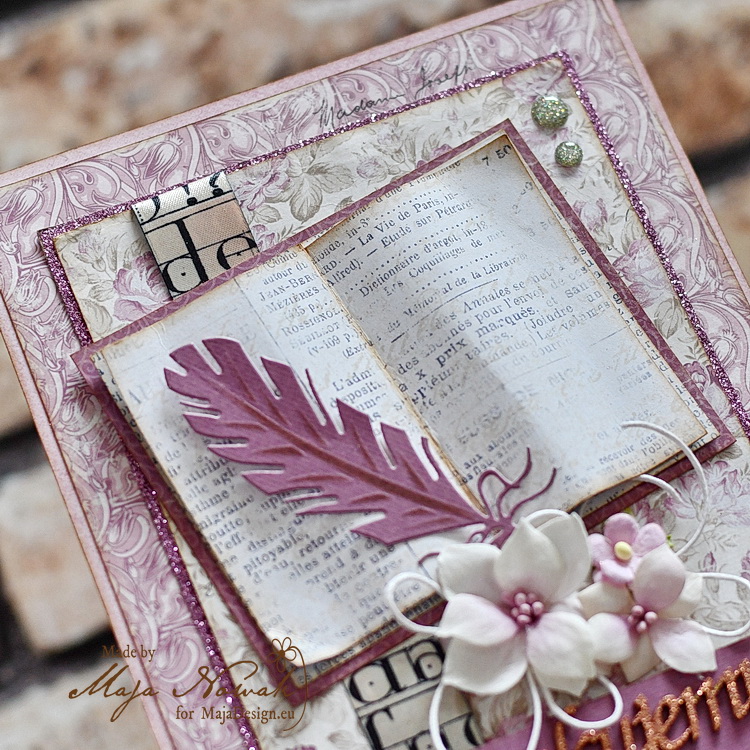
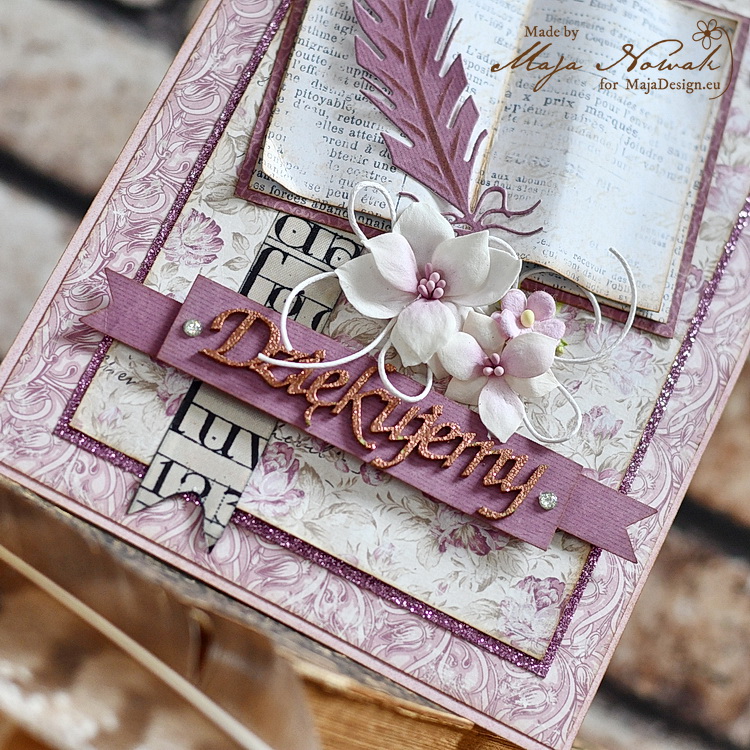
…and the other for a Polish language teacher:
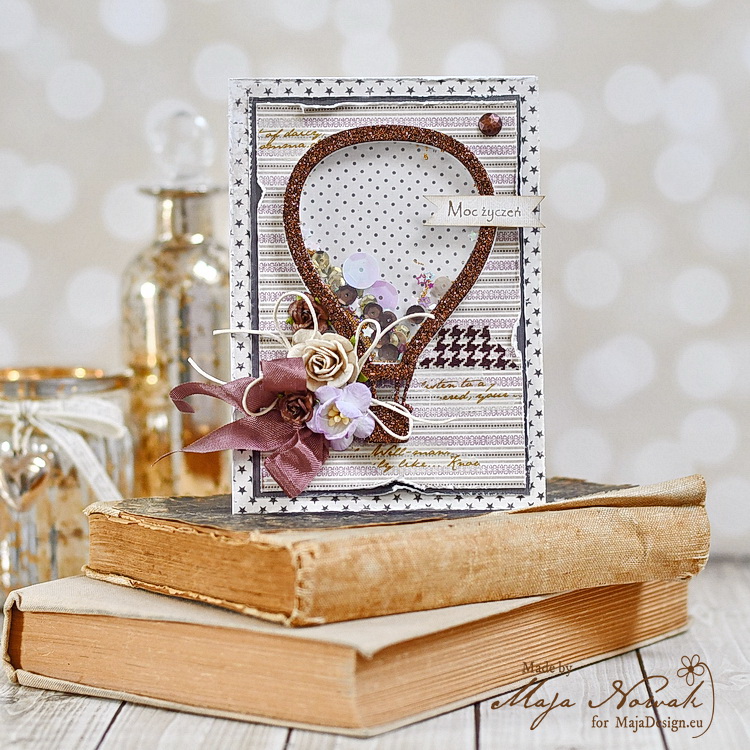
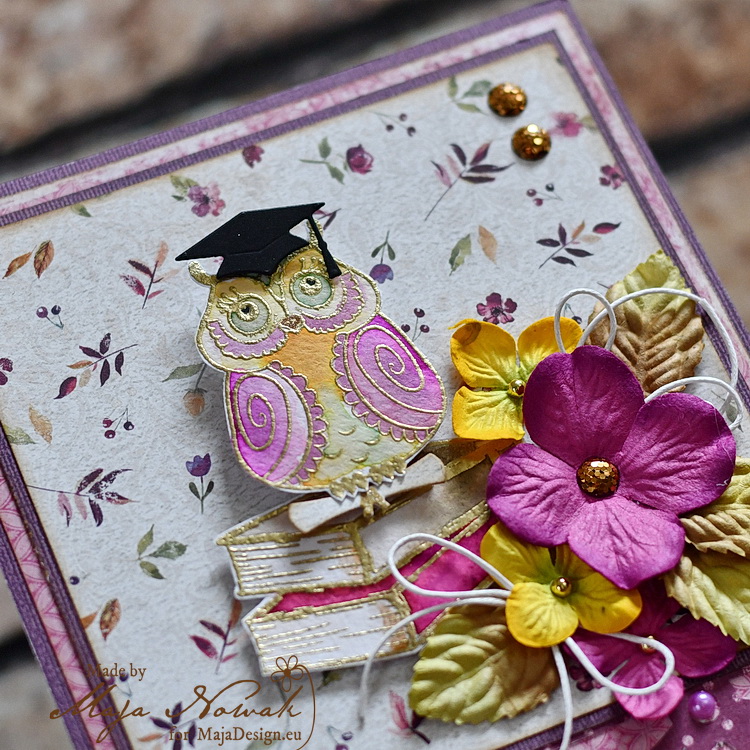
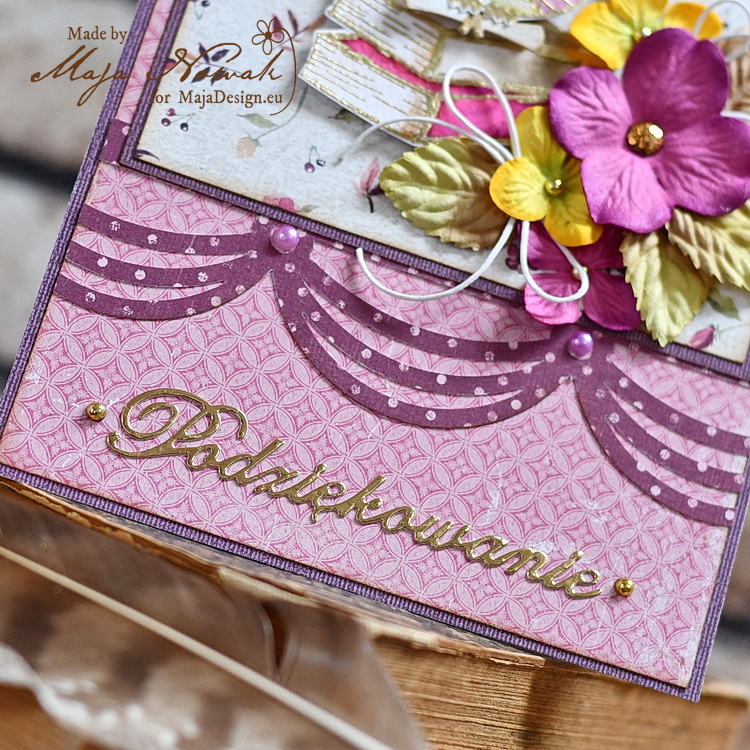
The card for the headmaster features the Little Street Cafe collection and a hand-coloured stamped images of an owl and some books that I also heat-embossed with gold ep. I added a flower cluster and die cut sentiment:
For the Polish language teacher card I used the Celebration collection. The focal point is a book I made from scraps of paper and decorated with flowers made from foamiran and an embossed chipboard sentiment. I also added a beautiful letter-patterned ribbon to look like a bookmark going across the card:
I hope the teachers would like the cards as much as I liked working on them!
Here’s what I used:
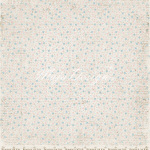
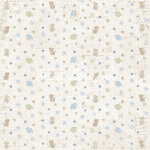
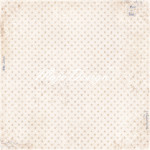
Maja Design papers:
-
- Flower giveaway bs

-

- Mono Celebration-Muted Fuchsia bs
-

- Mono Celebration-Muted Fuchsia
-
- Joyful
-

- Tea please-bs

-

- Wine
Other: stamps: Lemonade, Agateria; dies: Leane Creatief, Nellie Snellen, Marianne Design; flowers: Prima, handmade; chipboard: Wycinanka.pl; embossing powder: Blue Fern Studios; enamel dots: DP Craft; border punch: EK Success; ribbon: Eight.pl.
That’s all for today, stay healthy at home, and see you soon!