Good morning, dear Maja Friends, welcome to the blog today!
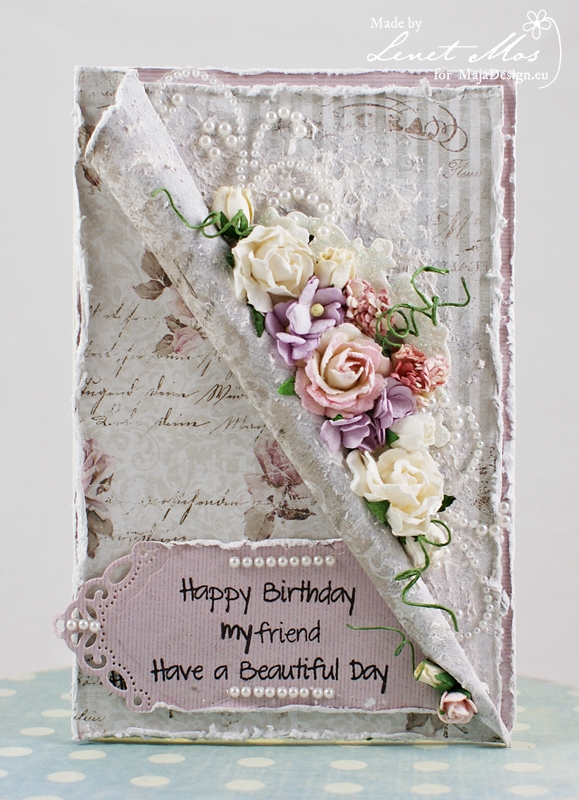
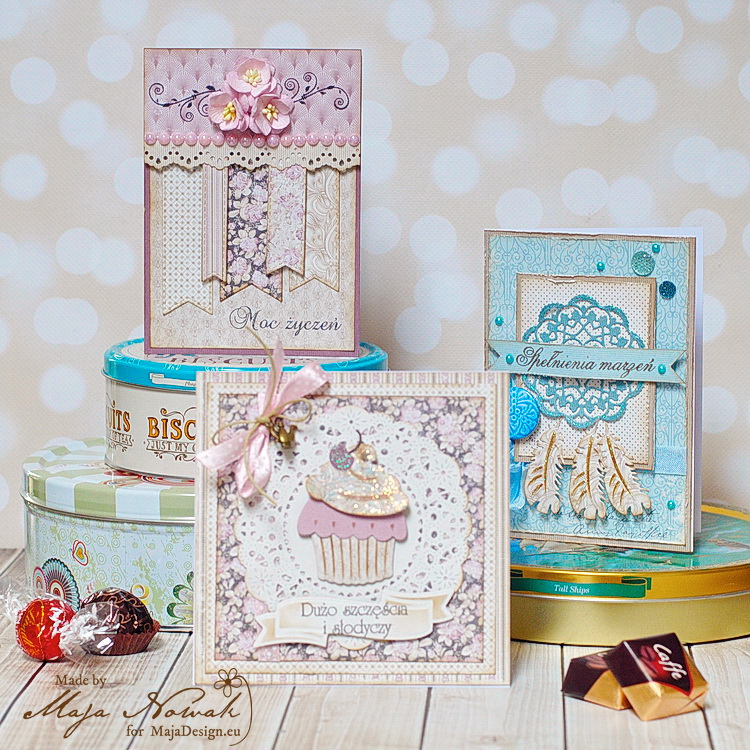
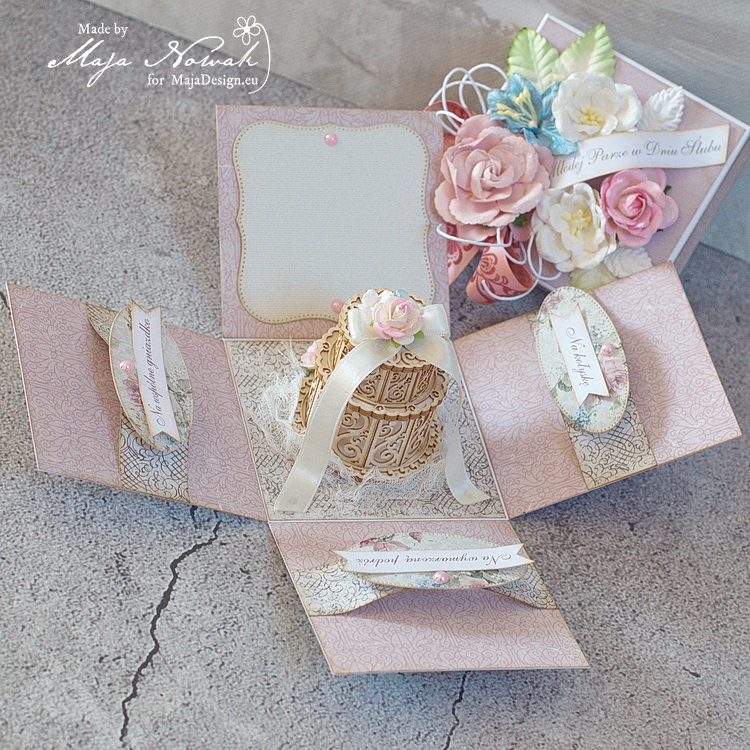
The wedding season is slowing down a bit, but still the wedding bells can be heard each Saturday 😉 And so it is reasonable to have a stock of wedding cards and gifts at hand. Therefore for my today’s post I decided to make a wedding exploding box for those who wish to complete their wishes with some cash too 🙂
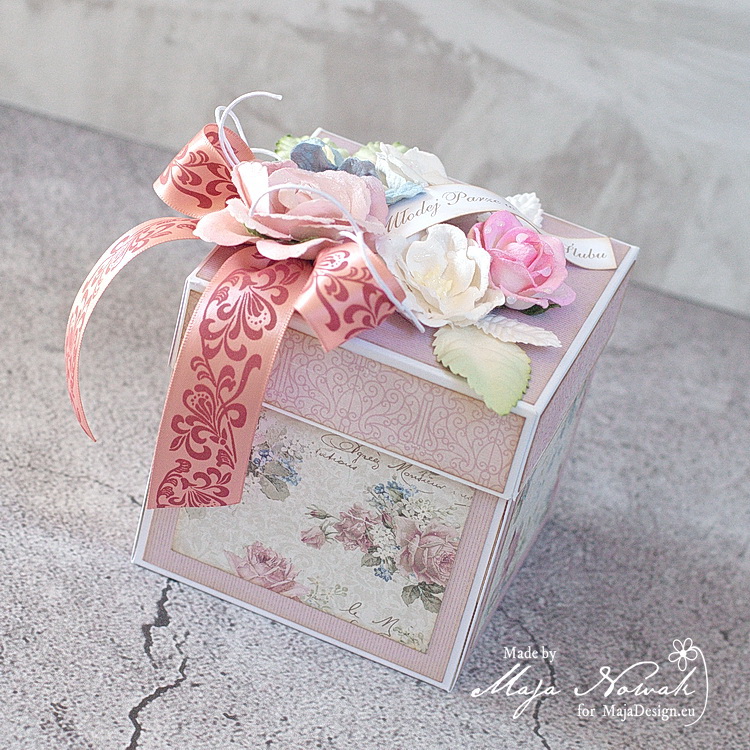
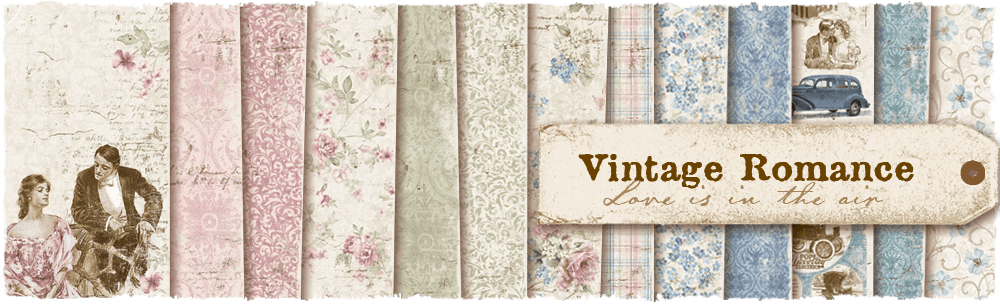
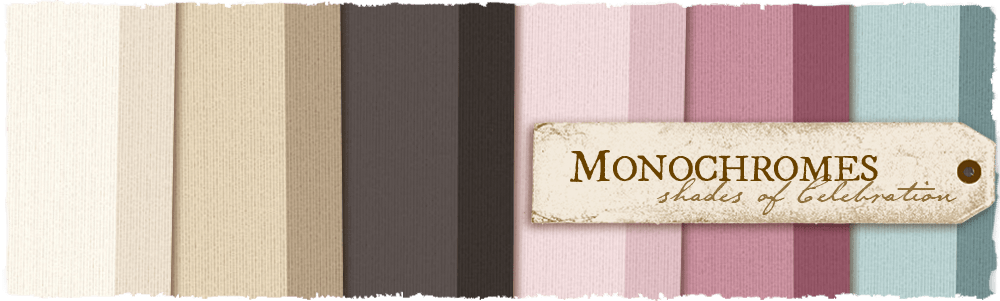
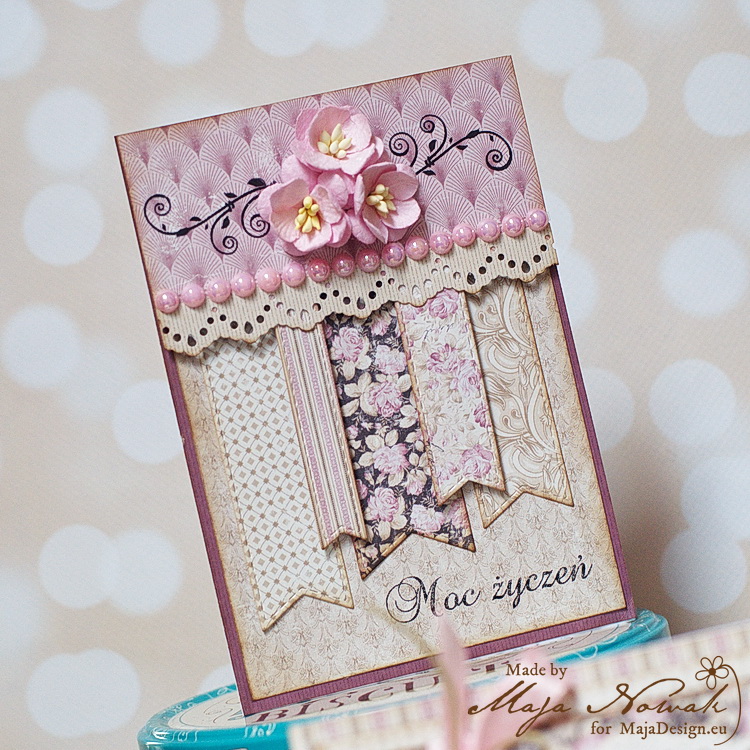
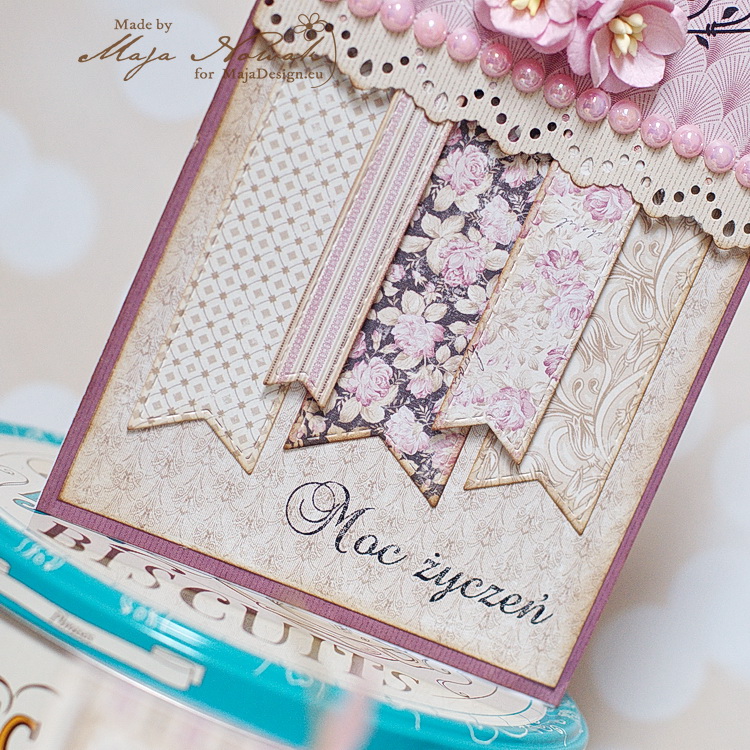
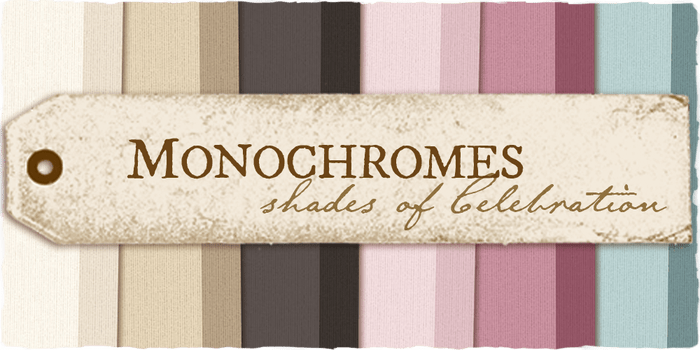
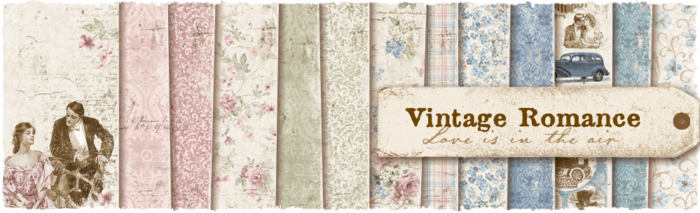
I combined two collections in the box, and they are both perfect not only because of beautiful colours and elegant patterns, but also because of their names! Mix Vintage Romance with Celebration and you have a perfect wedding project.
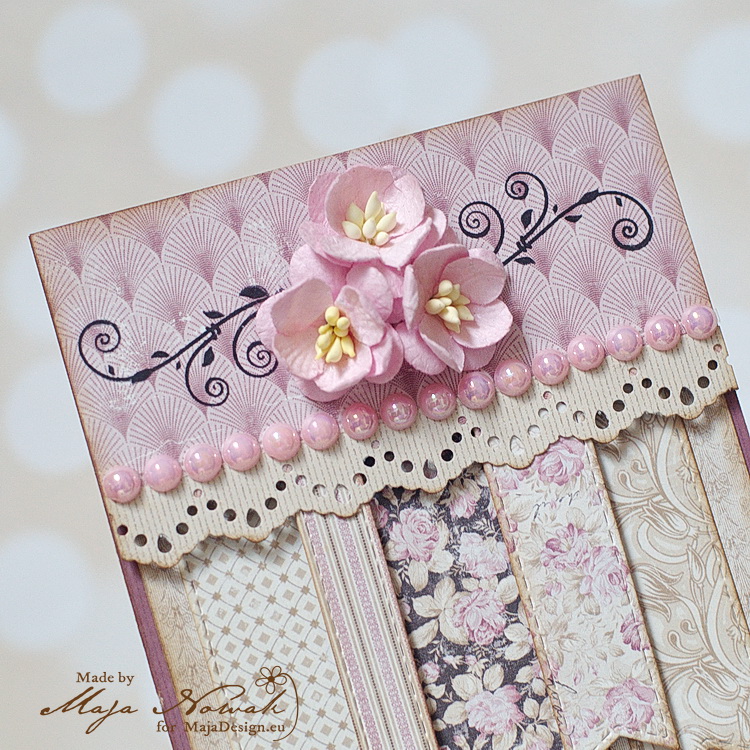
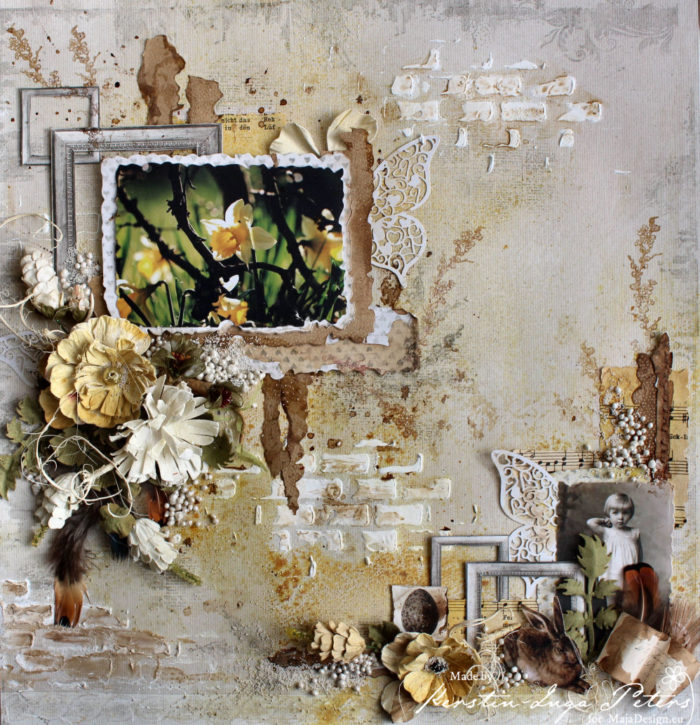
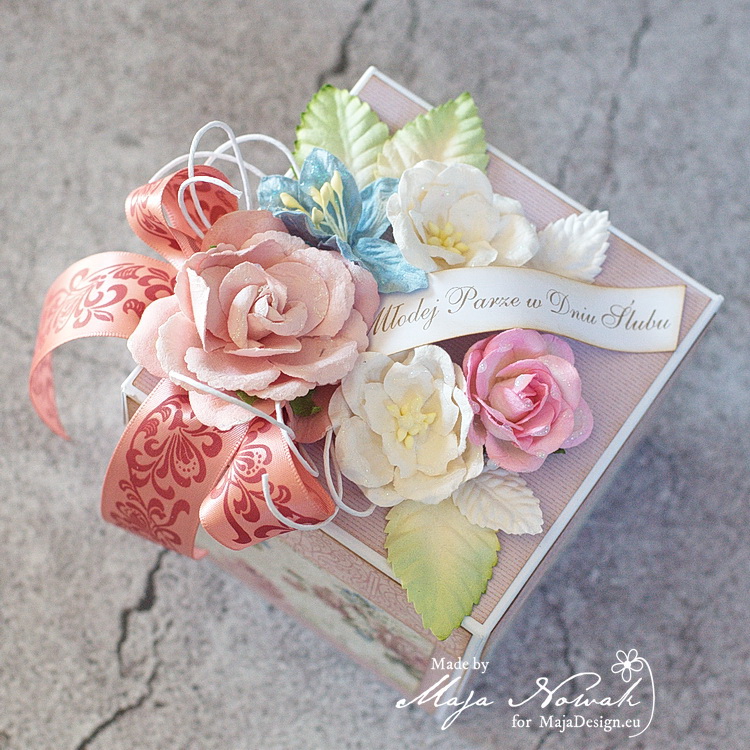
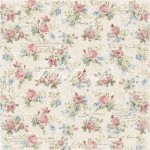
I matched the flowers I used for the box with the printed ones of the Engagement sheet.
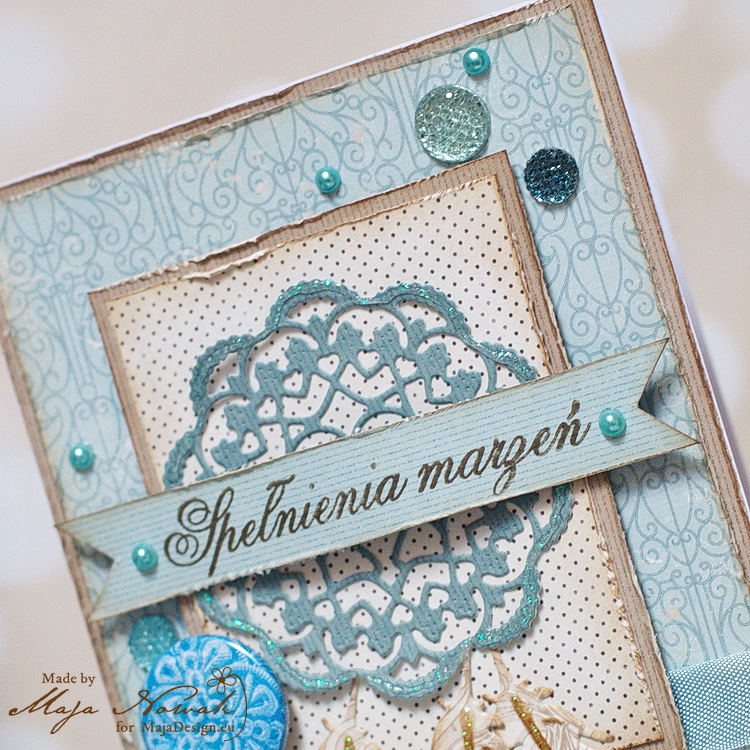
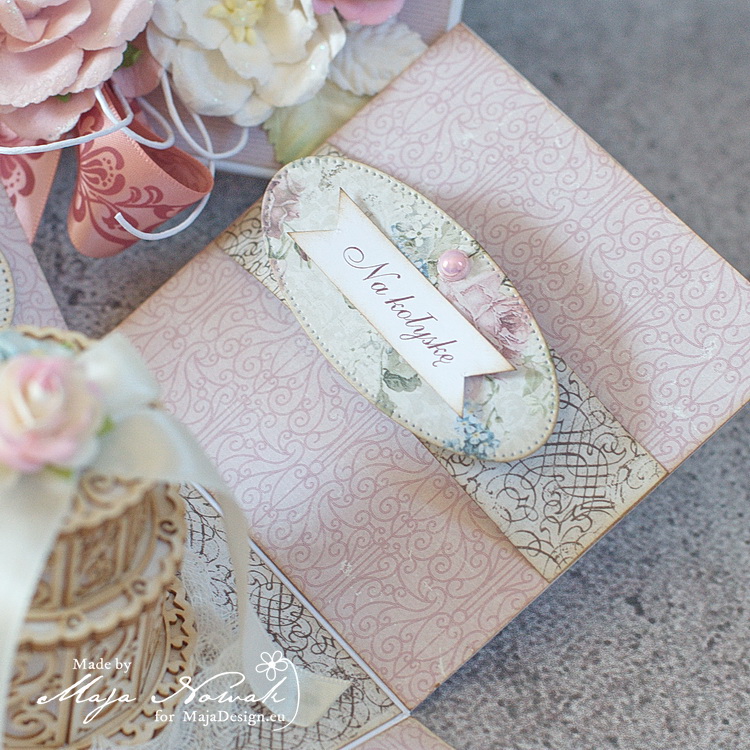
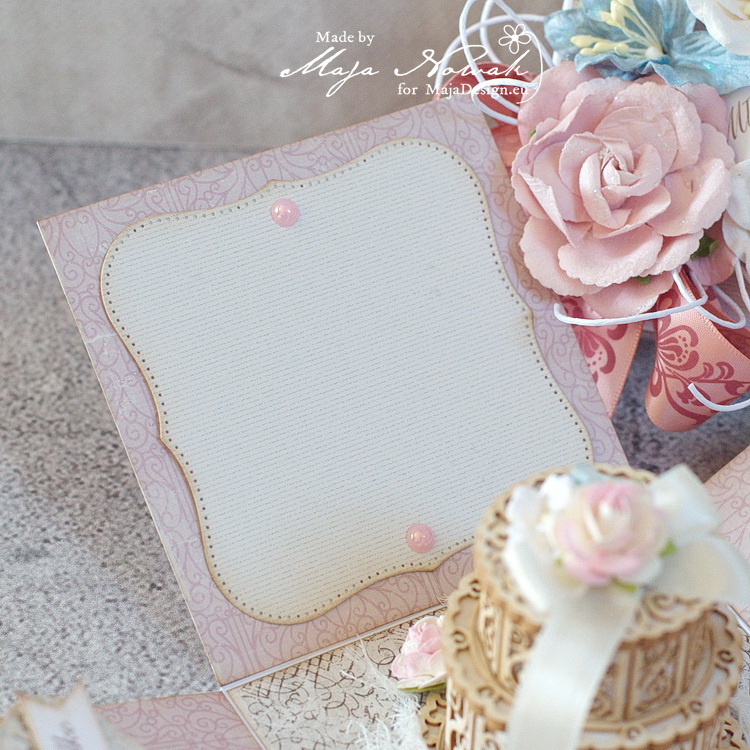
Inside the box are the usual slots for money – the sentiments say: for the crib, for the shared nest and for the journey of your dreams – as well as the space for writing in wishes:
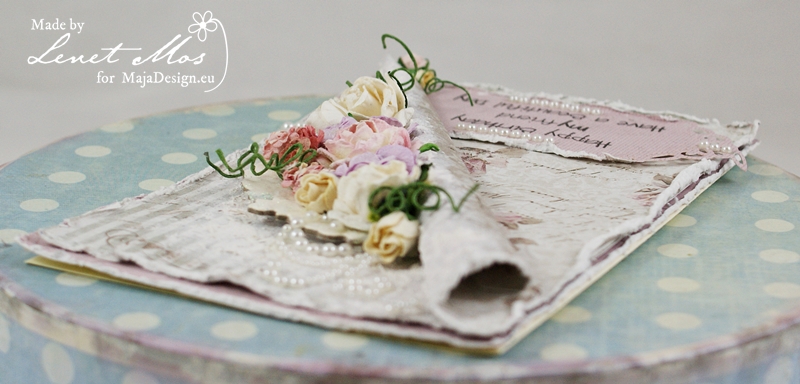
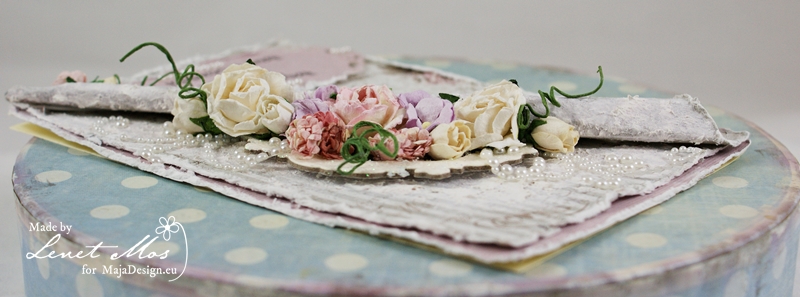
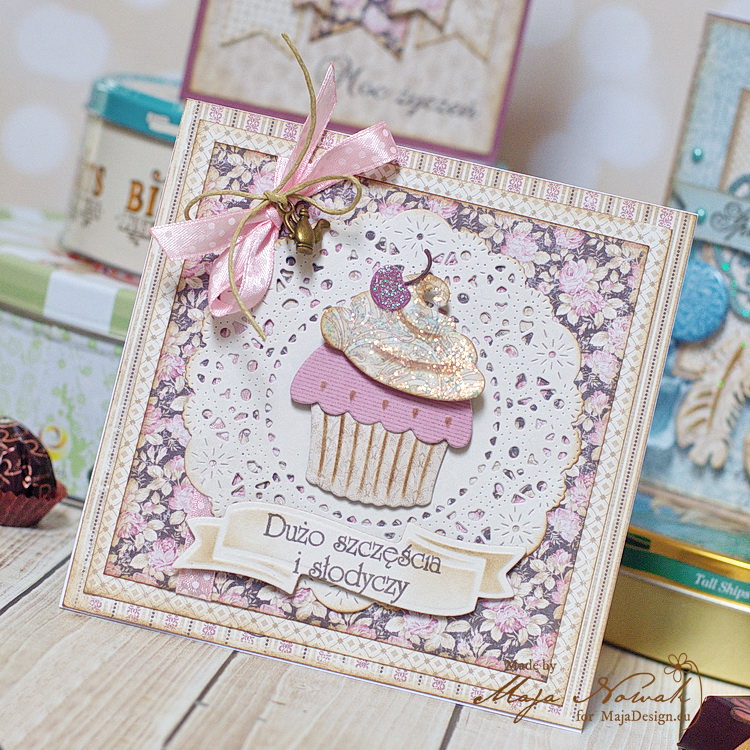
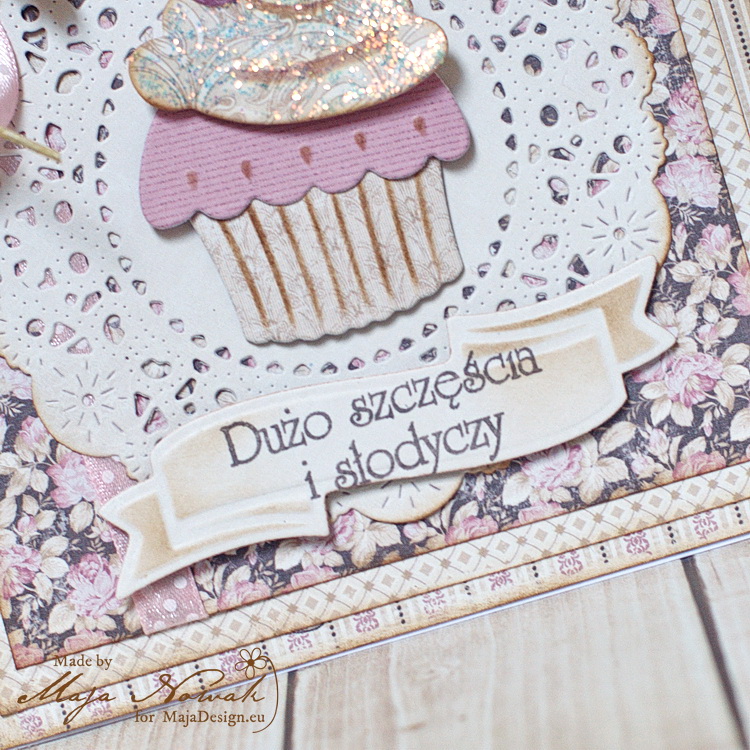
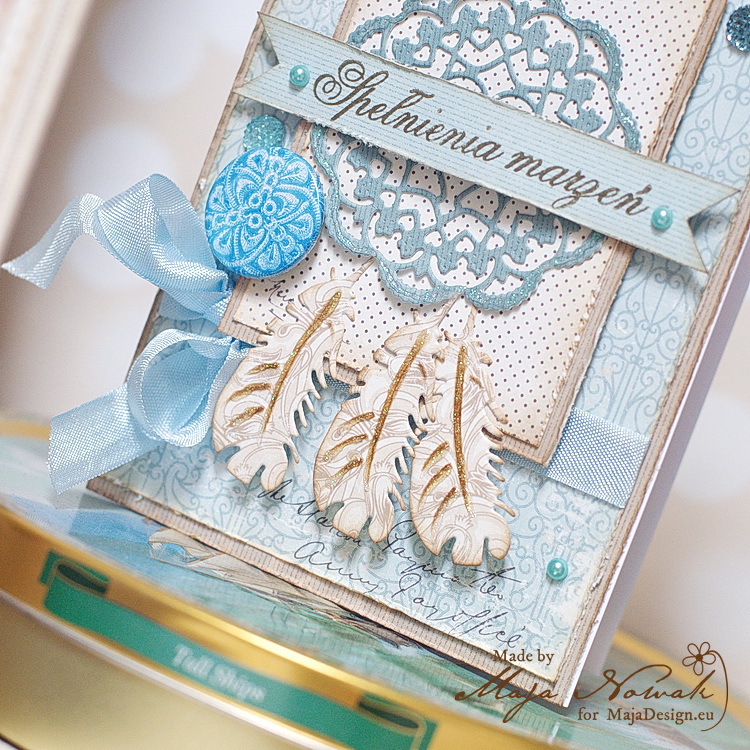
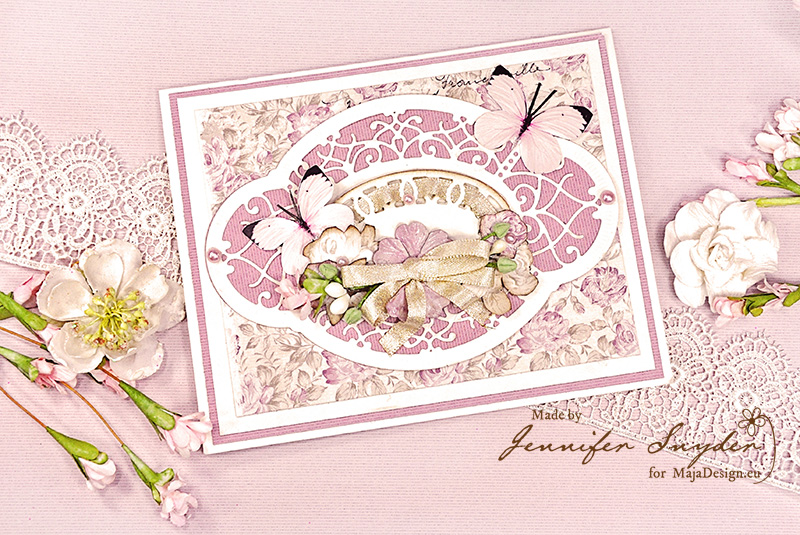
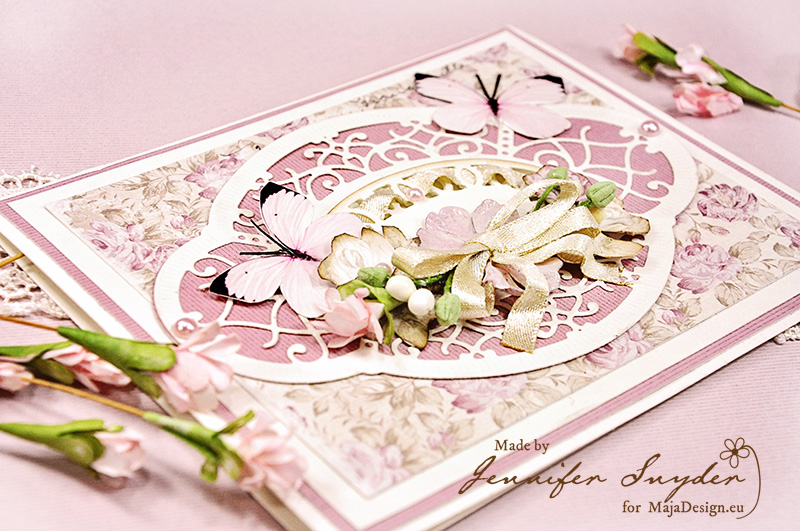
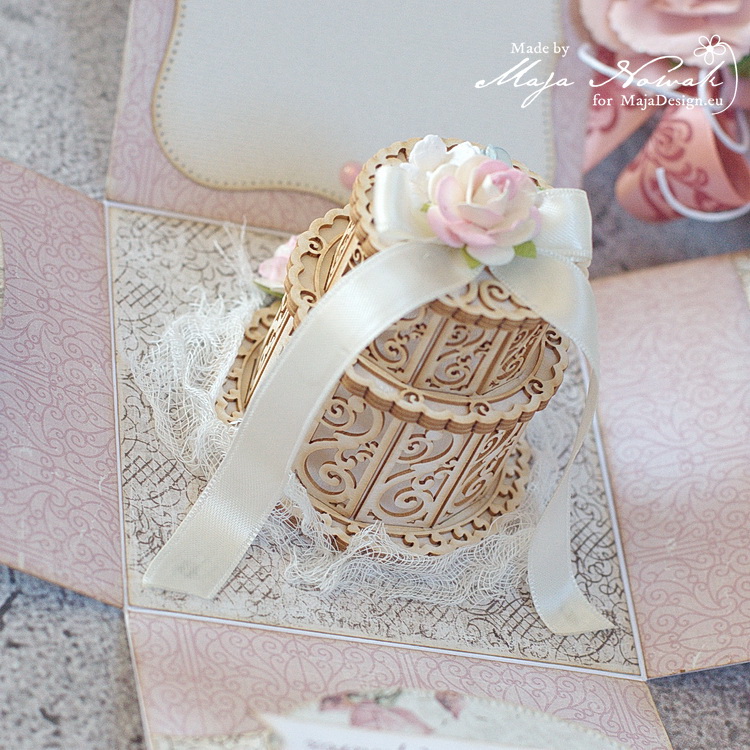
The filigree chipboard cake I used perfectly matches the flourishes of the papers! I decorated it with mini flowers and satin ribbon:

And how do you give cash presents to the newlyweds? Just an envelope or something more elaborate?
Here’s what I used to make the exploding box romantic and flowery:
Maja Design papers:
-
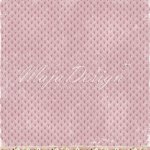
- Mono Celebration-Lavender Rose
-
- To the party bs
-
- Mono Celebration-Pearl
-
- no.XVIII BS
Other: flowers: Prima, Wild Orchid Crafts; chipboard cake: Wycinanka.pl; dies: Crealies; ribbons, cheesecloth, pearls: my stash.
And that is all for today, thank you for visiting the blog and feel welcome to drop by any time to find more inspiration 🙂