461 Search Results for By The Sea

Paradise

1

Posted by Amy Voorthuis

16 June, 2017 - , , ,

Write a comment

Goodmorning & happy Friday Maja Fans,

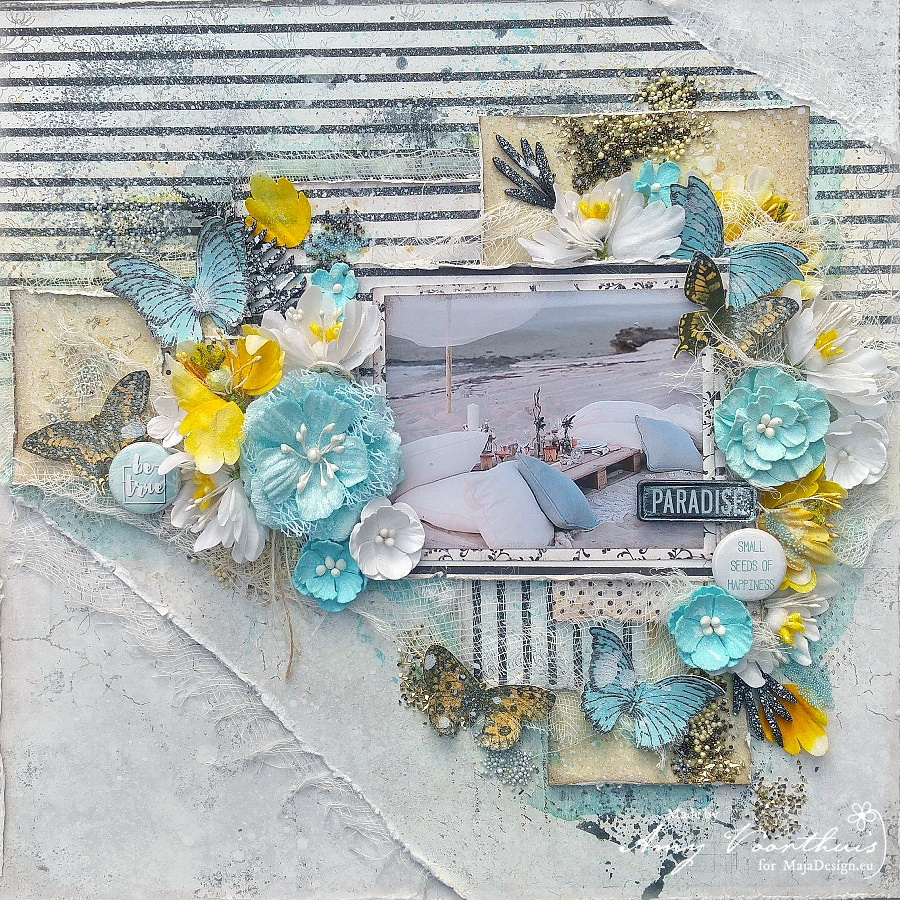
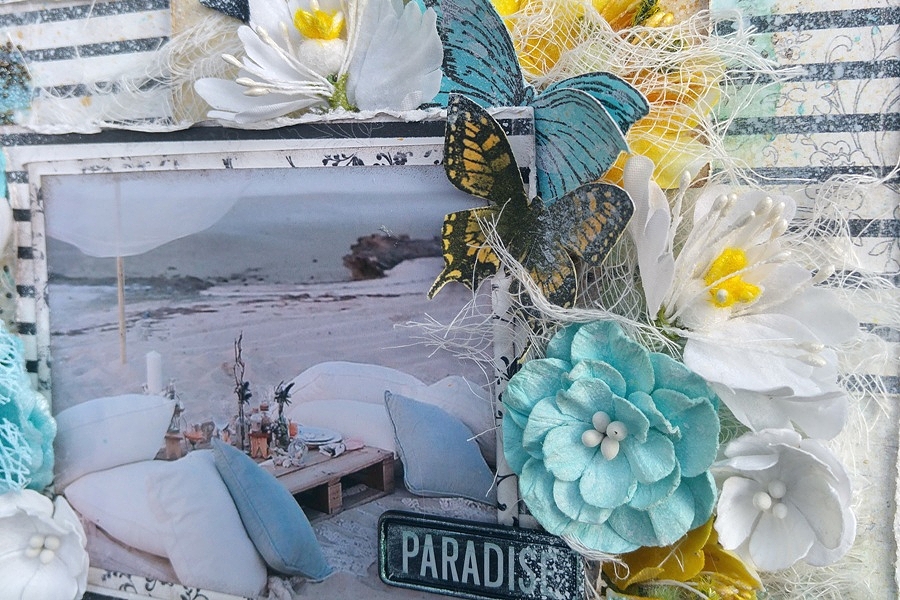
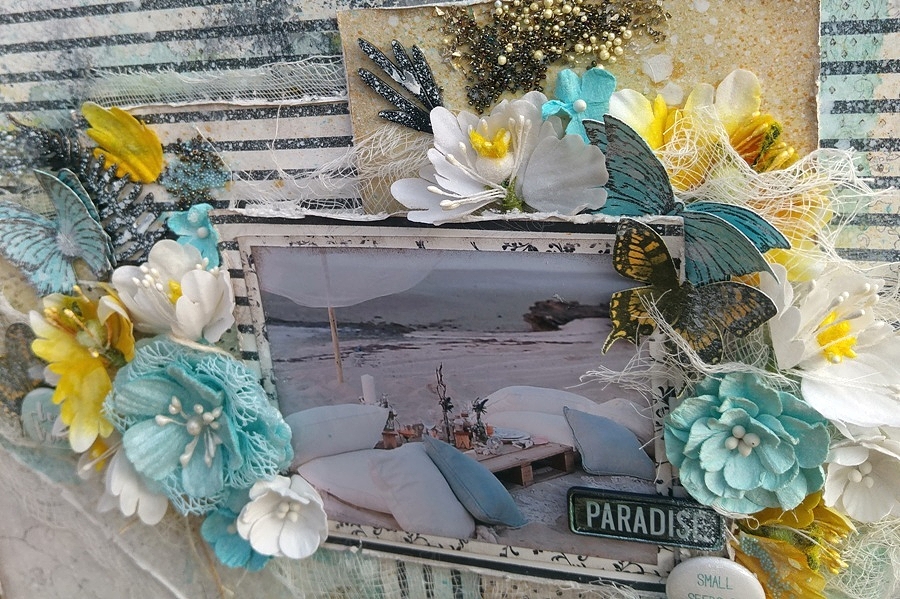
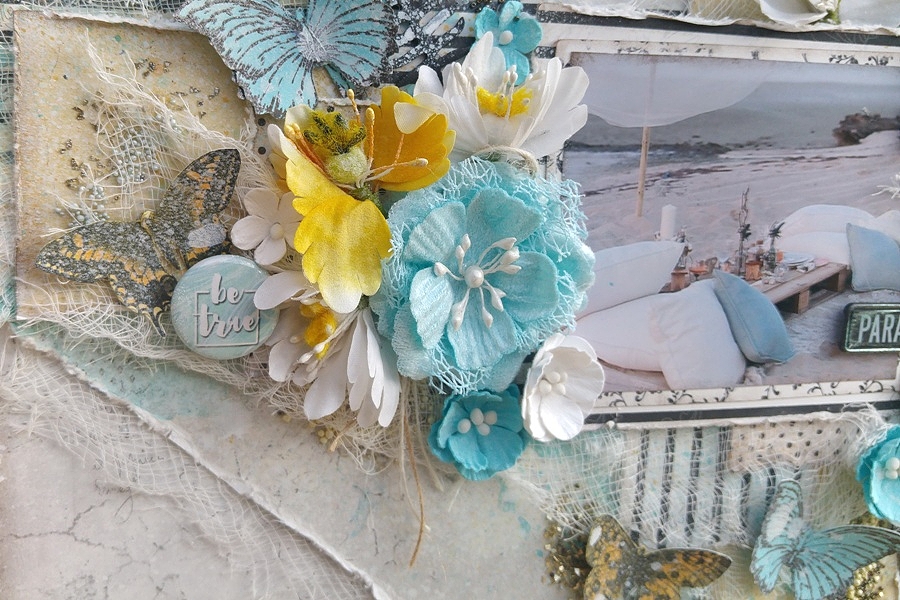
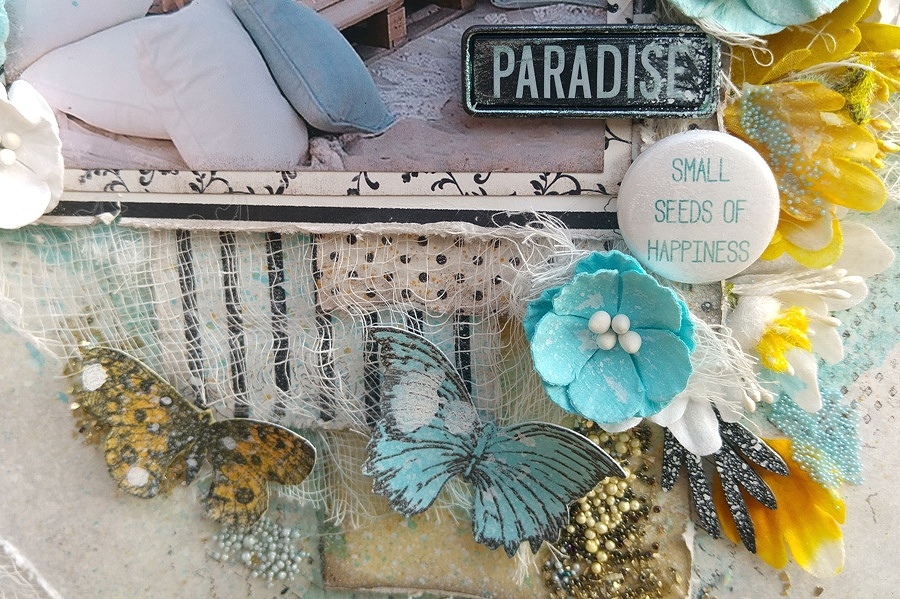
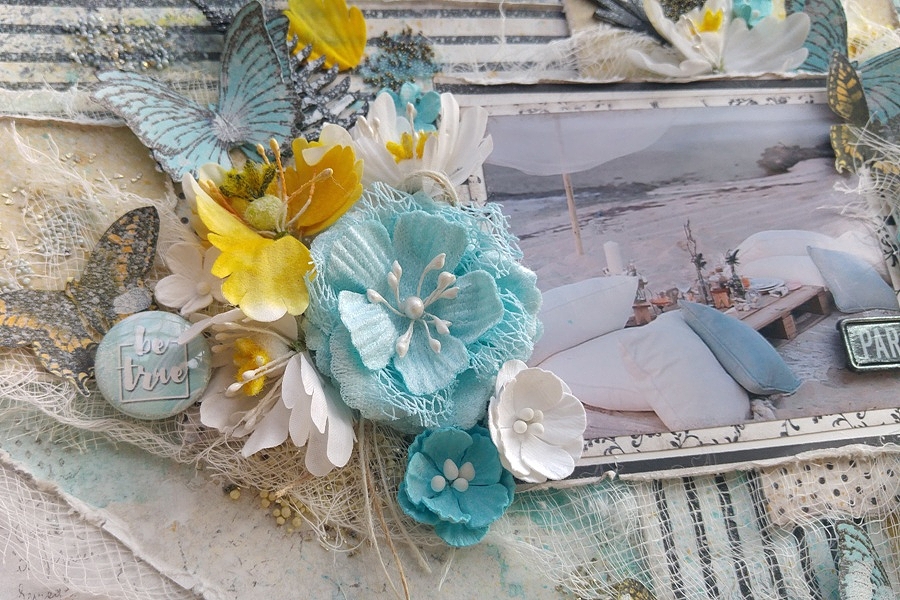
For today I have another layout to share and this time it’s a mixed media layout using a bunch of mixed media techniques. When I was ready with my layout a little disaster happened half a bottle of Lindy’s Stamp Gang’s blazing black spray’s fell all over the lower left corner of my layout. Oeh la la that never happened to me before but “hey” that happens when you do not close the cap of the bottle after using it. Luckily I could fix it only not really like I intended to be….but I am very happy with the result.

20170615_202505_HDR12

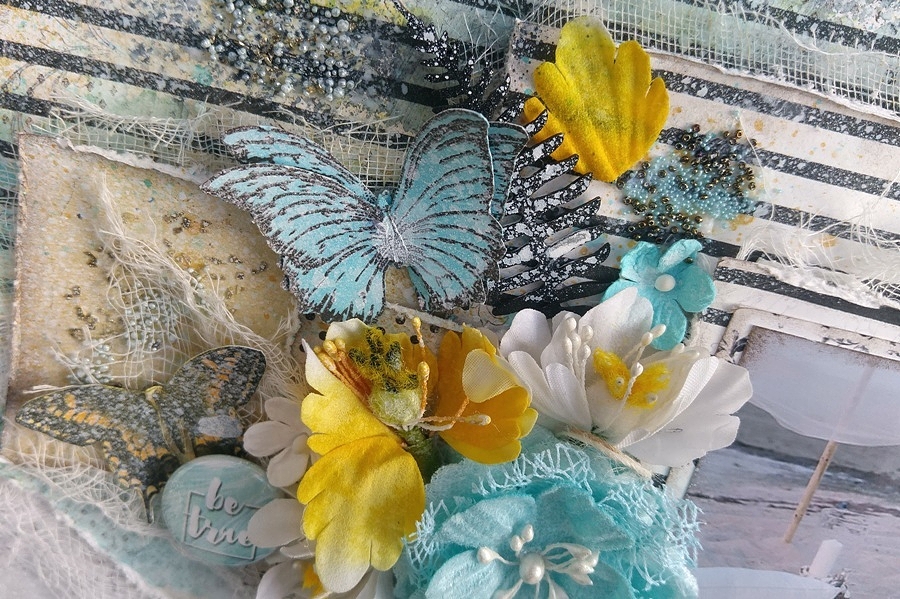
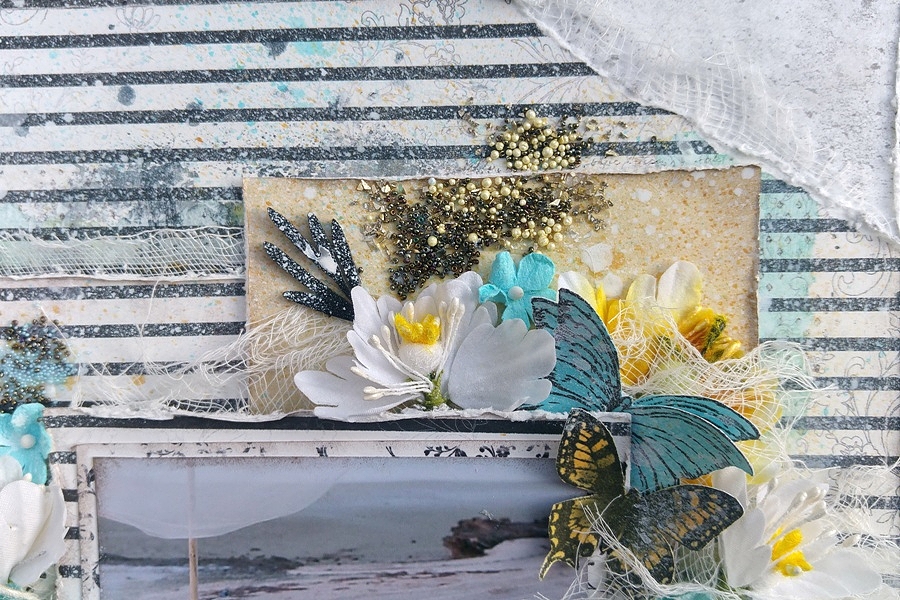
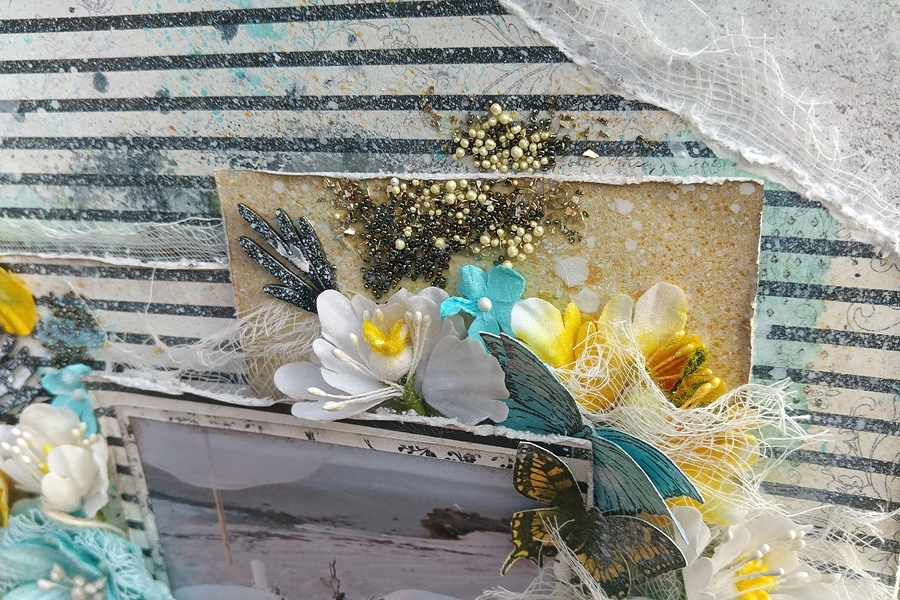
I really love all the darker & white/grey papers Maja Design offers but I wish they had more because sometimes I really love to make something outside my comfort zone like this layout is. For this layout I used four collections Nyhavn, Crea Diem, Sommatider and Vintage Spring Basics. This time I choose two other colors to compliment my work teal and yellow. The butterflies are stamped on the white Sitting at the dock sheet from the Nyhavn collection. Then I painted them with “Azure Sea Asters” starburst spray’s from Lindy’s Stamp Gang en then I cut them out.

20170615_202553_HDR

20170615_202541_HDR (1)

20170615_202643_HDR

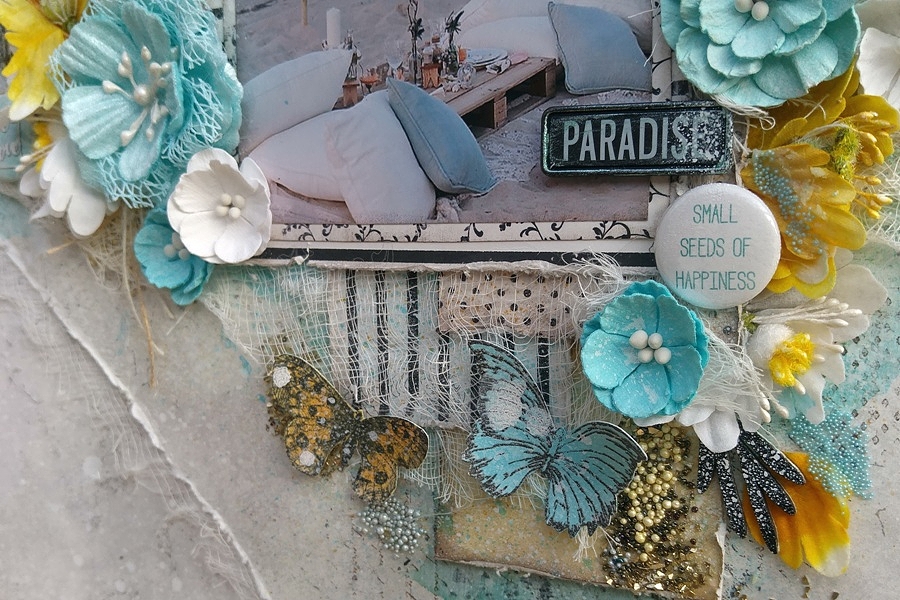
The flowers are by Prima Marketing and 49 and Market. For the first time in a long while I haven’t used any chipboard on my work wow I just saw that now lol…..I also added two flairs from “Cuts2luv and a metal plate with the word paradise on it. I am a real sucker for the beach so as you can imagine this looks like paradise to me since I moved more then an hour from the nearest beach I sometimes dream I am there “My Paradise”!

20170615_202545_HDR (5)

20170615_202657_HDR

20170615_202647_HDR (1)

On the background of my layout I used a different mixed media technique then I normally do. I took a piece of plastic packaging and sprayed on top of that plastic and then placed it on my paper sheet then you get kind of a messy watercoloring spots on your work. I did that with the teal color but also with a yellow/gold spray. Then I stamped on top of that with different stamp sets by 49 and Market. Then I matted my picture and cut out six different sizes of squares in three pairs of two of the same papers….Kann Dig Sjalv {Crea Diem}, 1st of March {Vintage Spring Basics} and Baslakan {Sommatider}!

20170615_202710_HDR

20170615_202714_HDR

20170615_202721_HDR

Maja Design papers used: Sitting at the dock {Nyhavn}, Badlakan {Sommartider}, 1st of March {Vintage Spring Basics} and Kann Dig Sjalv {Crea Diem}

Nyhavn-P

Sommartider-P

Vintage-Spring-Basics-P

CreaDiem-P

Thank you so much for stopping by I hope you enjoyed my post today, and I have inspired you to play with your lovely Maja Design goodies have a lovely weekend…..

4


Summer Blossoms Card

5

Posted by Nancy Dynes

13 June, 2017 - , ,

Write a comment

A 6a

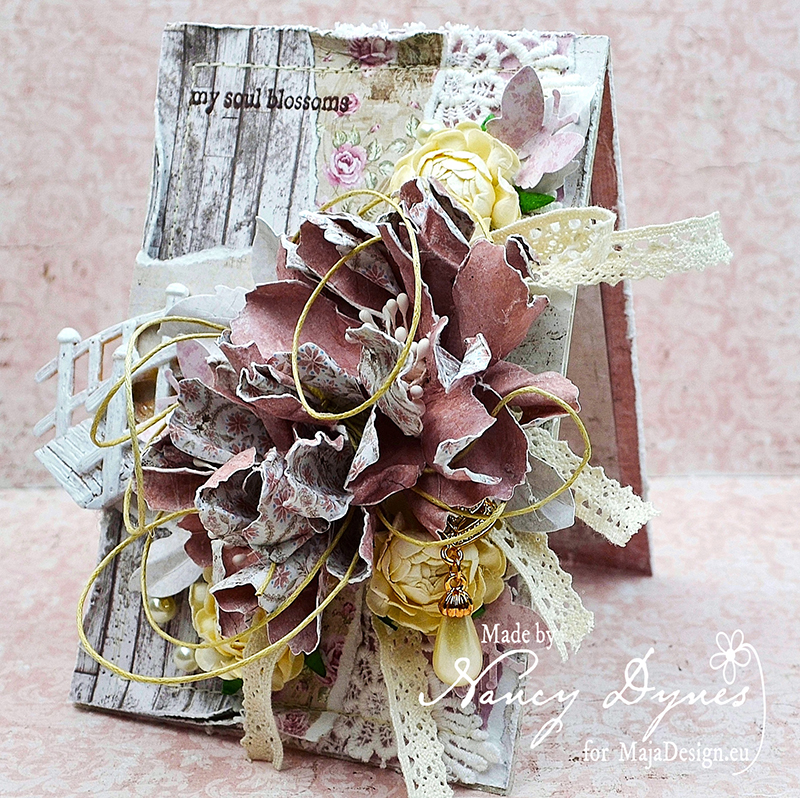
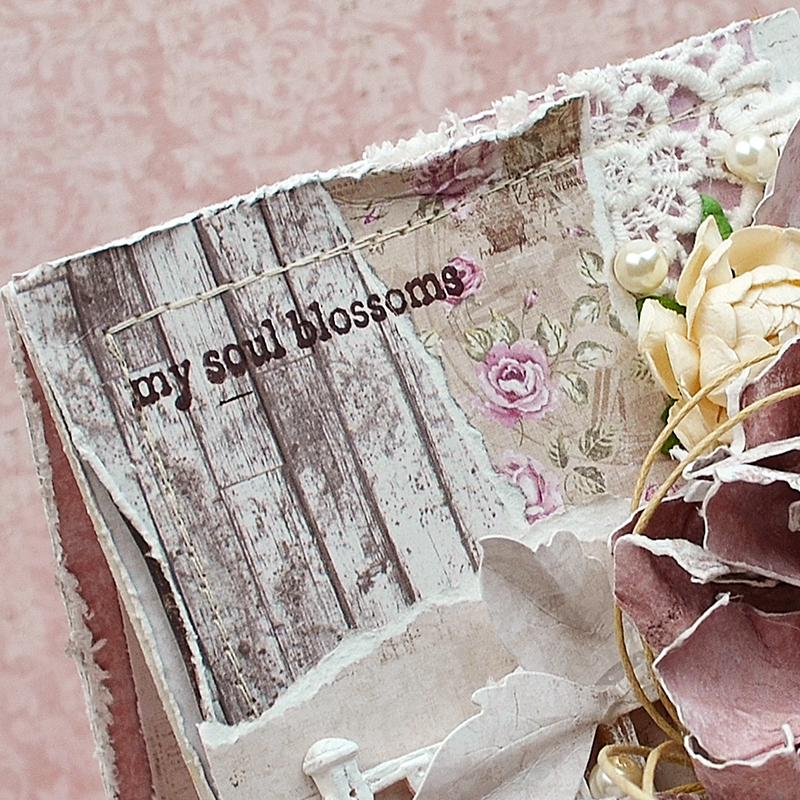
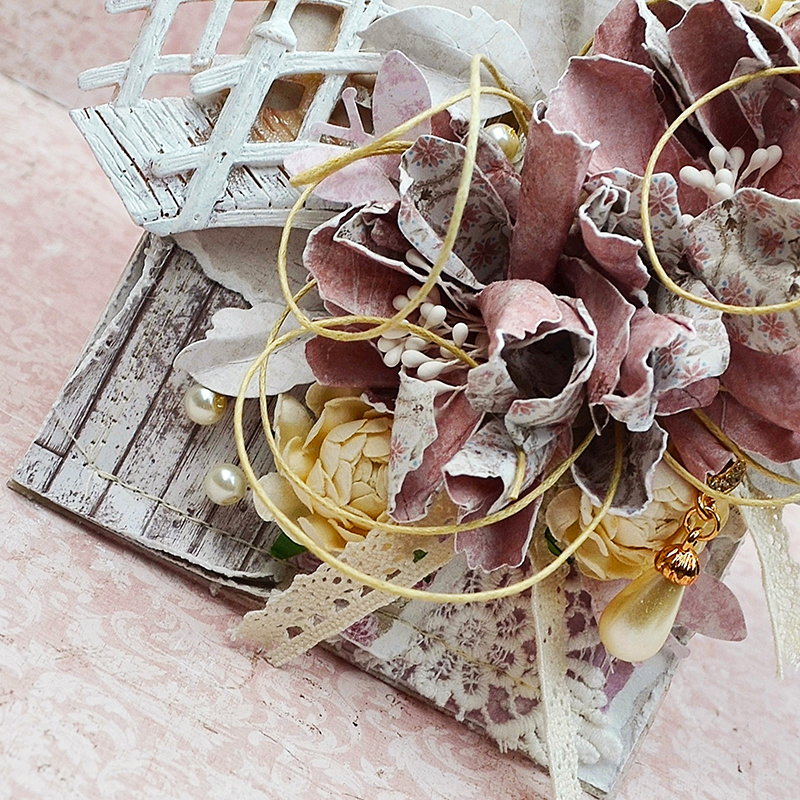
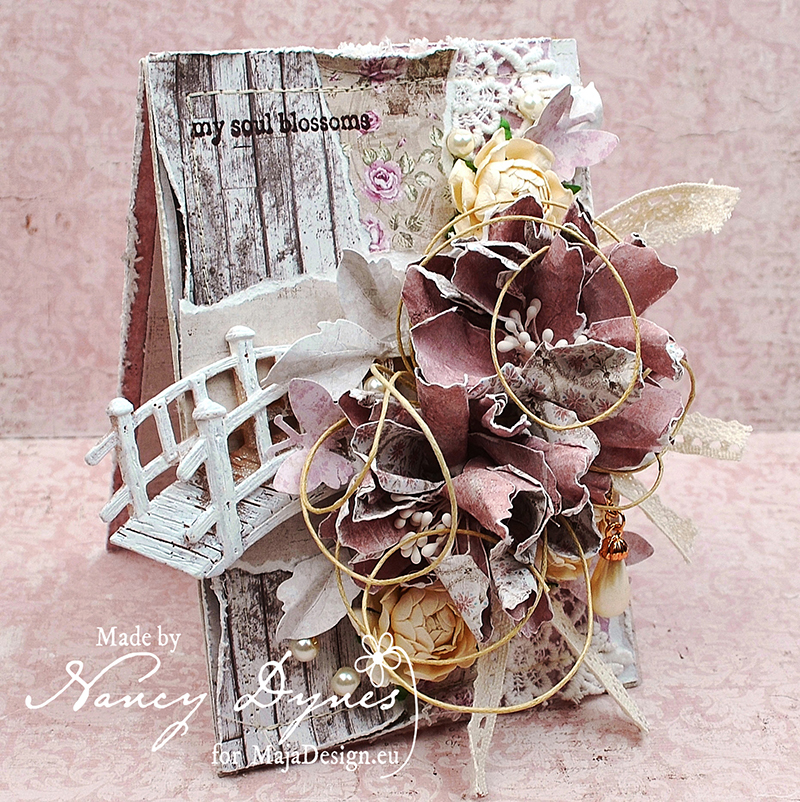
Hello and welcome to the Maja Design Blog! It’s Nancy today, with a new card to share. This week I’m inspired by the abundant seasonal blooms found all across the lovely city of Charleston. Summer is my favorite time of year. My soul truly blossoms with the long sunny days, warm weather, and beautiful flowers.

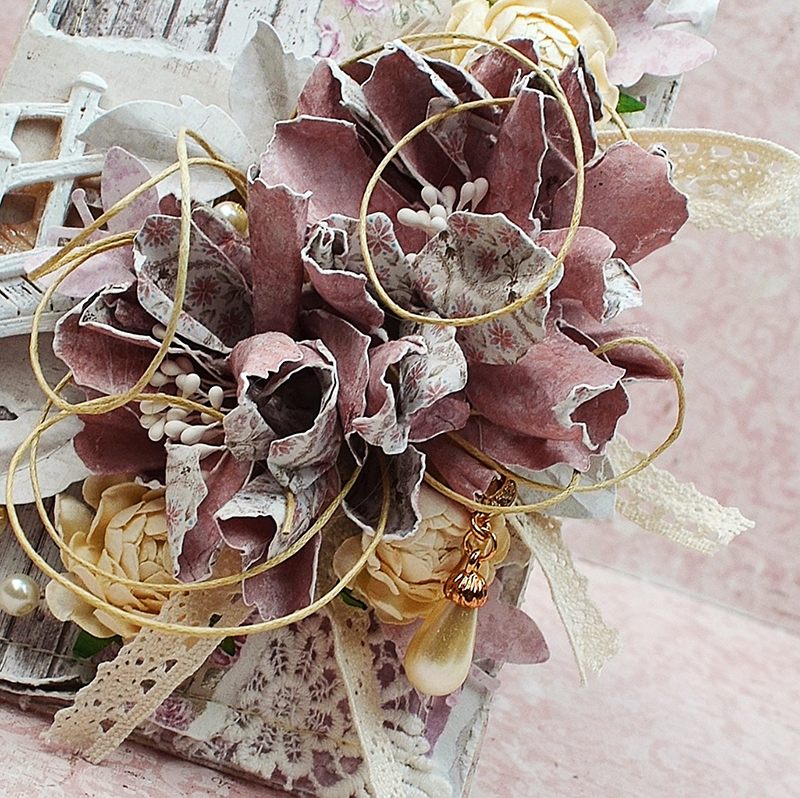
You’ll find quite a bit of layering along with a couple of my handmade wildflowers featured here. Each layer is artfully torn, distressed, and stitched together.

A 4

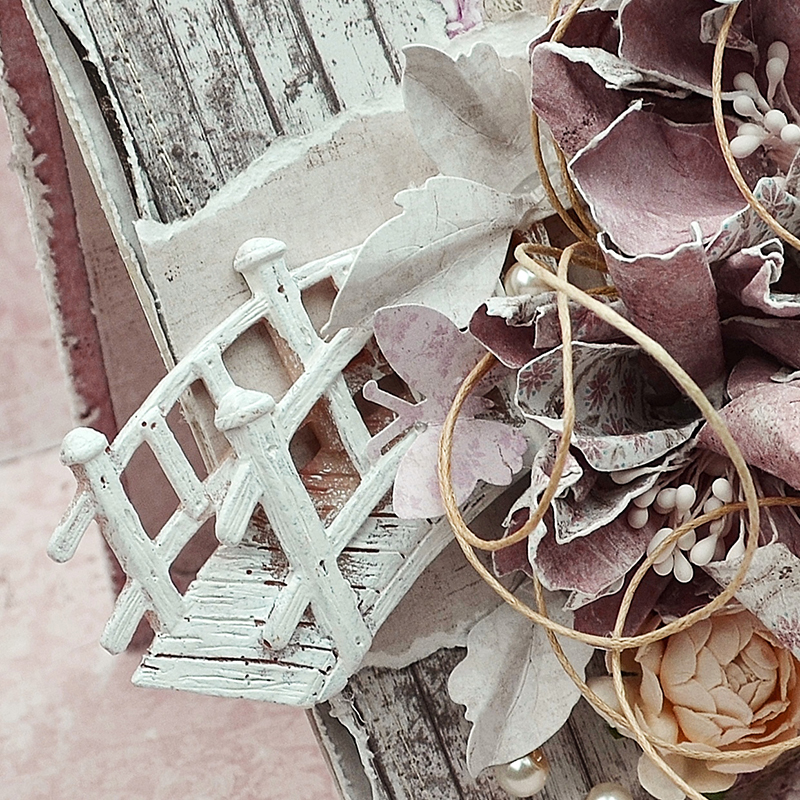
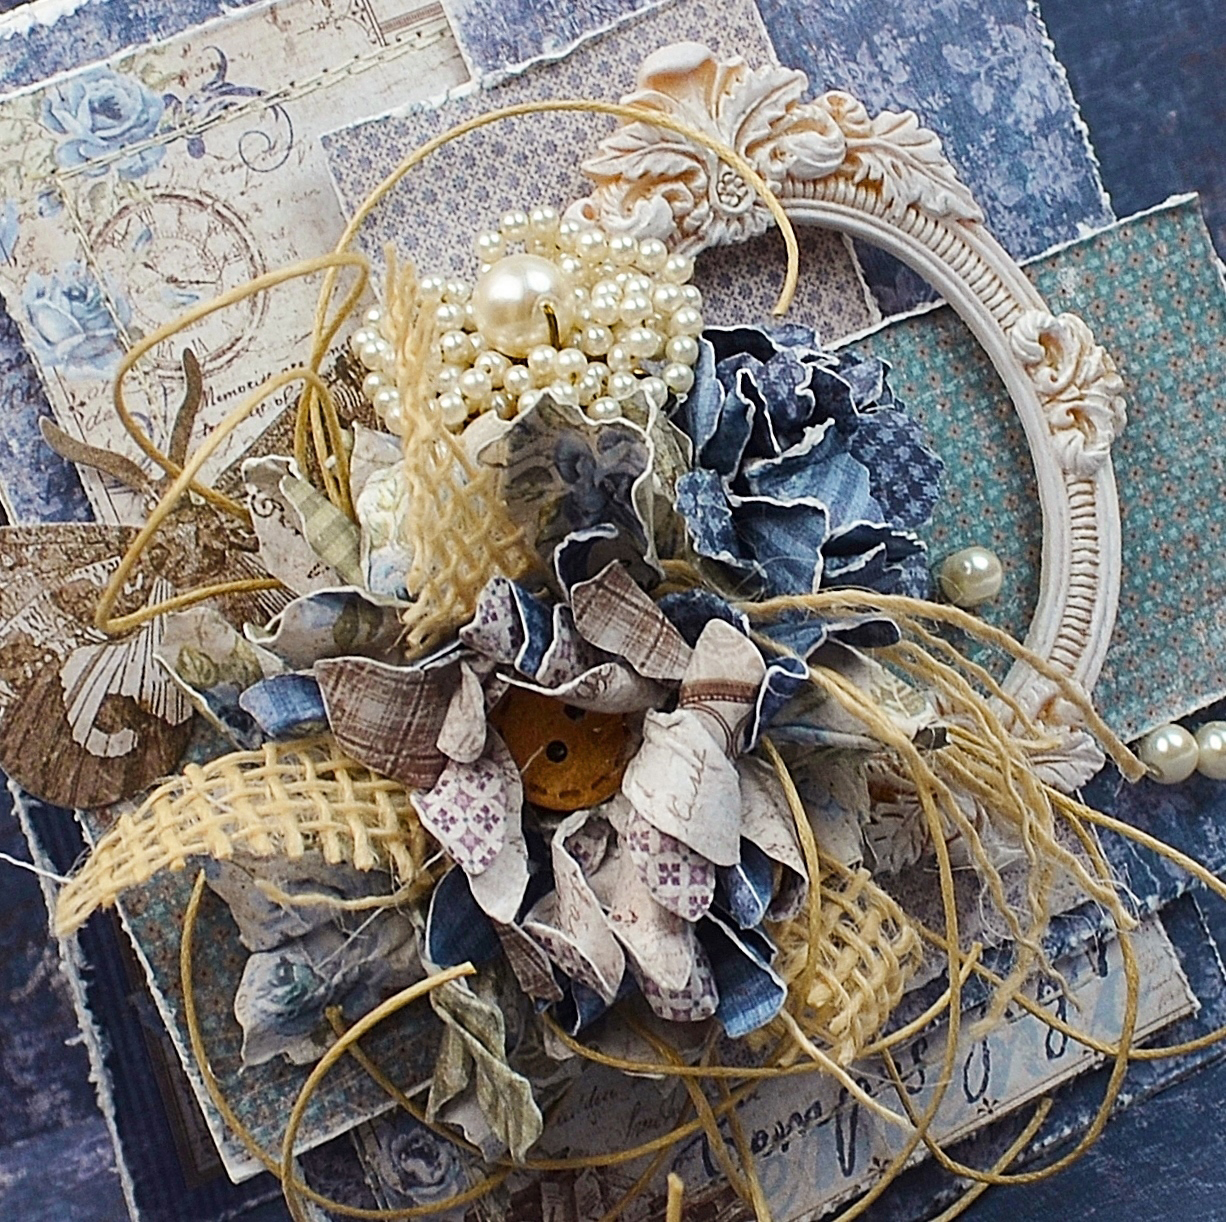
A tutorial for the wildflowers can be found on my blog. Lace adds a bit of vintage inspired texture. I rummaged around in my stash to find the pearl earring, glass pearls, and the Prima resin piece. Additional lace and twine create a frilly finishing touch.

A 3

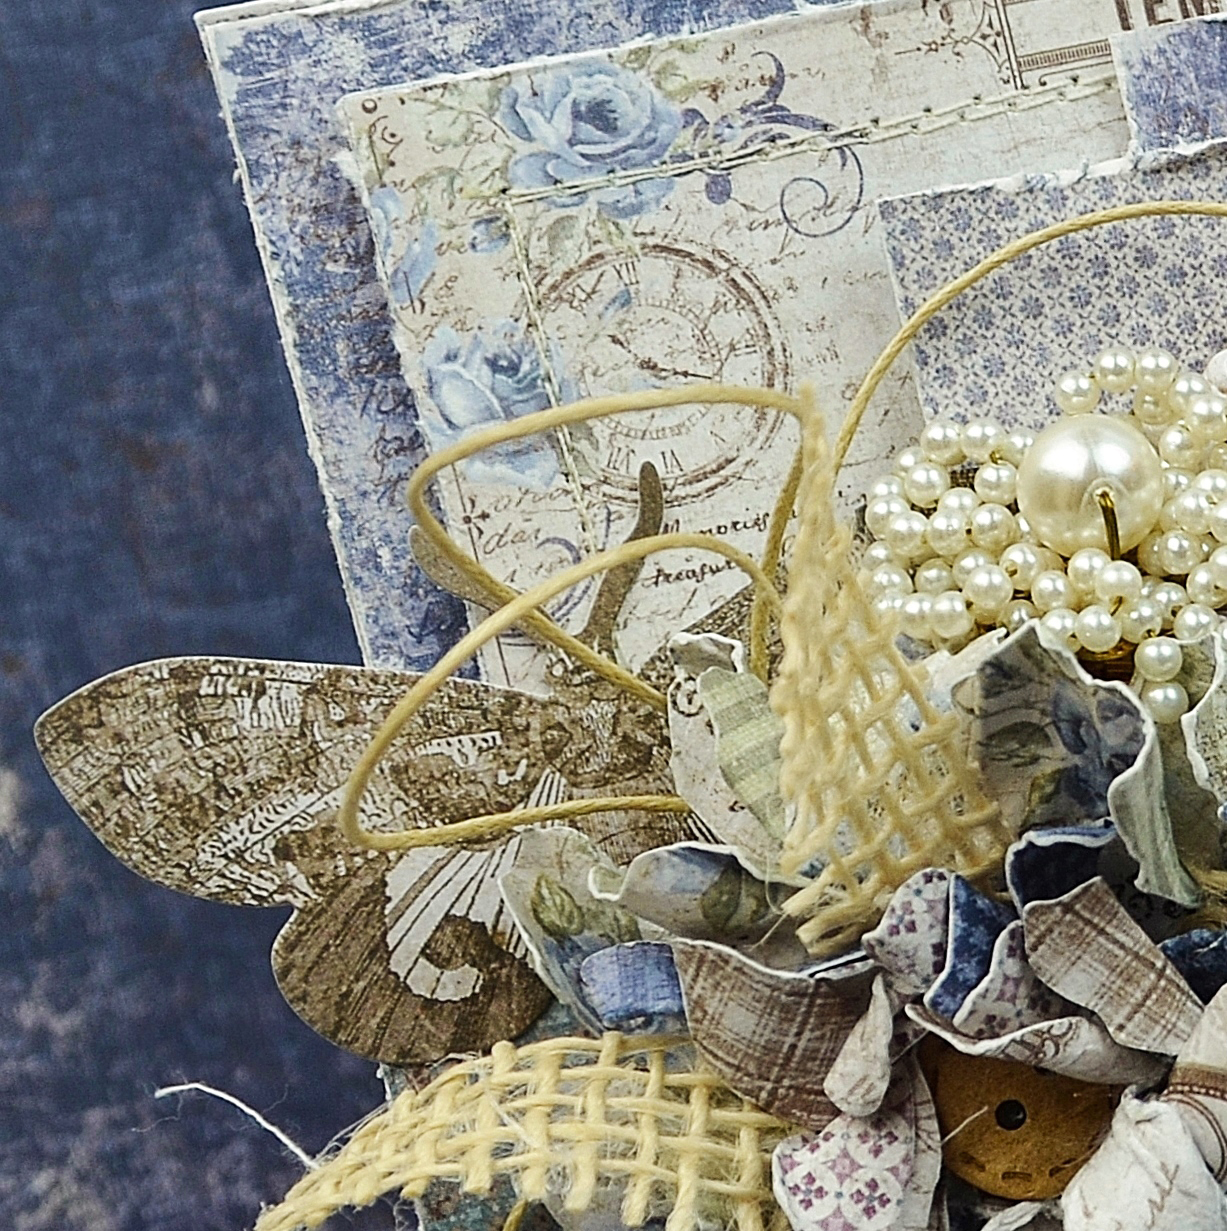
If you look closely you’ll notice a few butterflies have made a home here as well. The sentiment is rubber stamped in archival ink.

A 2

A 5

A 1

Maja Design Papers Used: 

Other Supplies: lace, twine, rubber stamp, white paper flowers, flower stamens, butterfly punch, pearls and earring  from my stash. Prima resin bridge, Magnolia Rose Leaf Die, Tim Holtz Tattered Flowers Die,  Tim Holtz distress tool and Mini Mister, flower shaping kit, archival ink, sewing machine, and thread.   

Thanks so much for being with us today. Don’t forget to check out our June Mood Board Challenge. You have plenty of time to enter your lovely project for a chance to win an entire Maja Design paper collection! May your day be filled with sweet summer breezes and crafty inspiration!

Hugs, Nancy-sign

Nancy Dynes

My name is Nancy Dynes. I love creating with layers, dimension, and all things feminine. Maja Design Papers speak to me and inspire my imagination. I am honored to be a member of this amazing Creative Team, and look forward to growing in my craft while working alongside these talented artists.

Something Borrowed, Something Blue…

3

Posted by Nancy Dynes

30 May, 2017 - ,

Write a comment

A 1

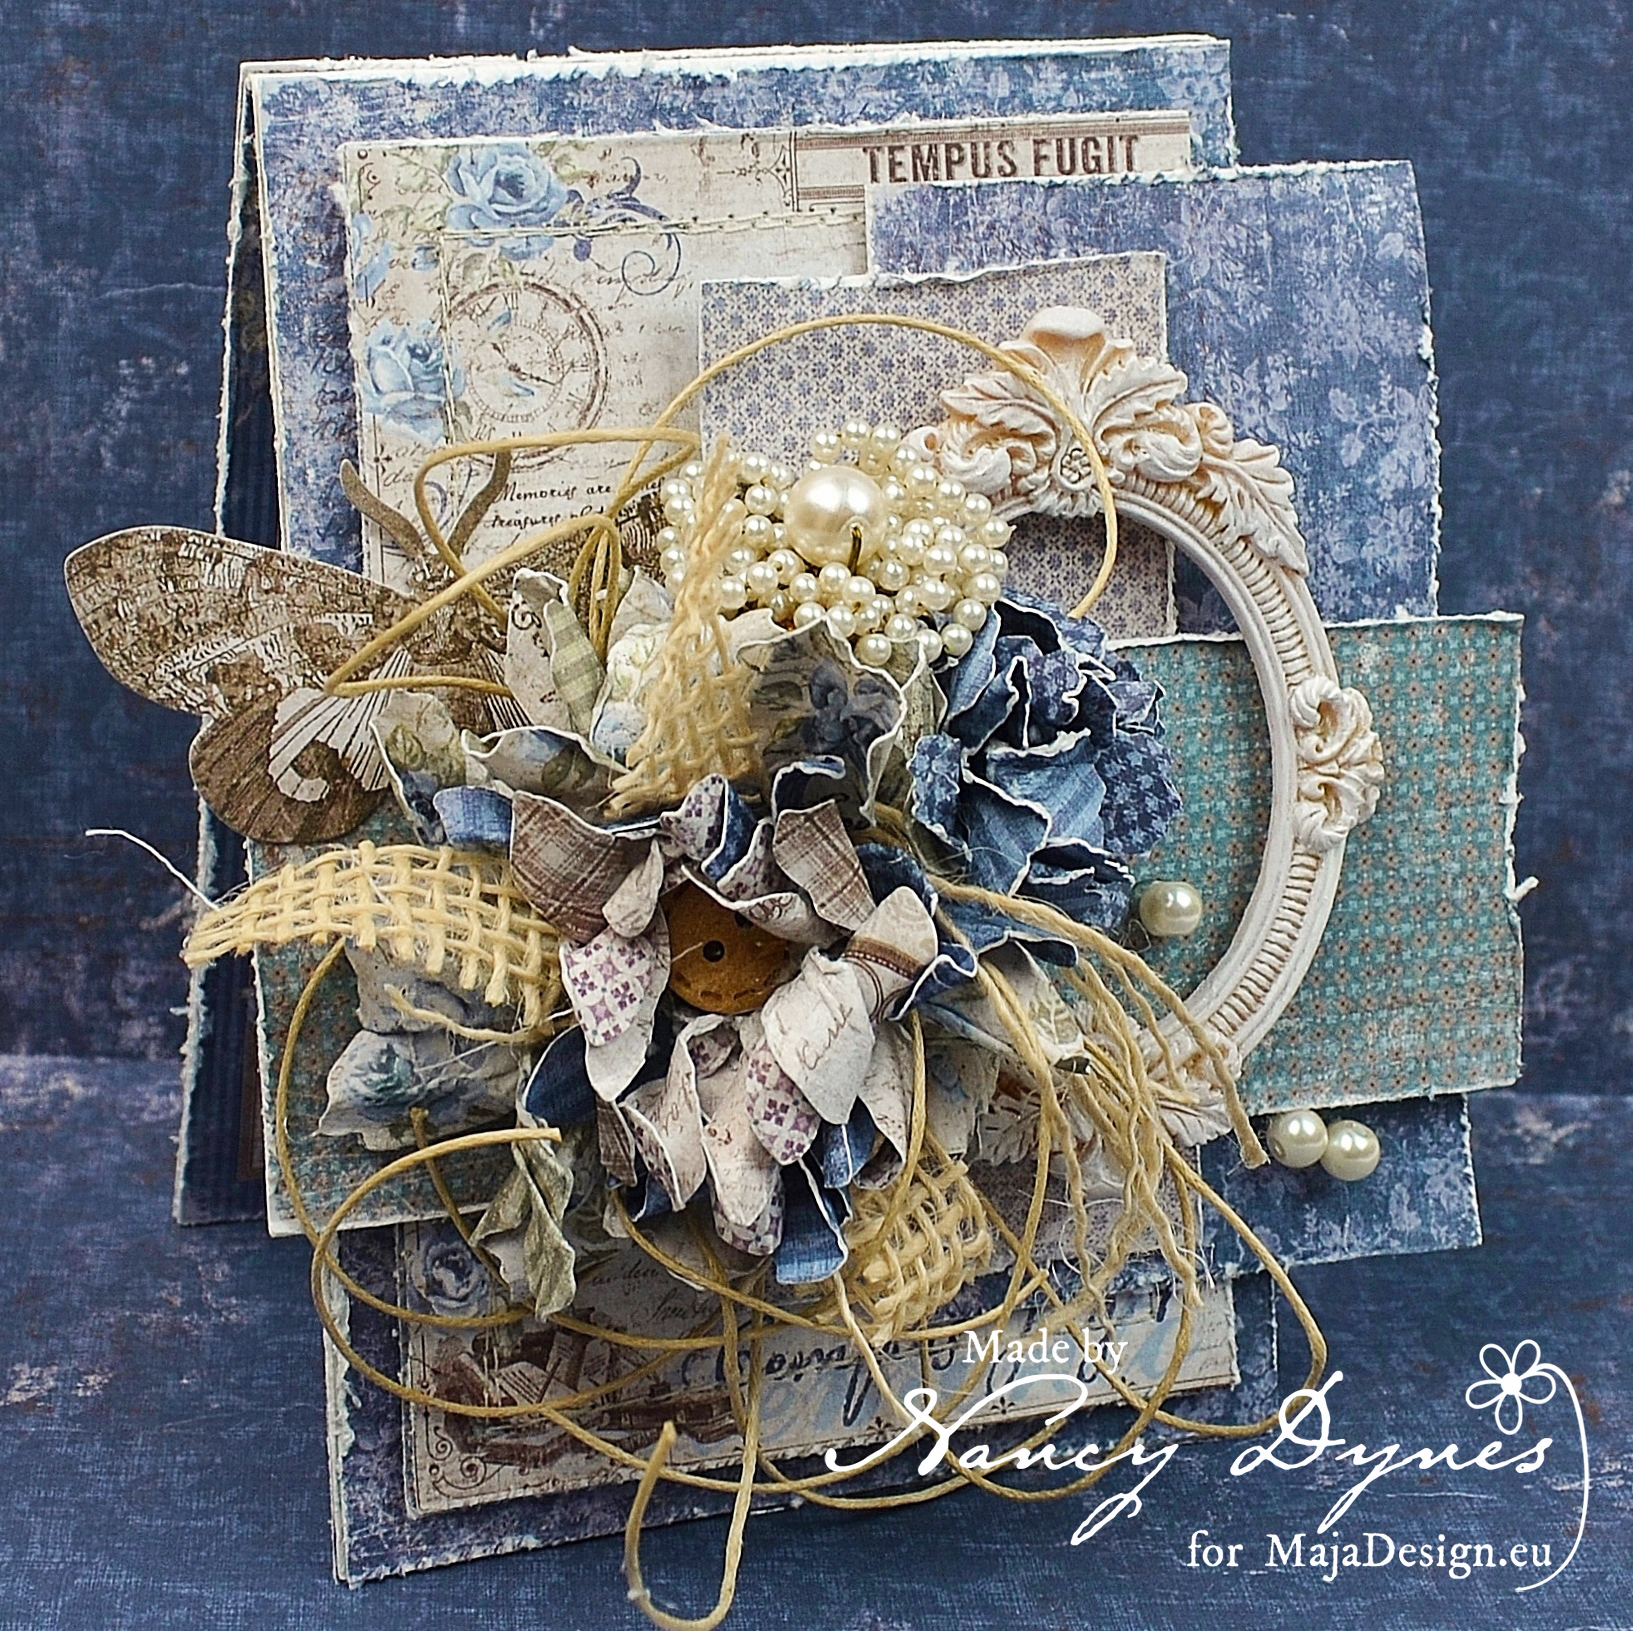
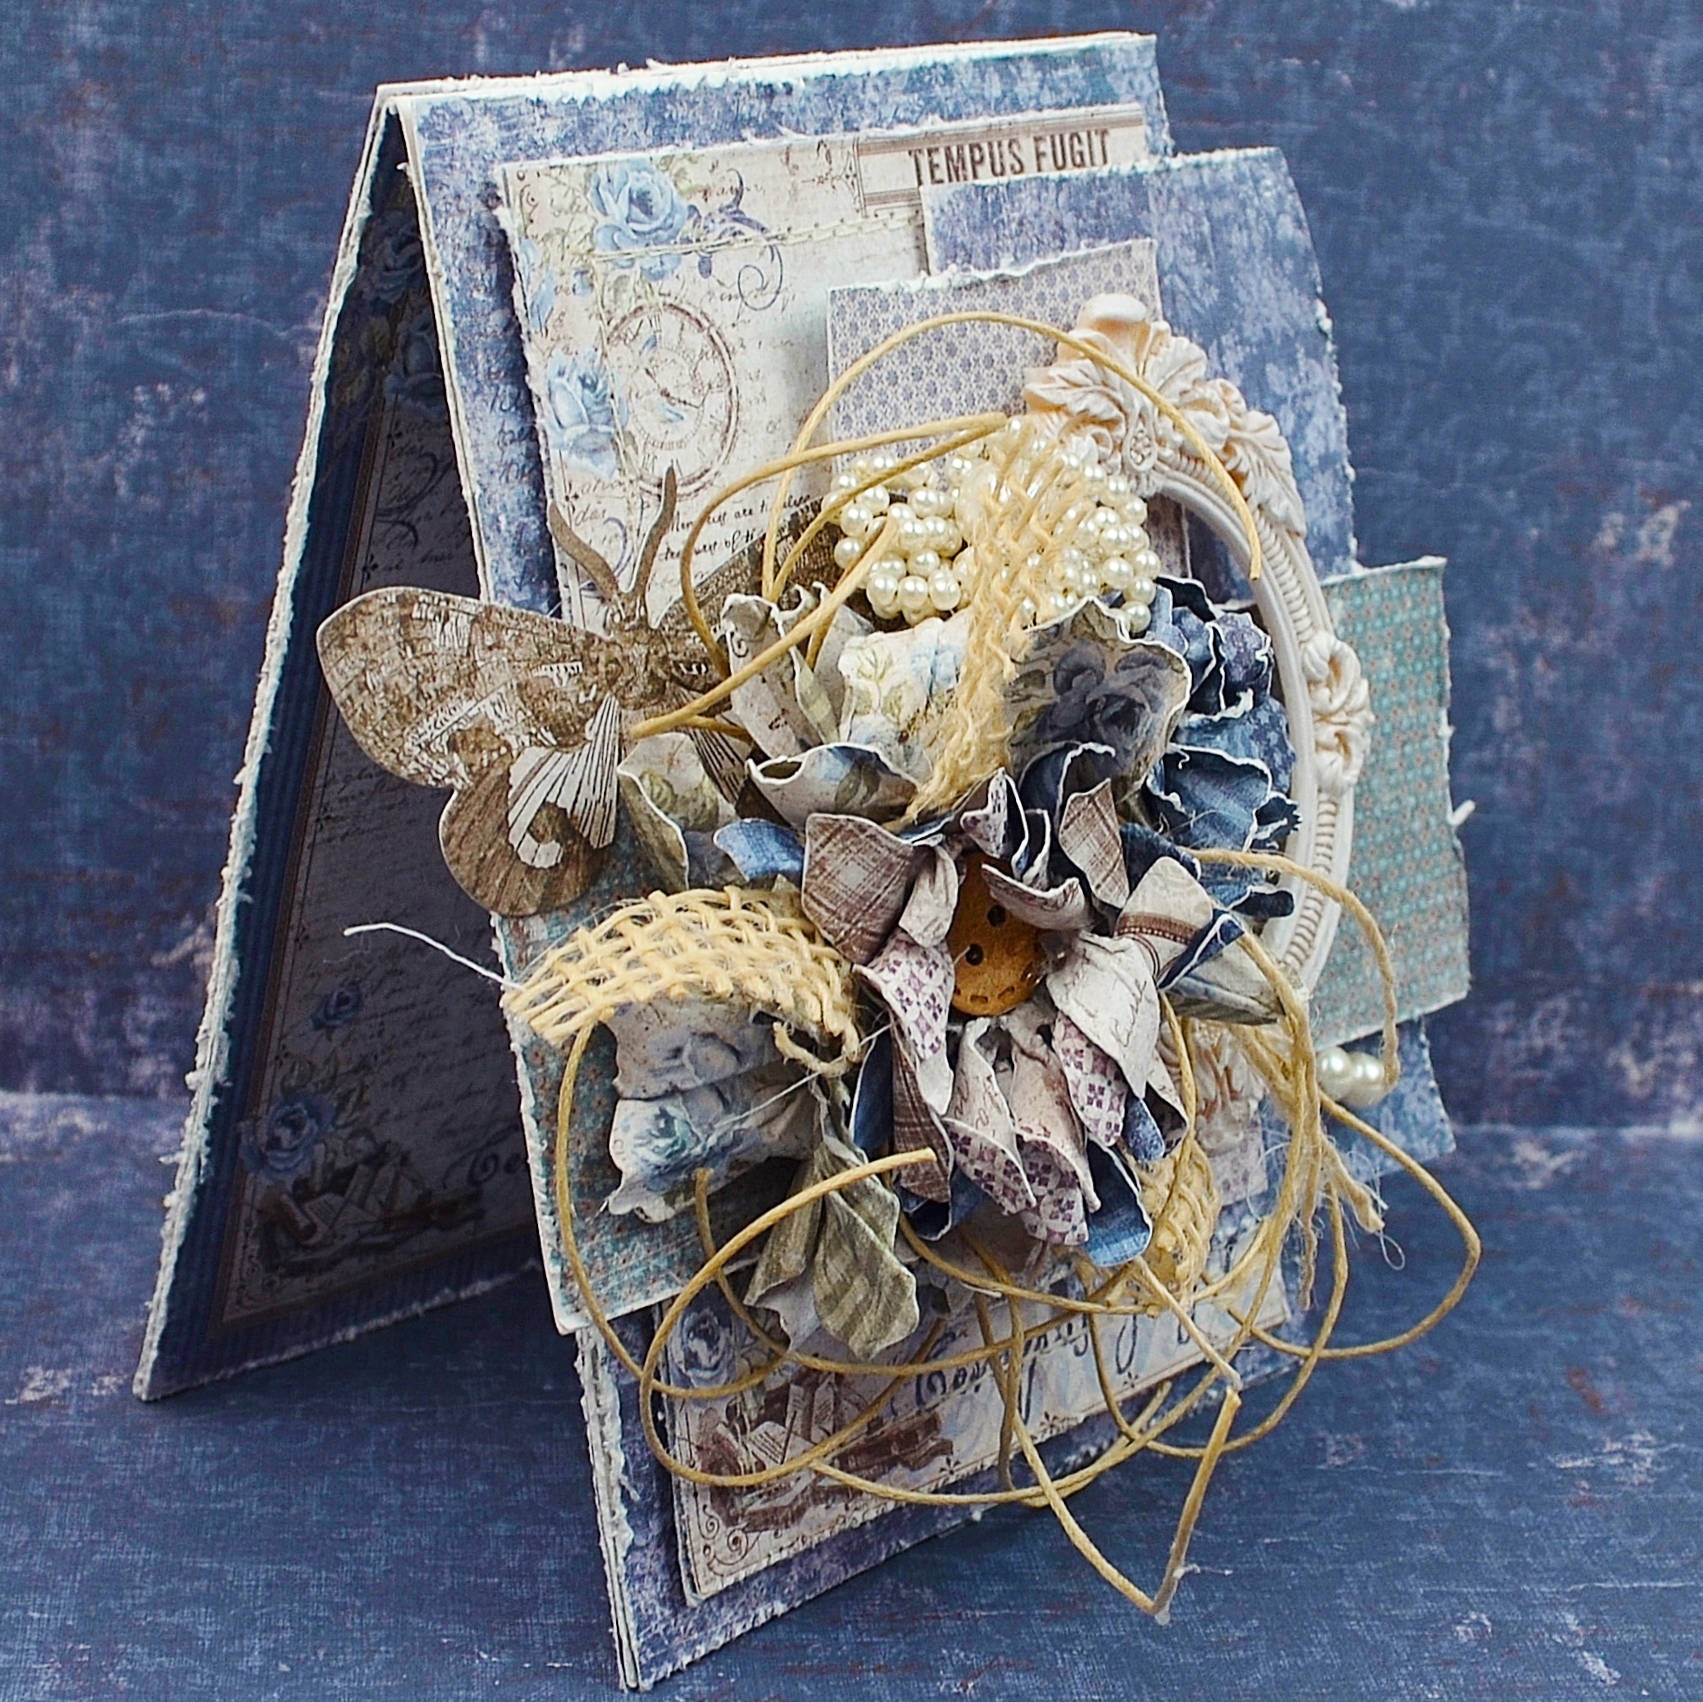
Hello, dear friends! It’s Nancy here, wishing you all a warm welcome here at the Maja Design Blog. It’s almost June, a huge month for weddings. As a June bride myself, I can attest to carrying the traditional ‘something old, something new, something borrowed, and something blue’ for good luck before taking my stroll down the aisle. Maja Design’s gorgeous Vintage Autumn Basics collection inspired this ‘Something Borrowed, Something Blue’ card for an upcoming bridal shower.

One of the many things I love about Maja Design papers is the fact that the same piece of paper can inspire endless creations. You need only to gaze upon the beautiful designs and your imagination runs wild. Also, though the collections may be named for different seasons or themes,  each is perfect for any time of the year. My advice is to stock up on ALL of them!

A 2

The papers are distressed, layered, and stitched to form the base. Blue and ivory are present in multiple patterns and tones.

A 5

The flowers are handcrafted from design paper (there is a tutorial on my blog). A resin frame, a twine bow, a scattering of pearls, and an antique pearl earring also adorn the base.

A 6

A little butterfly also found it’s way into the floral spray.

A 3

Maja Design Papers Used:

Other Supplies Used: Vintage Pearl Earring, Prima Resin Frame, Natural Twine, Glass Pearls, Butterfly Embellishment from Tim Holtz, Tim Holtz Distress Tool, Foam Adhesive, Glue Gun, Sewing Machine, Thread.

If you aren’t sure where to find these lovely papers, just click on the ‘store finder’ tab at the top of the blog to locate a retailer. Thank you so much for joining us on the blog today. I wish you a day filled with joy and many crafty endeavors!

Hugs,Nancy-sign


Nancy Dynes

My name is Nancy Dynes. I love creating with layers, dimension, and all things feminine. Maja Design Papers speak to me and inspire my imagination. I am honored to be a member of this amazing Creative Team, and look forward to growing in my craft while working alongside these talented artists.

Summer is almost here

1

Posted by Elena Olinevich

26 May, 2017 - ,

Write a comment

Hello Maja Friends,

Few days are left before the Spring ends and the summer officially comes.

I can not believe that finally I will enjoy the outdoor activities and hope that I will have time to craft at the same time.

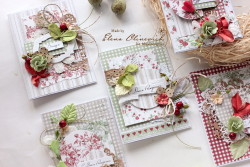
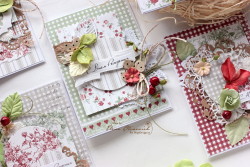
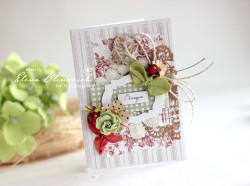
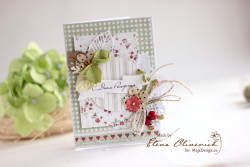
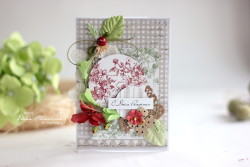
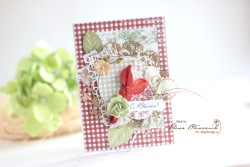
For today’s post I prepared 5 cards.

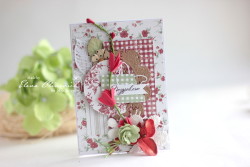
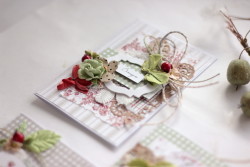
Summer_Feeling_Cards_Maja_Design

I have a blast working on 5 cards at once. The reason is that I love so much Life in the country collection. It seems that the summer starts and I craft only with these particular papers.

Summer_Feeling_Cards_Maja_Design1

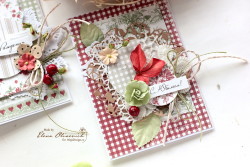
I mixed red, green and cream brown colors for my cards. They remind me about berries, trees with the leaves and the wind whisper.

Summer_Feeling_Cards_Maja_Design2

I have been waited so long for this time of Season.

Summer_Feeling_Cards_Maja_Design3


My cards are almost the same  but they are different, as I didn’t use any similar sketch for them.

Summer_Feeling_Cards_Maja_Design4

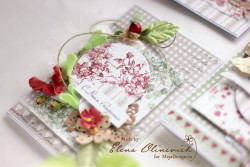
They are mostly celebration cards, I made different sentiments for them as – Congratulations, Anniversary and Birthday.

I do like to have several cards by hand for any occasion, and working on the cards at once gives me the chance to be ready for any special date.

Summer_Feeling_Cards_Maja_Design5

My recipe for this kind of cards is:

few flowers, string, some dies.

Summer_Feeling_Cards_Maja_Design7

Adding some craft elements can make it look more bright.

Summer_Feeling_Cards_Maja_Design8

Summer_Feeling_Cards_Maja_Design10

Summer_Feeling_Cards_Maja_Design9

Summer_Feeling_Cards_Maja_Design6


Have a wonderful weekend everyone.

Products used:

Elena-sign

Guest Designer Julie Lavalette

8

Posted by Carita Ruckman

22 May, 2017 - , , , , , , , ,

Write a comment

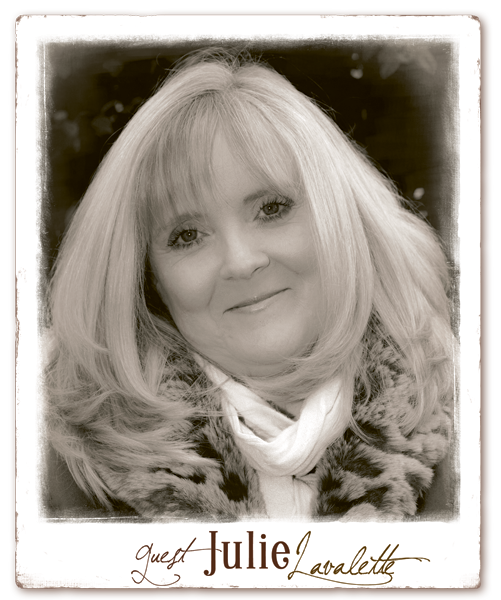
Hello Maja Fans, my name is Julie and I am from Scotland, today I am delighted to be sharing with you a mixed media project and two cards.
Julie-Lavalette

I have been crafting for around ten years now and am at my happiest creating in my craft room watching the birds come into our garden. My love for flowers, bygone eras and antiquities I love to express through my creating.

I love bringing a piece of paper to life and creating a story within my card so it becomes a keepsake and has a true meaning for the recipient and I love adding special little touches of details.

My style is definitely vintage/shabby chic, I love using diecuts and making my own flowers, adding lace, pearls, chipboard and mixed media accents into my designs.

So why not grab a cuppa and let me share my projects with you.
Julie1

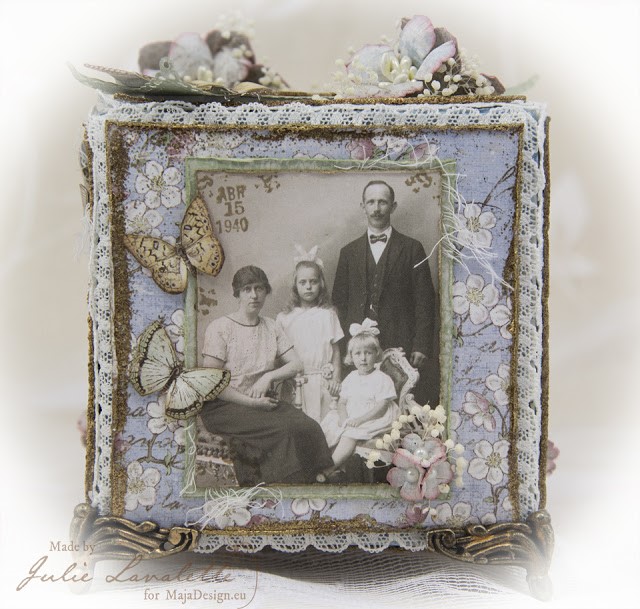
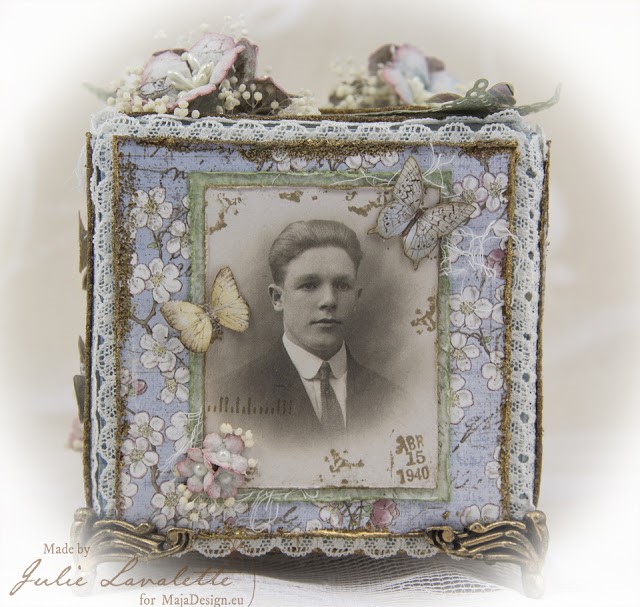
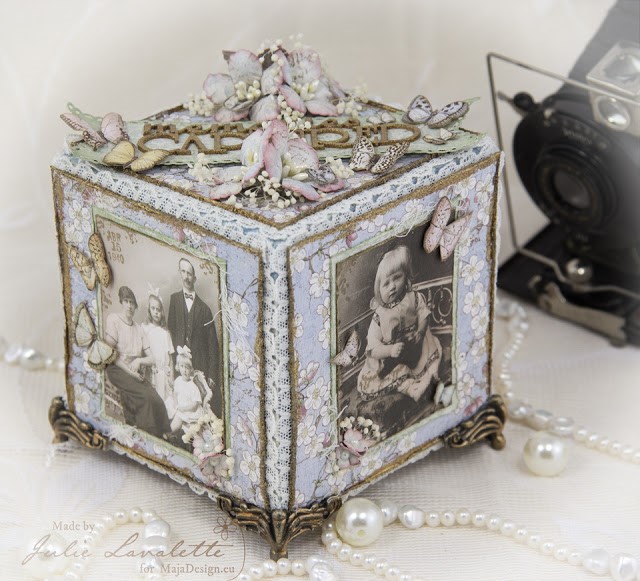
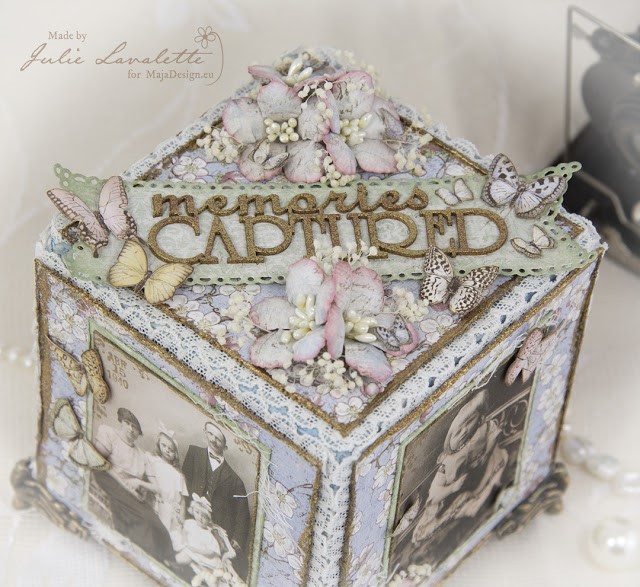
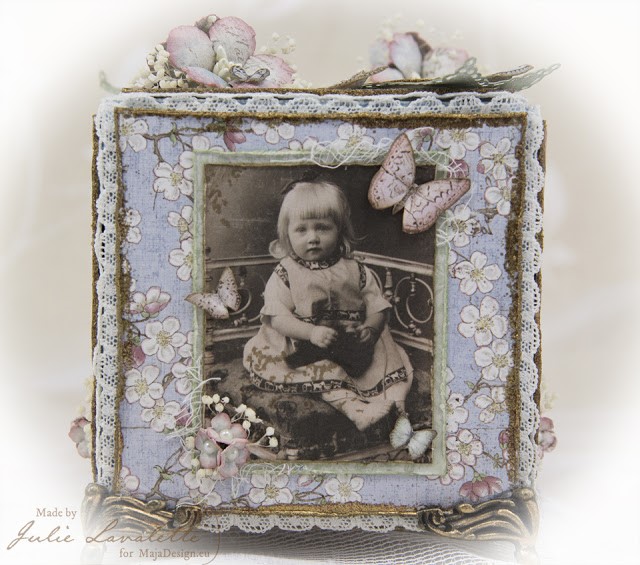
As a child I remember my parents had a Photo Cube in the house where family photos took pride of place and with all the beautiful images Maja Design have to offer I was inspired to making one in a shabby chic style. My cube measures approximately 3.75 inches square and was created by gluing beer mats together to form the cube, adding some coffee stirrer sticks at the joins internally to help strengthen my cube. Next I added tissue tape around all my seams and a little blue Distress paint.
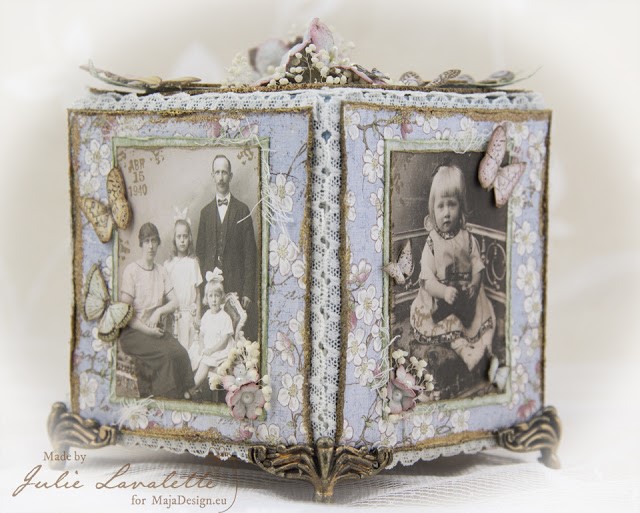
Julie2
My papers were all cut to size and tattered at the edges, I then rubbed some Versamark Ink around the edges and heat embossed my Embossing Powders. I added a pretty lace to the back of my paper and positioned them all in place with foam strips on each side. This helps to give my lace more dimension than lying flush next to the cube.
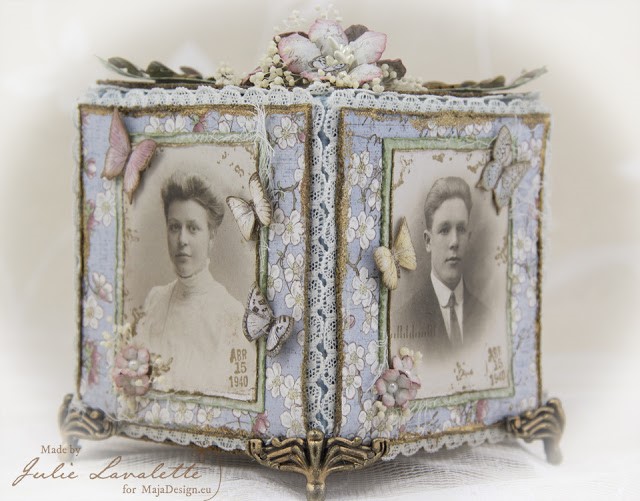
Julie3
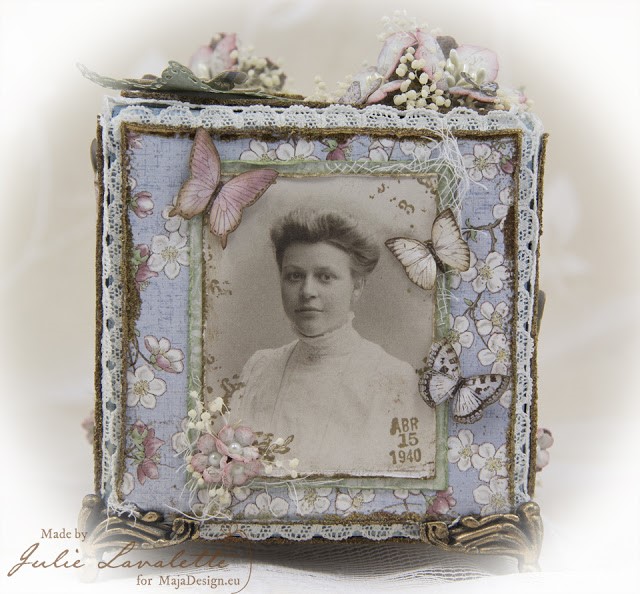
I tattered my images at the edges and added a little stamping to distress them before matting and layering in place on my cube.
Julie4
I decorated with lots of small flowers with a Pearl centre and some dried ones.
Julie5
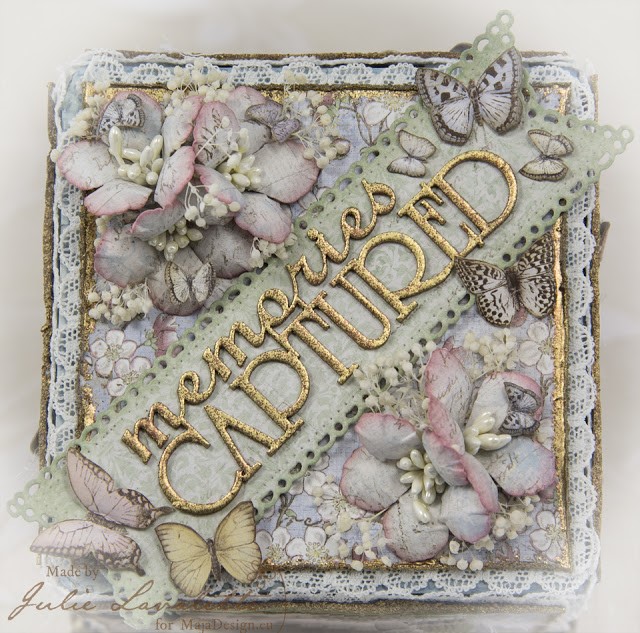
I fussy cut out lots of butterflies using both the 12 x 12 paper and 6 x 6, gosh I adore these butterflies for a perfect finishing touch.
Julie6
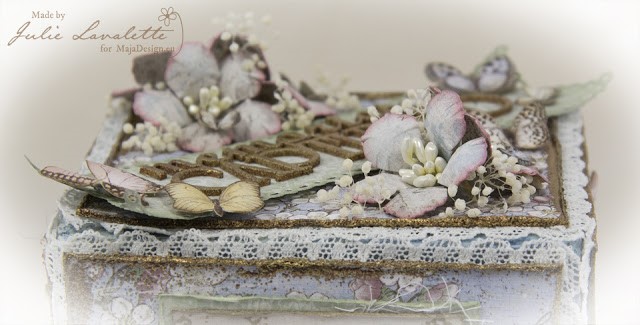
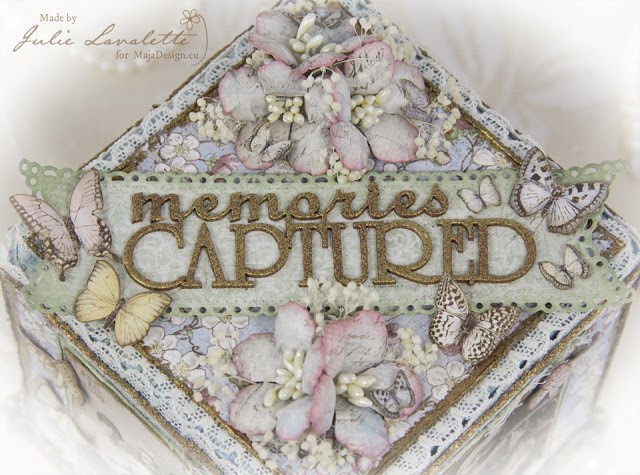
I added a diecut banner onto the top of my cube with my chipboard sentiment which had been heat embossed with the same colours as the edges of my paper.
Julie7
My larger flowers were shaded with Distress Inks and Pearl Stamens added into their centres with some smaller butterflies added onto their petals.
Julie8

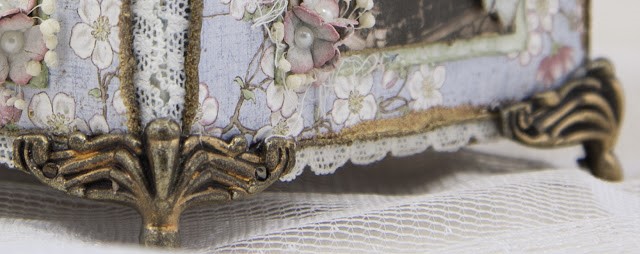
I finished off my cube by adding small brass feet from my stash that I added highlights of Gilding Wax.
Julie9

Finishing of with a few more images of my cube.
Julie10

Julie11 Julie12

Maja Design Products Used :

Vintage Autumn Basics – Heritage 12 x 12

Vintage Spring Basics 6th of May 12 x 12

Vintage Spring Basics 6th of April

Vintage Spring Basics 6 x 6 Paper Pad


Other products used:

Cheery Lynn Designs –

C184 Judy’s Blooms,

DL 278 Horizon Fishtail Banners


Sue Wilson Small Flowers – Delicate Garden

Stampers Anonymous – Correspondence Set

6 Square Beer Mats or Chipboard measuring approximately 4 inches square

Tissue Tape

Distress Ink – Victorian Velvet and Frayed Burlap

Distress Paint – Faded Jeans

Treasure Gold Gilding wax

Versamark Ink Pad

Gold and Penny Copper Embossing Powders

Anna Marie Dried Flowers

Flower Stamens,

Cheesecloth and Lace – Ribbon Girl

Scrapiniec Chipboard – Memories Captured

Pinflair Glue, Hot Glue, Cosmic Shimmer Glue, Foam Strip Tape

Tiny Pearls and Brass Feet – Hobby House


Julie2,1

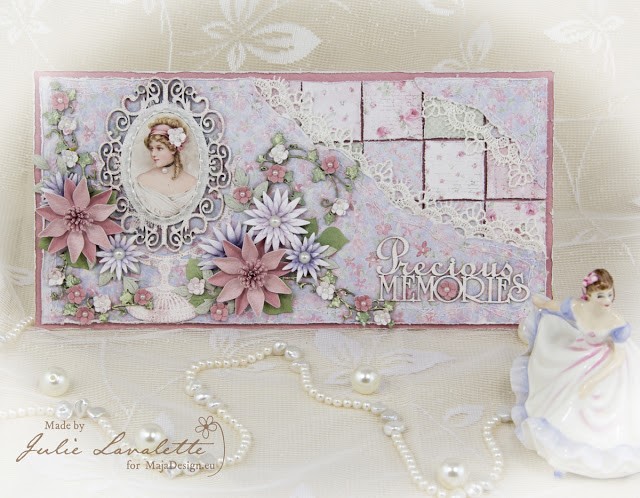
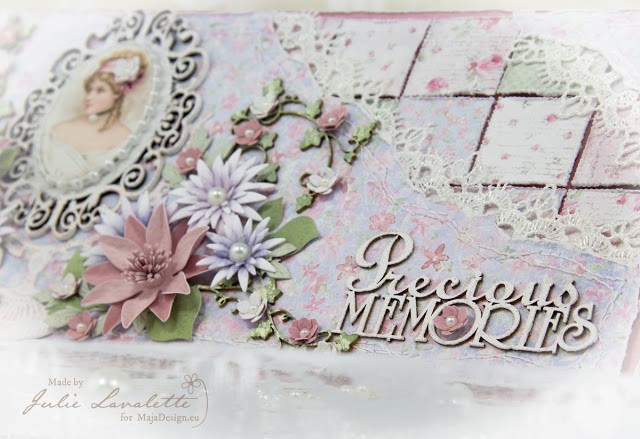
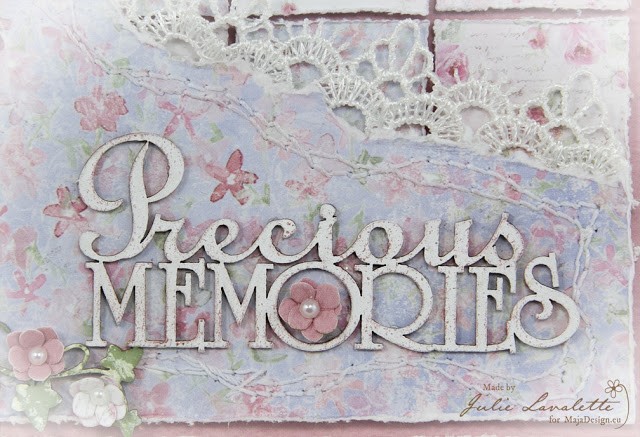
This card uses the exquisite papers from the Sofiero Collection. I love the pretty feminine tones and the elegance of the images that compliment any craft project so well. This card measures approximately 5″ x 10″ and I intend to put it into a frame to keep as my ‘Precious Memory’ as a Guest Designer here at Maja Design.
Julie2,2
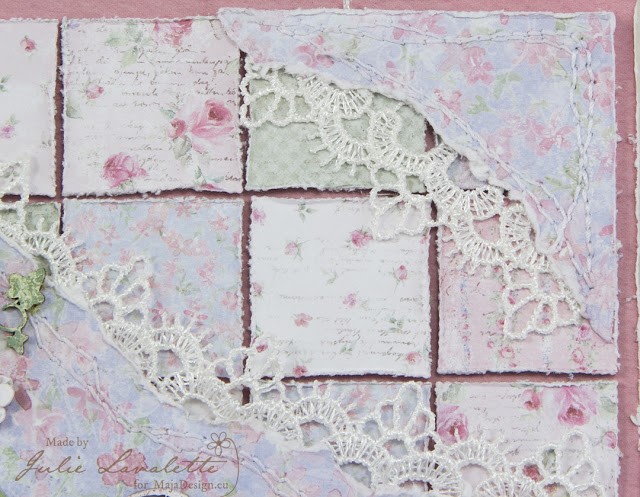
I started with tattering the base pink layer of my card with my scissors, this would help frame the soft tones on my design. I gathered lots of little scraps of paper from my Sofiero Collection and cut into approx 1″ squares, tattered at the edges and placed onto my card with foam strips. I now added on my torn layer of paper with tattered edges, some stitching and lace for extra detail.
Julie2,3

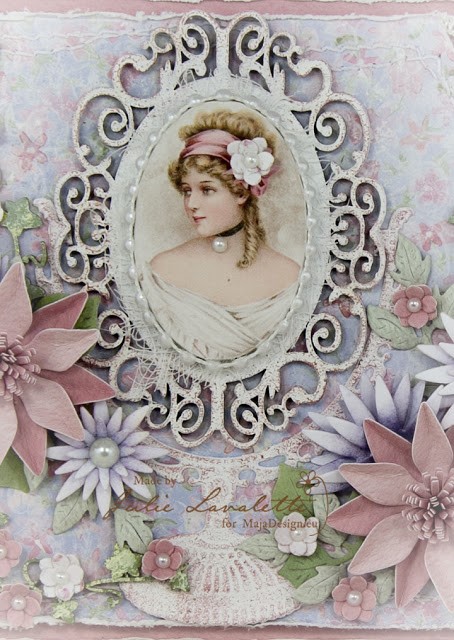
My dressing table mirror was diecut in white cardstock and I stippled on some Gesso for extra texture and once dry I added some Gilding Wax for highlights. You will also notice I replaced the mirror part of my diecut with a oval chipboard which had been painted and gilded in the same way. My beautiful image was glued onto an oval chipboard adding Pearls around the frame, finishing with a flower in her hair and a small Pearl added to her choker for extra detail.

Julie2,4

My Ivy chipboard has been painted nestling some small flowers around them and adding a few diecut leaves.
Julie2,5

My lilac flowers were created with Distress Inks and adding Pearl centres, my other flowers have all been creating using Maja Papers.
Julie2,6


Products Used List.

Maja Design Products Used –

Monochromes Shades of Sofiero Blush / Rouge 12 x 12

Exuberance of Flowers in Bloom 12 x 12 

Ephemera 12 x 12

The Sofiero Collection 6 x 6 Paper Pad


Other Products Used –

Cheery Lynn Dies –

CABD 72 Chrysanthemum

B338 Black Eyed Susan Strip

B178 Flourish Leaf Strip

CAFLRS 13 Flourish#13
Scrapiniec – Ivy and Precious Memories

Dusty Attic – ATC Frame

Marianne Creatables Vintage Mirror

Spellbinders Hydrangea

Gilding Wax – Rose

Gesso

Sewing Machine, White Thread

Lace, Cheesecloth

Mini Pearls, Pearl Ribbon

Distress Oxide Peeled Paint

Distress Ink Milled Lavender, Shaded Lilac Foam Strips

Pinflair Glue and Cosmic Shimmer Glue
 

Julie3,1

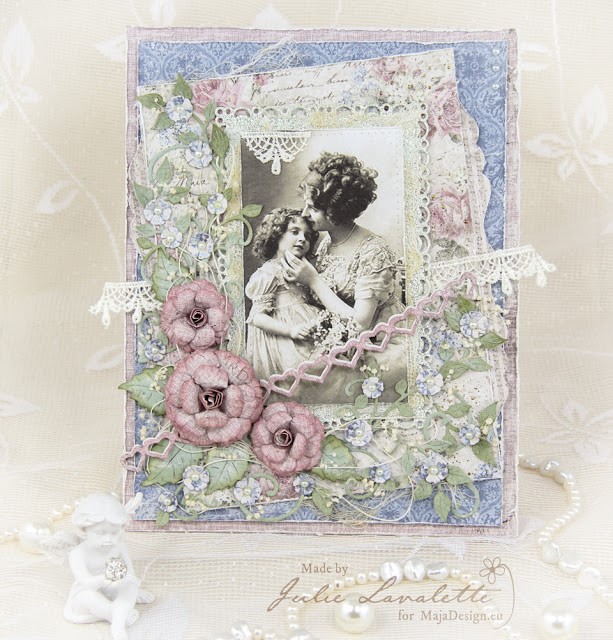
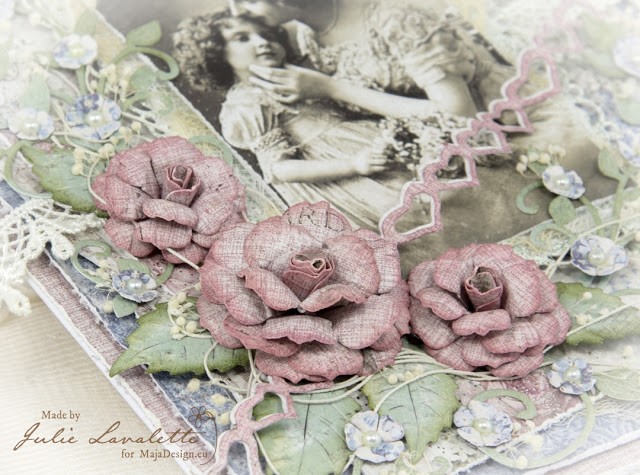
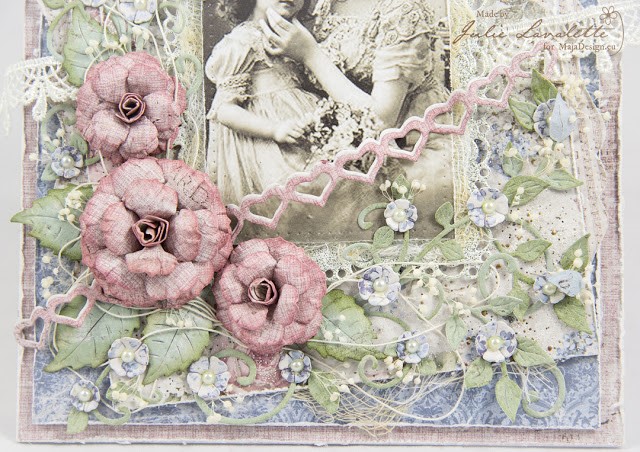
The inspiration for this card which measures 7.5 x 5.5 inches came from the love between a mother and daughter on my image and the beautiful Vintage Romance 12 x 12 paper called Engagement. I knew these would compliment each other so well and I could replicate the pretty flowers from the background paper onto my card.
Julie3,2
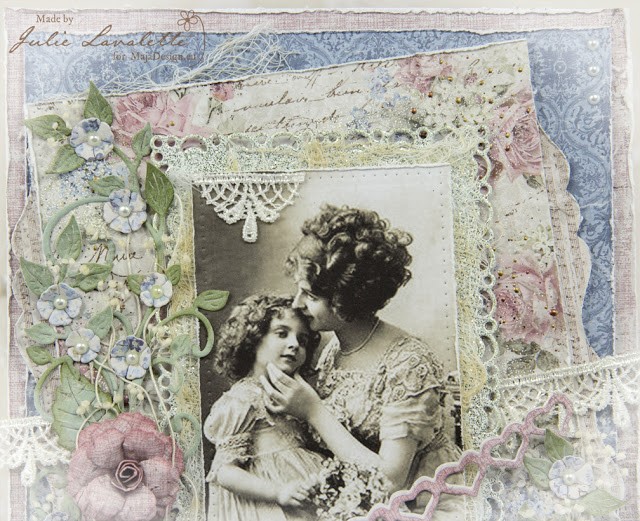
I started by adding tattered layers, accents of cheesecloth, touches of lace and Frantage for a shabby feel.
Julie3,3

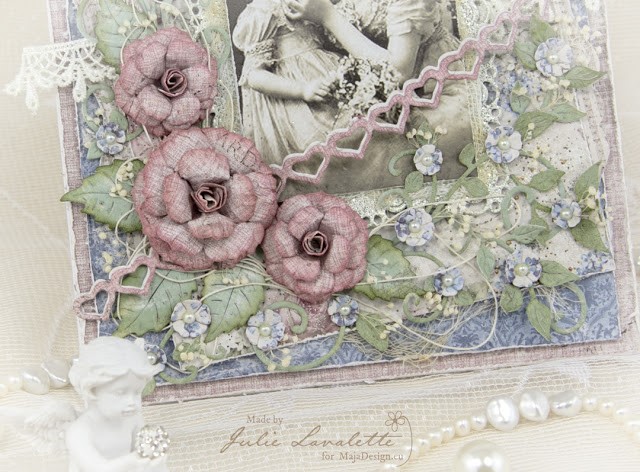
My roses were die cut out in coordinating papers and inked with Victorian Velvet Distress Ink, I also added some small flowers with a mini Pearl into their centres.
Julie3,4

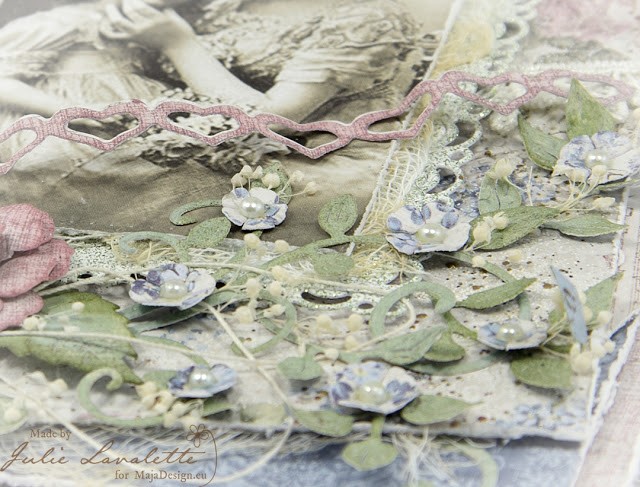
My floral arrangement was positioned onto my card with leaves which were inked at the edges and a few flourishes for added detail.
Julie3,5

I finished with a small double layered heart chain, some dried flowers and a little thread positioned through my bouquet.
Julie3,6


Maja Design Papers Used :


Vintage Romance Forget Me Not 12×12

Vintage Summer Basics 1924 12×12

Vintage Romance Engagement 12×12

Vintage Summer Basics 6×6


Cheery Lynn Dies Used:

B304 Ivy Strip

B241 Rose Leaf Strip

B291 Mini Fanciful Flourish Right

B117S Mini Fanciful Flourish Left

B376 Tiny Flower Kit

B433 Small Gardenia Strip

B339 Gardenia Strip

LPC-16 Rectangle Pierce and Cut Tool

DL270 Horizon Boutique Rectangle Stacker Frames

B115 Heart Chain Border

B569 Curved Border Set


Other Products Used :

Lace, Cheesecloth

Image from Stash

Antique Linen and Victorian Velvet Distress Inks

Stampendous Shabby Green Embossing Enamel

Stampendous Aged Bronze embossing Enamel

Craft Consortium Pearl


Thanks so much to Camilla for giving me this opportunity which shall be forever in my heart and for the super talented Design Team at Maja for their endless inspiration.


Crafty Hugs to all,

Julie-sign