A Sweet lollipop

6

Posted by Camilla Støen Bakke

18 March, 2018 -

Write a comment

Hi everyone! I hope you are fine!

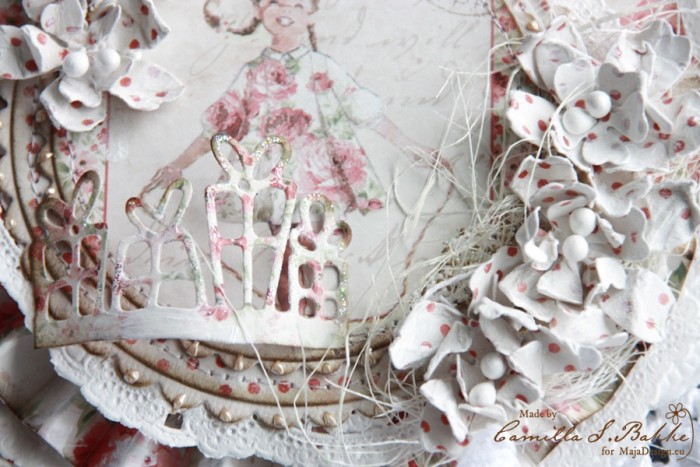
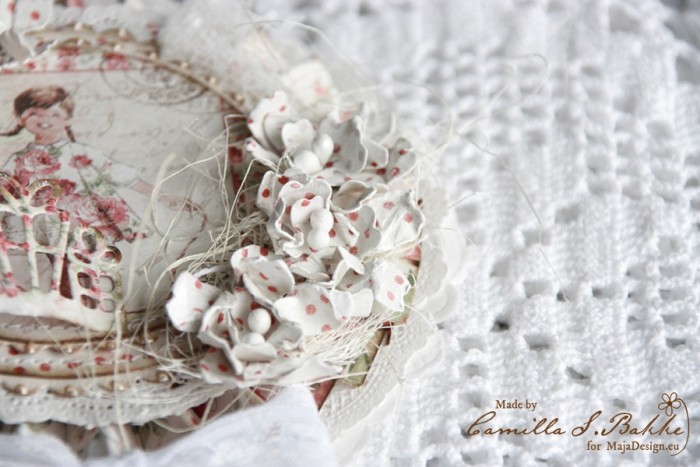
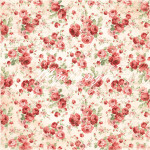
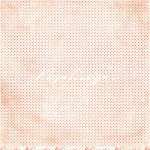
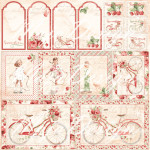
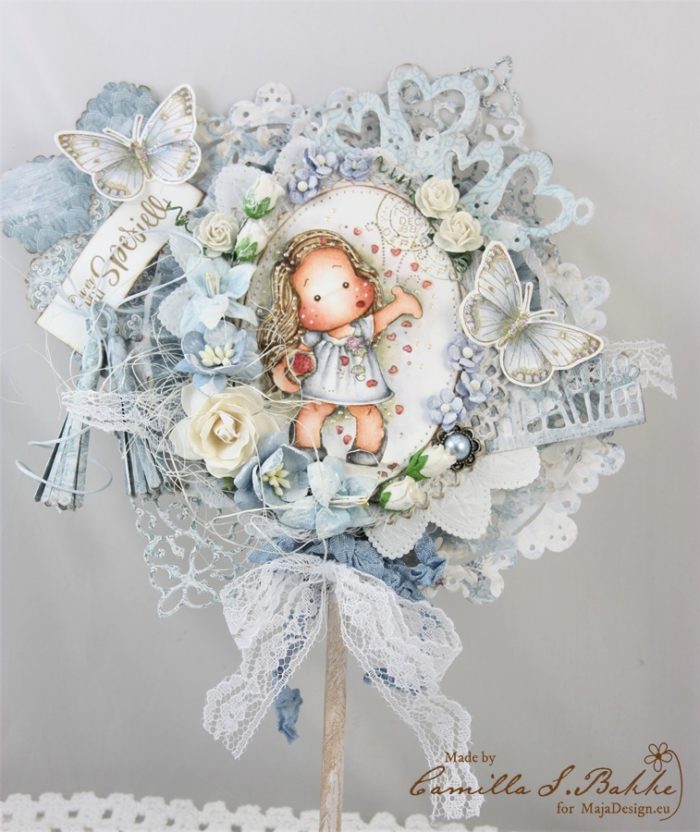
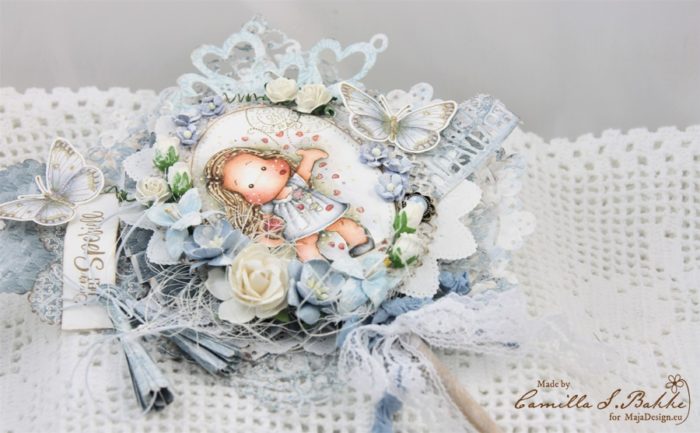
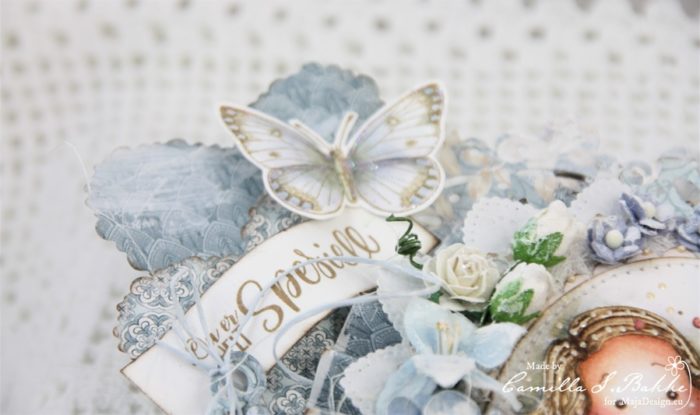
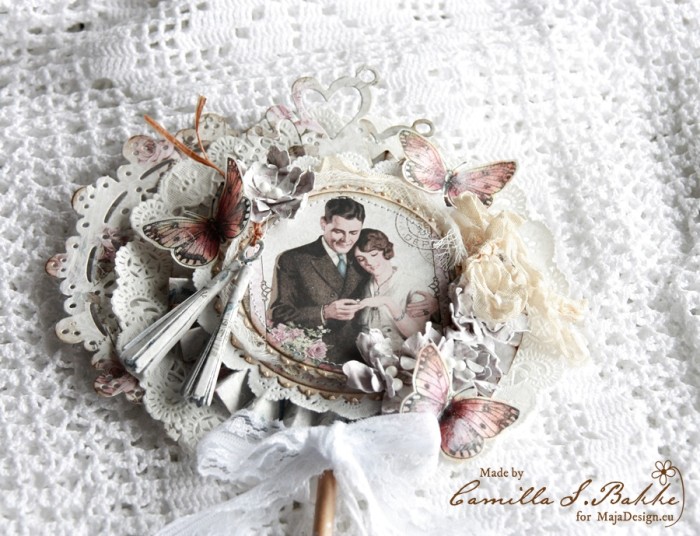
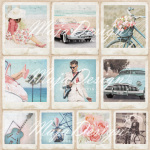
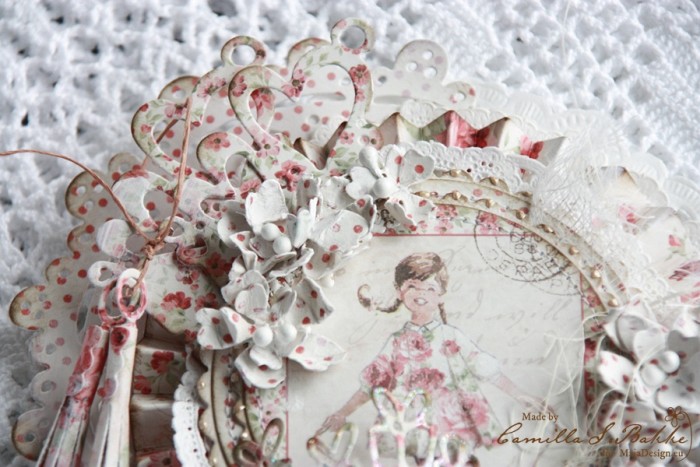
I have made a lollipop card for today’s post. And I have used beautiful papers from The Celebration Collection.

The flowers are from Wild Orchid Crafts, image from Magnolia and the butterflies and text are made with a Stempelglede stamp. I have coloured the image with Distress Ink, re-inkers.

I have made an accordion and glued it together into a circle. Then I have added layers with pattern papers and doilies.

Thank you so much for visiting the Maja Design blog today! I wish you a wonderful Sunday! Here comes the list of papers used:

With love,

Lollipop card for a Confirmand

1

Posted by Camilla Støen Bakke

31 May, 2017 - ,

Write a comment

IMG_7553

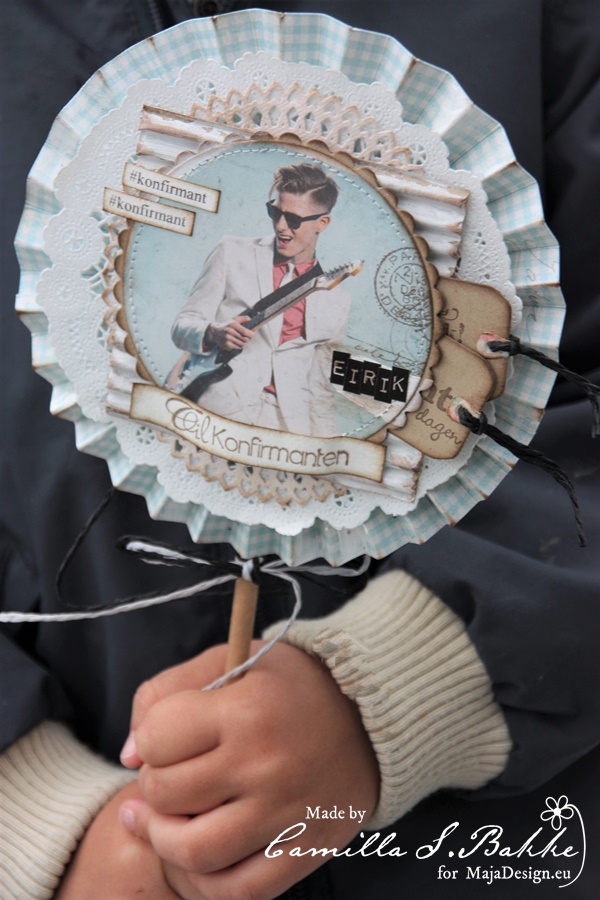
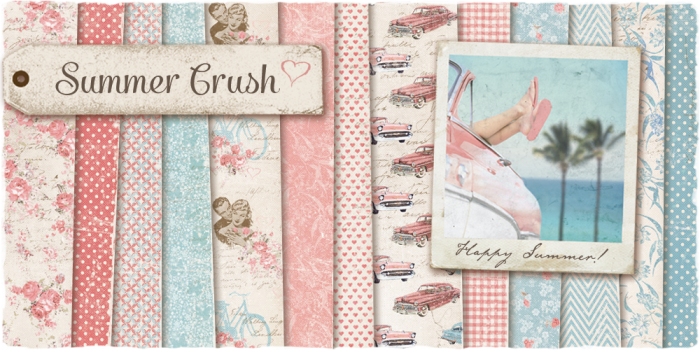
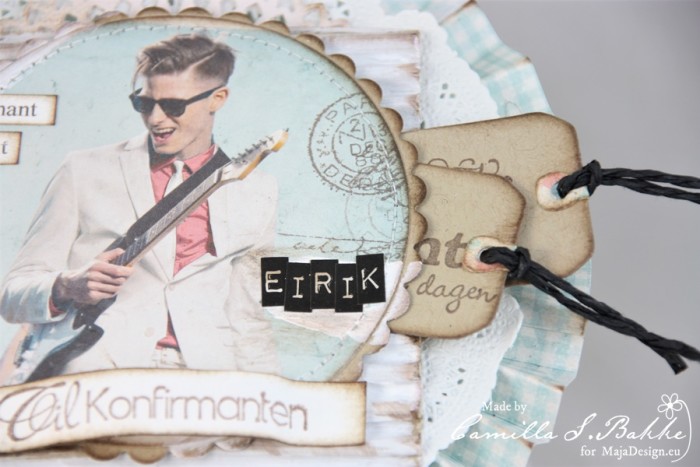
Here comes a Confirmand card I made to my friends son. And I have used papers and image from the Summer Crush collection for this one. I think the papers have really sharp and cool colours, which fits sporty young people 🙂 It is my son (three years) who is holding the card on the photo above.

Summer-crush-K

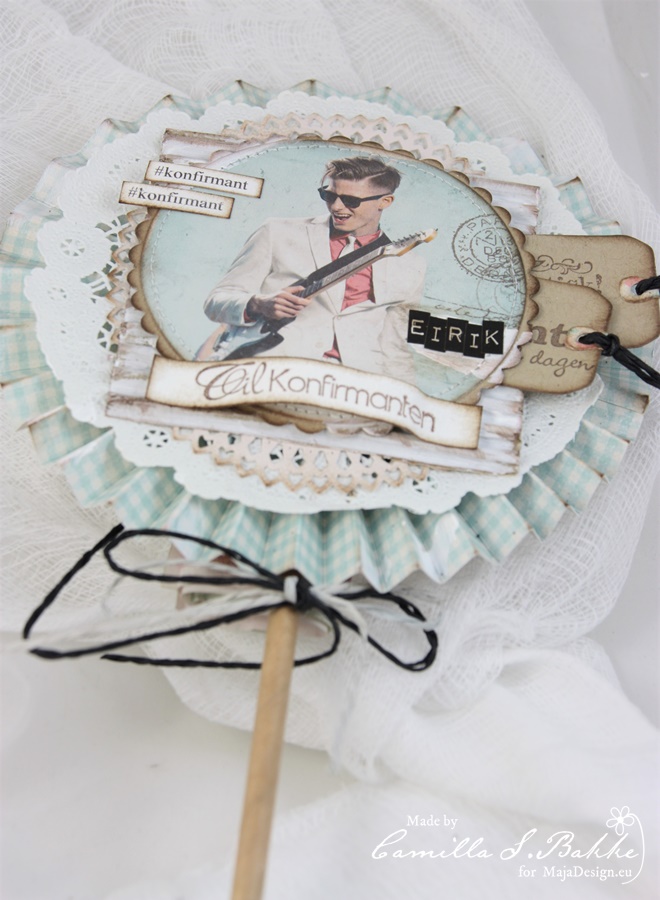
Here comes some more pictures of the lollipop card:

IMG_7531

The lollipop cards ar fun to make, and they are faster to make than my ordinary cards. Here comes a closeup.

IMG_7518

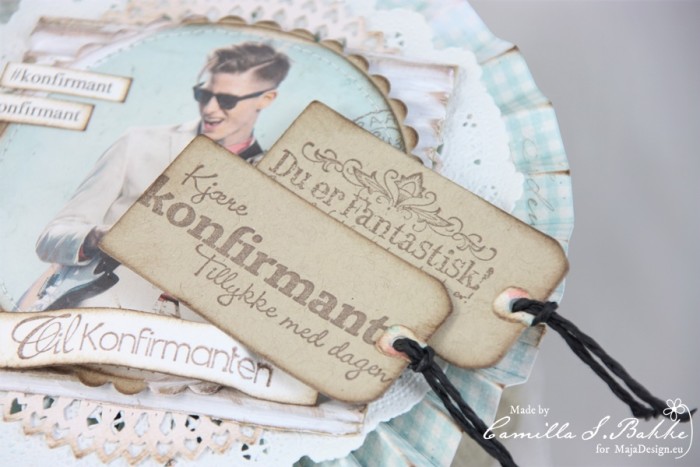
Tags from Magnolia with texts from Stempelglede.

IMG_7519

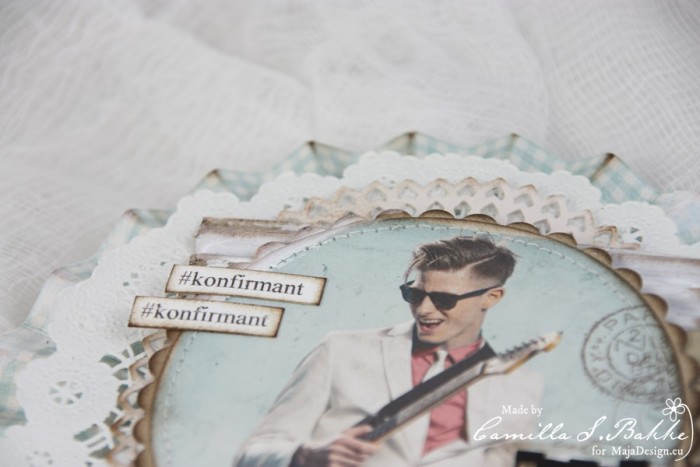
The text #konfirmant is written on my computer and printed out. I have used my sewing machine and sewed the paper edges. They are also inked with Distress ink – reinkers.

IMG_7544

Thank you so much for visiting the Maja Design blog!

With love,

Camilla

True love

1

Posted by Camilla Støen Bakke

2 November, 2016 -

Write a comment

IMG_4317

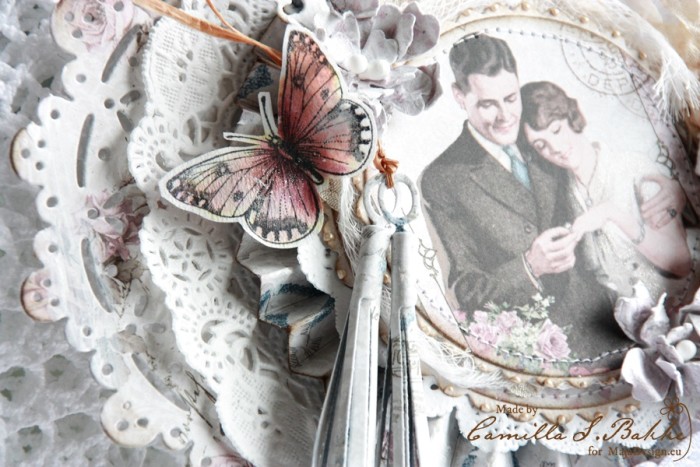
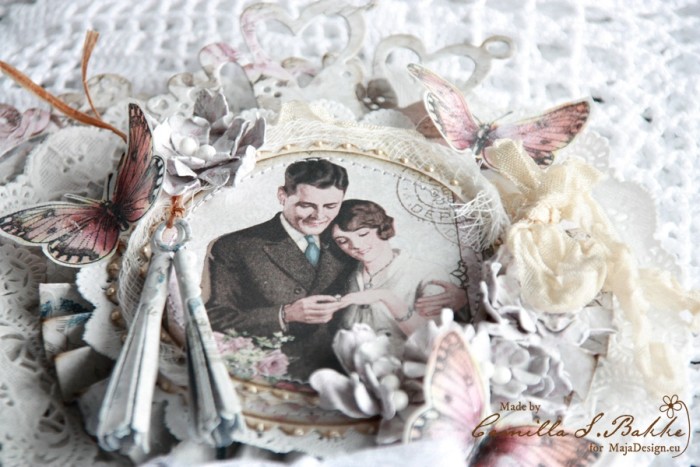
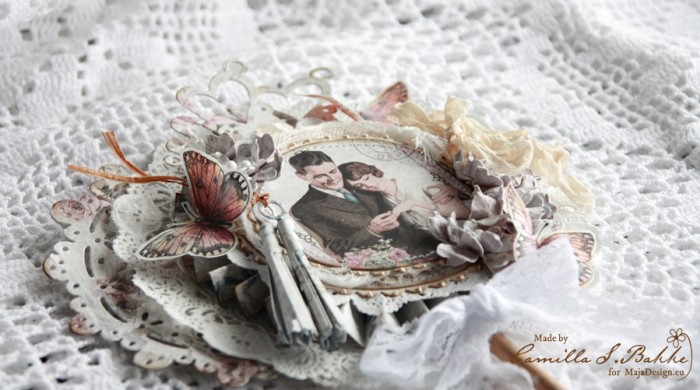
Hi there! I hope you are fine. Today I will show you a lollipop card I made with the beautiful Vintage Romance collection. I hope you like it!

Vintage-Romance-P

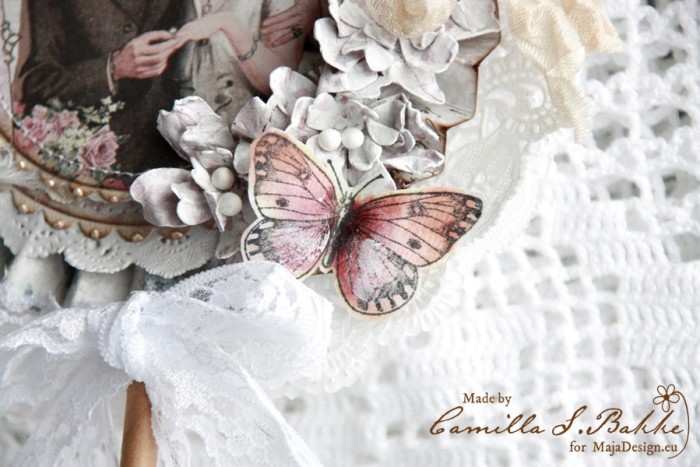
I have used the Ephemera cards sheet for the main image, the Wedding Couple. The butterfly is a stamp from Stempelglede. I have coloured it with Distress Ink re-inkers.

IMG_4338

As you can see I have several layers of papers and doilies on the card. I have also made some flowers of the Maja papers and placed them on the card.

IMG_4340

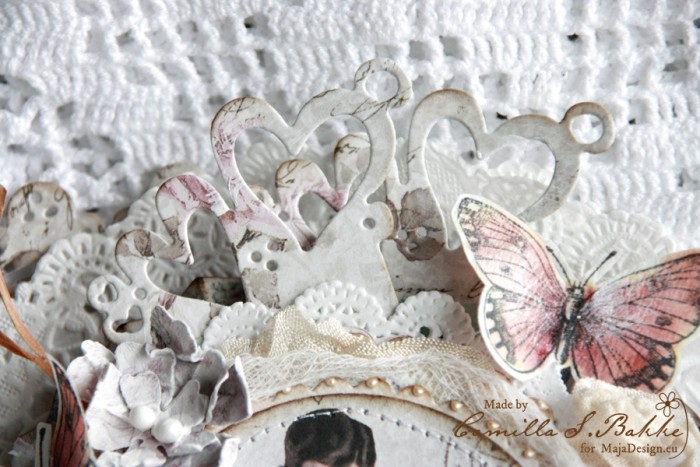
I have placed some heart tags on top of the card. They are made with a DooHickey die from Magnolia.

IMG_4341

I have used the ribbon Seem Binding around the image together with some cheese cloth.

IMG_4343

The tassels are also made with a DooHickey die from Magnolia.

IMG_4351

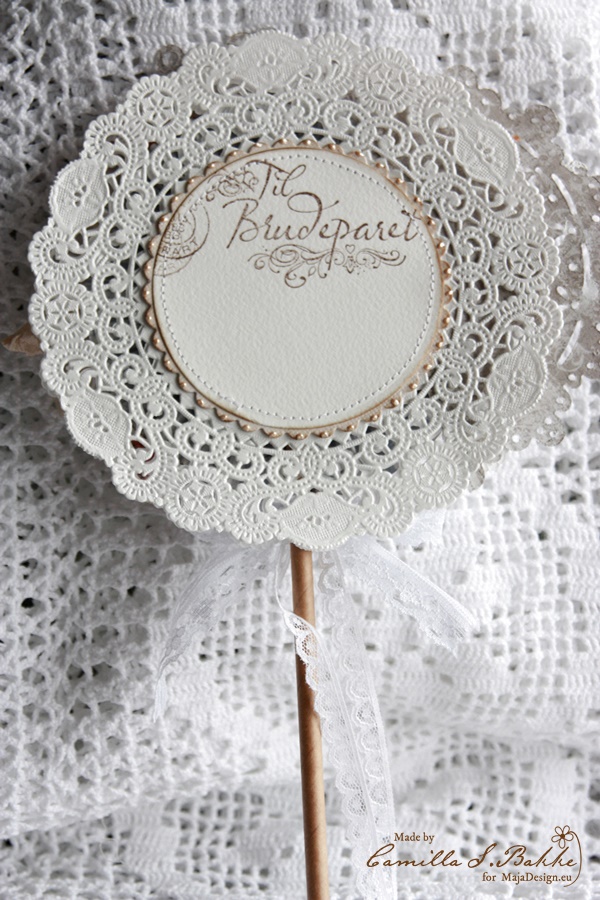
Here is the back of the card. The text is from Stempelglede, and there is still place to write a greeting for the happy couple.

IMG_4360

Here are the papers I have used:

Thank you so much for visiting the blog today. I wish you a lovely day!

With love,

Camilla

Lollipop card with Maja Design papers {tutorial}

8

Posted by Camilla Støen Bakke

10 August, 2016 - , ,

Write a comment

IMG_4239

Hi there! Today I will show you how I make my lollipop cards with the beautiful Summertime papers from Maja Design. The collecion has two main colours to work with, blue and red. I have chosen the red colour scheme for my card.

Summertime-P

Here comes my step by step:

IMG_4077

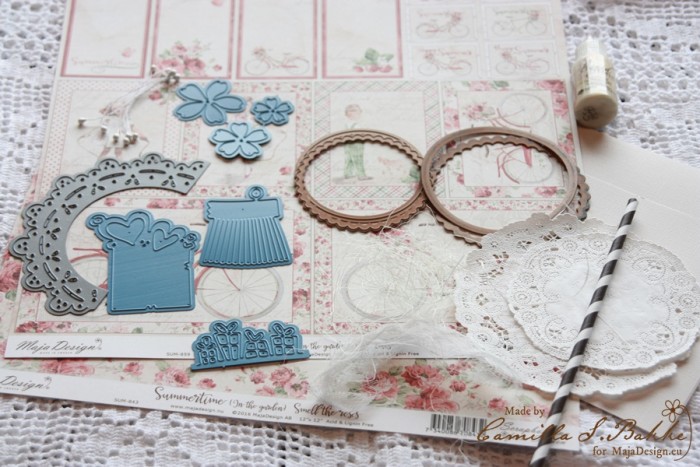
Above you see a collection of dies, papers, doilies, cheese cloth, paper straw, liquid pearls and sissal grass that I have used for my card. The dies are DooHickeys from Magnolia (mainly the club kit vol 5-the blue ones) and Spellbinders (the circles).
IMG_4091

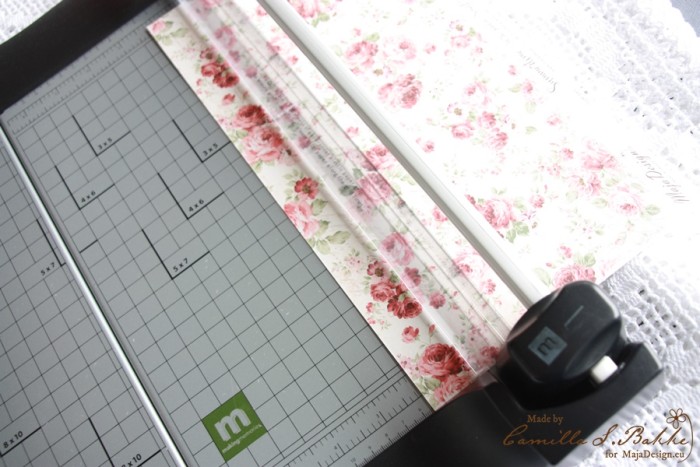
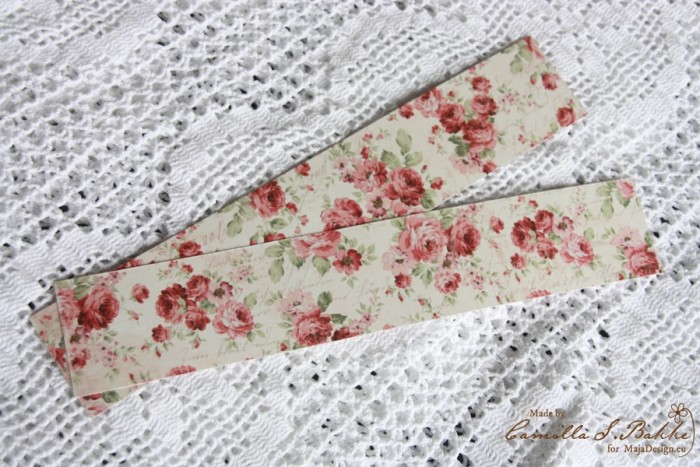
I start with making the main base in the lollipop card, the rosette 🙂 I cut a whole length (12″x 12″) measuring 5,5 cm.
IMG_4092

You will need two of theses.

IMG_4095

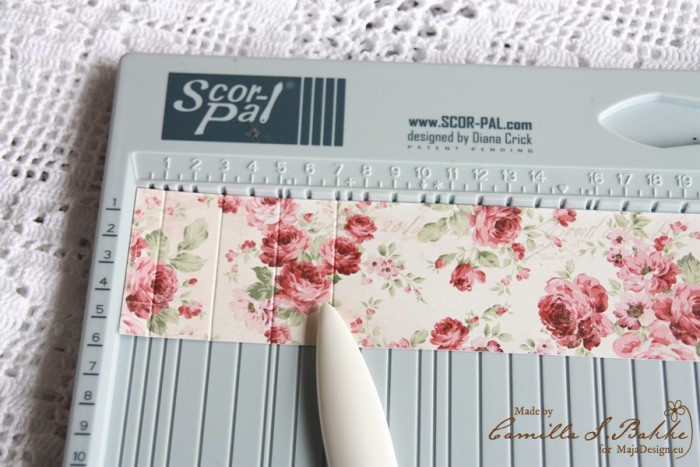
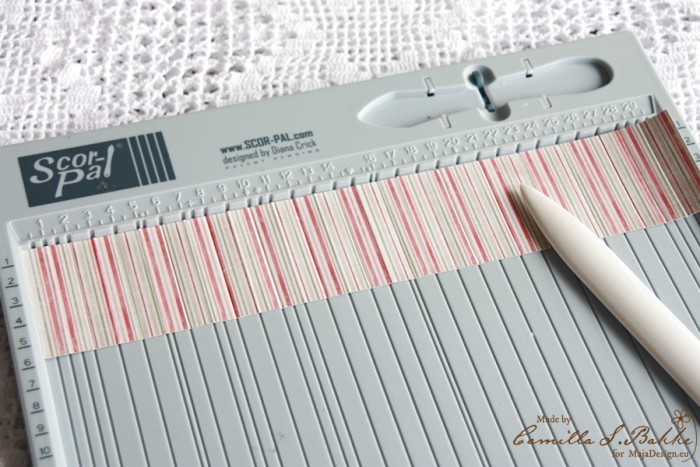
Then I fold the papers using my score pal. If you don’t have one, just fold it with your fingers. I fold every second cm (as you see at 1, 3, 5.. cm).
IMG_4097

Then I turn the paper around, and fold at 2, 4, 6 … cm. Then I will fold it at every cm.
IMG_4103

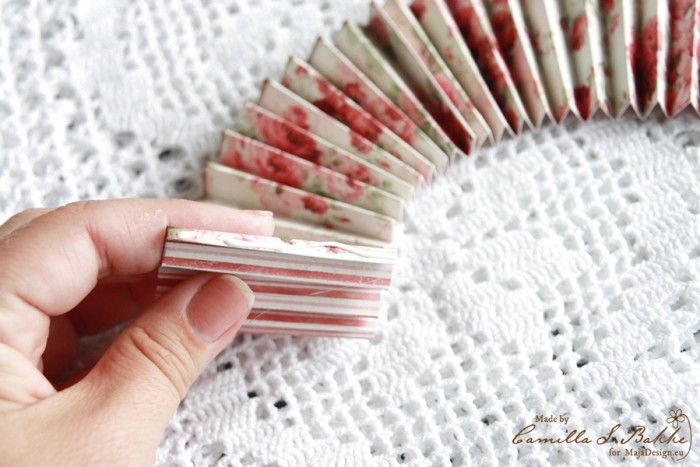
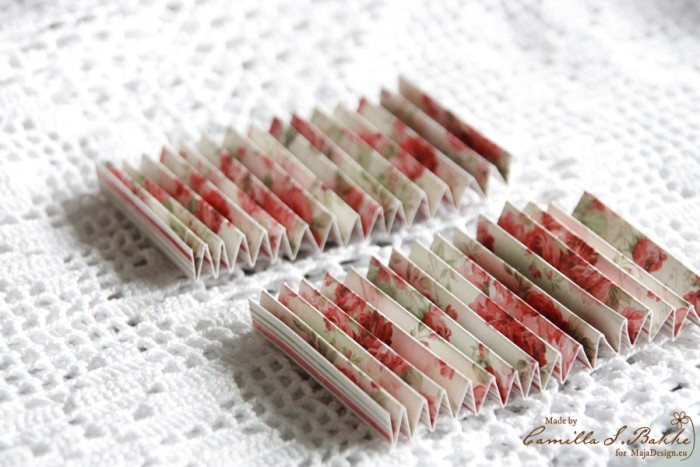
When you are finished, the papers will look like this, two accordians.
IMG_4110

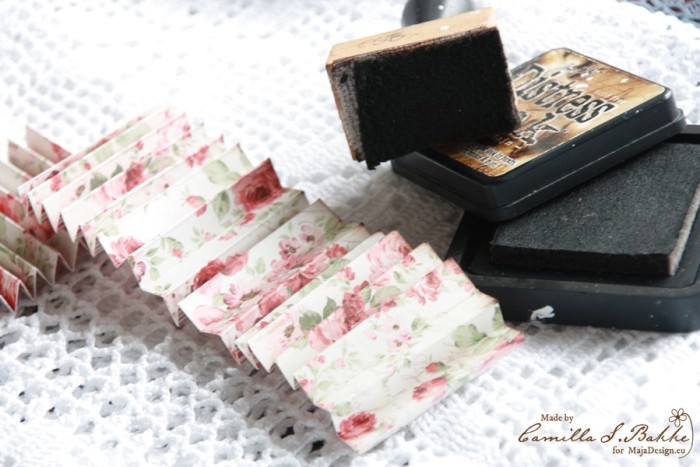
I use my inking tool to ink the edges with the colour Walnut Stain.
IMG_4113

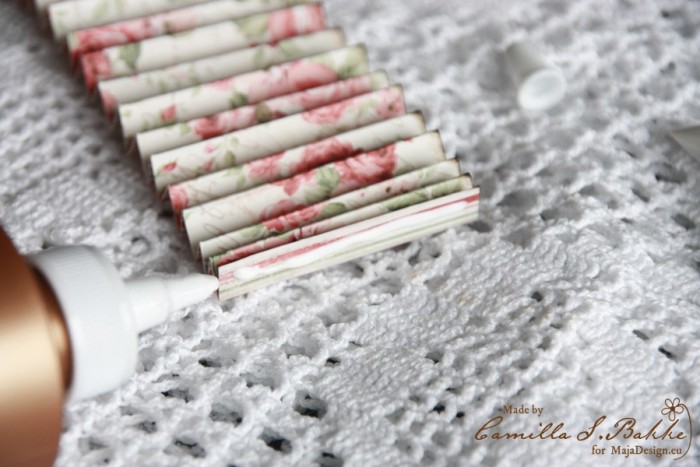
Then I glue the two parts together. I use Tacky glue.
IMG_4114

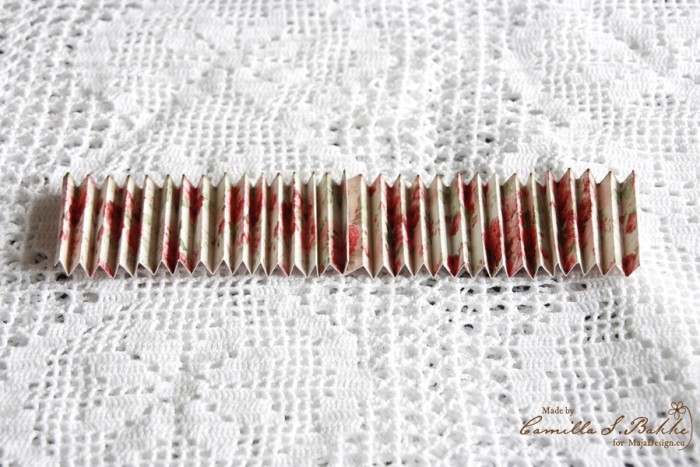
Now it looks like this.

IMG_4118

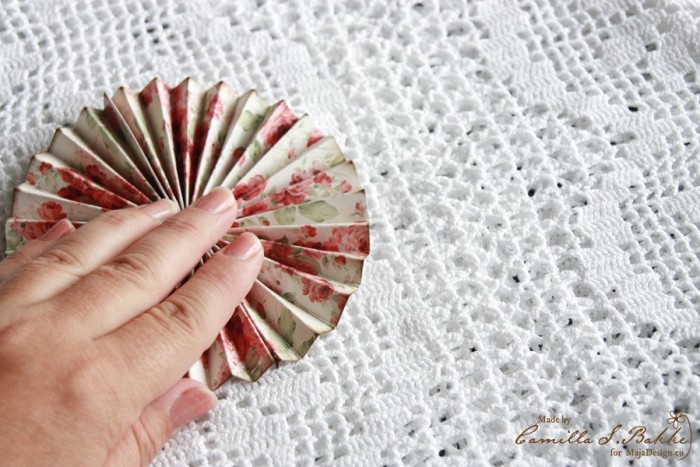
Then I glue the two outher parts together. Press it untill it is fasten together.
IMG_4120

You will now experience that the paper rosette will not lay the way you want 😉
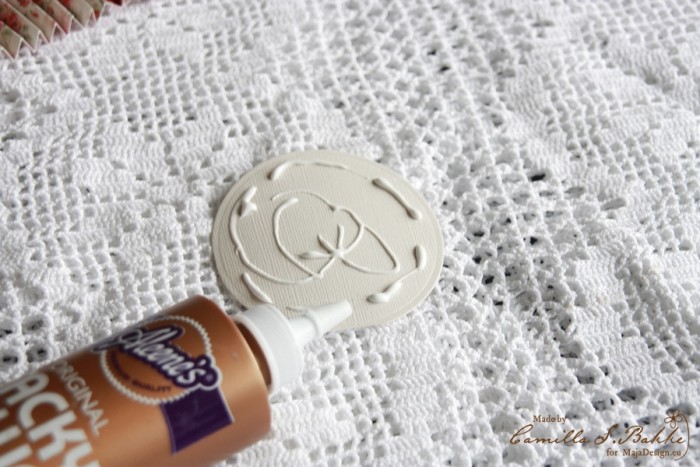
IMG_4117

So you will need a piece of paper to attach it to. Use more glue…
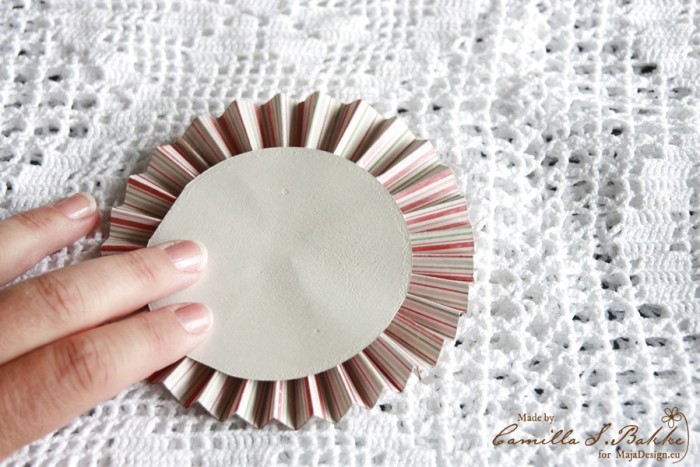

IMG_4125

Place it on the back of the rosette. And press untill it is fasten.
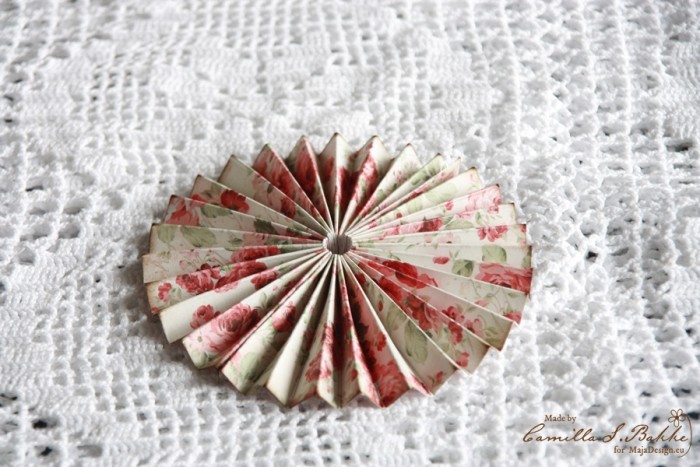
IMG_4127

Now your rosette will look like this.
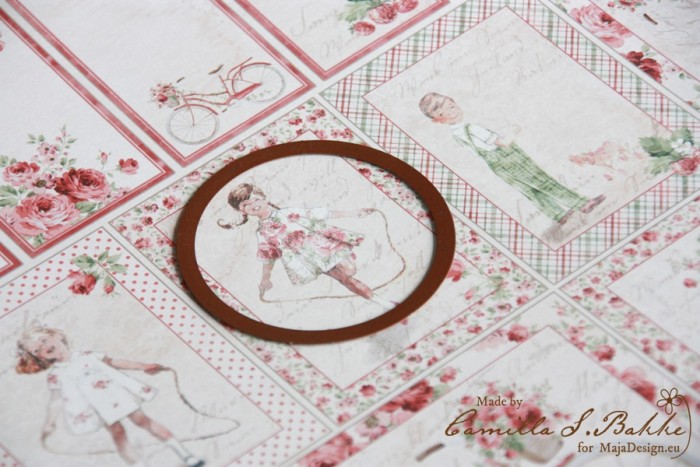
IMG_4128

I will use this gorgeous girl as the main image.
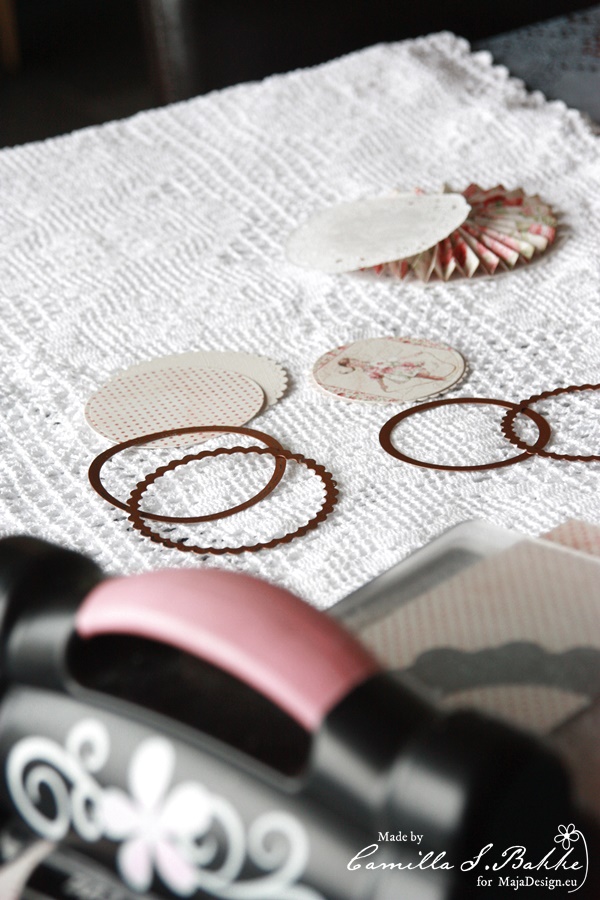
IMG_4139

I will now cut out all the other parts.
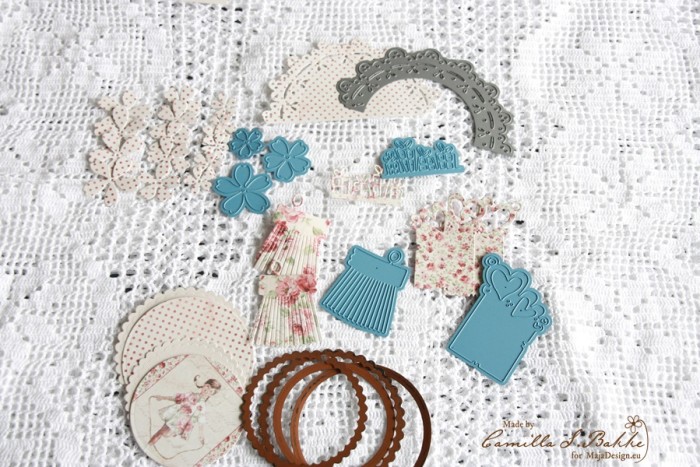
IMG_4142

Here they are. The papers are so beautiful! Like as all the parts are small treasures.
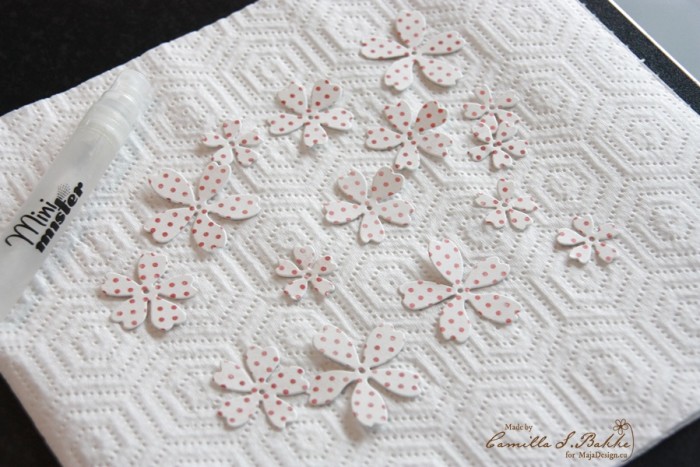
IMG_4152

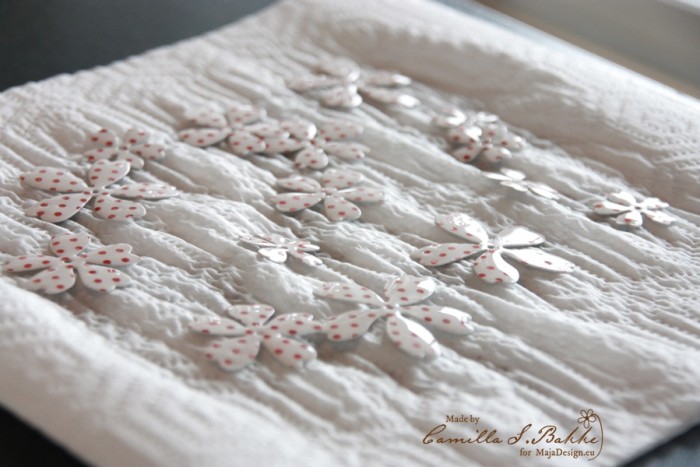
To make the flowers crumpled, I first spray them with water.
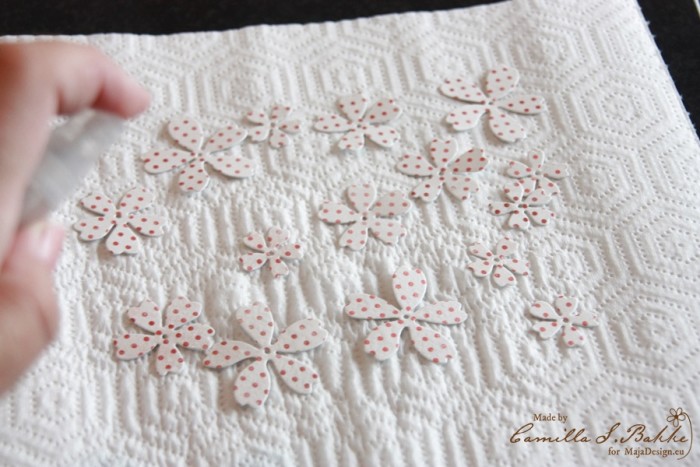
IMG_4155

..like this 🙂

IMG_4159

They are thick papers, so you will need some water.
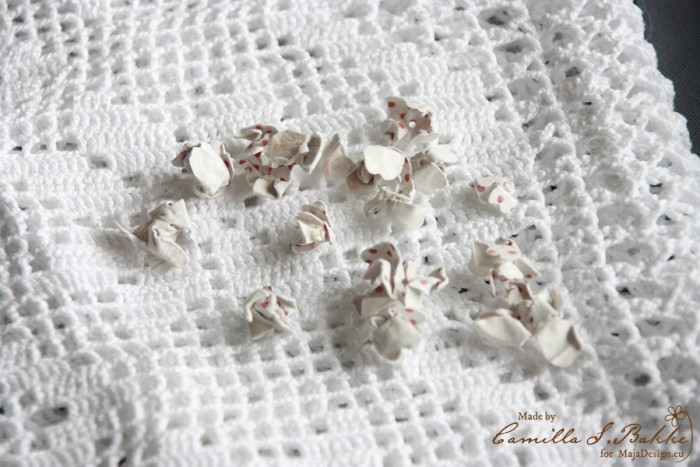
IMG_4162

Then curl them together, and let them dry.
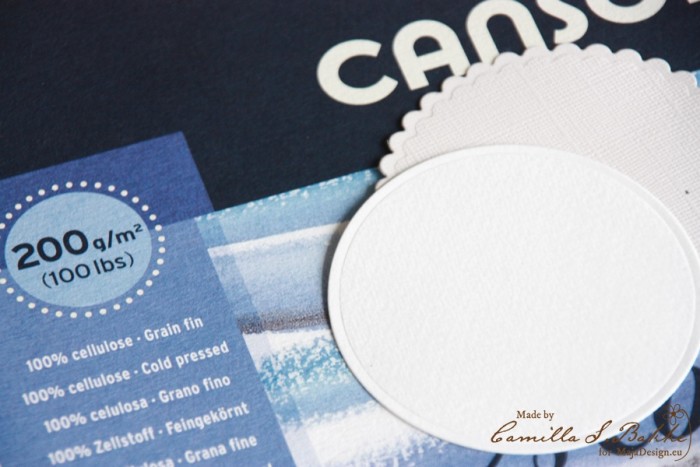
IMG_4166

Meanwhile I prepare the back of the card, where I will place a piece of paper to write a greeting on.
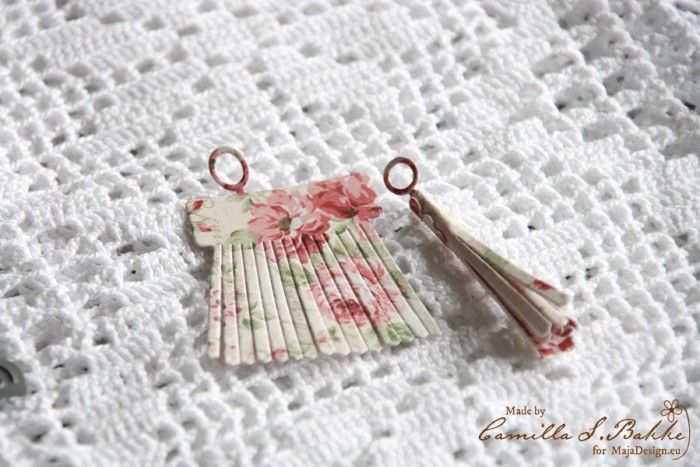
IMG_4168

I am also making the tassels. Just love them! Too cute 🙂
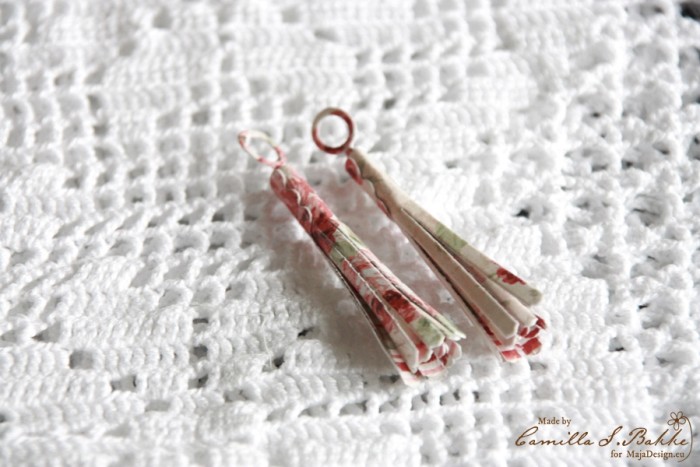
IMG_4170

Here they are both, rolled together.

I will now show you how the lollipop card turned out:
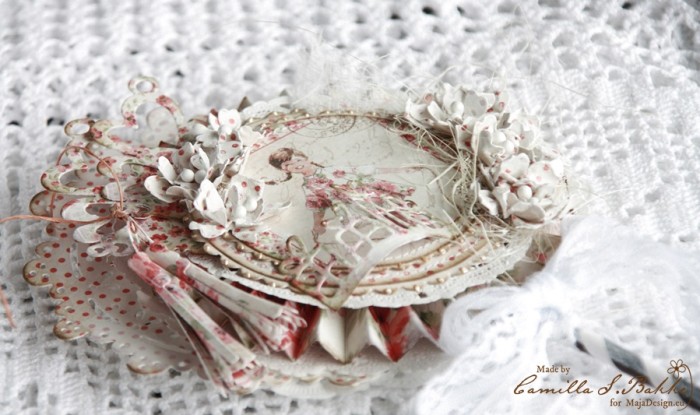
IMG_4199

I have also added some white gesso on the flowers and the rest of the papers. And also put stamens inside the flowers.
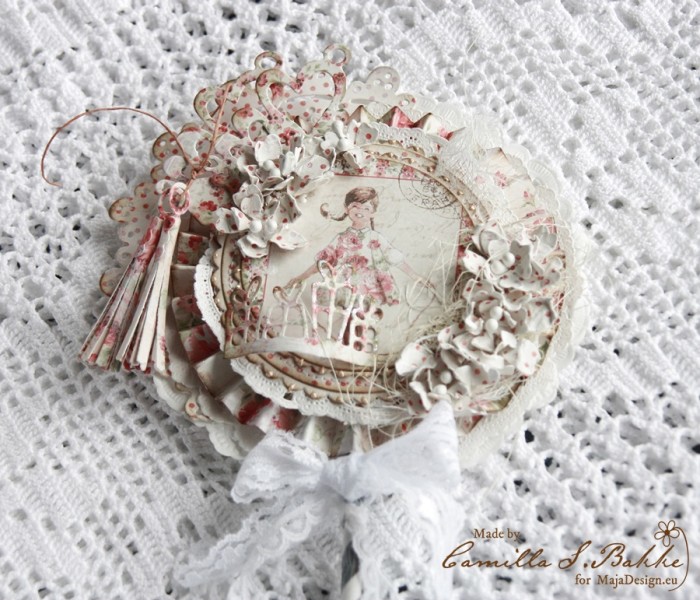
IMG_4229

And under comes some detail photos:
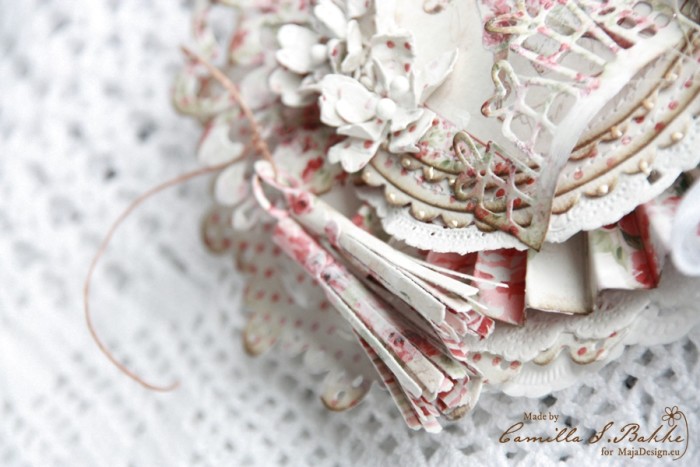
IMG_4241

IMG_4193

IMG_4195

And at last a detailed list of the paper used:

I hope you liked my card, and that you got inspired to make one or two yourselves! Thank you so much for stopping by, and I wish you a lovely day!

With love,

Camilla

Wedding lollipops

3

Posted by Camilla Støen Bakke

29 June, 2016 - ,

Write a comment

IMG_2636

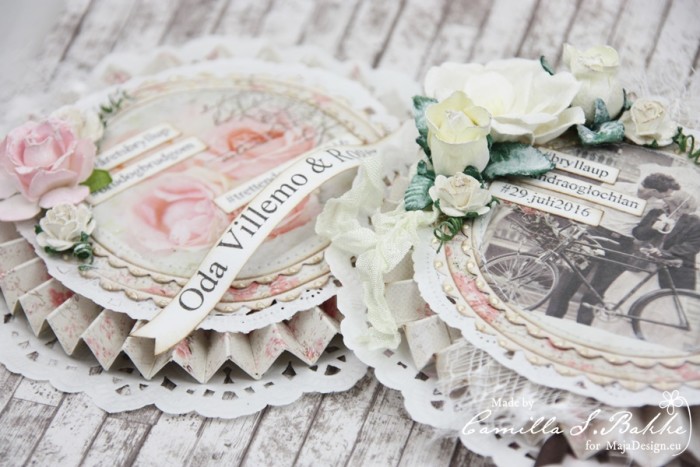
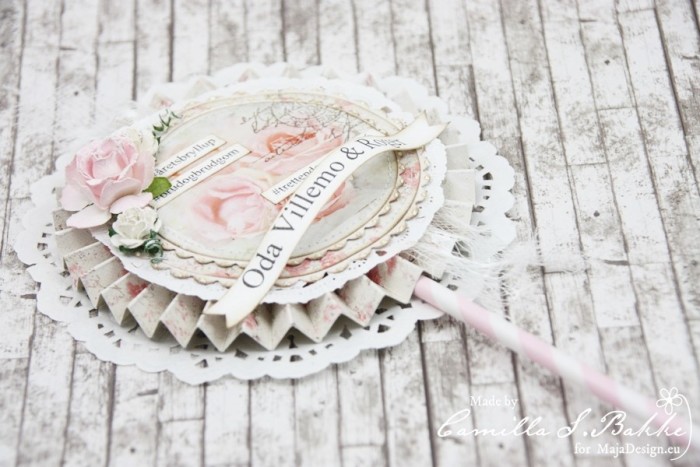
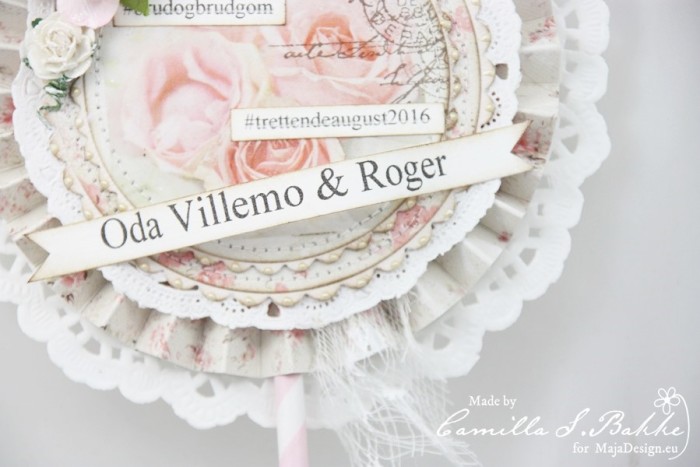
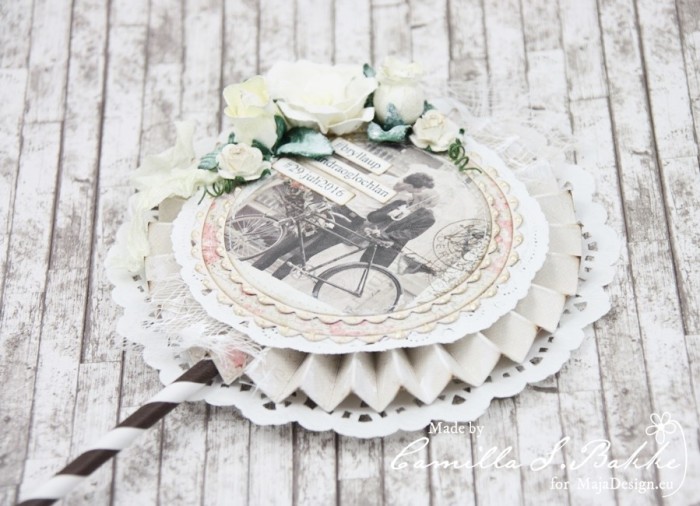
Hi there Maja fans! 🙂 Right now I am on holiday in Spain, and the time before I left were so busy. But I had some wedding cards to finish, so two more lollipop cards to go!

IMG_2591

Once again I have used the lovely images from the Summer Crush Collection, called Snapshots. Infact all the papers used are from the wonderful Summer Crush Collection.

Summer-crush-K

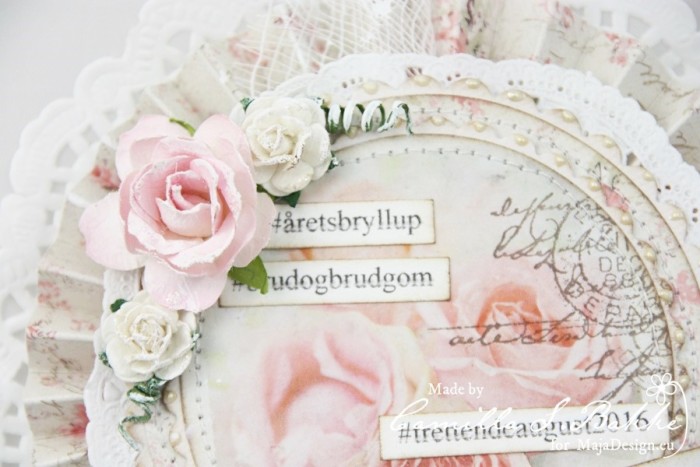
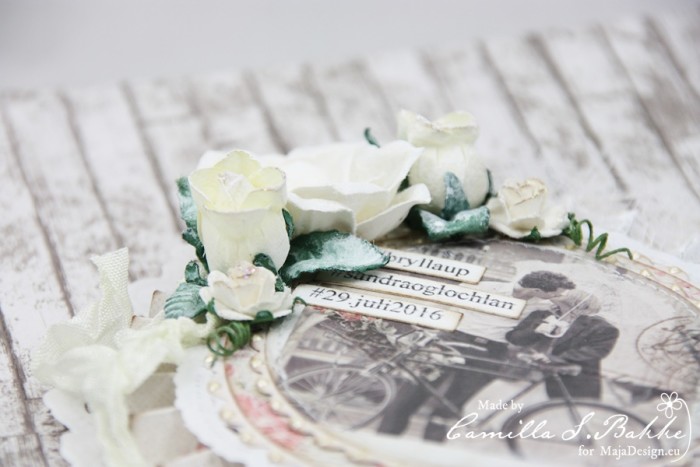
The postmark stamp and the handwritten letter stamp are both from Stempelglede. The roses are from WOC. The text is written on my computer and printed out on watercolour paper 200g. The papers are inked With Distess Ink pad-Walnut Stain, and sewed with my sewing machine. I have added Liquid Pearl drops on the scalloped edges on the circles (spellbinder dies).

IMG_2582

Between the paper layers I have put some doilies and cheese cloth.

IMG_2585

And here is the other lollipop card. This one for my cousine Sandra who is marrying a guy from Australia. They met while she was studying there, and they are both coming home to Norway to celebrate their wedding together with friends and family. This will be the first time we meet the groom to come. And we are so excited and happy for them both! Can’t wait to meet Sandra again and her love.

IMG_2614

I just think this image is the cutest, and perfect for a romantic card.

IMG_2620

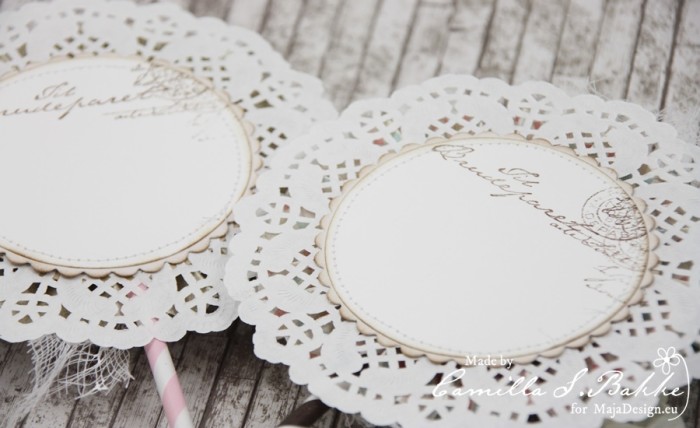
Here is the back of the cards. The text stamp used is from Stempelglede.

IMG_2638

And here are the sheets I’ve used:

Thank you so much for visiting the blog today!

Hugs,

Camilla