Hello Maja fans!
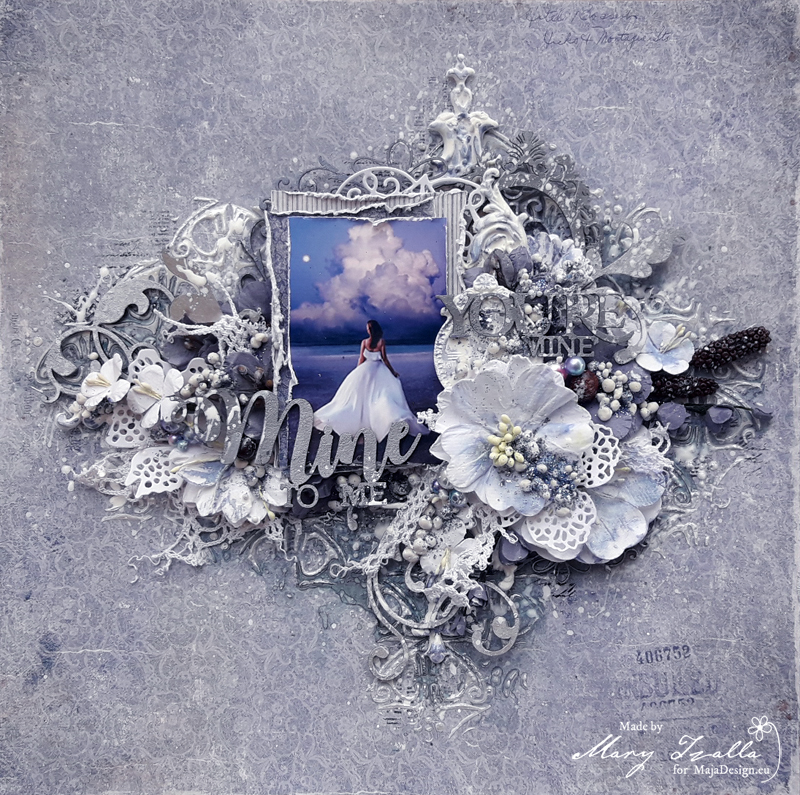
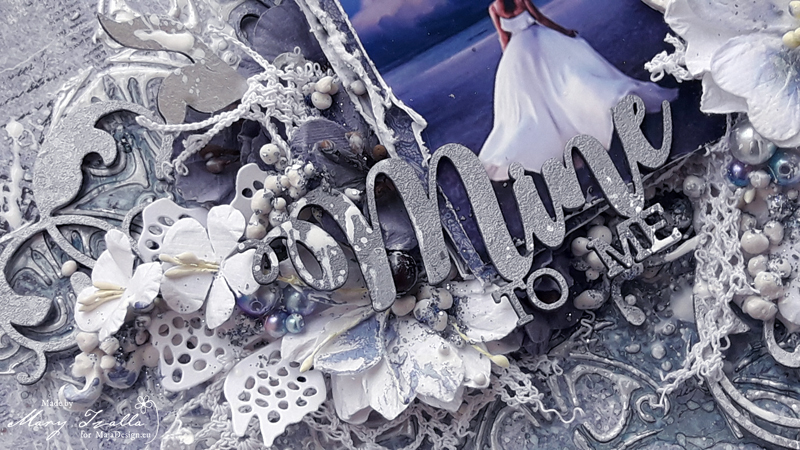
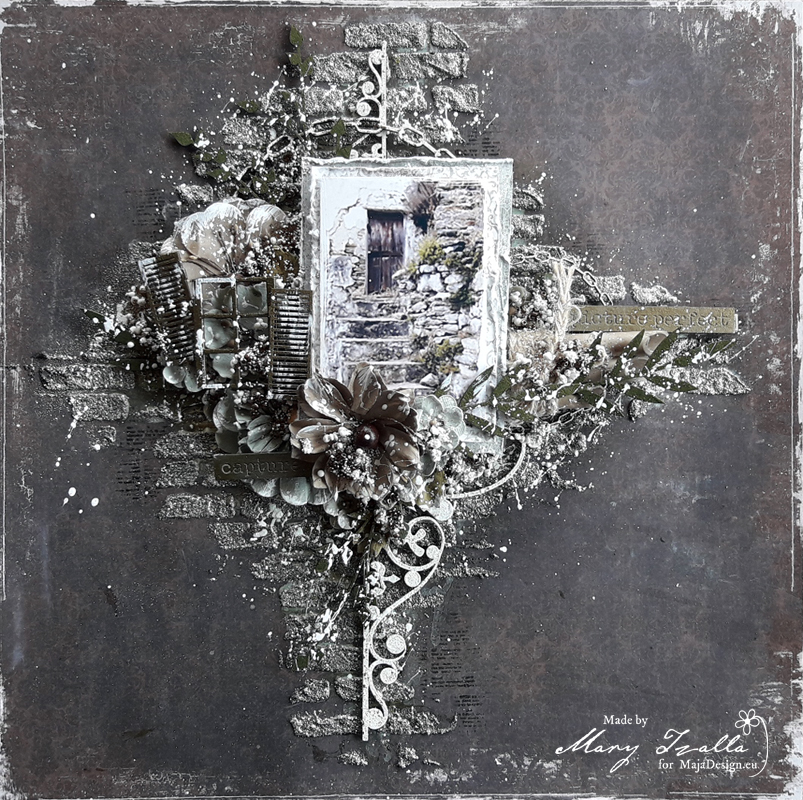
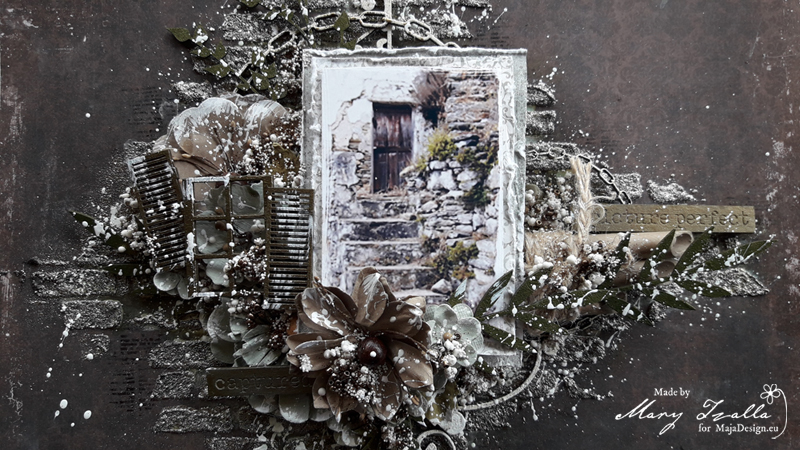
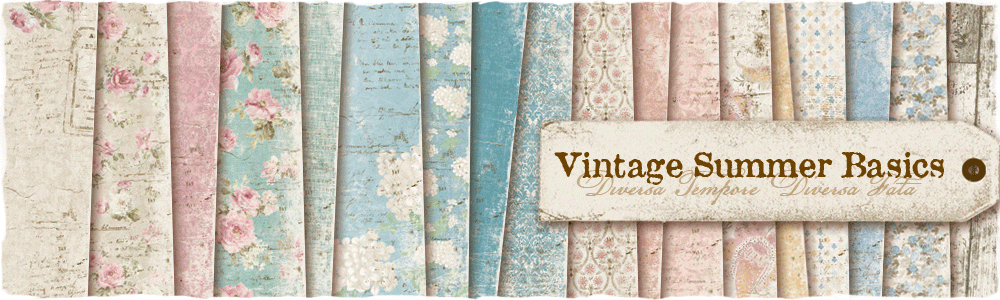
Today, I would like to share a new layout made for my July inspiration using papers from the gorgeous ”Vintage Summer Basics” collection. As usual, I’ve also used 49 and Market flowers, Dusty Attic chipboard and Finnabair moulds to embellish my page and achieve a romantic and elegant feeling.
As always, I found my photo on Pinterest and before I continue more I want to give all the proper credits to the ”unknown” photographer.
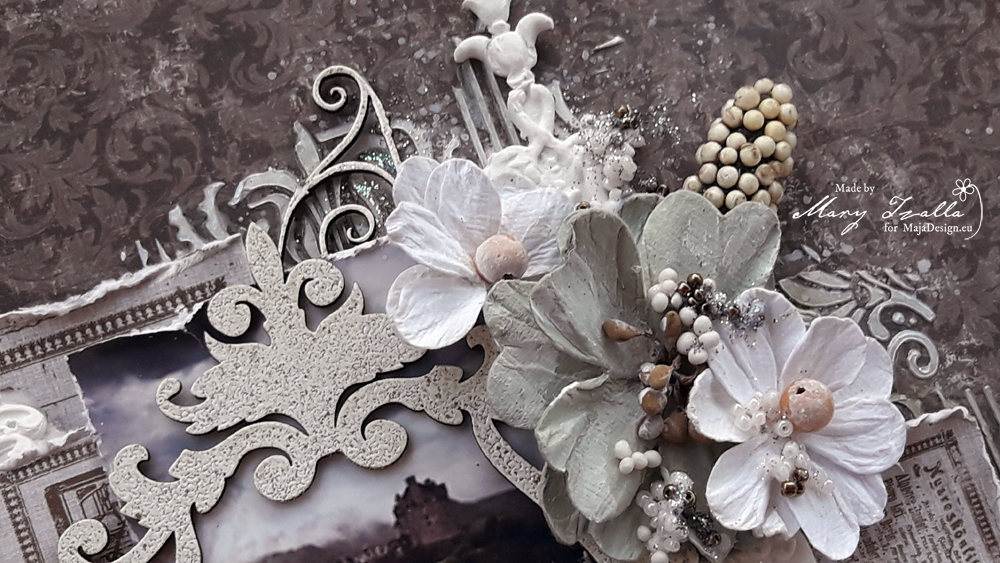
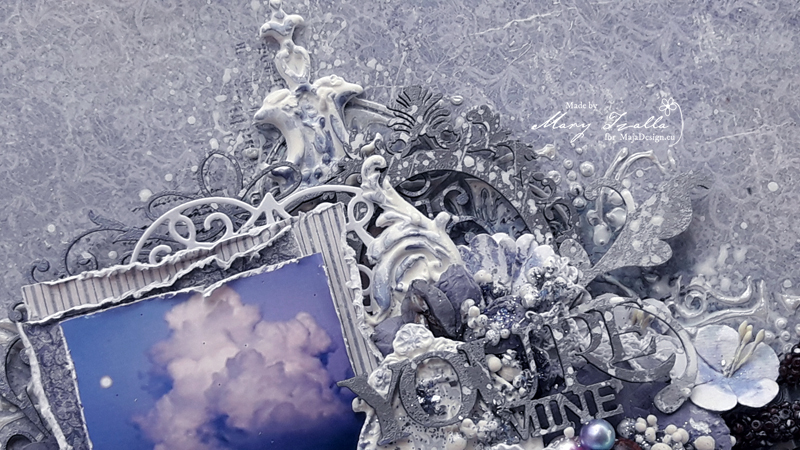
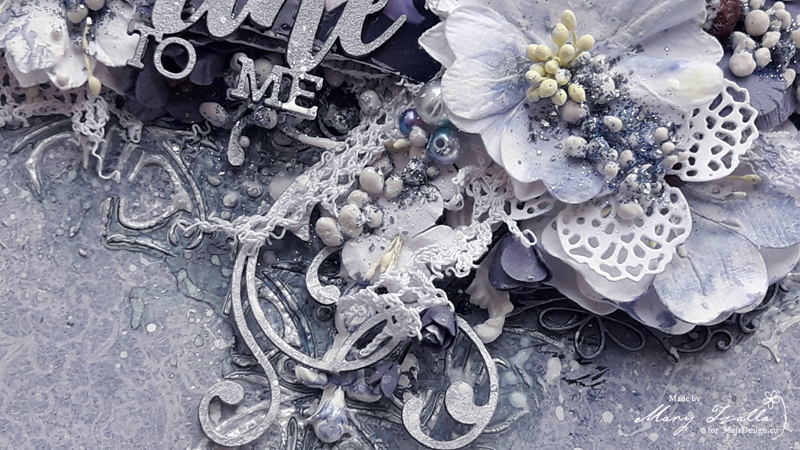
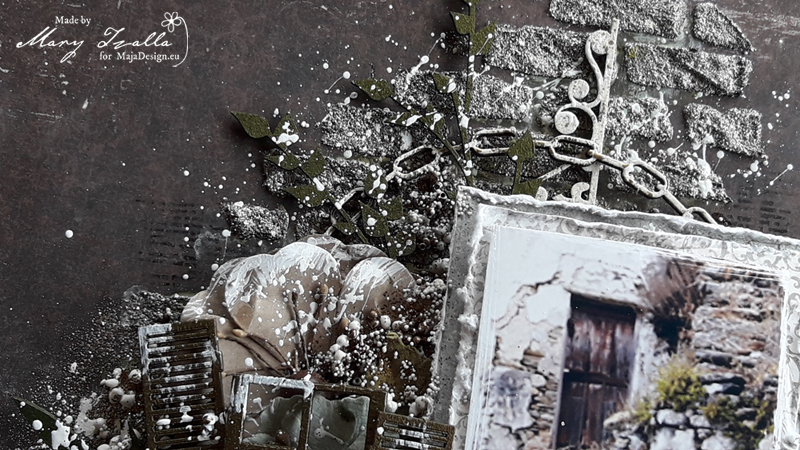
I used the ”Minnen” paper and made several layers behide my photo with the cards from the back side of the same paper. To start, I applied a coat of clear gesso and then, I created texture with the Finnabair Frosty Pearl icing paste and a stencil. When the paste dried, I used the Lindy’s Gang Sea Grass Green spray to add color.

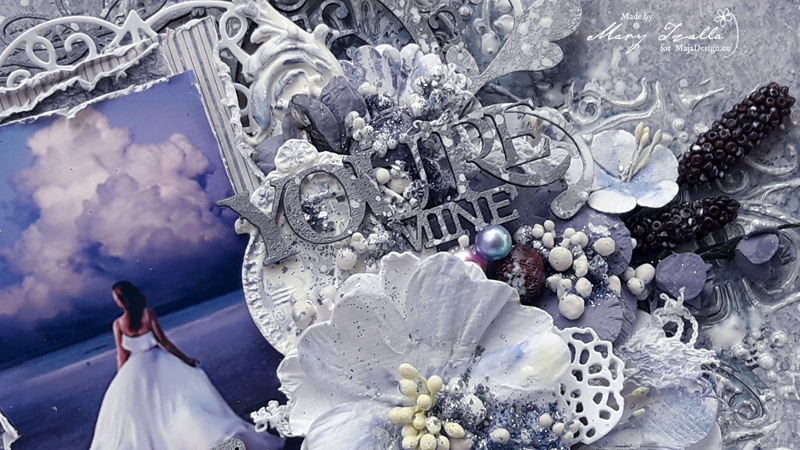
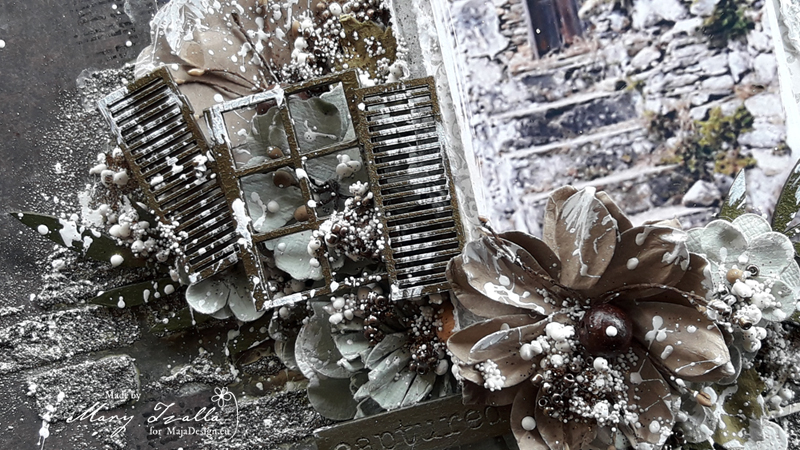
Next, I heat embossed the chipboards with the Stampendous Aged Ivory embossing enamel.
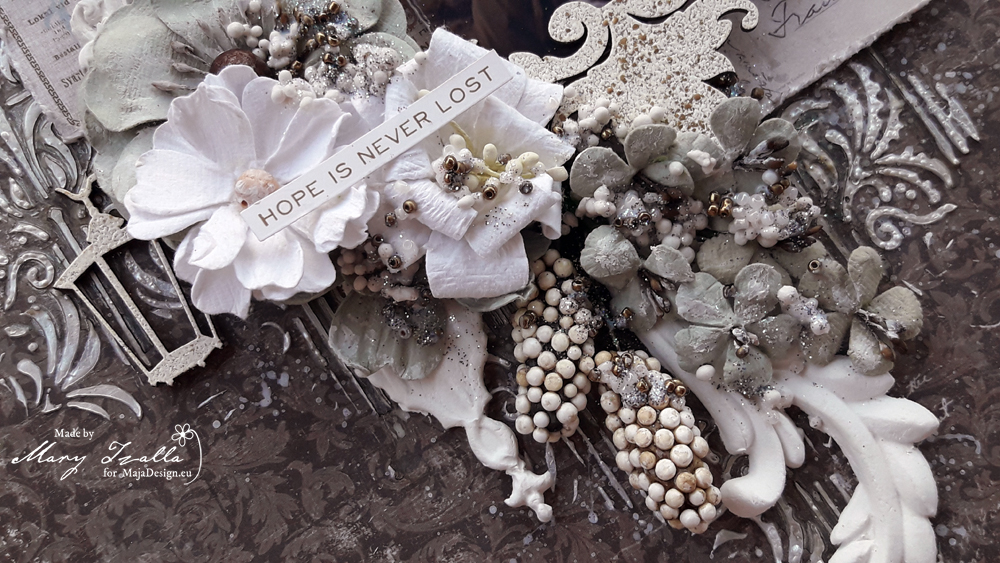
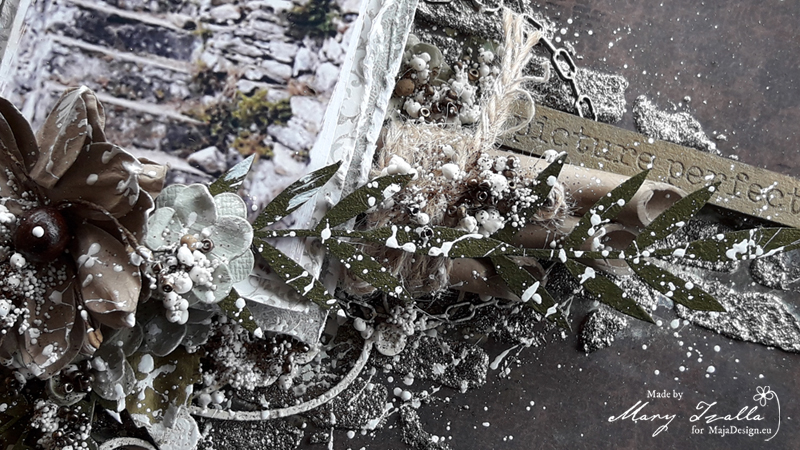
Then, I layered all the gorgeous elements around my photo and added in some 49 and Market flowers.

Papers used:
-
- Minnen bs
-
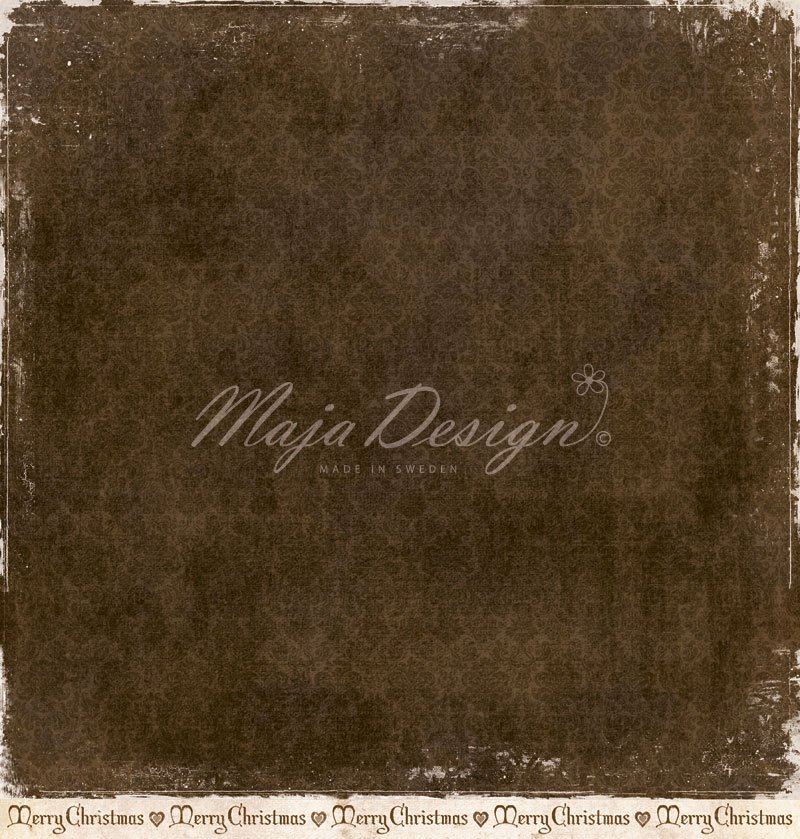
- Minnen
I hope you enjoyed my project!
Until next time happy crafting!