Bridge

1

Posted by Pascale B

21 February, 2016 - , , ,

Write a comment

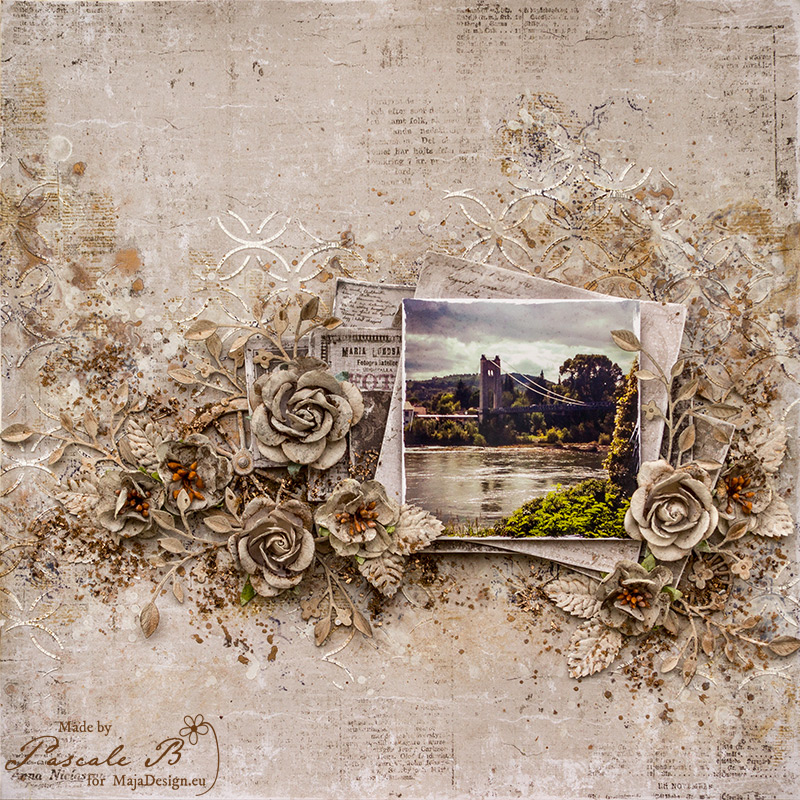
Hello SweetiesToday I’m up on Maja Design blog with a monochromatic layout. I chose to work with a beige shading to highlight these photo of the Saint-Martin-d’Ardéche’s bridge (France).

Bridge by Pascale B

I started with a layer of clear gesso to protect the background. When dry, I added a design with a stencil and white crackle paste.

Bridge2 by Pascale B

While the crackle paste was drying, I chose different papers to go under my photo and distress them with a distress tool.

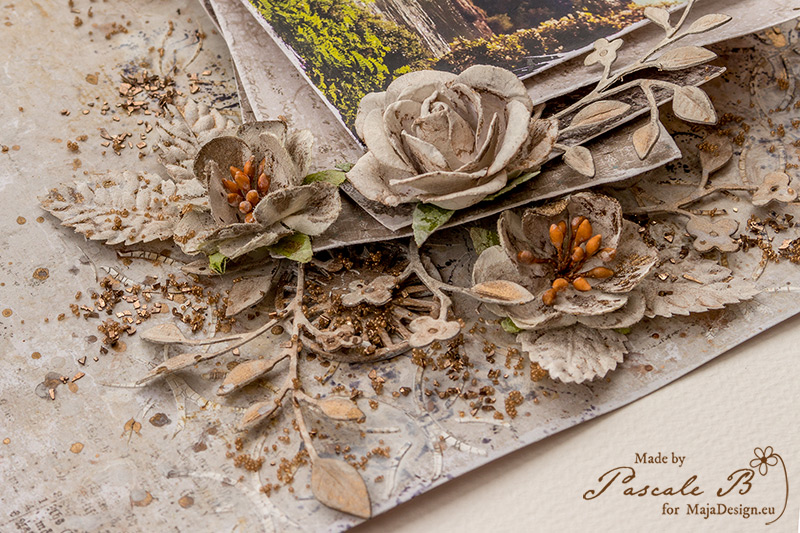
Bridge2_detail2 by Pascale B

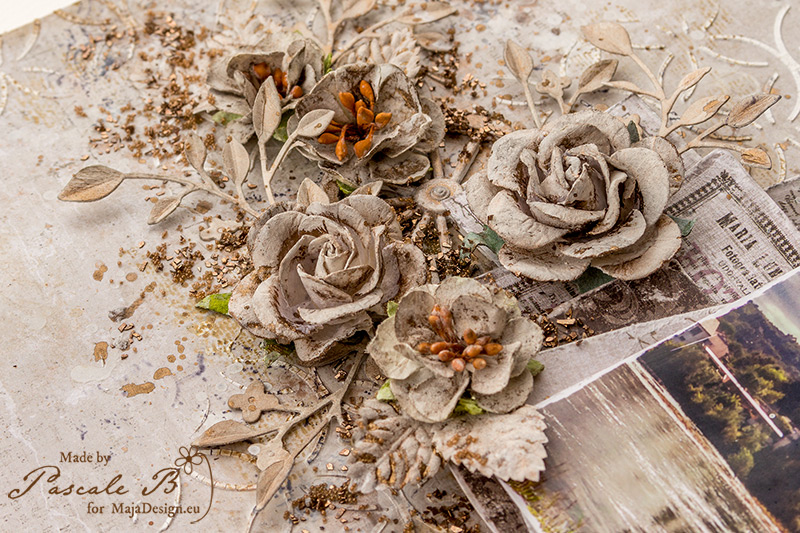
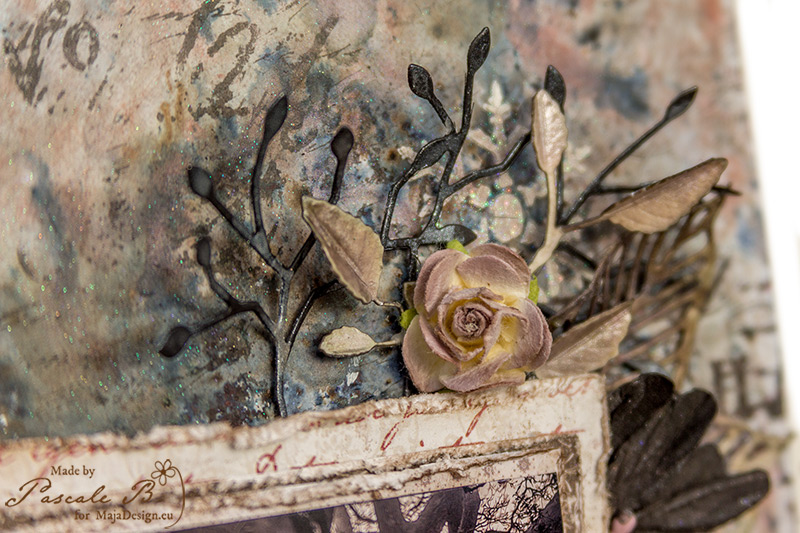
When the design was dry, I splattered some watered gesso on the background, then I added some Rust mica powder mixed in water and I let everything dry.

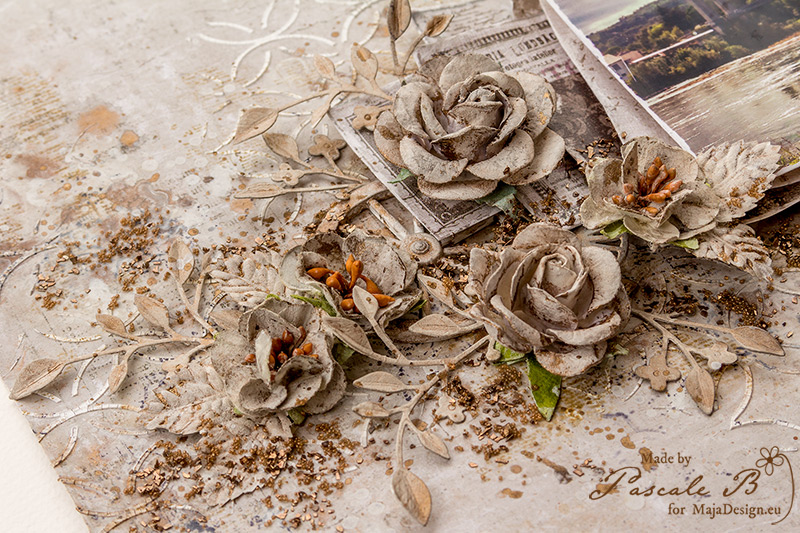
Bridge2_detail3 by Pascale B

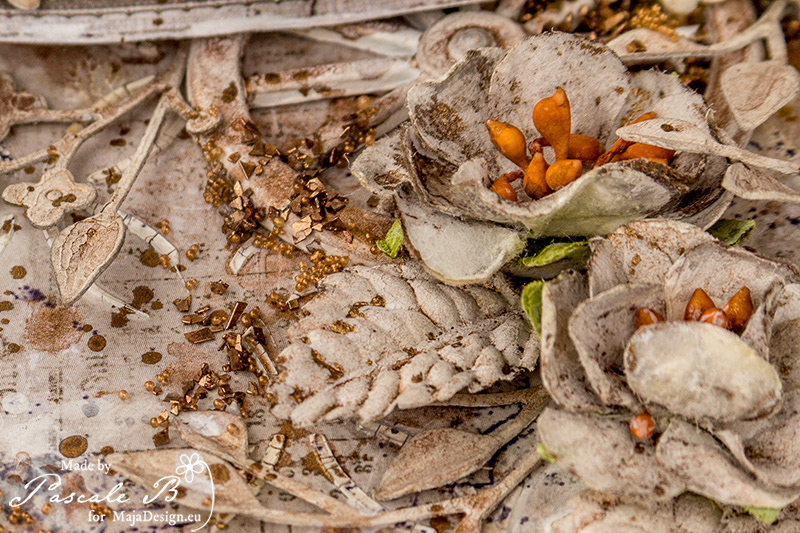
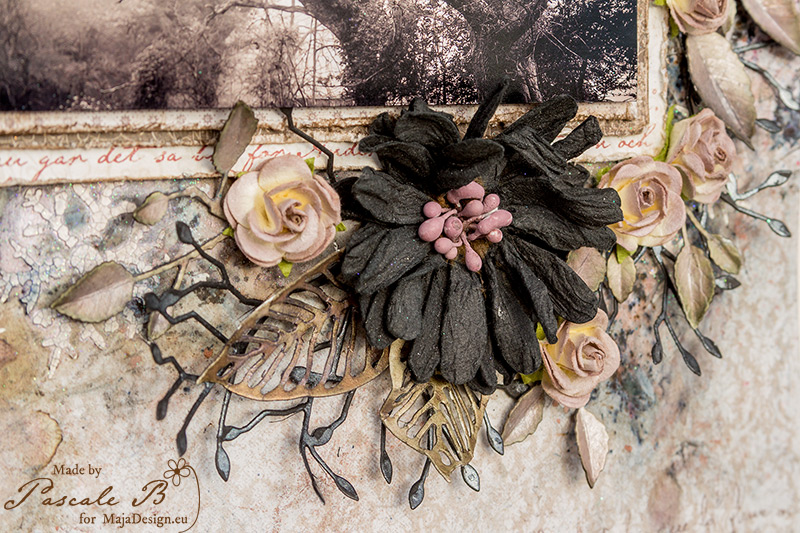
I covered all the embellishments (flowers, leaves, die-cut and metallic embellishments) with gesso and dry them. Then I colored everything with some Rust mica powder.

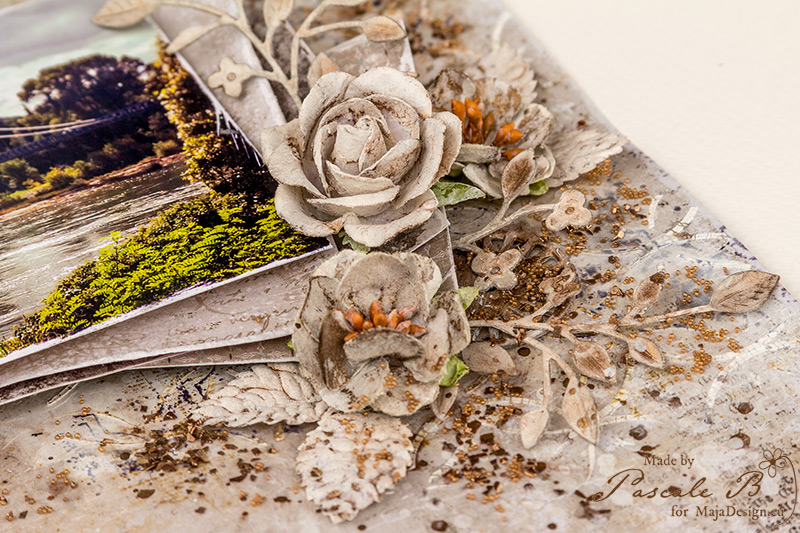
Bridge2_detail4 by Pascale B

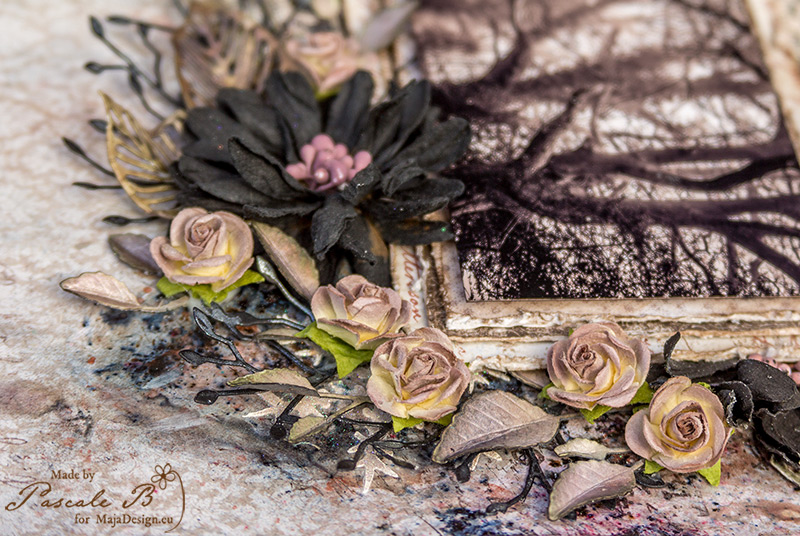
I added some some random stamping and glued all the embellishments.

Bridge2_detail5 by Pascale B

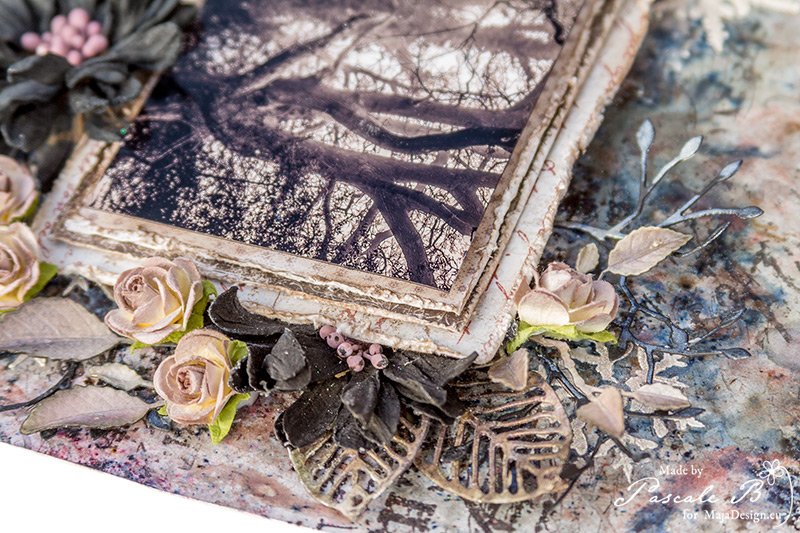
To finish the layout, I added some glass glitter and micro beads.

Maja Design papers used:

1946 1891 Minnen 6th of December 21th of December BS
Vintage Summer Basics Vintage Frost Basics
1946 1891 Minnen 6th of December 21st of December bs

Winter

2

Posted by Pascale B

24 January, 2016 - , ,

Write a comment

Hello Sweeties
Today, I’m up on Maja Design with a winter page.

Winter_PB(Photo de Richard Loader) 

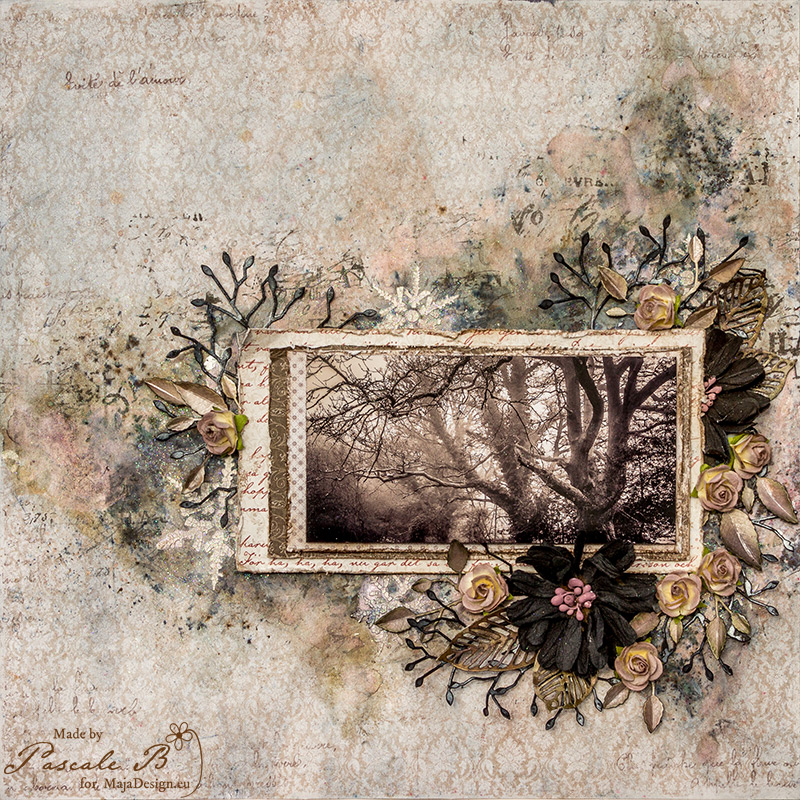
I began to cover the background page with clear gesso. When dry, I did some random stamping and added black bister. To prevent the bister from reacting afterward, I sprayed a fixative on the whole page before continuing.

Winter_detail0_PB

I added more colors to the background with differents Twinkling H2Os. With a stencil and white crackle paste, I added also a design, which I covered with white Art Sugar while the paste was still wet.

Winter_detail1_PB

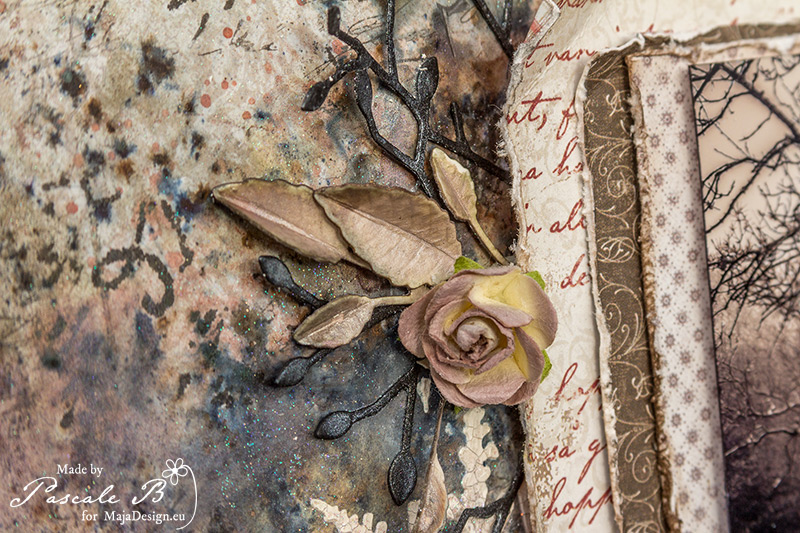
I colored the die-cut leaves and branches with Twinkling H2Os too.

Winter_detail2_PB

I distressed the papers under the photo and lightly inked the edges.

Winter_detail3_PB

I used 3D Matte Gel to glue all the elements to the background.

Winter_detail4_PB


Maja Design papers used:

Together Can't wait bs 22th of December BS Christmas Carols
Home for Holidays
Vintage Winter
Vintage Frost basics
Together Can’t wait bs Christmas Carols 22th of December bs

1953

1

Posted by Pascale B

10 January, 2016 - ,

Write a comment

Hello Sweeties,

Today I’m up on Maja Design blog with my first post here of the year and I want to wish you all the most creative year!

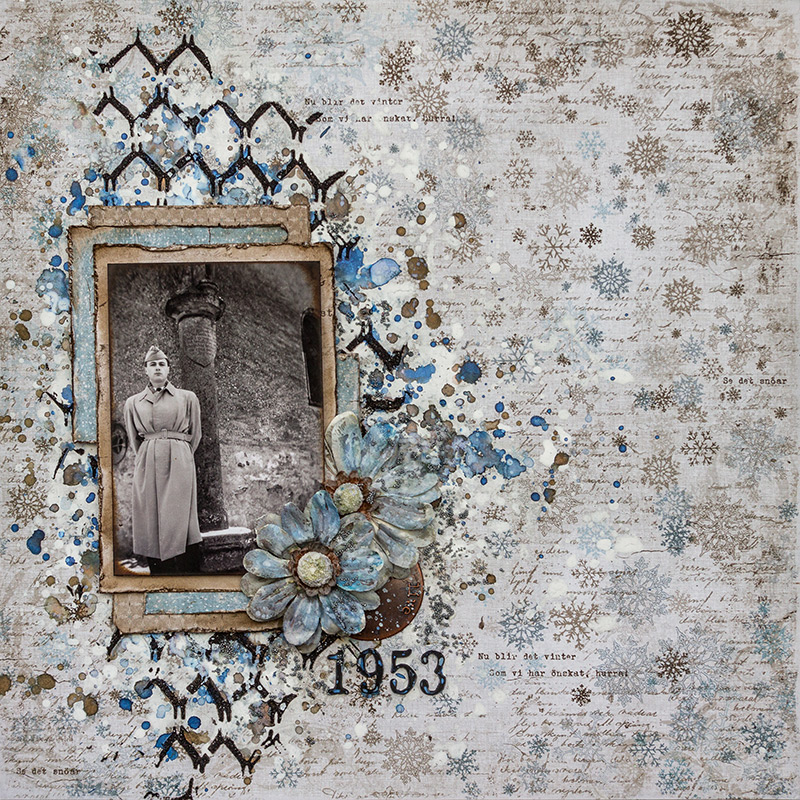
It’s another photo of my father whose birthday was a few days ago. I worked with A Vintage Frost Basics collection which is perfect for winter photos.

1953_PB

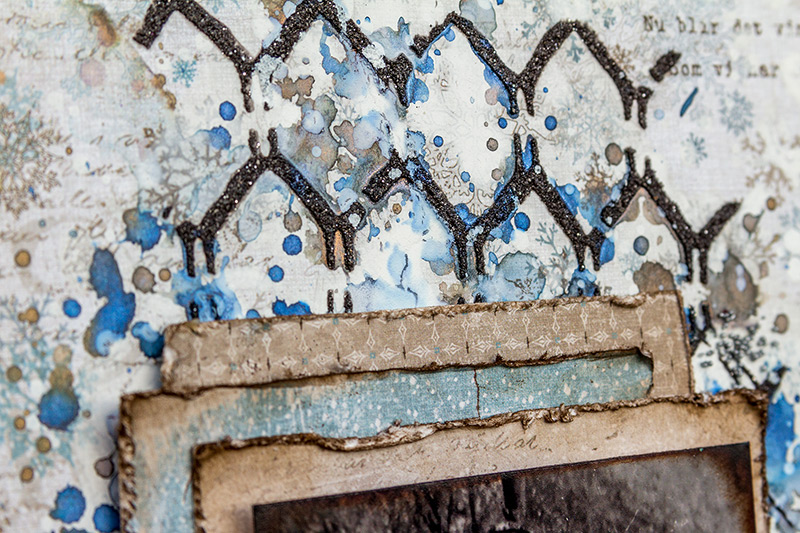
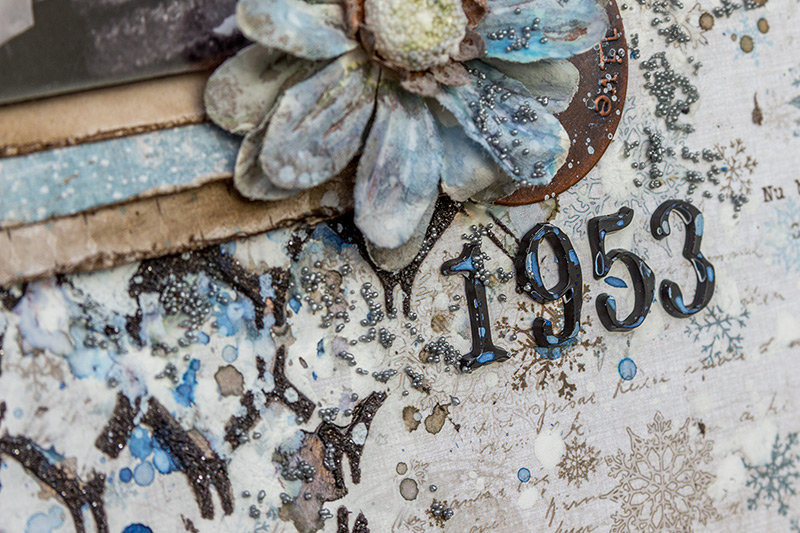
I started to splatter watered gesso on the background. When dry, I added a design with Graphite Paste and a stencil.

1953_detail1_PB

While the background was drying, I distressed and inked the papers that will be under the photo.  Then I added some color to the background by splattering two colors of Twinkling H2Os and watered gesso until I was happy with the result.

1953_detail4_PB

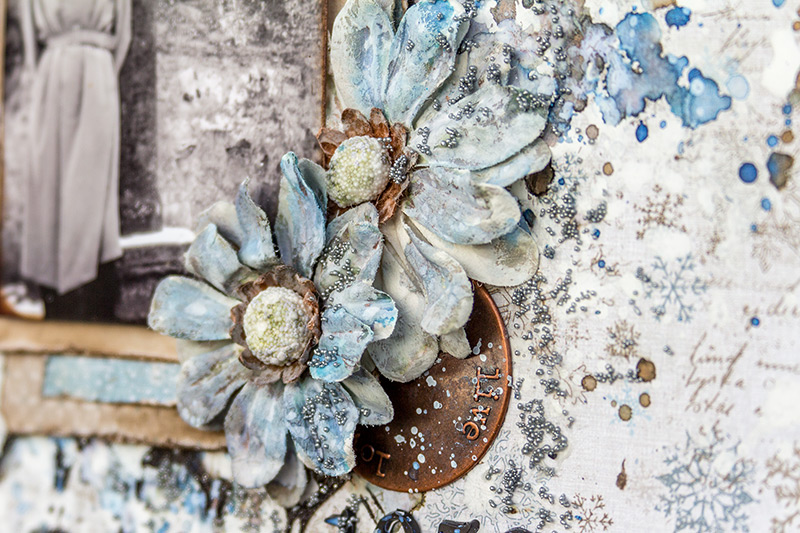
I glued the embellishments with 3D matte gel. I covered the flowers with gesso before painting them with the same Twinkling H2Os to give them a distressed look .I added  also some silver micro beads.

1953_detail3_PB

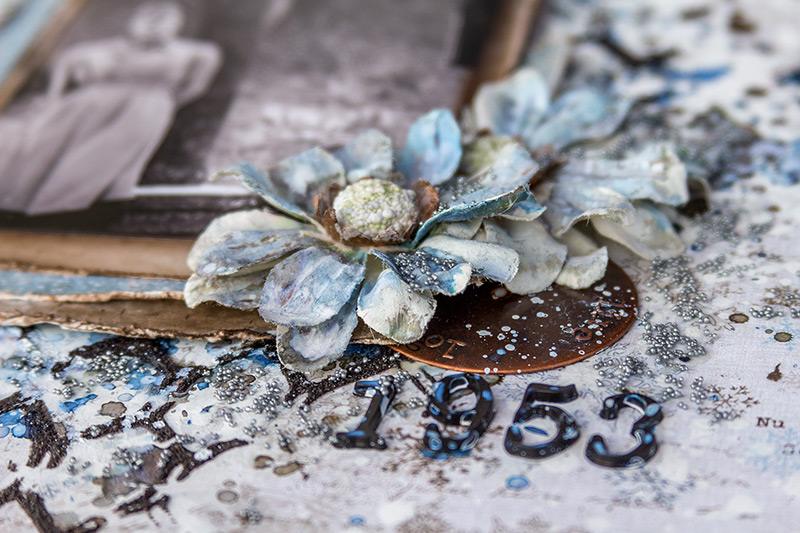
To finish the composition, I added some splatters of gesso and Twinkling H2O to the title.

1953_detail2_PB

I wish you all a  wonderful New Year’s Eve party and see you next year 😉

Maja Design papers used:

A Vintage Frost Basics
A Vintage Frost Basics collection
10th of December 6th of December 20th of December BS 21th of December BS
10th of December 6th of December 20th of December bs 21th of December bs

Pascale-sign


My Winter Wonderland

4

Posted by Silje Kristin Aunan

1 November, 2015 - , ,

Write a comment

Hello Everyone <3

Today it is me, Silje Kristin that will inspire you, with something I’ve never have done before.

This weekend I took a trip down to southern Norway, and visited a lovely town called Tønsberg. I traveled on Thursday to have the entire weekend along with scrapping happy ladies. I’m having a great time, and some great days here at the scrapbooking event. I have meet many new and wonderful scrappers and enjoyed hours after hours with papers.

Do you remember my last post? I told you I’d show you one big project. I was then in a scrapbooking event here in my home town, Bodø. That weekend I spent 21 hours making something I’ve never tried before. The inspiration I got from an intro of a TV series and the winter theme.


I decided to create one ferris wheel. The ferris wheel is made without a tutorial. I used about five hours to make the two wheels. Around the wheels I have attached white pearl string. The ferris wheel is assembled in the same as the wheels. Also these, I’ve created without a tutorial.

In between the wheels I have attached paper straws, which I have distressed with Distress Mini Ink. On every paper straws, a small trolley hanging down. The trolleys are made of four circles. I’ve used a thin white tape around, to create a special effect.

On the front on the wheels, I have some big snow crystals, these are wood from Wycinanka. I have covered them with snow and glitter from Distress Ink.

The details I have made and placed around the ferris wheel are made by hand. Here you will find shoes, snowmen, christmas trees, deer, christmas gifts and bullfinch.

The shoes are painted white, and then I have some snow and glitter on them <3

I have made two snowmen, which are made with a tutorial that I have made myself. Both snowmen are covered with snow and glitter, that you can see is everywhere on the project.

Behind the ferris wheel and at the front, I have some deer. This is a dies set from Marianne Design.

On the green chrismas trees I’ve used glitter and snow.  In and on the trees you can see christmas baubles in blue and  bullfinch.

The bullfinch is a dies set from kaBoks, this is one set of three size and they are perfect to have between flowers, or as I have done, glued them on the christmas trees <3

The final details of the project are tree packages in three sizes. Each package has its own tag, ribbon and snow <3

If you put all the details together, you have a lovely winter wonder land, with wonderful snow and glitter <3

The entire project is made on the back of a shelf. In the corners I have attached silver feet and atop of the brown carton I have covered it all with white snow and glitter.

I have used paper from two diffrent collections from Maja Design.

Frost-Basics-P

Wintage-vinter-P

I hope you are inspired to create your own winter wonderland <3

SiljeKristin-sign


Calendar 2014

4

Posted by Camilla Støen Bakke

1 December, 2013 - ,

Write a comment

003

Hi there! I have been making a Calendar for 2014 for Maximilians grandparents lately. I am not finihed yet, but hopefully it will be before Christmas! I will start with showing you the page for December, January and February – the winter months.

For December I have used the lovely papers from the It’s Christmas Time Collection – Joyful. The dies used are from Magnolia, the same as the image.

097

For Januar I have used the Vintage Frost Basics-6th of December, 9th of December. Here with another image from Magnolia. The snowflakes are made with a Martha Stewart punch, the leaf and swirl are made with dies from Magnolia.

017

And for February I have used the lovely 12th of December and 13th of December. The beautiful ice skates are made with a Tim Holtz die. I have made place for a tag on all pages, where they can write important dates every month.

Thank you so much for visiting the Maja Design blog! Hugs xxCamilla-sign