Christmas in September

1

Posted by Jennifer Snyder

9 September, 2019 -

Write a comment
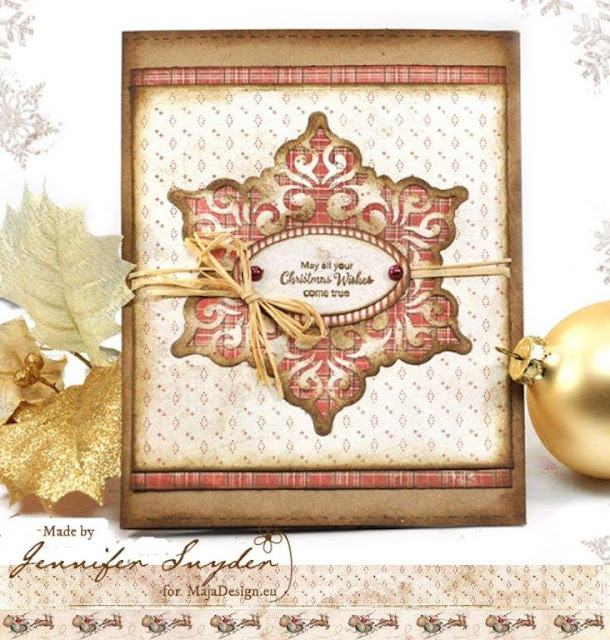
Jennifer Snyder here with Christmas in September.  I know summer has just faded and I promise I am not trying to rush the holidays.
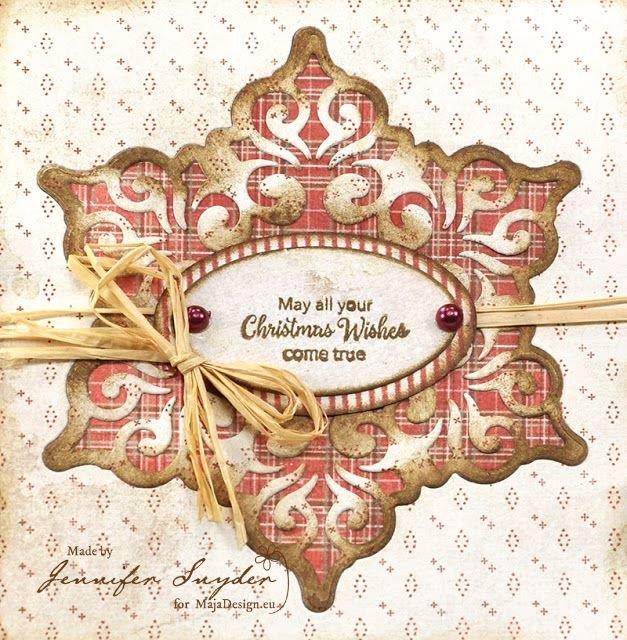
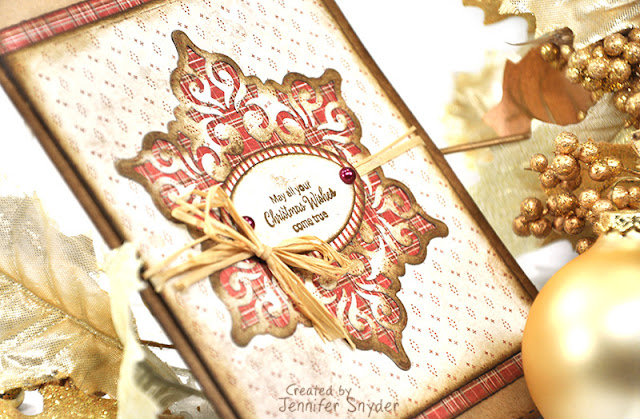
I created a classic card that is simple but graceful – with a touch of rustic.
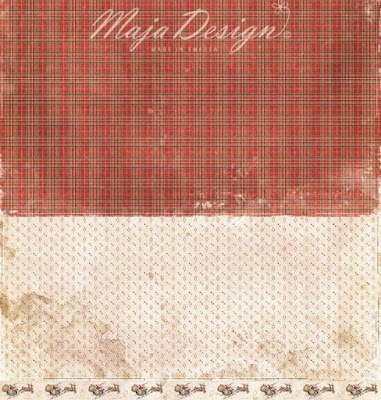
The collection used is an older collection,  Maja Design – I Wish Collection
and more specifically, I used the front and back of the same sheet, “I Wish Christmas Was Today”.
I really love the red plaid paper in this collection.  It’s rustic, vintage and totally gets me in the Christmas in September feeling.
I added a die with lightly inked edges and tied together with raffia for more old country feel.
Super easy.  Christmas cards do not need to be complex and complicated.  I find when I plan on making my holiday cards super complicated with a lot of embellishments, I never finish the cards.
The best card is the card that gets mailed.


Thanks for stopping.  Remember – it’s never too early to start those holiday cards!

Lovely Bi-Fold Card With Instructions

1

Posted by Jennifer Snyder

24 August, 2019 -

Write a comment


Hello Maja Design Friends.  Jennifer Snyder here with a quick template (tutorial) for a bi-fold card you can make in minutes and use for any occasion.
I have to say Maya Design papers are perfect for this card design because they are always beautiful on both sides.  The hard part is deciding which side of the paper is you will use for the front of the card.  good luck with that difficult decision.
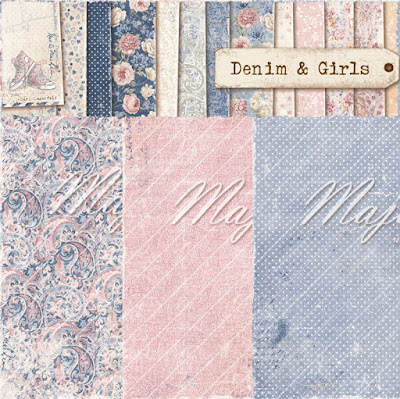
My card uses the gorgeous, playful and flirty Denim & Girls collection from Maja Design.  Here is the list of papers:
Ripped Jeans (A side, the paisley design,  was used as the back of the card)
  Ripped Jeans (B side, the mauve pink side- was used as the front of the card)
Loose Fit – B side
Instructions 

Step 1.  Start with a 12×12 sheet of Maja Design paper.  You will see both sides of the paper on this card so make your selection keeping both the A and B sides of the paper.

Step 2.  Cut the paper in half lengthwise.  Trim the paper to 6in x 12in. Yep one 12×12 sheet can make two gorgeous cards.

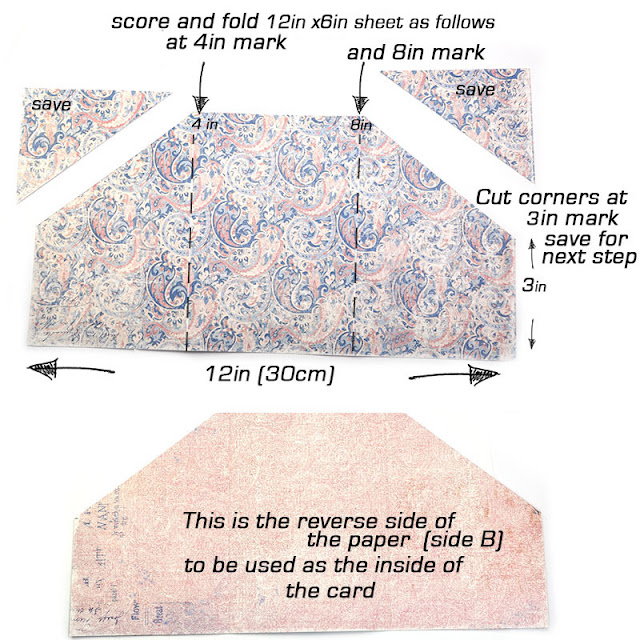
Step 3. Using the image below,  decide which side of the paper is going to be the front of the card and score accordingly.  The best way to fold scored paper is to fold into the raised side. When paper is scored, it makes a raised side with a ridge and a channel or indented side. In order to keep your paper from cracking, have the ridge side become the inside the fold.

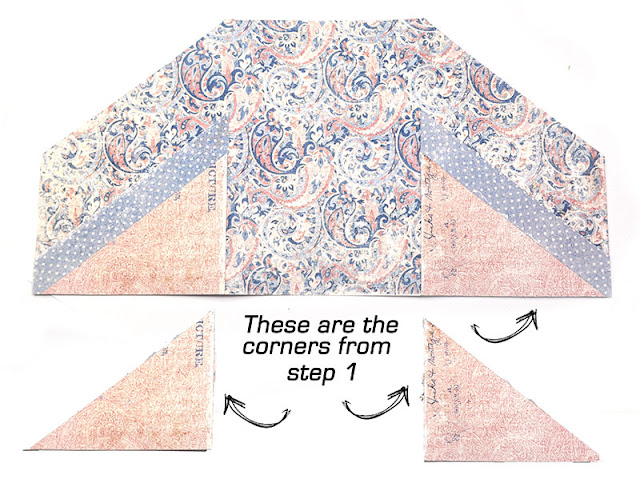
Score your paper at the 4in  and 8 inch marks.  Once scored, cut the corners off each end at the 3in mark.


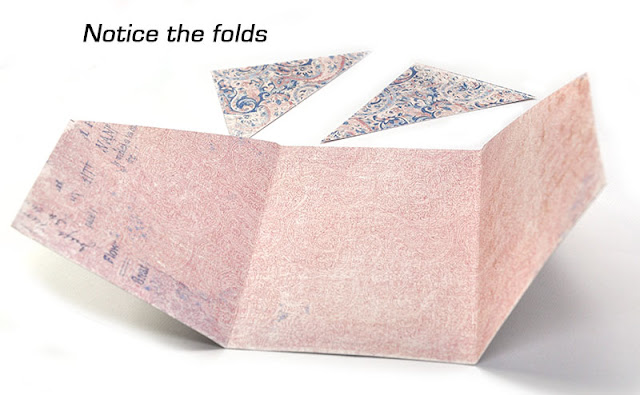
Here is a shot of how your card should look folded.  Notice I set the corners aside at this stage.  We will be using them next.
Step 4.  Time to use the corners to decorate the card.  Remember I said to choose paper carefully because you will see both sides of the paper on the card?  Glue the corners to the front flaps of the card to add interest and as a base to decorate.
Below is an image of what I did with the corners.

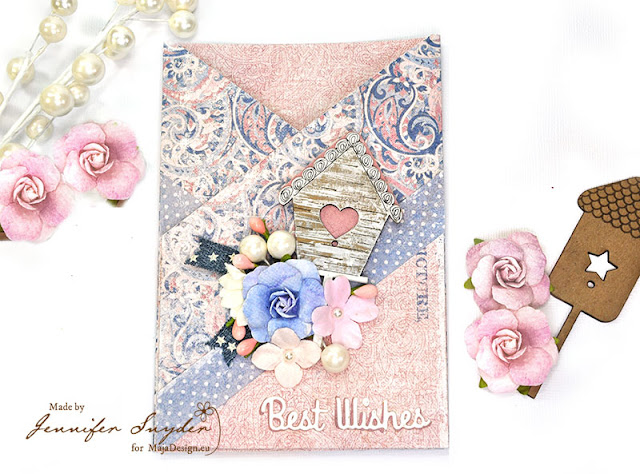
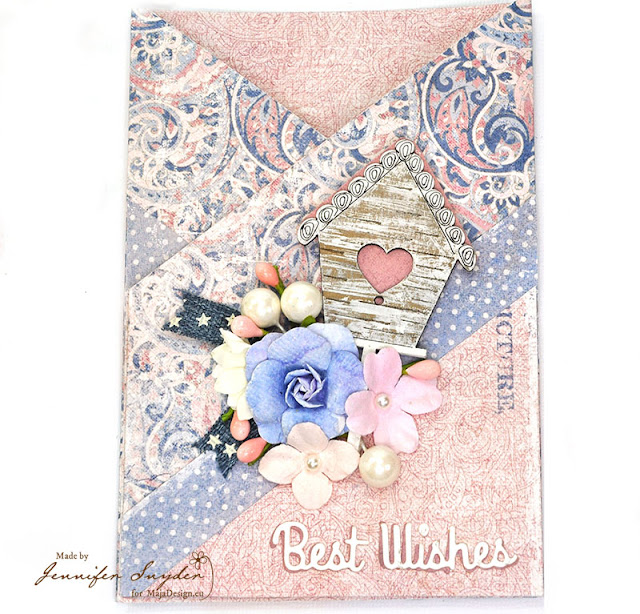
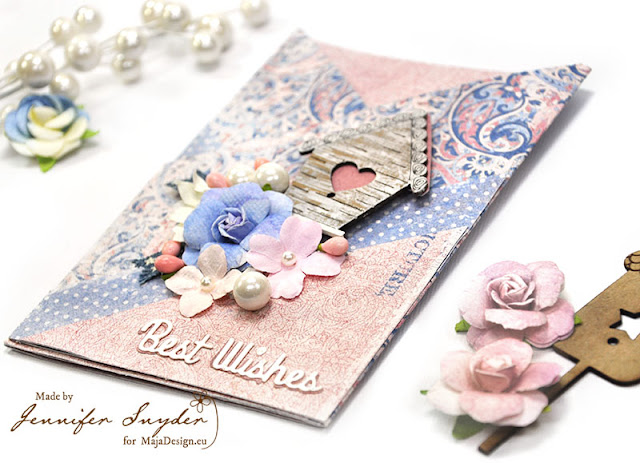
Step 5.   Continue to decorate as you wish. I decorated my card with some flowers, floral berries, ribbon and a chipboard birdhouse from Creative Embellishments.   The bottom sentiment, “Best Wishes”, is a die cut from Spellbinders.


As you can see, the card design is rather simple yet offers a unique way to use both sides of the gorgeous Maja Design papers on the same card.  I know how hard it can be to decide which side of the paper you want to use.  The patterns coordinate so perfectly.


The sweet sentiment at the bottom is from Spellbinders – Sentiments Die -D-Lites.  I like this sentiment set in particular because it is small and on the delicate side.  You can tuck your sentiment anywhere on the card and not have ti detract from the other embellishments yet not so small that it gets lost on the card.
The other embellishing touch on this card is the little chipboard birdhouse from Creative Embellishments.


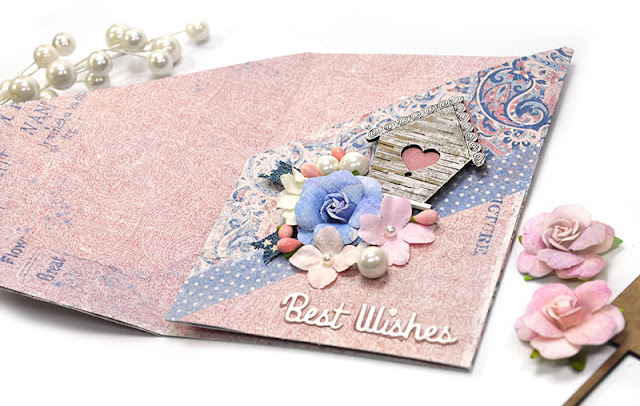
This card shows one side flap open and one closed.


Thank you for stopping here to visit.   Happy Crafting. 


Back To School Supplies

1

Posted by Jennifer Snyder

9 August, 2019 -

Write a comment
 
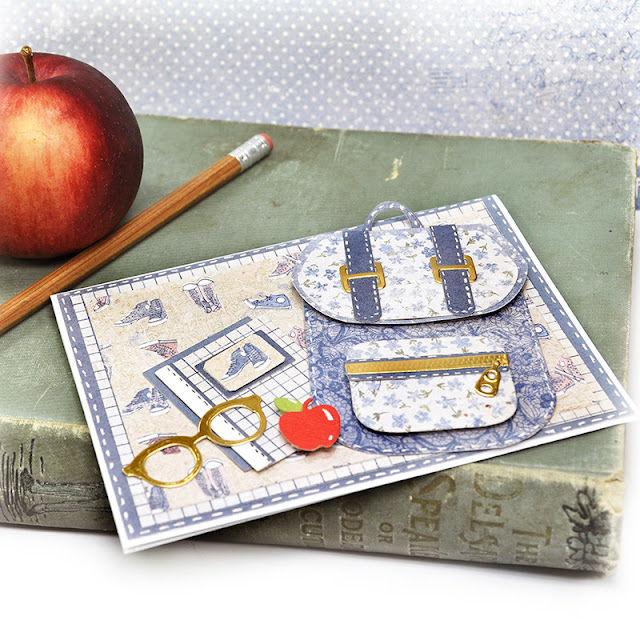
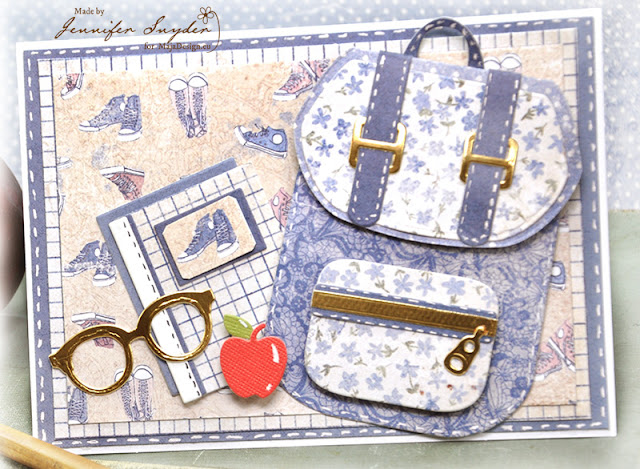
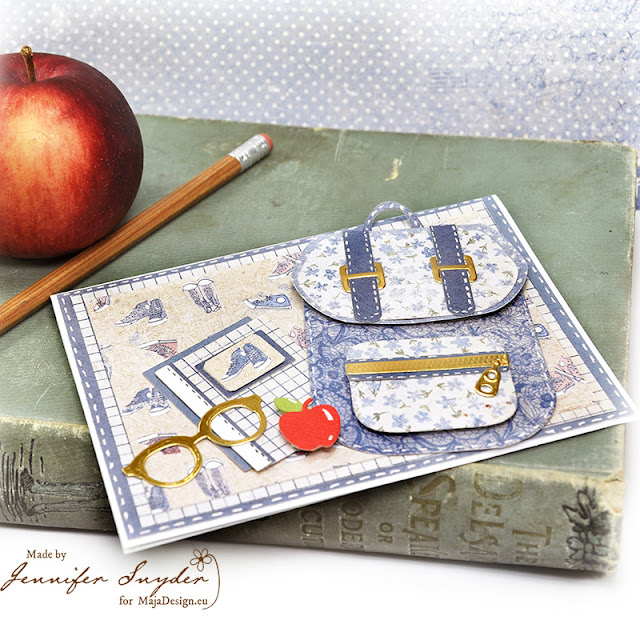
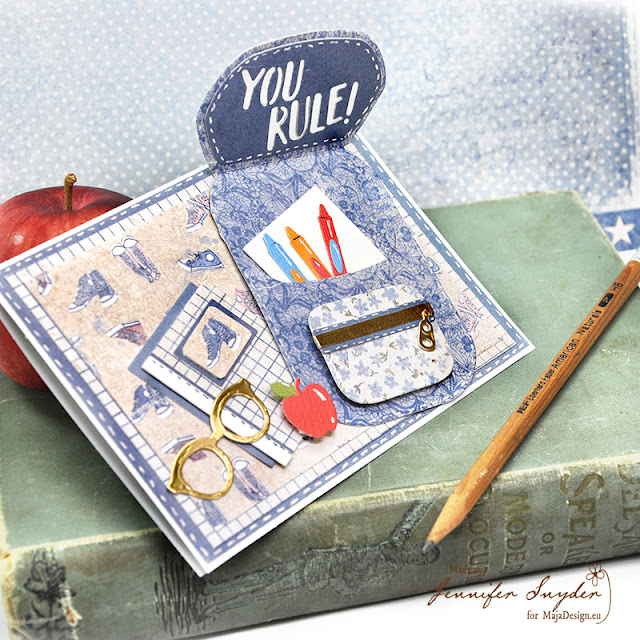
 Hello.  Jennifer Snyder with you today sharing my backpack card.  This is perfect for the back-to-school preparations that many families are doing this time of year.
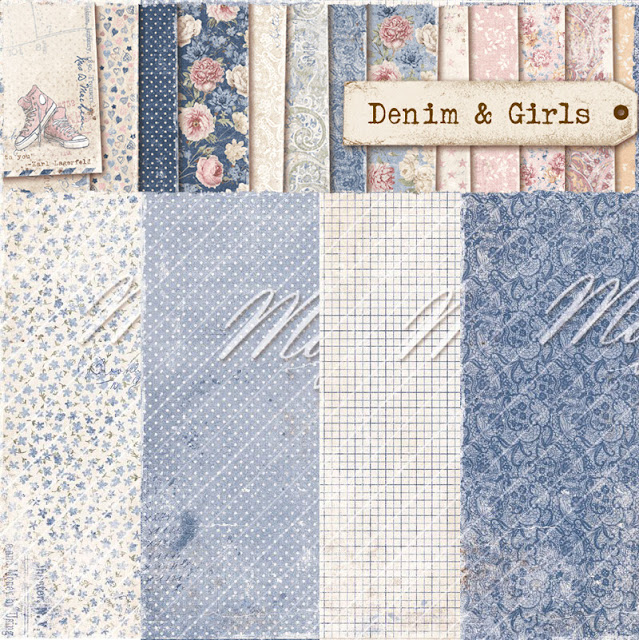
The collection I am using is from Denim & Girls.  I love this collection because its a little flirty, fun and still playful.
Here are the papers used from the collection:
Floral Top ( A and B side)
Loose Fit (A and B side)
Awesome
The backpack is a die from Spellbinders.  It’s fun because the design can be used for anyone; boys , girls,
teachers and administrators.


 Hello.  Jennifer Snyder with you today sharing my backpack card.  This is perfect for the back-to-school theme so prevalent this time of year.
The collection I am using is from Denim & Girls.  I love this collection because its a little flirty, fun and still playful.
Here are the papers used from the collection:
Floral Top ( A and B side)

The darling flap of the backpack opens to reveal all the supplies packed inside with love.  I also added an encouraging sentiment.  

Thanks for stopping here.  Happy crafting.

Shaker Card Made from Denim and Filled with Love

1

Posted by Jennifer Snyder

24 July, 2019 - ,

Write a comment
Hello friends.  Jennifer Snyder here to share a shaker card full of love, using the beautiful
Maja Design – Denim & Girls paper collection as well as some of my other favorite products.Here are the papers used from Denim & Girls:
Pink Linen
You’re a Star


Maja Design has the perfect coordinating solid collection to take the stress out of color matching.  It’s the fabulous Monochrome Collection – Shades of Denim.  They have added 6 new shades to coordinate perfectly with the Denim & Girls papers.


In addition to the soft feminine papers and patterns in the collection, I used chipboard from Creative Embellishments as my minimal embellishments.  Yes this card looks clean and simple, however I felt adding flowers and bows would have taken away from the elegance and grace of the card.

This card has one additional added surprise because it is a shaker card.  I love creating shakers  as I  imagine the look on someone’s face as they open a shaker card.

This card is filled with shaker mix from 28 Lilac Lane and the mix is called “Marshmallow”.

After painting the chipboard with cream acrylic paints and creating the shaker section, I added a  doily chipboard piece, giving the shaker a nice delicate decorative edge.

I also added small string pearls to the outside of the shaker to cover the chipboard seams and give a finished polished look.


 Thanks for stopping here today.  Happy crafting.


Vintage Simplicity -Card With Denim & Girls

0

Posted by Jennifer Snyder

9 July, 2019 - , ,

Write a comment
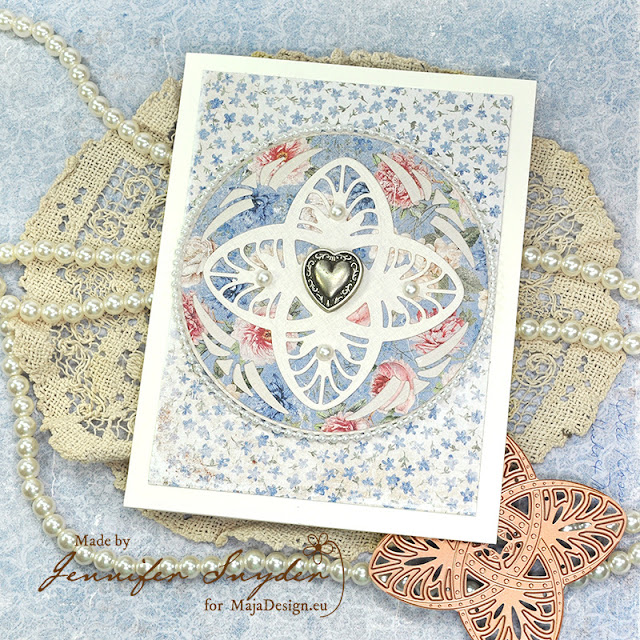
Hello, Jennifer Snyder here to share a card made using the wonderful and versatile  Denim & Girls collection and the coordinating Monochrome-Shades of Denim collection.
These are the papers I selected from the collection.
Roses
Floral Top
Monochrome – Off White

The papers are versatile because the patterns inspire so many moods – from delicate to bold, calm to dramatic, sporty to feminine and even masculine.  That’s quite amazing for one collection to capture so many moods and feelings.
I went with calm and peaceful.
In addition to Maja Design papers, I used a new Spellbinders die designed by Becca Feeken called Shapeabilities Brillante Rondelle – from the Vintage Treasures collection.
The card has a clean feel with a hint of vintage being embellished with a vintage button and tiny string pearls.

 Thank you for stopping.

I hope you have set aside a bit of  “YOU time” today to enjoy some calm and peace in your life.