Hello Maja Design Friends. Jennifer Snyder here with a quick template (tutorial) for a bi-fold card you can make in minutes and use for any occasion.
I have to say Maya Design papers are perfect for this card design because they are always beautiful on both sides. The hard part is deciding which side of the paper is you will use for the front of the card. good luck with that difficult decision.
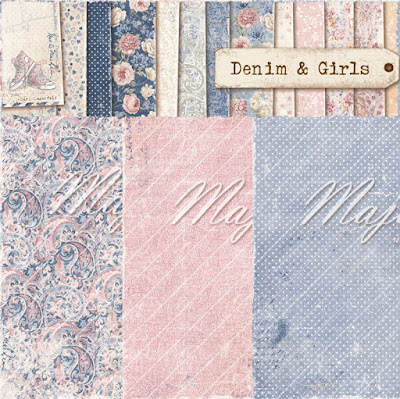
My card uses the gorgeous, playful and flirty Denim & Girls collection from Maja Design. Here is the list of papers:
Ripped Jeans (A side, the paisley design, was used as the back of the card)
Ripped Jeans (B side, the mauve pink side- was used as the front of the card)
Loose Fit – B side
Instructions
Step 1. Start with a 12×12 sheet of Maja Design paper. You will see both sides of the paper on this card so make your selection keeping both the A and B sides of the paper.
Step 2. Cut the paper in half lengthwise. Trim the paper to 6in x 12in. Yep one 12×12 sheet can make two gorgeous cards.
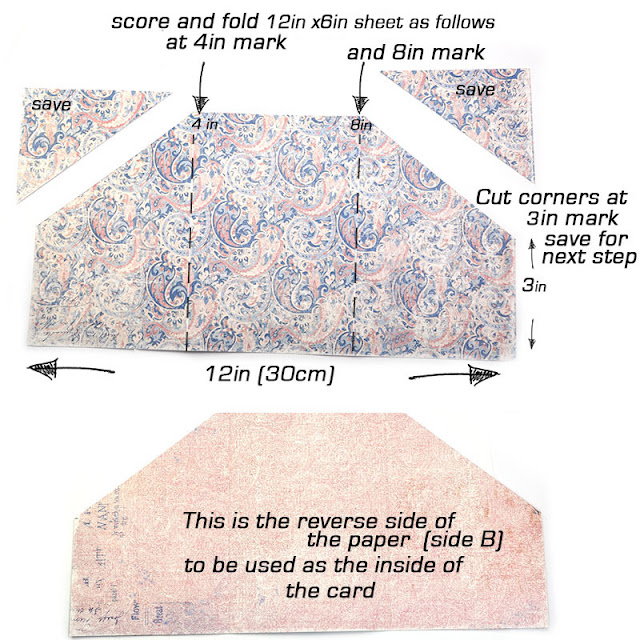
Step 3. Using the image below, decide which side of the paper is going to be the front of the card and score accordingly. The best way to fold scored paper is to fold into the raised side. When paper is scored, it makes a raised side with a ridge and a channel or indented side. In order to keep your paper from cracking, have the ridge side become the inside the fold.
Score your paper at the 4in and 8 inch marks. Once scored, cut the corners off each end at the 3in mark.
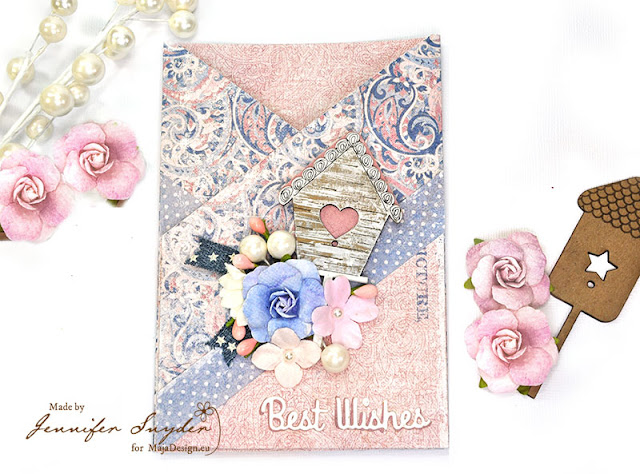
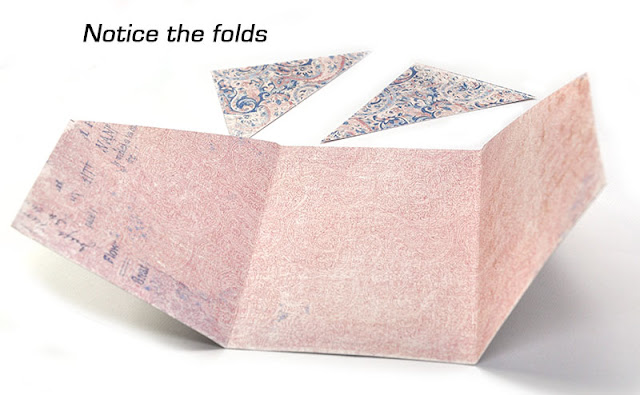
Here is a shot of how your card should look folded. Notice I set the corners aside at this stage. We will be using them next.
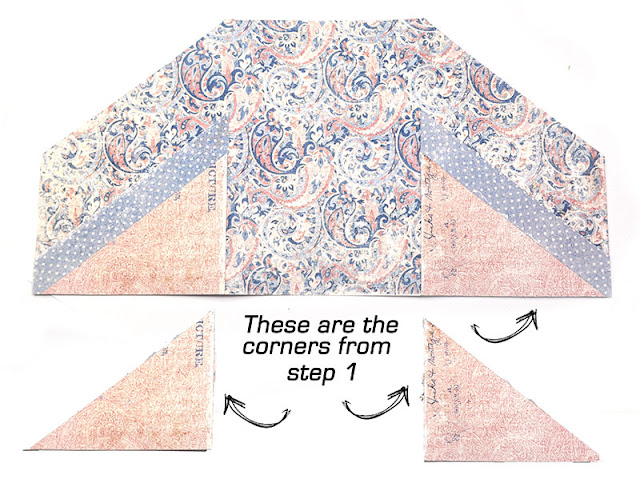
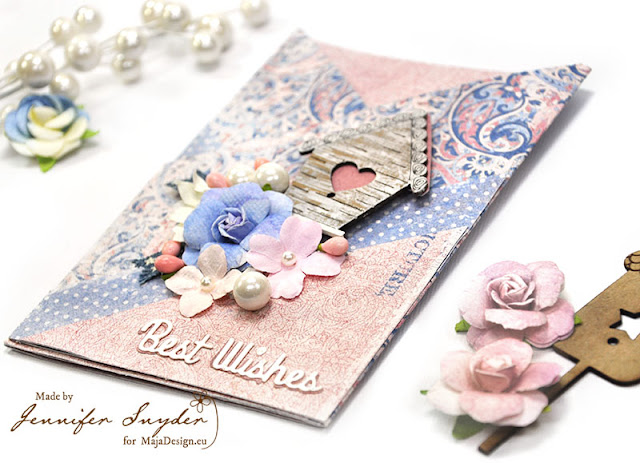
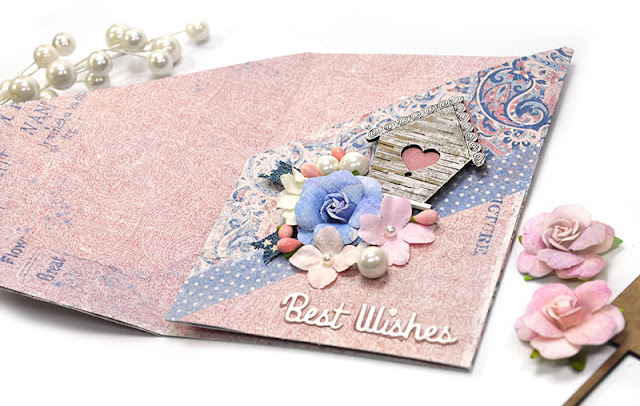
Step 4. Time to use the corners to decorate the card. Remember I said to choose paper carefully because you will see both sides of the paper on the card? Glue the corners to the front flaps of the card to add interest and as a base to decorate.
Below is an image of what I did with the corners.
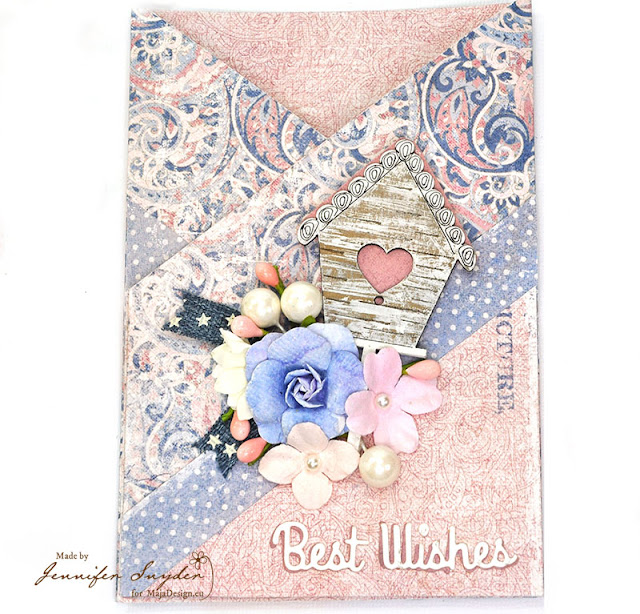
Step 5. Continue to decorate as you wish. I decorated my card with some flowers, floral berries, ribbon and a chipboard birdhouse from Creative Embellishments. The bottom sentiment, “Best Wishes”, is a die cut from Spellbinders.
As you can see, the card design is rather simple yet offers a unique way to use both sides of the gorgeous Maja Design papers on the same card. I know how hard it can be to decide which side of the paper you want to use. The patterns coordinate so perfectly.
The sweet sentiment at the bottom is from Spellbinders – Sentiments Die -D-Lites. I like this sentiment set in particular because it is small and on the delicate side. You can tuck your sentiment anywhere on the card and not have ti detract from the other embellishments yet not so small that it gets lost on the card.
The other embellishing touch on this card is the little chipboard birdhouse from Creative Embellishments.
This card shows one side flap open and one closed.
Thank you for stopping here to visit. Happy Crafting.
