Lovely Baby Books

0

Posted by Silje Kristin Aunan

4 October, 2015 - ,

Write a comment

Hello Everyone <3

Today its me, Silje Kristin, that will inspire you <3

You know, here in the north of Norway, the autumn weather really put hes roots. I’m home at my home place, this weekend to visit my mother and my younger sister. My sister are just so wonderful, she’s amazing and I love here <3 She has taken me out every day to enjoy the great colors that are outdoors in this loong walks. Next week my sister get operated in her both ankles, so this time with her is so important for me <3 And about 6 week she can walk again <3.

This Sunday, I wanted to show you two books that I have decorated with beautiful paper from Maja Design, The Vintage Spring Basics collection <3

Vintage-Spring-Basics-P

I browsed through all the pattern sheets in the series, and picked out 4 pink and 4 blue sheets that fit together. Once I had decided the pattern paper, I started to building it up layer by layer. Before I put them on, I glued several stripes with white ribbon on the cover of the books.
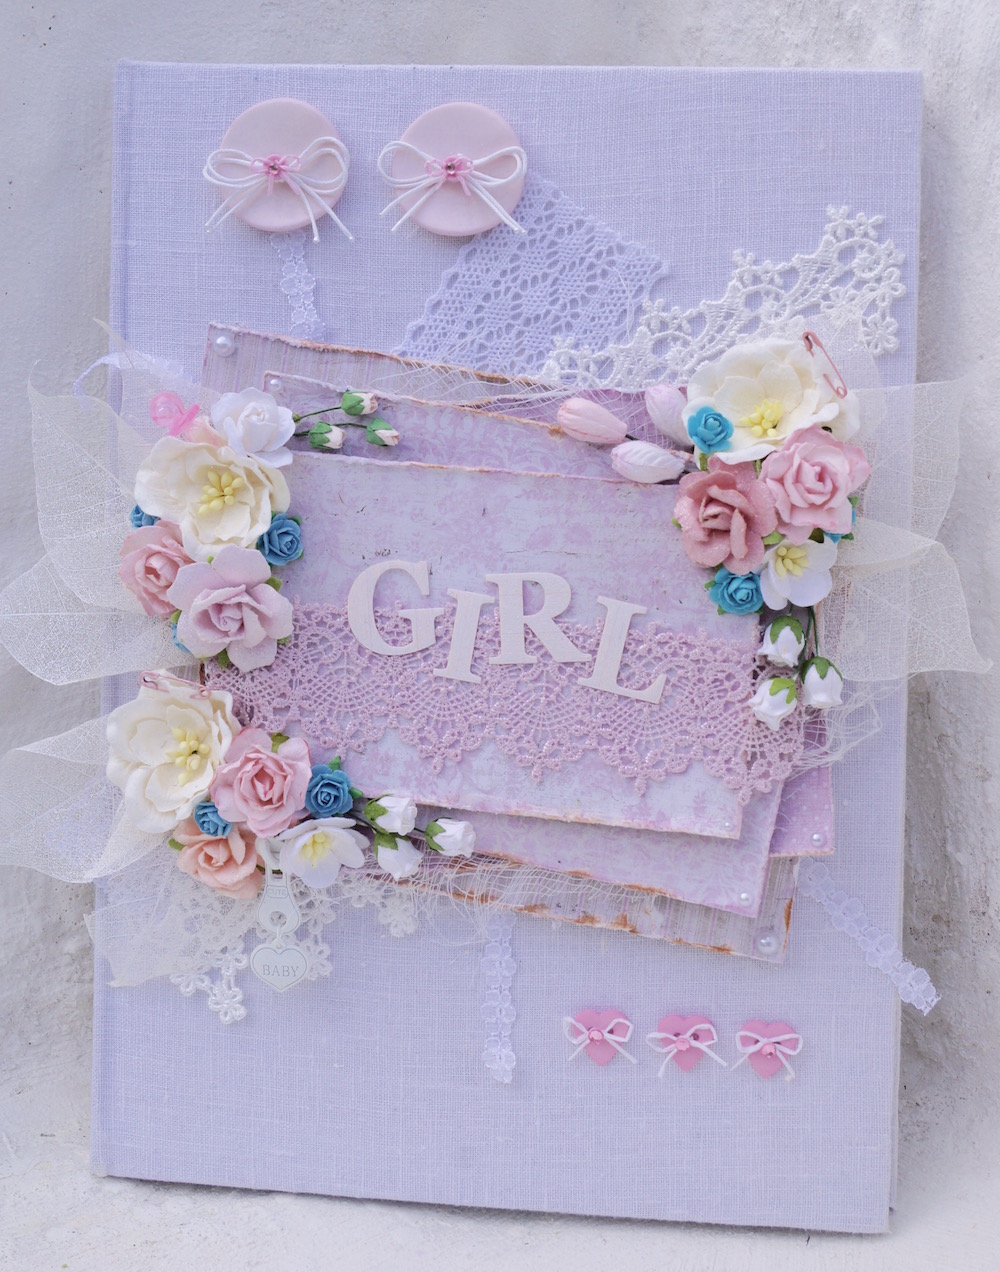
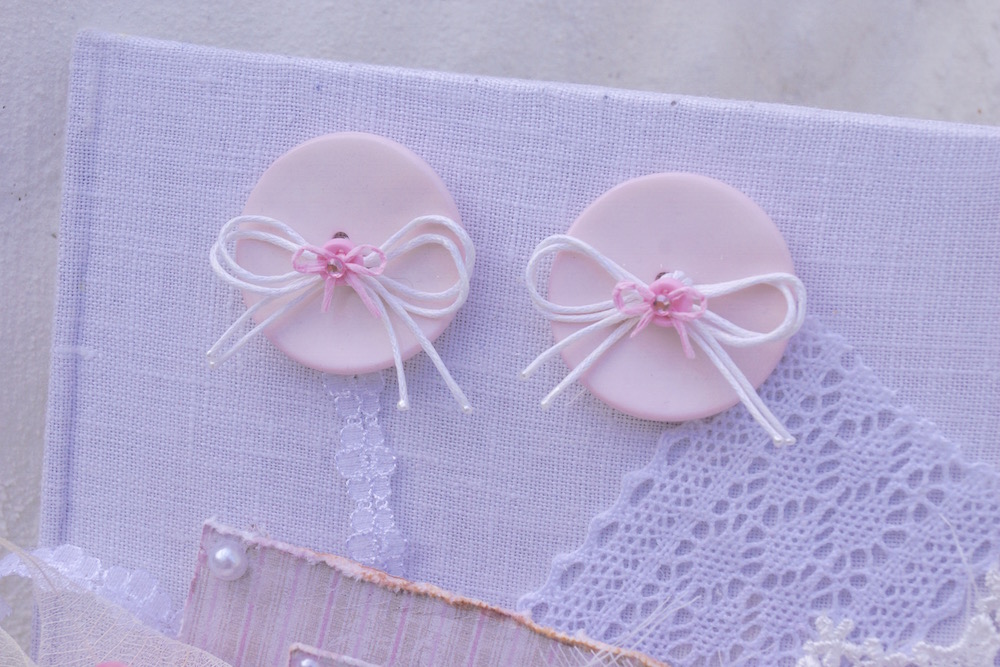
On the top of the pink book, I have attached two large pink buttons, with a double bow. Atop of the bow, I have attached a smaller pink button, with a bow and a small pink bling.

In the bottom corner, I have 3 pink heart buttons, everyone has a bow, with a pink bling on top.
The letters with the word Girl on, they are letters from Prima. All the letters are made whiter with Wink of Stella Brush, white.

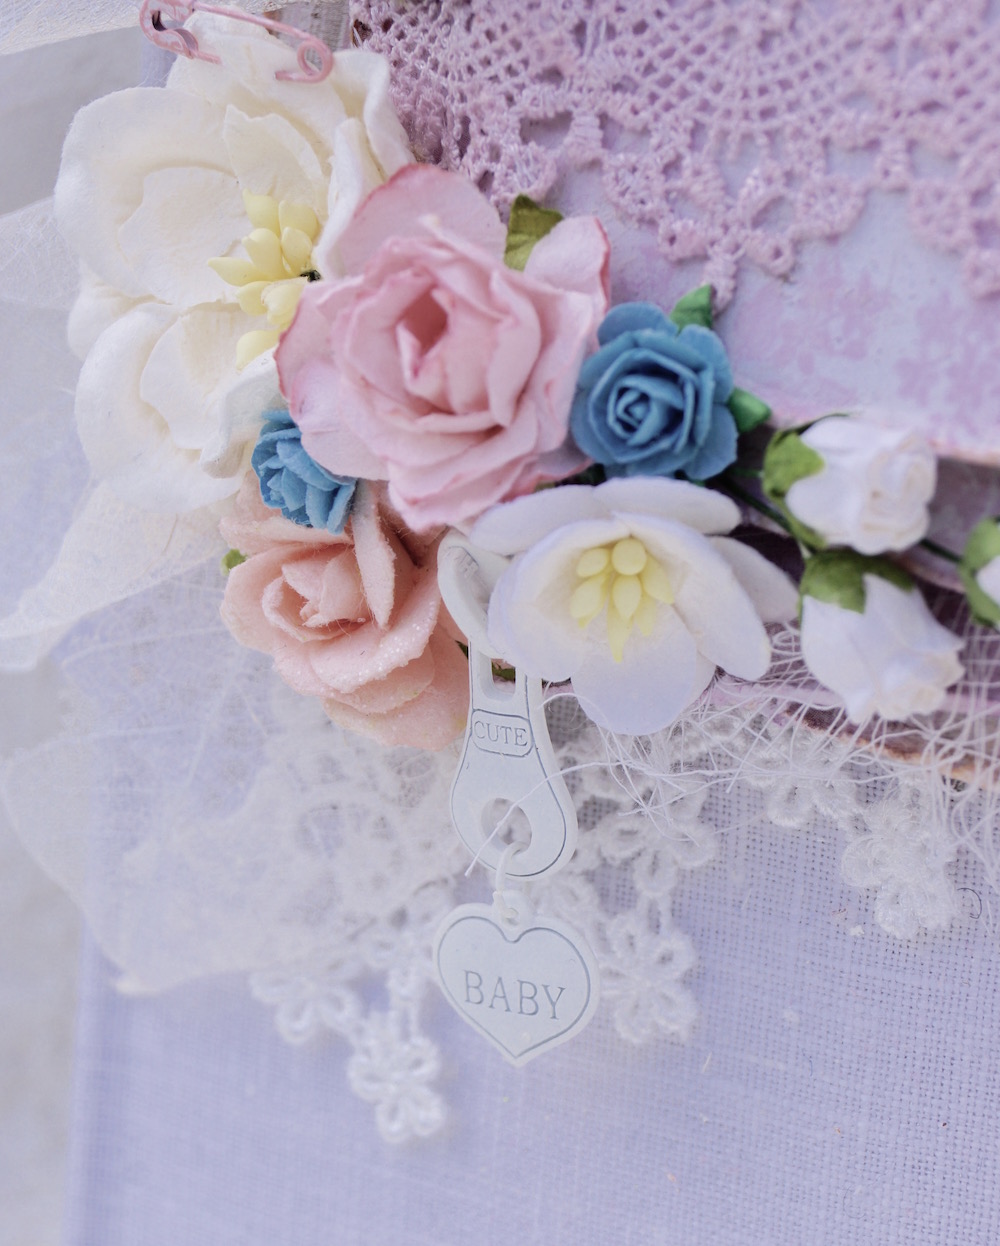
Since I whant these books to stand out a little, I have chosen to decorate with small blue roses, in between the pink and the white flowers.

On the Pink book, the floers are from Wild Orchids and Prima. The scellet leaf, i have paint withe some white acrylic paint. In betwin the flowers, I have used details such as safety pin, Baby pacifier and a metal from Prima, with the word baby on <3

The blue book, is very similar to the pink. The main difference is that this book is blue, and made to a little baby boy <3


On this book, the buttons are blue in the top corner. The buttons are large and have a double bow. On the top of the bow, I have a floral button with a smal bow and a blu bling.

In the bottom corner you can see that I have used 3 round blue buttons with a patterns on. The buttons have a bow and a bling.

The word Boy, are glued to the light blue ribbon, here are also the letters made whiter with Wink of Stella.

The flowers on this book are blue and white. Since I have blue roses on the pink book, I have used small pink on this book.

I’ve used the same details on this book, in between the flowers.

Now you have seen my two baby books <3

I wish you all a good Sunday, and I send you alot of Inspiration to you <3


SiljeKristin-sign


The Vintage Travel Boxes

4

Posted by Silje Kristin Aunan

20 September, 2015 - ,

Write a comment
Hello Everyone
Today it is me Silje Kristin, that will inspire you <3
It’s finally Sunday, and I’m ready for my new post for Maja Design <3
This time I’ll show you a couple of large boxes, that were in a Norwegian Scrapbooking magazine, Ett Trykk.
I have decorated two tin boxes some lovely Maja sheets.
On this boxes I’ve used patterned papers from Maja Design’s collection The Vintage Spring Basics.
This is one of my favorite collection, the colors in the sheets is lovely and complex with the pattern. Its makes it easy to mix sheets and colors to the projects you create.
I have chosen to use the blue sheets from the collection.
Vintage-Spring-Basics-P
I came across these tin boxes in a Norwegian store, called Sisters Grene. I removed the metal fasteners behind the box and lock in the front, before I dresses the sides with paper from Maja Design.
All the edges are blackened with distress Walnut Stain.
Both boxes are decorated with the same details. Instead of using a lot of flowers I decided to use metal details.
The biggest box stands on four large metal corner feet. The brown ribbon, going round the box and is fastned in metal from Tim Holtz. I have also used white metal plates with words from Prima: Bliss – Care – Home. On the lid I have used metal corner, but in the other corner you will see brown brads.
The metal clasp on the front is from Fab Scraps.
On the side of this box I’ve put together words on eatch side, Thankful and Treasure.
The butterflies are from one set from BoBunny with three butterflies dies.
On the smallest box, you will find the same metal decorations as the largest box. Metal plates on this is with numbers and words: 52 – Love – 24. The metal feet are smaller on this box then the bigest one.
On the side of this box, you will find two new words: Adore and Love.
The words give a whole to the boxes and what they symbolize <3
To the boxes I’ve created two different tags, punched out with one set of dies from Nellie Snellen.
On the tags on the bigest box I have used one dies from kaBoks with one word
Fantastic on. Metal decorations on this is charms and a amulet with the words Faith – Hope – Love. The tag are attached with metal rings to the lid on the box.
I have also used a butterfly and some brownbrads.
On the smaller box is the tag slightly smaller. The metal decor is a big key and a small key, I’ve also attached a smal eifel tower on this tag also.
I also spent a die from kaBoks with the words Luck on.
The Butterflies are blackened with the same Distress used elsewhere on the boxes.
The back of the boxes are simple, here are just the metal loops that secure the lid to the box.
And this is my Vintage Travel Boxes, made with the most beautiful sheets from Maja Design <3
 
 Have a GREAT day everyone <3
 SiljeKristin-sign
 

A Lovely Christening Present

6

Posted by Silje Kristin Aunan

6 September, 2015 - , ,

Write a comment

Today it is a great day.

Today it’s time for me to publish my first post for Maja Design and this I have been looking forward to.

In this Edition of Ett Trykk (Norwegian Scrapbooking Magazine), I have a box and a baby mobile with small mini 3D plane. Both of these are made with beautiful pattern paper from Maja Design. This are a great christening gift, whether to give it to a Baby Girl, Baby Boy or Baby Twins <3

This was originally a black box, inside of it there was a birtday gift from a very good friend. I unpacked the gift and desided to do something about the box.

On the Box I have used a lovely pattern from a great series called Nyhavn, the paper called Sitting at the Dock. One side of the sheet looks like marble and characterizes most of the box. In the corners I have used the other side and a punch from Martha Stewart to get some pattern in the corners.

I’ve spent four silver feet which I have placed in the corners in the bottom of the box. A white I have placed in the corners in the bottom of the box. A white pearl cord attached in between stance and up round the box as well. At the bottom of the lid I have a lovely white ribbon around.

On the top of the lid I made one small plateau in the same paper that I have used on the box. Before I glued it, I used one sheet from The Vintage Baby Paper Pad, on the top, then I attached the small plateau. Here I have also used whith pearl string and the same white ribbon.

Up on the plateau, I have one pair of baby shoes. On the shoes I have used the clear Wink of Stella Brush, for a glittery effect. The baby shoes are decorated alike, besides the blue and pink button of a bear and the bling on the bow.


On each side of the box I’ve decorated in typical girl and boy color. Blue and Pink. These are flowers from Wild Orchids.

In between the flowers I have used two different leaf dies from Memory Box.

On each side, I have used a pink and blue safety pin, as an little detail <3

On the back of the shoes I have made a large bow of a lace from kaBoks <3

On the bow, I have attached a large white butterfly, this is a sett of dies from BoBunny. I’ve also attached one on the front of the box as well.

You open up the lid, you will also see the same ribbon I have used on the outside of the box.

Below it, I glued white pearl string. This I have done because the baby mobile I have made will fit in the box, and the lid must not go so far down.

Nyhavn-P

Then over to the gift <3

I have created a baby mobile which one can have over a child bed. This Baby Mobile is created with 8 small mini planes, created by The Vintage Baby Paper Pad. Four plane are made in pink tones and four are decorated in the blue tones. None of the planes are equal.   

The planes hang down with fishing line, which is attached to the inside of the planes.

This is a tutorial I have developed my self, Here is a link to a larger plane in my Blog.

On the planes you will find detals like wax thread, half pearls and wood.

This is the Baby Mobile along with the box <3

A lovely Christening presents <3

Vintage-Baby-P

Now you have seen my christening present made with Maja Design <3

I wish you a great Sunday <3

SiljeKristin-sign