Chocolate Hearts at Christmas

1

Posted by Silje Kristin Aunan

20 November, 2016 -

Write a comment

Hello Everyone ? I hope you all having a wonderful weekend ?

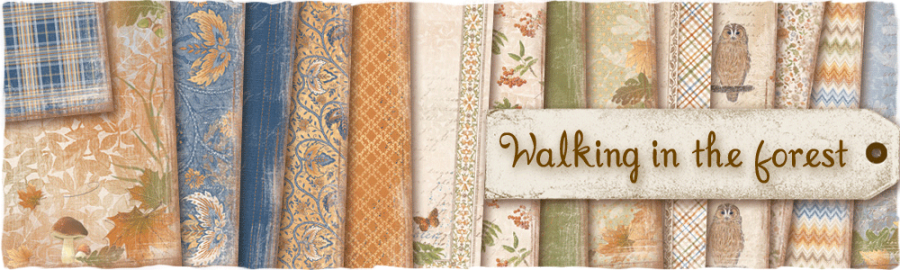
Today it is me, Silje Kristin that are reay with some Christmas inspiration, made with some lovely Maja Papers  ?

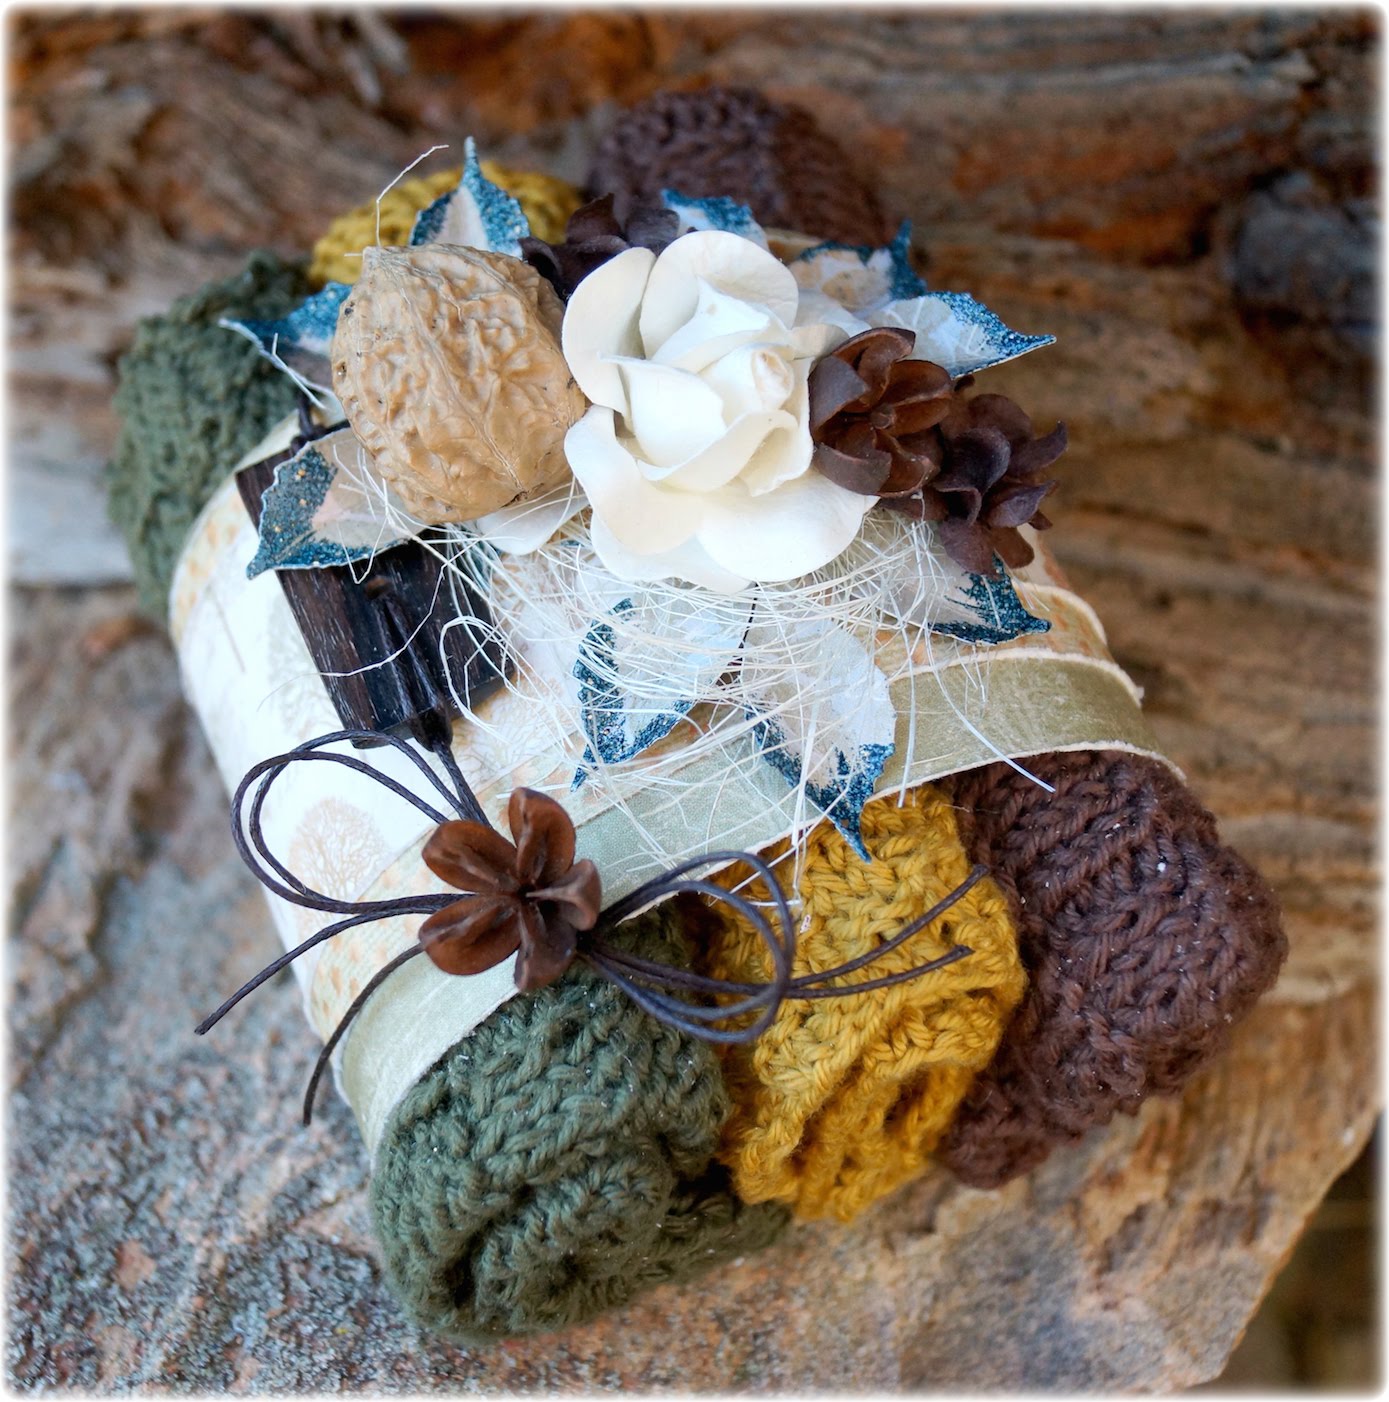
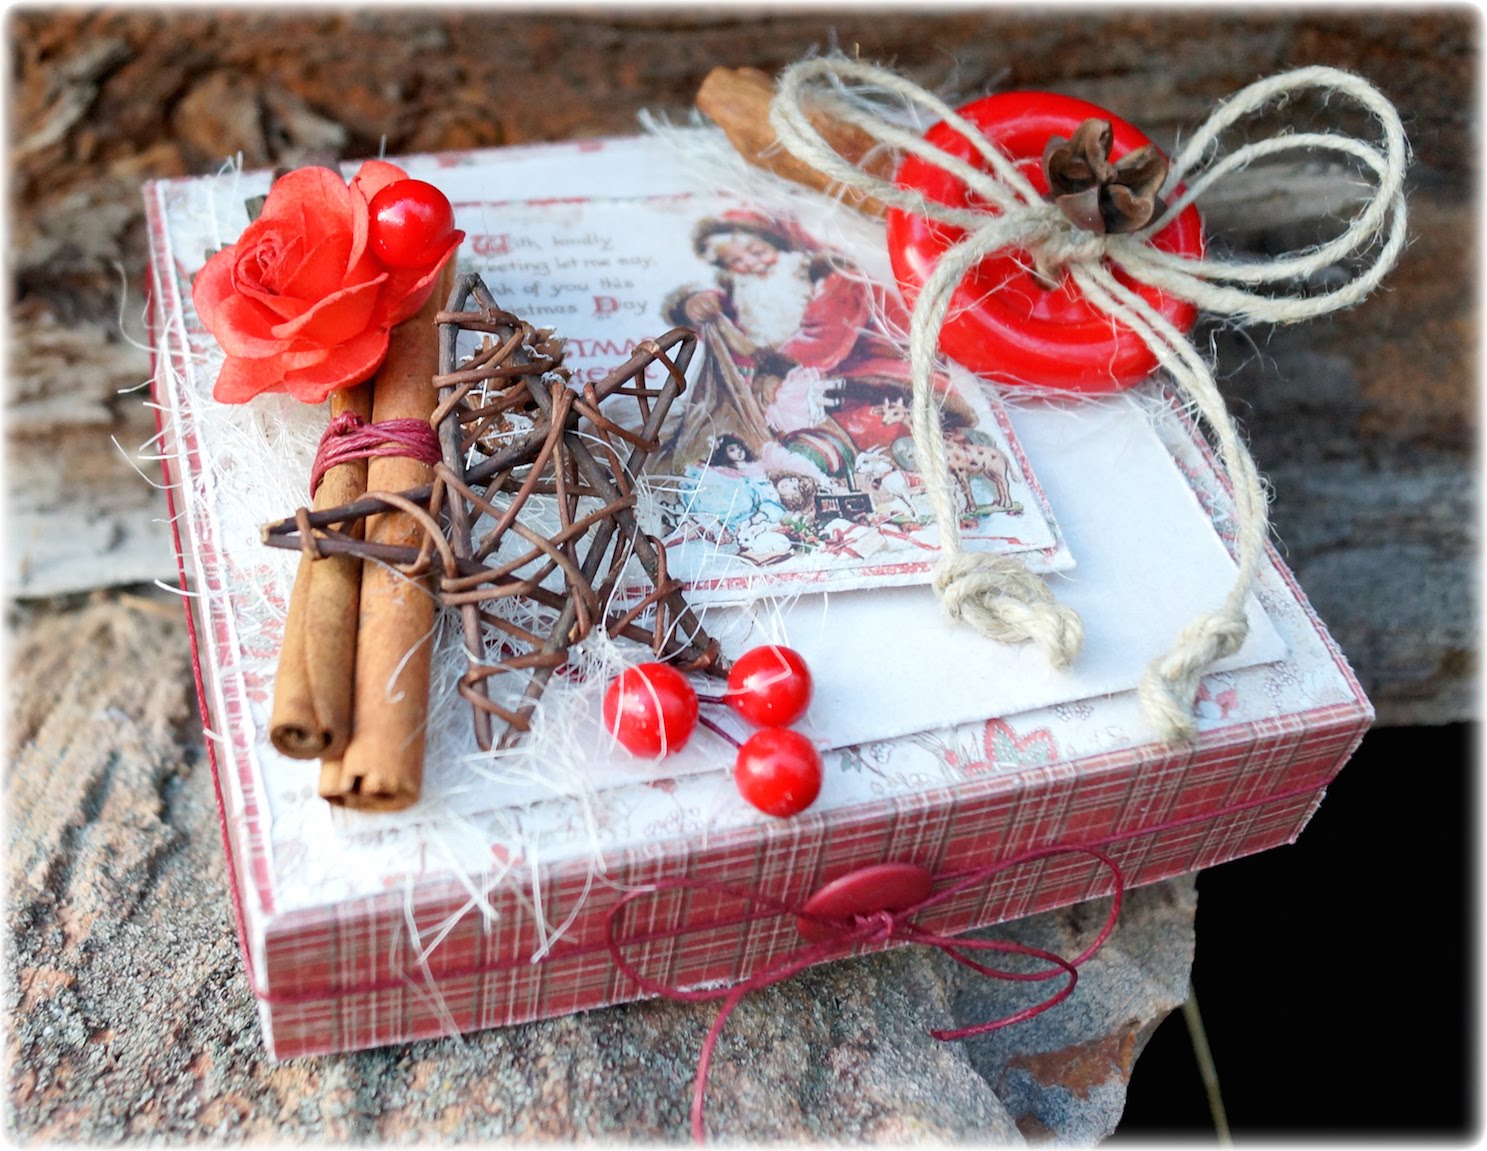
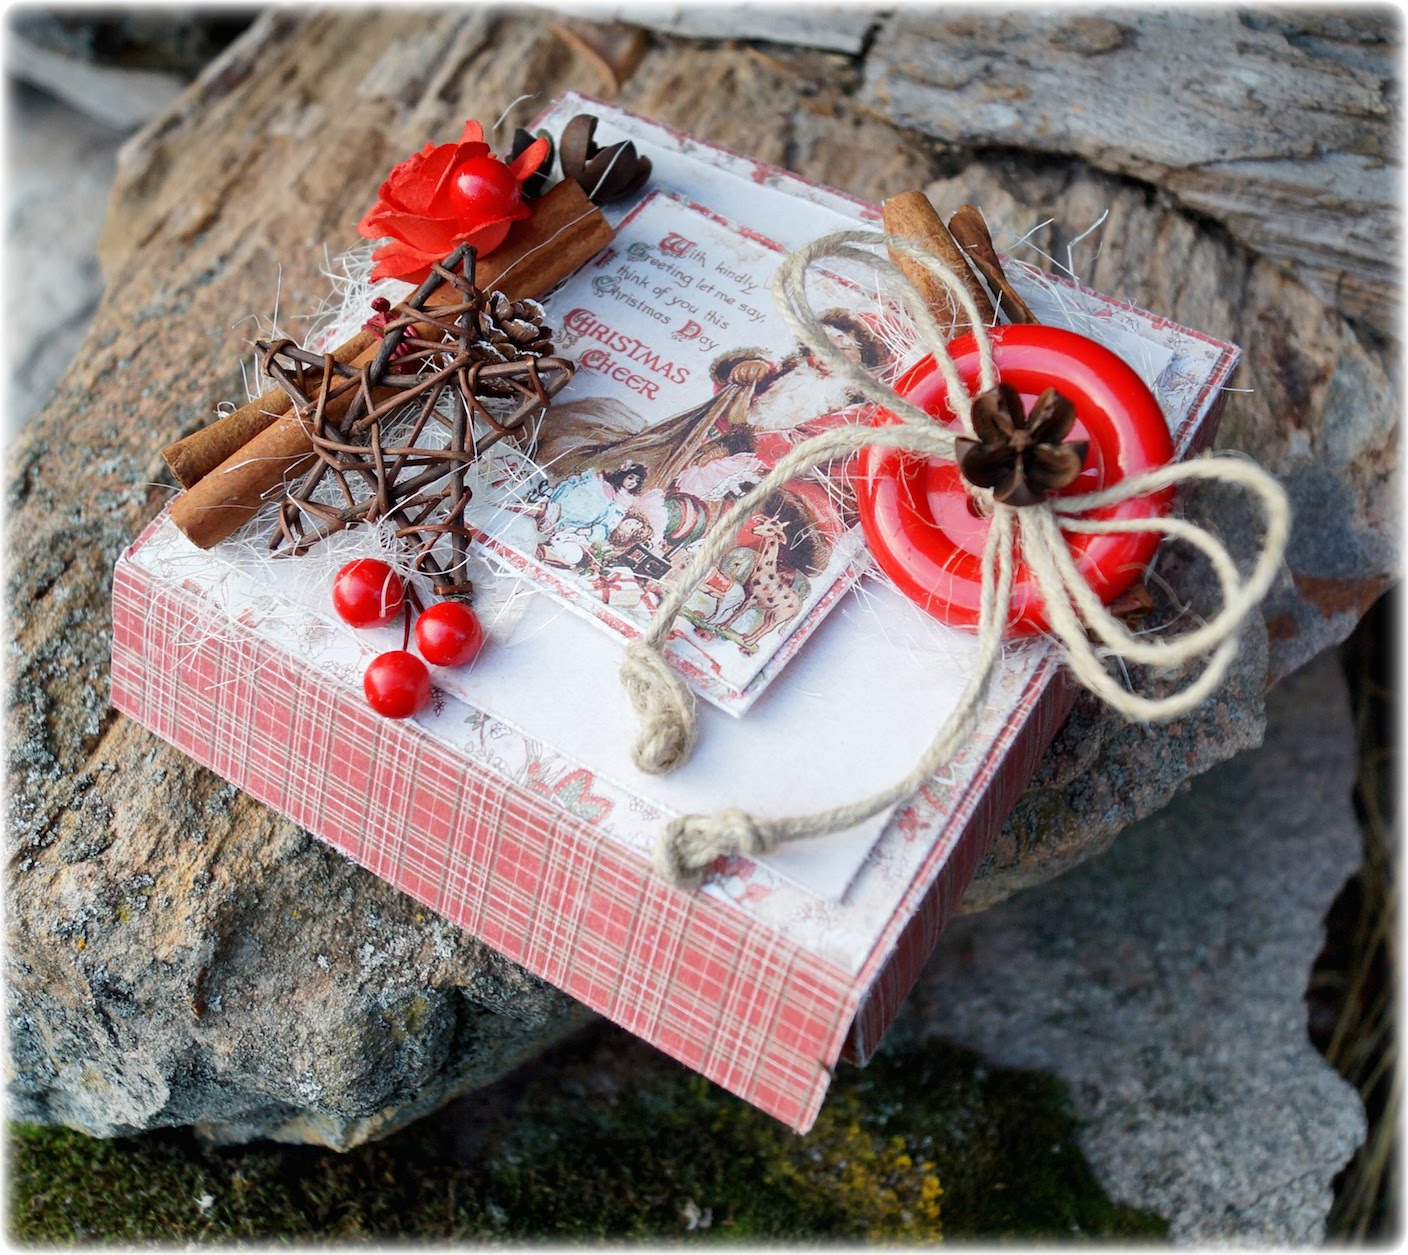
It has bean many Christmas gifts lately and this is no exception. I have this Sunday decorated a box of chocolate hearts, which you can buy in the Norwegian food stores. Maby you have a box with some sweets in your country that you can turn in to a beautiful Christmas Gift like I did 🙂

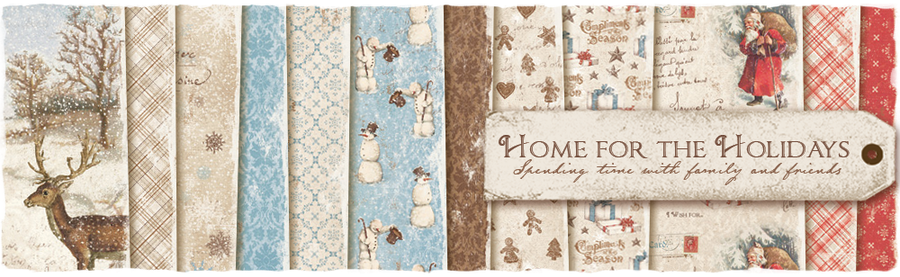
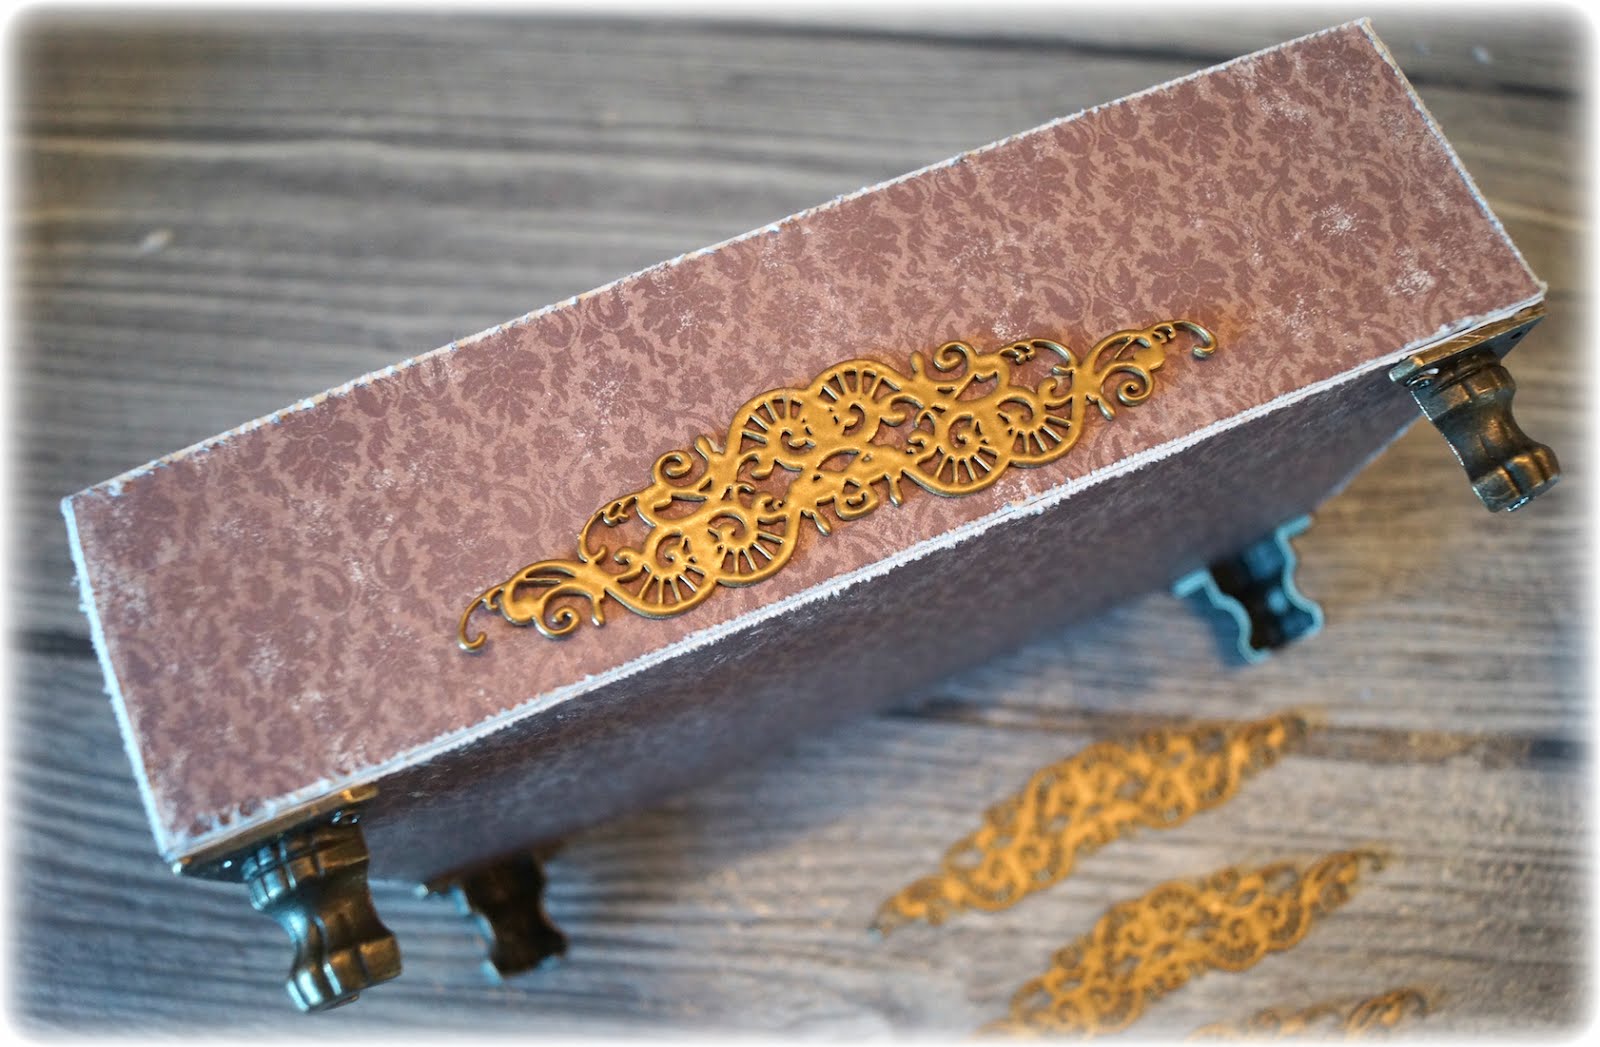
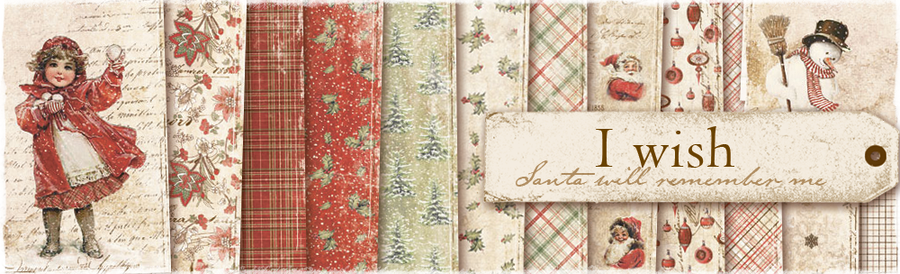
I like many others have is in love with the new collection to Maja Design – I Wish. I’ve spent more of the gorgeous sheets that can be found in the collection. The sheets I used on this project is: I Wish Christmas was Today, I Wish Santa will Remeber Me, I Wish we will deck the Halls and I Wish to play in the Snow.

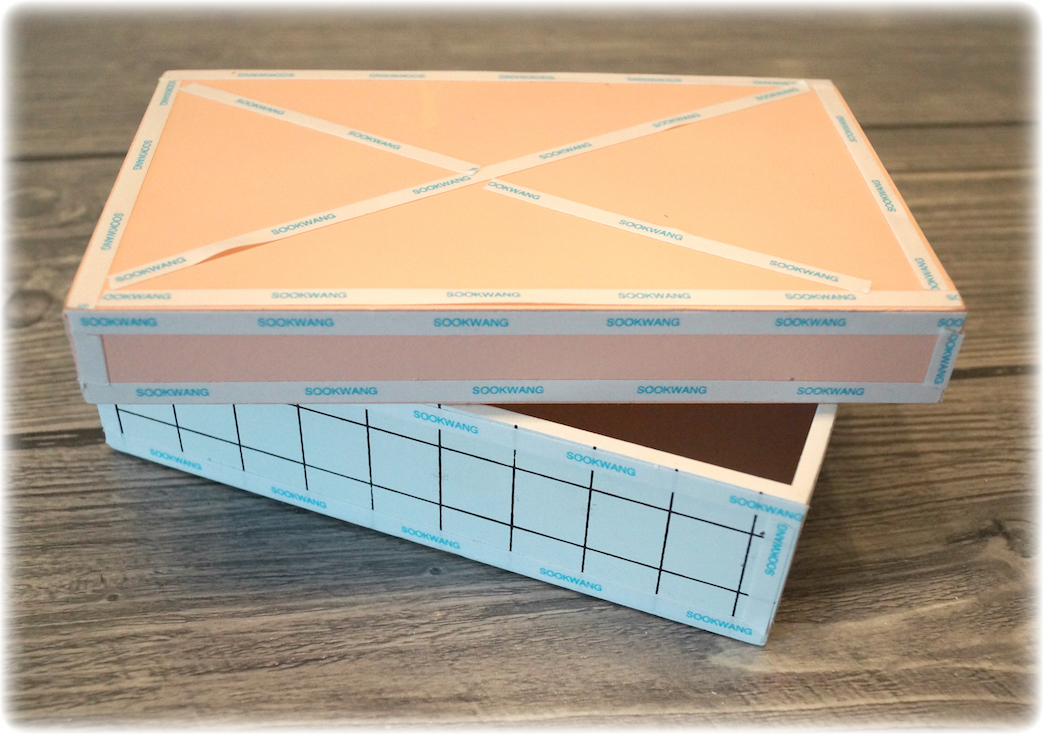
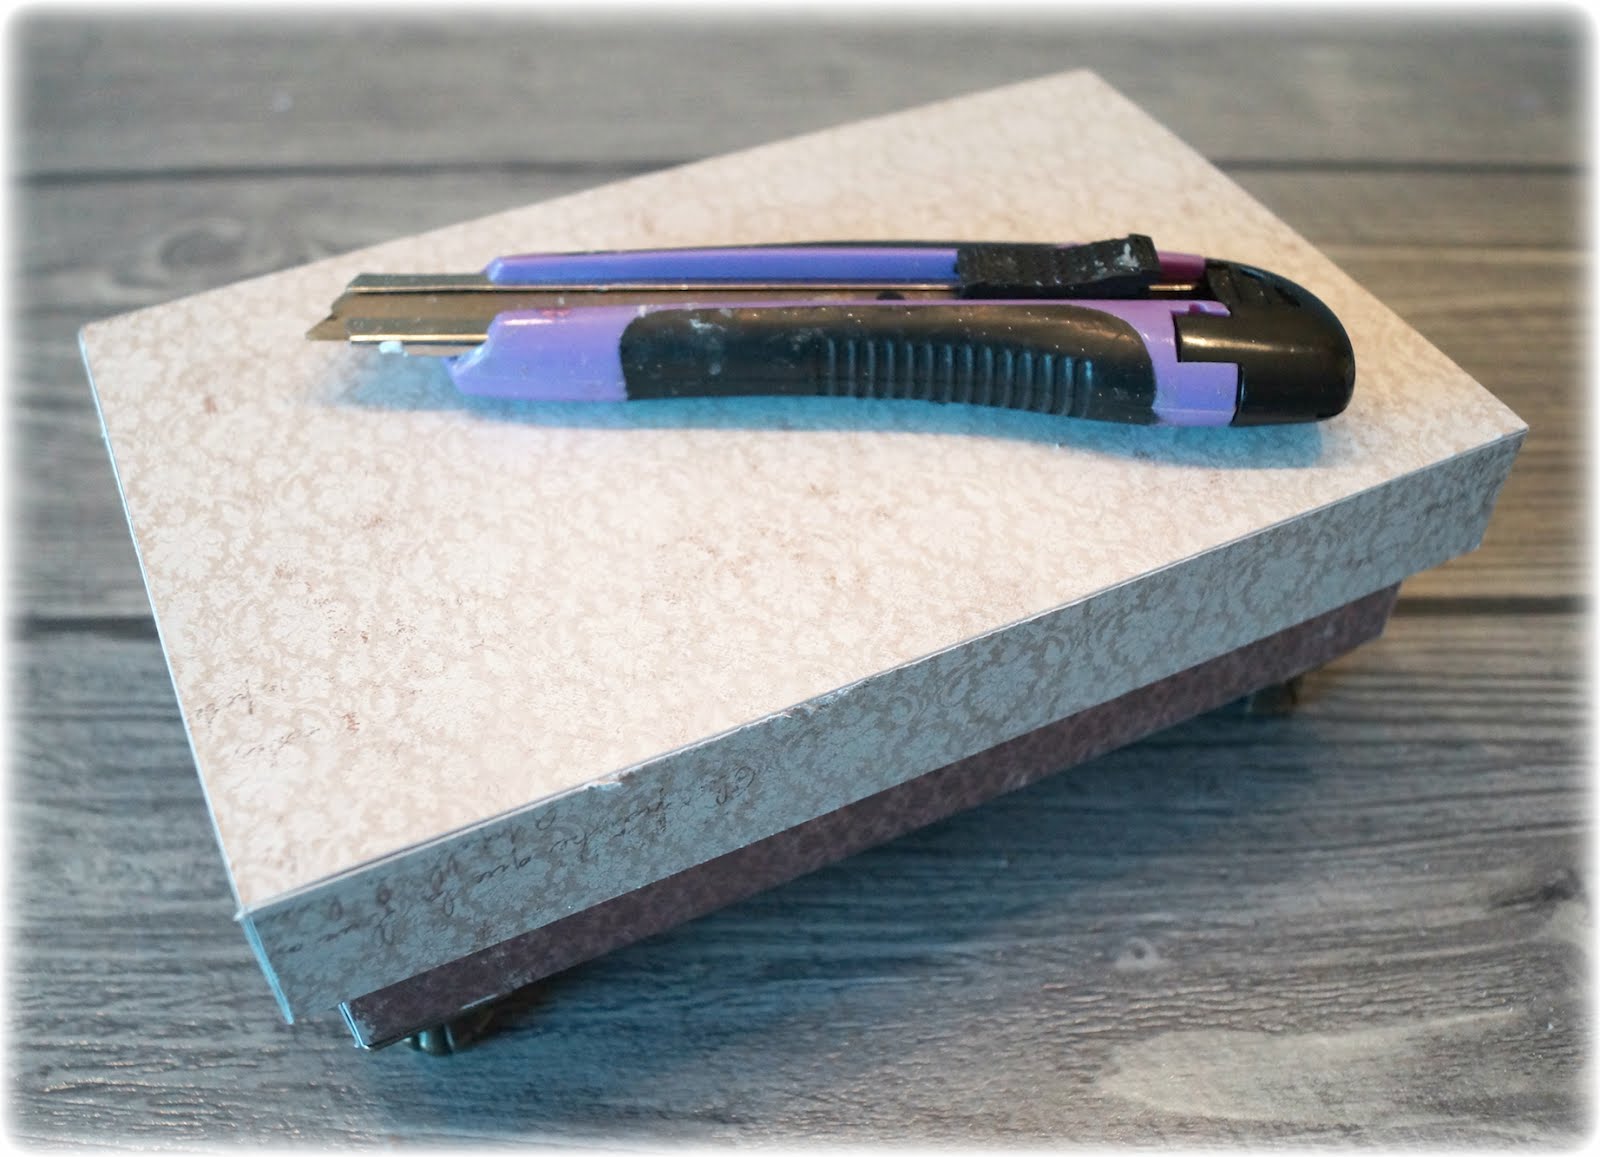
I’ve made a box where I can get the box with chocolate hearts inside. The box fits the dimensions of the box with the chocolate hearts. 

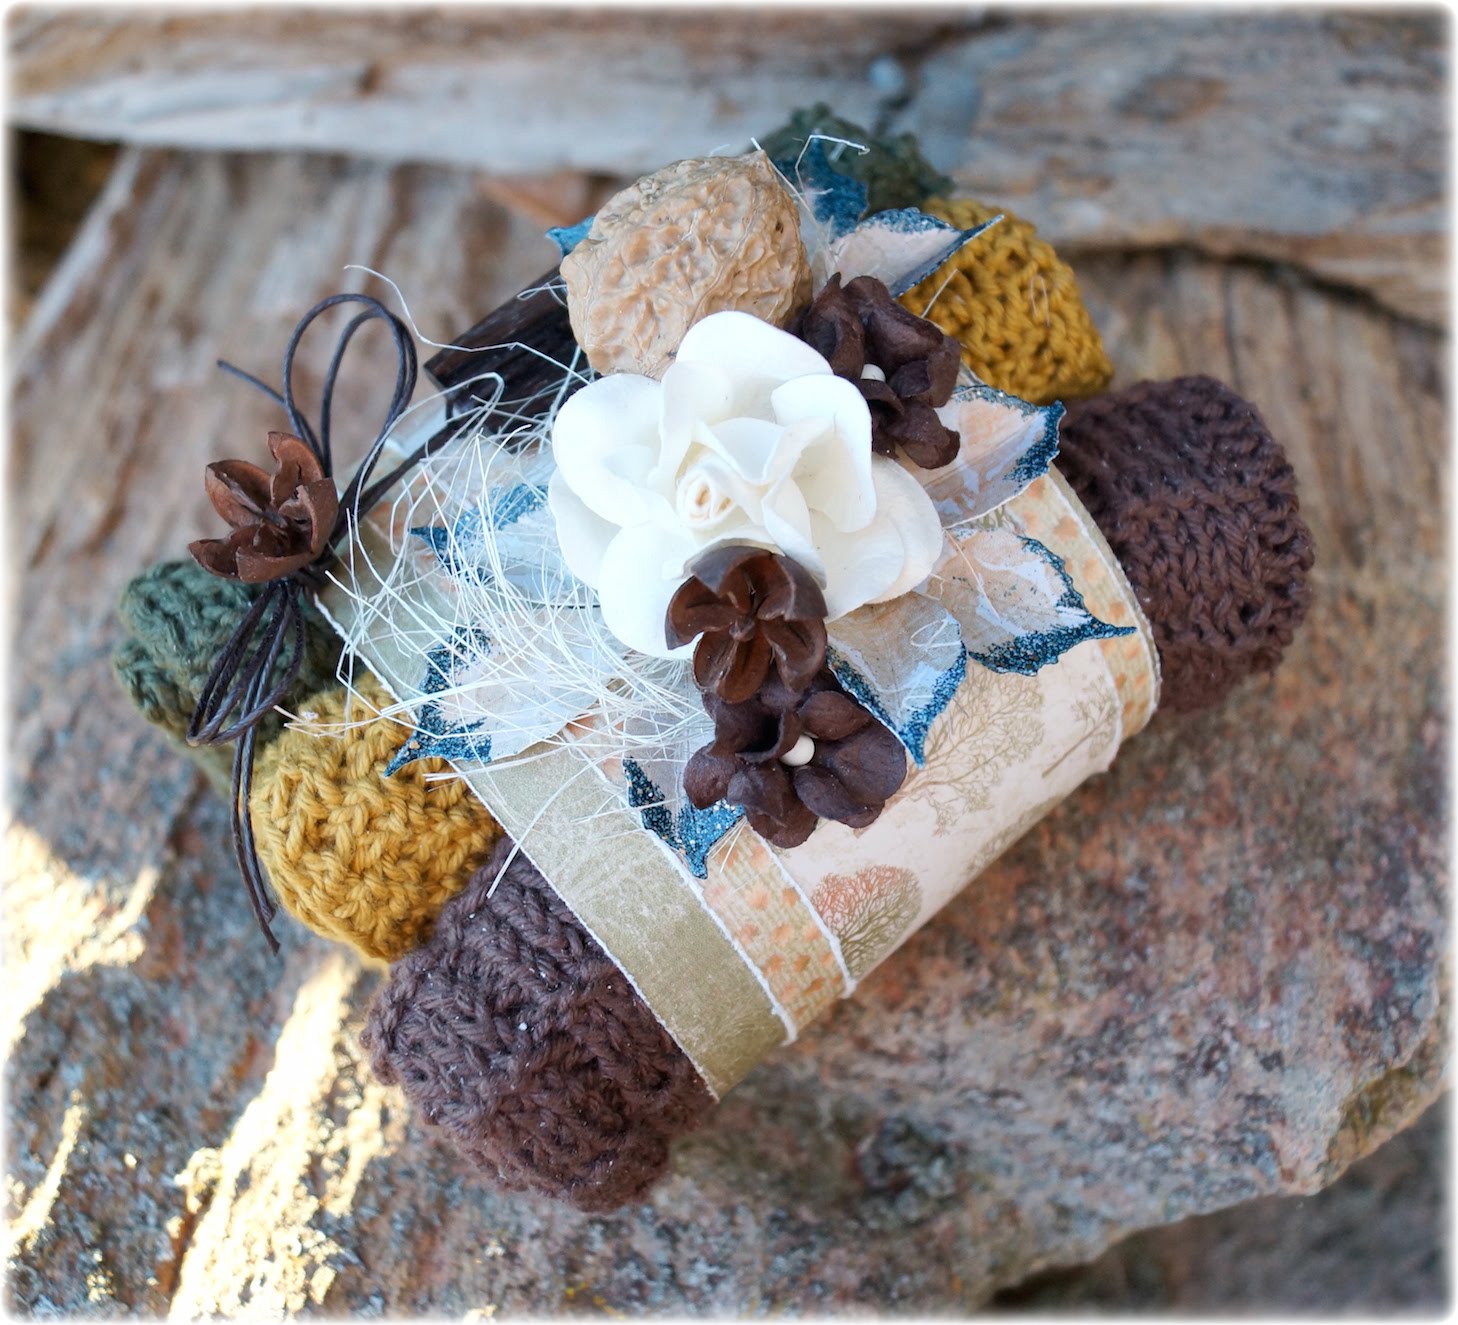
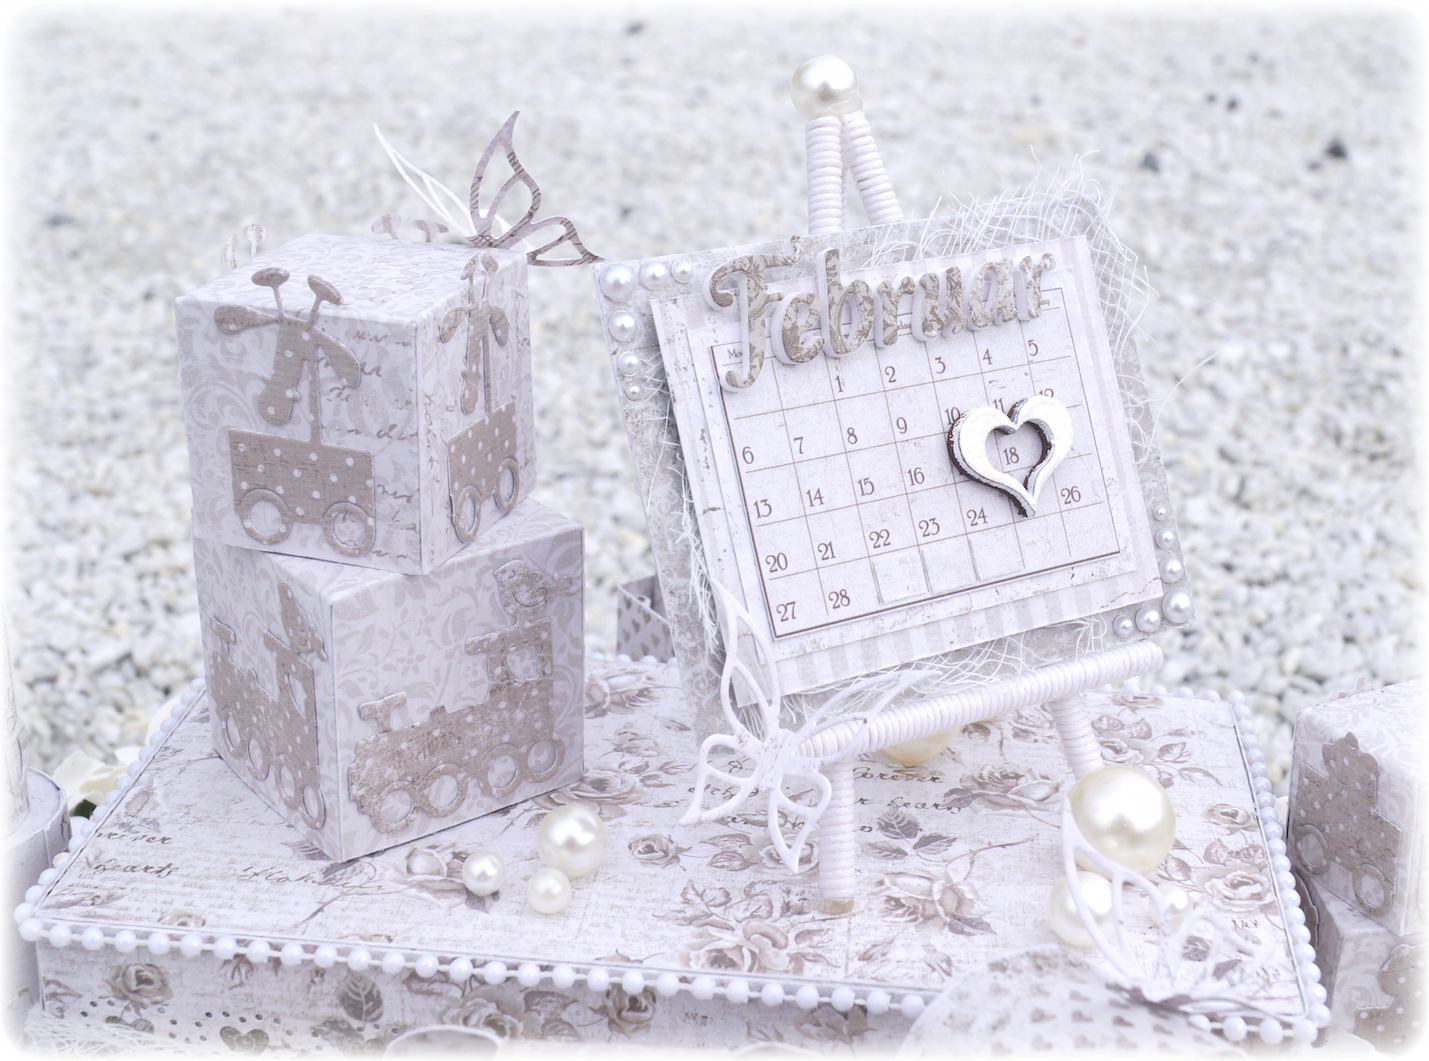
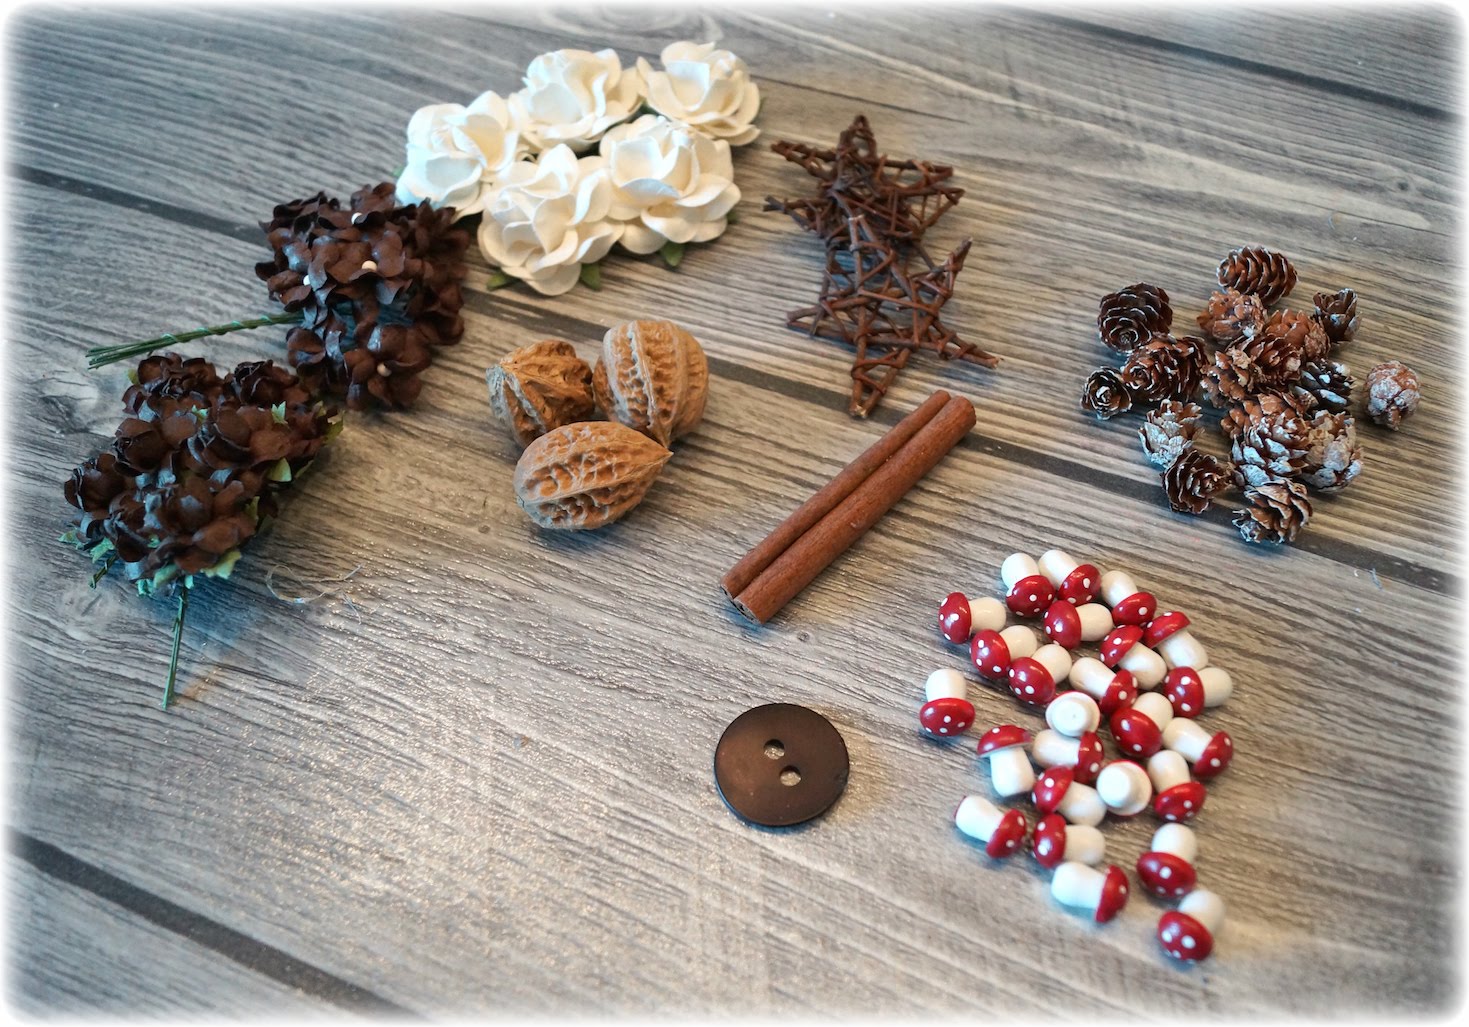
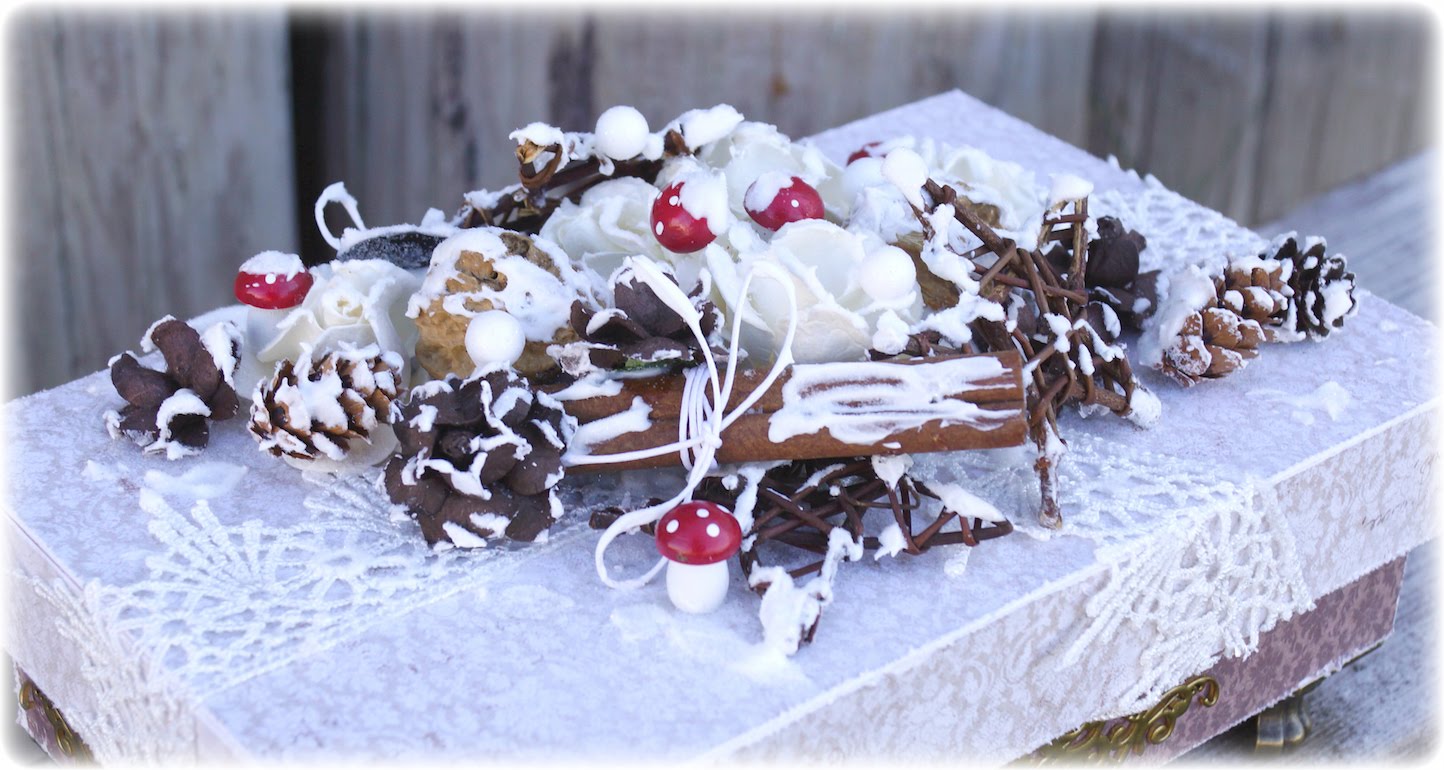
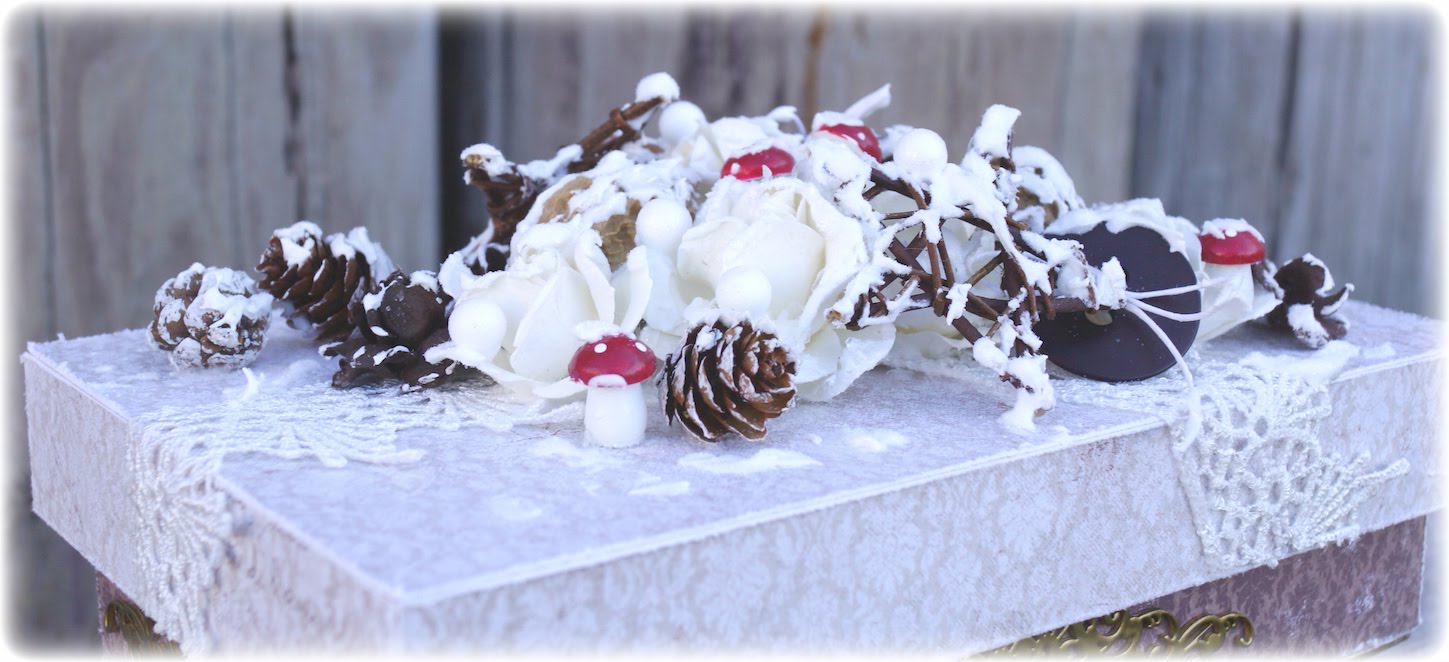
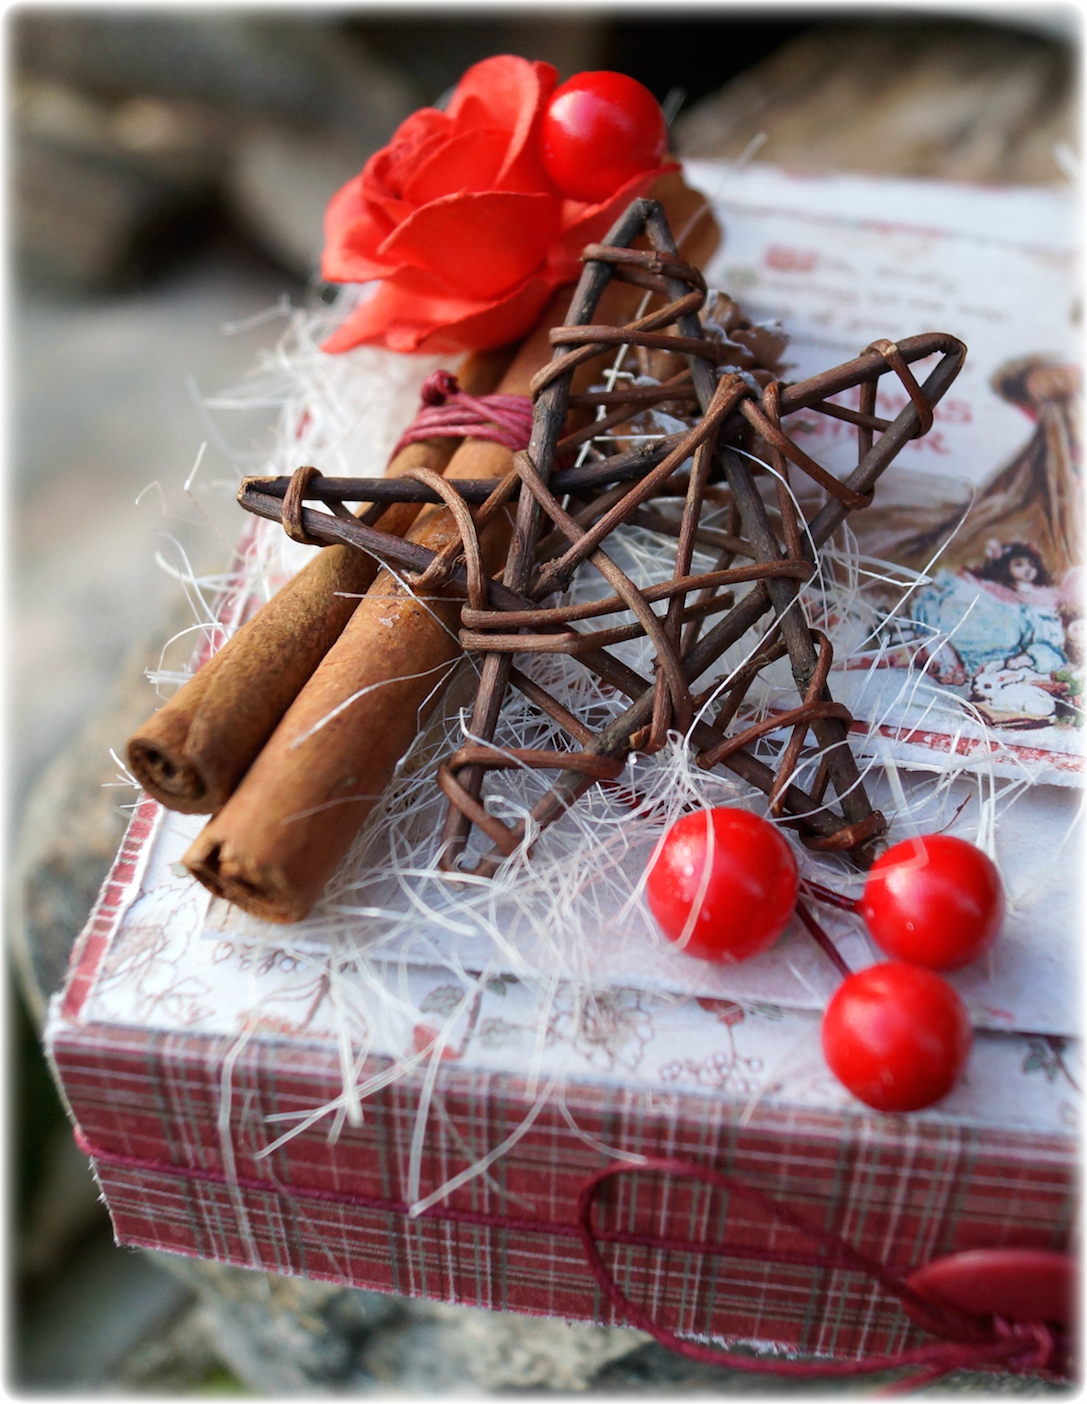
 On the top of the box I’ve chosen to decorate with details that remind us of Christmas. Cinnamon stick, red berries, stars of wood, pinecone, big red button with ribbon and a red flower.

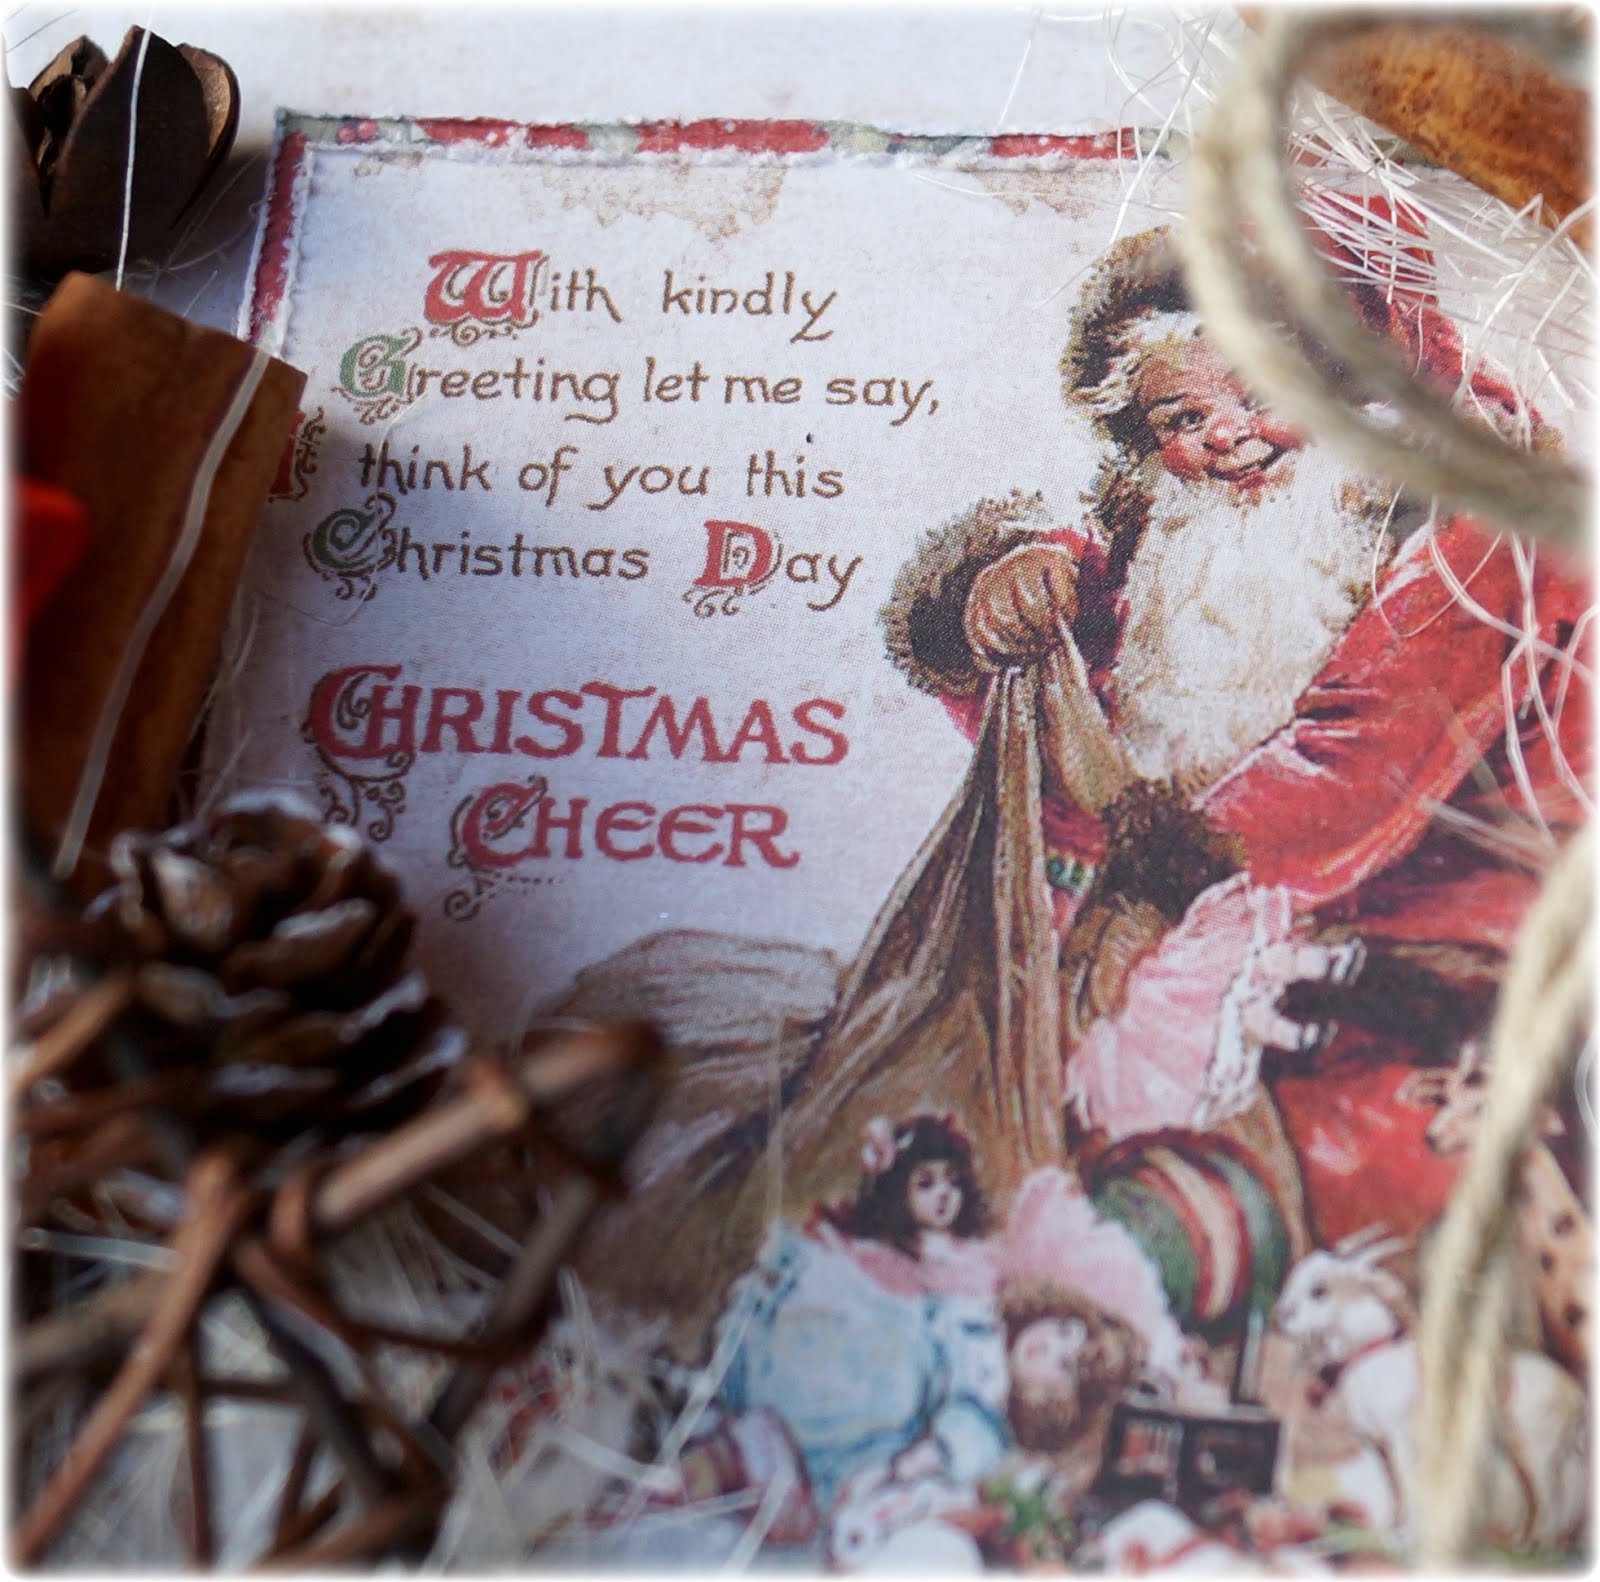
The image on the chocolate box is taken from the sheet called I Wish – ephemera. This is a sheet with some lovely Christmas designs. I have used the Santa Claus, with the text: With kindly Greeting let me say, I think of you this Christmas Day. Christmas Cheer. 

Seems this text fits perfectly to the lucky one that get this Christmas gift ?

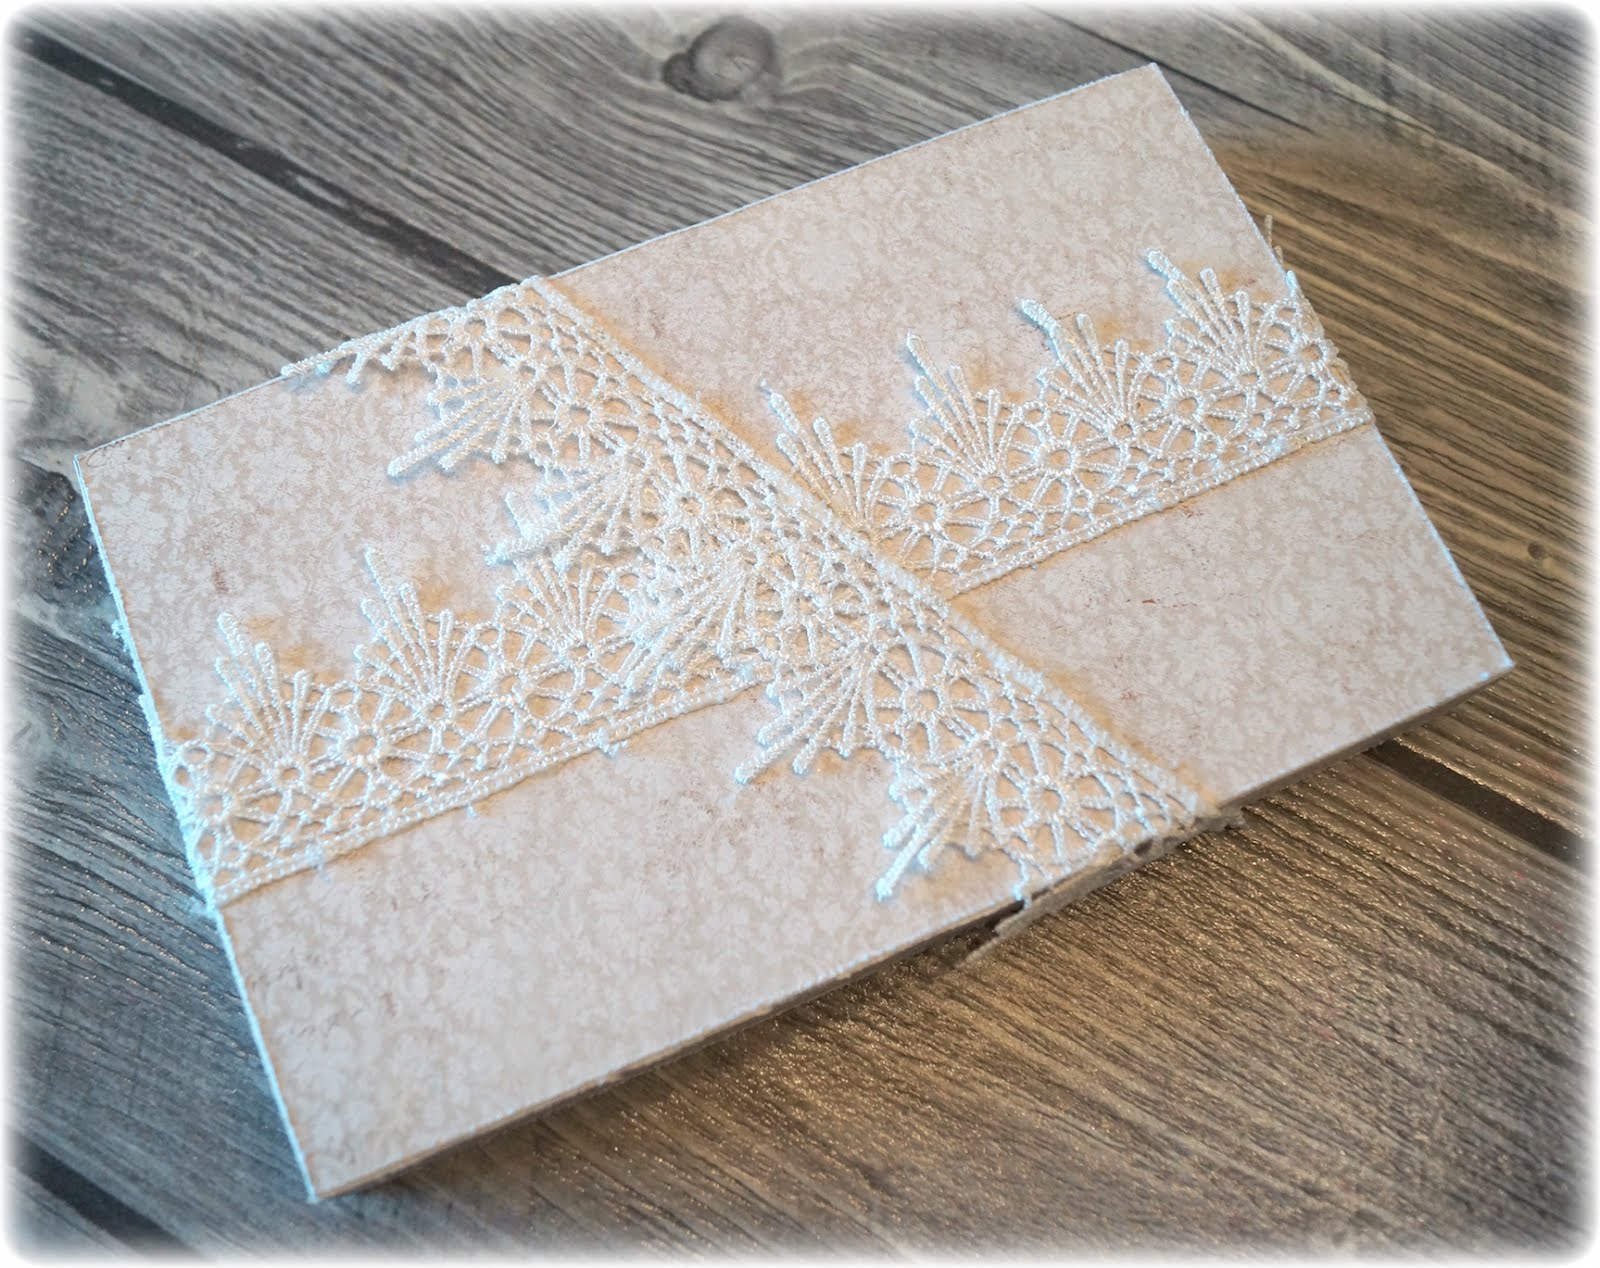
Around the box, I have red wax tread which is attached with a ribbon and button in the front. Taking this away, you can peek to see what’s inside ?

The Stamp I have chosen to use seys Merry Christmas only on Norwegian, the stamp is from kaBoks. I’ve used black embossing powder from Ranger.

A easy, but lovely Christmas gift from me today ?

SiljeKristin-sign

Dishcloths as Christmas Gift

1

Posted by Silje Kristin Aunan

6 November, 2016 -

Write a comment

Hello Everyone, I hope you have a great weekend 🙂

Today it is me, Silje Kristin, turn to inspire you with a project created with gorgeous paper from Maja Design. 

 In these days I am in full swing to create and arrange my Christmas  presents, which I will give to friends and family. One of the things I’m making is that I knit dishcloths in different patterns that I find on my own. The first three dishcloths I knitted was in gorgeous autumn colors, so I decided to create a cover that I can have around these cloths 🙂

For this Christmas gift I have taken various paper from Maja Design collection Walking in the Forest. For me this was a natural choice, since the I knitted in autumn tones. I’ve used 3 different sheets: The Colours of Fall, Autumn in the Air and When Leaves are Falling.

What I’ve done is I’ve folded the cloths in the same size, then I cut up strips in the current pattern sheets and put them together on the back with double sided tape.

On the left side I have attached a brown button with wax thread, I have attached the thread with a bow. Atop of the bow I have attached something I do not quite know the name of.

Other details I have used is walnut, straws and brown and white flowers.

Under the flowers and the other details I have autumn leaves, which are punched out with a dies from one set of five autumn leaves. 

To break the traditional fall colors I have chosen to use one Embossing powders from Stampendous called Aged Marine.

If you have dishcloths as a Christmas present to someone, you can easily spice them up this way. In due so you do not have to pack the gift in, it’s going to fit perfectly under the Christmas tree with your own creativity <3

Should any of you wonder, my cloths are knitting with needles in sizes 4, between 55-60 stitches. The cloths are knitted with cotton yarn, until they are one square. 

Good luck 😉


SiljeKristin-sign

I’m going to be an Aunt <3

2

Posted by Silje Kristin Aunan

23 October, 2016 - ,

Write a comment

Hello Everyone 🙂

Today it is my turn to present one project for Maja Design. 

The project I’m going to show you today is one project I created 25 August, but because of bad images, the time was never right, it never got published. But today it’s time, and you know what is funny is that these images are the first pictures I took of the project.

You know I’m going to be a Aunt, for the first time in February next year <3 But to tell you how this project started, we need to go some months back. My sister called me at the start of August to tell me she was pregnant, and the due date is February the 18. She also told me that she wanted to tell it in a very special way, in fact she whant to tell it with a specal project. How this project was going to be, it was all up to me, but it had to be a calendar on it, since we not at that time knew if it was a boy or a girl, the project had to be in neutral colors.

I liked the idea right away, I liked it alot, and that this is not a project you see each day. What is special about this box is that this is the first project I make to my aunt children <3

For this box I’ve used paper from two different Maja Design collections. Vintage Romance and Vintage Spring Basics. I have chosen out those sheets in a gray and bright tone.

Vintage-Romance-P

Vintage-Spring-Basics-P

After I had covered the box with pattern sheets, I attached silver feet below the box, glue on buttons and pearl ribbon on the sides and the edges.

On the lid of the box I made one plateau, this I did because it would be easier to decorate and put things I create in 3D and other details.

On two of the sides I have decorated with one locomotive (my own tutorial), an elephant that I found in a folding book for children, butterflies, flowers, buttons, pearls, cheese cloth and blocks.

On the other two sides, I have many of the same details, but here I have one 3D plane (put together with my own turorial) and a Giraffe folded from the same children book that the elephant.

Atop of the plateau i have a easel that I have made myself, with a calendar on. Around the due date which is the 18 I have a heart and on the top of the calendar I have written February. February is punched out with one set of dises from kaBoks.

On the side of the calendar are several blocks, these blocks I have used one dies of one train and placed on blocks that I have put together. The other details are pearl and butterflies.

One very special project from me today, that means a lot to me that I got to make it <3 <3 <3

And before I quit my blog post, I would like once again to say congratulations to my sister and the great man she is with <3  You’re going to be a great dad and mom to a little boy coming in February <3

 SiljeKristin-sign


Vintage Winter Box (Tutorial)

2

Posted by Silje Kristin Aunan

9 October, 2016 -

Write a comment

Hello Everyone 🙂

Today I am ready with a step by step made for Maja Design, I intend to show you how you can decorate various boxes in a easy way.

I’ve created a easy box using two papersheets from Home for the Holidays: Traditions and Together.

The explanation of how you can make this box, standing under eatch picture 🙂

STEP ONE:

This is the wooden box I have chosen to use. I have used double sided tape on all the edges on the lid and the bottom.

STEP TWO:

When I make these boxes, I use not a cutting board. I remove the paper off the tape, I put down the page with the tape down on the sheet and use a Knife for cutting around. I do this to the box is covered. It’s an easy way to decorate boxes on, you do not have a measuring the paper and use your cutting board.

STEP THREE:

The bottom part of the box, I turn, then I attach the feet in bronze under. In this way the box have something to stand on.

STEP FOUR:

Use a knife to go over all teh edges and scratch the paper. Then you get a vintage look without using ink.

STEP FIVE:

I’ve spent four shipboards from Wycinanka, I’ve embossed them with gold powder before I glue them on the sides of the box.

STEP SIX:

On the lid I have attached some white cotton ribbon.

STEP SEVEN:

On the top of the lid I have used flowers, walnuts, mushrooms, cinnamon stick, stars and one button. These I have covered with True Snow, Plastik Snow and Glitter.

It’s really difficult to take images along the way while placing flowers and details, because I constantly had to move them around along the way. But I’ve done is I’ve just built around three large white flowers until I was happy with the lid.

Then the box is finished. A simple box, but at the same time full of lovely winter details covered with snow and Glitter <3

SiljeKristin-sign


Lollipop Cards in the end of Summertime

1

Posted by Silje Kristin Aunan

8 September, 2016 -

Write a comment

Hello Everyone 🙂

Today it’s Thursday and I am ready with a new project for Maja Design. I must admit that I’m not quite finished with the summer, even if it rains all day long, the forest begins to change colors and the temperature drops, you se I want to keep the summer a little longer, least in my projects.

Today I have 3 Lollipop cards I want to show you, considering that this is the first time I’ve made ​​lollipop cards, I like them alot. All the cards are made in ​​the same way, with the same details, but what separates them is the colors of the pattern papers, the embossing powder and the dieses I’ve used.

I have used the pattern sheets from the latest collection called Summertime.

To the card in blue, I’ve used these  paper sheets: It’s My Favourite, Gives Me Joy, Cute Summer Dress, Glittering Water, Watch the Boats and Having Fun.

The edge of the cards is made with a punch from Martha Stewart, on top of the first layer I have several layers of patterned paper in different sizes and also spent some cheese cloth.

Under the white flowers, I have some leaves that I have embossed with Shabby Blue, a powder from Stampendous. The butterflies are a die from BoBunny, here the wings are embossed with the same powder as the leaves. Also under the flowers I have some wood from Wycinanka which is embossed with white powder from Ranger. In between all the flowers I have a light blue button with a bow and on top of it, I have a small navy button. Over the card I have one die from Heidi Swapp with the word Imagine.

When you turn the card, you can se that the card have a simple backside. If you Open the bow you can writing a greeting inside the smallest circle.

The second card is the card in green. I have used these sheets from the Summertime collection: Greenery, Taste the Strawberries and Is Always the Best.

This card has as many layers as the card in blue.  Word Lovely is also one dies from Heidi Swapp and the buttons have been replaced by someone in green tones.

Here are the leaves under the flowers embossing with Aged Hunter, one powder from Stampendous. The butterflies are embossed with the same green powder and comes from one set of three butterflies from BoBunny.

If you flip the card, you se a new bow that you can open for writing a greeting.

The last card is in red and since the colour was red, then I just need to use the word Bliss, this is also one dies from Heidi Swapp. The sheets I have used are called:  Is Always the Best, Smell the Roses, Flowers Everywhere, Let’s go for a Ride and Ligth Scarlet.

The leaves and the butterflies is embossed with a powder of Distress Ink I do not remember the name of. The buttons on this card is in red and a big one in pink.

The back is exactly the same as on the other cards.

Placing all the Lollipop cards together, you get a nice symphony of summer cards. Now you see way I want to keep the summer a little longer 😉

SiljeKristin-sign