Noel

0

Posted by Cathy Mc Grath

27 November, 2015 - ,

Write a comment
cathy - Home for the holidays 7

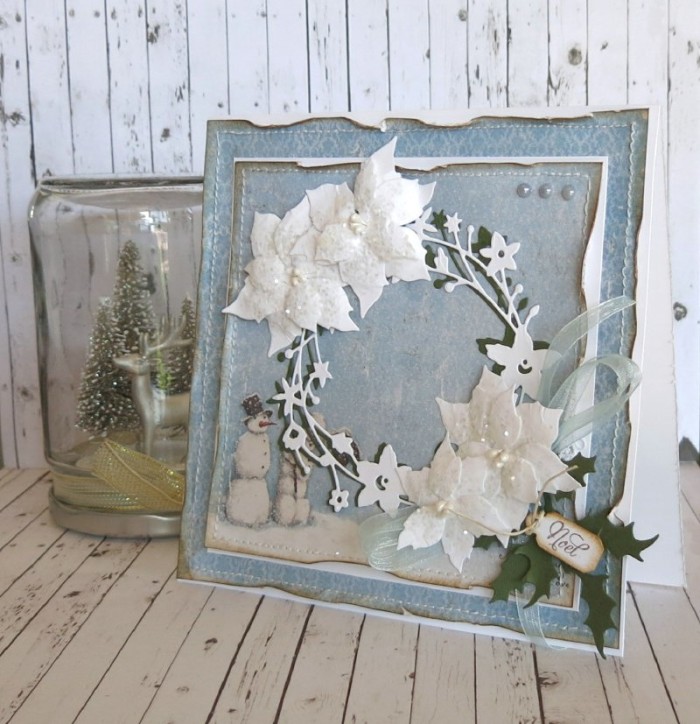
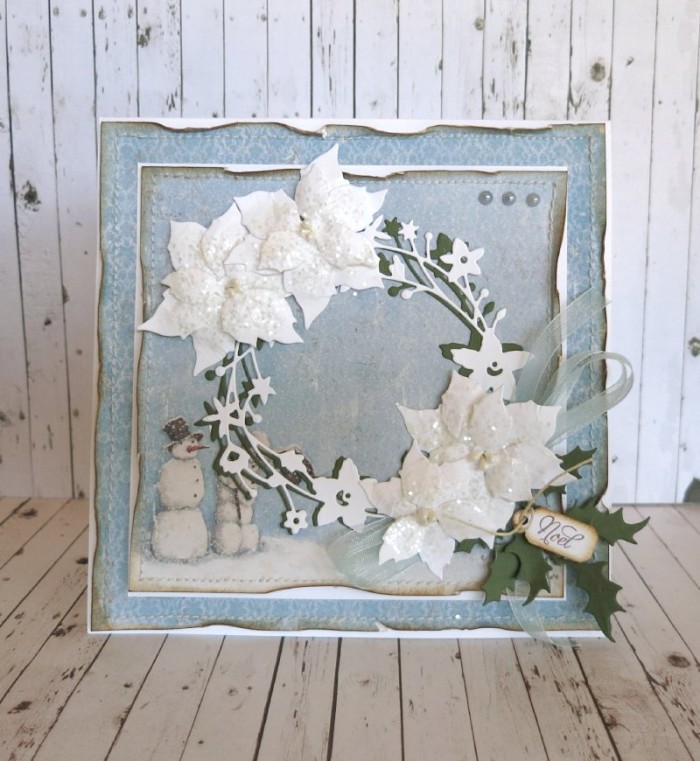
Hello everyone! I cannot believe how quickly the time is passing. The month is nearly and over and my year at school is nearly over as well (I’m doing a happy dance atm). It feels strange creating a wintery Christmas card to share with you as Christmas in Australia is simply the opposite…as we celebrate Christmas in summer! However I couldn’t resist the wonderful images in the beautiful collection Home For the Holidays.

cathy - Home for the holidays 5

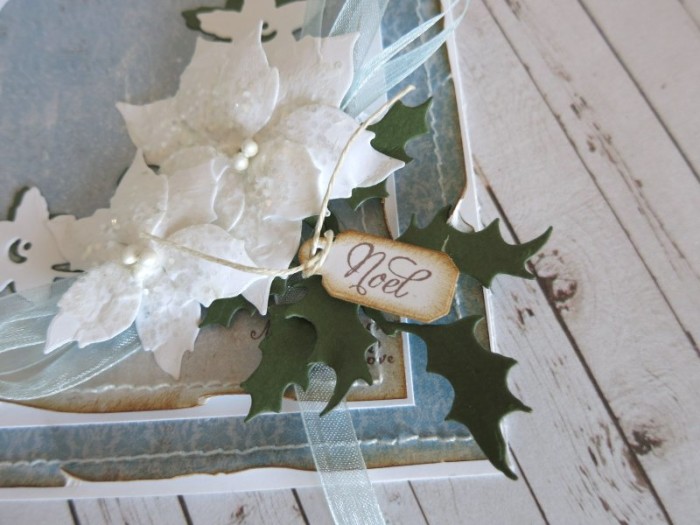
I love the blue tones of the papers. I created my own poinsettias using Magnolia Christmas Poinsettia dies. I applied some Ruby Rock-It Snow White Course Glitter on top of them to add some shimmer. The foliage is die cut using Tim Holtz Holiday Greens and the tag is also from the Tim Holtz Tag Collection. I incorporated my sentiment here as well which is from JustRite.

cathy - Home for the holidays 6

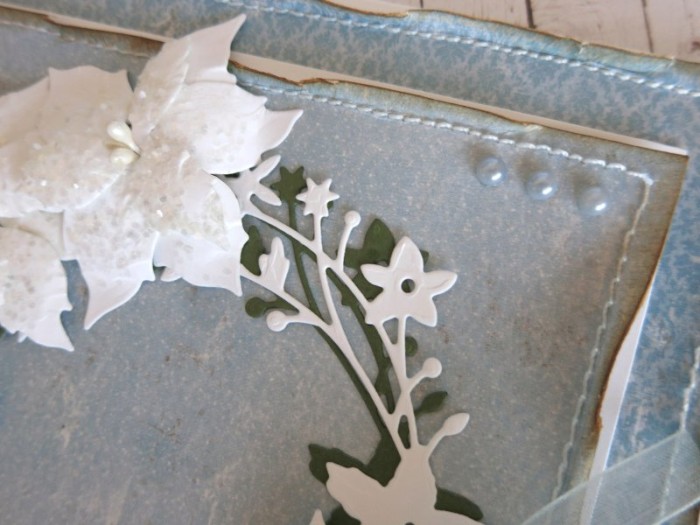
I used a Memory Box Catalina Wreath and die cut it twice. By placing it slightly off centre, it created a lovely shadow effect.

cathy - Home for the holidays 2

I am slowly creating my Christmas cards…I haven’t made a dent into my intended target but once school finishes and all my deadlines are met I can really get stuck in and get creating. I have ideas but sadly only 24 hours in a day (sigh).

Maja Design products used

Home-for-the-holidays-L
6×6 paper stack

Anyway, thanks so much for stopping by today and I hope to have more to share with you soon.

Cathy-sign


mm

Cathy Mc Grath

Hi! I'm Cathy. I live in Sydney and am a Primary School teacher. I am passionate about teaching and love what I do. At present paper crafts are my creative outlet, which is my other passion. I am drawn to vintage, shabby chic styled crafts which I love to create. I do enjoy other crafts such as sewing, quilting, knitting and crotchet…not enough time! I am always inspired to learn and to try new techniques in both teaching and my crafts. I love Maja Design papers and enjoy creating with them.
The Norwegian gnom called “nisse”

0

Posted by Heidi Augustson

25 November, 2015 - ,

Write a comment

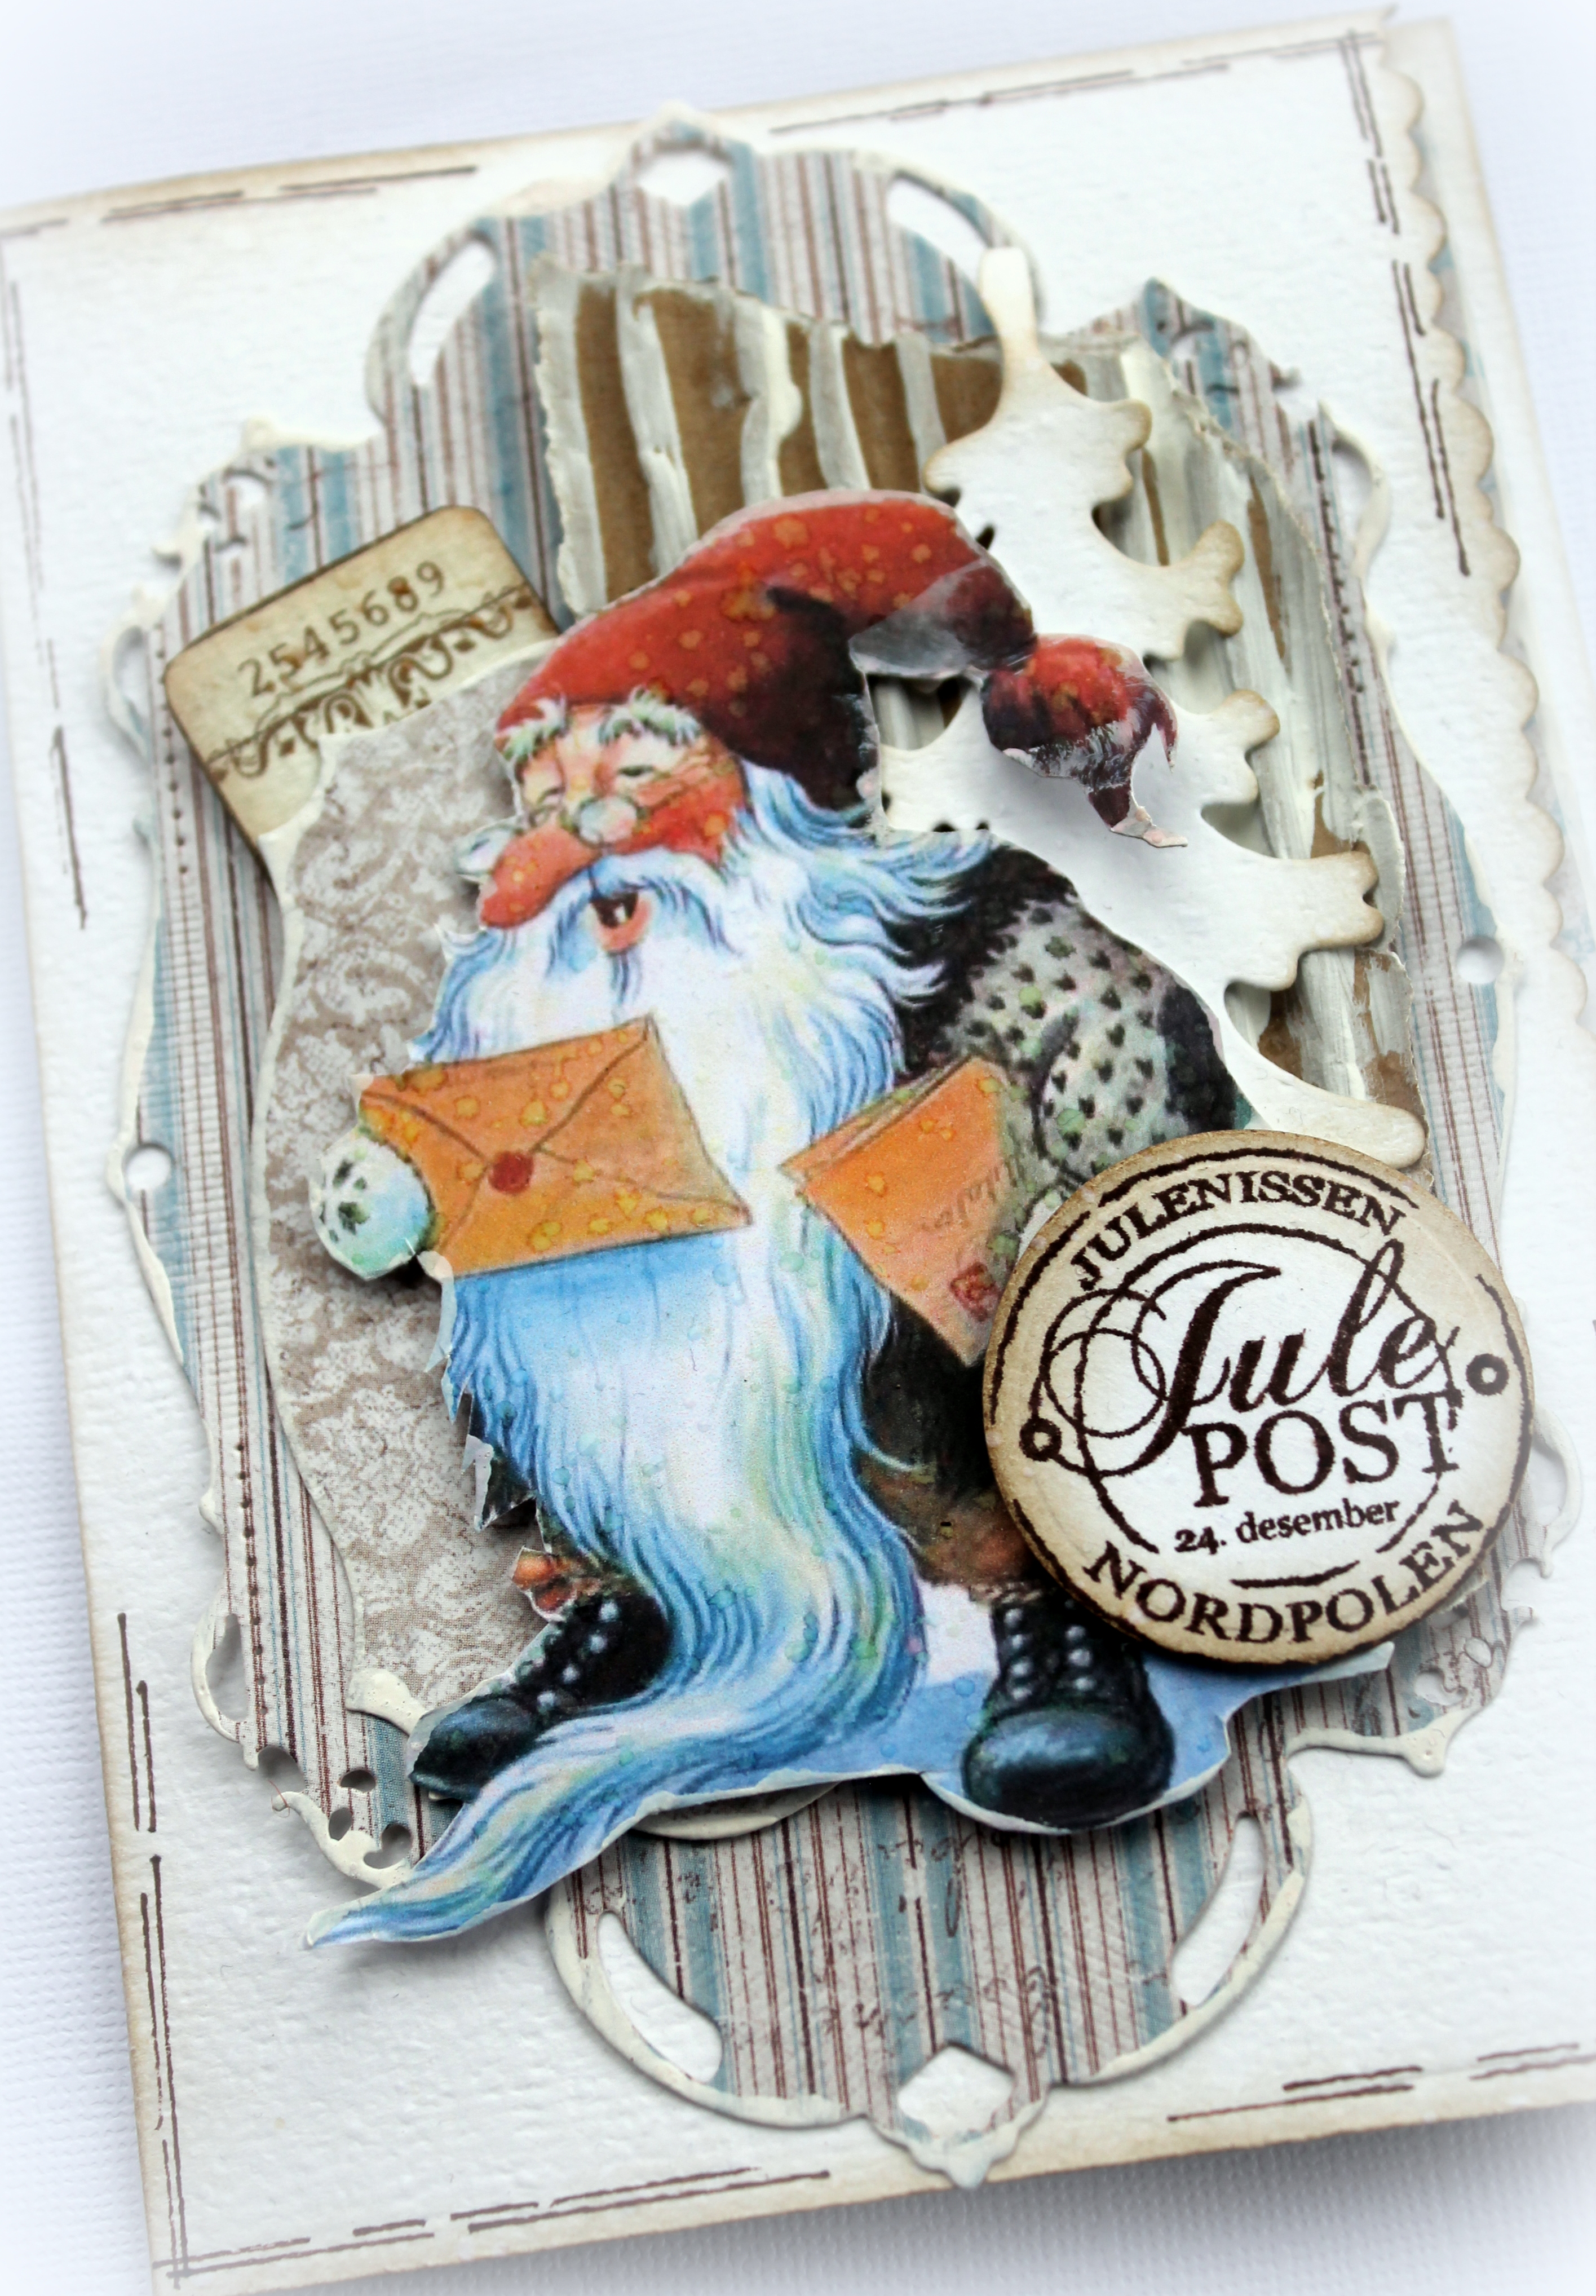
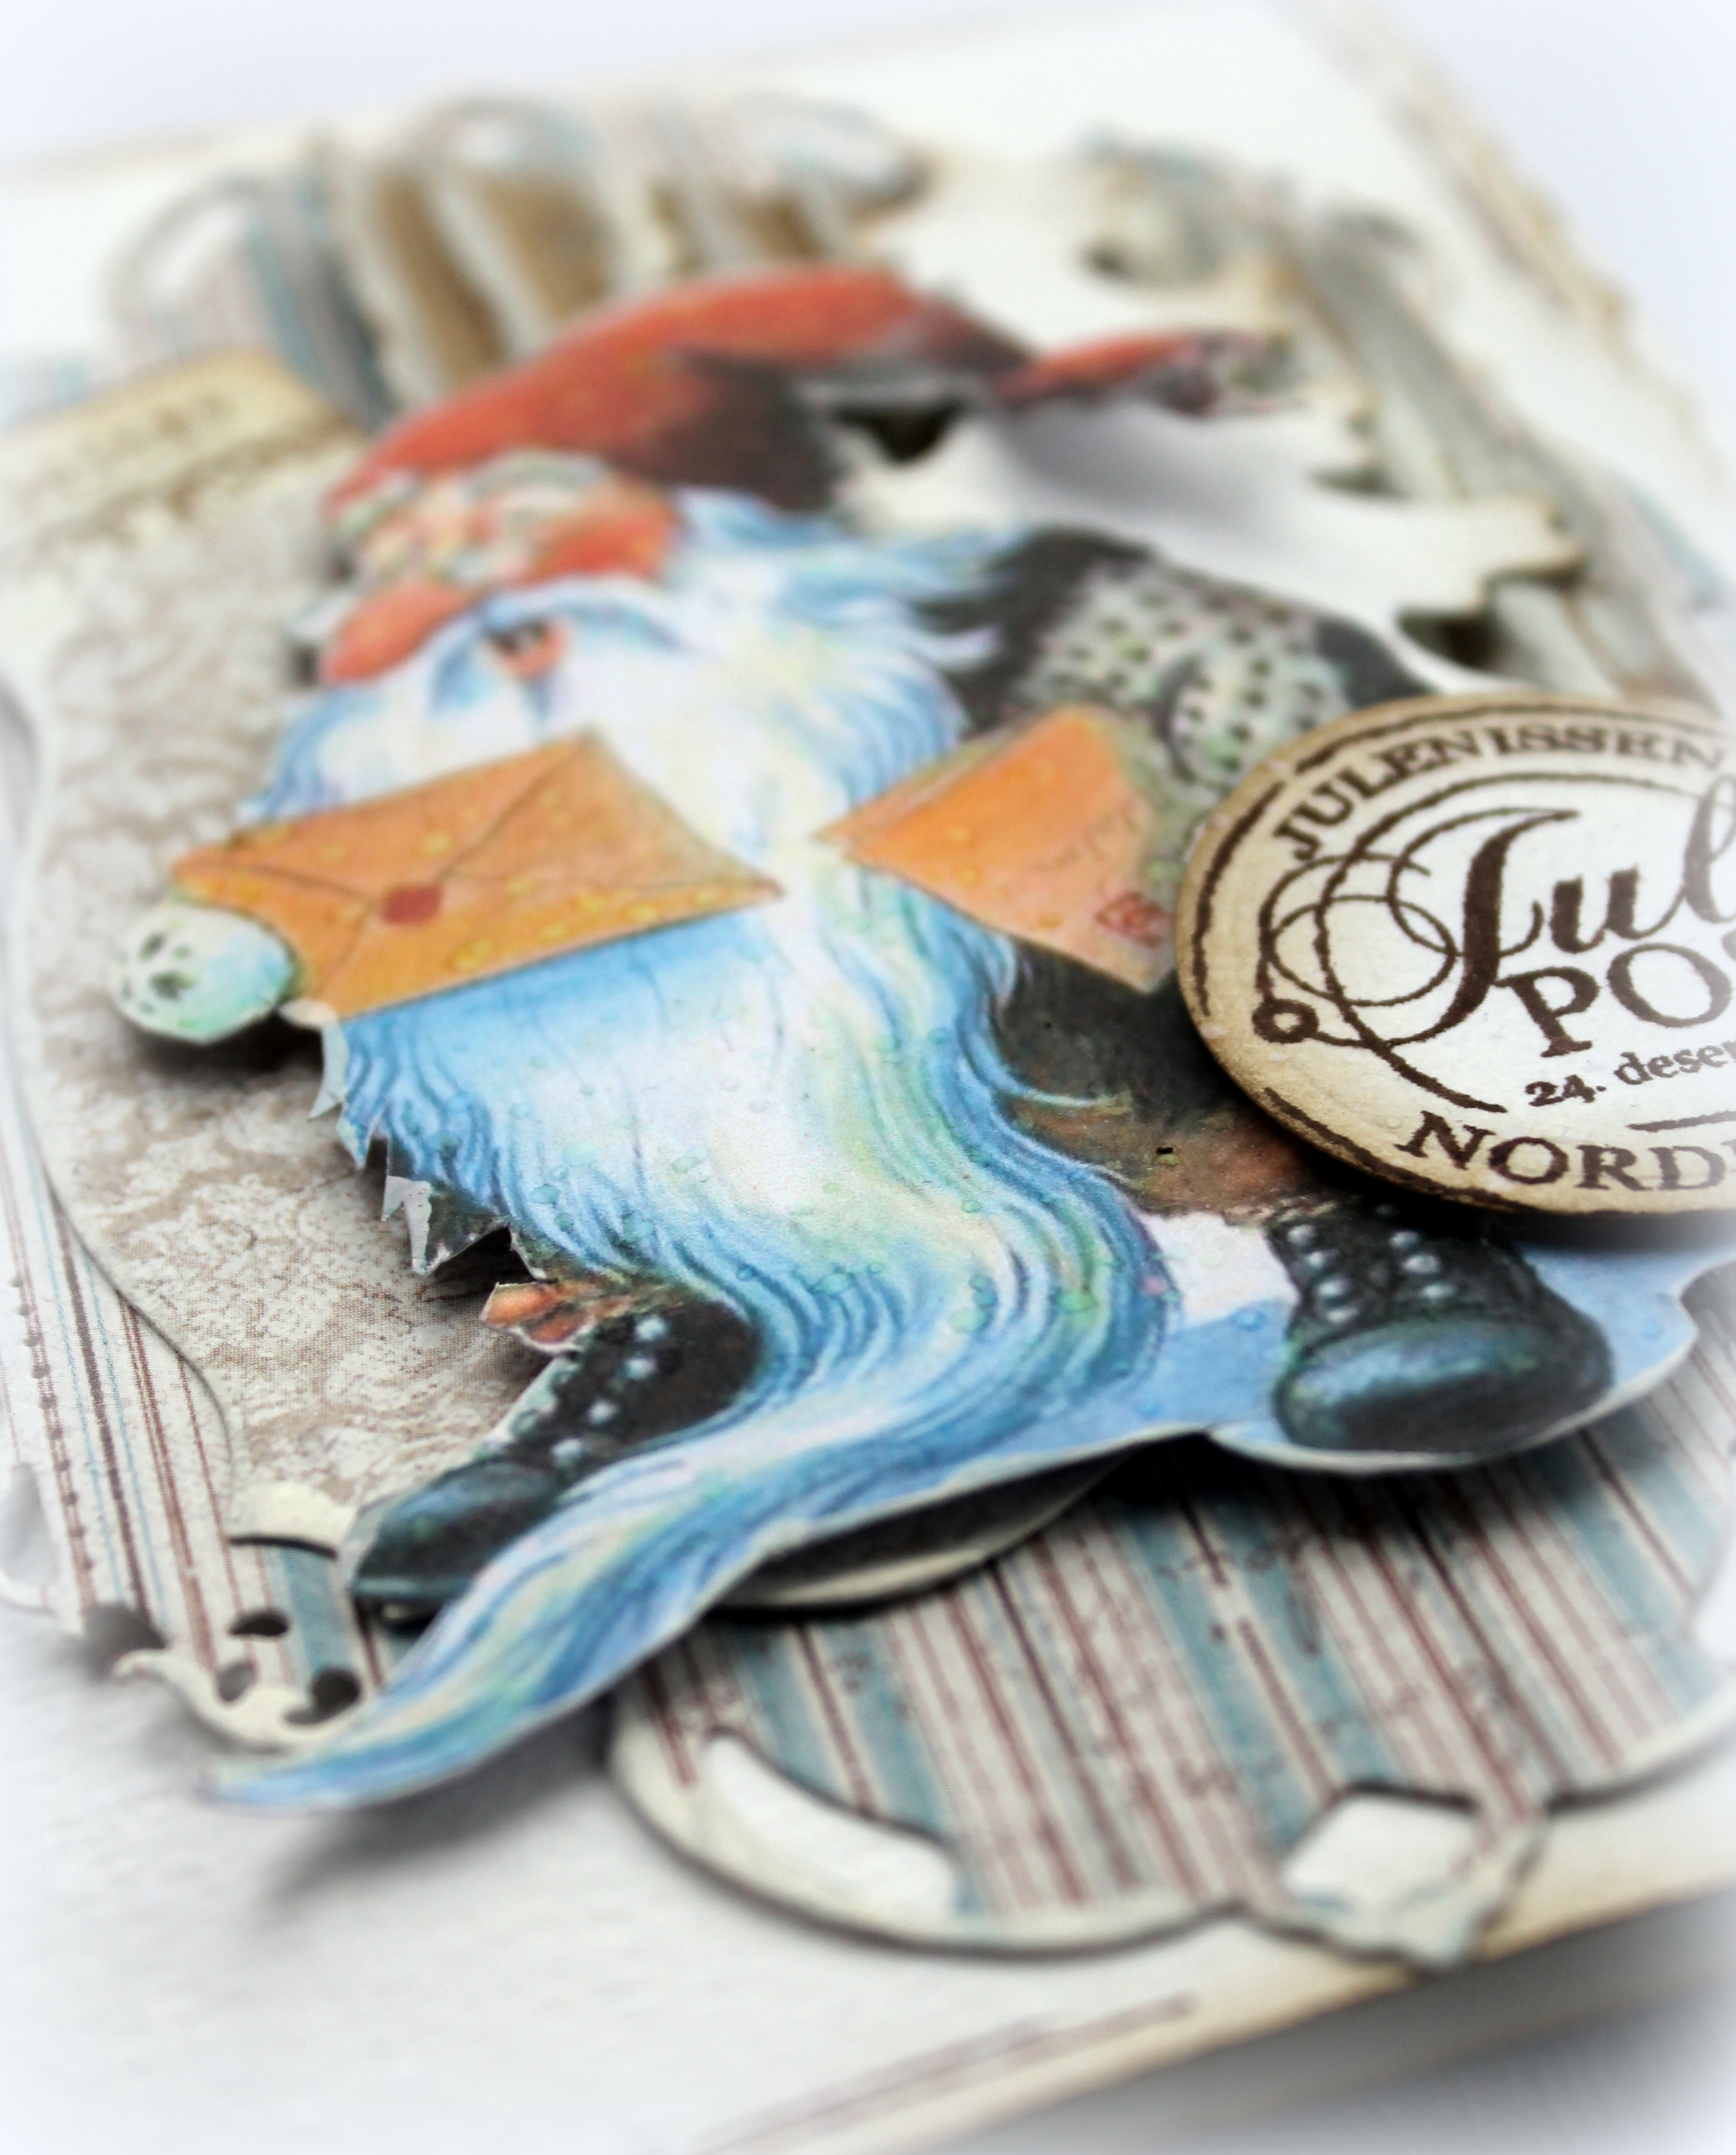
Some days ago I received the new Christmas papers from the “Home for the Holidays” collection, and I felt totally in love with the lovely colours in the papers. Today I have made a Christmas card with some of the blue tone papers.

IMG_1852

Home-for-the-holidays-P

Together with the new papers I have used an image of a traditional Norwegian gnom. In Norwegian he is called “nisse” and he is known for that he guards all the farm animals. In old days they always placed a bowl of rice porridge for him outdoors on Christmas Eve, and if he didn’t get the porridge he played tricks on the farmer.

IMG_1862

Today it’s only 1 month left to Christmas, enjoy this day! Hugs from Heidi

IMG_1859

Heidi-sign


Waiting for the Snow Card

0

Posted by Elena Olinevich

22 November, 2015 - ,

Write a comment

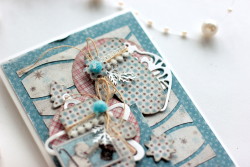
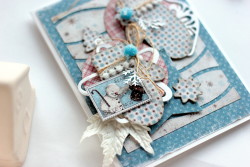
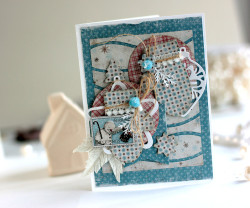
Hello Maja Friends , Elena is here today to share with you the card I made using new collection – Home for the Holidays.

MittenCard_ElenaOlinevich_MajaDEsign

So snowy, so wintery, so magical is this collection for me. Absolutely in love with it.

So I decided to enjoy paper and die-crafting and created this cute card with mittens – my must have every winter.

CardMitten_ElenaOLinevich_MajaDesign

It was quite easy to combine the papers with each other, so I made some snow on the background cutting the papers on the waves,

MittensCard_Closeups_ElenaOLinevich

wrappaed the mittens with jute trim and fabric pompon ribbons

SnowMan_ChristmasGreetings_ElenaOlinevich

But what I really like most of all about this collection – is the snowman. This was one of the main winter attribute for me when I was a child and I cut the picture of it to place it as an image and the greeting too.
CardMittens_MajaDesign_ElenaOlinevich

Now it’s time to wait when the snow comes to my place and after start making the snowman with the kids.

Products used: Waiting for the Holiday – paper pad 6*6, My Favorite Things and Marianne Design dies, Martha Stuart punch, May Arts Jute trim.

Elena-sign

Winter Wonderland

1

Posted by Amy Voorthuis

20 November, 2015 - ,

Write a comment

Goodmorning sweeties,

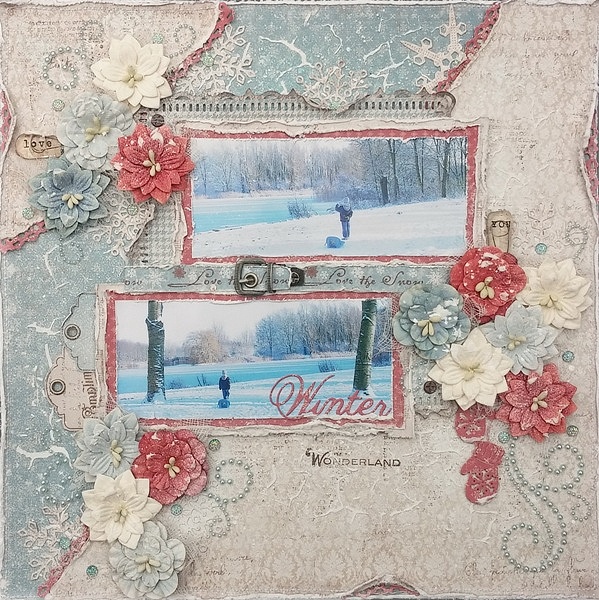
When I got the new “Home for the Holidays”collection I instantly fell in love with the soft blue & red tones. This is such a lovely collection to work with. So today I will show you a layout I made with this stunning collection. Also I have a photo tutorial on how I made this layout but prepare yourself for a bomb of pictures. I normally just go ahead and make my layout’s but for this one I stopped and took shots in between.

20151119_1346231

These pictures were taken about four years ago when there was snow for the last time I was playing with the camera that’s why it has such a pretty blue glow.

14

15

16

17

19

Maja Design papers used: Family, Christmas Chorus, Never to old, Happy New Year & Together and the 6×6 paper pad

Home-for-the-holidays-P

Here is my tutorial:

First I started by tearing a piece of the “Together”sheet so it got me one small piece and one large piece like in the pictures below then I inked the edges of my papers to later on stitch and distress them it’s always such a blessing to distress with Maja Design papers. For the square in the middle I took out my Martha Stweart Flourish Lace Punch and I knew I was going to place my pictures on there after I printed them out in a 14 cm by 6 cm size {5,5 inch by 2,4 inch}

1  2

3  4

This part I like best is choosing my flowers to go with the papers {and when I don’t have any in that specific color I make them myself but for this layout that wan’t necessary} Then I took out my 6×6 paper pad to matte my picture also I punch our a pretty lace die on the “Never to old”sheet in the 12×12 collection times 6 to go under need my teared parts like shown below.

6

5

7

Now I take out my mixed media products like paste, stamps, sprays and stencil. First I sprayed the “Happy New Year”sheet that’s the blue one with northern stars on it. The sprays I used are Sidewalk Chalk & Royal Peacock Fire by Lindy’s Stamp Gang. I also sprayed both colors on the “Together”sheet. Now I am ready to add my stencil{one manufactured by Prima sorry I don’t know the name} with Crackle Paste.

9

10

11

Here you see I am done with the sprays, paste and stamps. I will lift up the two creamed colored sheets with some double sided tape {about 1 mm} to get some depth in my layout. Now it’s time to embellish my layout yeahhh ;-)! Oops I almost forgot to tell you that in between I punched out some beautiful snowflake dies and a mittens die to go with the theme.

13

12

This is almost how I wanted my layout to be. Now I will glue down all my pieces using some hot glue, crackle accents and cheese cloth to spice up my flower clusters. At the end I sprayed some more sidewalk chalk over my flowers to be ending my layout with some snow touches. I hope you have enjoyed my tutorial and if you love this collection you can always visit my blog {I have a giveaway there} Thank you so much for your visit today and have a wonderful weekend.

Love

Amy-sign1


Baby Boy Album

2

Posted by Maja Nowak

16 November, 2015 - ,

Write a comment

Hello, Maja Fans, and welcome to the blog today!

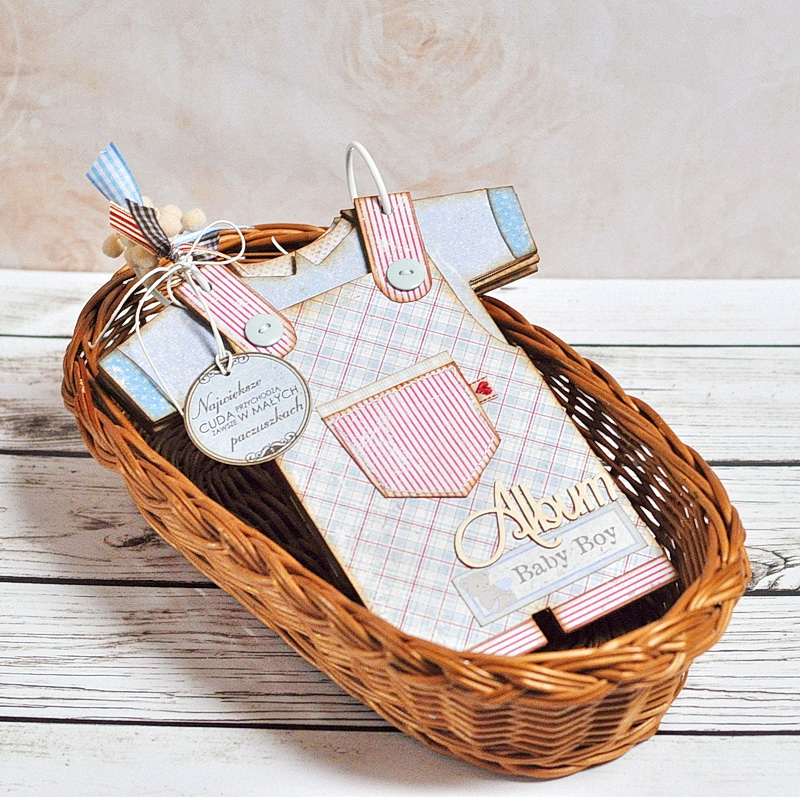
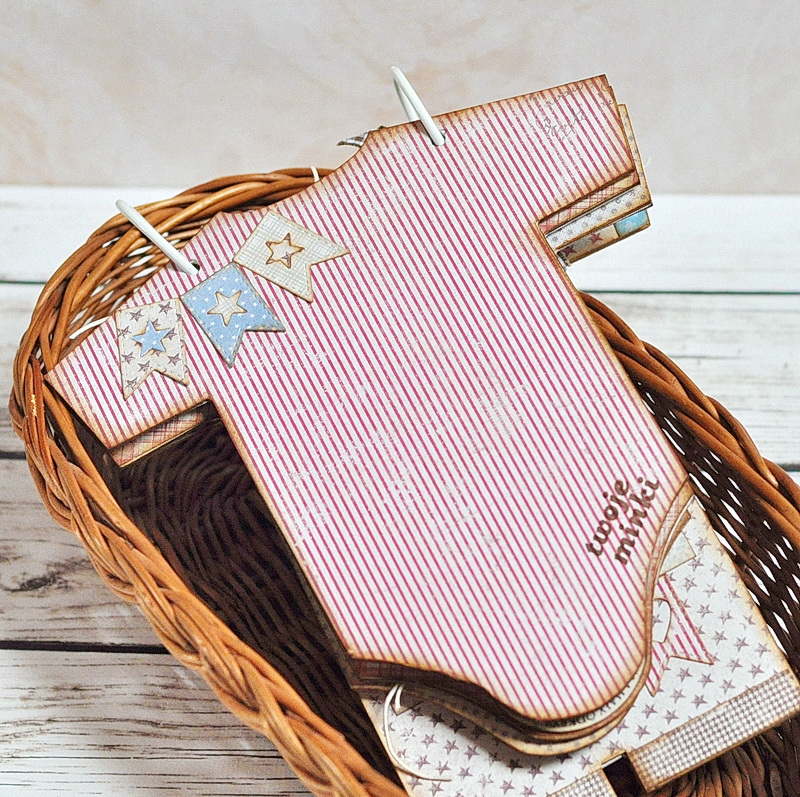
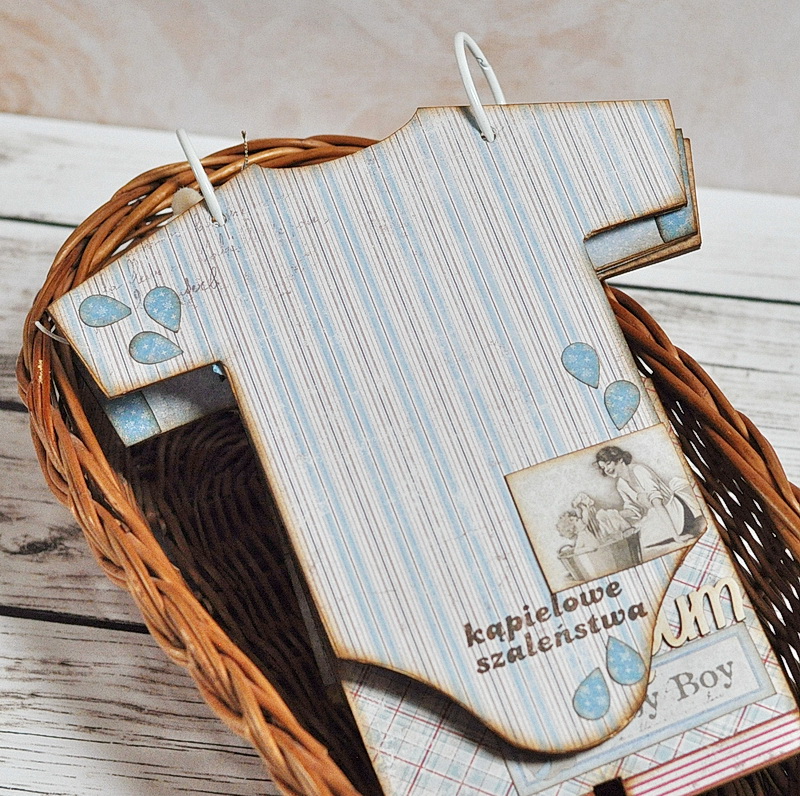
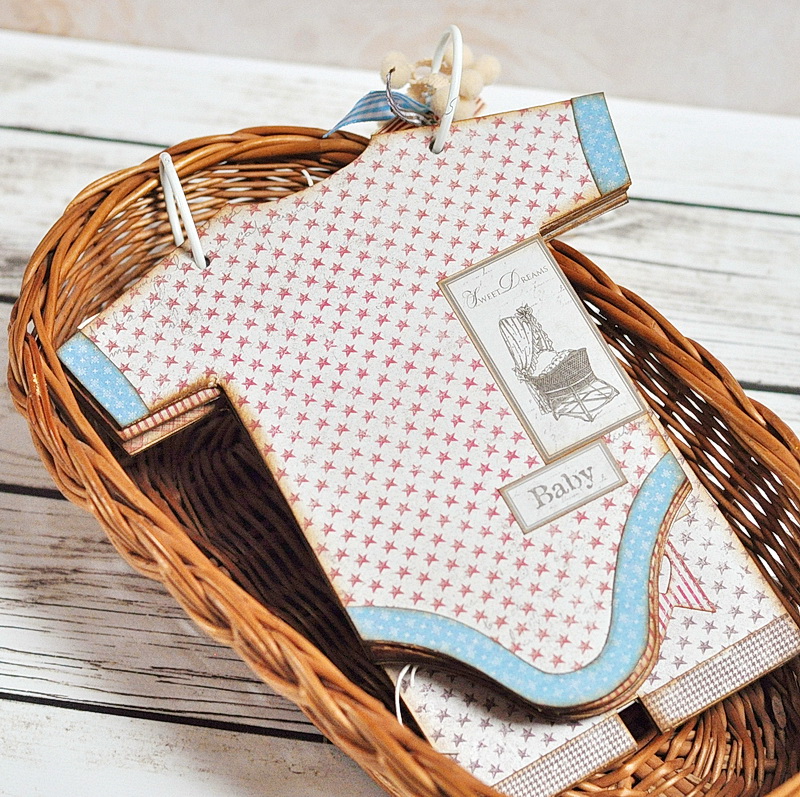
Have you already got our latest release, the Home For the Holidays collection? If not, then quickly visit the nearest craft store or order them online, because I tell you – they are BEAUTIFUL! And you know what? You don’t even have to use them for Christmas projects! Have a look at this baby album I made – and I only used small bits of our baby collection 🙂

mdbbalbum0

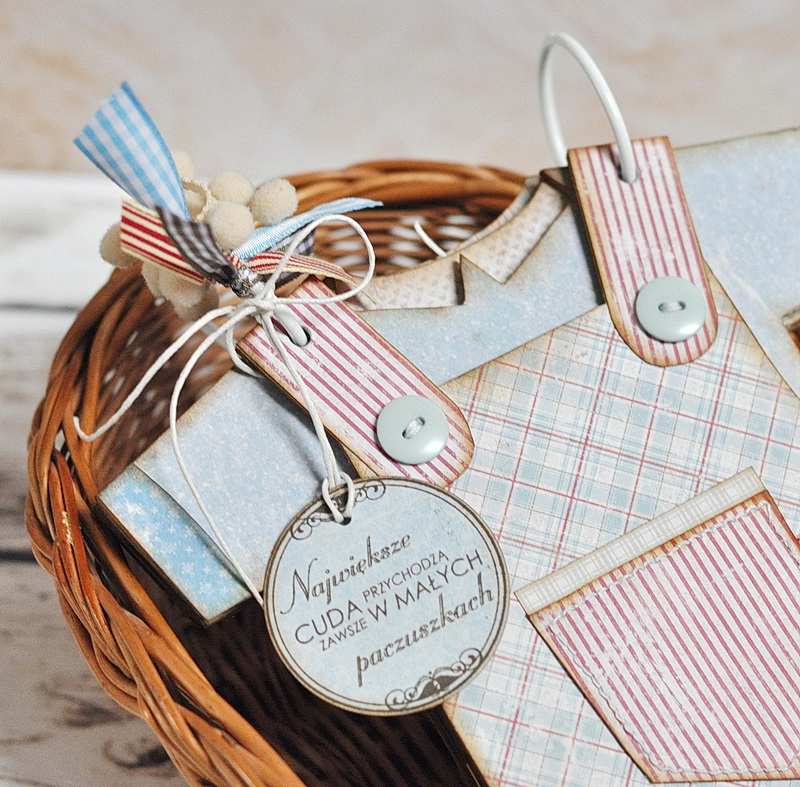
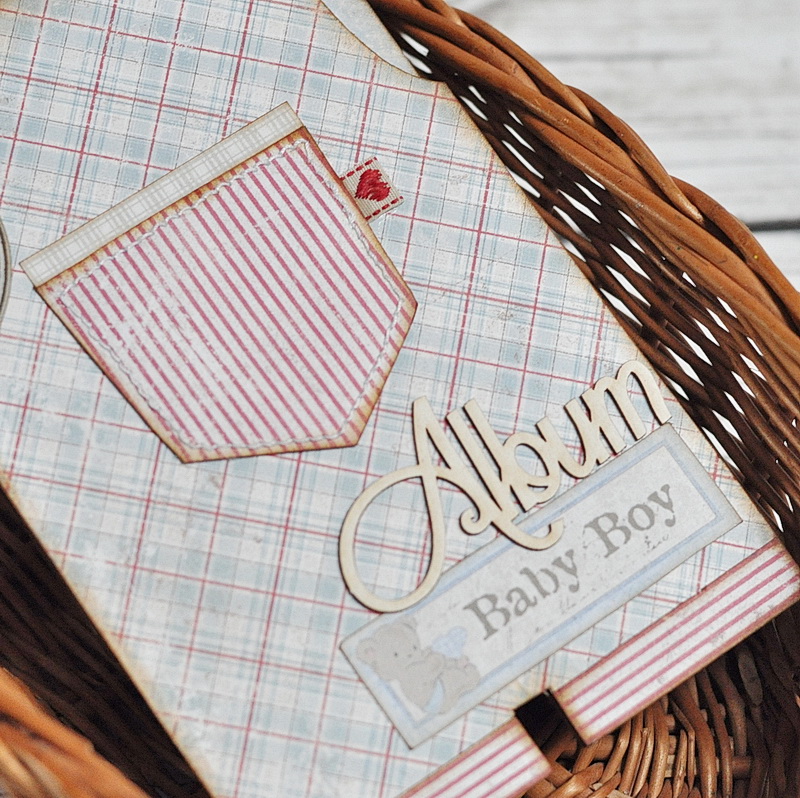
Because designs are so cleverly planned that one side is always universally patterned, I was able to choose plaids and stripes for a perfect baby boy colour and pattern combo 🙂 I used a chipboard shaped album and decorated it to imitate baby clothes.

I added buttons and a sewn pocket on the front of the album that looks like dungarees:

mdbbalbum1

mdbbalbum2

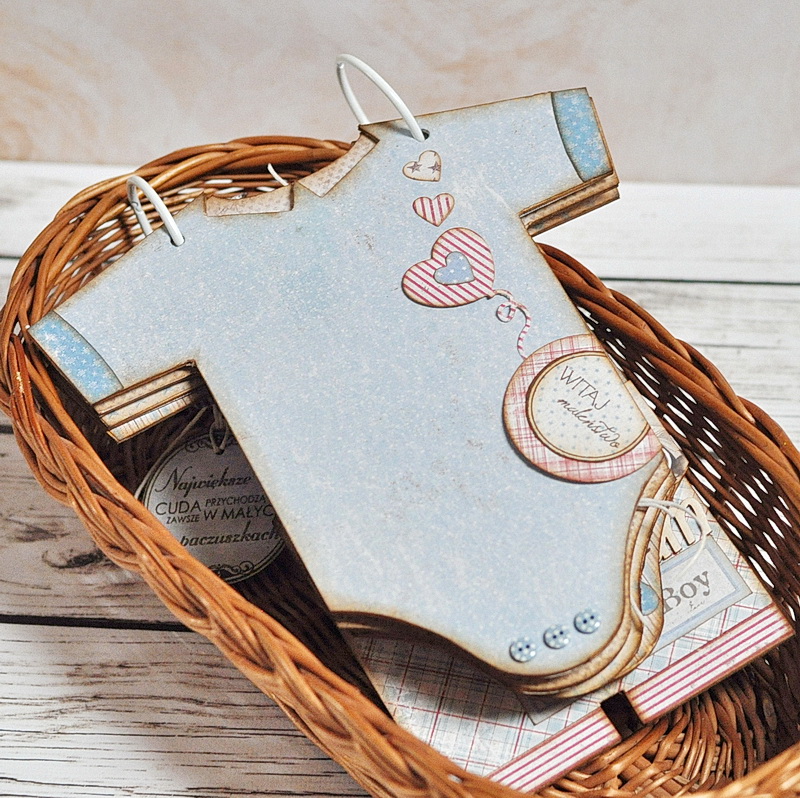
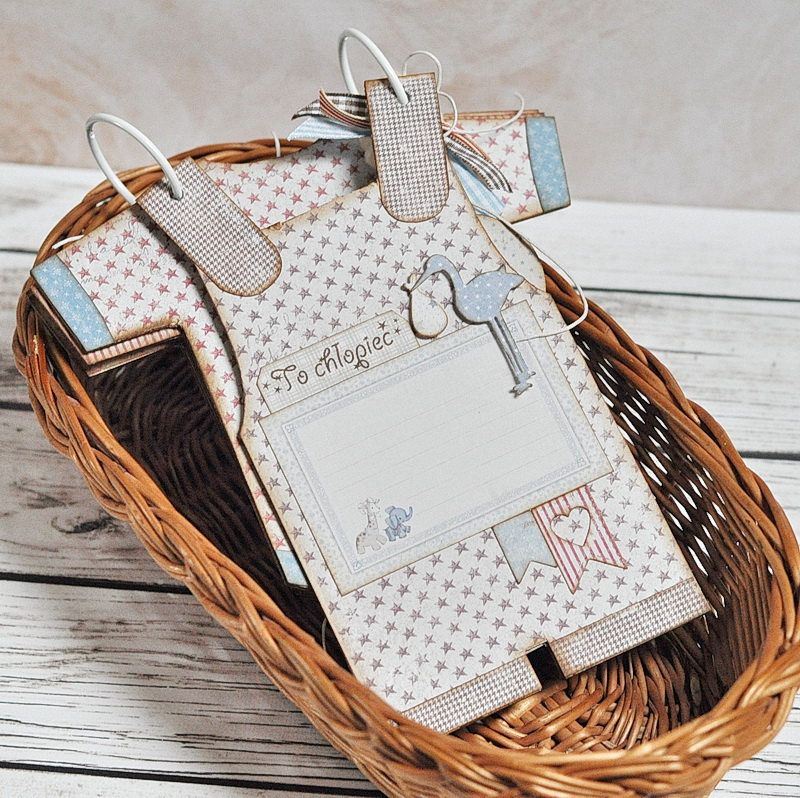
The first page contains a baby info tag to add the date and measurements etc:

mdbbalbum3

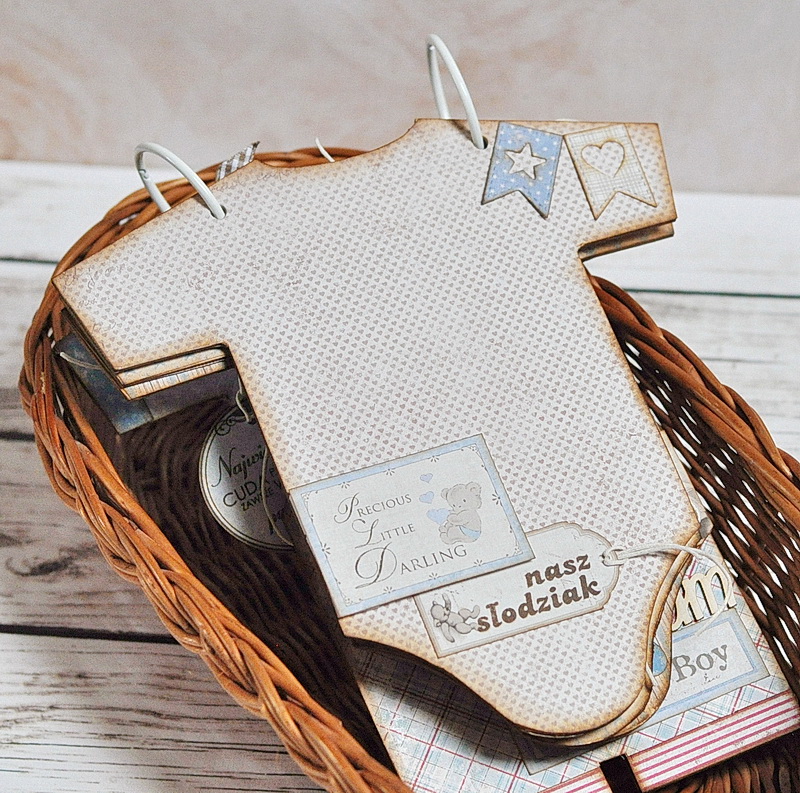
The second card is shaped like a onesie with a collar and is partially visible from under the dungarees card, so I arranged the embellies so that they don’t show through:

mdbbalbum6

mdbbalbum7

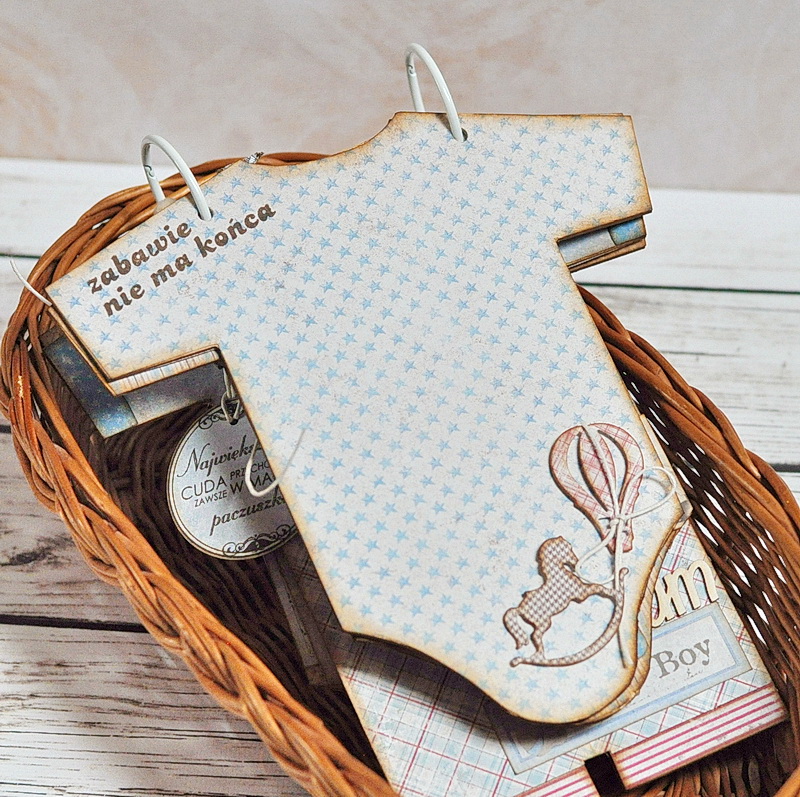
Then the rest of the cards are in the shape of a onesie and only the first of them is visible from the front, therefore I could arrange the embellishments more freely, though I still concentrated them mostly around the edges to leave the centre of each page for photos. I also mounted the tags etc. only partially, so that the photos would look more naturally slid under them:

mdbbalbum9

mdbbalbum11

mdbbalbum13

mdbbalbum16

mdbbalbum18

mdbbalbum20

mdbbalbum22

And though it took me ages to cut the papers according to shapes, it was still pure pleasure creating the album 🙂

Supplies:

Maja Design papers: Home For the Holidays: Can’t wait bs, To spend time, Friends, Friends bs, Welcome winter, Tradition bs, Mom’s gingerbread bs, A real fellow bs, Brought you a gift bs, Celebration, Celebration bs, Together bs, Vintage Baby: small pad. Other: die cuts: Little B, Cottage Cutz; stamps: Lemonade; buttons: Papermania; chipboard: Scrapiniec.

Have a nice day 🙂

Maja-sign