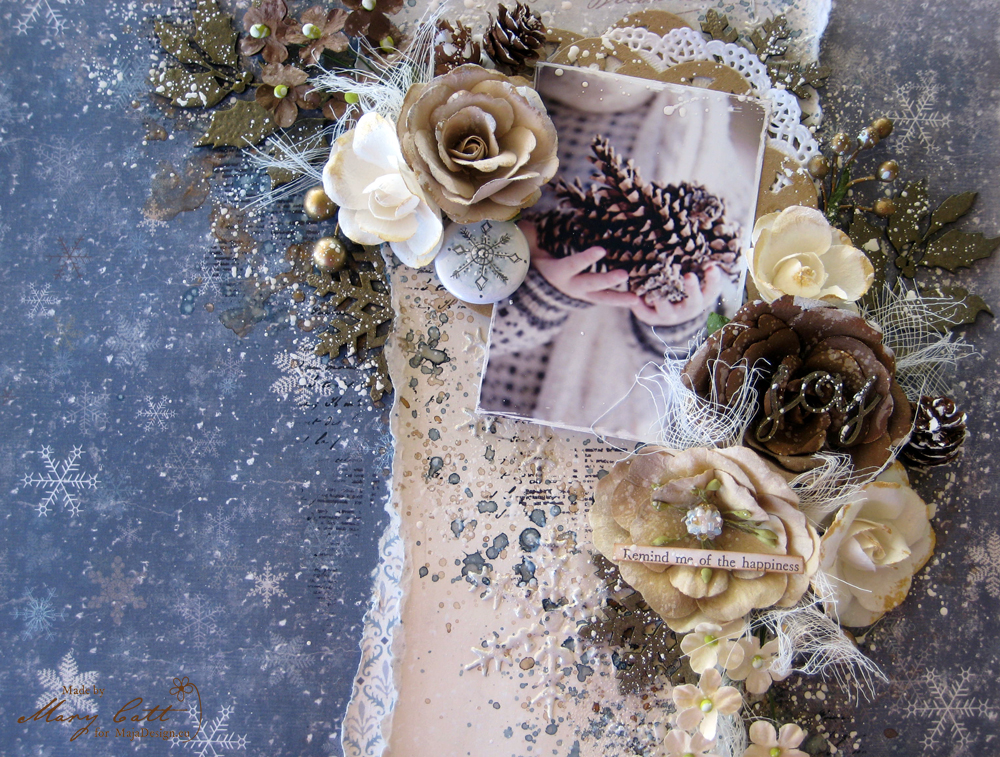
You Shine- Scrapbooking Layout by Keren Tamir

0

Posted by Keren Tamir

17 December, 2017 - ,

Write a comment


Hi Everyone,

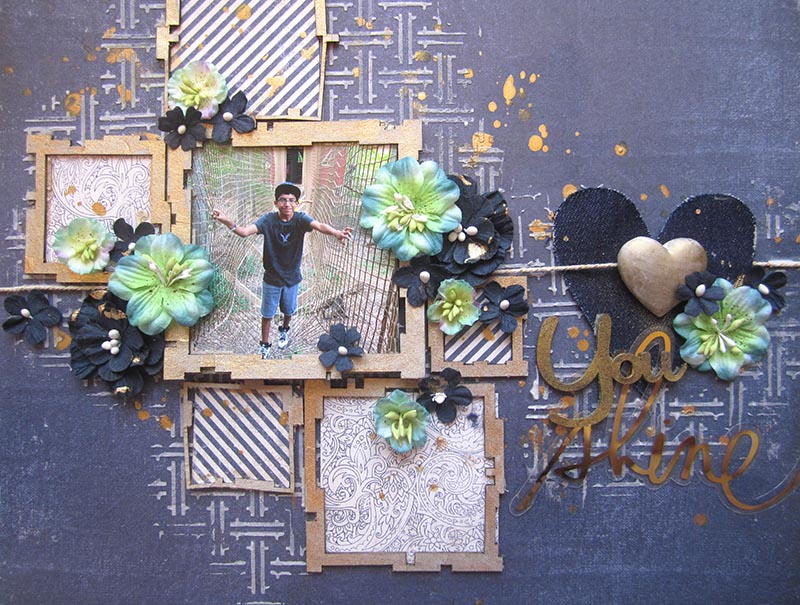
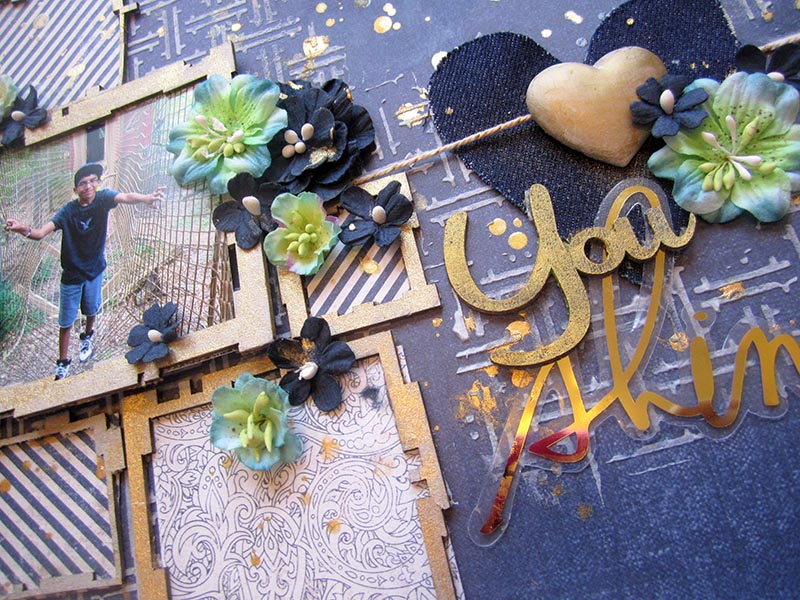
Its Keren here and I created a layout for Maja Design using the  Denim & Friends collection. I used the “Worn Indigo and Pocket square” papers from the collection as I wanted to use blue toned papers to match my son’s blue shirt. It also made the layout masculine enough to create a boys page.

IMG_4209 copy

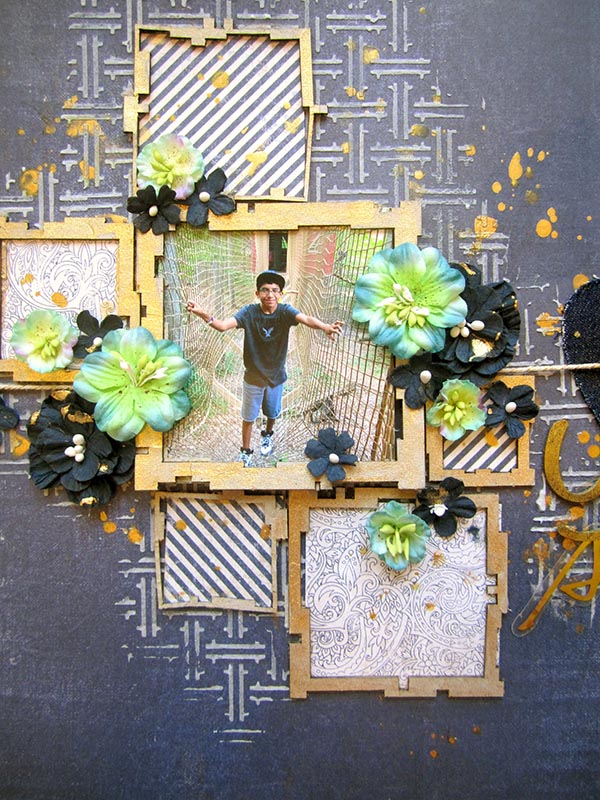
 I used some chipboard squares and filled them with scrap papers from the collection.This helped keep the geometric theme in the background. I sprayed them in gold as I love how navy goes beautifully with gold hues.

IMG_4210 copy

IMG_4213 copy

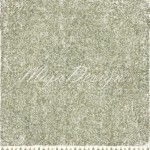
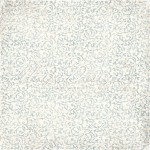
I used several papers of the Denim & Friends collection shown below

Denim-P

Thank you so much for visiting the Maja Design blog

Have a wonderful day!!

Keren-sign

mm

Keren Tamir

I'm Keren Tamir a self taught scrapbooker, mixed media artist and designer. Since I was a child, I always loved art. I used to doodle on my notebooks and on anything I could get my hands on. ​ Fourteen years ago I discovered scrapbooking and fell in love with it. One of the main reasons I started scrapbooking was to preserve memories and photos for my children. Scrapbooking opened a creative door to something that I had longtime forgotten I'd loved. It gave me peace of heart and mind. visit my blog for more inspiration: https://kerentamir.blogspot.ca

Dream a Little Dream

0

Posted by Mary Tzalla

10 December, 2017 - ,

Write a comment

Layout


Hello dear friends!

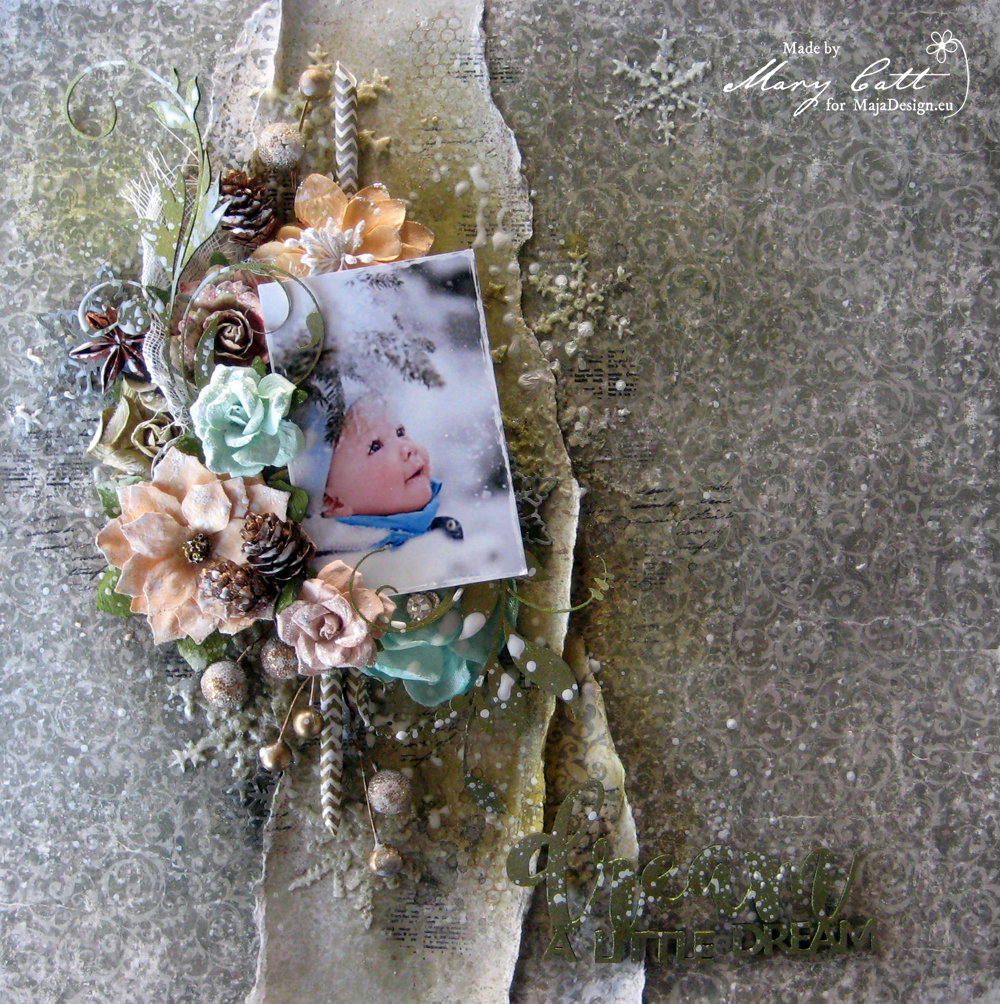
It’s Mary here with you today and I have a new layout to share with you. A Christmas page made with the new collection ”Joyous Winterdays”.

Photo 1

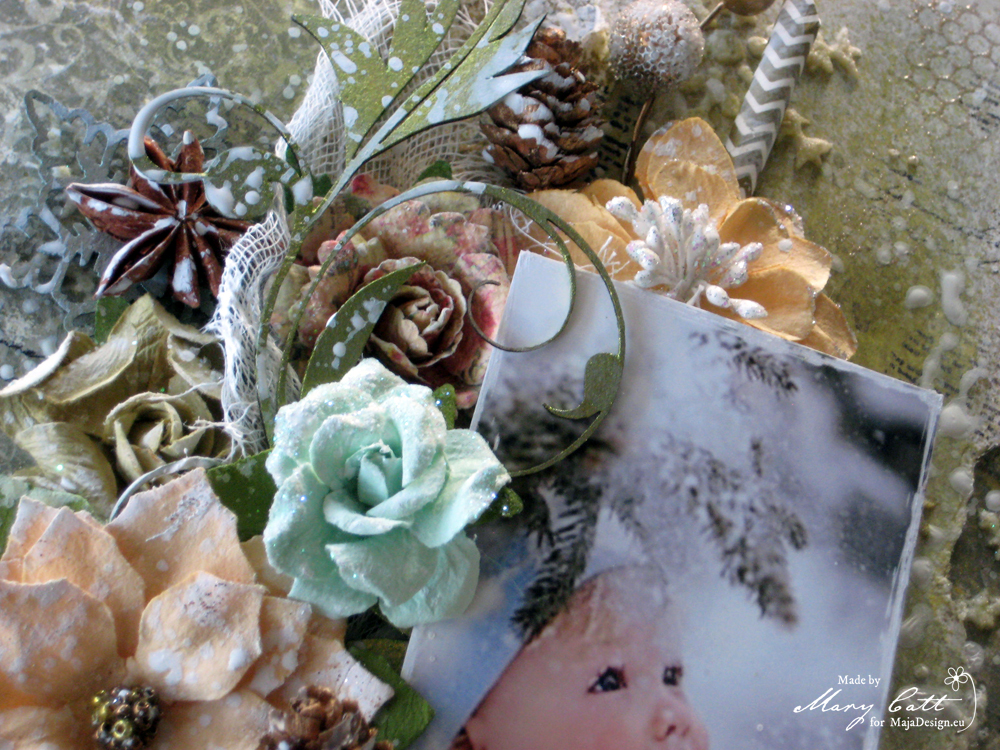
As usual, I found that photo on Pinterest and combined it with two papers of that gorgeous collection, lots of beautiful flowers, some chipboards and several Christmas embellishments. But, before I continue more I want to give all the proper credits to the ”unknown” photographer.

Photo 2

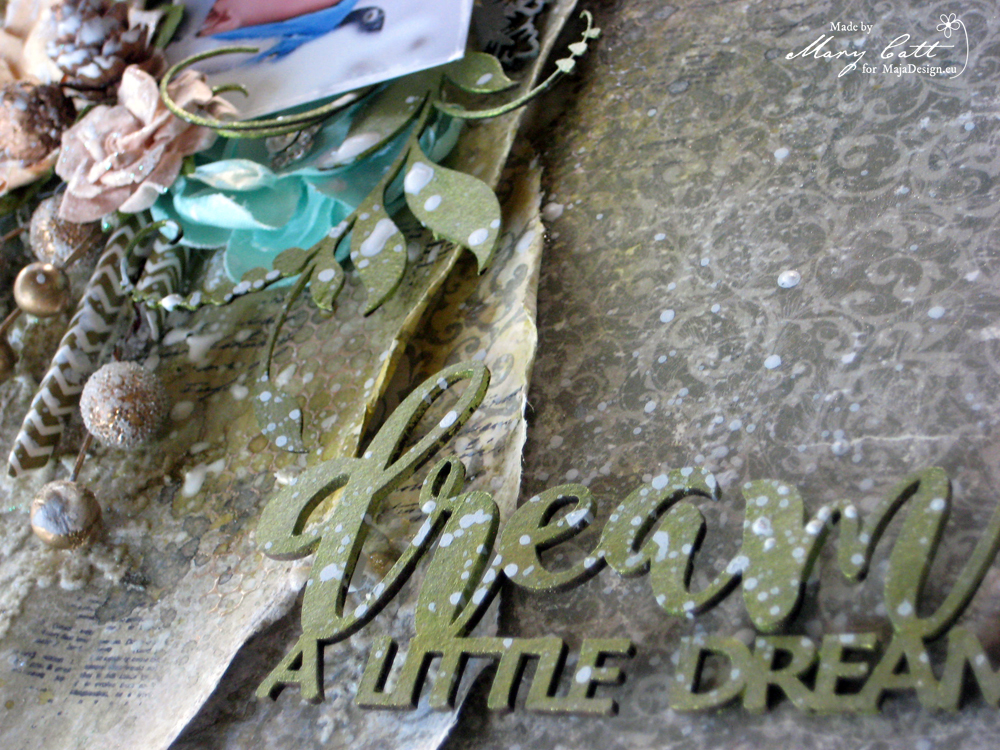
For my background, I used the ”Pick a Tree” paper on the back side and made two layers on it with torn pieces from the ”Outdoors” paper  using both sides of it. First, I gave my background a coat of clear gesso. When it was dried, I added some texture with snowflake paste and a stencil. I continued by coloring my page with Lindy’s sprays ”Sea Grass Green” and ”Rusty Lantern Lime”.

Photo 3

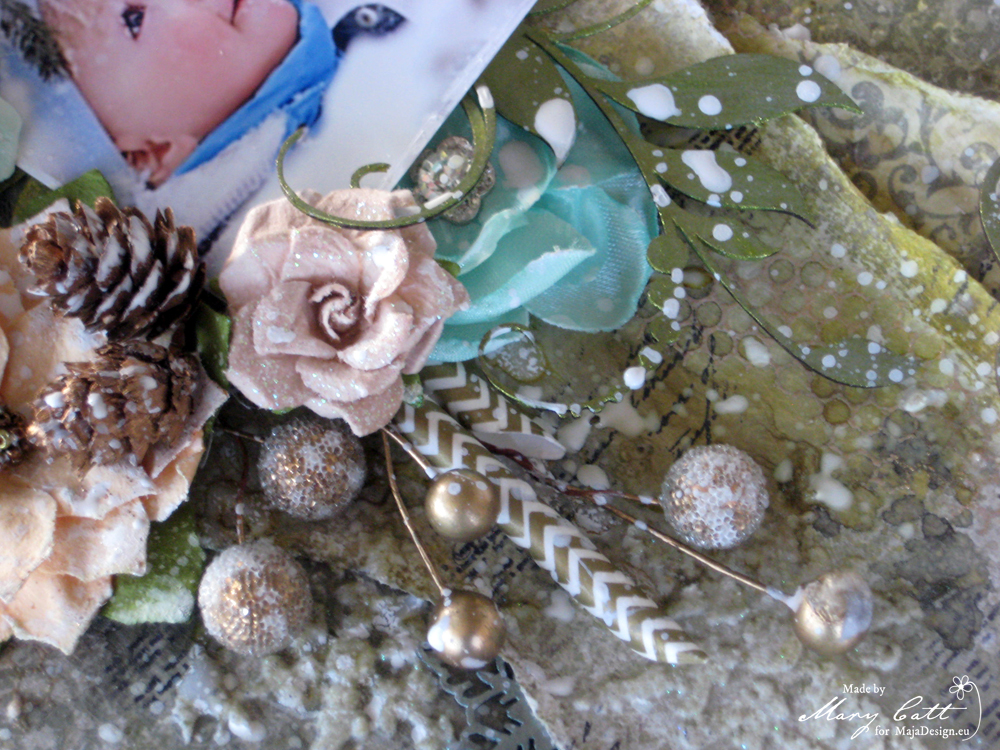
I painted the snowflake chipboards with the opal magic ”Aqua-Rose” acrylic paint. The flourish chipboards and the title was also painted with the ”Fairy Wings” acrylic paint sparks. As usual all the chipboards I used are 2crafty.

Photo 4

When everything was glued down, I made some splatters with white gesso diluted with some water.

Photo 5

Papers used:

Joyous-Winterdays-P

That’s all for today, my friends!

Thank you for stopping by!

Mary-sign (2)

Joy

0

Posted by Mary Tzalla

26 November, 2017 - ,

Write a comment

Layout

Hello dear friends!

It’s Mary here with you today and I have a new layout to share with you. A Christmas page which was made with the gorgeous new collection ”Joyous Winterdays”.

photo 1

As always, I found that photo on Pinterest and I choose two papers that was matching perfectly and combined them with some beautiful flowers, a few Christmas chipboards and several Christmas embellishments. But, before I continue more I want to give all the proper credits to the ”unknown” photographer.

photo 2

For my background, I used the ”Blizzard” paper and made two layers on it with torn pieces from the ”Snowball Fight” paper  using both sides of it. First, I gave my background a coat of clear gesso. When it was dried, I added some texture with modeling paste and a stencil and then I heat embossed the pattern with the ”Angel Wings Gold” Lindy’s Gang embossing powder. I continued by coloring my page with Lindy’s sprays ”Golden Doubloons” and ”Whale Watch Blue”.

photo 3

I heat embossed the ”Fernlike Snowflakes” chipboards with the ”Angel Wings Gold” Lindy’s embossing powder. The title and the ”Holly Twig Branches” chipboards were also embossed with the ”Orbit Olive Gold” powder. As usual all the chipboards I used are 2crafty.

photo 4

When everything was glued down, I made some splatters with white acrylic artists ink.

photo 4

Paper used:

Joyous-Winterdays-P

That’s all for today, my friends!

Thank you for stopping by!

Mary-sign (2)

Home decor – Winterwonderland

2

Posted by Kerstin-Inga Peters

25 November, 2017 -

Write a comment

Welcome!

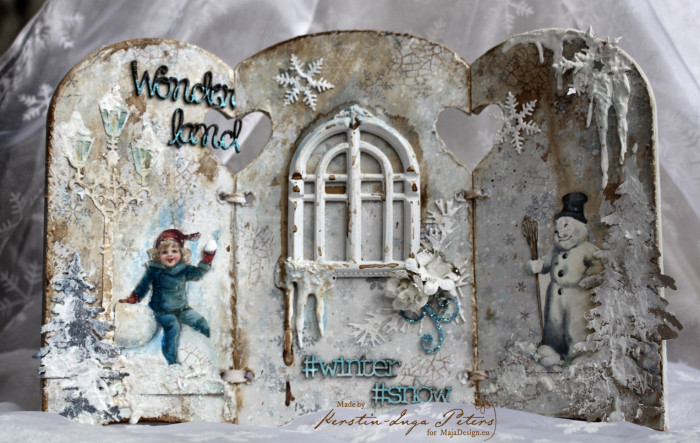
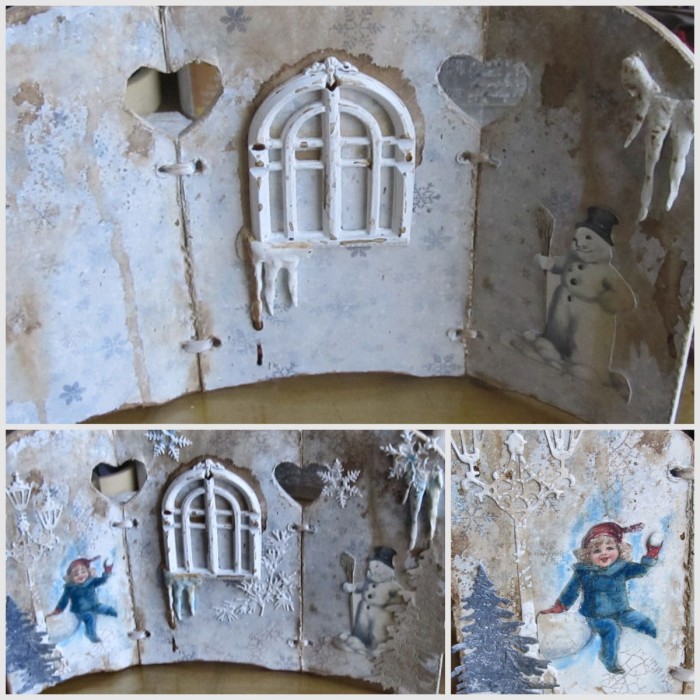
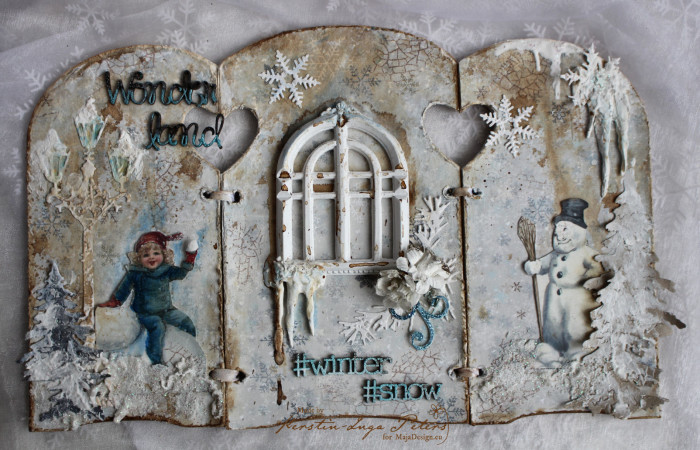
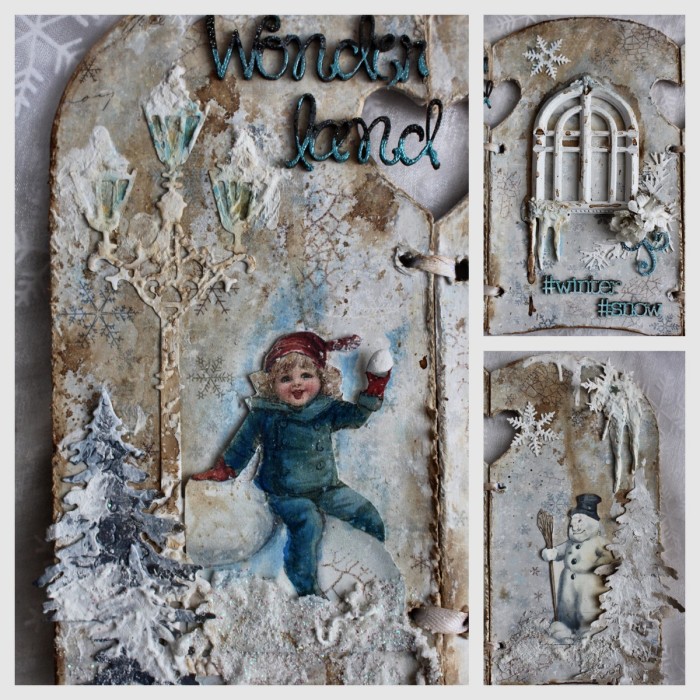
Today an ‘Out off the page’ project in vintage style, it’s a triptych with wintry feeling.

IMG_4118

As I saw the wonderful new collection papers ‘Joyous winterdays’ I was inspired to create a new home decor project for christmas as little gift for a good friend.

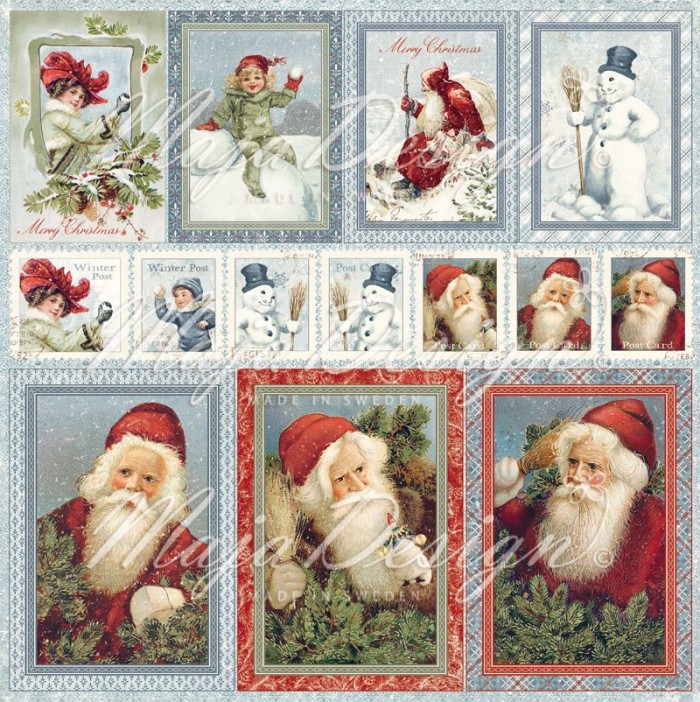
used Maja Design papers

Joyous-Winterdays-P

948-Ephemera

946-Blizzard 942-Frost

other used materials

modelling clay white, Snow tex (DecoArt), Silikon mould ‘Icecycle’, Distress ink ‘Walnut stain’, clear stamp ‘Crackle’, chipboards (Scrap FX), cutting dies, Resin treasure window

How I made this

2017-11-01

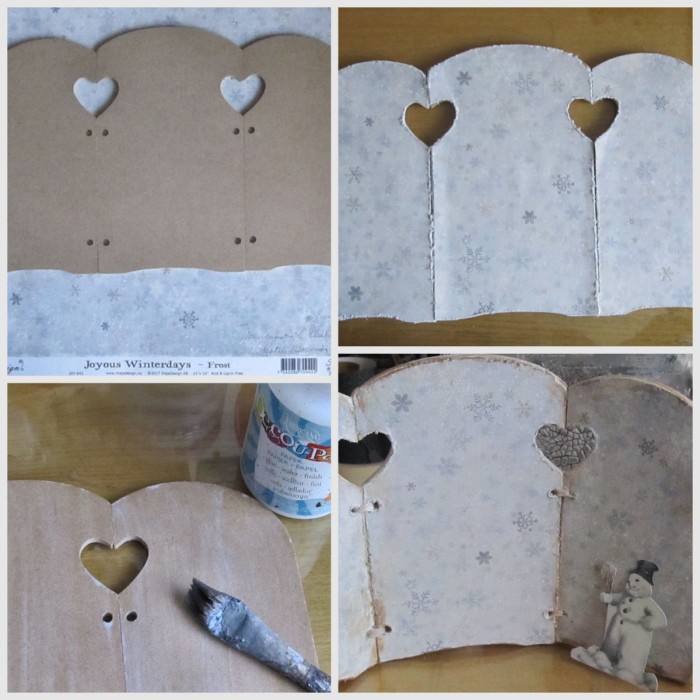
  • I choose background paper ‘Frost’ and cut out all three MDF pieces
  • then I glued the paper with Decoupage Glue (DecoArt) on it
  • I connected the three pieces and used the paper distresser tool for the edges, it gives an beautiful altered effect
  • then i chose two motives from this new amazing Christmas/ Wintercollection and cut out – the sweet snowmen and little boy

2017-11-011

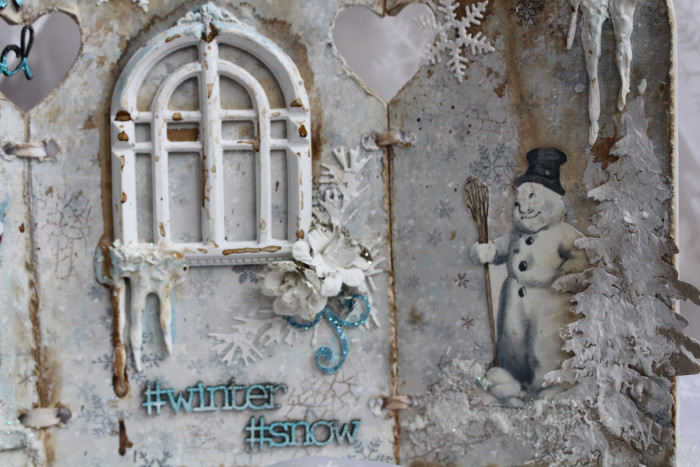
  • icecycles were made with white modeling clay and a mould
  • to complete the background, I added Distress Ink ‘Walnut stain’ with a little bit water for some running effects, it will give you a worned altered look
  • I used the ‘Blizzard’ paper, textured paper (leftovers from a wallpaper) and a craft paper for cutting dies – trees, lantern, winter leaves and snowflakes
  • glued all also embellishments with a transparent adhesive medium
  • create the snow effect with Snow tex (DecoArt)

IMG_4113

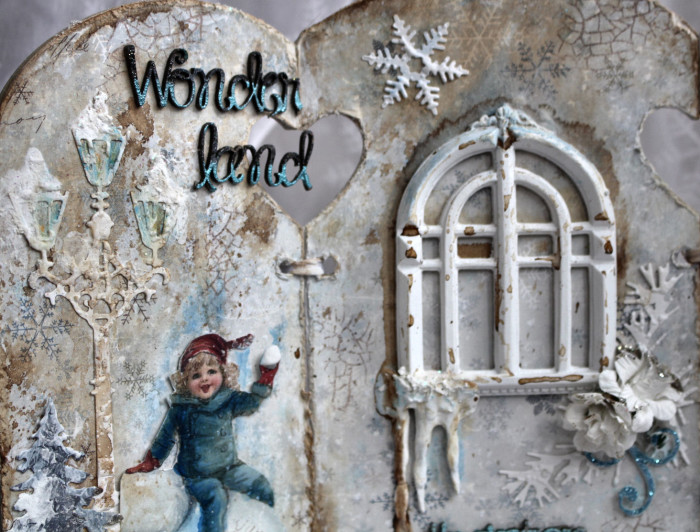
some close up’s

IMG_4116

IMG_4117

2017-11-21
This project was so much fun to create and I love the scene that you can build up, using all the beautiful background papers from Maja Design.

And if you wonder why the little boy is suddenly blue now, even though he is on the original green, it was very cold in the snow 😉 … ?

yes, you can change the color of these papers later, for example with alcohol markers 🙂

Many thanks for your visit!

Enjoy your weekend!

Kerstin-Inga-sign


‘Tis The Season

0

Posted by Mary Tzalla

12 November, 2017 - ,

Write a comment

Layout

Hello my dear friends!!!

It’s Mary here with you today and I have a new layout to share with you.

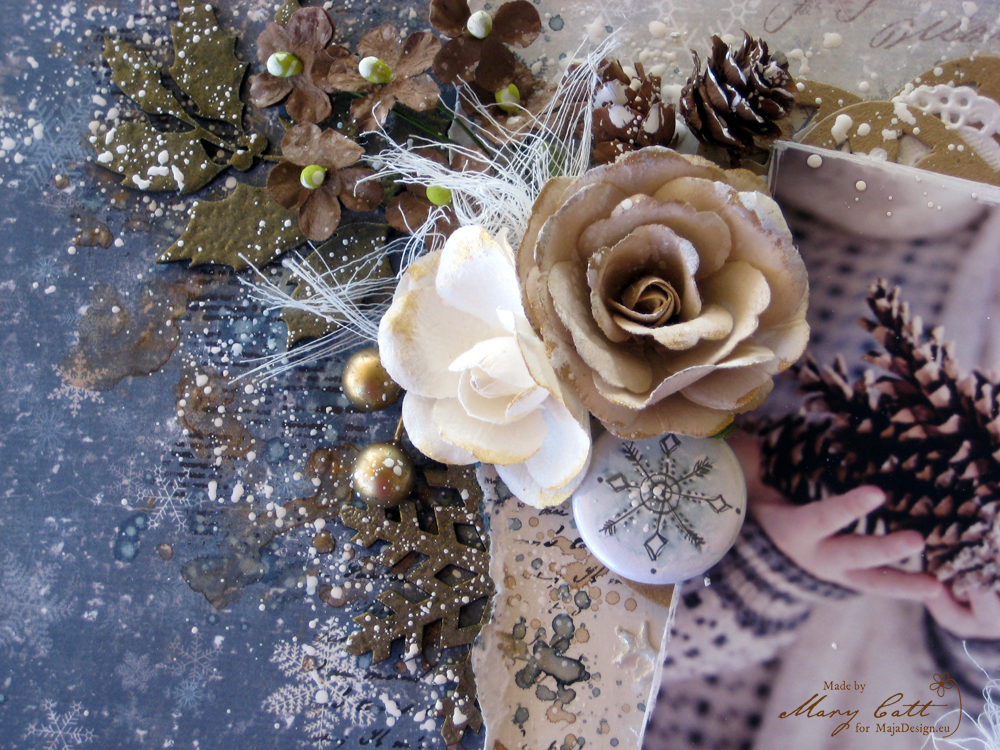
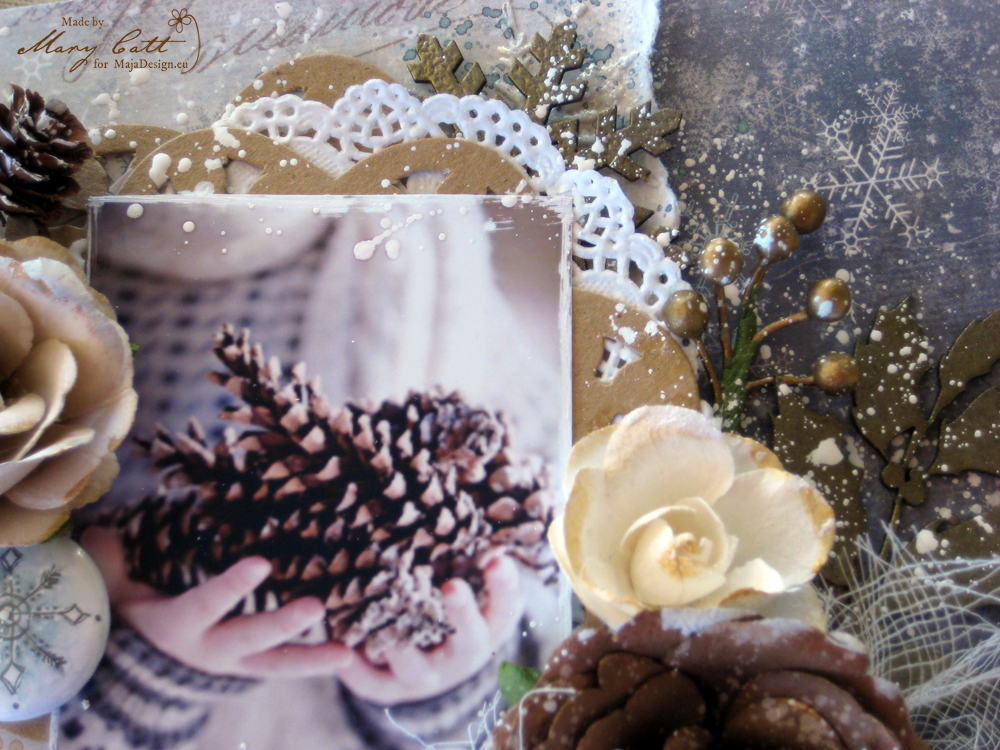
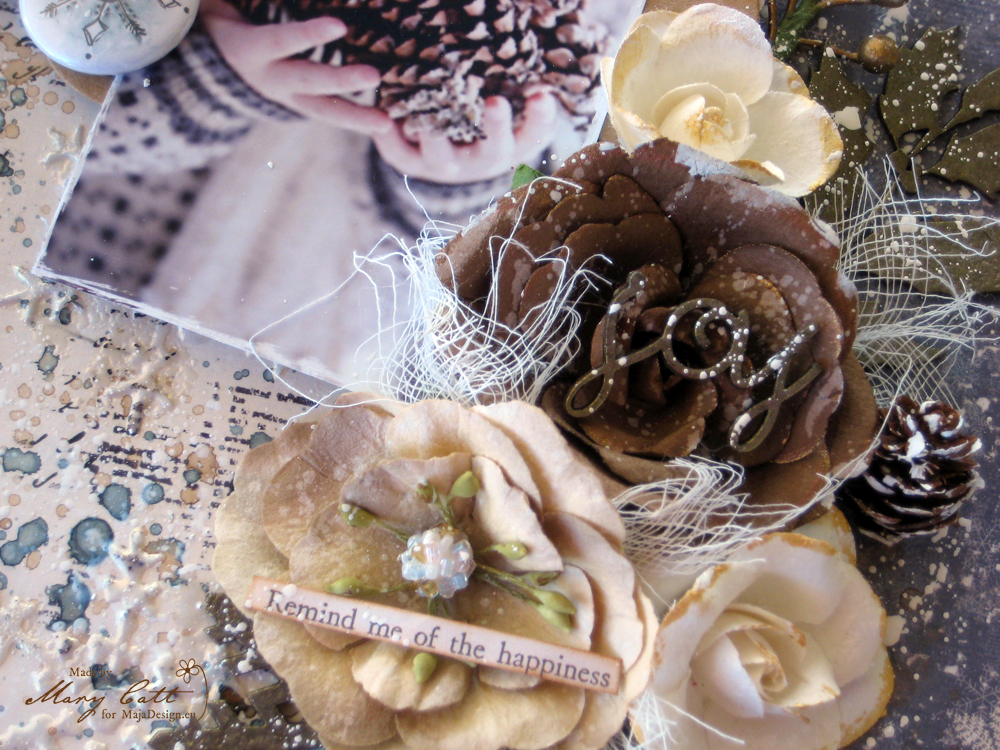
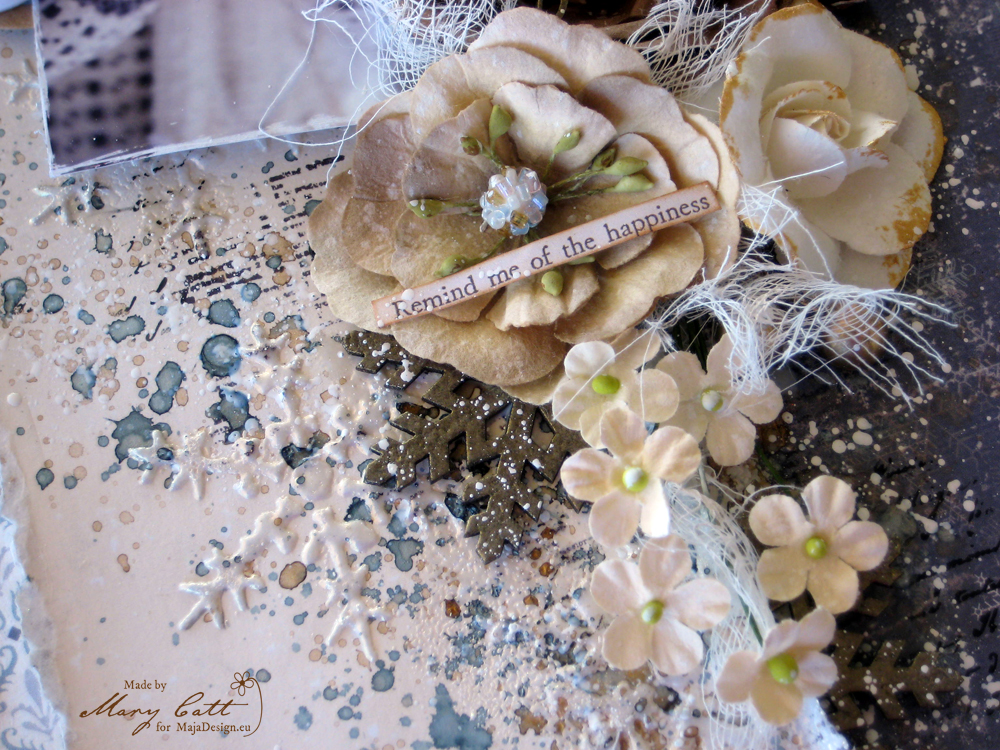
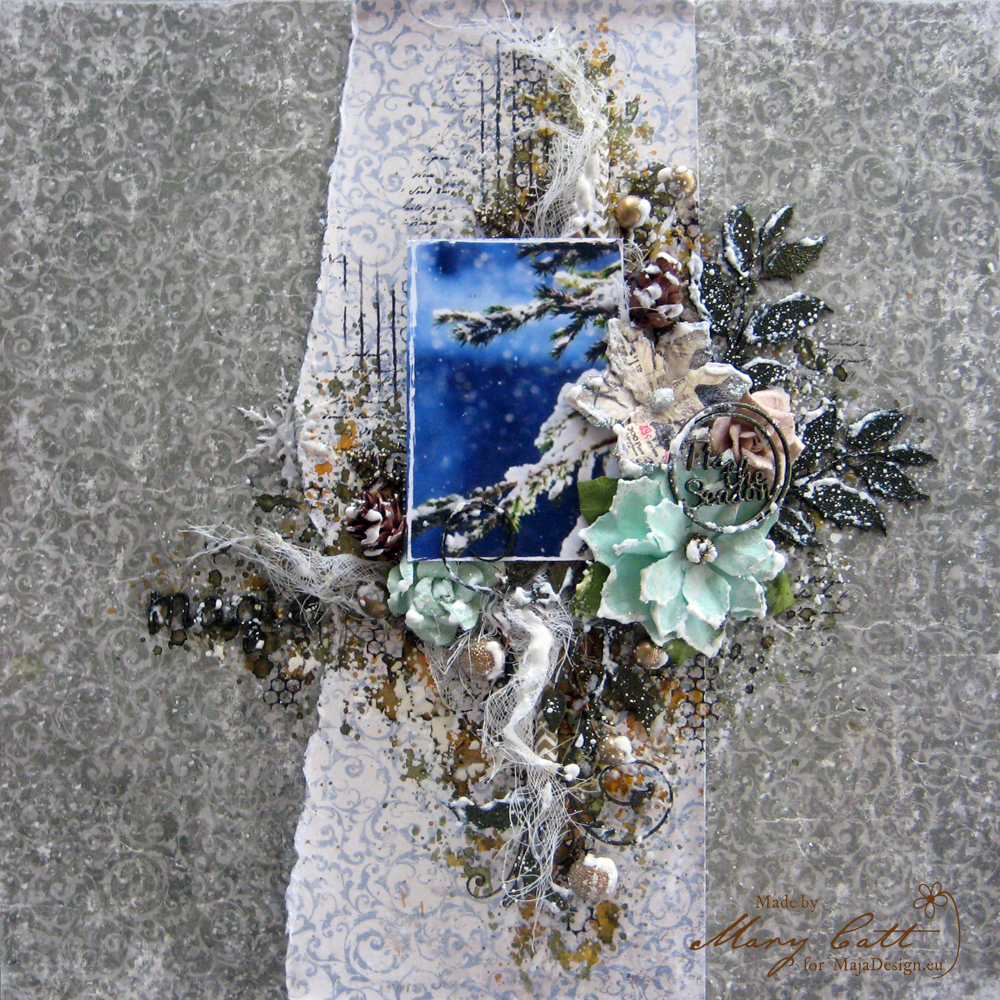
A Christmassy page this time, as the Christmas season is finally near us, my friends. Oh, I love so much this season and I’m already feeling festive. And the new gorgeous Christmas collection ”Joyous Winterdays”, that I received a few days ago, have strengthened my festive feeling alot!

1

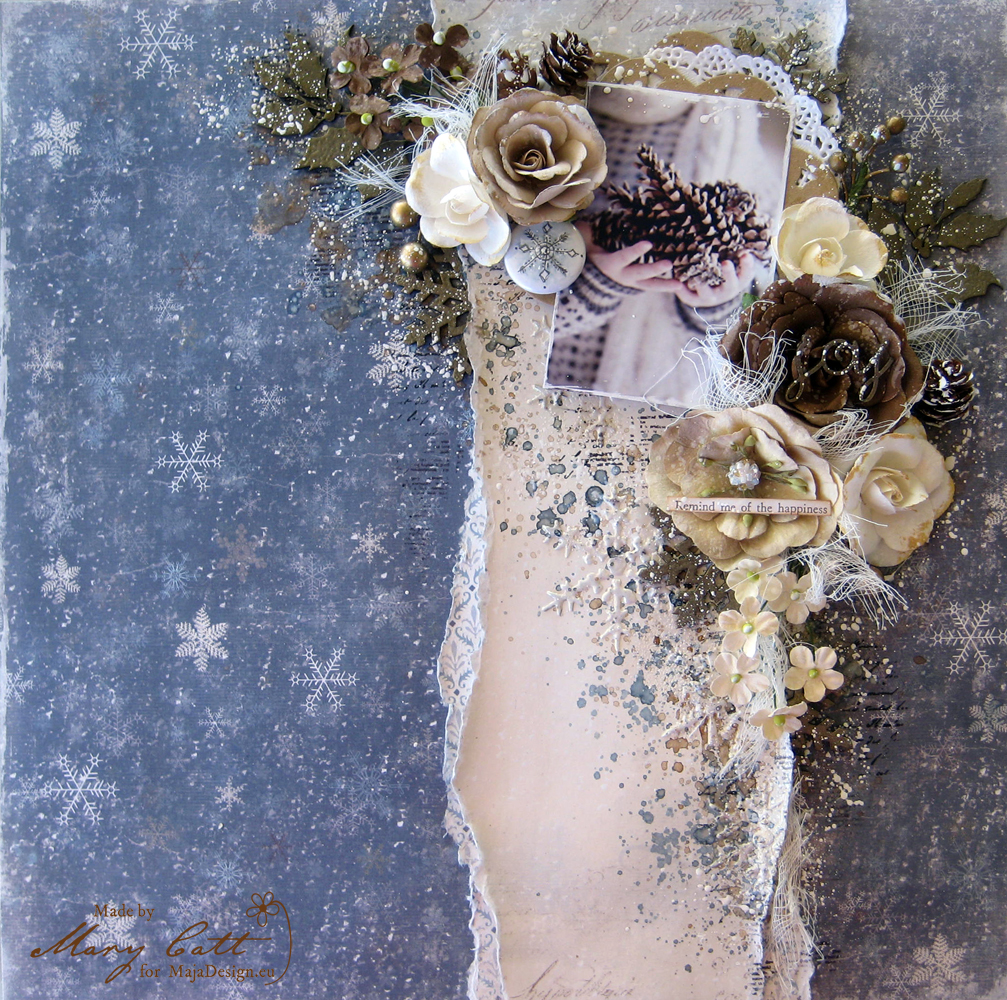
As you may already know, I love finding my photos on Pinterest and this time, while I was searching I found that beautiful wintery photo. So, I choose two papers that was matching perfectly and combined them with some beautiful flowers, a few Christmas chipboards and Christmas embellishments. But, before I continue more I want to give all the proper credits to the ”unknown” photographer.

2

For my background, I used the ”Pick a Tree” paper and made a layer on it with the ”Glisten” paper. First, I gave my background a coat of clear gesso. When it was dried, I added some texture with modeling paste and a stencil. I continued by coloring my page with Lindy’s sprays ”Green with Envy Green”, and ”Grab a Guy Gold”.

4

I heat embossed all the chipboards with the ”Tannenbaum Green Gold” Lindy’s embossing powder. As usual all the chipboards I used are 2crafty.

5

When everything was glued down, I used snowflake paste here and there with a paintbrush to add a real snow effect to my pagect and made some splatters with white acrylic artists ink.

6

Paper used:

Joyous-Winterdays-P

That’s all for today, my friends!

Thank you for stopping by!

Mary-sign1