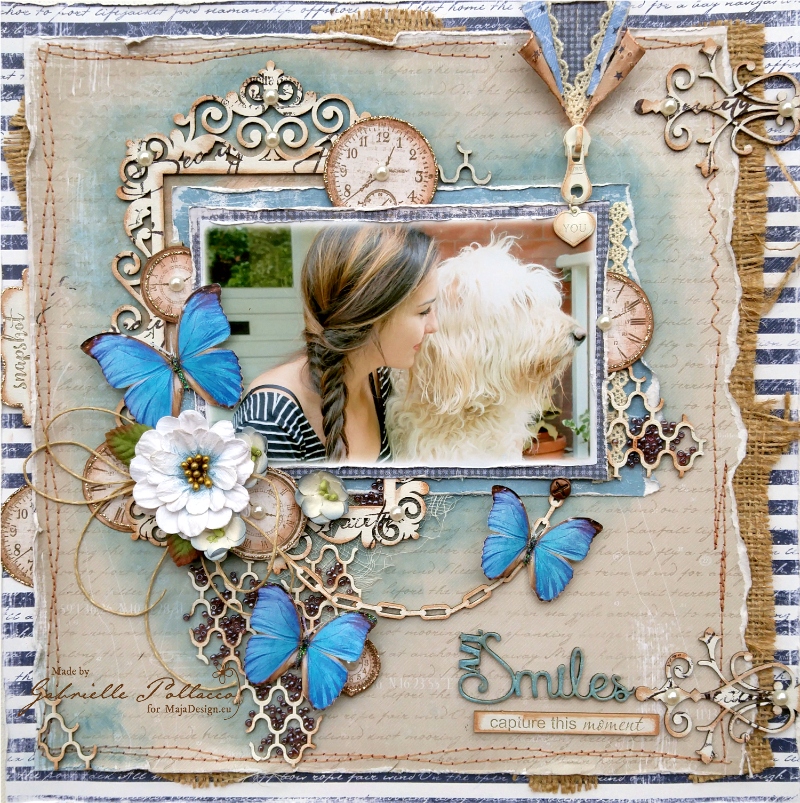
Hello Maja Fans, Gabrielle here with you today to share a very special project, dear to my heart. As many of you know I have been with the Maja Design team for over 4 years now. Today will be my last post for this wonderful team. It was very hard for me to come to this decision as I have very much enjoyed creating with these beautiful papers. But as I have a lot on my plate as of late, I felt it was time to make a few changes. I decided to end my journey as I began…..the very first project I did for Maja Design was using their signature blue’s and neutrals….so today I finish my journey using these classic colors.

As always I used a variety of collections in one layout (5 in all), but I mainly chose papers from the Life by the Sea collection. I drew my inspiration from the navy and white stripe top my oldest daughter is wearing in the photo above of her and our dog. These are the papers I used on this project: Life by the Sea (Seaside Cottage, Bottle Message), Vintage Summer Basics (1945-bs), Vintage Autumn Basics (XXIII-bs, XVI).
I chose the fresh and pretty ‘Seaside Cottage’ strip paper as my matting paper….and the softly scripted ‘Bottle Message’ paper as my background. I decided on my photo and embellishment placement and then softly tinted the surrounding area with some Colorbox Mixed Media Inx in a Patina color.
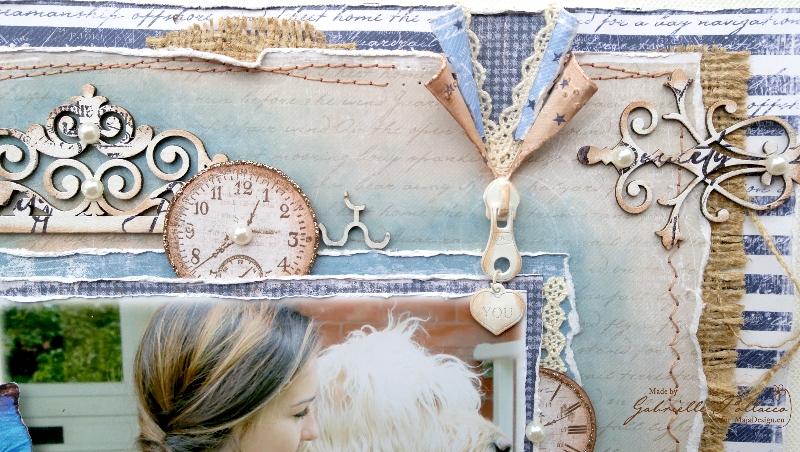
Before adhering my background paper to the matting paper, I added a little accent by tearing the two papers and curling back the edges to reveal the pretty check paper from the Vintage Autumn Basics collection with a little peek of lace as well. I added a small zipper pull from Prima Marketing to finish the look. I also sandwiched a strip of burlap between the two papers before I finally adhered the two pieces together. As an added finishing touch I added two ‘hinge’ designs by cutting a Dusty Attic ‘French Flourish’ chipboard design in half and glued them to the top and bottom of the right side.
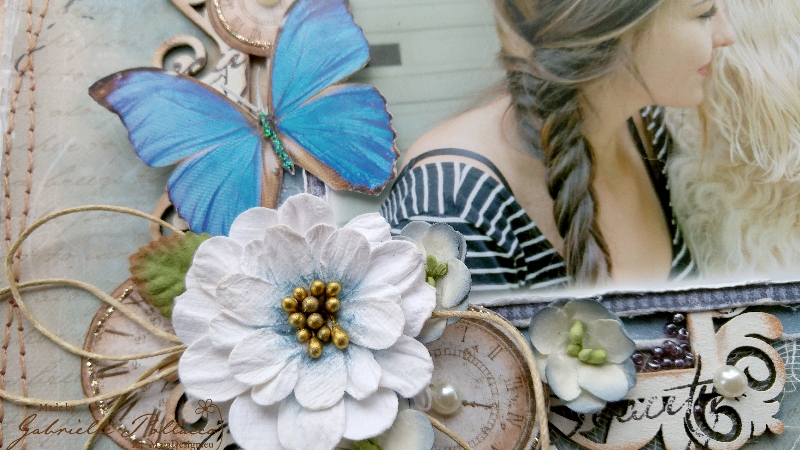
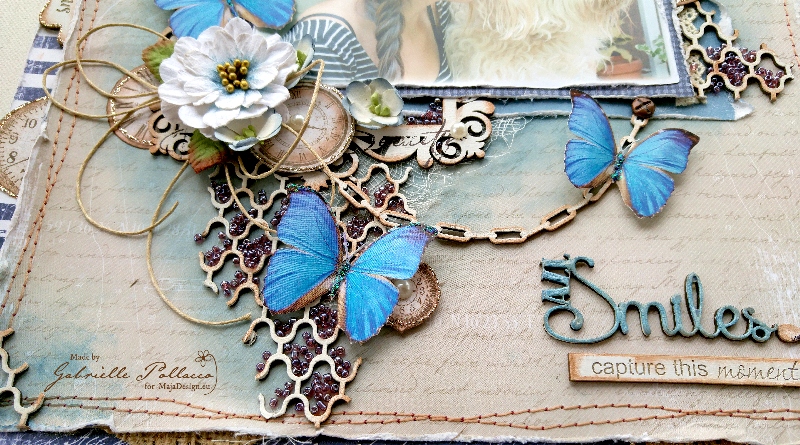
I double matted my photo with papers from Vintage Autumn Basics and Vintage Summer Basics, sandwiching the Dusty Attic ‘Vintage Frame #4’ between the two layers. Then I added some butterflies (just some images I printed off from the internet), blossoms and clock images that I fussy cut from the Vintage Autumn Basics XVI paper, and applied with pop dots, adding a border with Platinum Stickles (glitter glue).
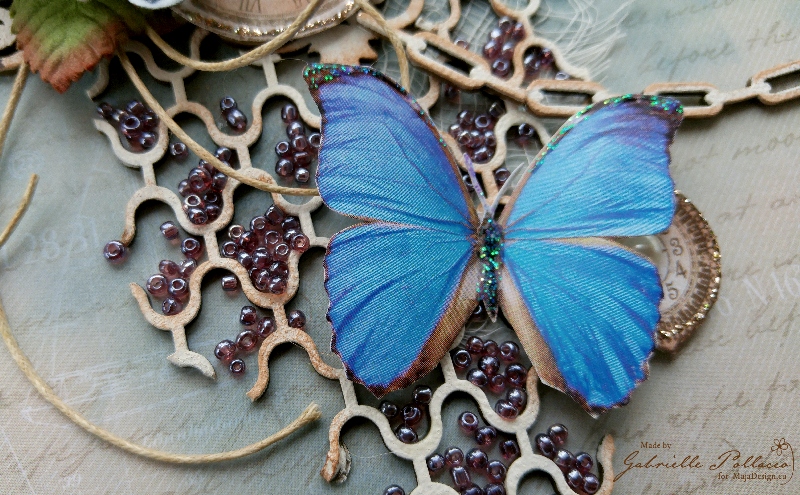
I also added some randomly cut sections of Dusty Attic chipboard Lattice…..and as a final touch used some Dusty Attic Clear Gloss Varnish to attach some seed beads in around the lattice (Prima – Licorice seed beads).
I hope you enjoyed checking out my project as much as I enjoyed creating it! It has been my absolute pleasure being on this wonderful design team and want to thank Marie Janson for her kind generosity and support all these years, as well as Camilla Lillieskold, our awesome design team coordinator and Jennifer Snyder, our social media coordinator for all their hard work on our behalf.
Suffice it to say I will be using all the lovely product I still have in my stash for years to come! xo

