Welcome, dear friends of the Maja Design Blog! It’s Nancy today, and I’m so excited to be here with you. Each time I’m on the blog I still have to pinch myself to believe I’m actually part of this amazing Creative Team! I hope you’re doing well today. Have you had plenty of creative time? My husband recently had an injury requiring surgery (he’s recovering well now), and everything to do with that kept me out of my craft room for a couple of weeks. Needless to say I am thrilled to be back to crafting this week.
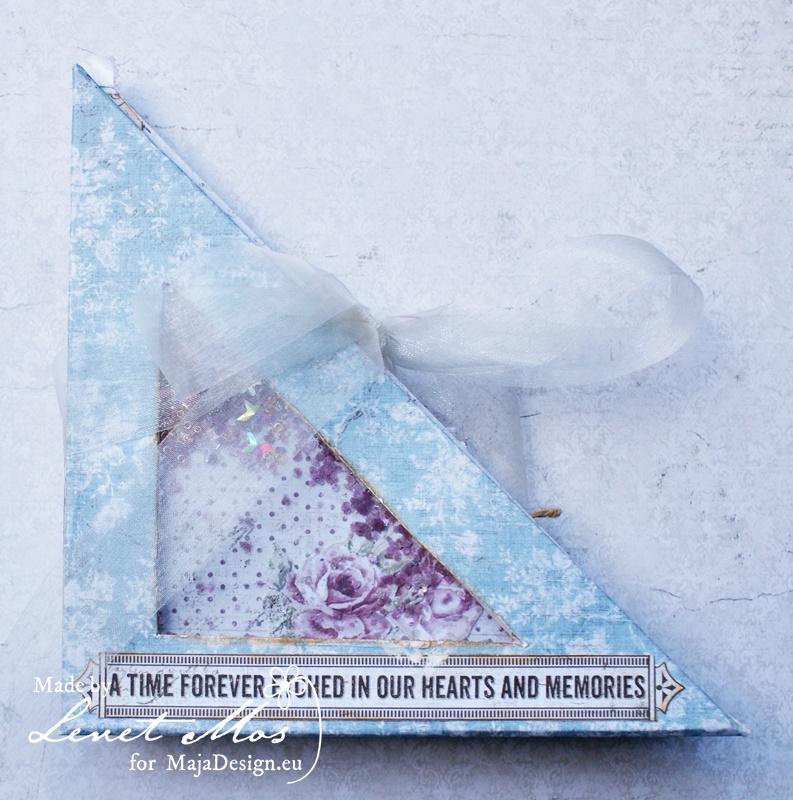
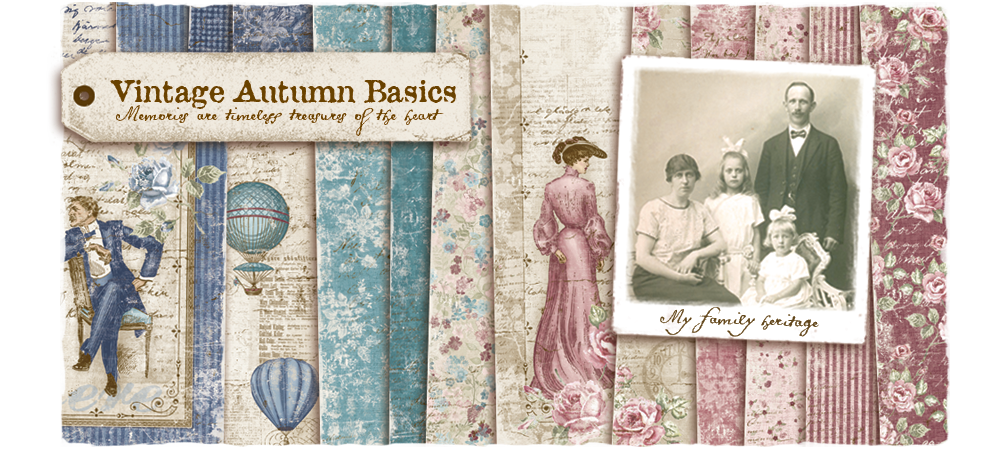
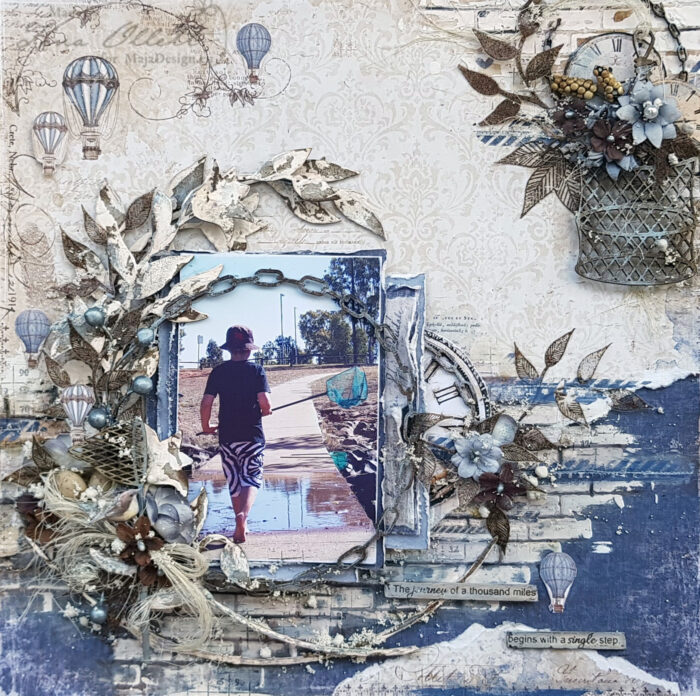
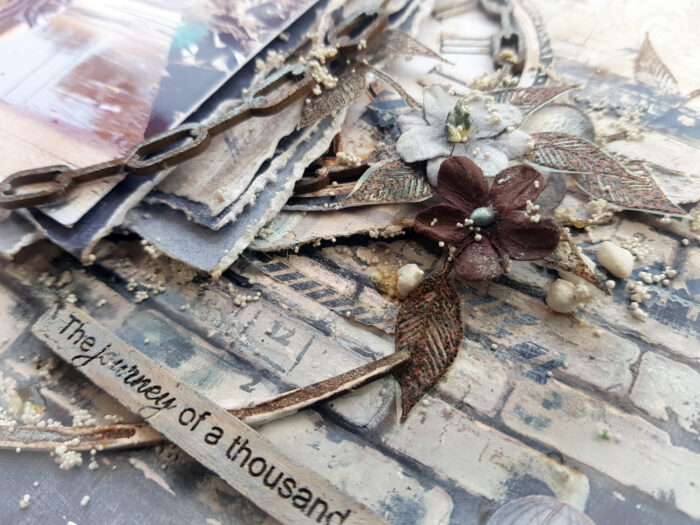
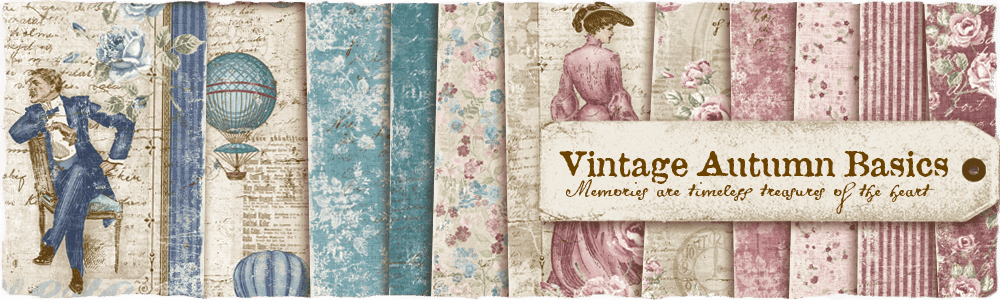
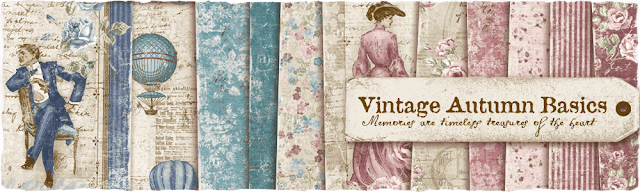
I have a brand new card to share with you! I’m using the lovely Vintage Autumn Basics Collection again because it’s one of my absolute favorites. It’s full of rich colors and romantic vintage images, but can be used during any season of the year.
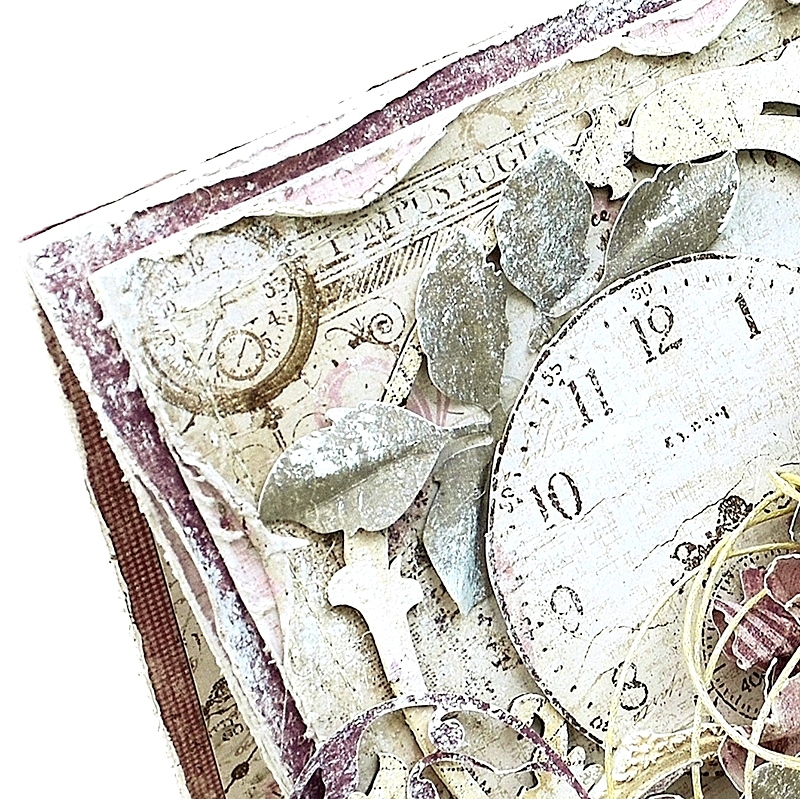
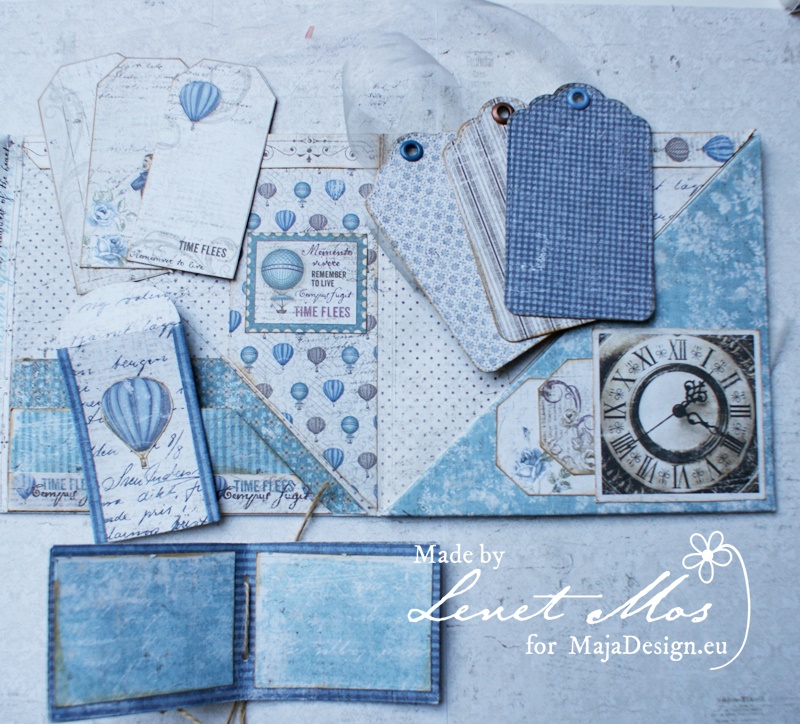
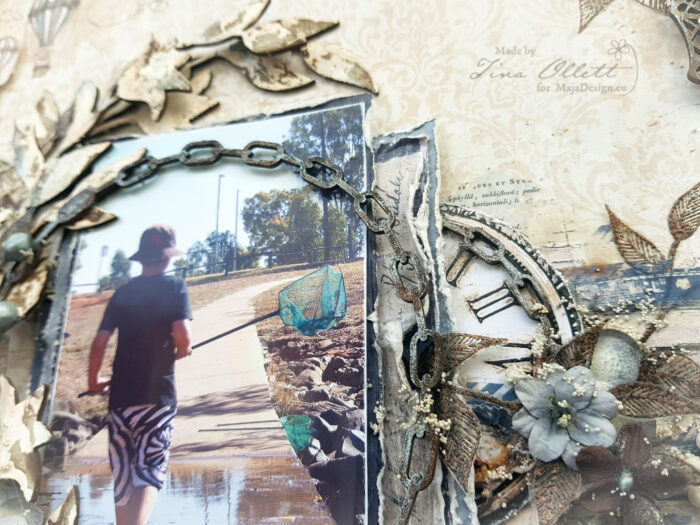
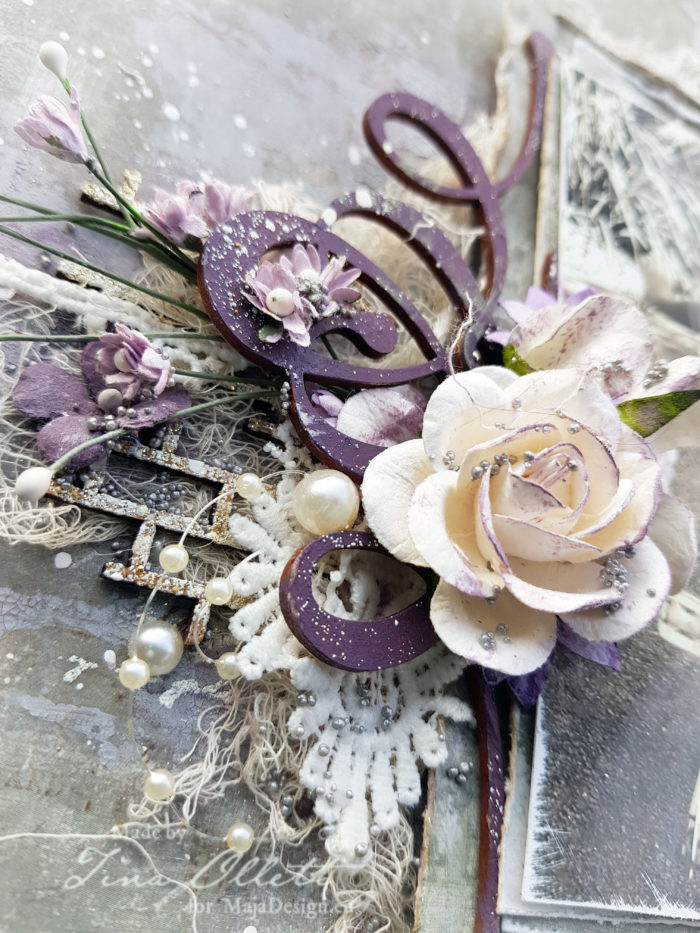
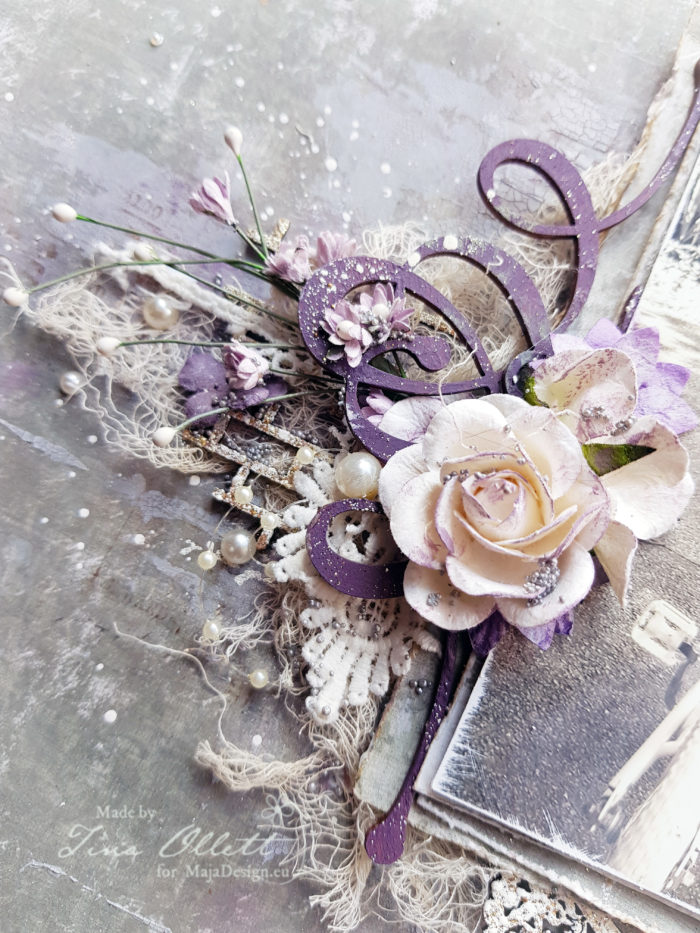
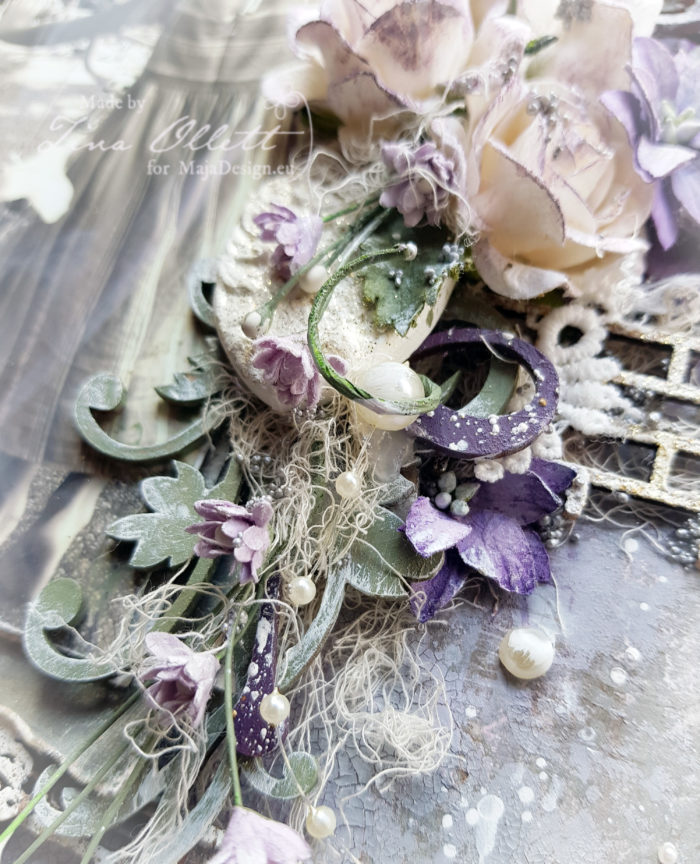
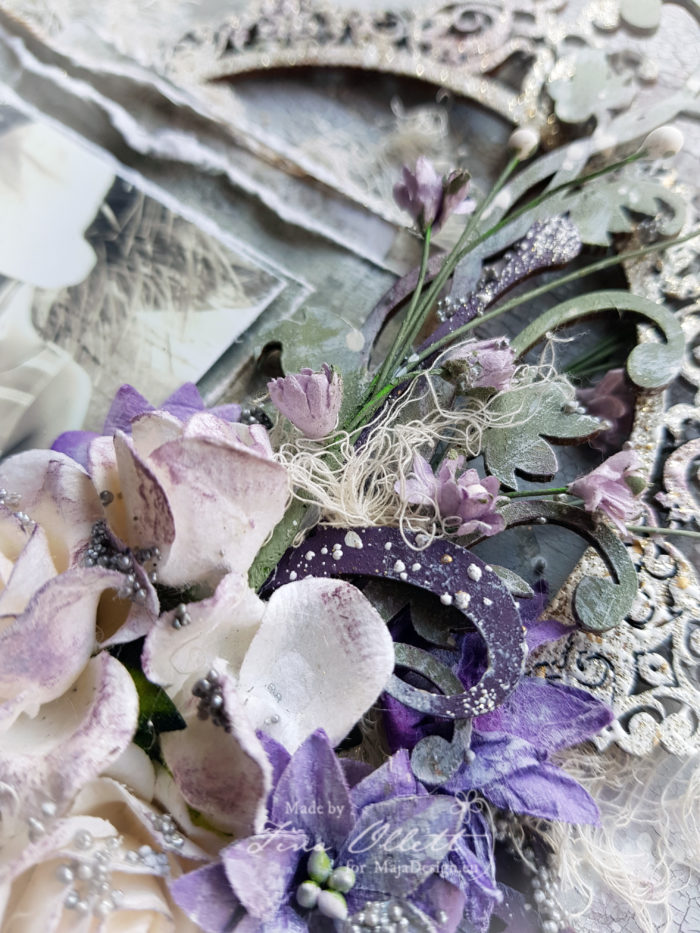
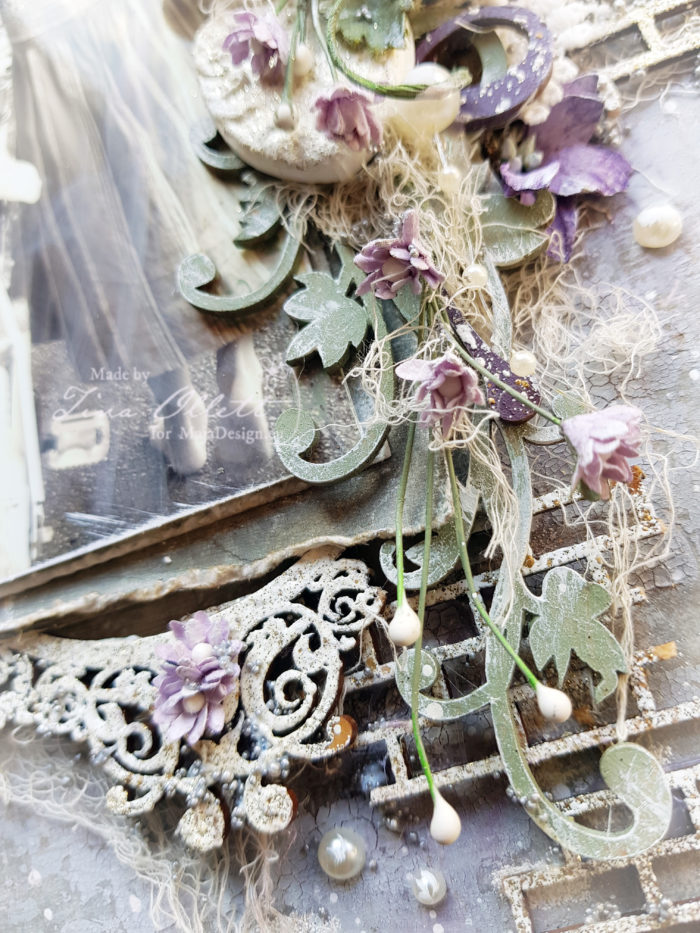
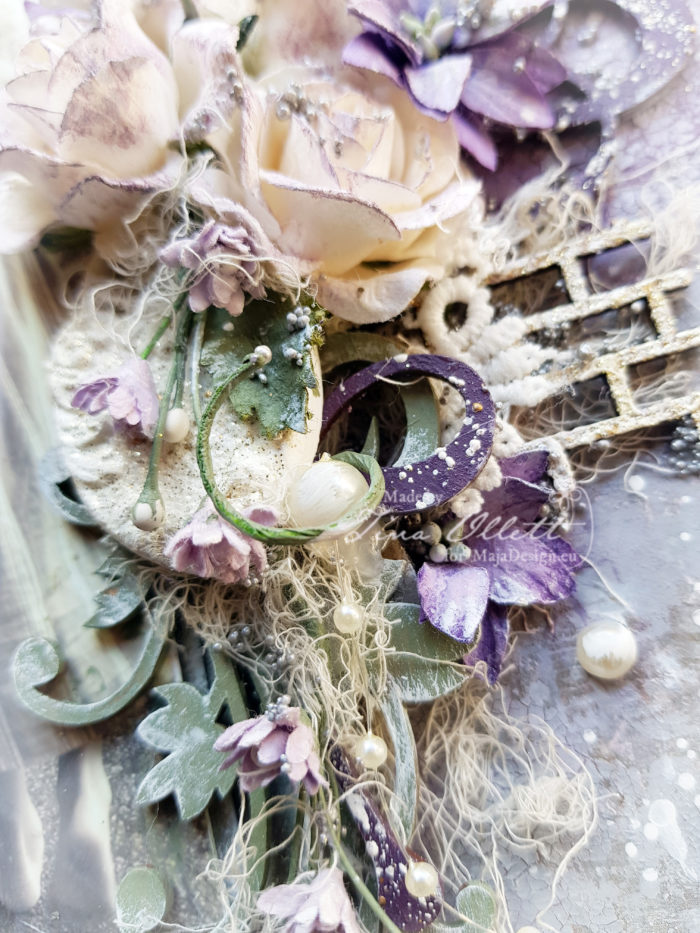
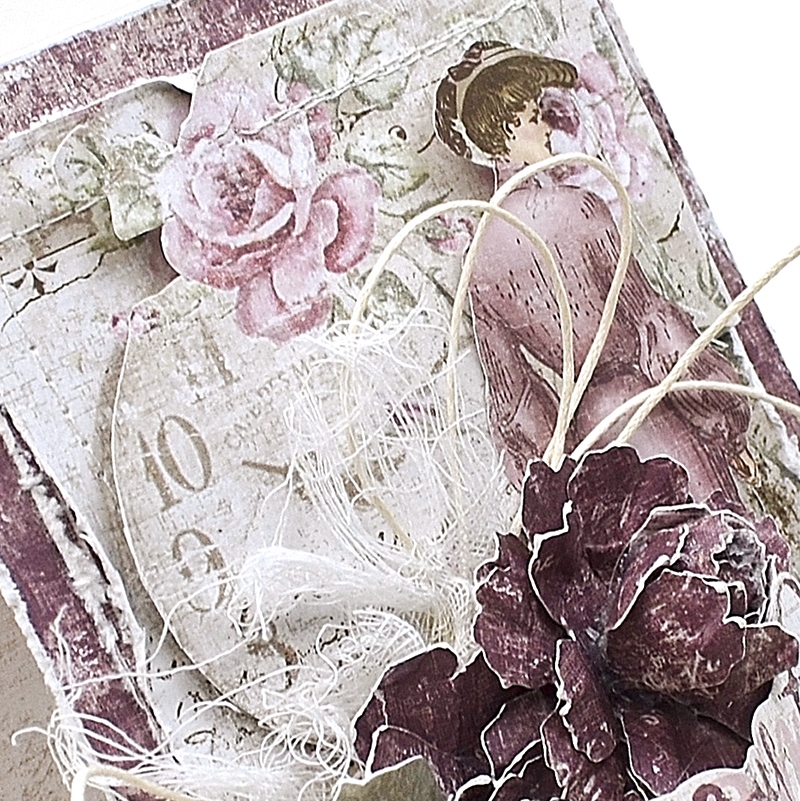
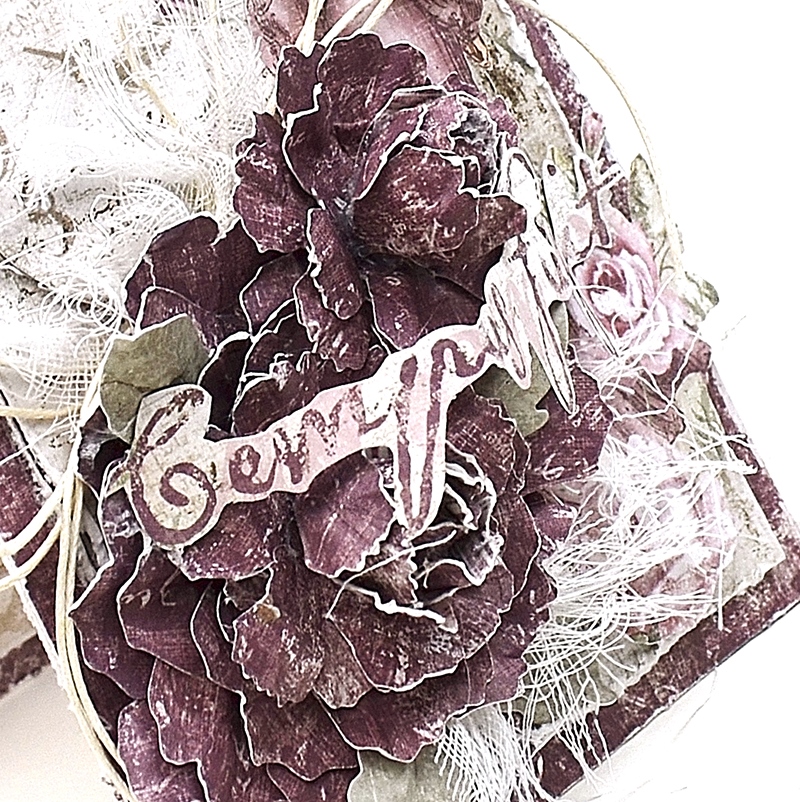
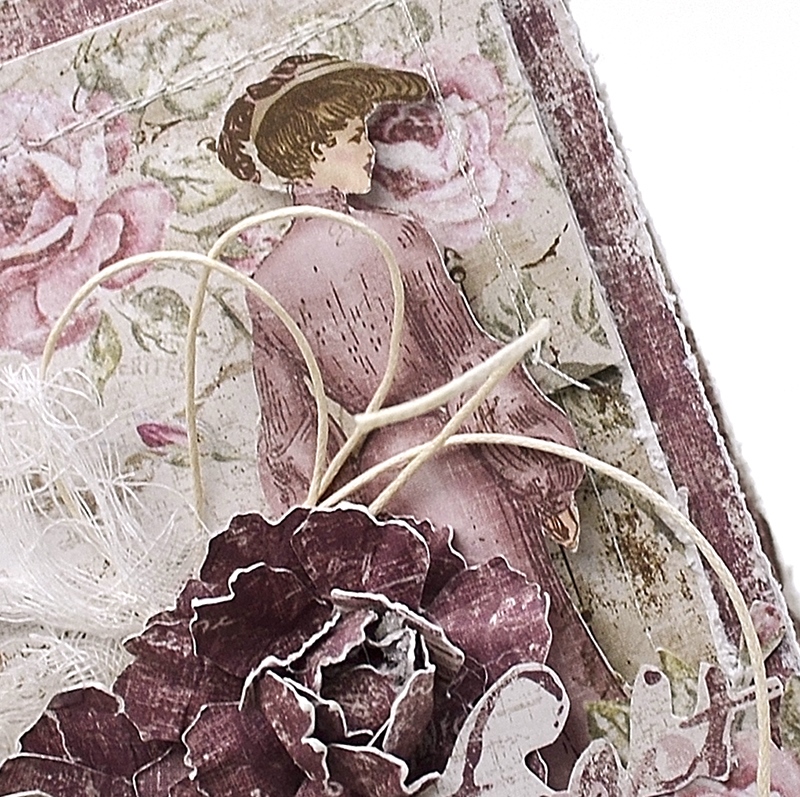
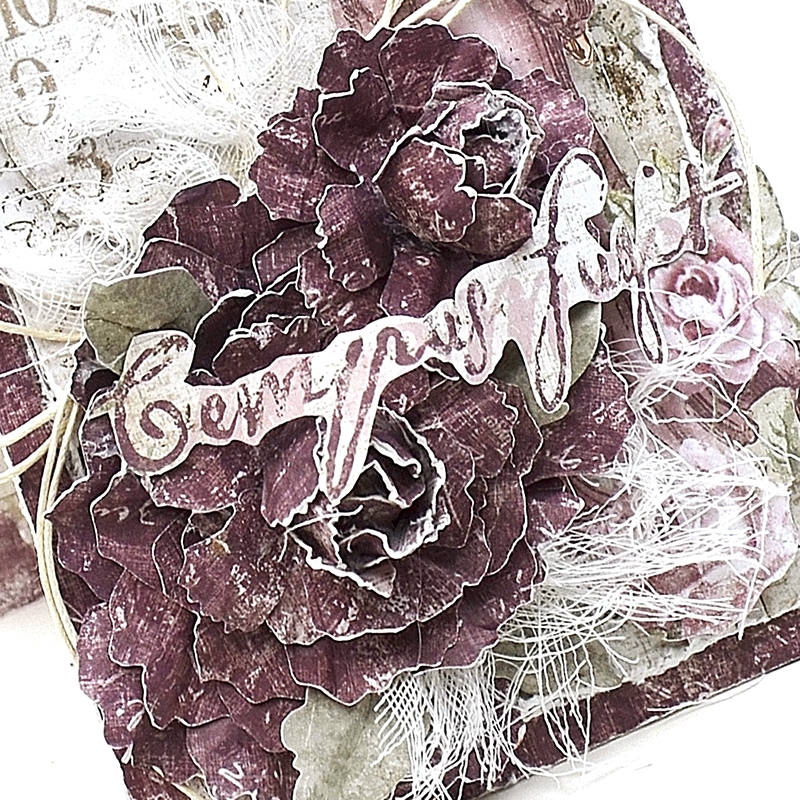
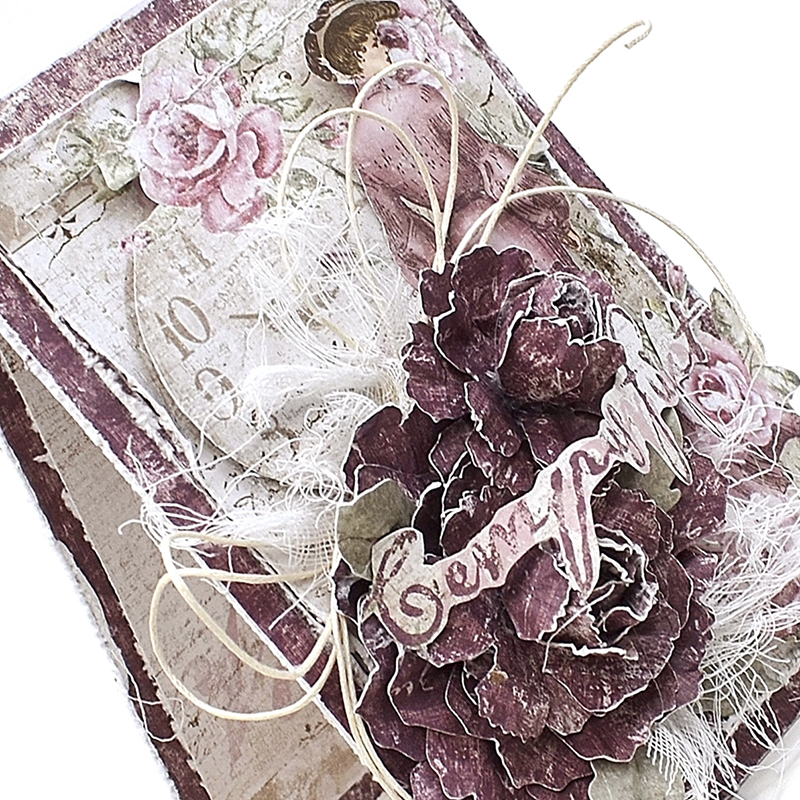
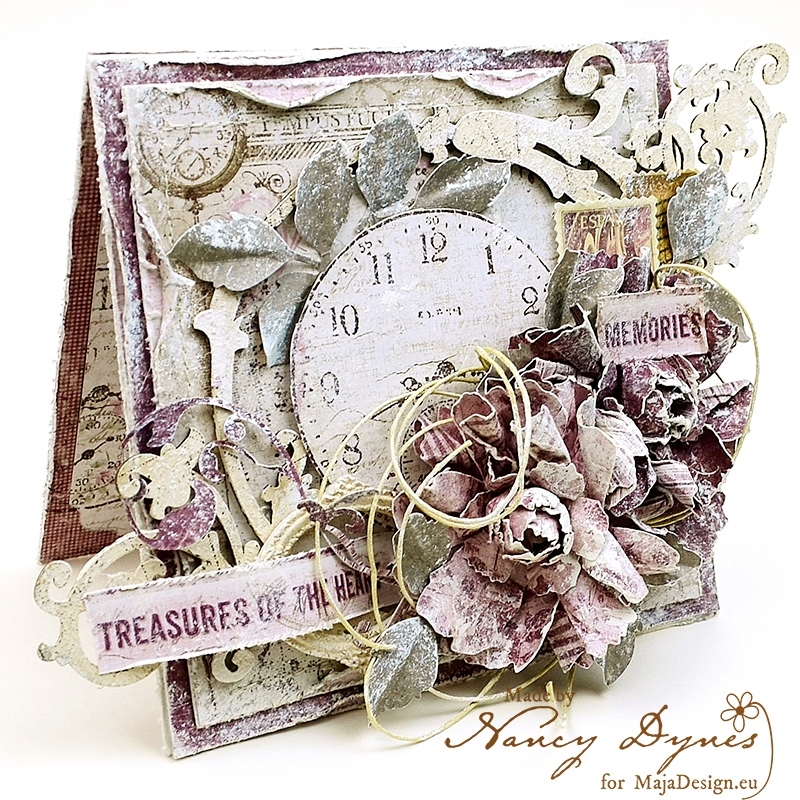
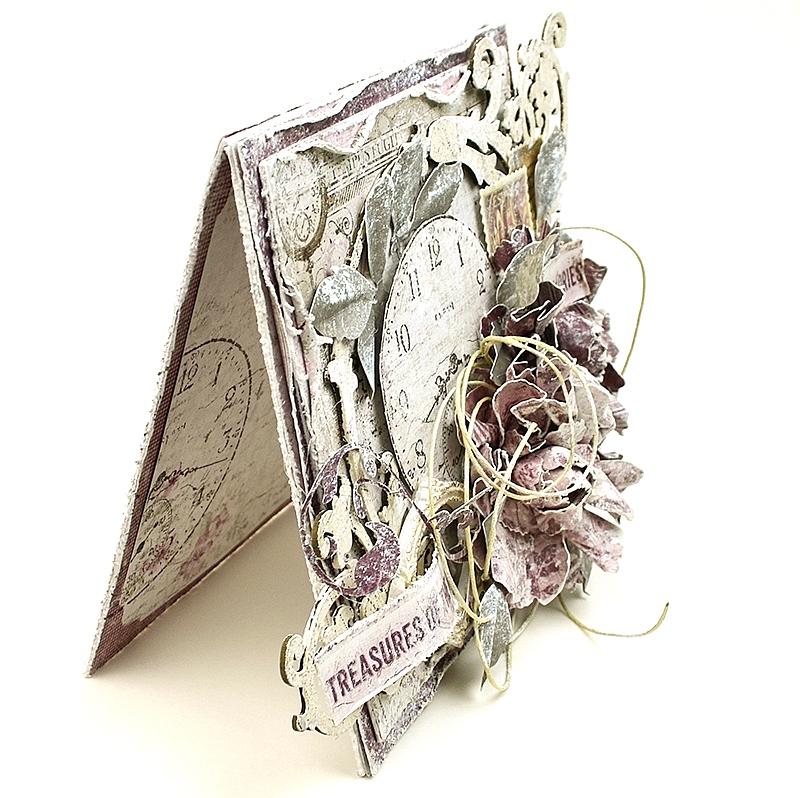
There are many layers to this card which I am trying to capture in the photos, though it doesn’t always show up as well as I’d like. The base layers are hand distressed, layered, and stitched together. The chipboard frame is painted with my own recipe of acrylics to blend in with the paper tones, then lightly inked over in timber brown to give it some ‘age’.
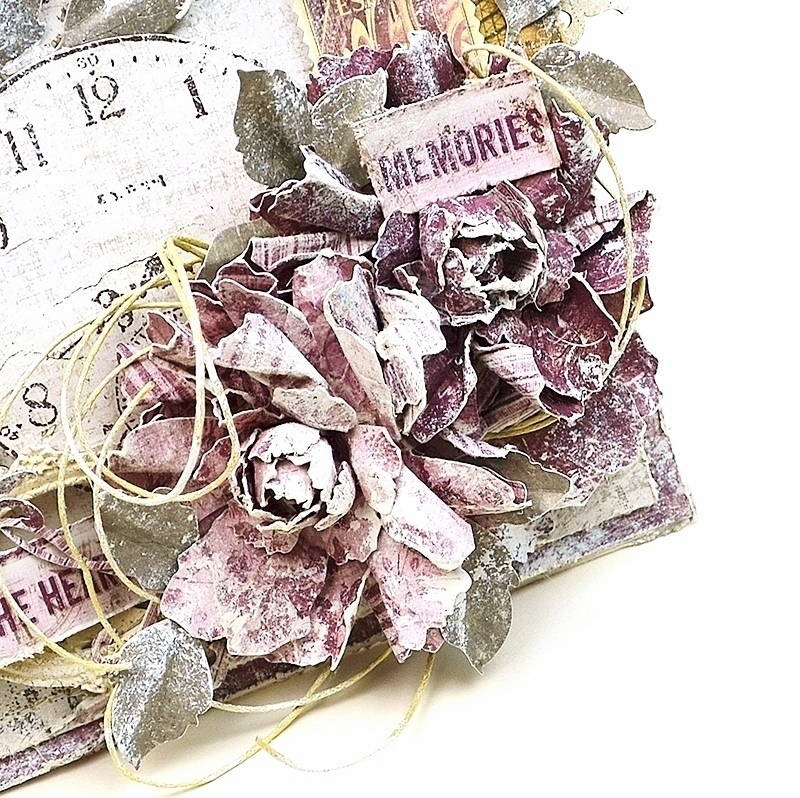
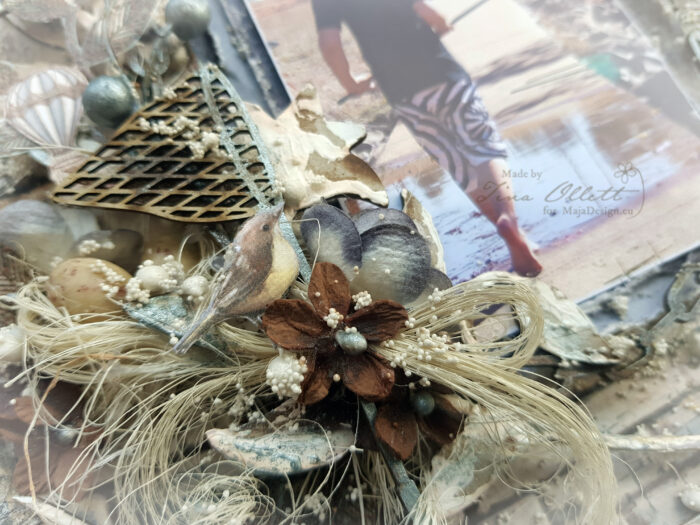
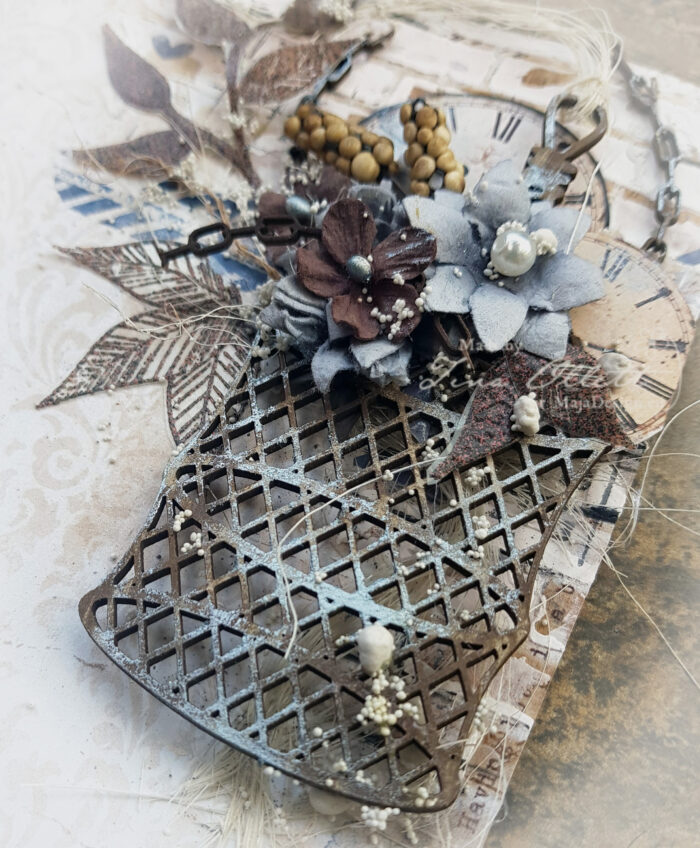
The roses are handcrafted using the paper collection, as are the leaves and flourish swirl. Even the sentiment is part of the paper collection! The clock is stamped onto a sheet from the collection cut out.
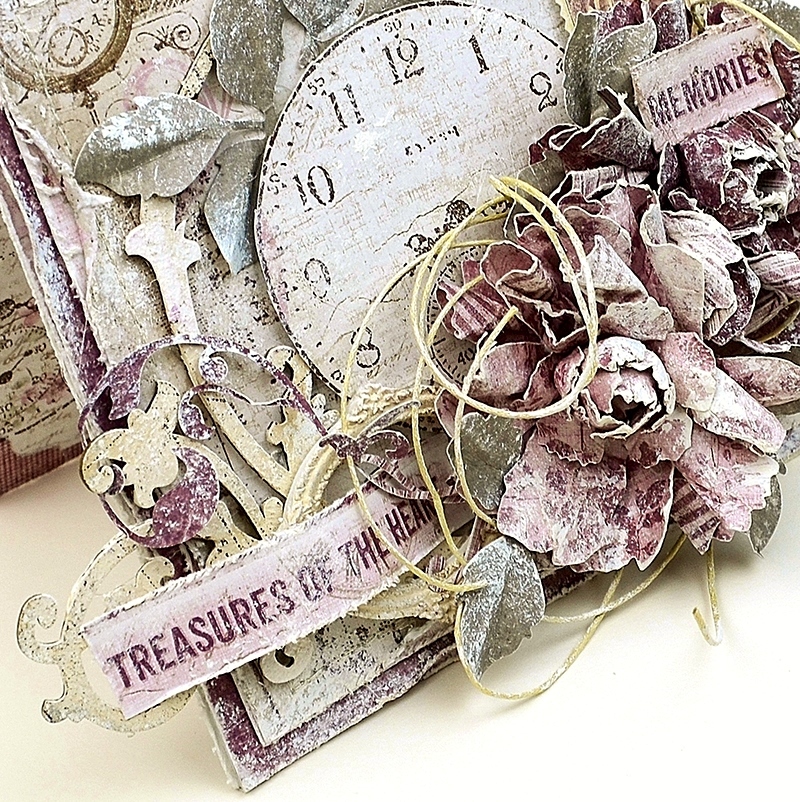
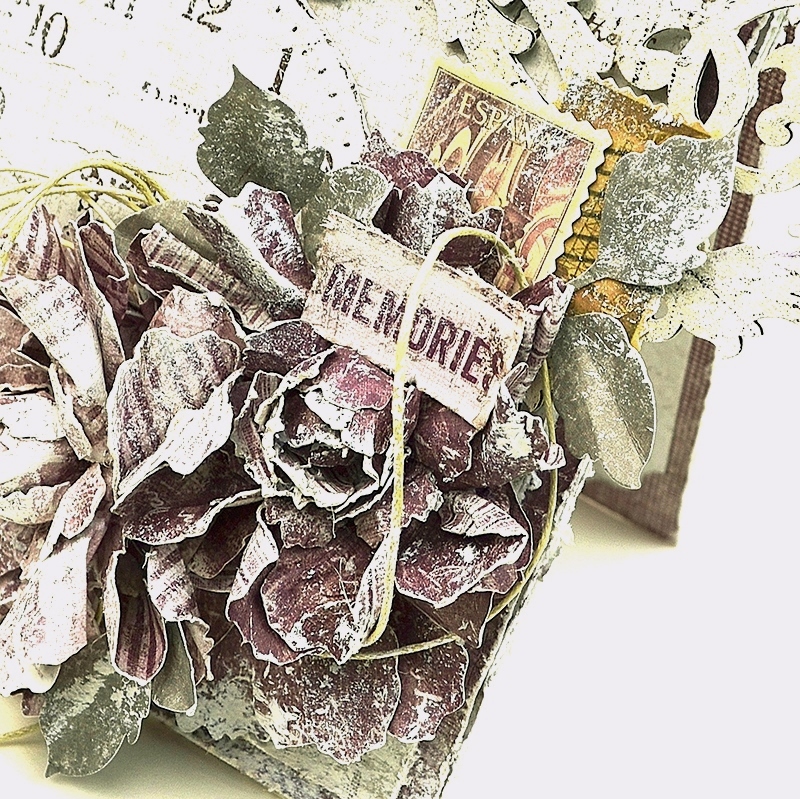
A light stippling of gesso adds a more vintage appearance.

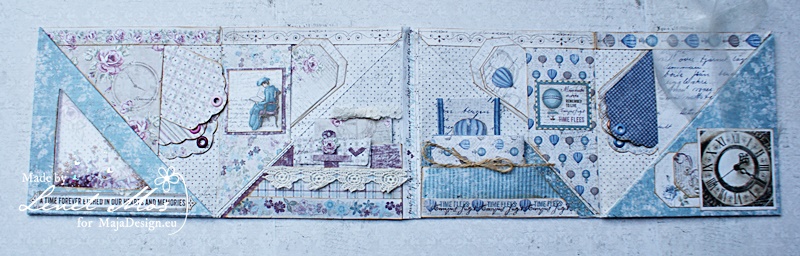
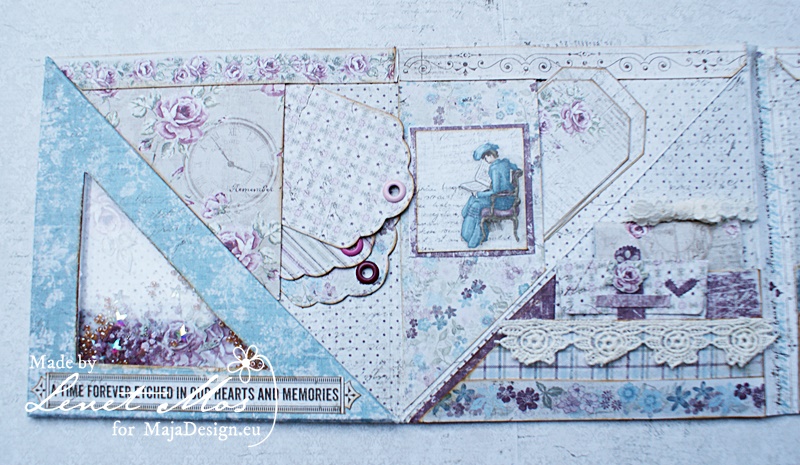
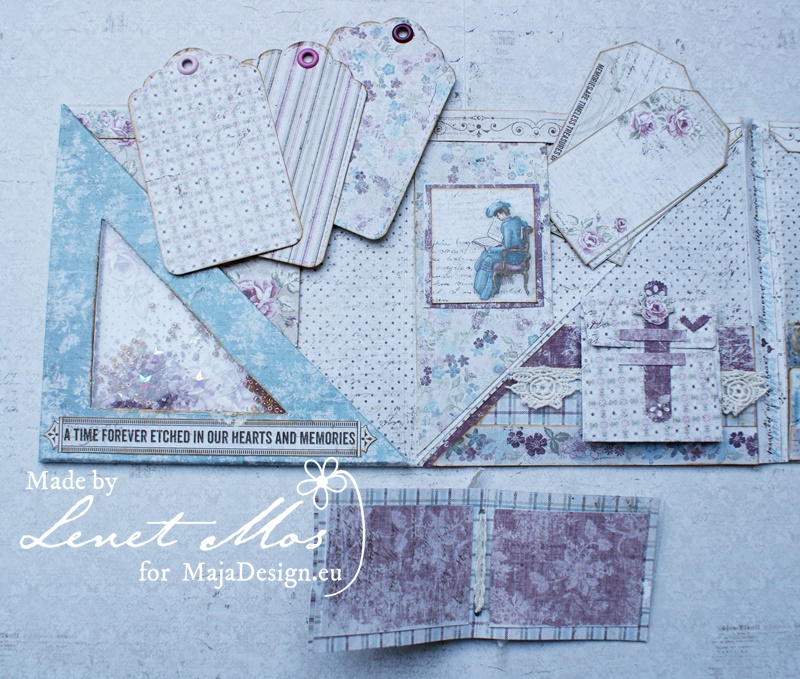
Below is a peek at the interior of the card, which also has a bit of stamping. I like to coordinate the inside of my cards with the front.
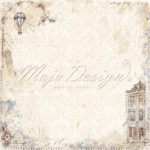
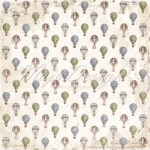
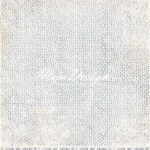
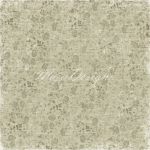
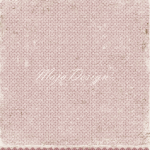
Maja Design Papers Used:
Other Products Used: Natural Twine, Tim Holtz Tattered Florals Dies, Flower Shaping Kit, Flourish Die, Magnolia Rose Leaf Die, Flourish Die, Tim Holtz Distress Tool, Chipboard Frame, Resin Frame, Paper Stamps from my stash, Stampin Up Clock Stamp, Staz-0n Ink in Timber Brown, Acrylic Paints, Gesso, Sewing Machine, Thread.
Thank you so much for joining us on the blog today. It’s been and honor and a pleasure to spend this time with you. I wish you a week filled with beauty, joy, and many crafty endeavors!