Good morning, dear Maja Fans, welcome to the blog today 🙂
What I love about the crafting community is that it brings together creative people willing to share their talent and support other crafters worldwide. I found some of my best friends through crafting sites and even though we’ve never met in person I feel I can rely upon them and they can really brighten my day. In my last post I shared a welcome baby card that featured a shaker element and I complained about how tiresome it was to build up the shaker window edge. And then in the comments I found a very useful tip that Maryann Laursen shared – using craft foam to die cut the shape. And that was it! Why did I never think of that? 😀
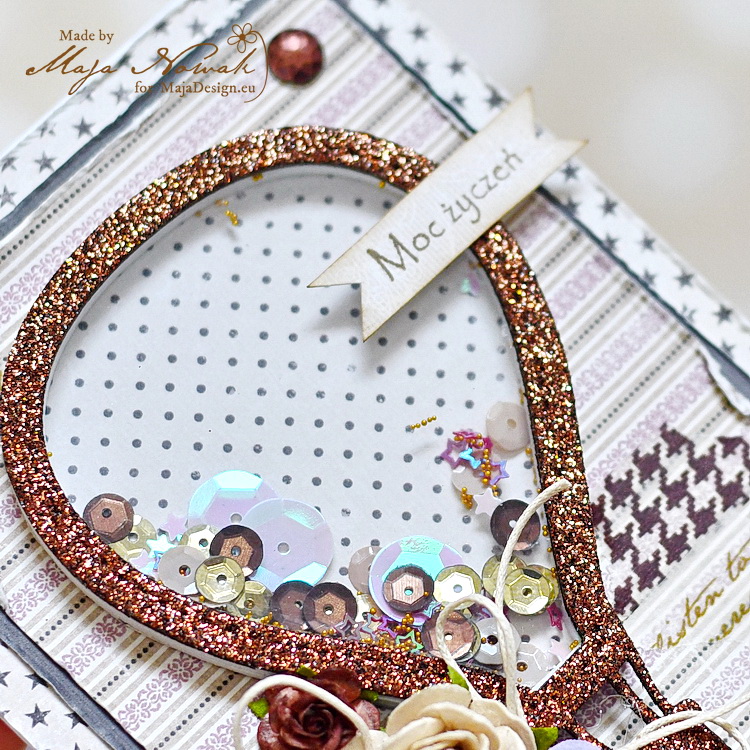
As you can see, I used a slightly more complicated shape to cut, but with the foam it was pretty easy to do and I only needed two pieces to make a decently deep window. So much easier than using foam squares or glueing at least 8 layers of paper! Then I traced the shape on the acetate with a permanent marker and cut it out by hand (now I found that diecutting acetate makes it crack like glass, and besides, craft foam die cuts a bit larger shape than paper due to its elasticity) and then for the top layer I used glitter craft foam:
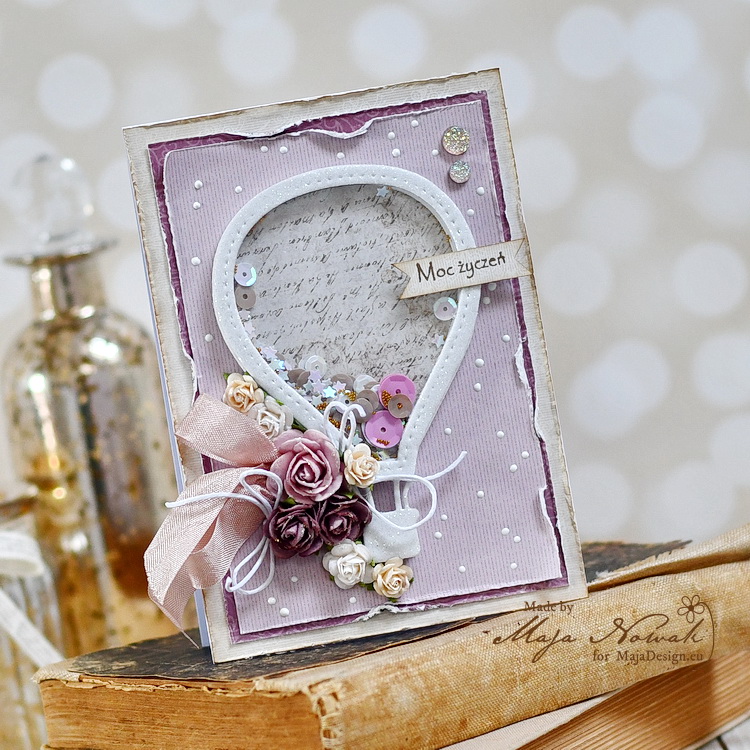
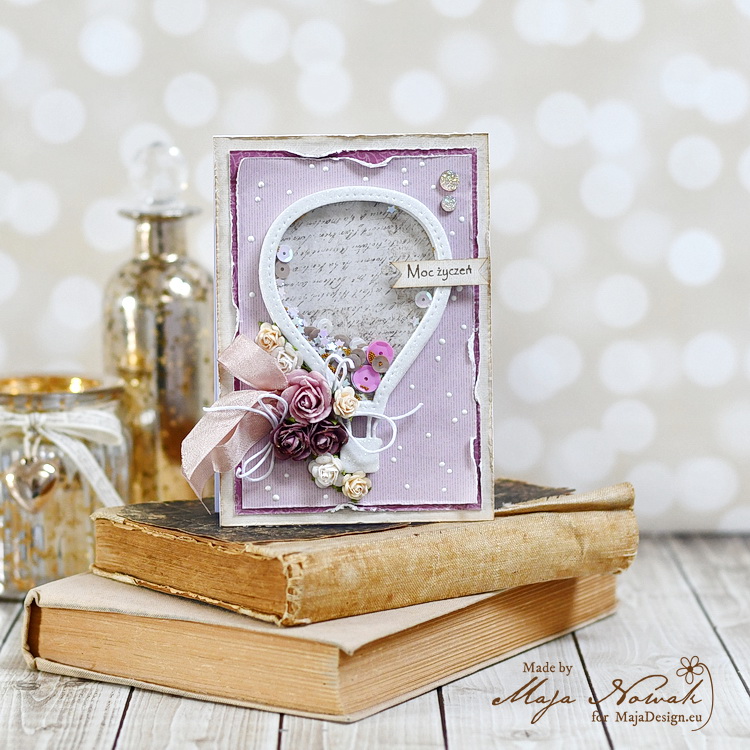
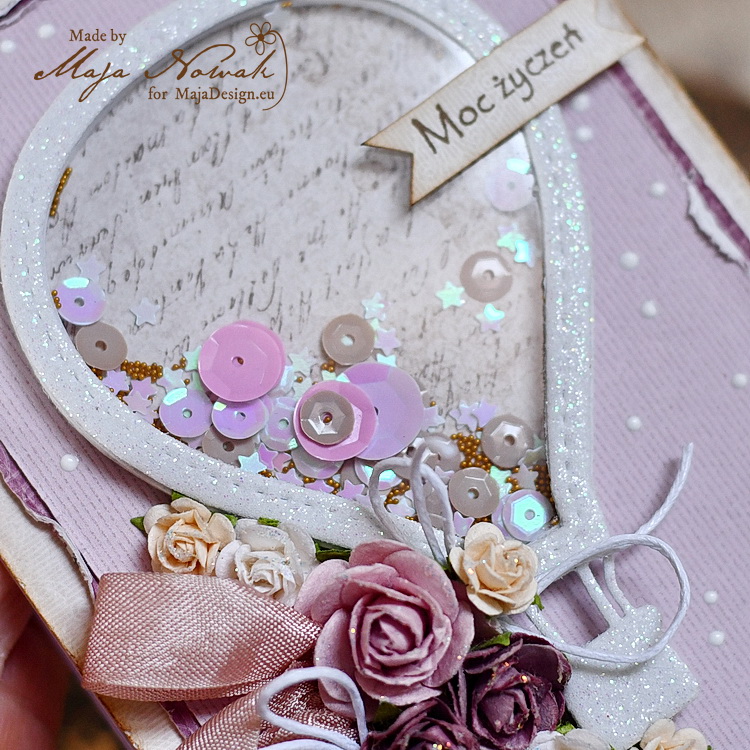
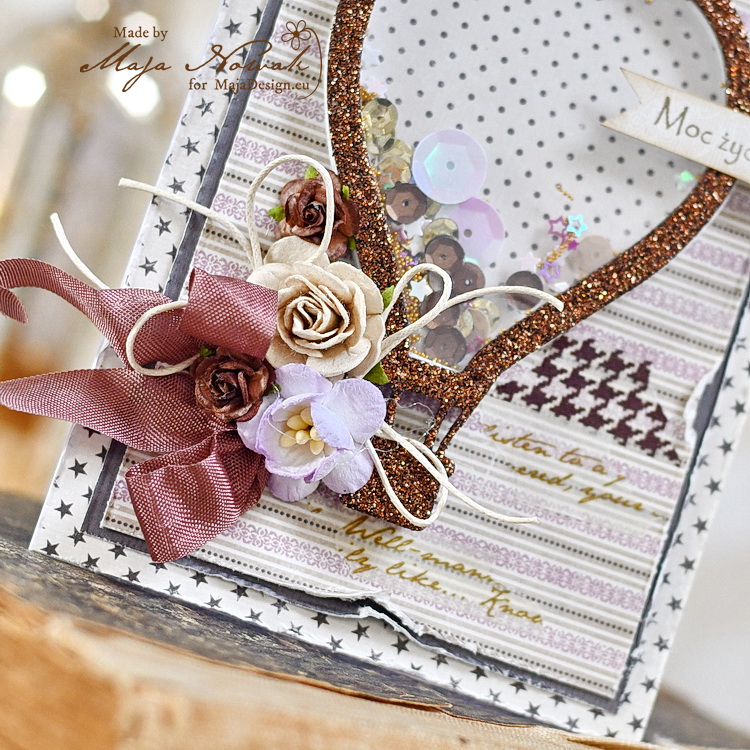
I used the Celebration collection with the Monochromes papers too as I didn’t want to distract the eye with a pattern. I decorated the balloon with flowers and added some liquid enamel dots for more texture in the background:
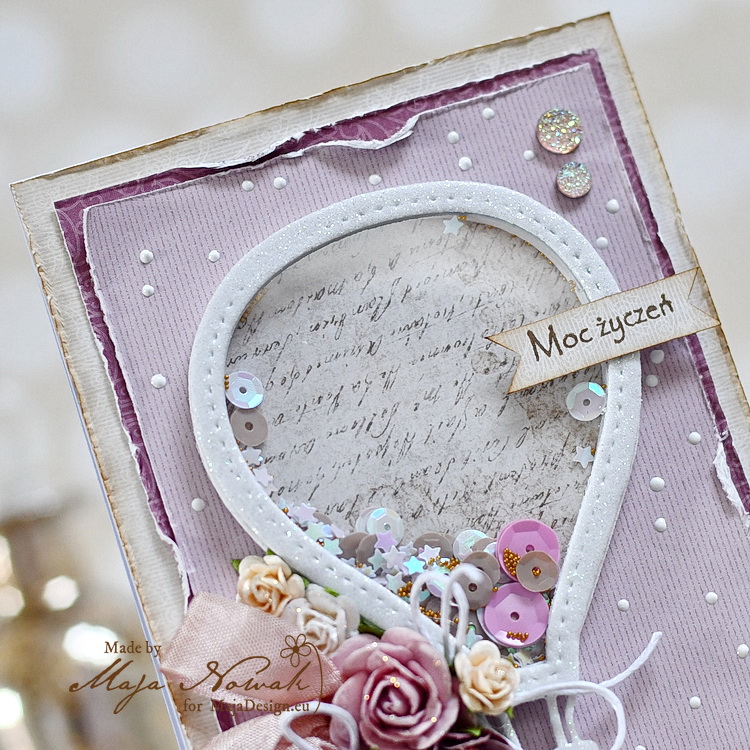
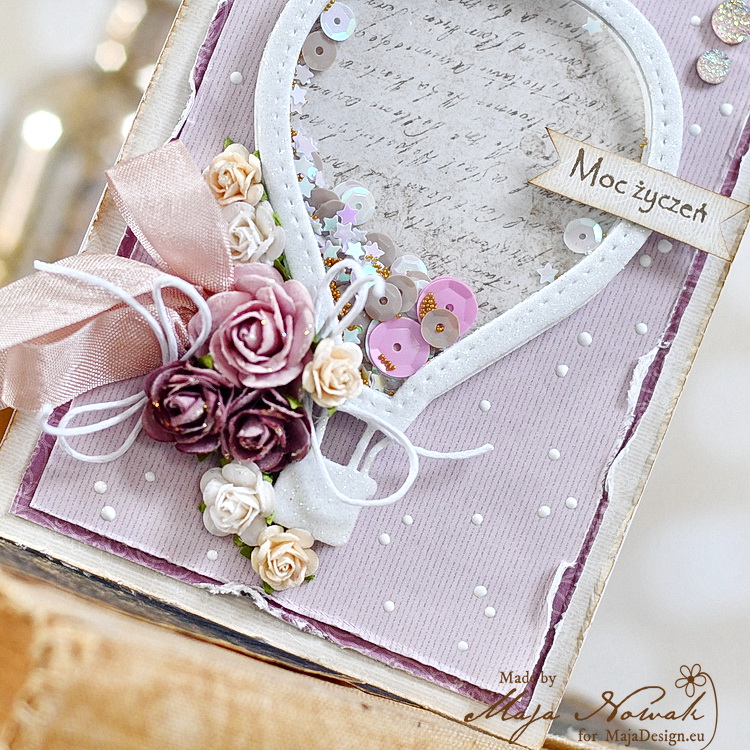
I filled the shaker window with sequins of various colours and shapes and added some microbeads:
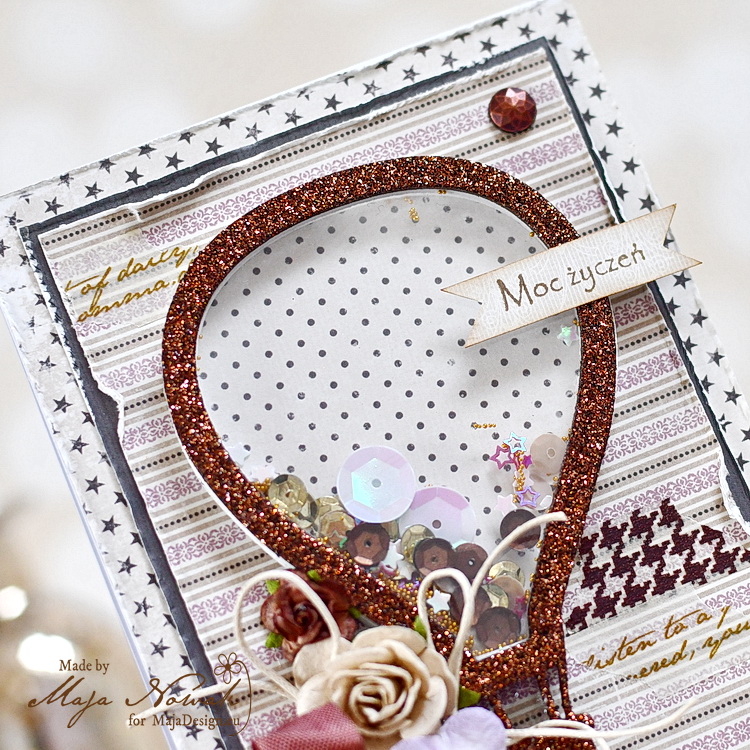
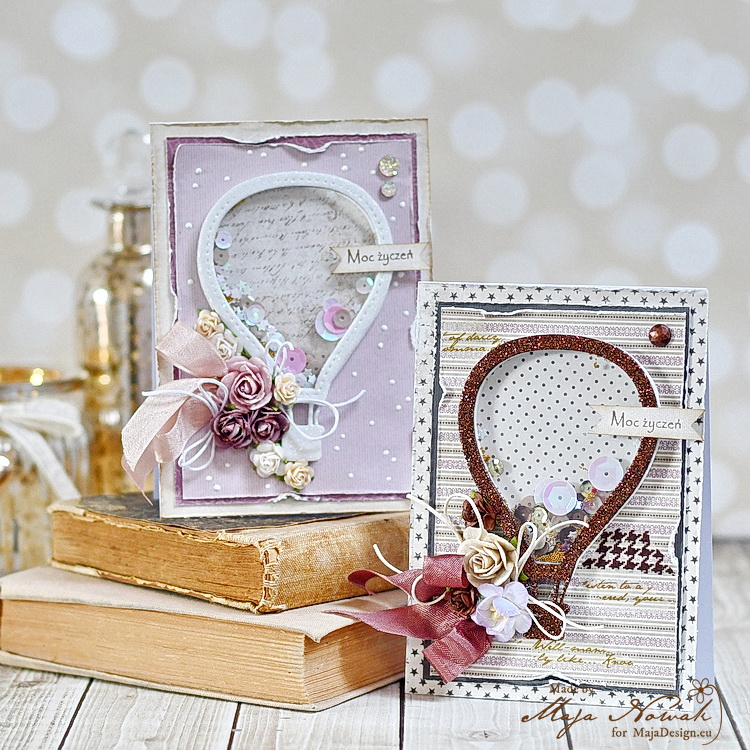
I was so happy with this new easy technique for shaker cards that I made another card of the same design and using the same papers, but in a more masculine colours:
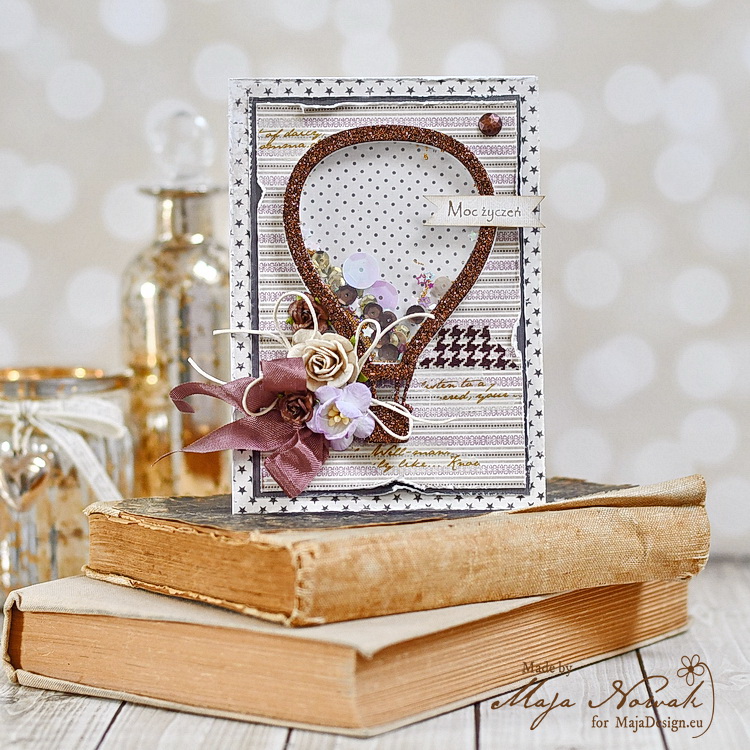
This time I used a delicate stripes pattern for the background and added pieces of washi tapes to add some interest.
And I really want to give Maryann Laursen a shout-out here. If you go through the posts on our blog, you will barely see one she didn’t comment on! She is a lovely person who is always ready to appreciate creative work and share her knowledge too. Maryann – thank you for being such a loyal Maja Design fan, these cards are for you 🙂
Here is the list of supplies I used:
Maja Design papers:
-
- Bs
-
- All dressed up bs
-
- Mono Celebration-Pearl
Other: flowers, vintage ribbon: Wild Orchid Crafts; stamp: Lemonade; balloon die, washi tape: Action; sequins, wax string: my stash
That’s all for today – thank you for visiting and come back tomorrow for more inspiration!


