Good morning, Maja Friends, welcome to the blog today 🙂
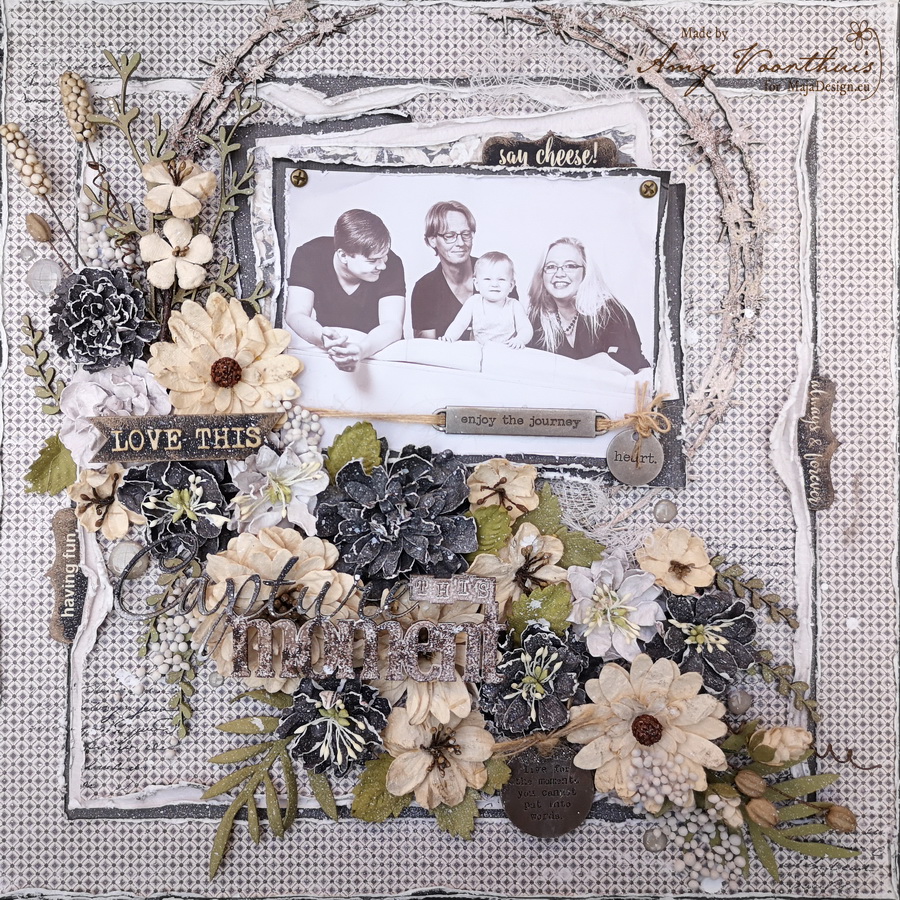
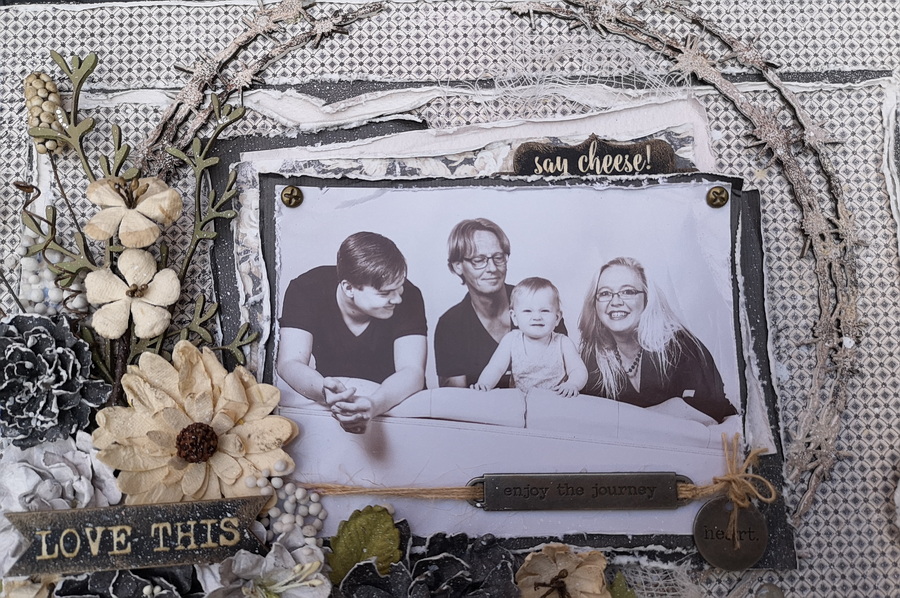
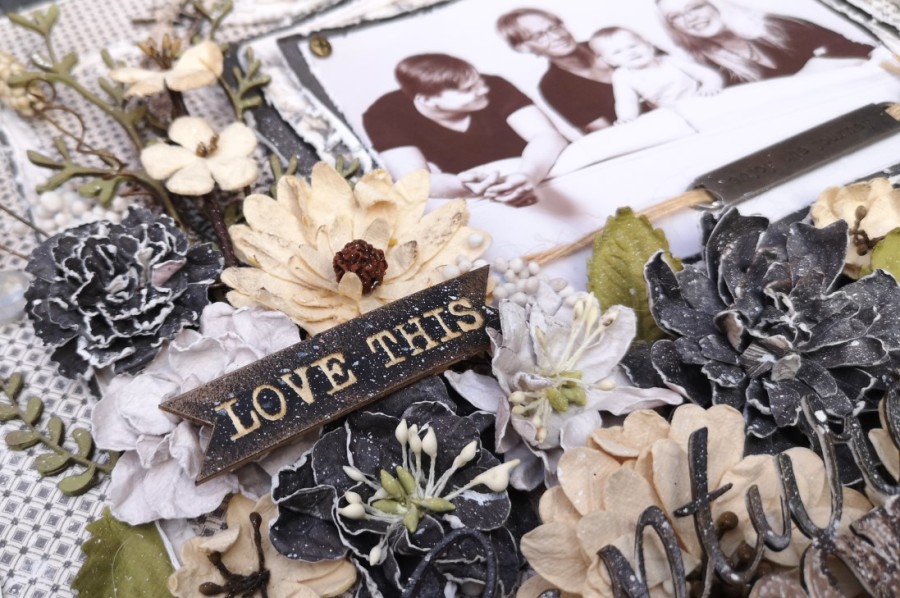
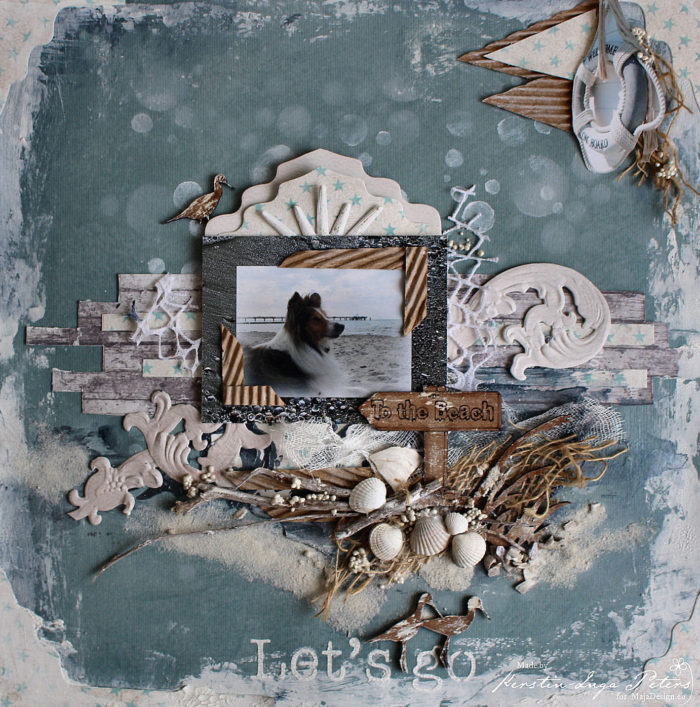
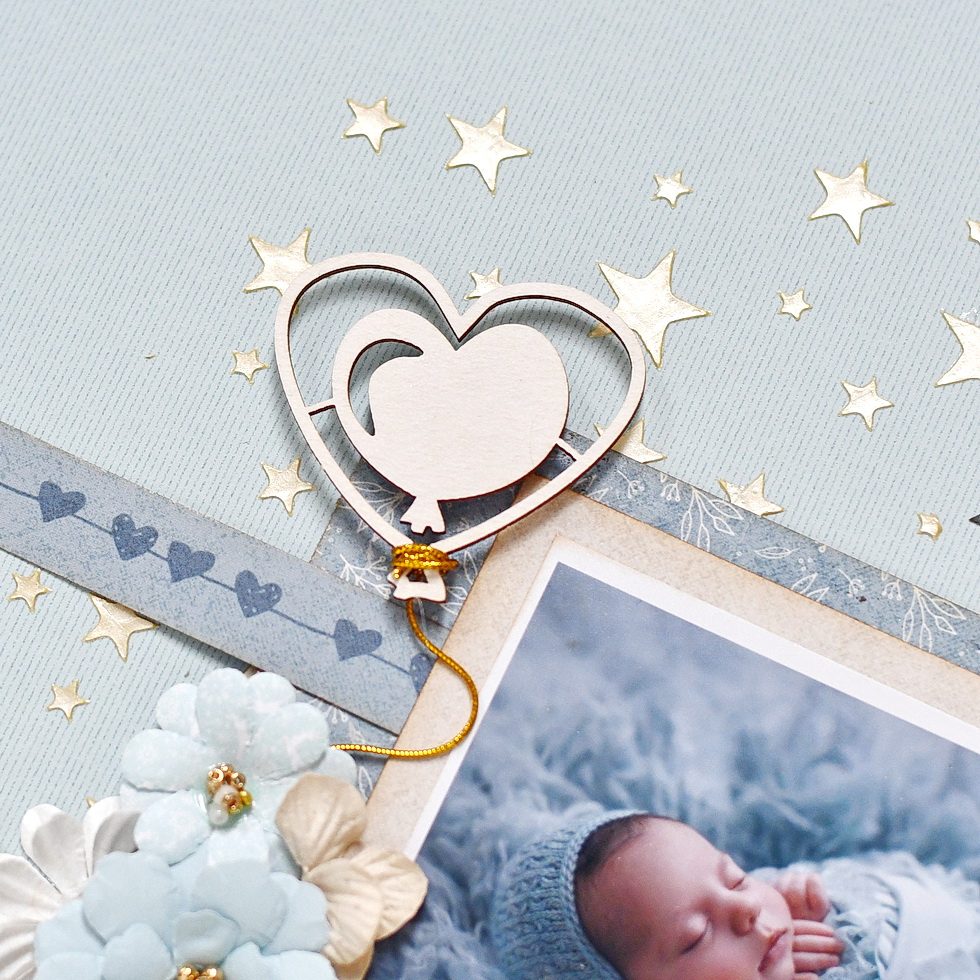
For a couple of years newborn photoshoots have been immensely popular and no wonder they have – babies grow up so fast and we have just a couple of weeks to take such photos, which makes them even more precious. I regret that when my kids were born such photoshoots were rare, but it makes me so happy when I have a chance to scrapbook a photo of such a tiny human being 🙂 Here’s one such layout I made:
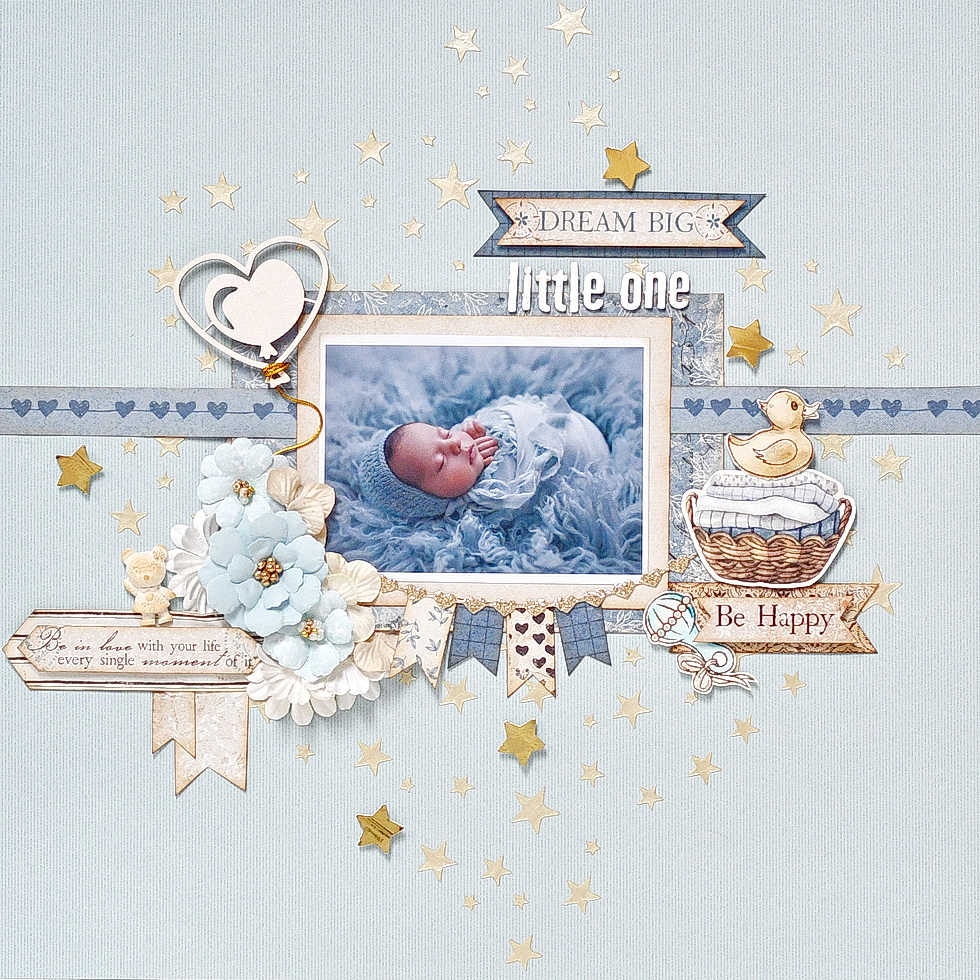
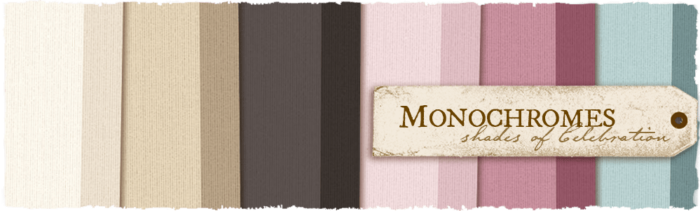
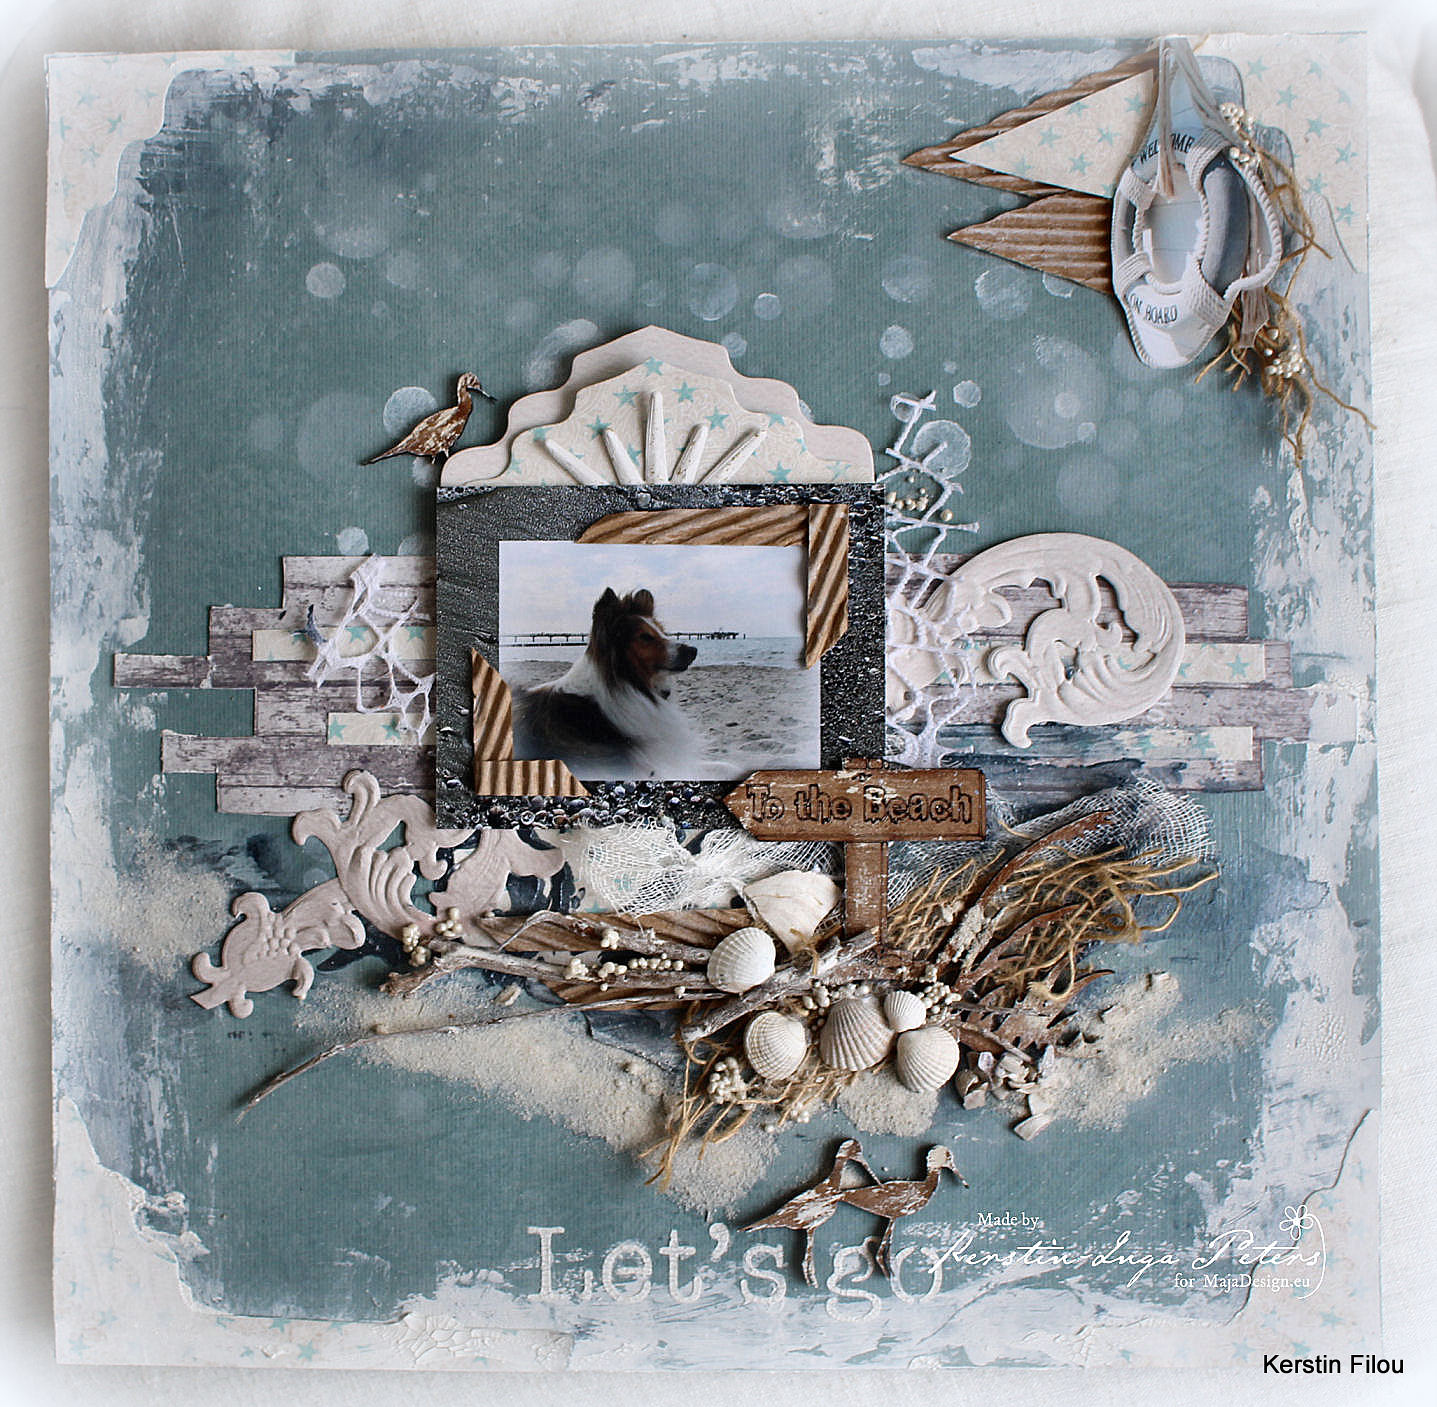
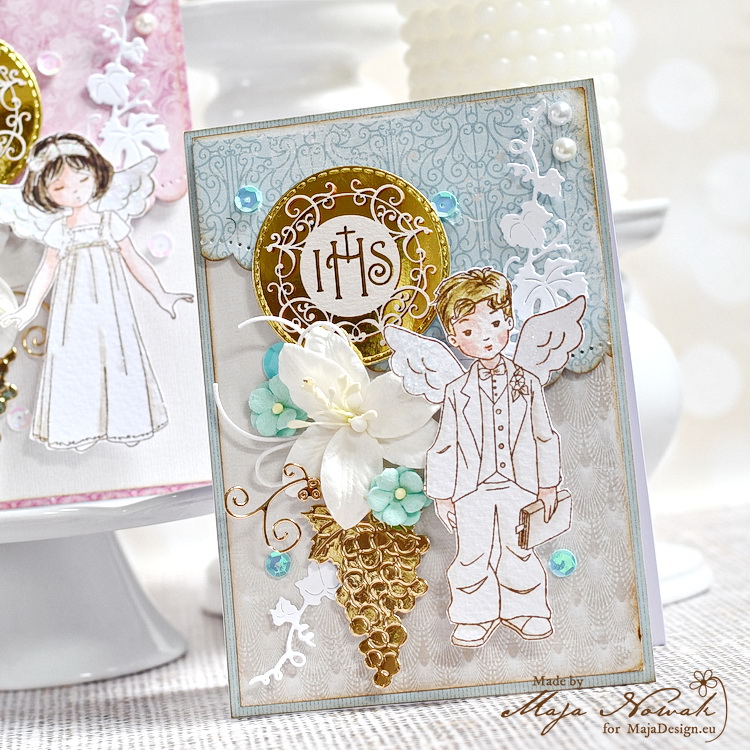
I used a mixture of collections to match the blue shades of the photo, and combined it with soft beige and gold for a delicate baby layout.
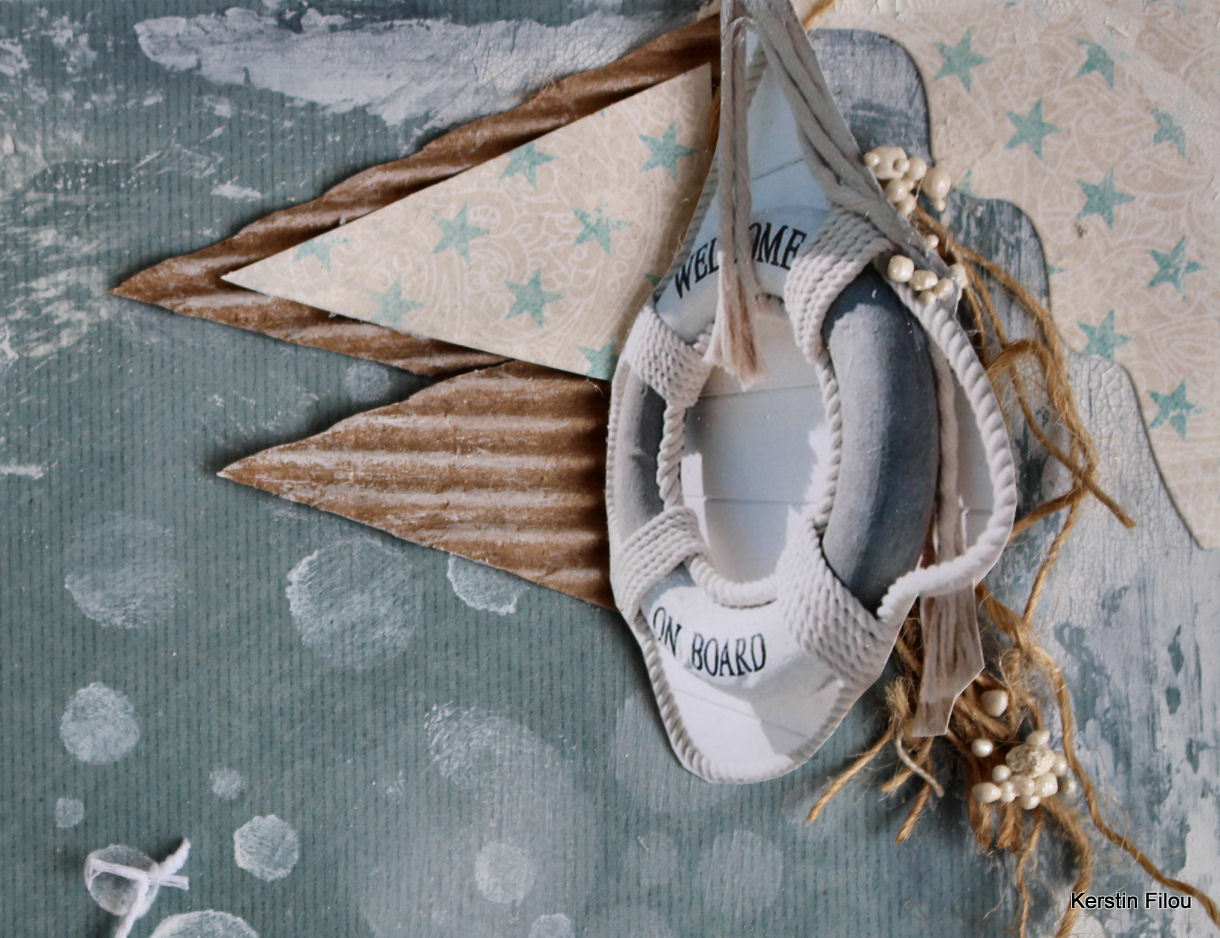
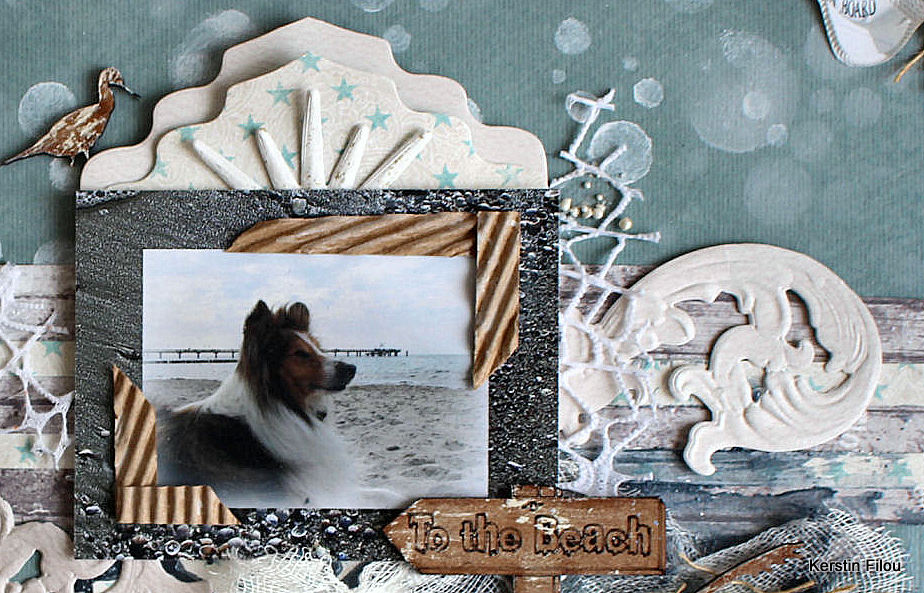
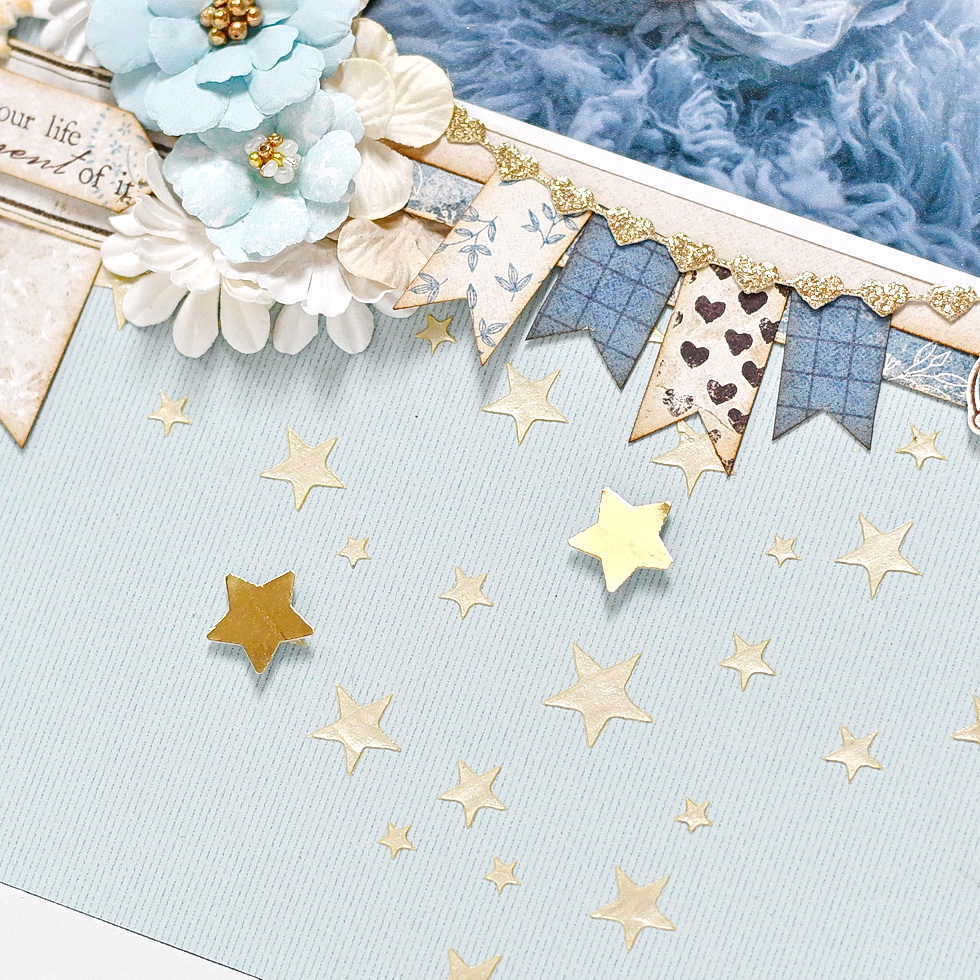
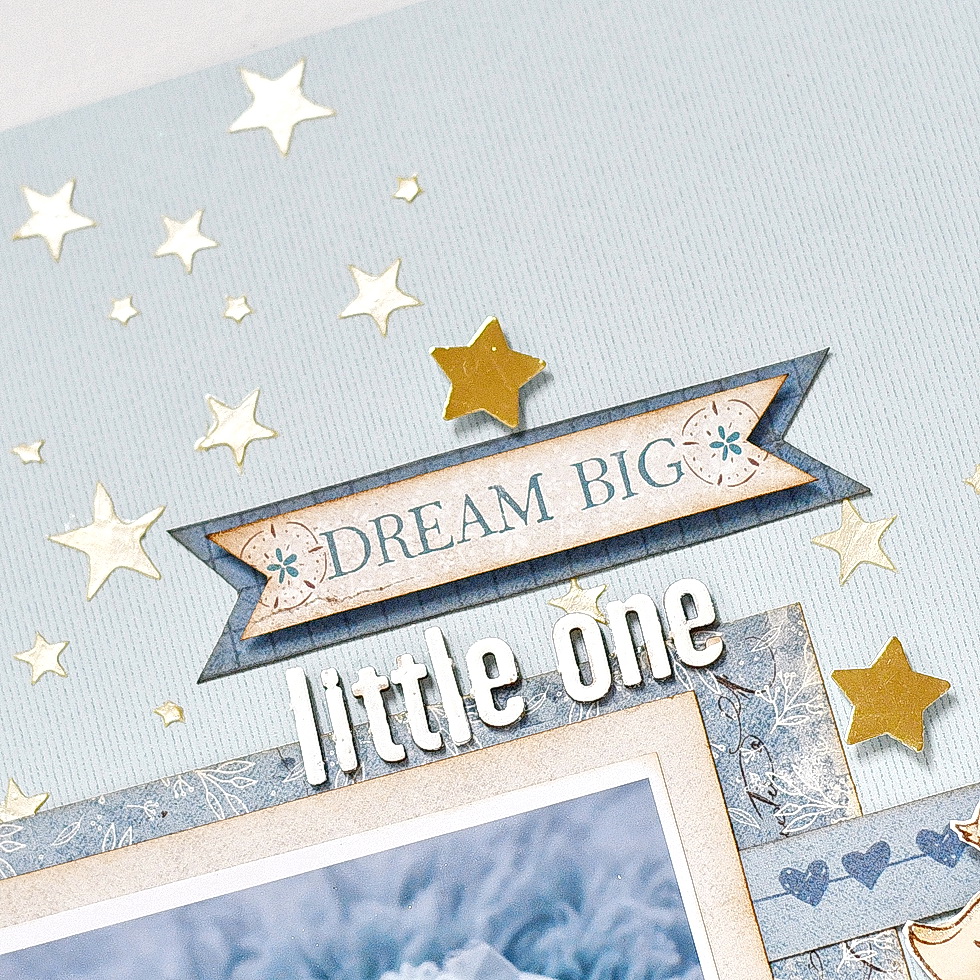
First, I applied the stars pattern upon the background paper using a stencil, and when the pearl paste was dry, I added gold metallic stars over some of the stars:
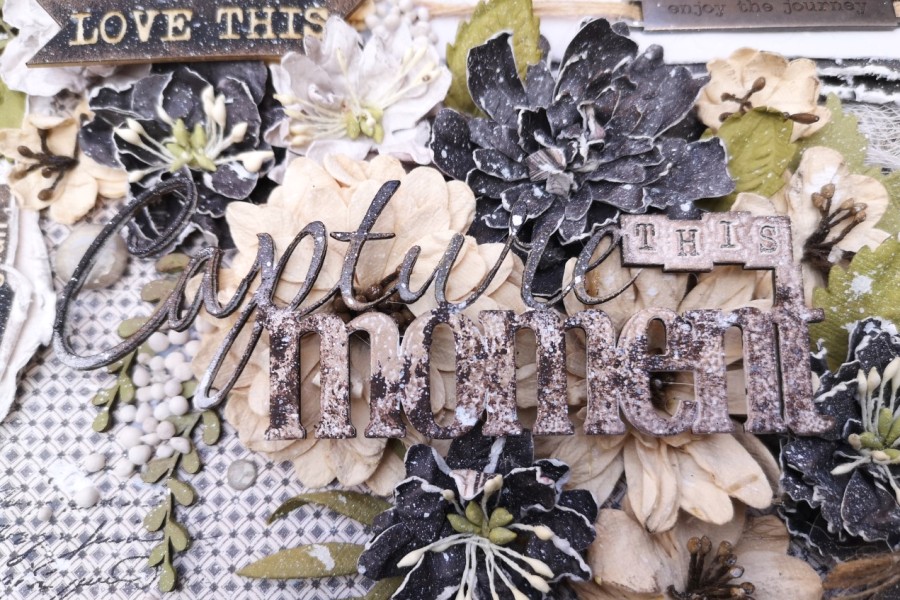
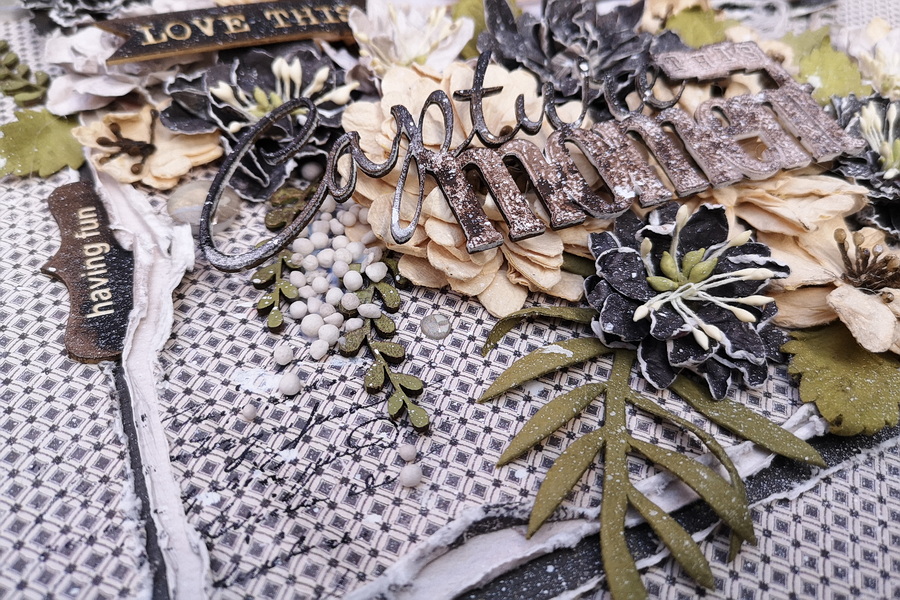
I arranged the title by mixing chipboard letters with a piece of a signature strip from one of the papers:
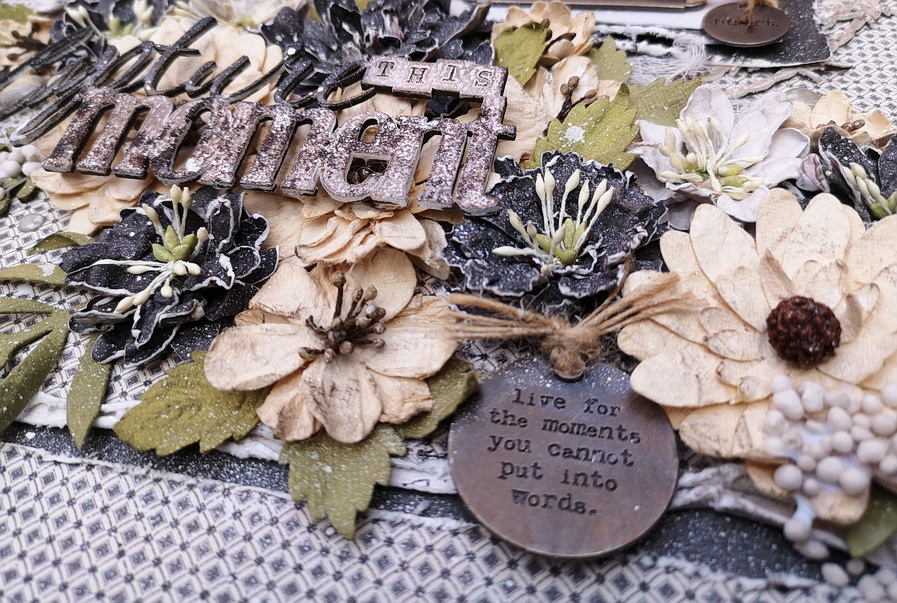
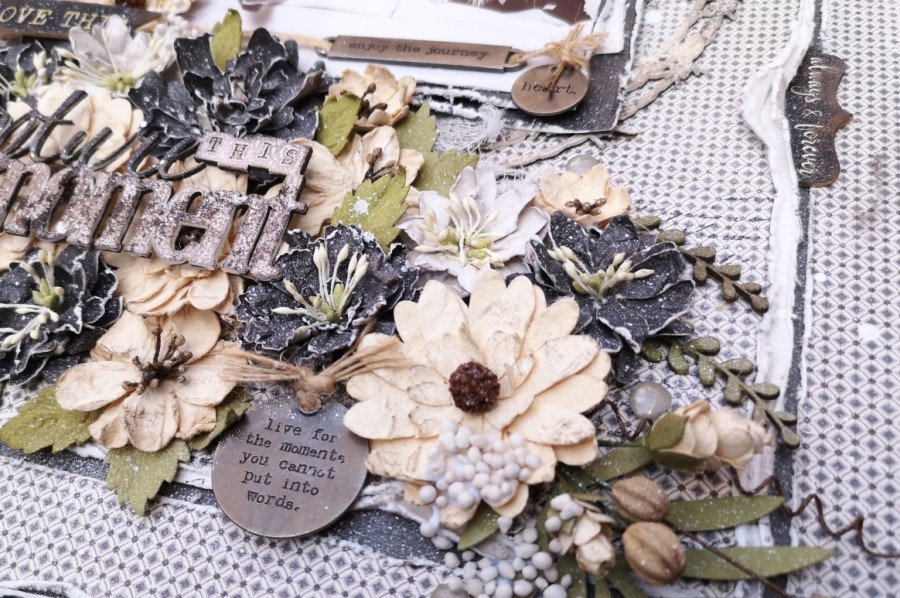
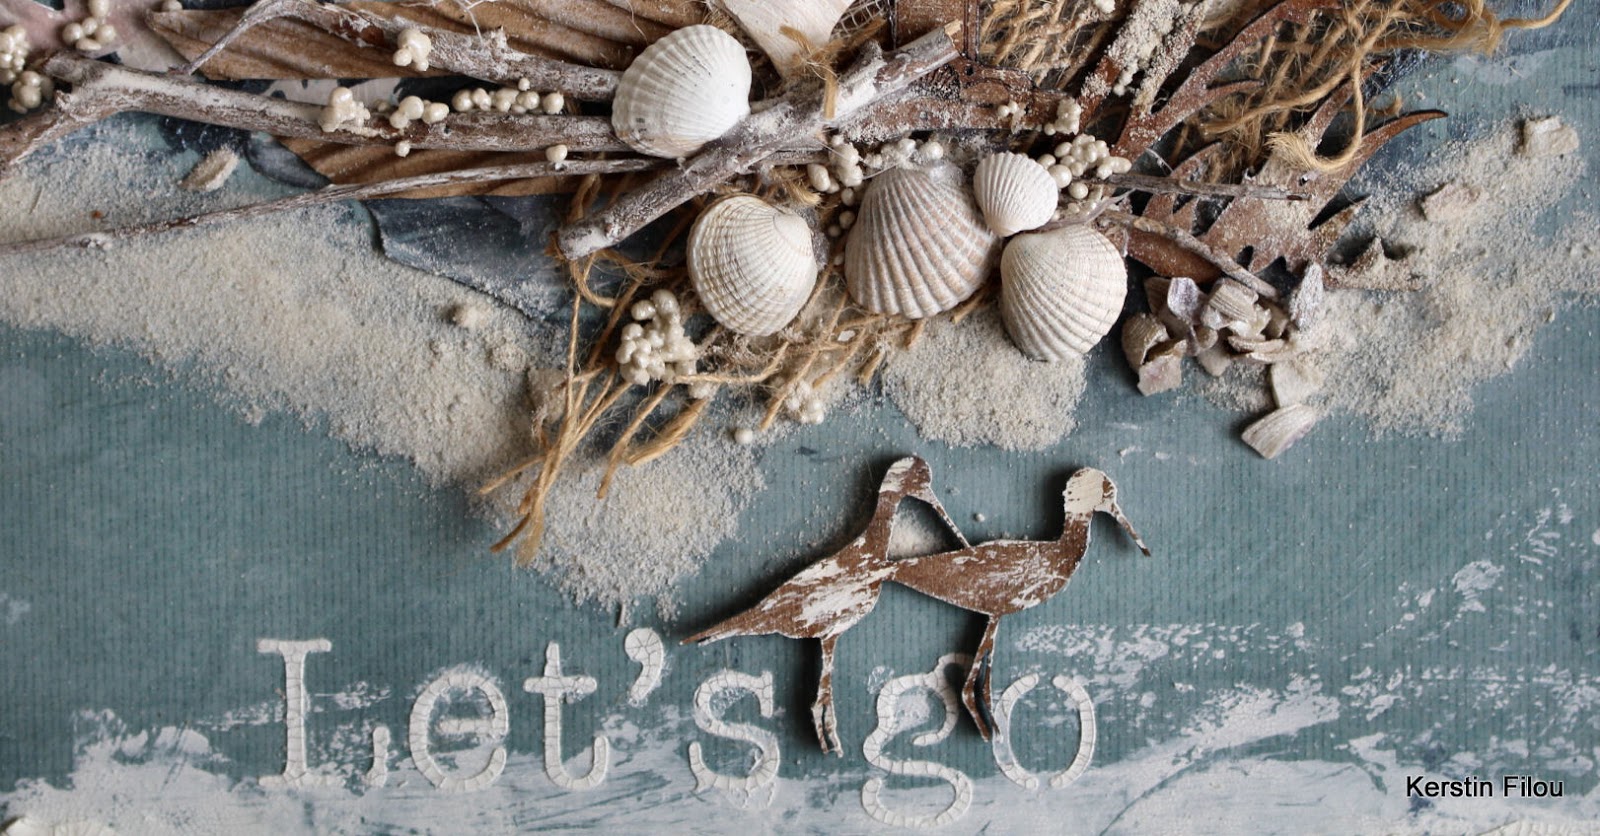
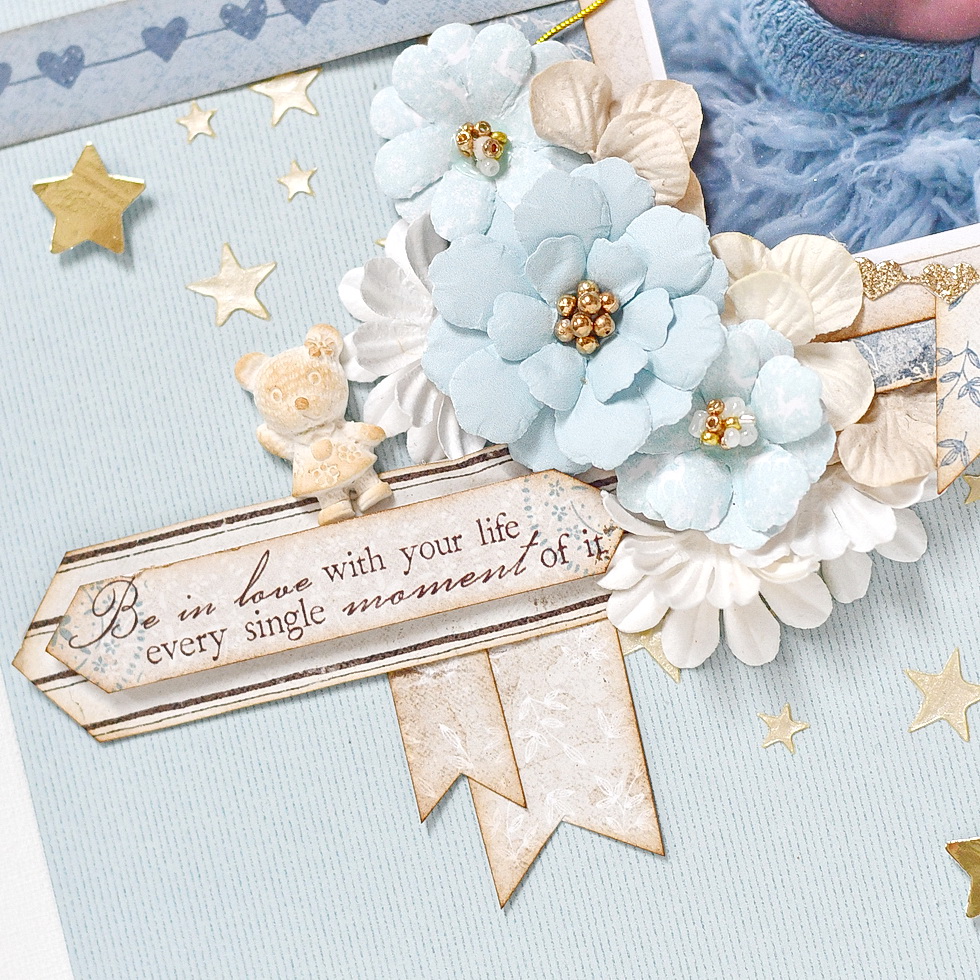
I used some more pieces from signature strips as a kind of journaling:
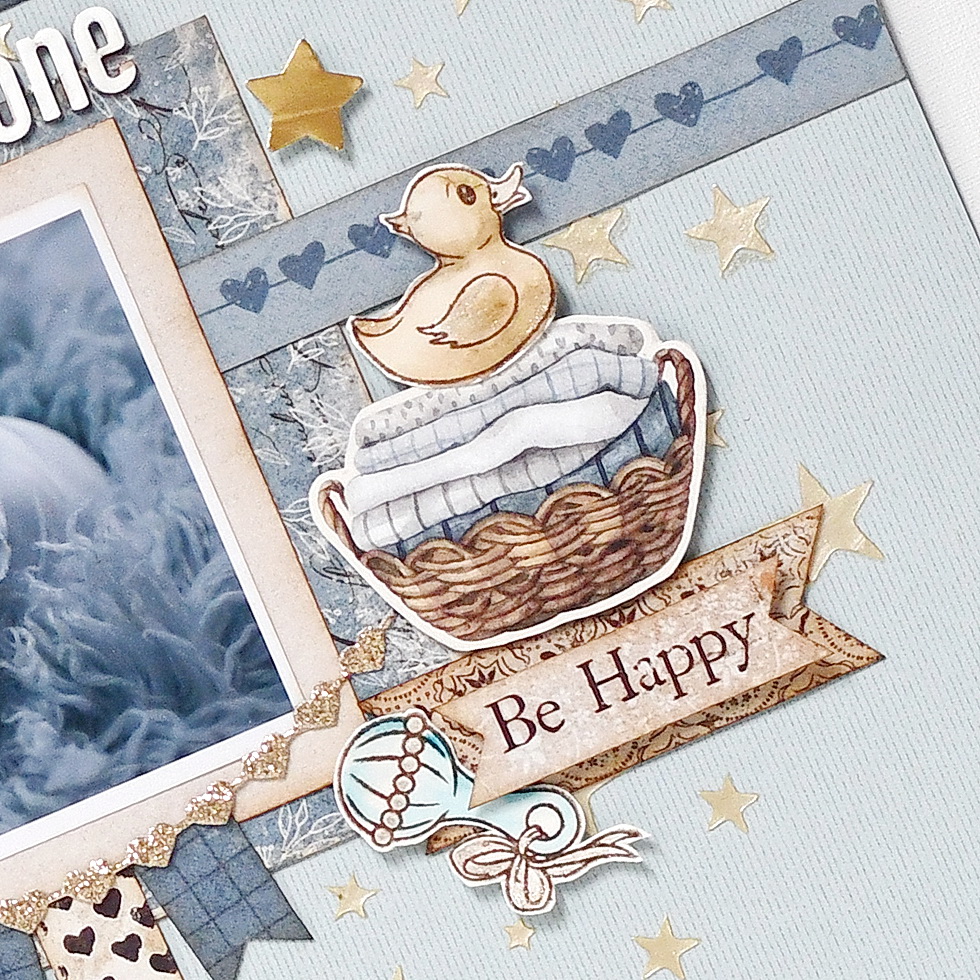
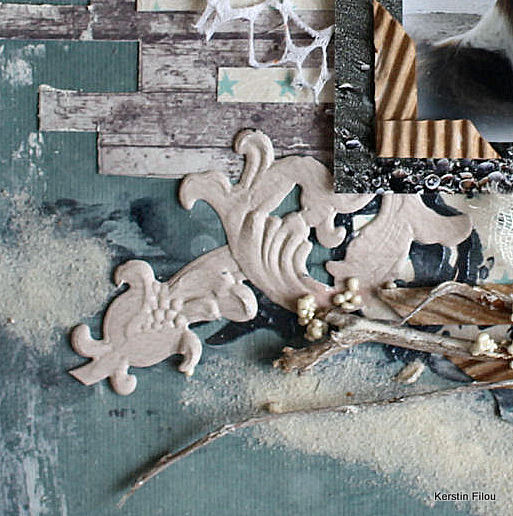
…or as a decorative border across the page 🙂
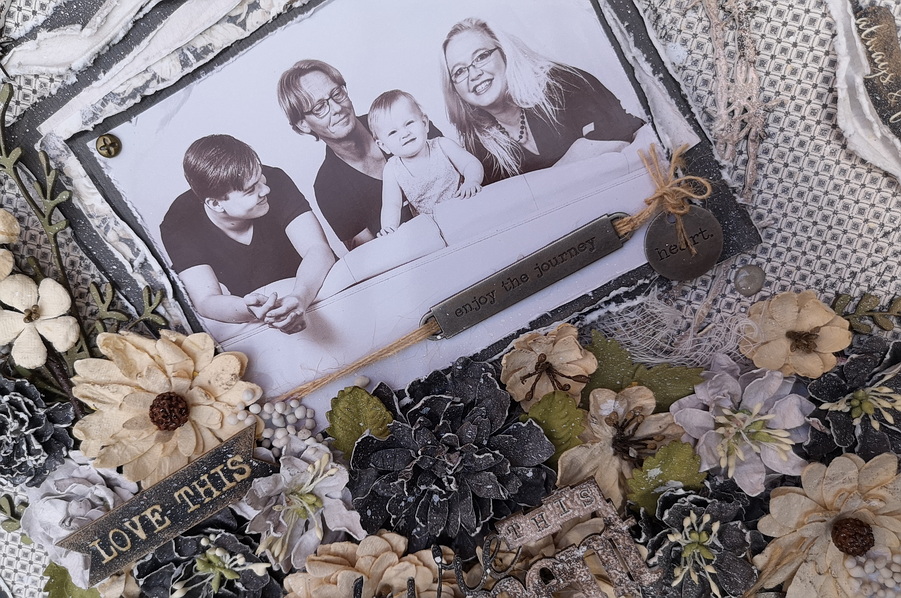
To finish the layout off, I used scraps of various papers to make a banner garland under the photo:
I really love the way the layout turned out, soft and gentle like the baby sleeping in the photo 🙂
And here’s what I used:
Maja Design papers:
-
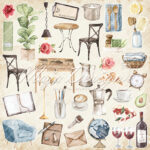
- Indoors 2 cut out
-
- At school-bs
-
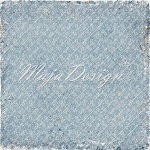
- Bohemian Harmony – Dream big-bs
-
- Bohemian Harmony – Show gratitude-bs
-
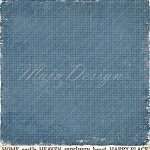
- Mono Celebration – Vintage Teal
Other: stencil, stamps, embossing powder, chipboard: Agateria; flowers: Prima, Wild Orchid Crafts; star punch: DpCraft
That’s all for today, thank you for visiting and see you soon!