sewing box

4

Posted by Ingrid Gooyer

5 April, 2015 - ,

Write a comment

Had a lot of wooden spools just waiting to be used, so here it is…my vintage sewing box! 🙂
Made this box with the Vintage Summer Basics from Maja design.


For the box I used the 1899 and the 1946 sheets.


This box has a glass frame to see through so this box will be filled with some laces.


Just love these mini spools.
I gave them a coat with gesso.


The spools were decorated with the 1891 and the 1932 sheet.


A lovely scissor put in one of the spools.


Lots of room to be filled!


These old fabric buttons were found at a local flea market.


Some vintage lace bobbins for lacemaking.


Some flower ribbon, metal leaves, stick pins and flowers.

Papers used:

1891 – 1899 – 1932 – 1946

Enjoy your day!
Ingrid xxx

Easter wreath – with step by step photo tutorial

2

Posted by Ingrid Gooyer

22 March, 2015 - , ,

Write a comment

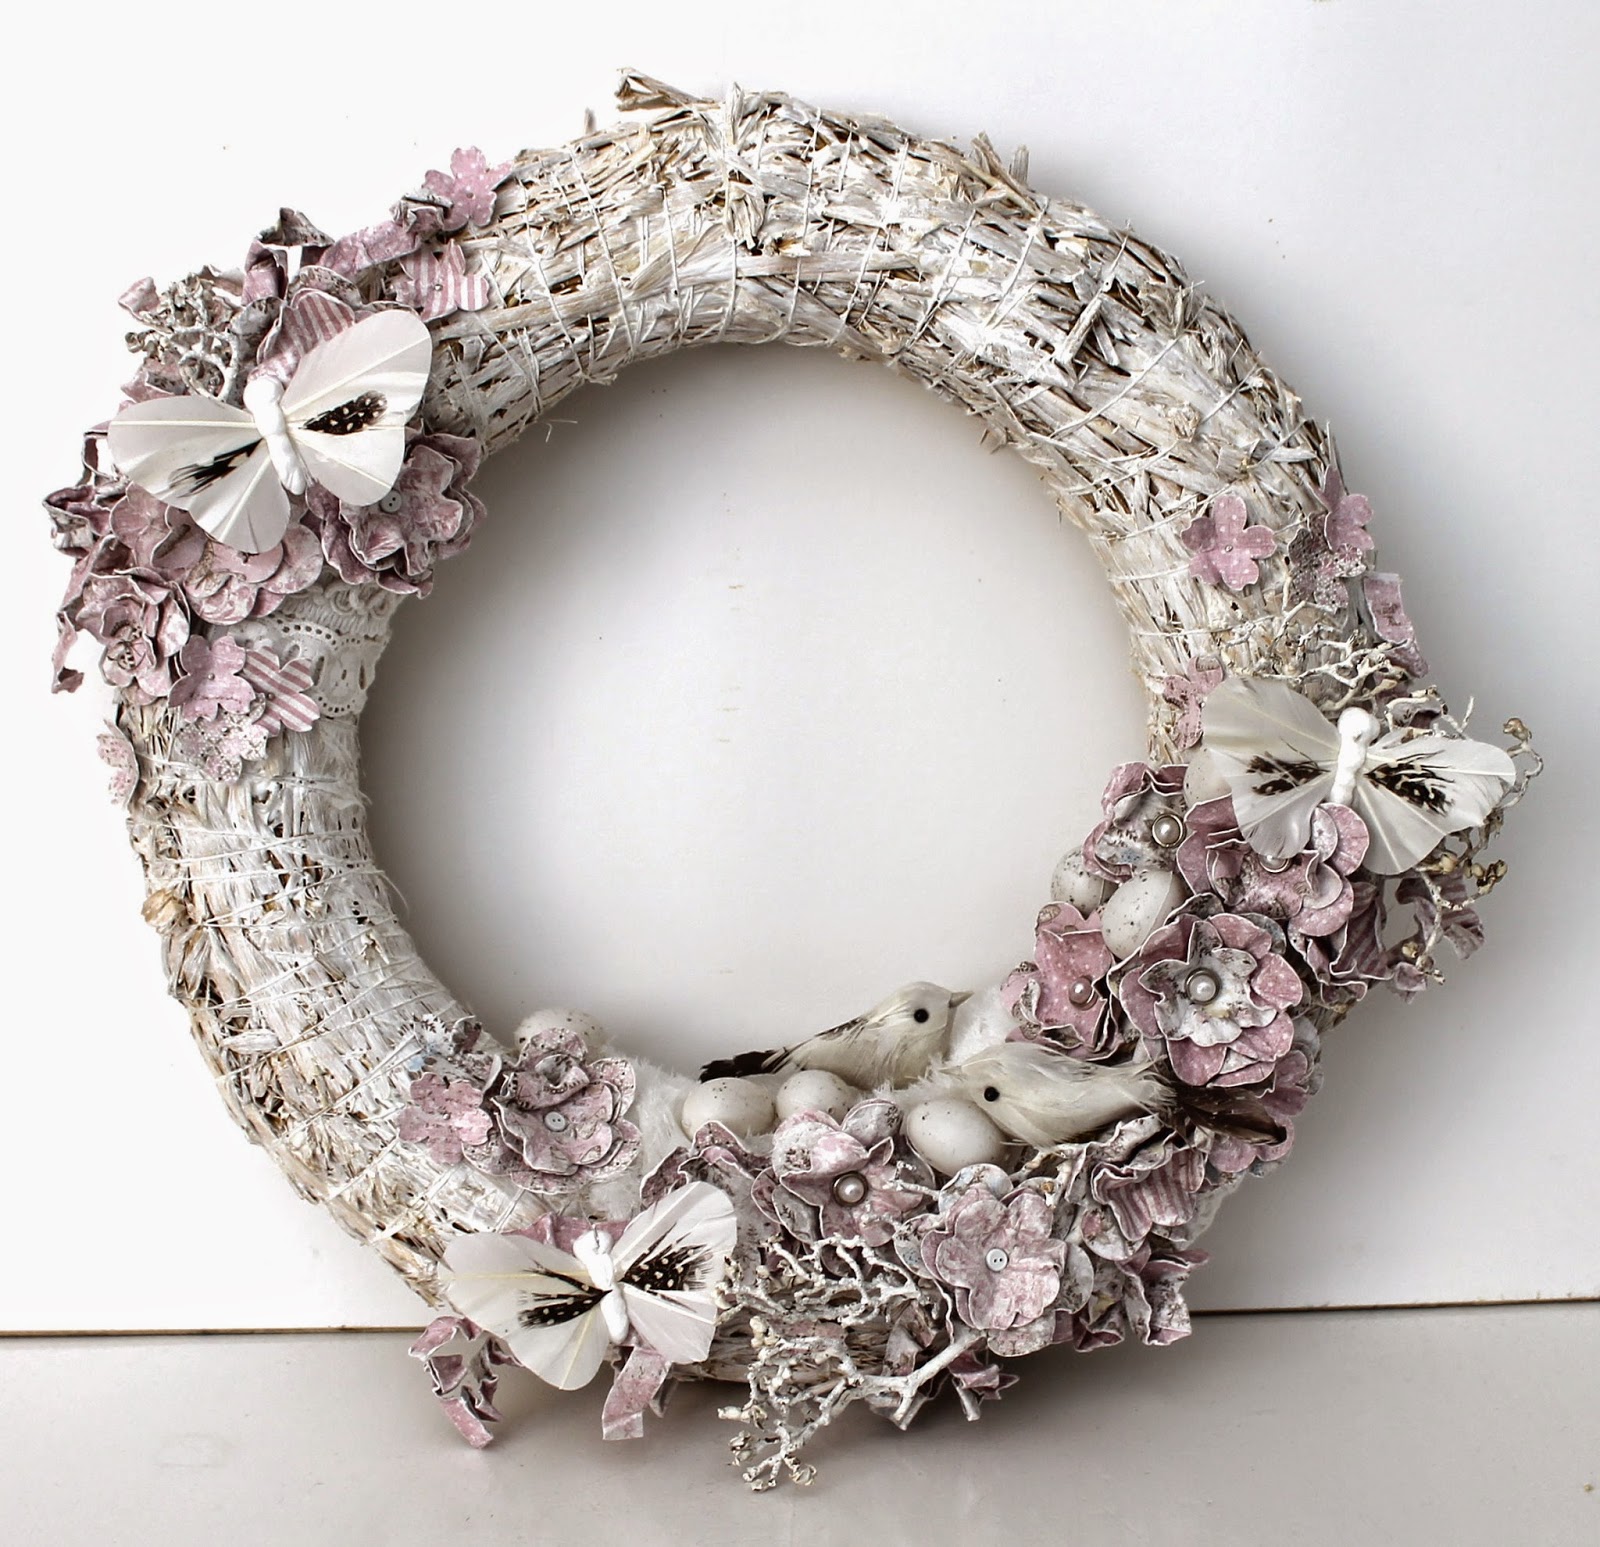
It’s almost Easter, thought I would make me a lovely home decoration.
Made this wreath with a step by step photo tutorial.
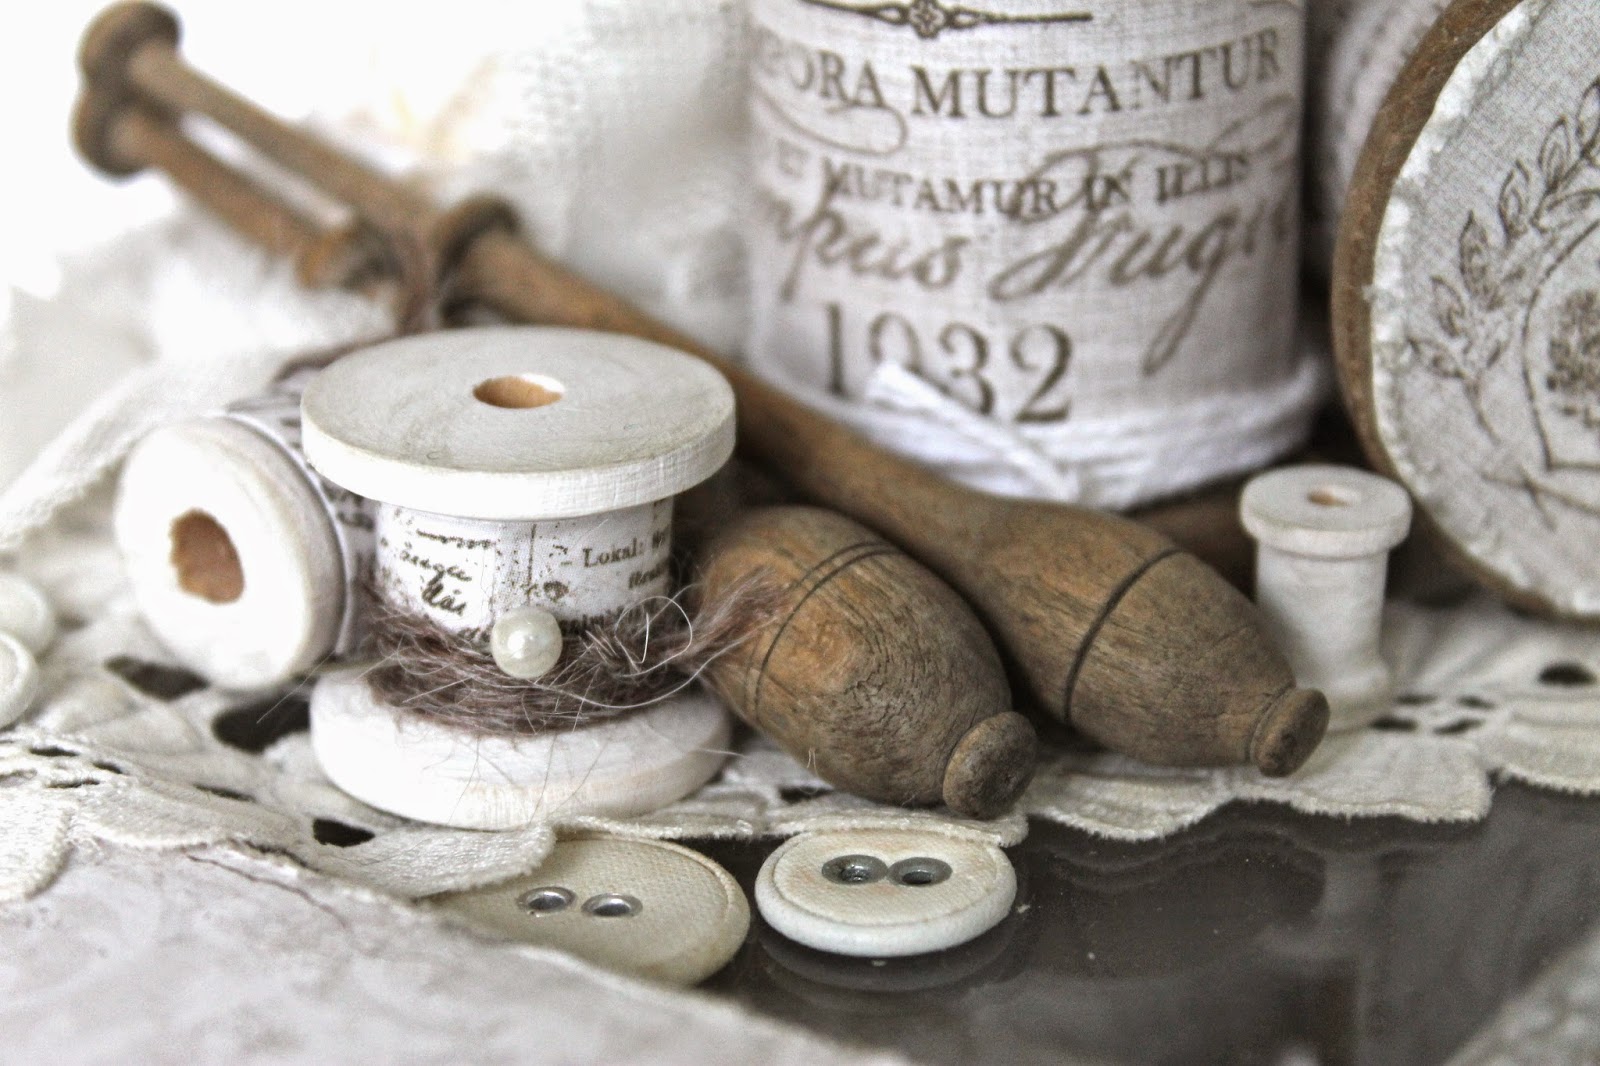
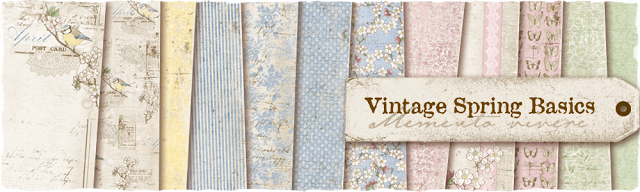
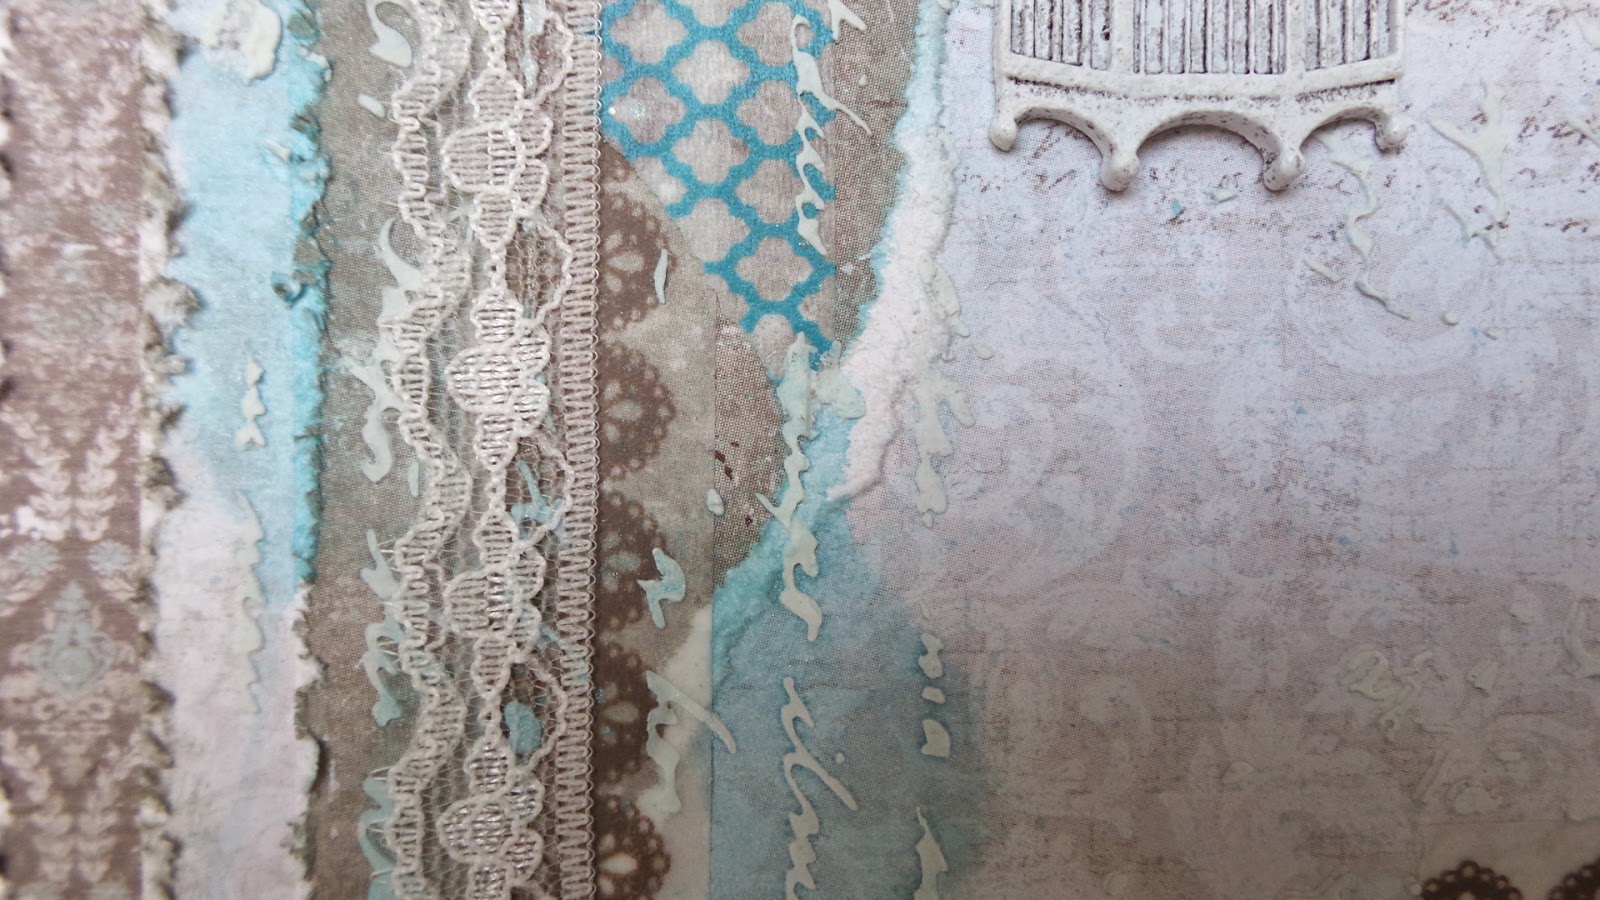
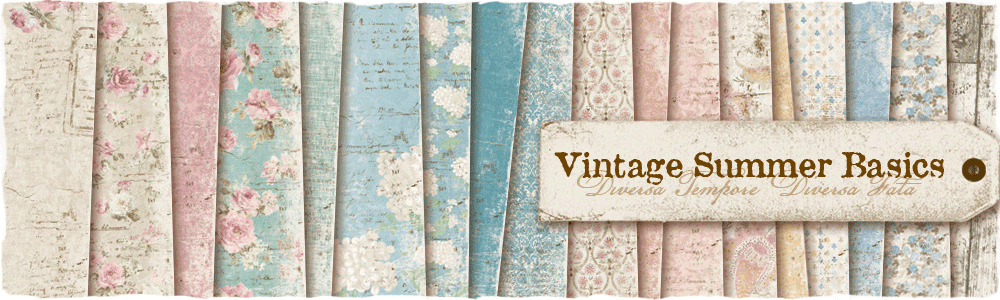
For this project I used the Vintage Spring Basics collection from Maja Design.


I started this project by giving the straw wreath a coat of gesso.
Here I used the gesso from 13 arts.


Only a thin coat will do. I wanted to see the original color of the straw shining through.


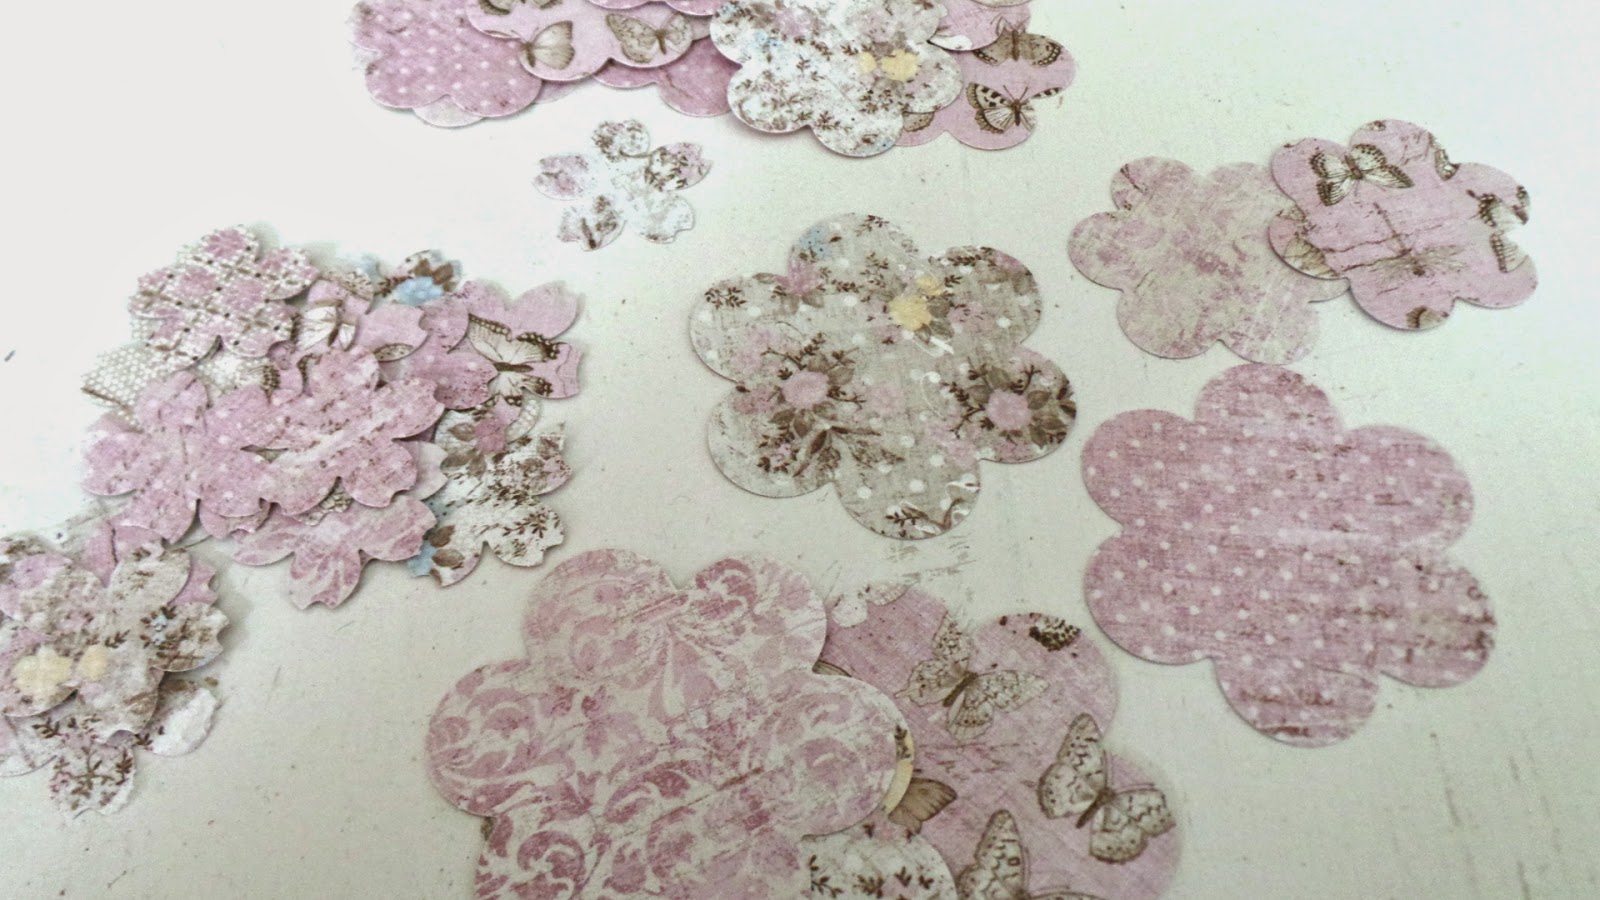
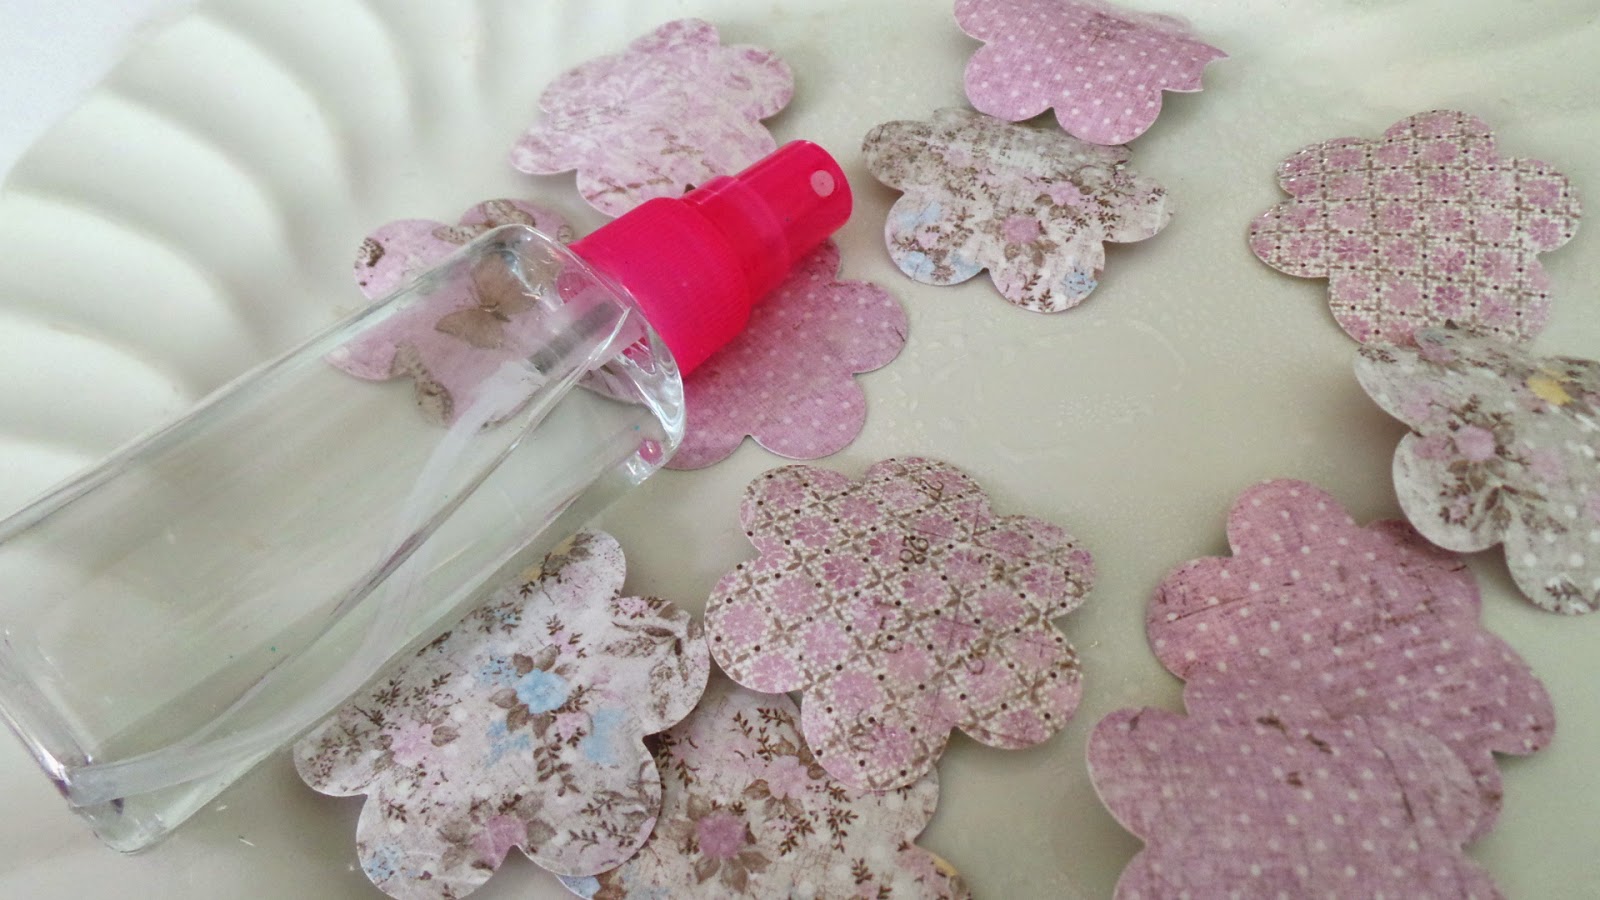
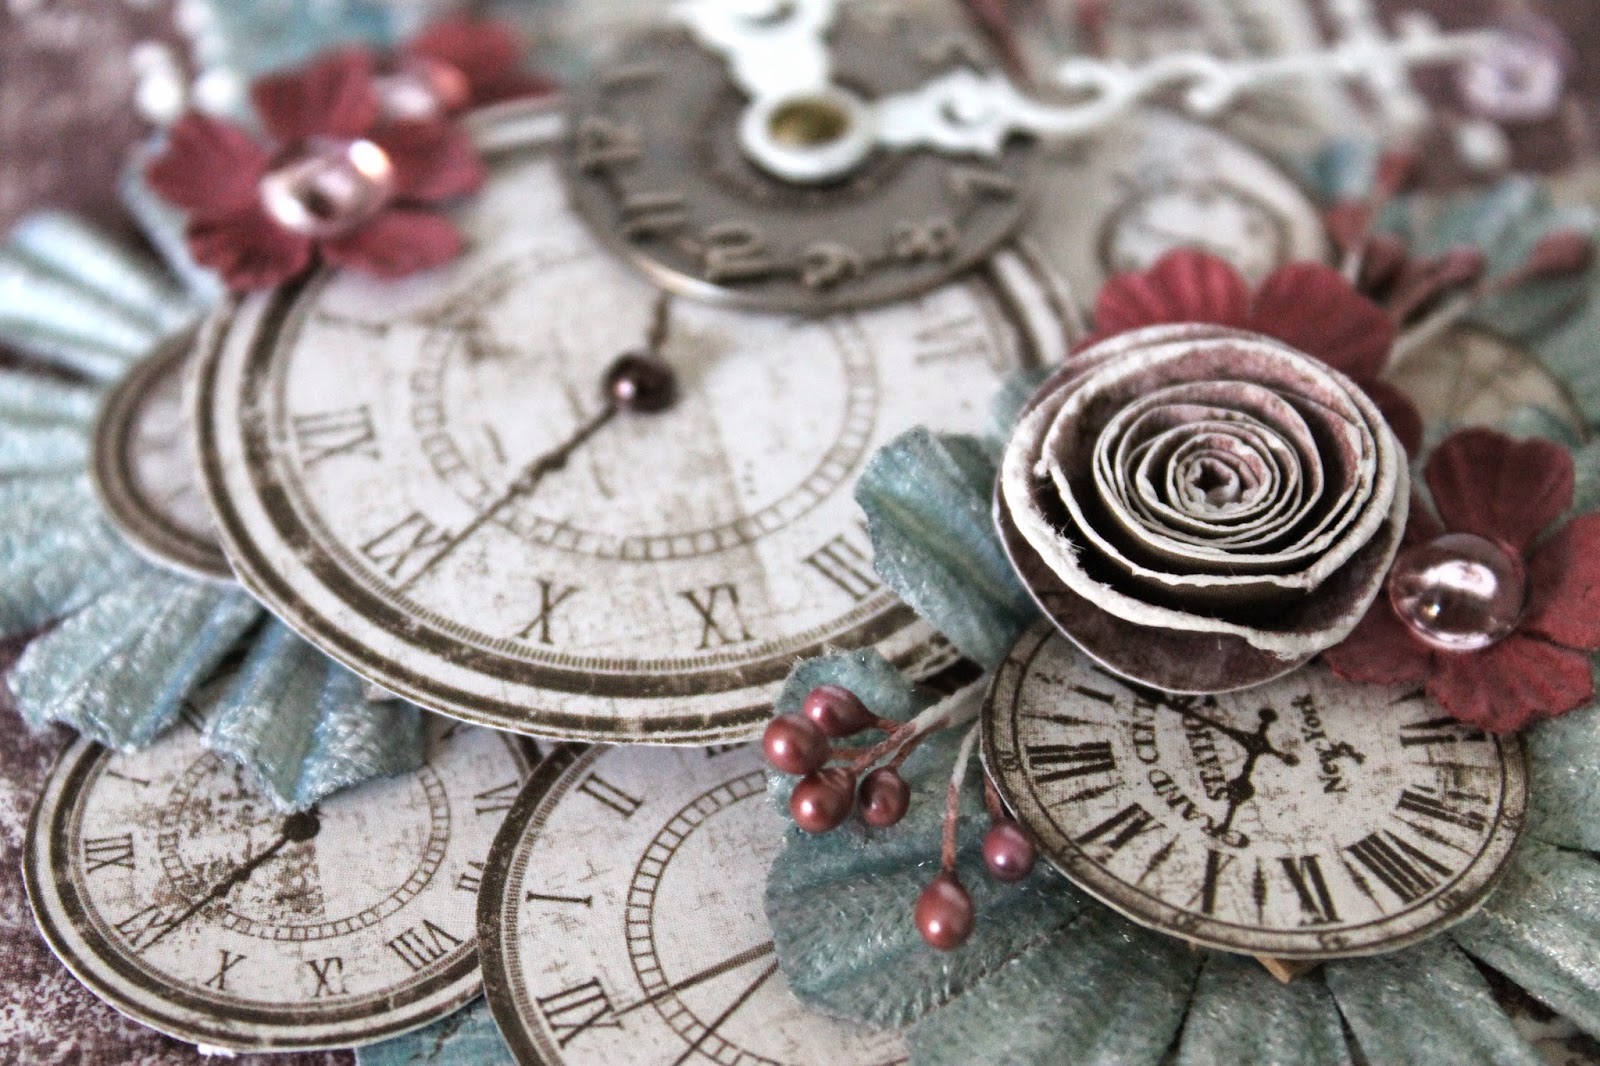
For the next step I punched out some different shapes of flowers.


Put them on a big plate and started to wet the punched flowers using a mini mister.


Maja papers are so nice and thick and they can hold quite some water.


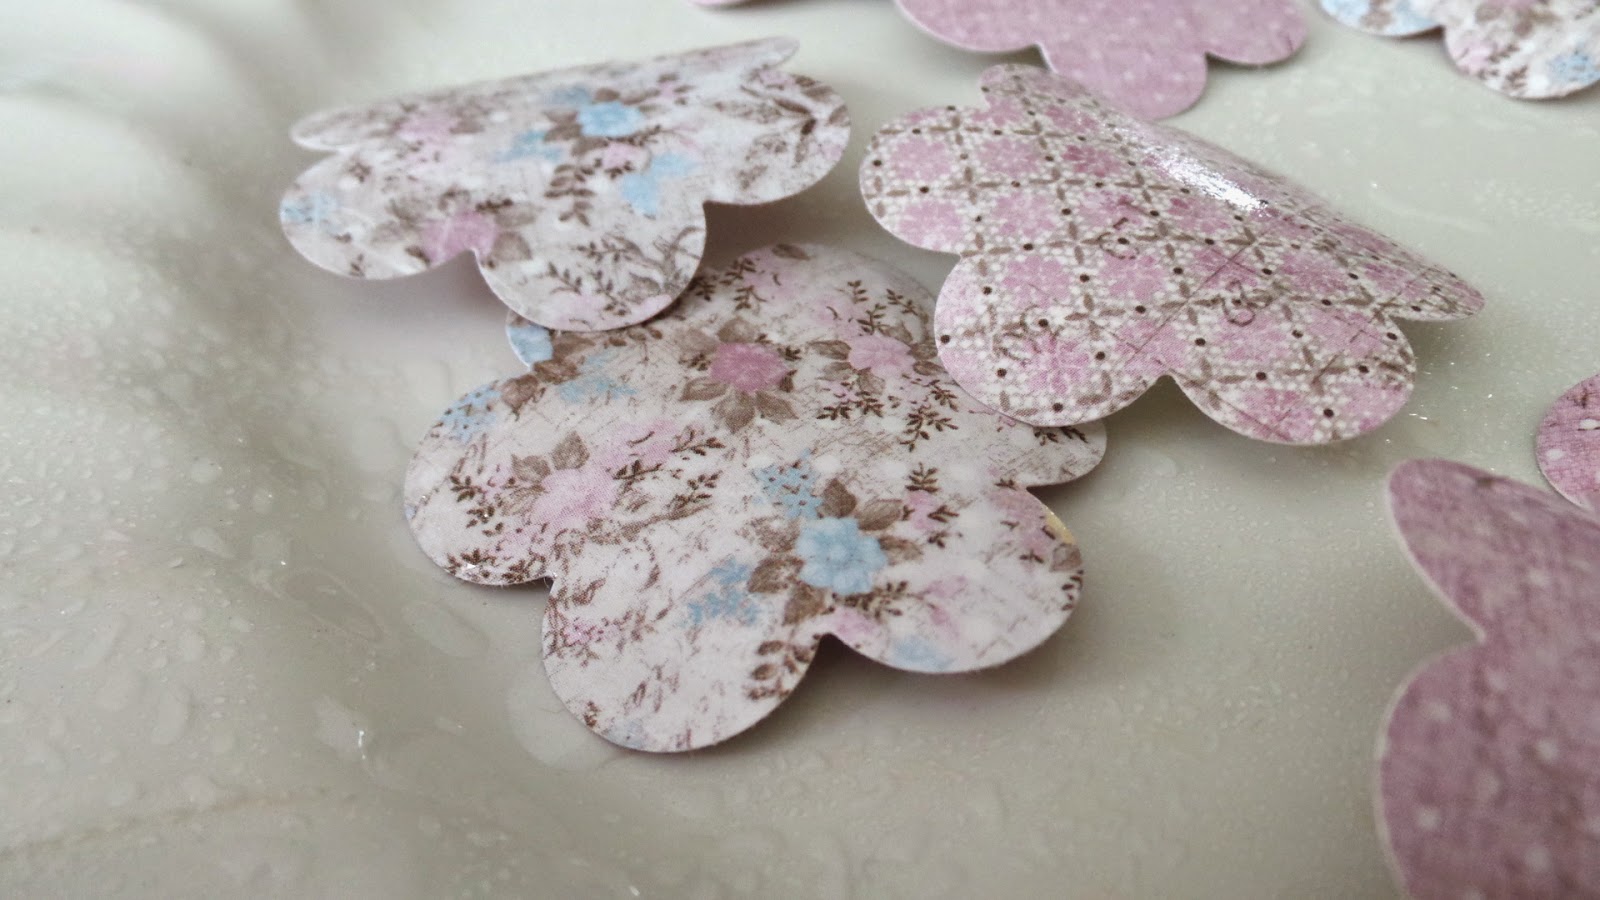
Then I started to crumble all the wet flowers.


Set them aside to get almost dry.


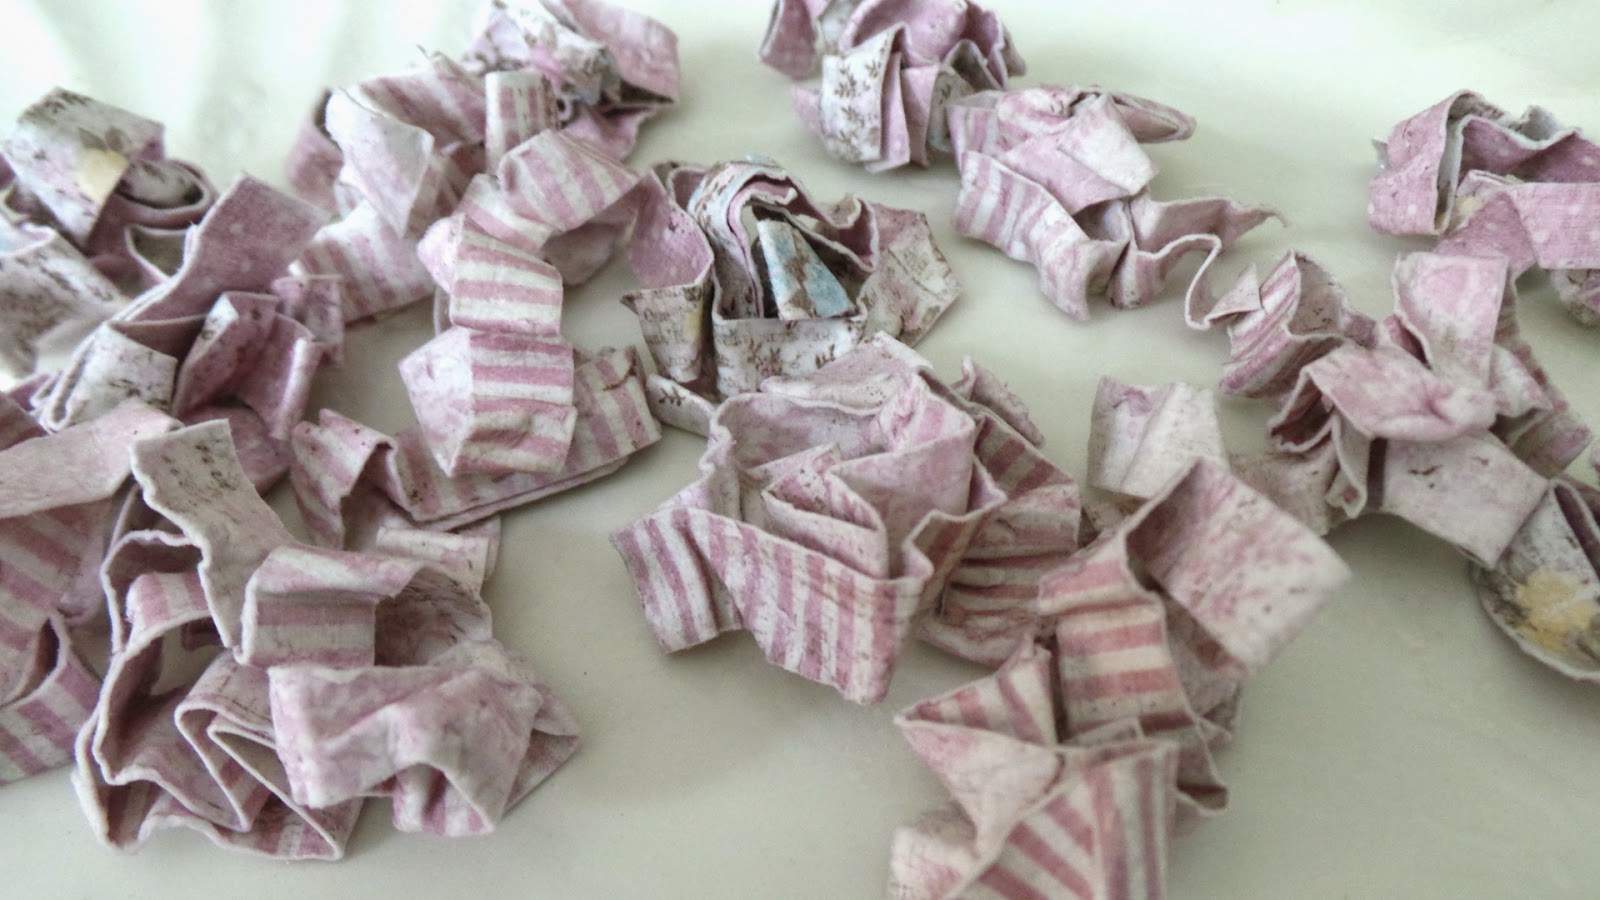
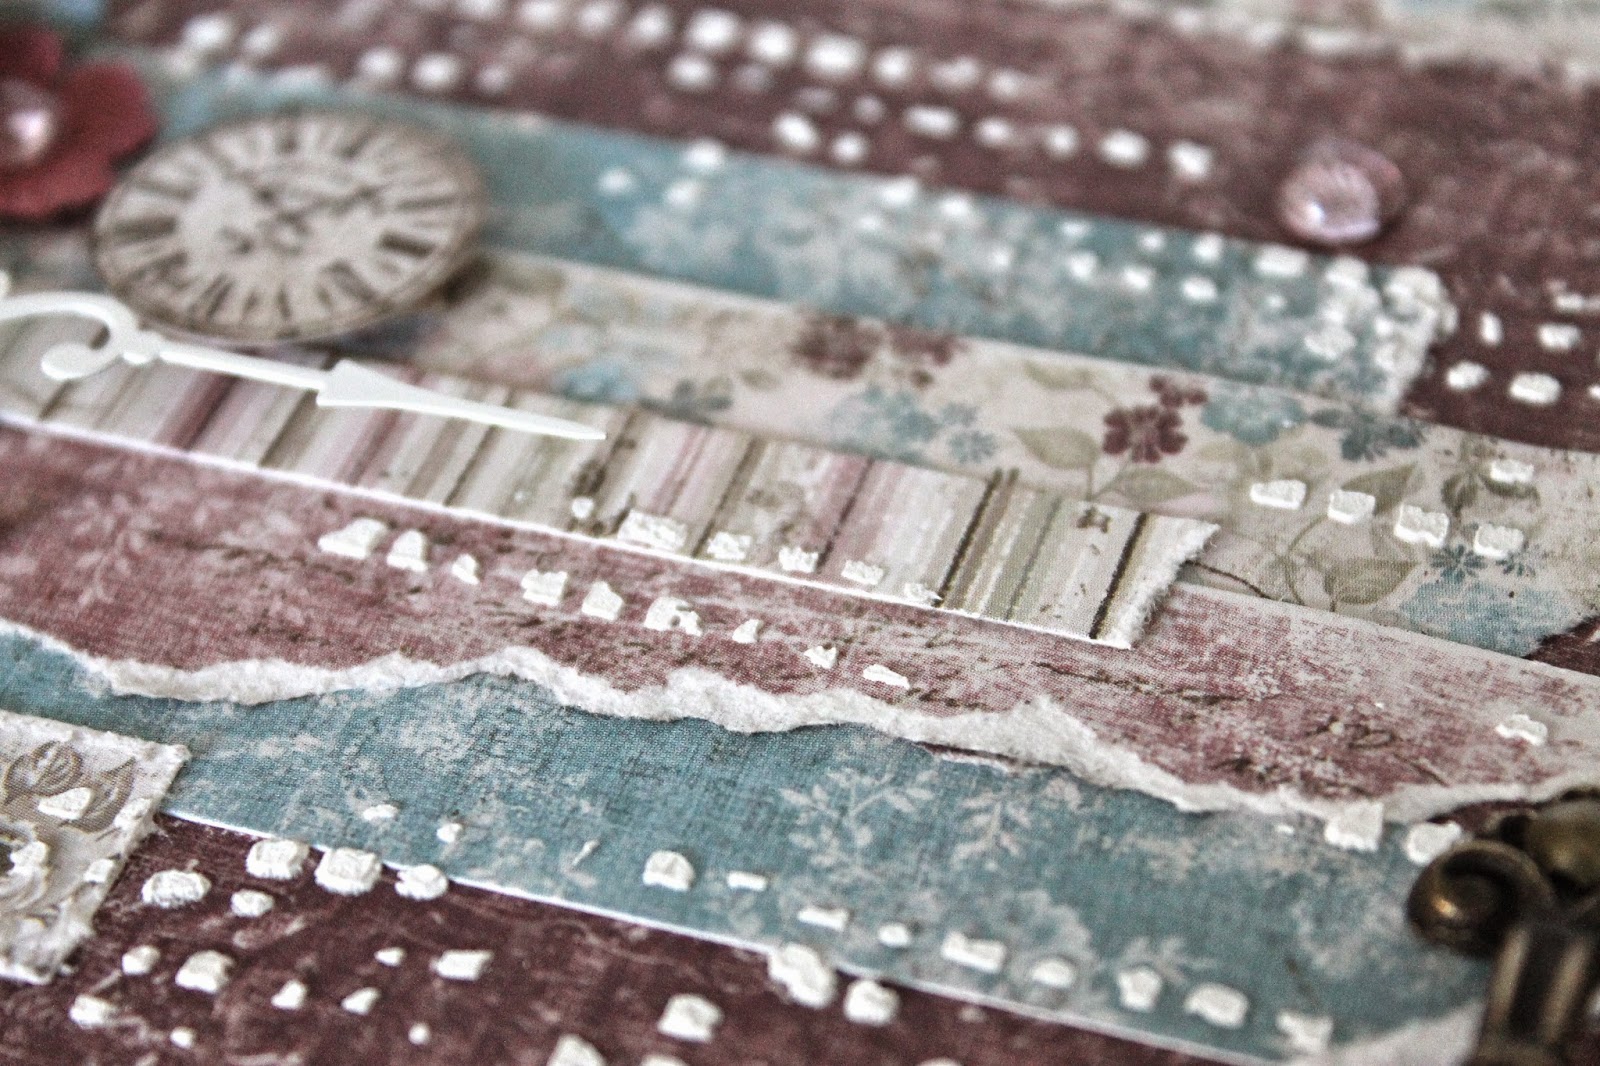
I cut out some strips of paper as well. All about ca. 1 cm.


They got the same treatment as the flowers, some water and crumbled.


All crumbled and wet and set aside to completely dry.
These strips will give a lovely ribbon effect on the wreath!


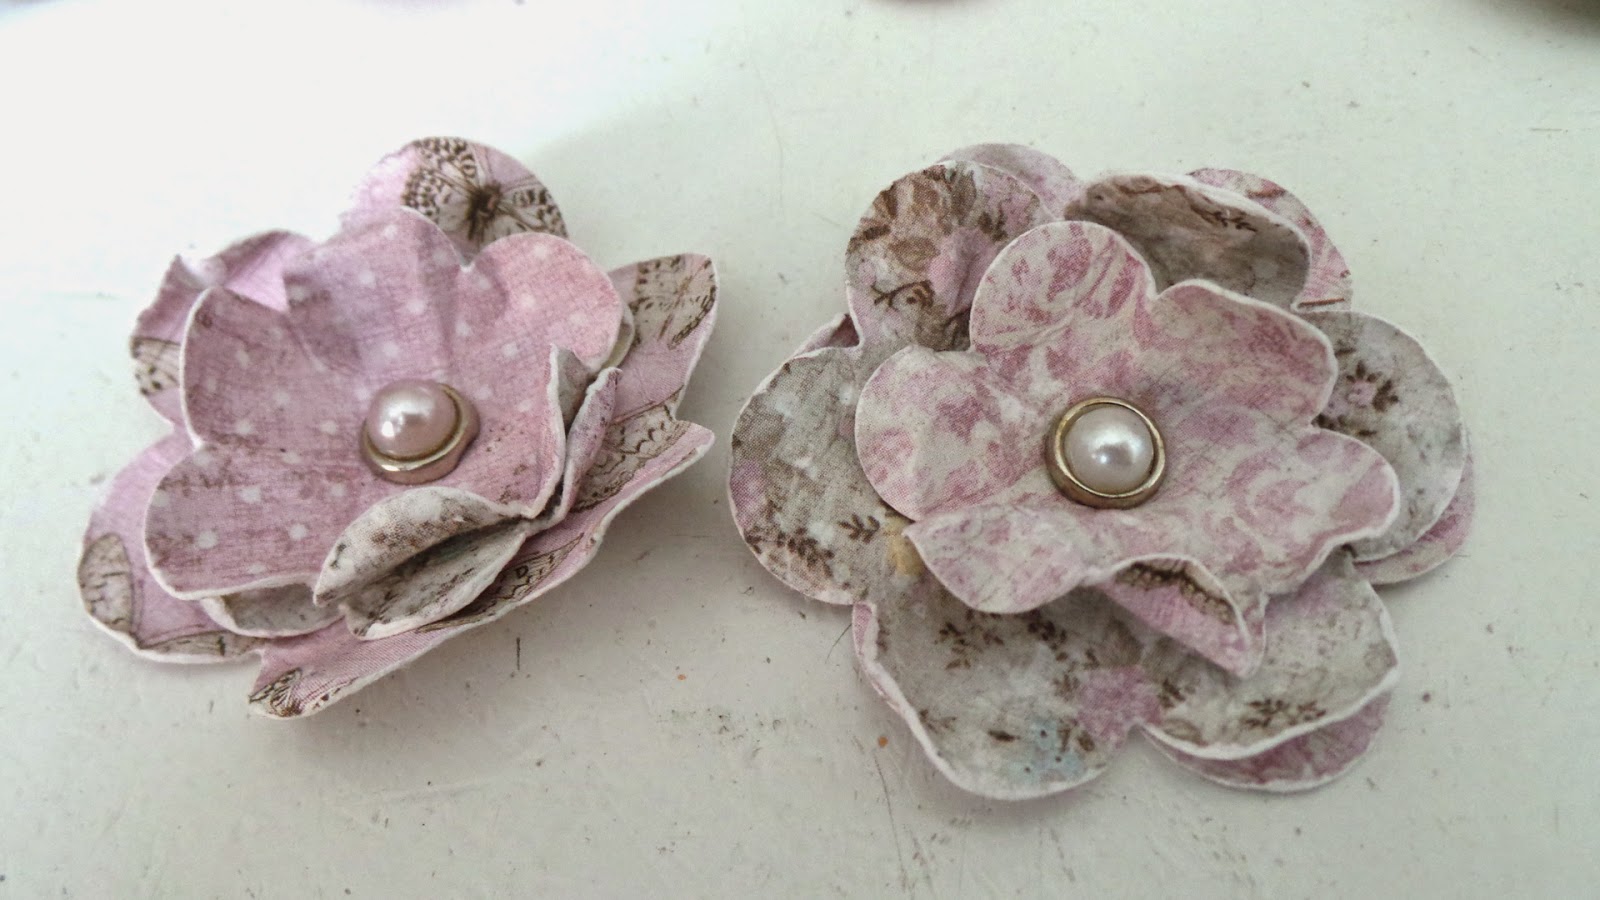
When the punched flowers were almost dry, I took 3 flowers, unfold them and shaped them, putting them together using a brad.


Here are the final flowers.
Before adding them to the wreath, make sure they are completely dry!


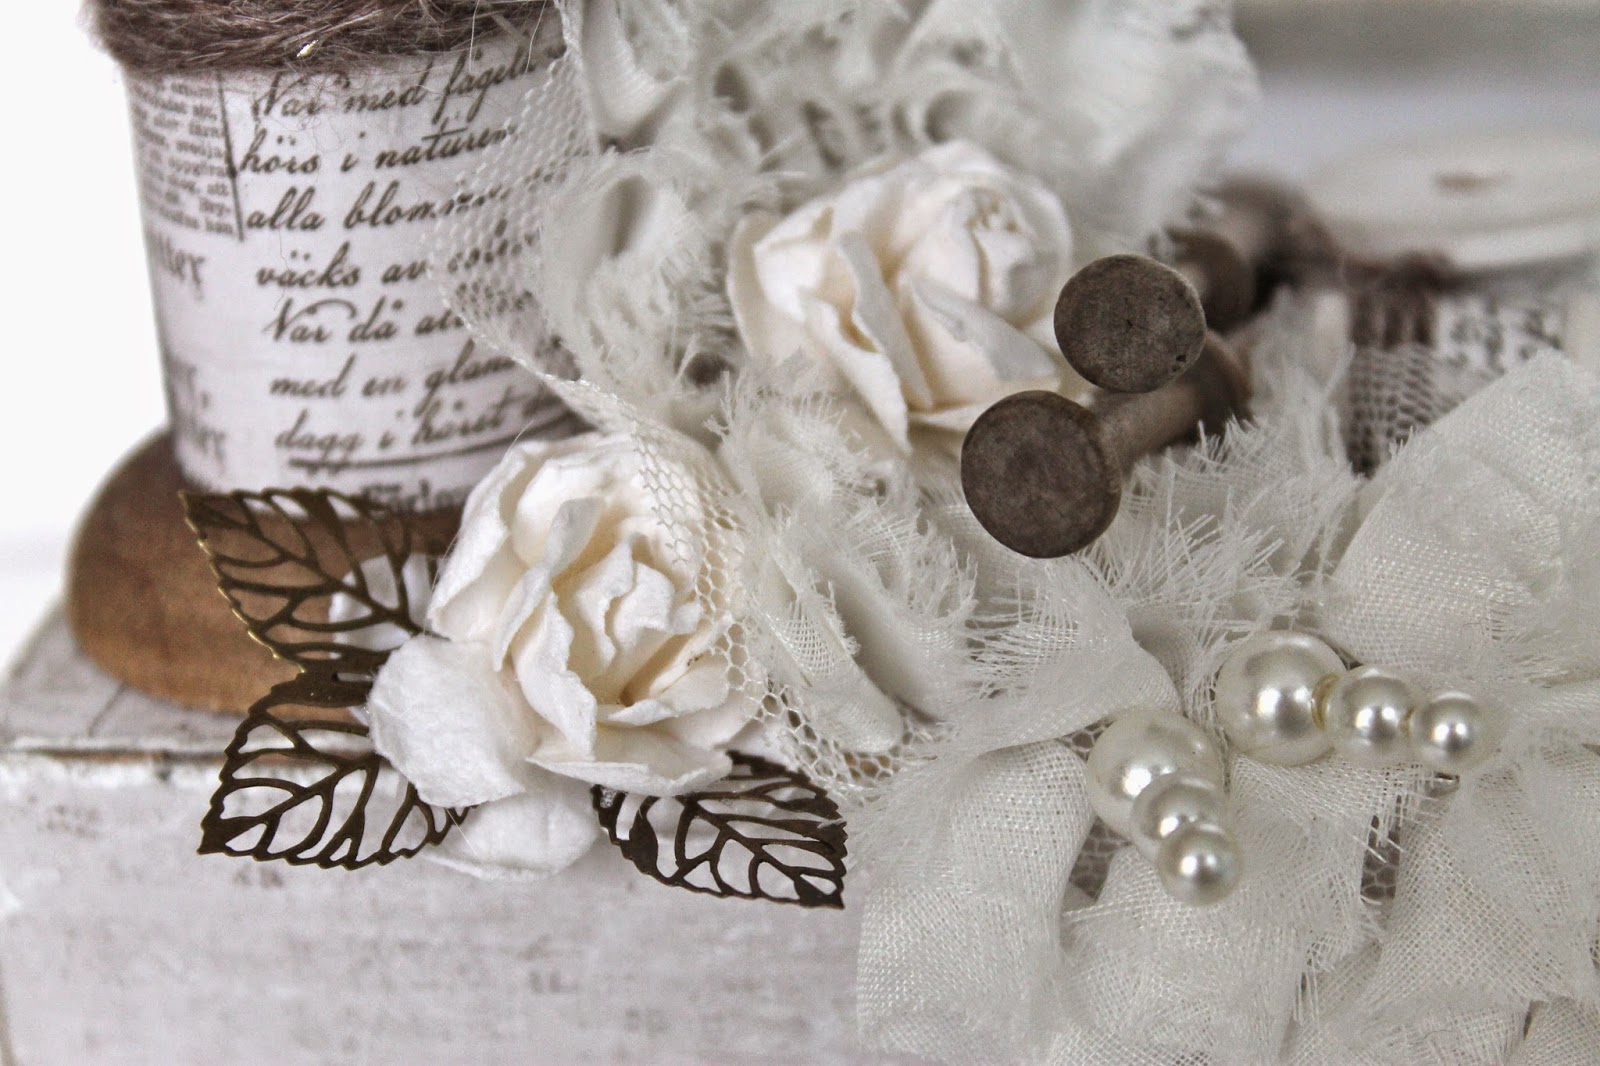
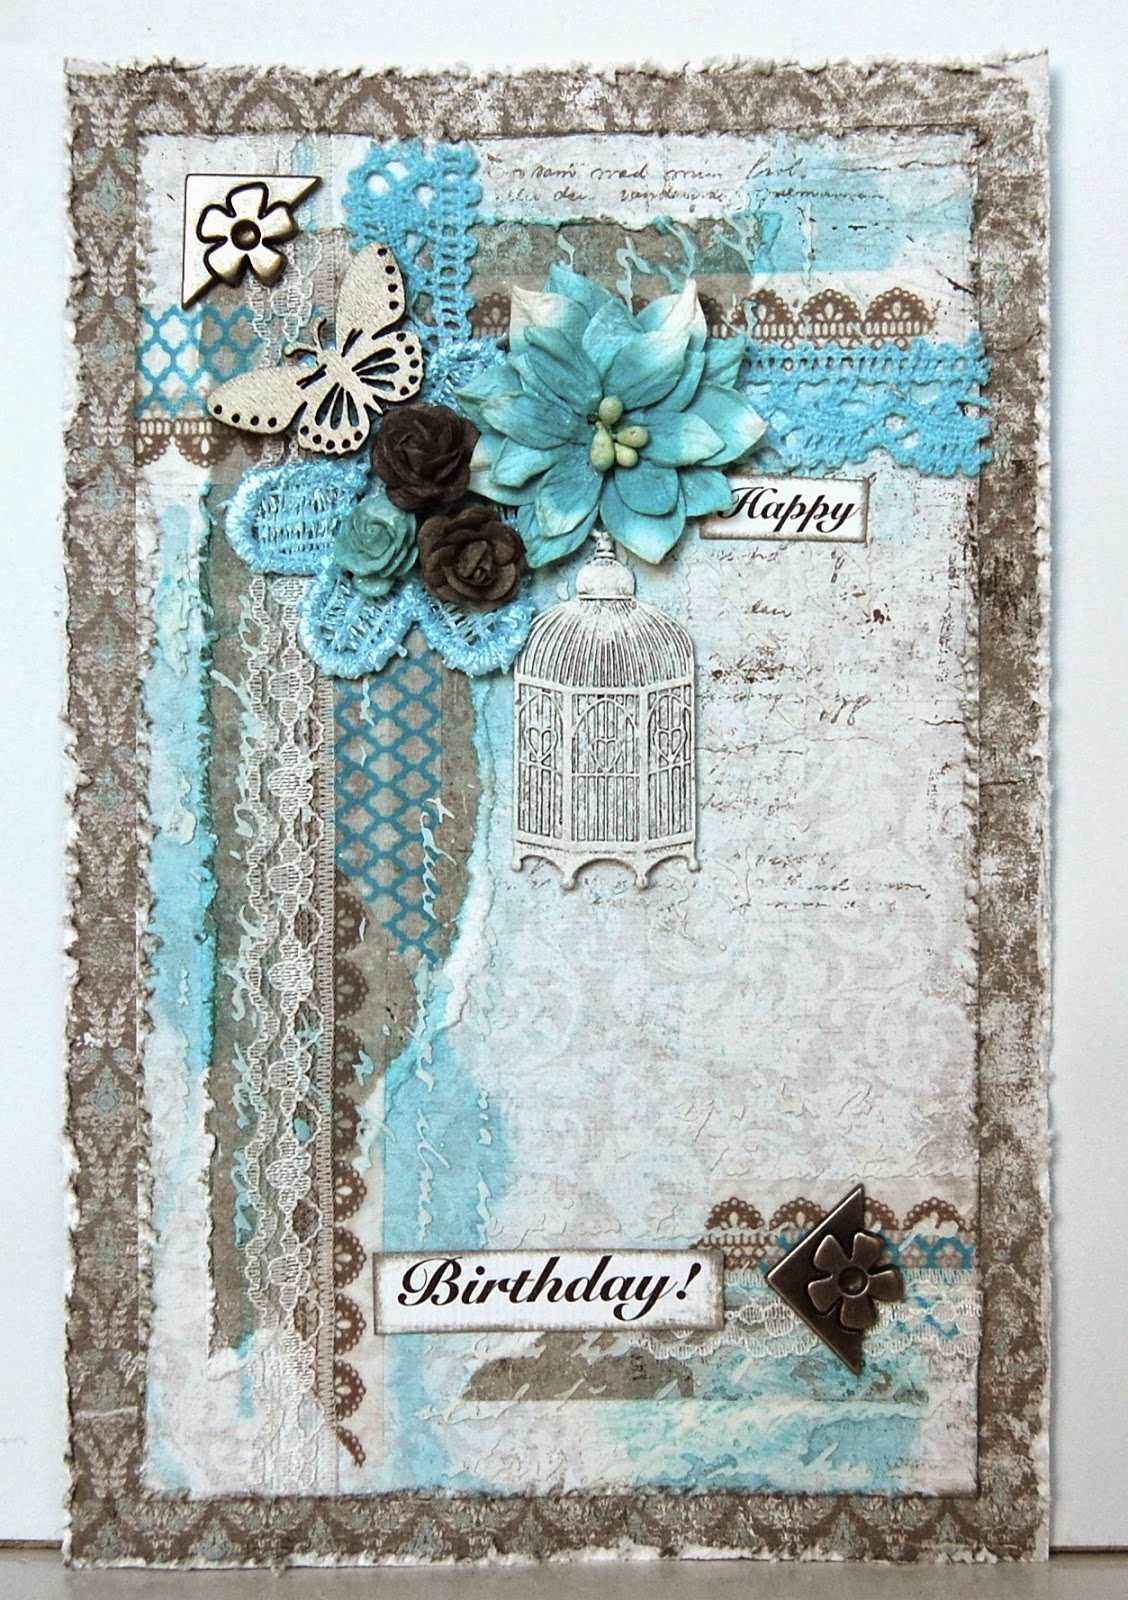
On the top left and right corner I added some lace and some white twigs.


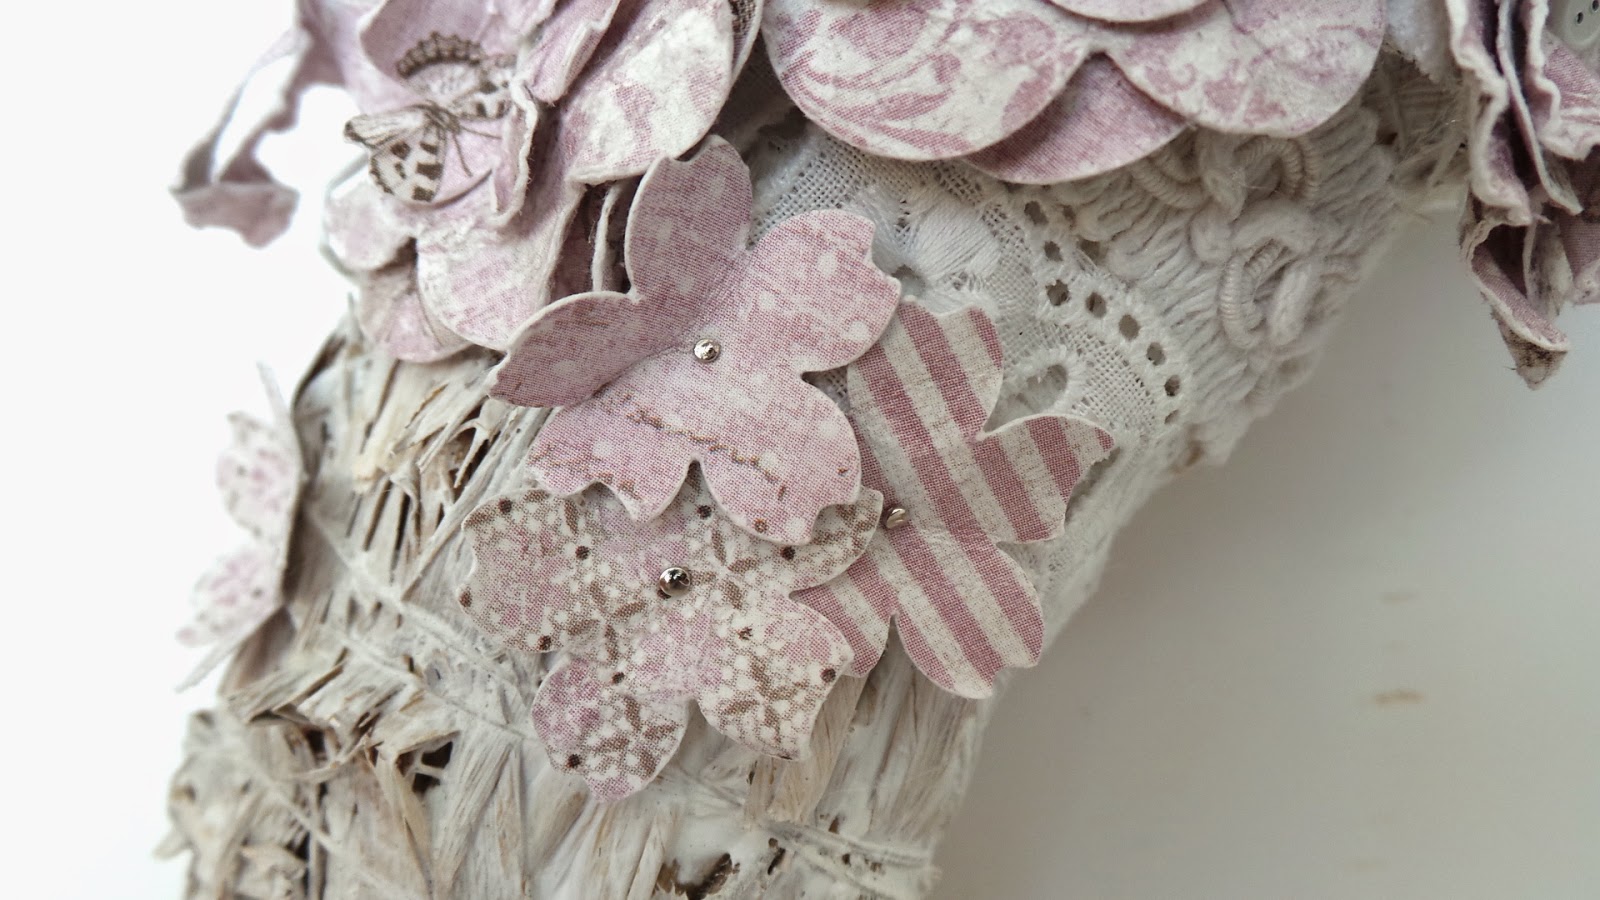
Now it’s time to add all those lovely paper flowers and faux ribbons to the wreath!


Here is the top left with some lace and also some single punched flowers,
which are adhered with a small pin.


Found these cute little birds at Xenos, a Dutch home decor store.


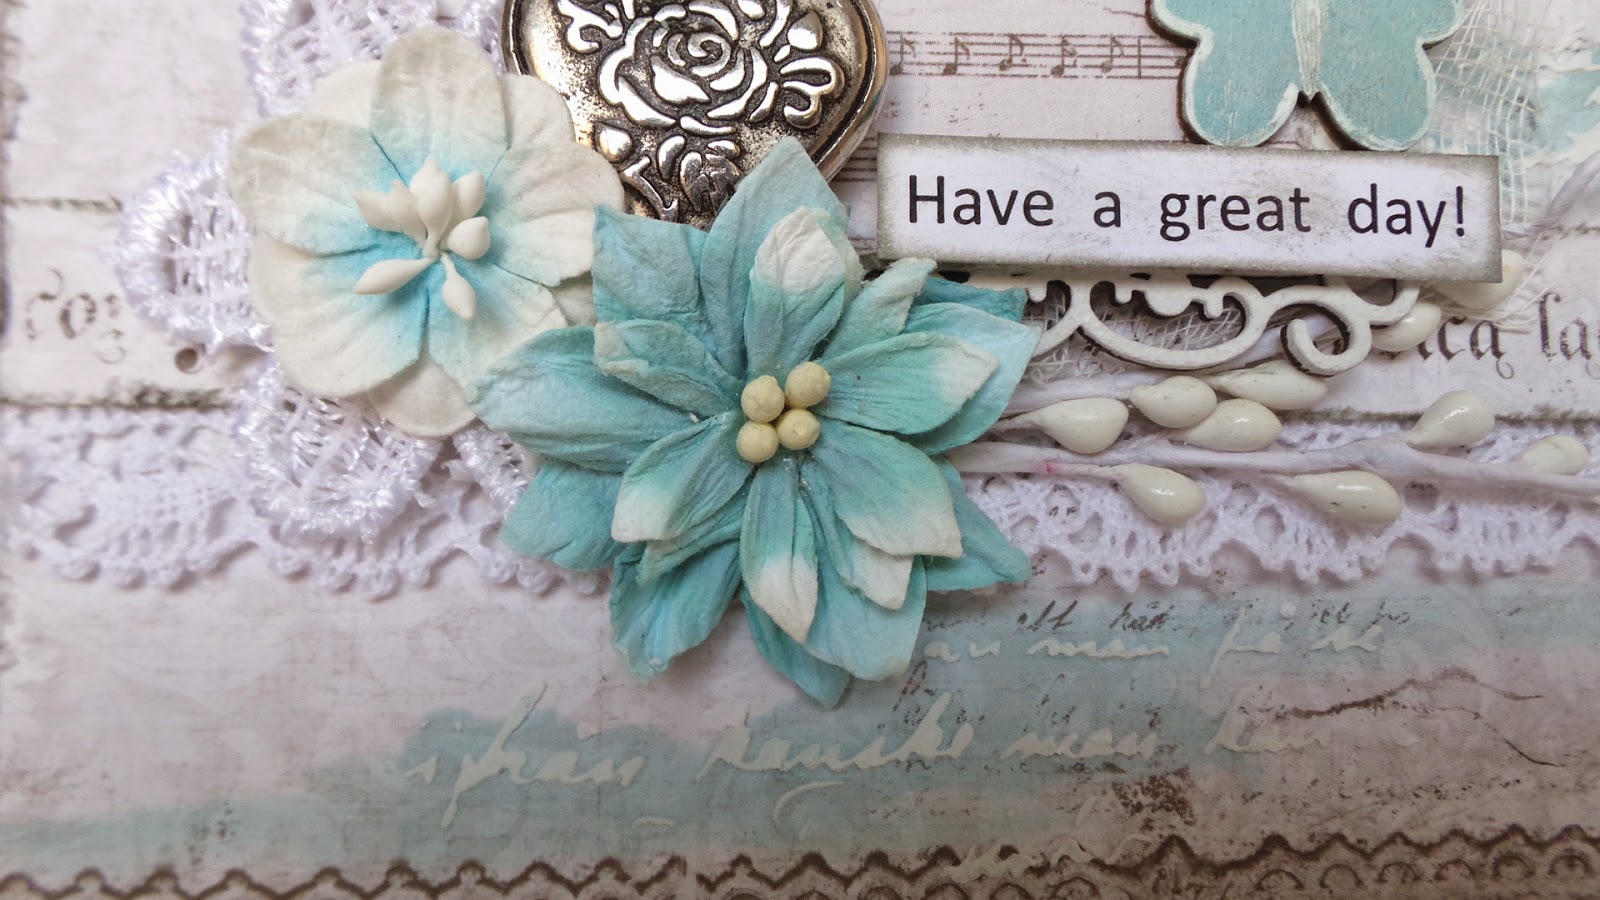
Some flowers with pearl brads.


The large feathered butterflies are also from Xenos.


The strips of papers, the faux ribbons, gives it a nice and playful extra touch.


The single punched flowers with a small pin.


Hope you all enjoyed this step by step.
Wishing you a wonderful Easter and Spring!
Enjoy your day!
Ingrid xxx

Papers used:
3rd of May
4th of May
7th of May

first 2 pager family album

2

Posted by Ingrid Gooyer

8 March, 2015 - ,

Write a comment

Here they are, my two first pages in my family album!
Pff…it was challenging to make them so flat for I usually add lots of embellies and flowers on my projects but I’m happy with the results though!
This first two pager is with a photo of my mom and dad’s wedding photo.


Made these with the Vintage Autumn Basics collection.

Here is the left page:
For both pages I started with the No.XI for the background.
Added some texture with instant filler and a stencil.
The strips and the stamped tags are from No.XI, No.XII, NO.I .
The clocks were cut out from the No.XVI sheet.


All strips and tags were distressed.
Also added some masking tape and lace.
Doodled some white circles with a white pen as a finishing touch.


Close-ups from the papers strips masking tape and texture.

Papers used:

No.I, No.XI, No.XII, No.XVI

Enjoy your day!
Ingrid xxx


family album

2

Posted by Ingrid Gooyer

22 February, 2015 - ,

Write a comment

Today I want to share this family album cover.
When my mom and dad passed away they left us lots of lovely and very precious photo’s.
I have scanned each and every one of them and burned them on CD’s for us kids and all the grandkids as a wonderful memory of their family heritage.
For a long time I wanted to put them in albums and finally I started my family album.
Planning to do lots of pages with photo’s from both sides of the family.
Would be quite challenging though, to make flat pages, but I give it a go!
To be continued! 🙂


Made this album with the Vintage Autumn collection.
For this album I used the following papers: No. II, V, X, XI, X, XVI and heritage sheet.
The book handle and key are from Scrap-Unlimited.


A rolled flower with No.V
The clock is from Artemio and the clock handles from Prima.


All the clocks were cut out from the XVI sheet. Just love this sheet!!


Can’t remember this metal family plate, it was in my stash for some time, but it was perfect for this project.


“Memories”, a piece from the bottom strip No.X


After layering all the strips of paper, I added some texture with instant filler and a stencil.


Also added some stamens and dew drops.

Enjoy your day!
Ingrid xxx

three cards

2

Posted by Ingrid Gooyer

8 February, 2015 - ,

Write a comment

Another set of cards for you today.
You just can’t have enough cards, right?! 🙂
Made these with the Vintage Summer Basics collection.

Card no.1

Papers used: 1936 and 1946
Other products: washi tape, lace, modeling paste, Petaloo flower, lace flower, mini roses, metal corners, prima birdcage, wooden butterfly, paint.

Card no.2

Papers used: 1899 – 1926 – 1936 – tags from Minnen memories
Other products: Petaloo flowers, Prima birdcage, gauze, lace, small brad, mini roses, charm.

Card no.3
Papers used: 1899 (and border) – 1936
Other products: Petaloo flower, Scrapberry’s flower, twigs 13Arts, chipboard frame Dusty Attic, lace flower, lace, gauze, paint.

Ingrid xxx