Interactive christmas card

3

Posted by Kerstin-Inga Peters

6 December, 2019 - , , , ,

Write a comment

Welcome dear Maja friends!

–  Maja Design meets Tim Holtz –


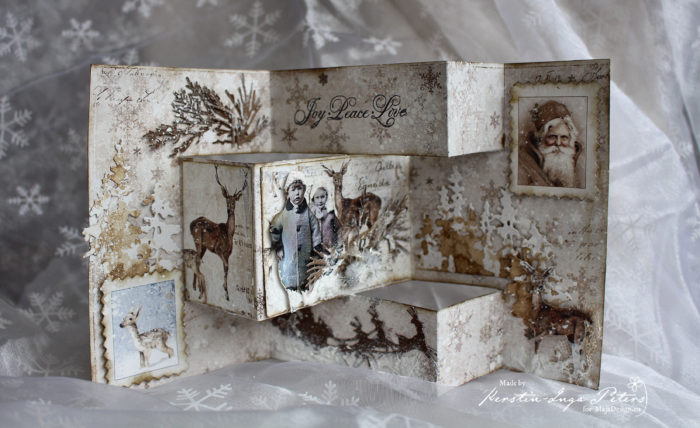
I was inspired to create a Pop – Up season card in vintage style.

I love it to use the amazing cutting dies from Sizzix

with the very good qualitiy papers from Maja Design.

 Always a perfect combination with Distress inks as well.


 Tutorial Interactive card


 choose a paper and cut it in 300 x 150 mm


fold the mountain and valley folds according to the given measurements

(Score lines)

two cut lines

here can you see the mountain and valley folds

ready :-)!!

…and now comes the best part

Let your imagination run free

and create a card  according to your own ideas.


some close up’s

I used some amazing papers from the latest Christmas/ Winter collection Holidays in the Alps

and from the older, but wonderful as well ‘I wish’ collection

Winter Ephemera

Winter Ephemera

Deers

Deers

 I-wish-P

I wish for frosty mornings


Many thanks for your visit!

I wish you a beautiful advent season!

Beauty Layout with Video Tutorial

2

Posted by Mary Tzalla

26 August, 2019 - , ,

Write a comment


Hello Maja fans!

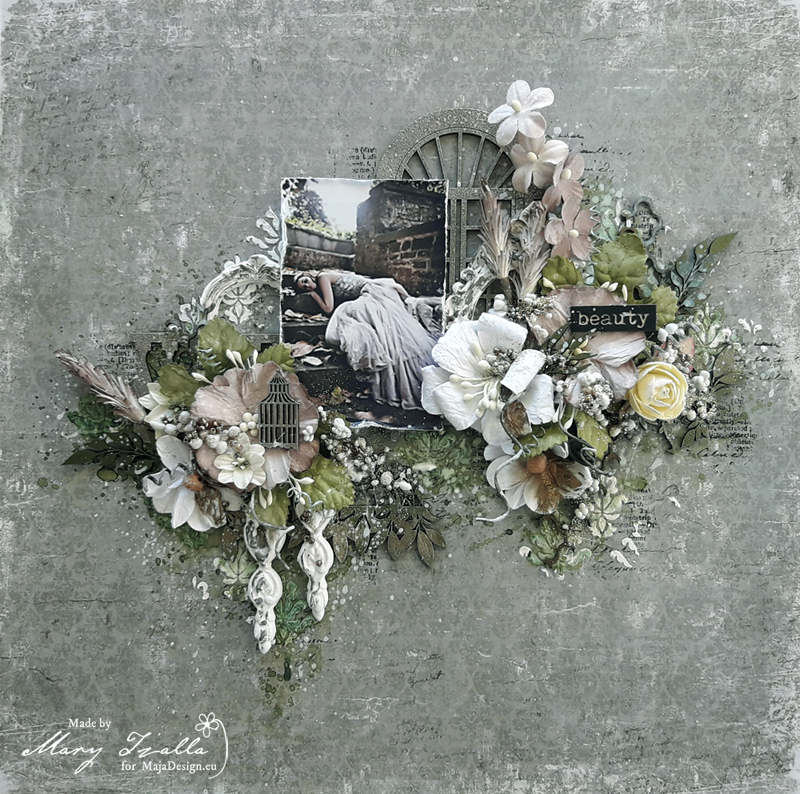
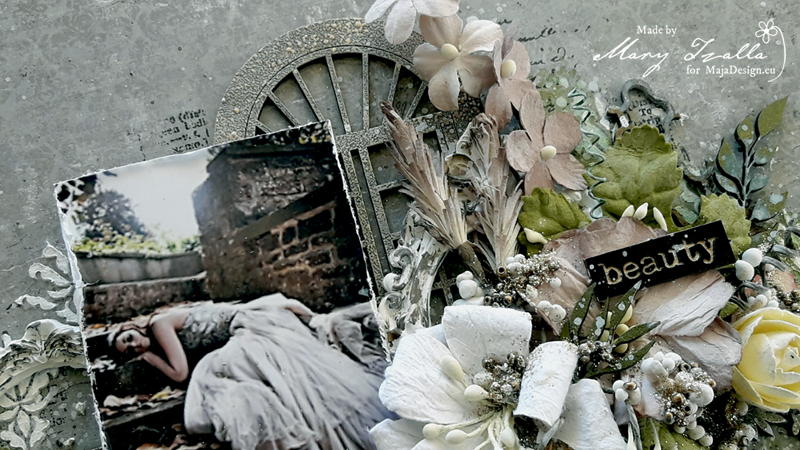
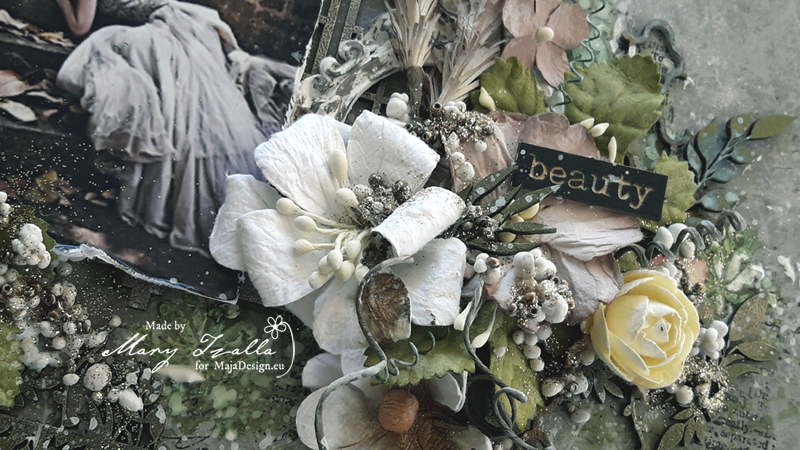
Mary with you today and I have a new layout with a video tutorial to share with you. As always I found my photo on Pinterest and this one inspired me to create a soft romantic page in green, white and brown tones.

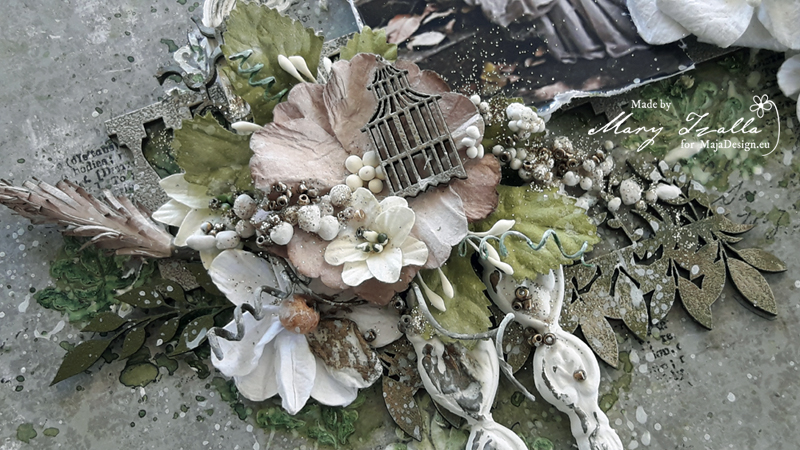
But, before I continue more I want to give all the proper credits to the ”unknown” photographer. To create my page I used Maja Design papers from the gorgeous ”Vintage Summer Basics” collection along with some gorgeous Dusty Attic chipboards and beautiful 49 and Market flowers.


You can watch all the procedure here…


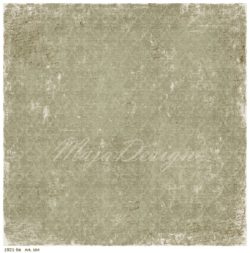
The paper I used is the ”1921” and I started by applying a coat of clear gesso. Then, I created texture with Finnabair paper texture paste and the Dusty Attic Damask #2 Stencil. When the paste dried, I randomly stamped using 49 and Market stamp sets. I added color with the Lindy’s Gang ”Greased Lightnin’ Green” spray.

Next, I used different mixed media techniques to treat the Dusty Attic chipboards which you can watch on the video tutorial.

Then, I layered all the gorgeous elements around my photo and added in some 49 and Market flowers. At last, I added the Dusty Attic title word and finished it up with art stones, glass beads and glitter.


Paper used:


I hope you enjoyed my project!

Until next time happy crafting!


Daddy Rocks – A Boxframe Tutorial

1

Posted by Maja Nowak

24 June, 2019 - , , ,

Write a comment

Good morning, dear Maja friends, welcome to the blog today 🙂

Yesterday we celebrated Father’s Day in Poland. For this very special occasion I decided to make a special gift. But first let me share you a story behind it 😉

I make a lot of dimensional cards and therefore use a lot of card boxes too. And being a true scrapper and hoarder 😀 I tend to collect everything that could potentially be used, altered, reused and recycled, and that includes faulty box pieces. And so I gathered lids and bottoms that were assembled wrong, or stained, or wonky – and felt it was the right time to do something about them 😉
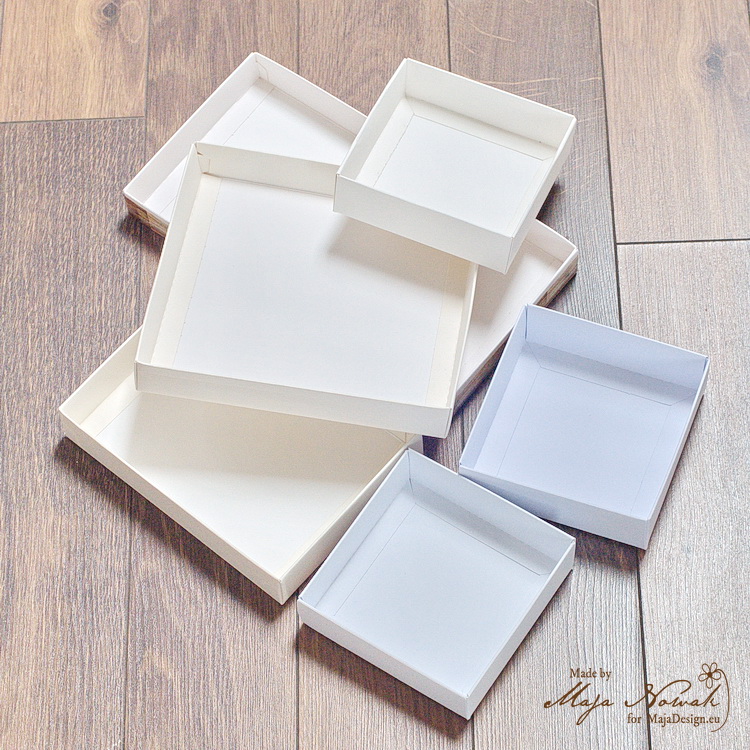
Yes, I decided to make a shadobbox-like frame using box elements 🙂 And I’m going to share a step-by-step tutorial with you.

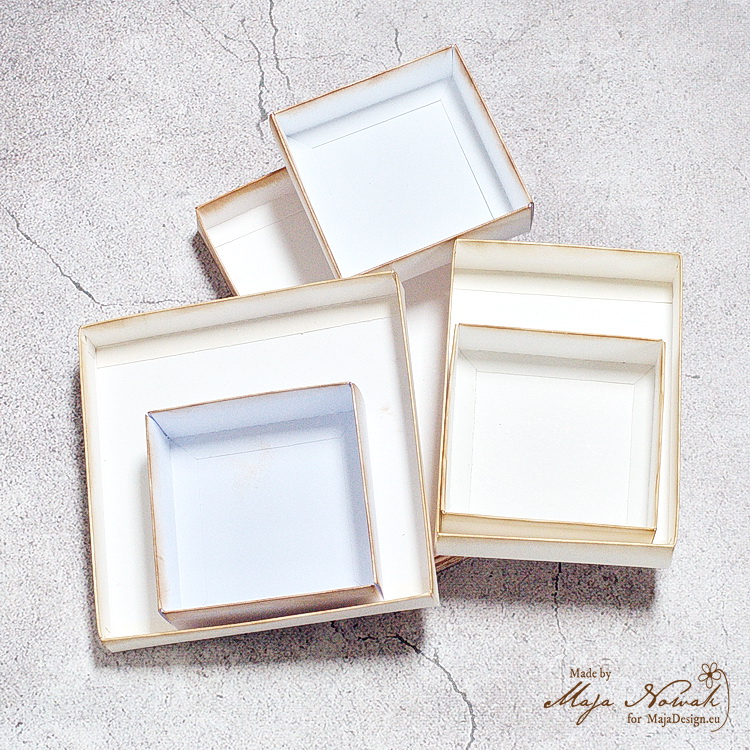
The boxes were of various sizes and colours, so first I inked all the outside edges:
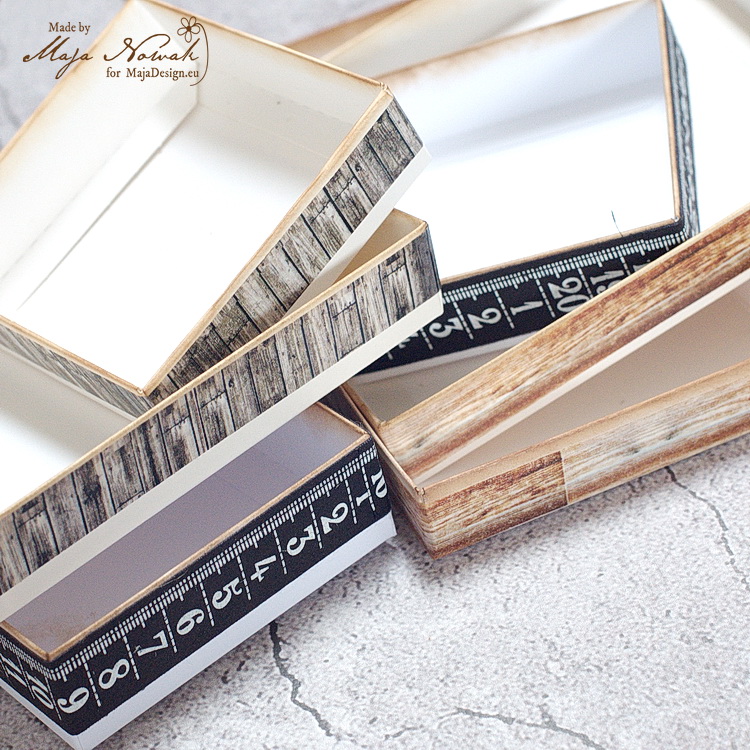
…and then wrapped the sides with washi tapes:
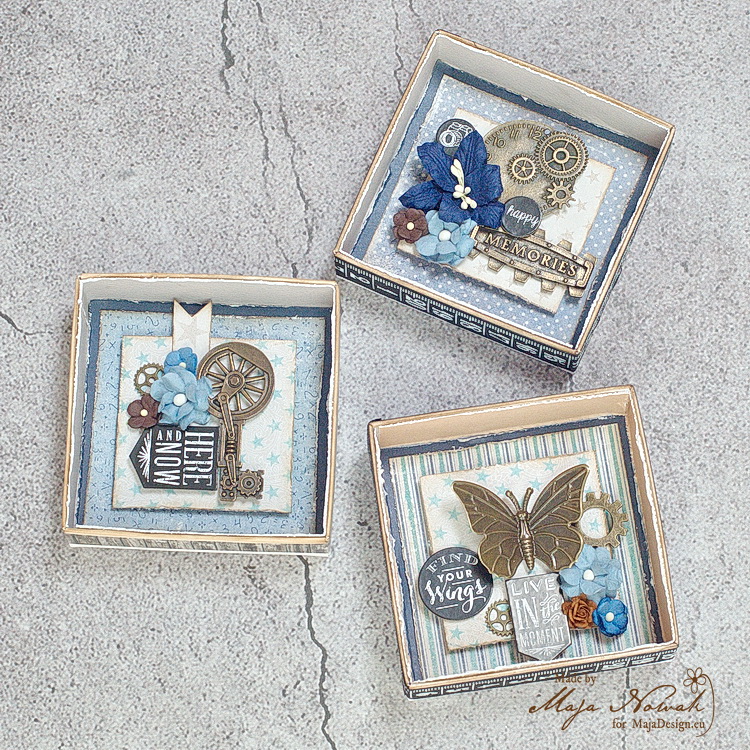
The next step was to decorate the inside of the frames – first I covered the inner sides with strips of papers and then added layers of papers inside. I used the Denim&Friends collection – my all-time favourite papers for masculine projects:
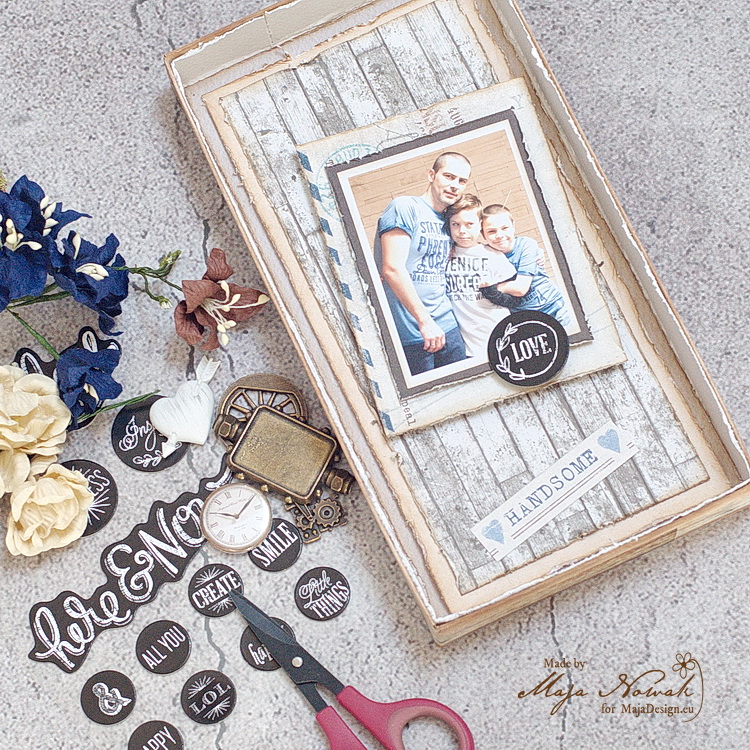
First I decorated the photo frames:
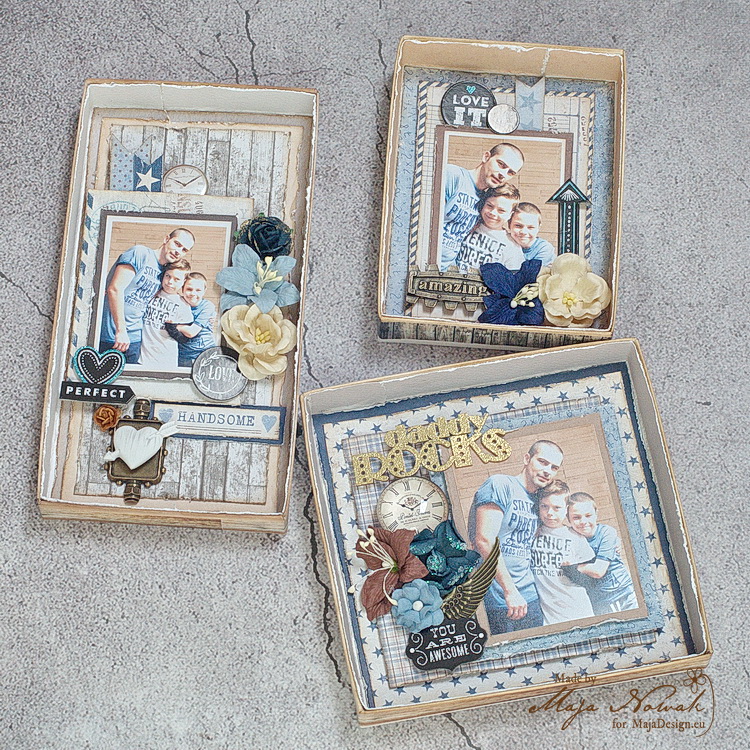
…and then additional decorative pieces:
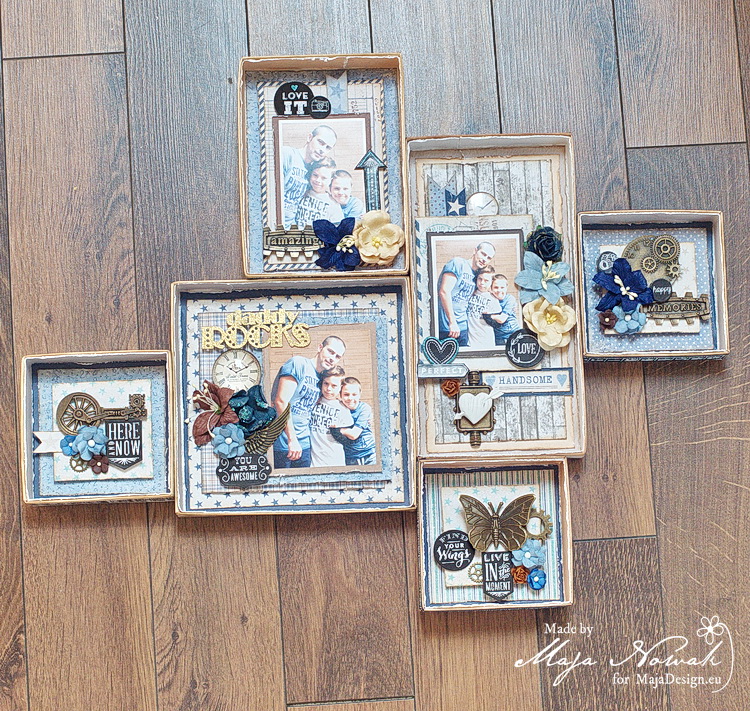
Once I had all the pieces finished, I tried various element designs to make a frame. When I was happy with the layout, I attached them all together with strong double-sided adhesive tape:
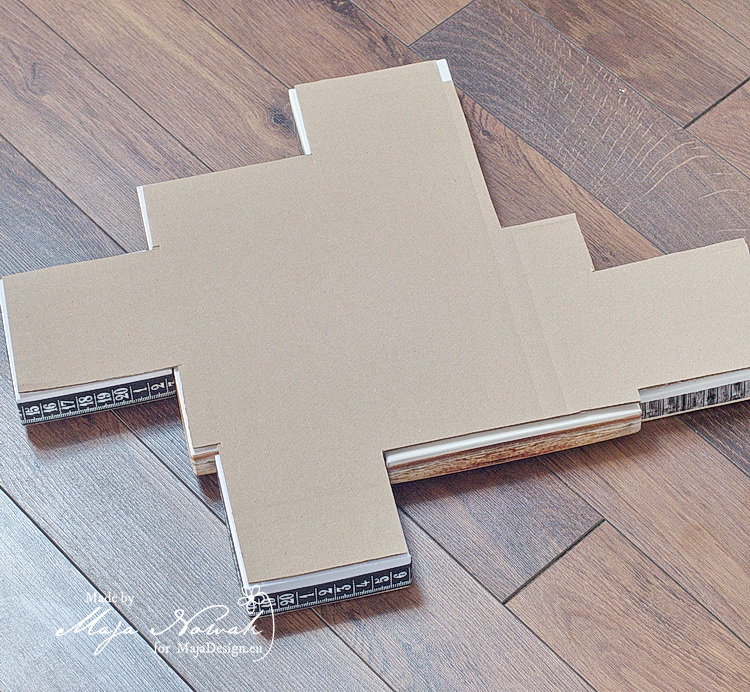
Then I took the largest cardboard piece I had in the house 😉 and traced the shape of the frame. I cut out the shape slightly smaller so that the cardboard doesn’t peek outside the frame:
And my Father’s Day box frame was done 🙂
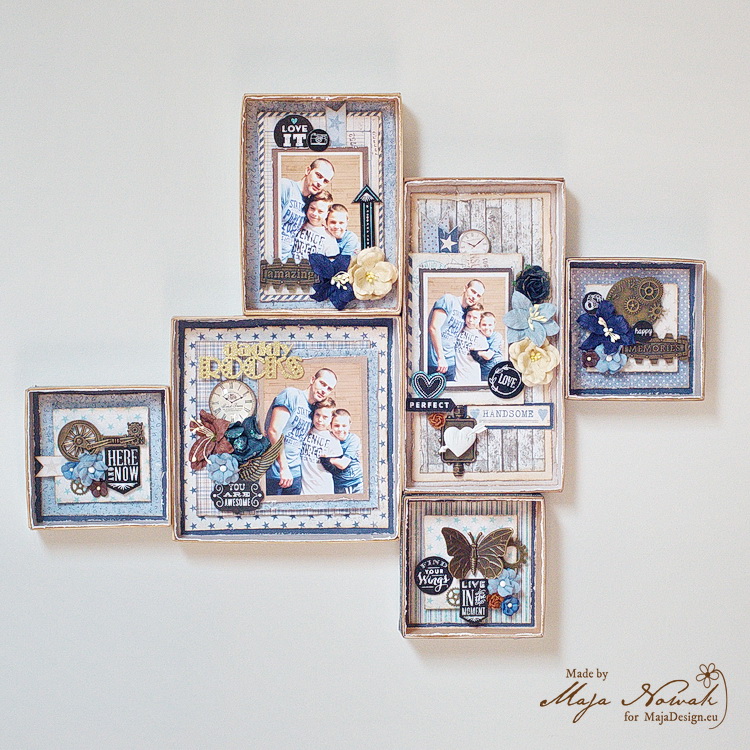
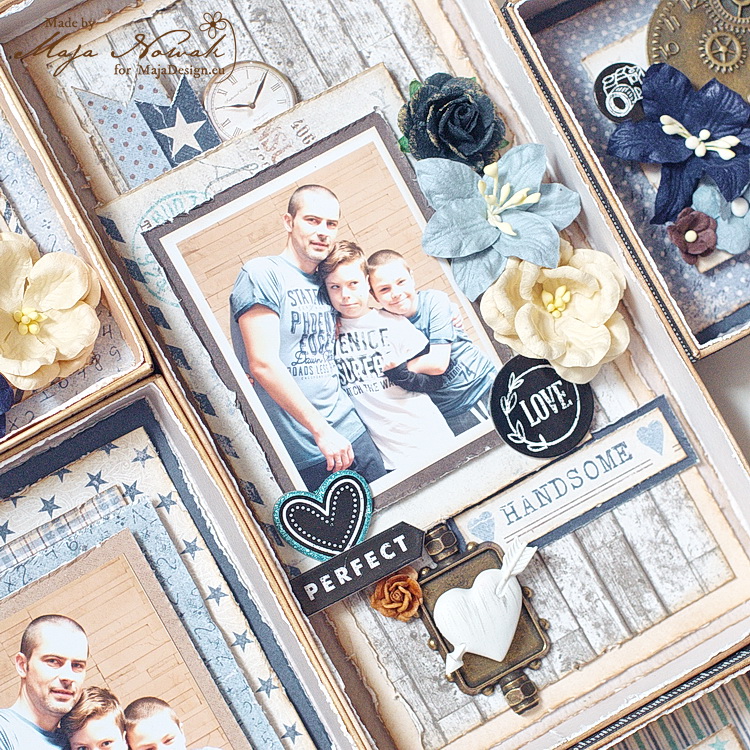
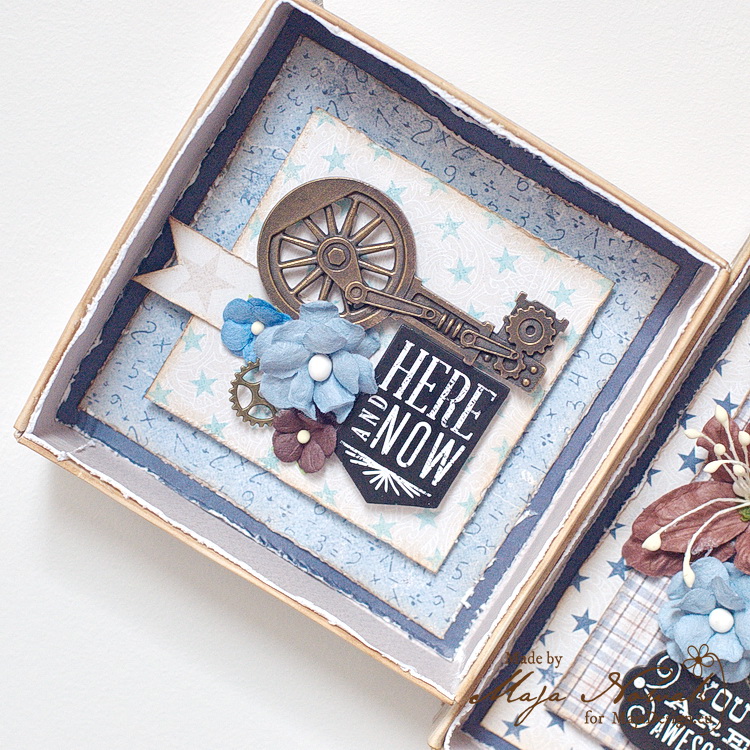
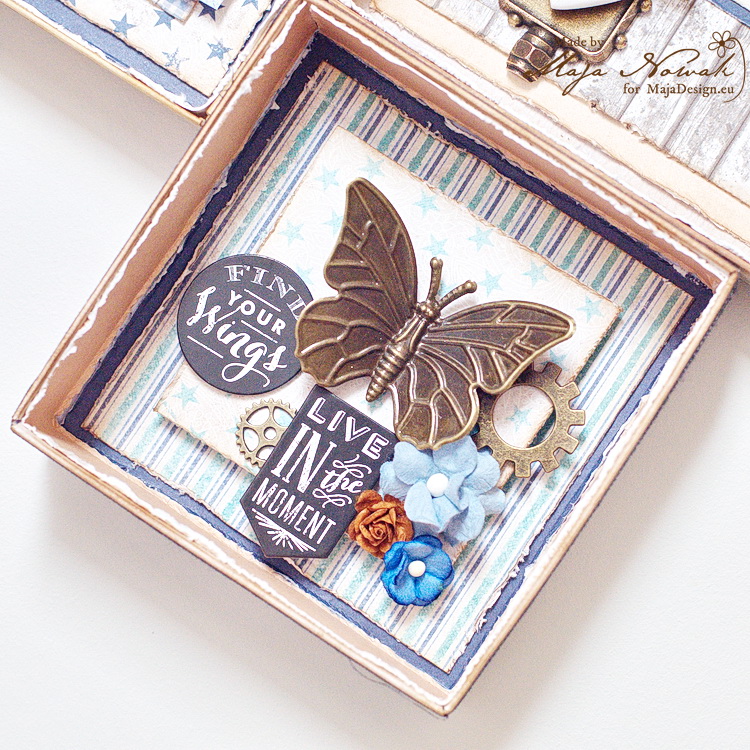
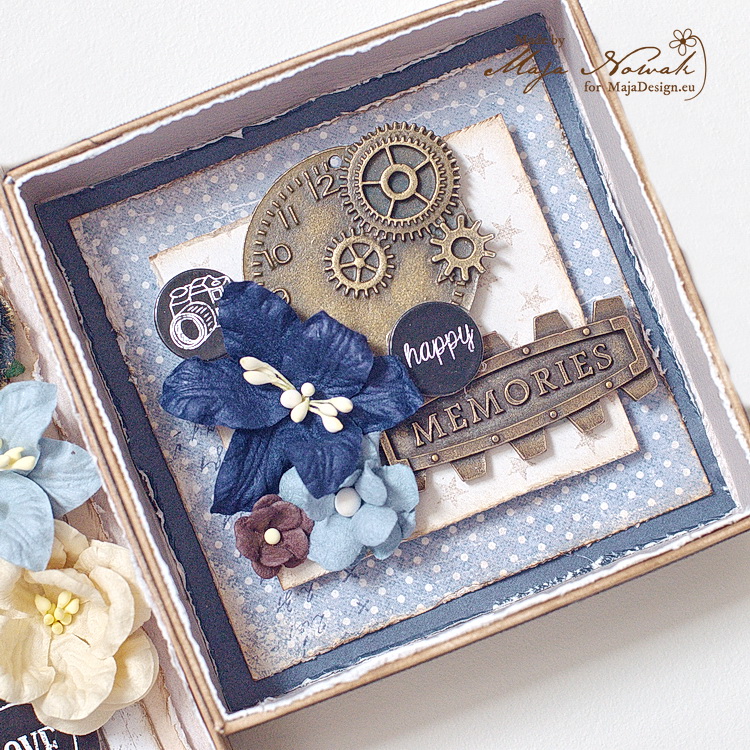
Let’s take a closer look:
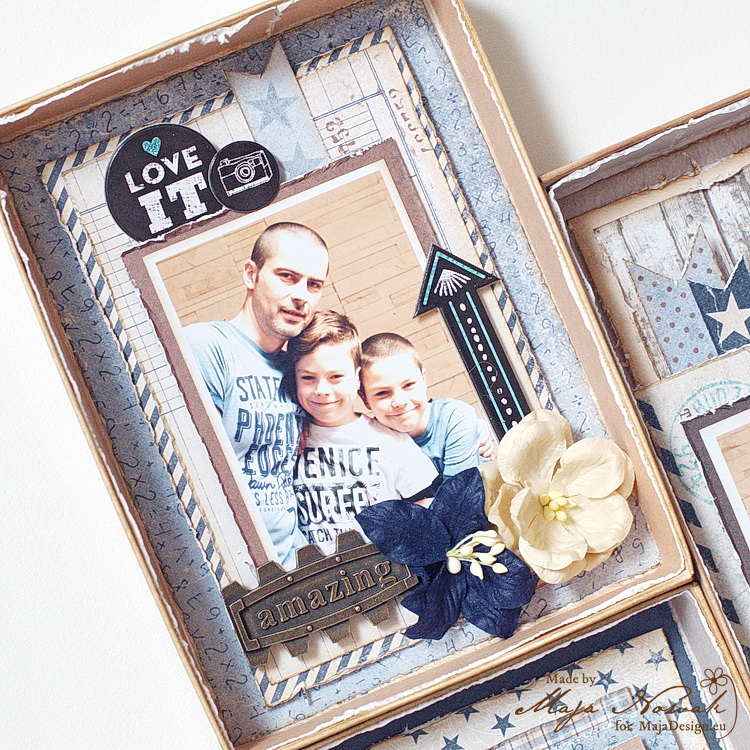
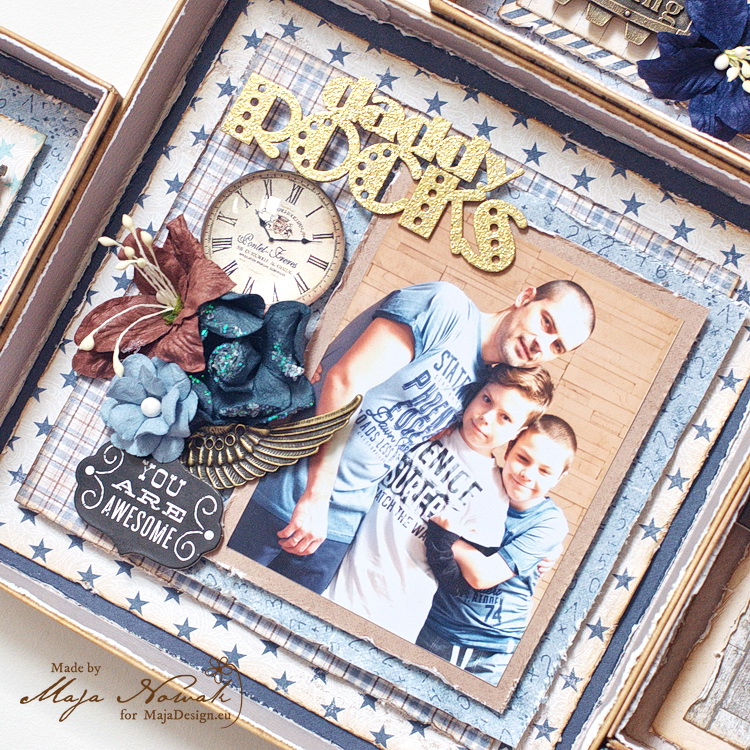
I really like the way it turned out: the papers’ colour palette perfectly matches the photos, I used up pieces of boxes I couldn’t use for cards and I made an original gift that can decorate the wall above my husband’s desk 🙂

What do you think of it?

And here’s what I used:

Maja Design papers:

Other: flowers: Prima, Wild Orchid Crafts; metal embellishments: Scrap Hobby; stickers: MAMBI.

And that’s all for today. I hope you liked my tutorial! See you soon!

You are Mine, Mine to me – Layout with Video Tutorial

1

Posted by Mary Tzalla

26 May, 2019 - , ,

Write a comment


Hello Maja fans!
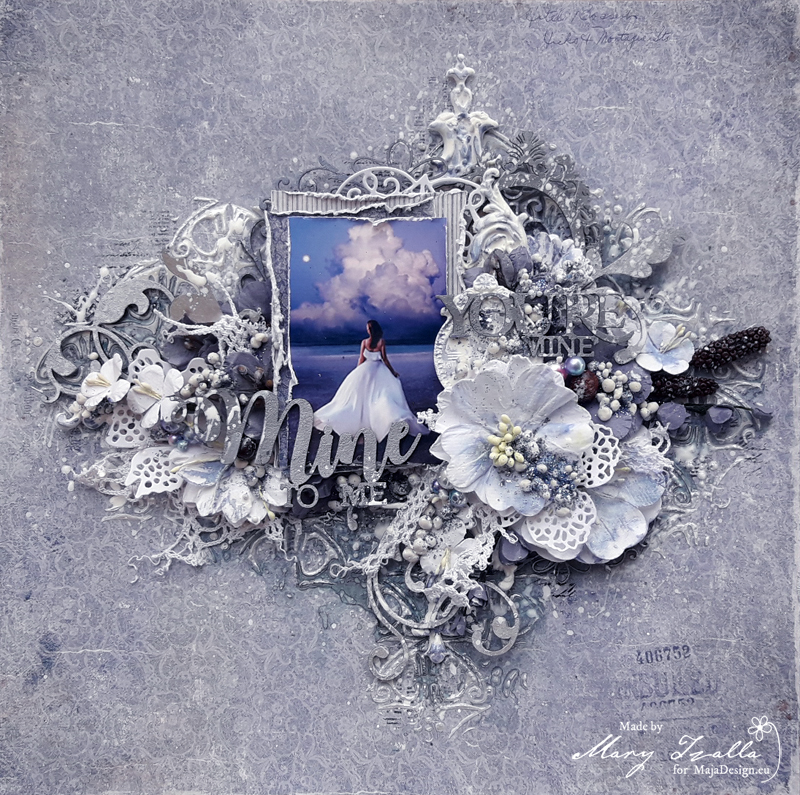
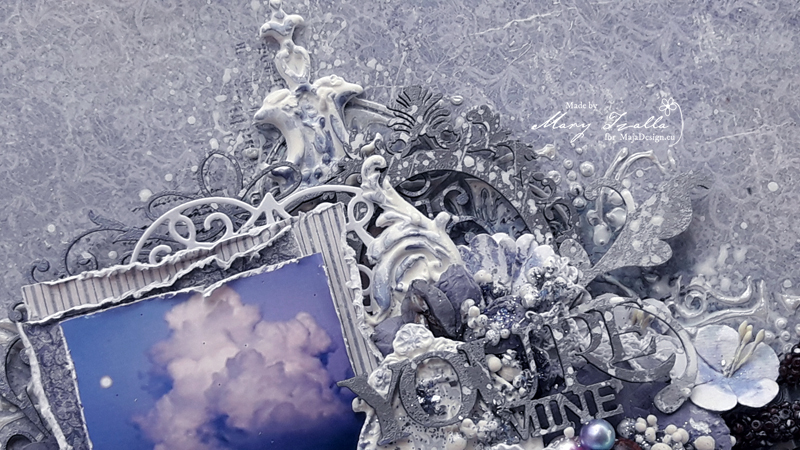
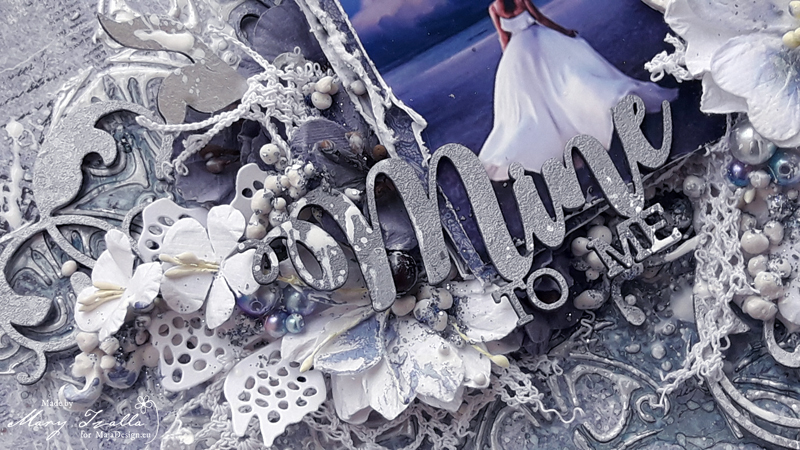
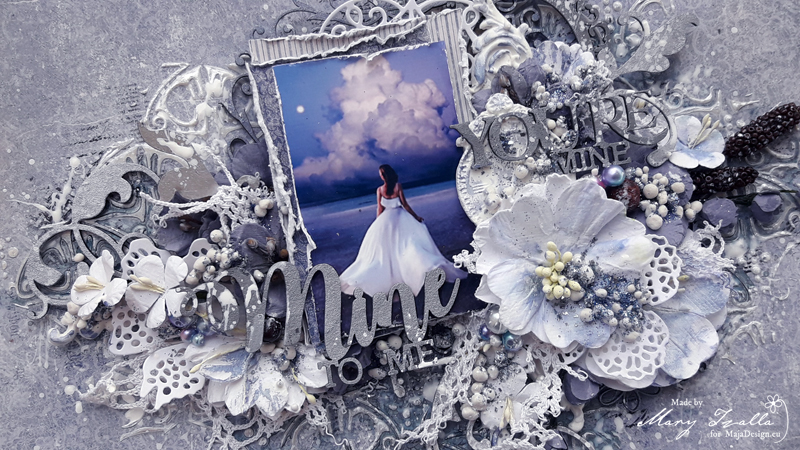
Today, I would like to share a new layout with a video tutorial made for my May inspiration. As always I found my photo on Pinterest and this one inspired me to create a soft romantic page in white and blue tones. But, before I continue more I want to give all the proper credits to the ”unknown” photographer.

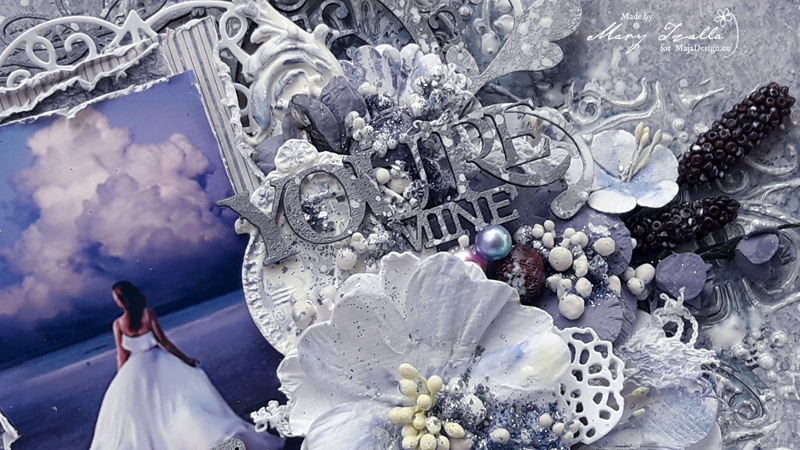
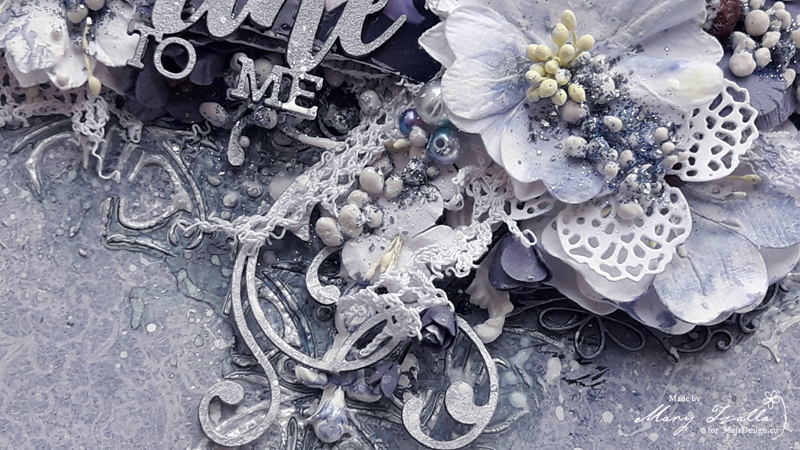
 To create my page I used papers from the new gorgeous ”Denim & Girls” collection along with some Dusty Attic chipboards and 49 and Market flowers.
You can watch all the procedure here…


The paper I used is the ”Tough but sweet” and made some layers behide my photo with the ”You’re beautiful” and ”Loose fit” papers. To start, I applied a coat of clear gesso and then, I created texture with an icing paste and a stencil. When the paste dried, I randomly stamped and used a Lindy’s Gang spray to add color.

Next, I painted all the Dusty Attic chipboards with Finnabair acrylic paints.

Then, I layered all the gorgeous elements around my photo and added in some 49 and Market flowers from the ”Blossom Blends, Garden Seeds & Cottage Blooms” sets.


Papers used:

I hope you enjoyed my project!

Until next time happy crafting!

Live With Passion Layout with Video Tutorial

1

Posted by Mary Tzalla

26 April, 2019 - , ,

Write a comment

Hello Maja fans!

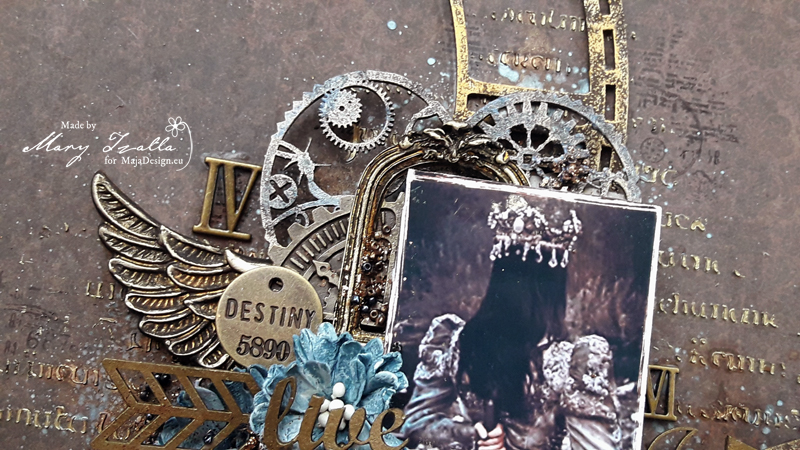
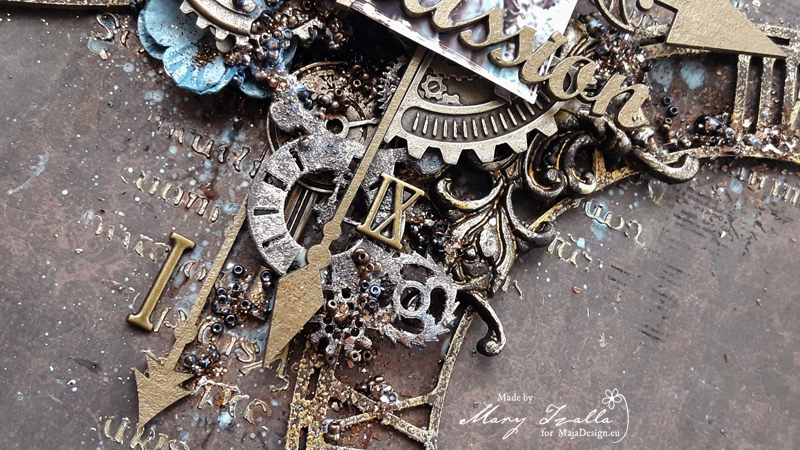
Today, I would like to share a new layout with a video tutorial made for my April inspiration. To create my page I used Maja Design papers from the gorgeous I Wish” collection along with several gorgeous Dusty Attic chipboards and beautiful 49 and Market flowers.

As always I found my photo on Pinterest and this one inspired me to create a steampunk page with a romantic and mysterious feeling. But, before I continue more I want to give all the proper credits to the ”unknown” photographer.


You can watch all the procedure here…


For my project, I chose the ”I Wish – those memories will last” paper from the ”I Wish” collection. To start, I applied a coat of clear gesso and then, I created texture with a Finnabair icing paste and a stencil. Then, I randomly stamped and used Lindy’s Gang sprays to add color.

Next, I used different mixed media techniques to treat the Dusty Attic chipboards which you can watch on the video tutorial.

Then, I layered all the gorgeous elements around my photo and added in some 49 and Market flowers from the ”Botanical Blends & Potpourri – Marina” sets.


Paper used:


I hope you enjoyed my project!

Until next time happy crafting!