The Winter ‘Blues’

1

Posted by Nancy Dynes

13 January, 2017 - ,

Write a comment

A 1a

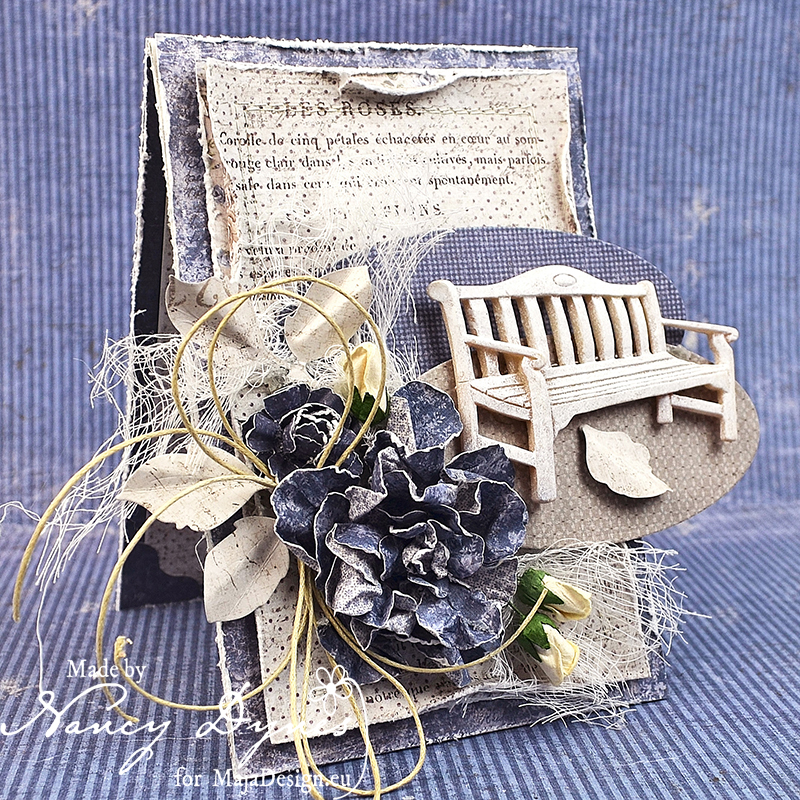
Hello, dear friends! How are you doing? I hope the New Year is treating you well. It’s Nancy here today. I’m thrilled to join you on the Maja Design Blog on this lovely Friday. I don’t actually have the winter blues-lol. I am, however, totally and completely obsessed with the color blue. Sometimes I’ll go a couple of weeks favoring a certain color, and this week it is blue. Does that ever happen to you?

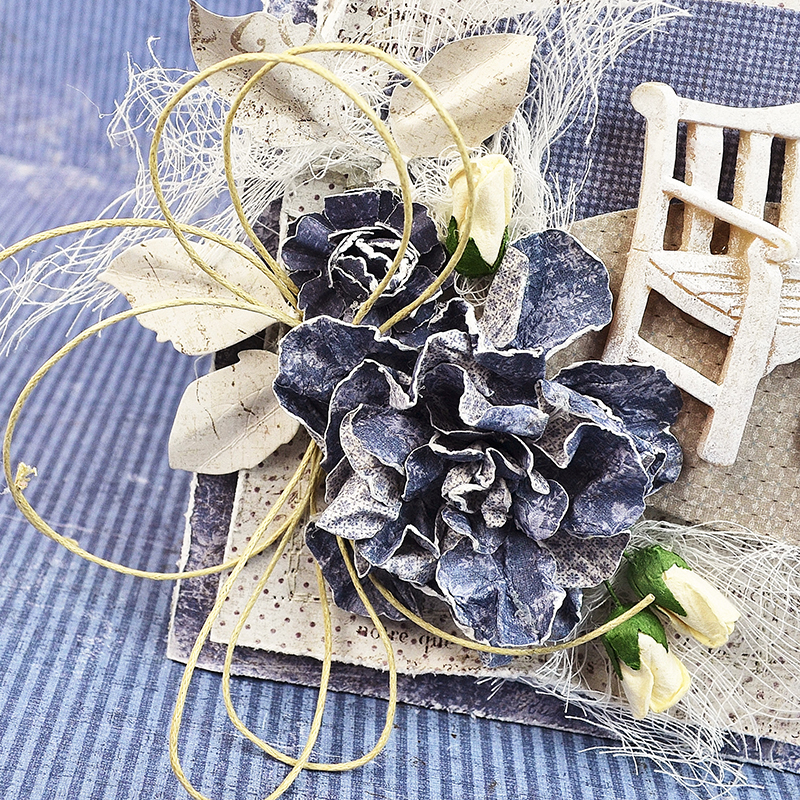
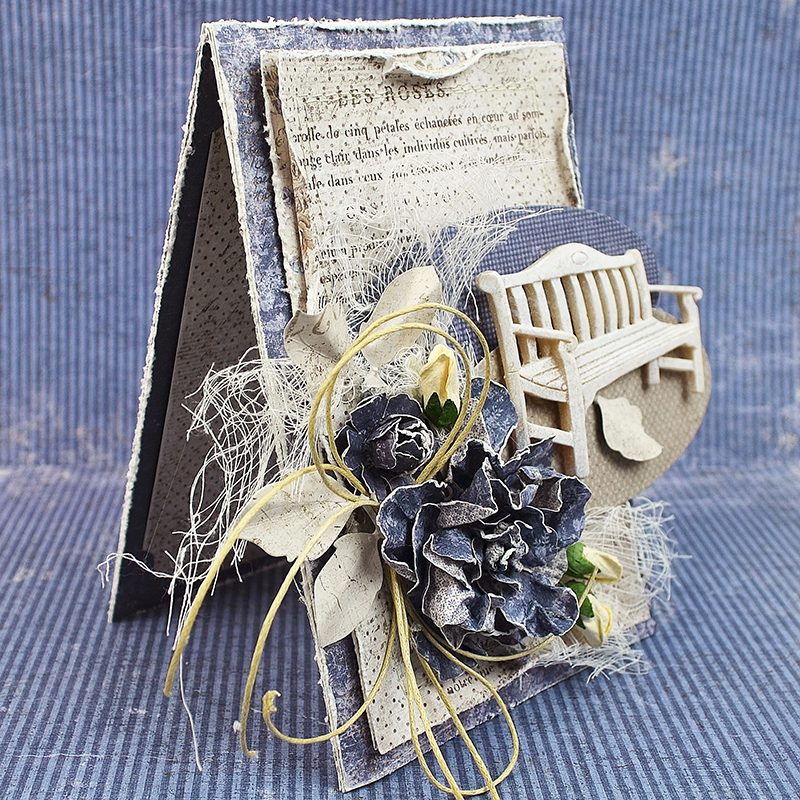
This is no problem when you have Maja Design papers. They have a fabulous assortment of blues to choose from. Today I’m using Vintage Autumn Basics to bring to life this sequestered garden.
A 5

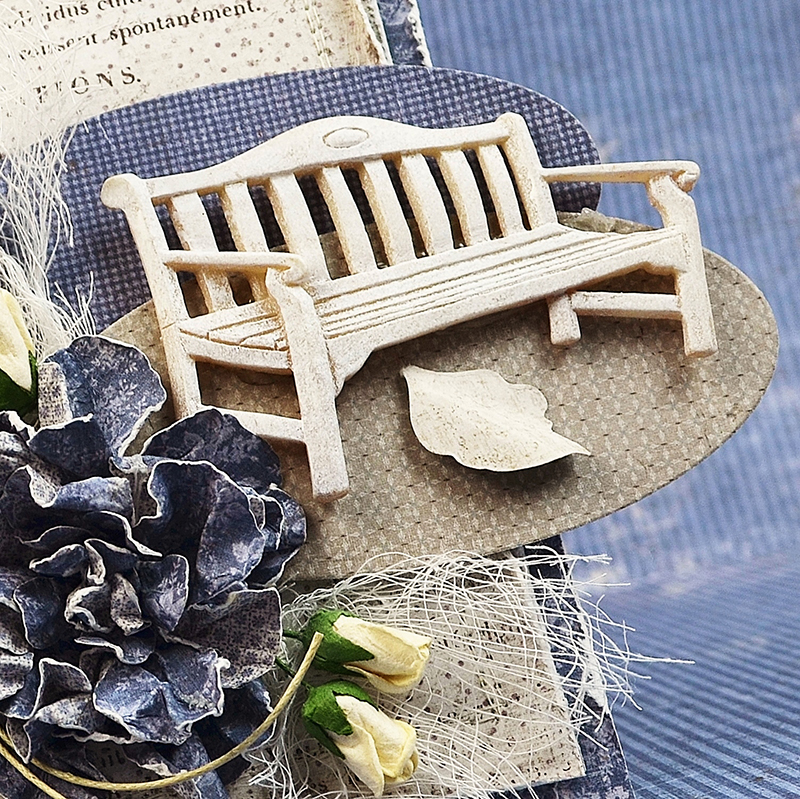
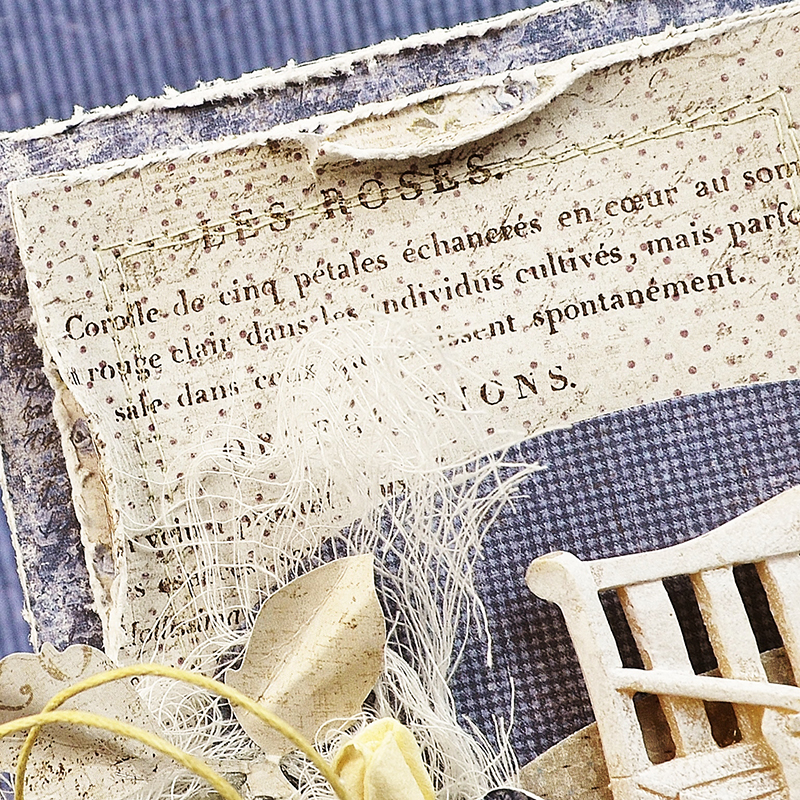
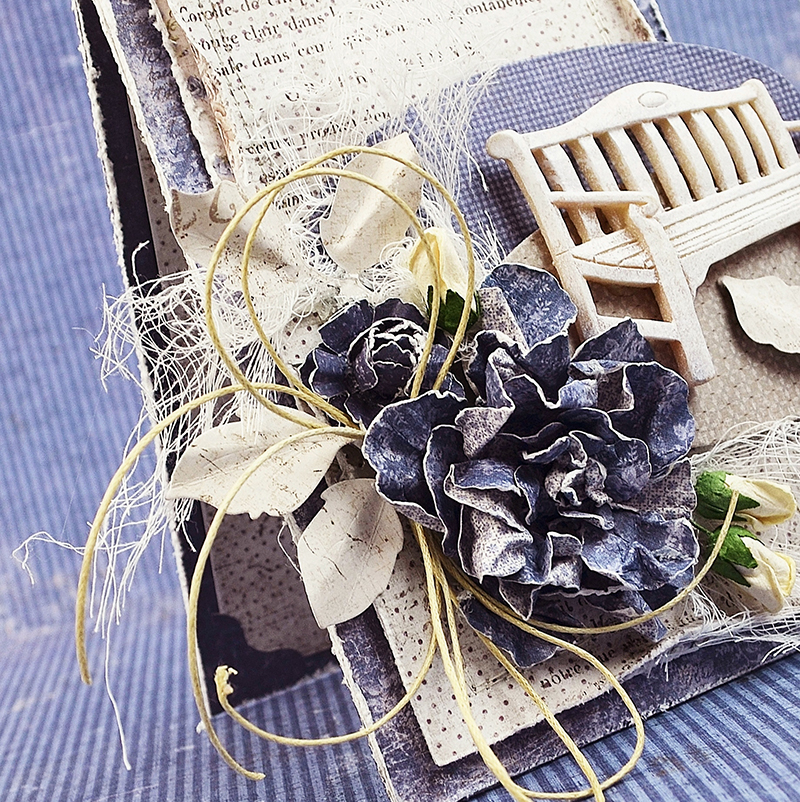
The base papers are distressed, layered, and stitched. A script stamp adds interest to the upper corner if the card. Two ovals layered on foam adhesive provide a backdrop for the bench. The blue paper roses and leaves are handmade using the paper collection.
A 3

A 6

A 4

You’ll find some cheesecloth and a twine bow for a feminine touch.
A 2

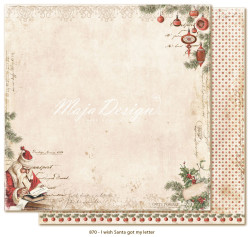
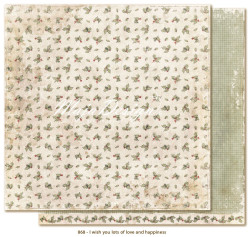
Maja Design Papers Used: 

Additional Supplies Used: Tim Holtz Tattered Florals Die, Magnolia Rose Leaf Die, Spellbinders Ovals Dies, Prima Shabby Chic Treasures, Cheesecloth, Twine, Sewing Machine, Thread, Foam adhesive. 

Thank you so much for visiting today! I hope you have plenty of time to get cozy in your crafting space this weekend. There are so many lovely Maja Design Papers are waiting for you to create your own treasures!

Hugs,

Nancy-sign

Nancy Dynes

My name is Nancy Dynes. I love creating with layers, dimension, and all things feminine. Maja Design Papers speak to me and inspire my imagination. I am honored to be a member of this amazing Creative Team, and look forward to growing in my craft while working alongside these talented artists.

Santa’s List Card!

0

Posted by Nancy Dynes

27 December, 2016 - ,

Write a comment

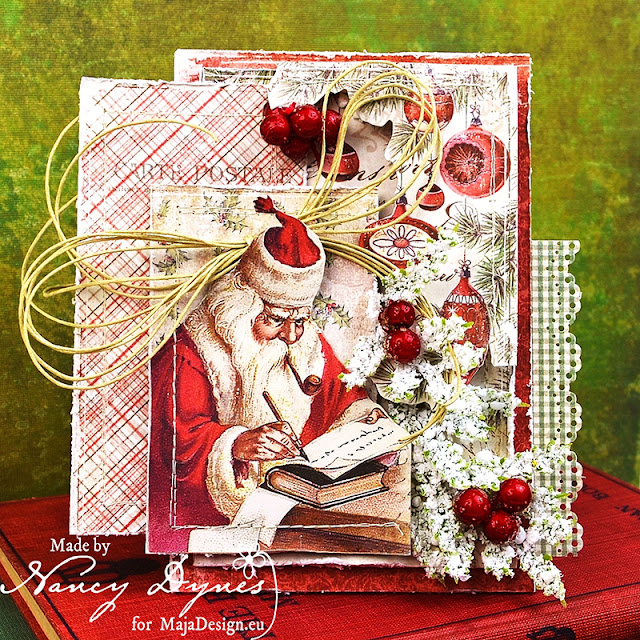
Hello, my friends! I hope you had a blessed Christmas! I’m thrilled to be sharing a project on the Maja Design Blog today. This is the last of my 2016 series of dimensional cards using Maja Design’s festive ‘I Wish’ collection. Sunday was truly the very first day of Christmas, so the way I see it we’re still firmly in the midst of season.

Santa is the front and center of this card as he studies his list in preparation for his holiday deliveries.

Each layer is distressed, layered, stitched, and popped up using foam adhesive.


The image of Santa and the holiday ornaments are fussy cut from the paper collection.

Snow frosted holiday greenery, berries, and a twine bow add finishing touches.


The lace trim is created with a Martha Stewart border punch.

Maja Design Papers Used: 

Other Supplies Used: Twine, Holiday Greenery and Berries, Foam Adhesive, Tim Holtz Distress Tool, Martha Stewart Lace Border Punch, Sewing Machine, Thread. 

Thank you so much for visiting! It’s a great honor to share my card with you. I want to thank you with all my heart for your kind comments. I am humbled and forever grateful to be a part of such a fabulous crafty family. I can’t wait to see what y’all are working on as we head into the New Year. I send wishes for many cozy days of crafting!

Hugs,Nancy-sign


Nancy Dynes

My name is Nancy Dynes. I love creating with layers, dimension, and all things feminine. Maja Design Papers speak to me and inspire my imagination. I am honored to be a member of this amazing Creative Team, and look forward to growing in my craft while working alongside these talented artists.

Christmas Greetings!

6

Posted by Nancy Dynes

13 December, 2016 - ,

Write a comment

A 1a

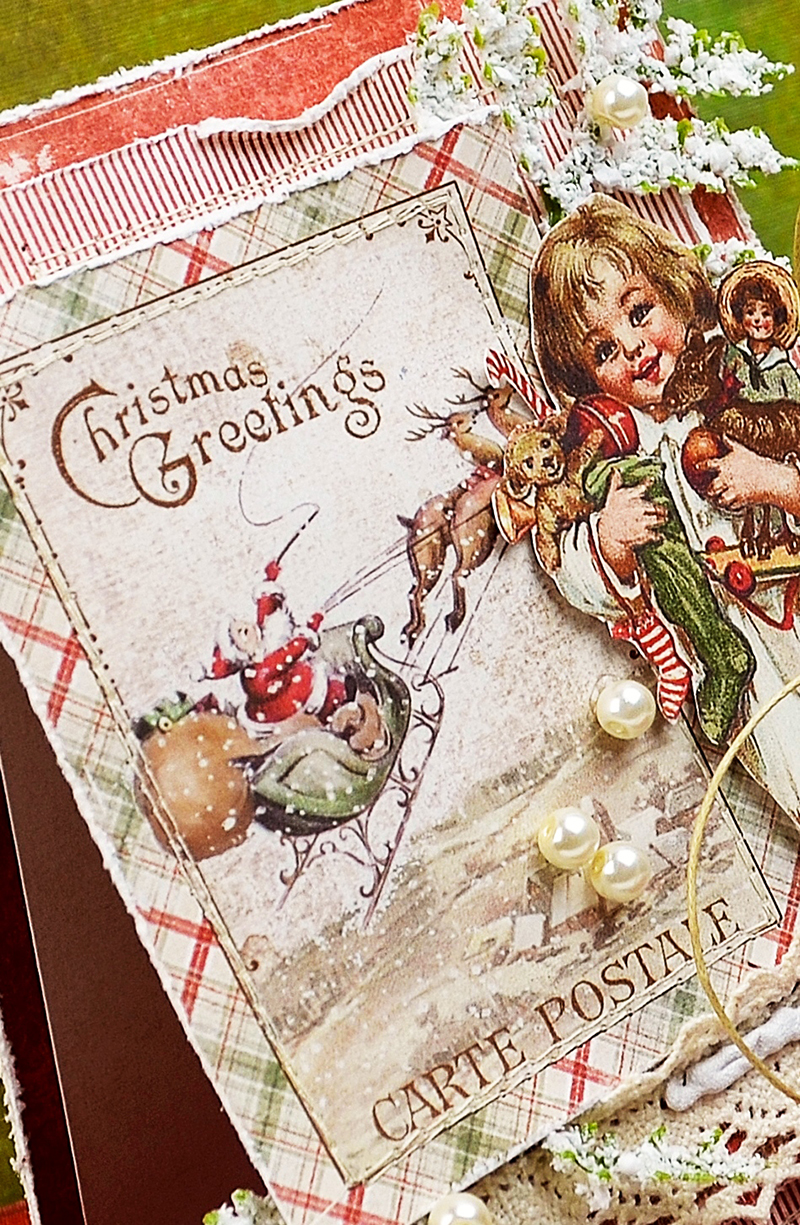
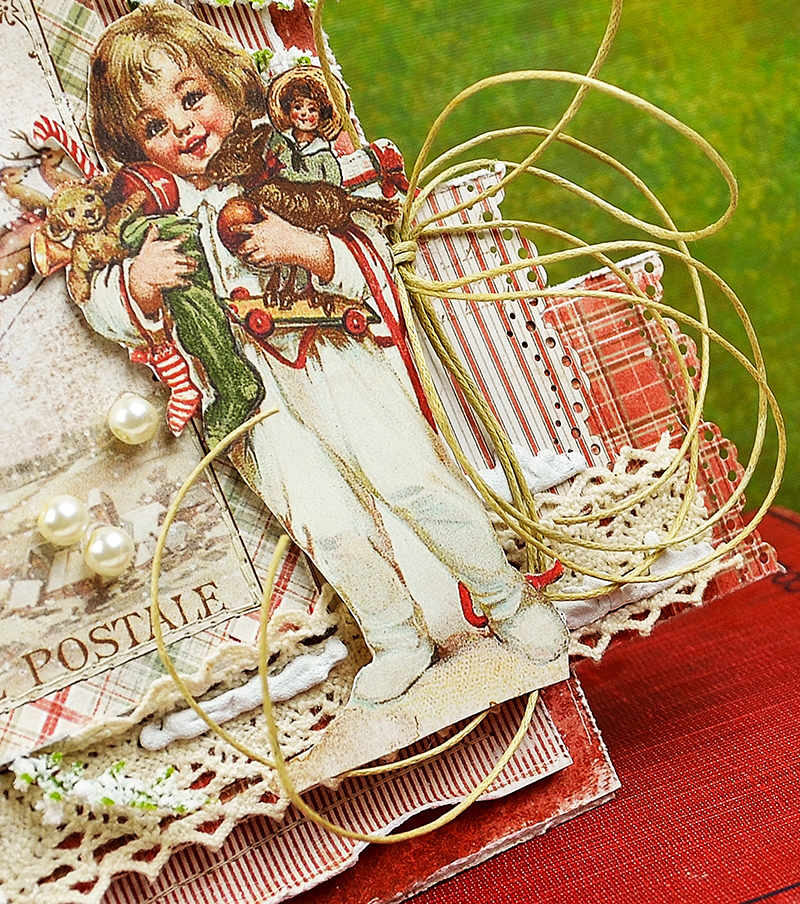
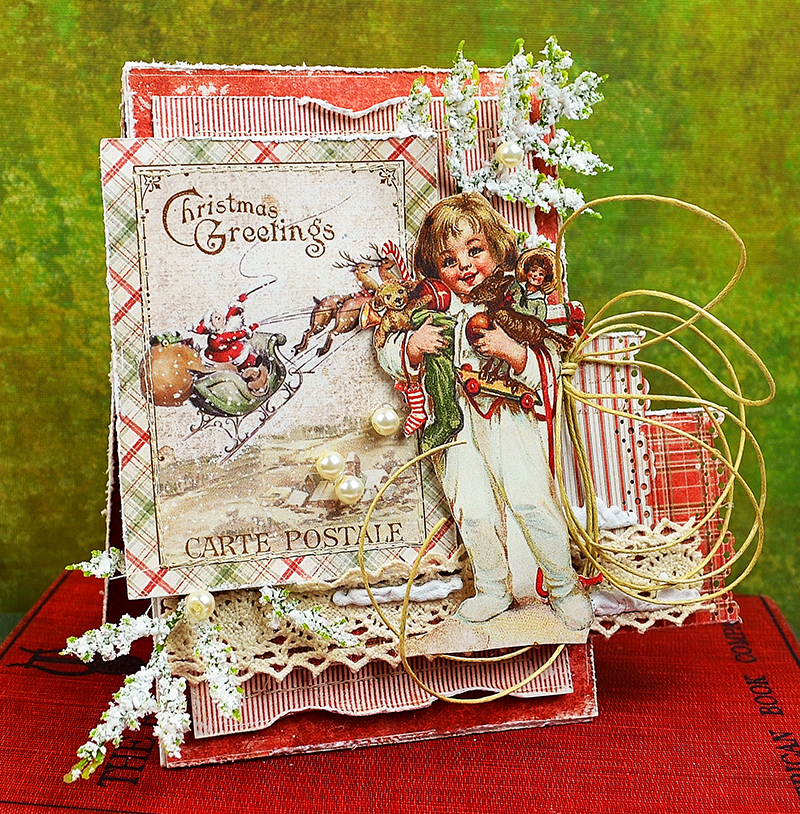
Hello, friends! It’s getting cold outside, but you have the warmest of welcomes here at the Maja Design Blog. It’s Nancy with here, presenting another holiday card featuring the brand new ‘I wish’ paper collection.

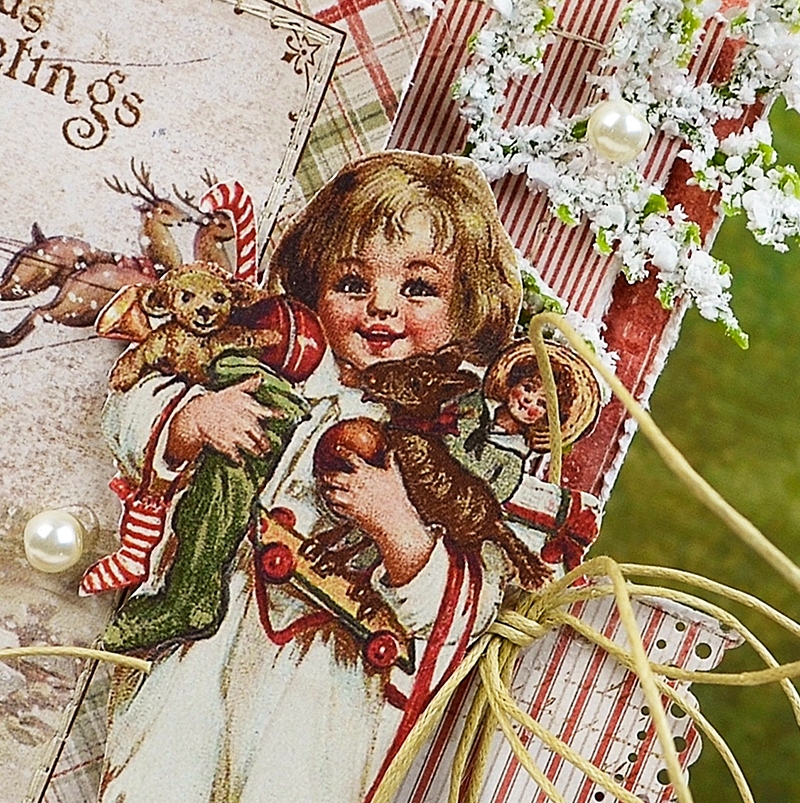
There is nothing that brings more joy than seeing the magic of Christmas through the eyes of a child. This sweet little girl, fussy cut from the paper collection, is my inspiration for today’s card.


A 4

There are several layers here. Each layer is distressed, stitched, layered, and popped up with foam adhesive. I’m trying to capture the dimension in my photos, though it doesn’t always show up as well as I would like it to.

A 5

The sentiment card above is also part of the collection. The stunning ephemera and vintage inspired images included in ‘I wish’ truly capture the imagination. They make holiday crafting a cinch!

 A 3

Snow capped greenery, glass pearls, liquid snow, and a twine bow provide a finishing touch.

A 2

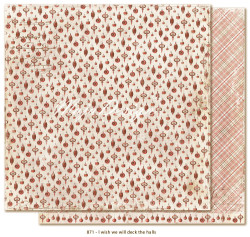
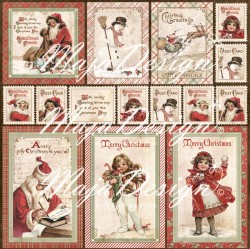
Maja Design Papers Used: 

Other Supplies Used: Martha Stewart Lace Border Punch, Lace, Pearls, Greenery, Twine, Liquid Snow, Foam Adhesive, Sewing Machine, Thread.

Thank you for taking time from your busy schedule to join me. I know how busy this time of year can be. It’s a great honor to share my project with you. It is my Christmas greeting to you and your family!

Hugs, Nancy-sign

Nancy Dynes

My name is Nancy Dynes. I love creating with layers, dimension, and all things feminine. Maja Design Papers speak to me and inspire my imagination. I am honored to be a member of this amazing Creative Team, and look forward to growing in my craft while working alongside these talented artists.
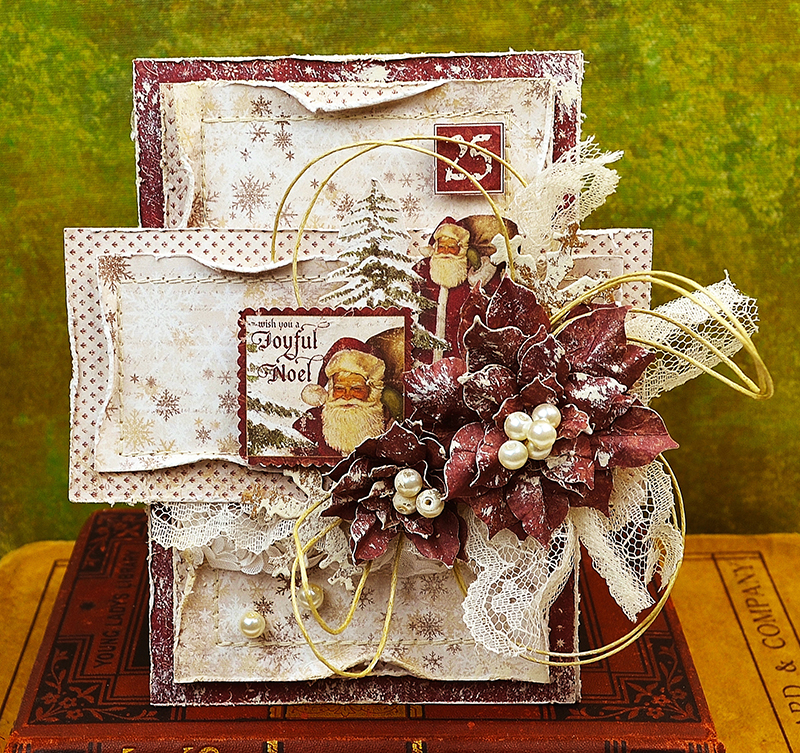
Joyful Noel Card!

3

Posted by Nancy Dynes

29 November, 2016 - ,

Write a comment

A 1a

Hello, dear friends! It’s Nancy today, and I’m honored to welcome you to the Maja Design Blog.

Are you busy with holiday preparations? It’s Christmas central at my house, and am I ever thankful for Maja Design Papers! They are helping my holiday crafting to go so smoothly. Today I’m sharing a Christmas card created with the festive ‘It’s Christmas time’ collection.

A 5

The base papers are distressed and stitched together.

A 3

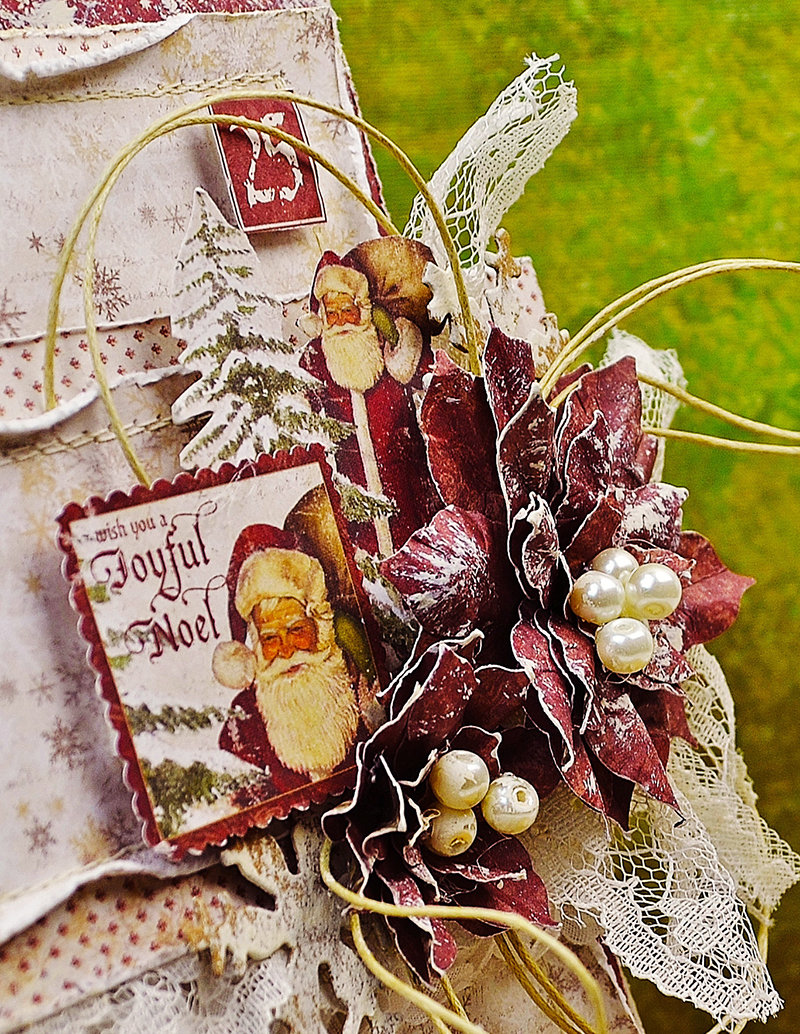
I took a chance on my arm being once again strong enough to handcraft these poinsettias. All of the paper embellishments are fussy cut from the collection. With Maja Design you can really ‘let the papers do the talking’.

A 3b

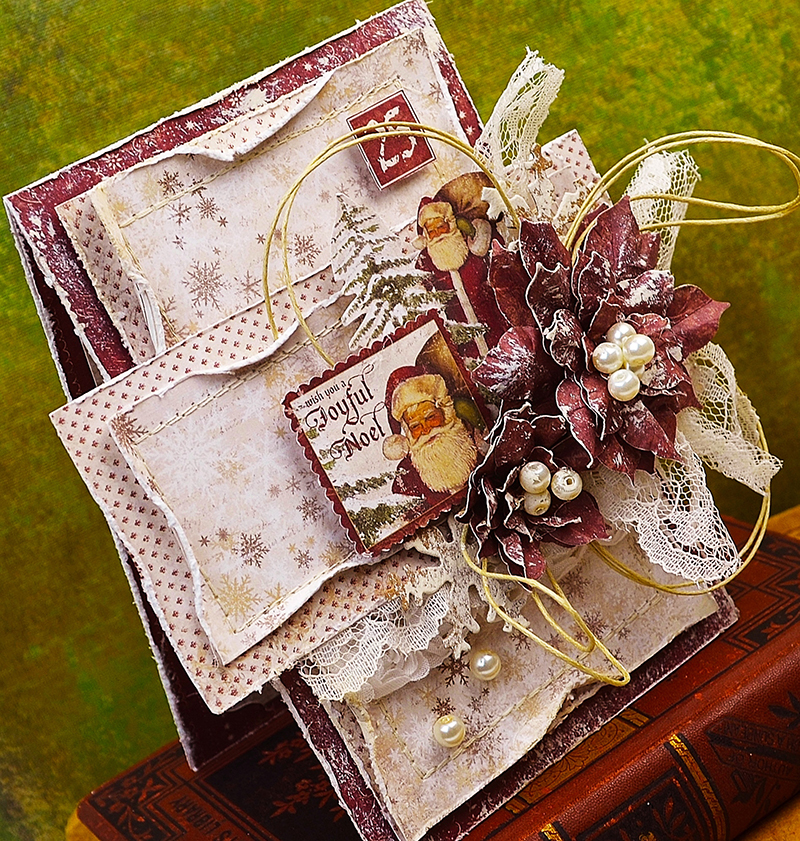
There’s a great deal of dimension to this card but I’m having difficulty capturing it in my photos. Each element is popped up with one or more layers of foam adhesive.

A 6

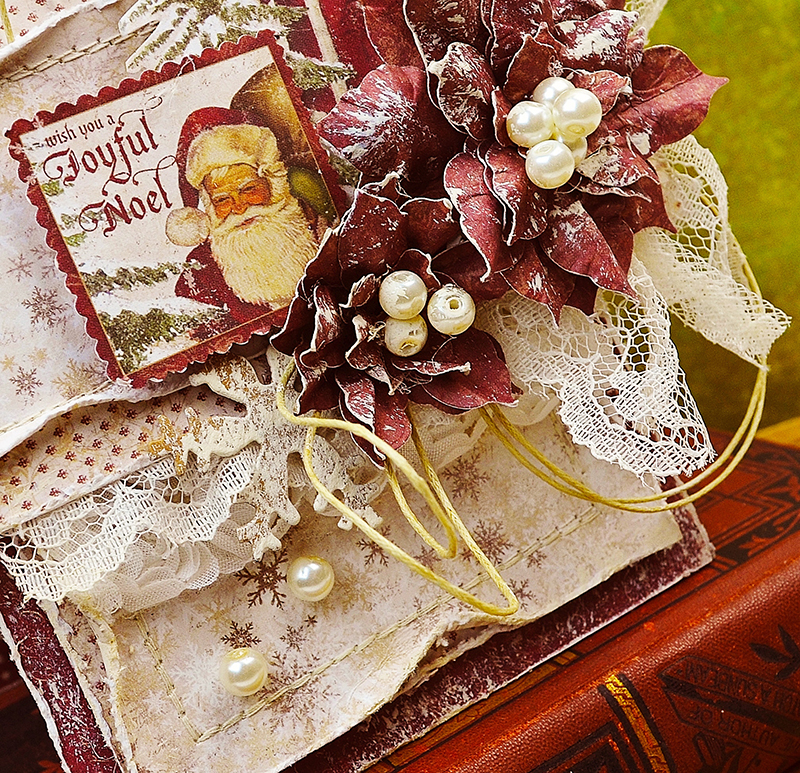
A couple of die cut chipboard snowflakes, some lace and pearls from my stash, and a twine bow help to complete the card.

A 7

A light dusting of gesso adds a frosty finish.

A 2

Maja Design Paper Used: Its-Christmas-time-P

Other Products Used: Spellbinders Poinsettia Die, Tim Holtz Snowflake Die, Tim Holtz Distress Tool, Lace, Loose Pearls, Natural Twine, Kraft Chipboard, Gesso, Foam Adhesive, Sewing Machine, Thread. 

Thank you for visiting today! I also thank you for your kind words on my last project. They warm my heart and mean so very much to me. I send wishes to you for a joyful holiday season!

Hugs,Nancy-sign

Holiday Wishes Card

8

Posted by Nancy Dynes

15 November, 2016 - ,

Write a comment

A 1 b

Hello and welcome to The Maja Design Blog! It’s Nancy today, returning after being away for a couple of months with a broken arm. Time certainly crawls when I’m grounded from spending my days in my craft room. I’m beyond thrilled to finally be back with you all!

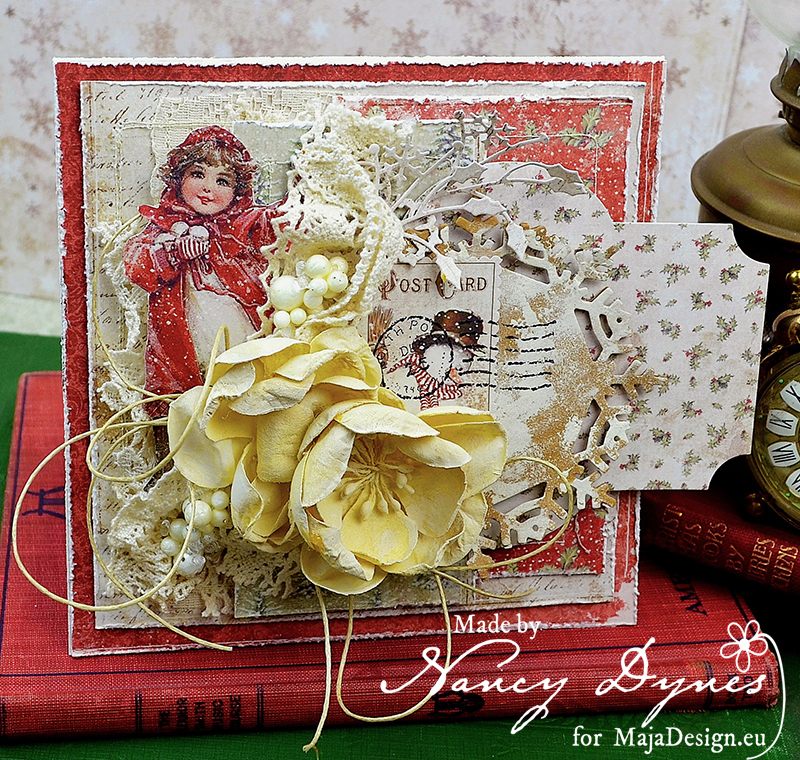
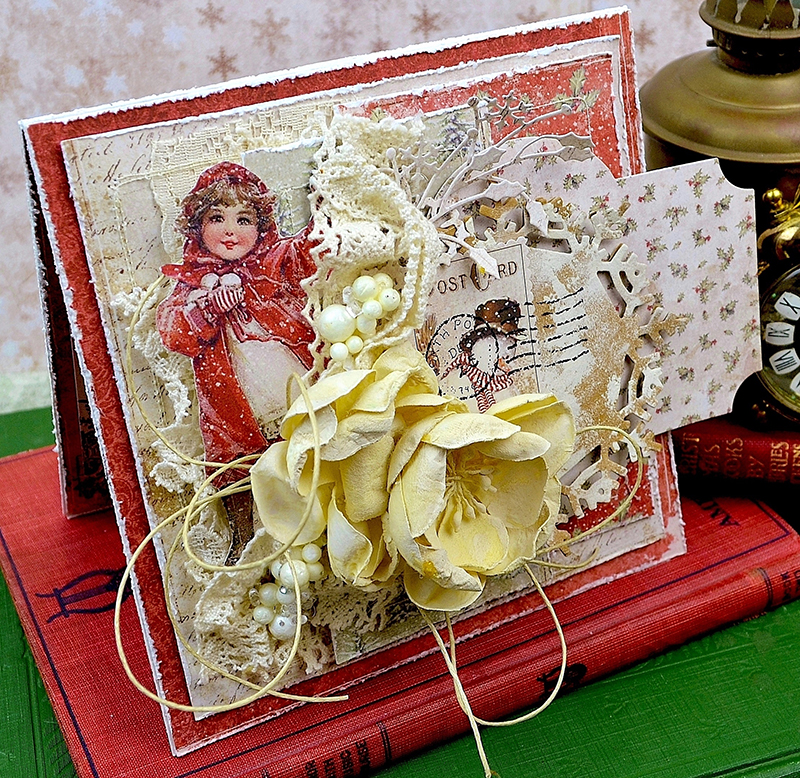
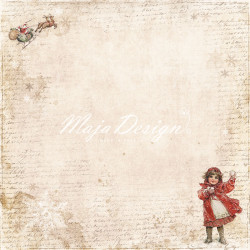
During my absence a brand new holiday collection, ‘I Wish’, was released. It’s filled with page after page of beautiful, festive patterns and vintage inspired ephemera. I’ve been waiting not-so-patiently to begin playing with it. The holiday card I’m sharing features several designs from the this collection.

A 2

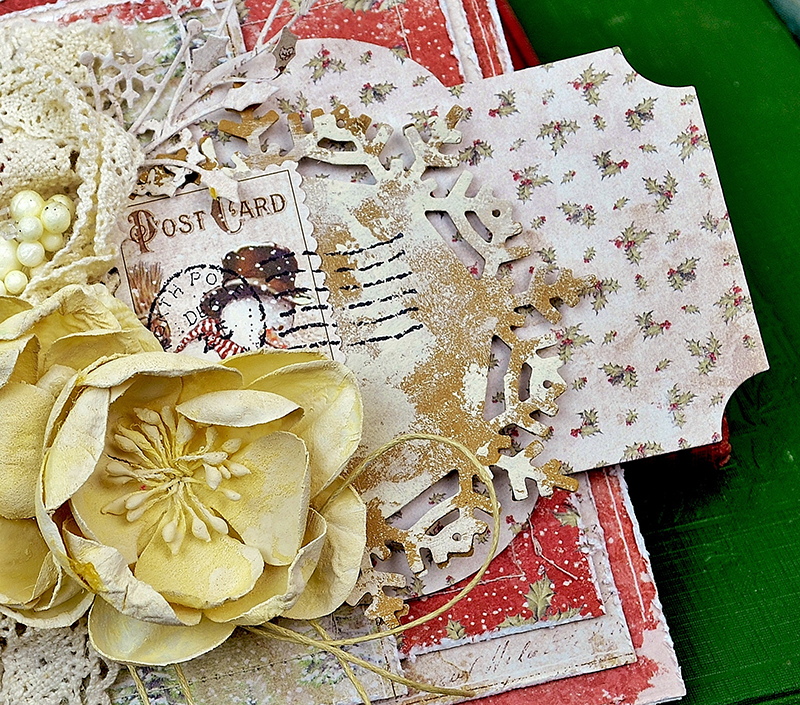
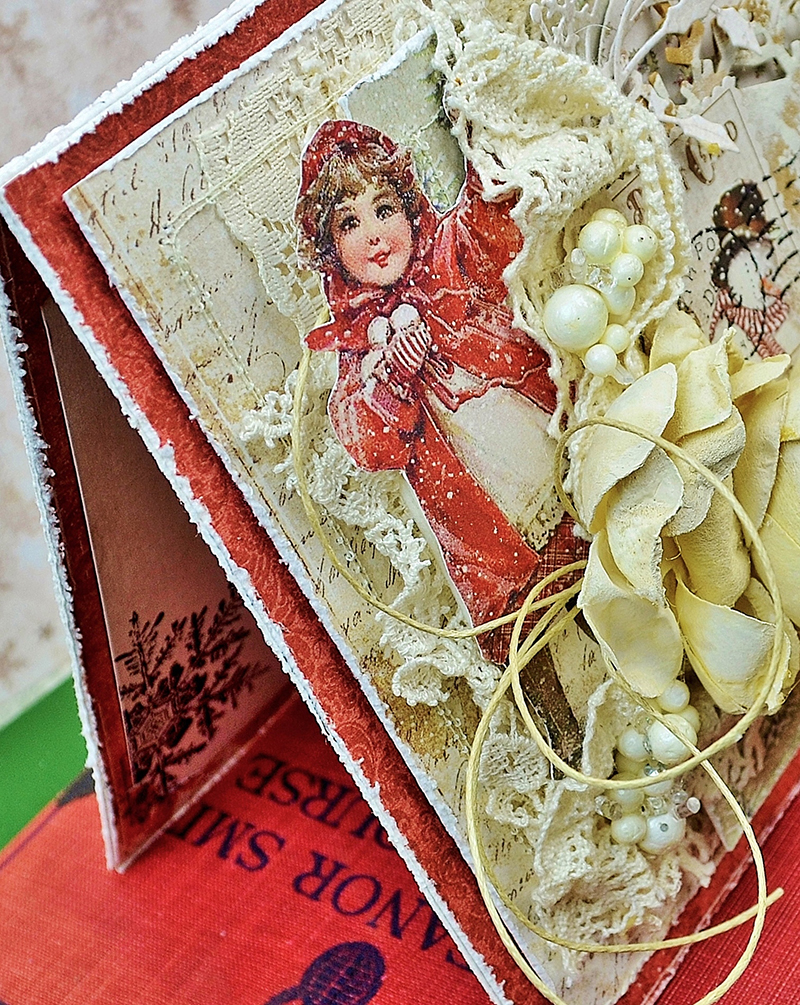
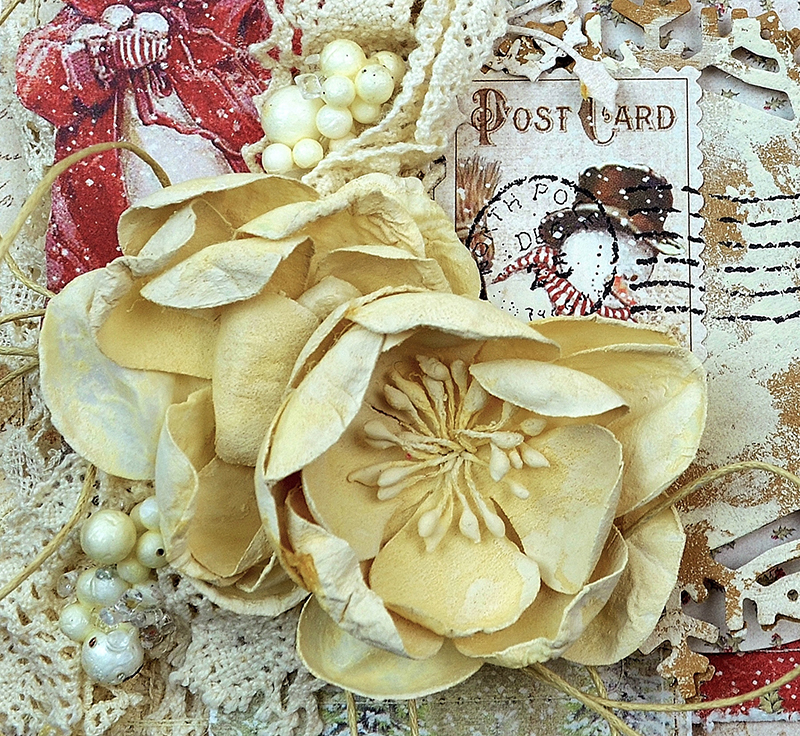
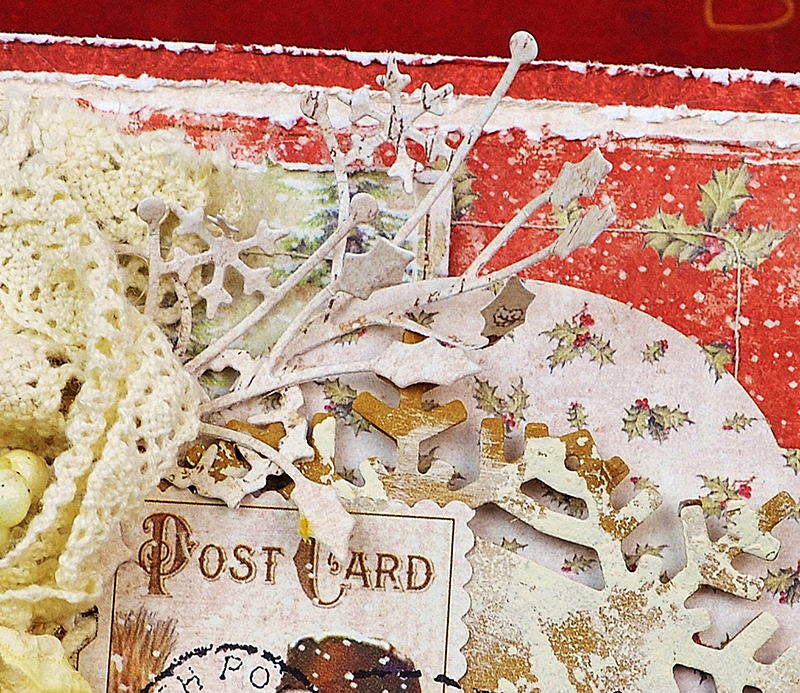
I begin by distressing, layering, and stitching the lovely papers. The base design elements include two staggered rectangular panels, a label die, and a snowflake die cut from corrugated board. Each layer is popped up with foam tape to add dimension. The snowflake is lightly dusted with acrylic paint. A postage stamp from the collection (with a fun rubber stamped North Pole cancellation) adds a little whimsy. The image of the sweet child bundled in her winter finery is fussy cut from the paper collection.

A 4 a

A 3

Ivory lace, a natural twine bow, and winter white berries adorn the left side of the card. Prima flowers are hand colored in pale ivory. A couple of snowflake flourishes bedeck the top of the large snowflake.

A 4

A 4 b

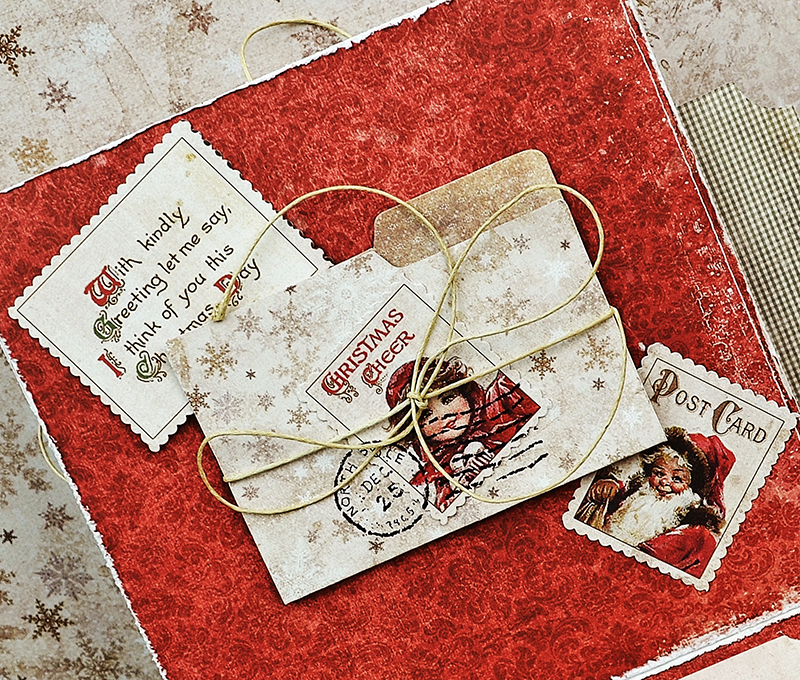
The inside of the card features rubber stamping, elements from the paper collection, and an embellished file folder for tucking away a gift card.

A 5

A 6

A 1

Maja Design Papers Used:

Additional Supplies: Dies- Sizzix Bigz File Folder, Spellbinders Labels 21, Memory Box Snowflake Sprig, Die-Namics Snowflake. Stamps: Tim Holtz Grunge Flakes, Stampin Up Christmas Postmark, Close to My Heart Post Card. Prima Flowers, Staz-On Black Ink, Prima Memory Hardware (Vintage Ivory), Ivory Acrylic Paint, Lace, Natural Twine, Corrugated Board, Winter Berries, Sewing Machine, Thread. 

Thank you so much for joining me today! I hope you love the new collection as much as I do. Pamper yourself this season with these must-have papers and create stunning, one-of-a-kind cards and projects for the special people in your life. Don’t forget to stop by the Mood Board Challenge while you’re here. You still have plenty of time to play along!

Hugs,Nancy-sign


Nancy Dynes

My name is Nancy Dynes. I love creating with layers, dimension, and all things feminine. Maja Design Papers speak to me and inspire my imagination. I am honored to be a member of this amazing Creative Team, and look forward to growing in my craft while working alongside these talented artists.