Girly Cards

1

Posted by Maja Nowak

4 March, 2016 - , ,

Write a comment

Hello, Maja Fans, welcome to the blog 🙂

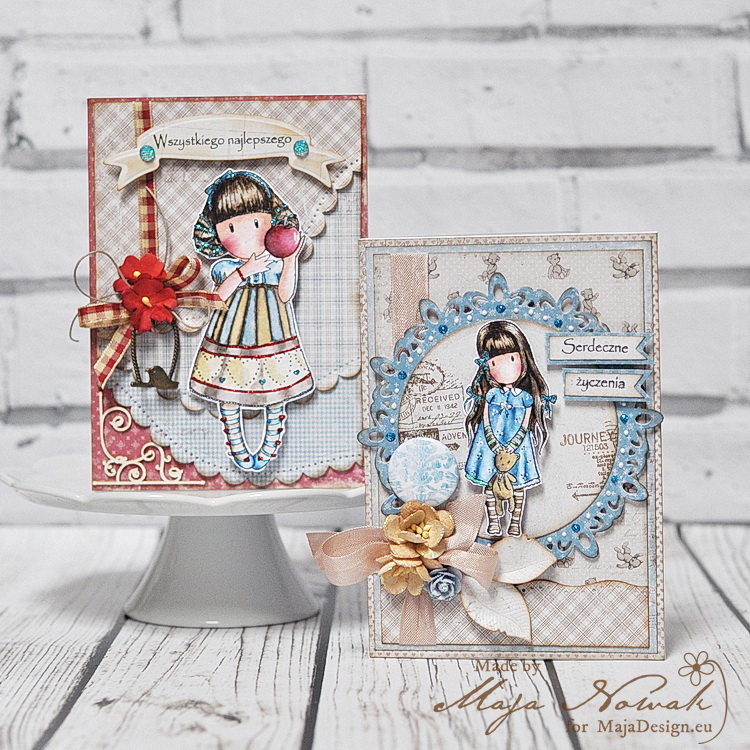
I’m happy you’ve found some time to visit us and – hopefully – get inspired 🙂 I have two girly cards to share today.

I love colouring stamped images. Perhaps it’s not as trendy as mandala colouring that seems to have captured the world 😉 but it’s still relaxing, though it does take some time and therefore I can’t do it as often as I’d like to. But recently I bought cute stamps for colouring and just couldn’t resist! And here are the cards I made:

mdgor

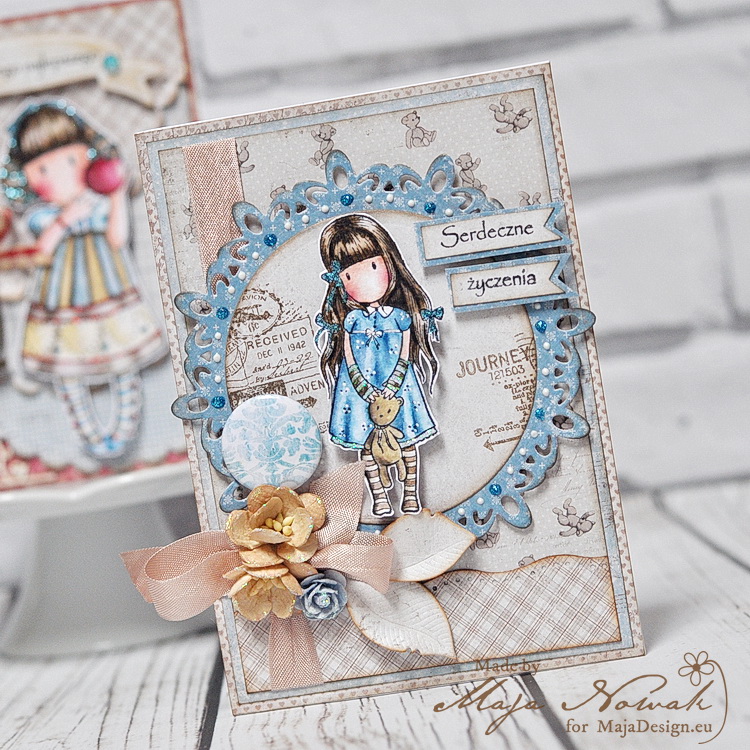
I used small paper pads for both cards so that designs are well visible. The first card is based upon the Vintage Baby collection. But this time I chose the blue-brown combo usually associated with boy themes 😉

mdgor1

The image I chose for the card features a teddy bear, so the teddy pattern was just the perfect choice 🙂

mdgor2

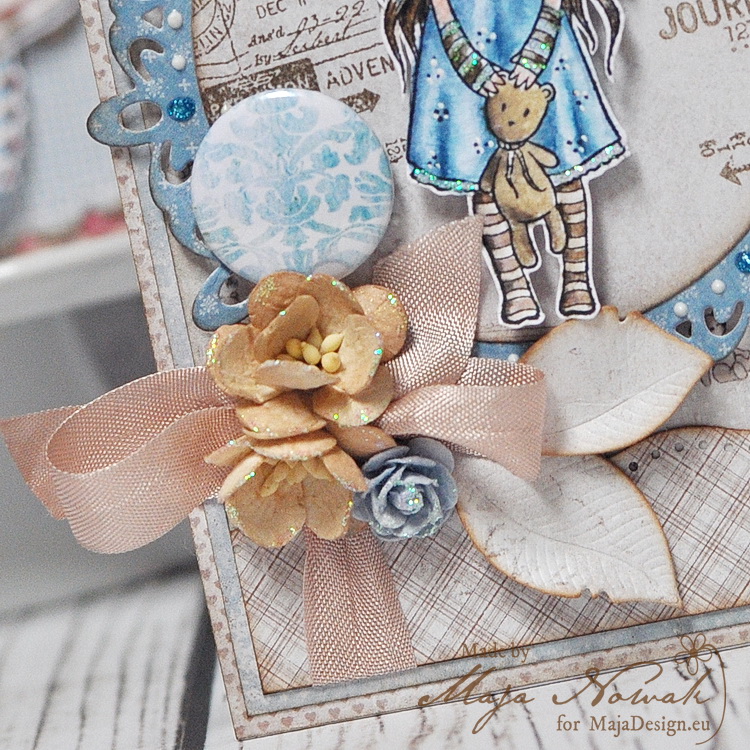
I chose a couple of flowers and a button to decorate the card:

mdgor3

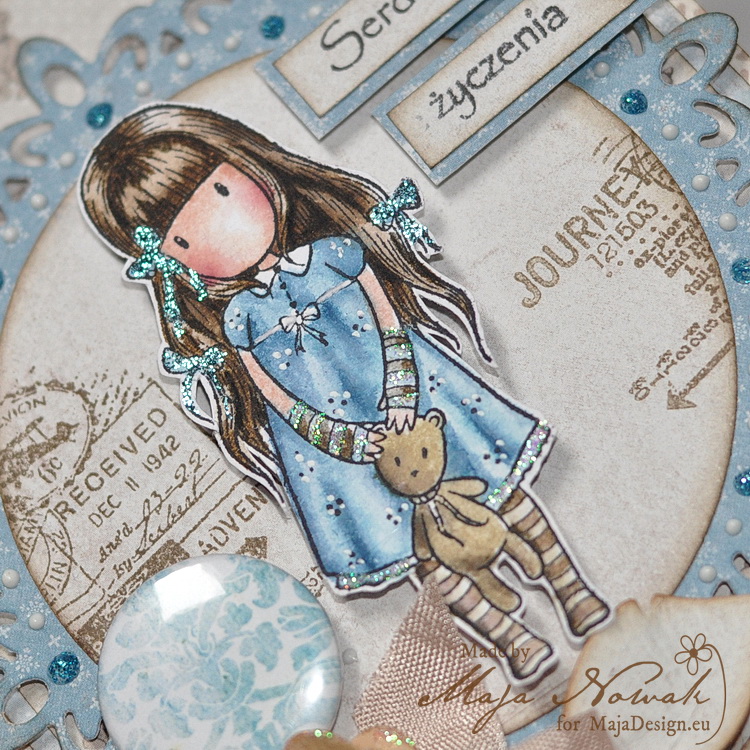
I most often colour my stamped images with Distress inks and then accent them with glitter or liquid pearls. Here I used glitter for some bling 🙂

mdgor4

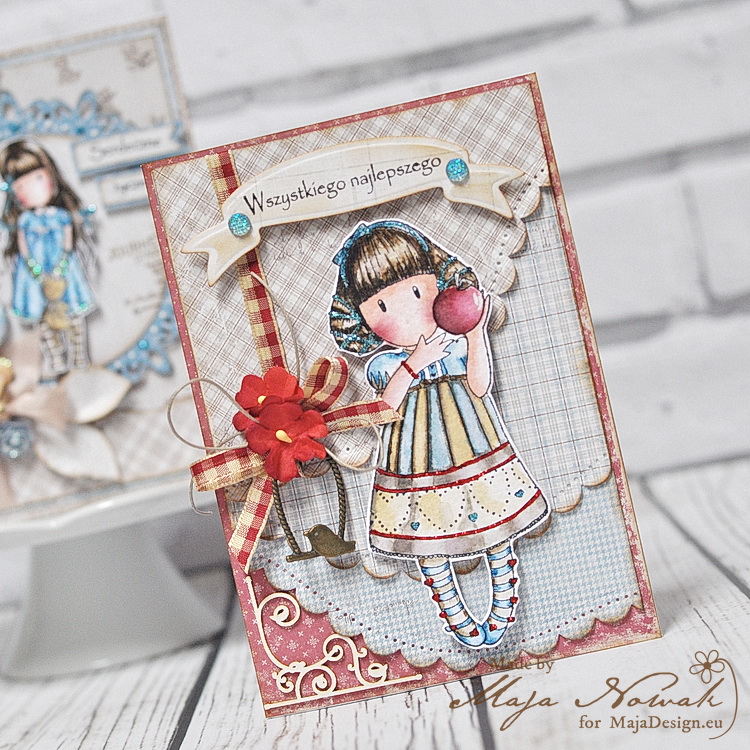
The other card adds some red accents as I used the Home for the Holidays collection 🙂

mdgor5

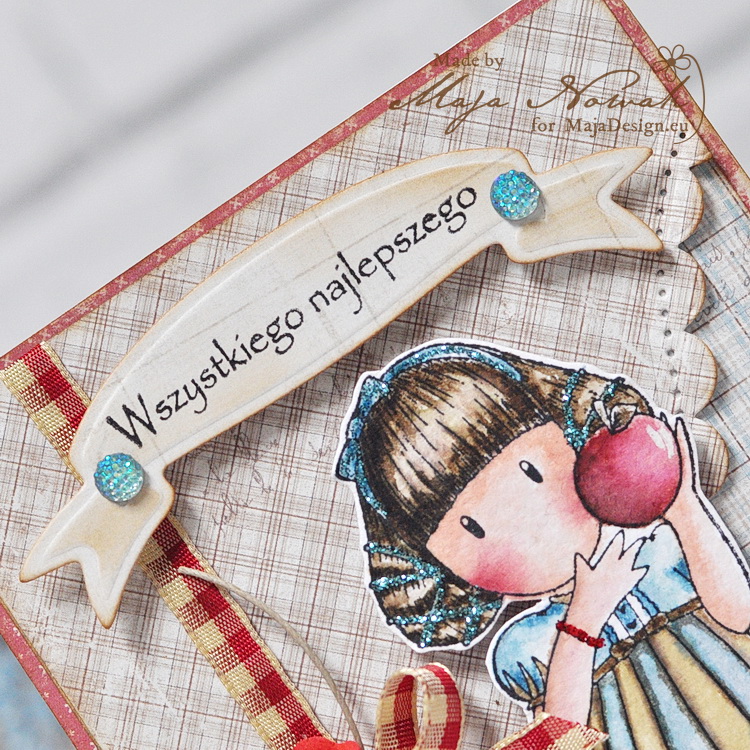
To make the image pop out I used plaid patterns for the background:

mdgor6

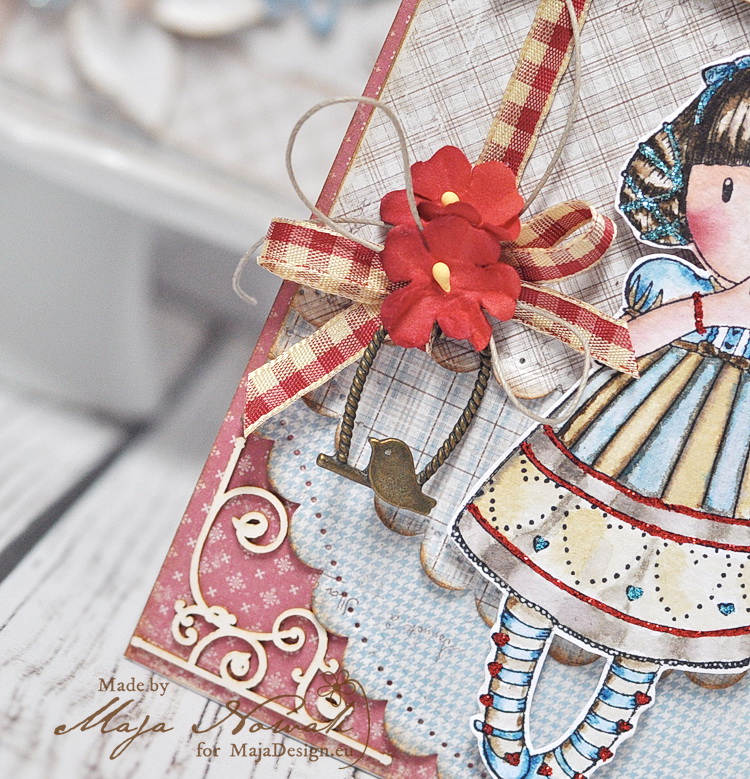
The decorative elements here include birdswing charm and plaid ribbon with some sweet little flowers:

mdgor7

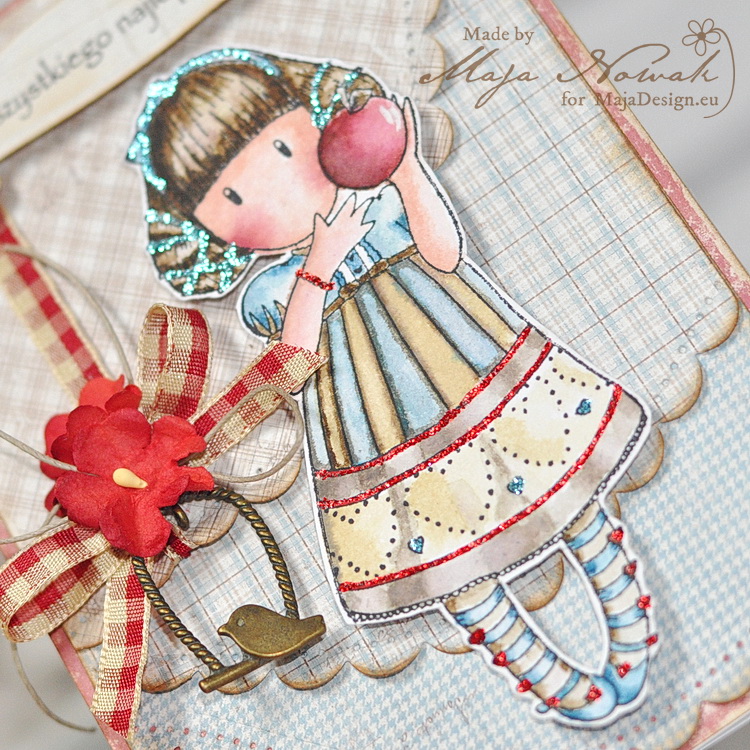
To imitate light glow, I use white gel pen, like here on the apple:

mdgor8

I hope some girl would be happy to receive a card with the cute image in it 🙂


Supplies:

Maja Design papers: small pads for Vintage Baby and Home for the Holidays collections. Other: stamps: Gorjuss by Santoro; Distress inks, Stickles glitters: Ranger; flowers, ribbon, charm: my stash.

See you soon 🙂

Maja-sign

Window Easel Card {Maja Baby}

4

Posted by Gabrielle Pollacco

24 February, 2016 - , , , ,

Write a comment

Baby card photo4

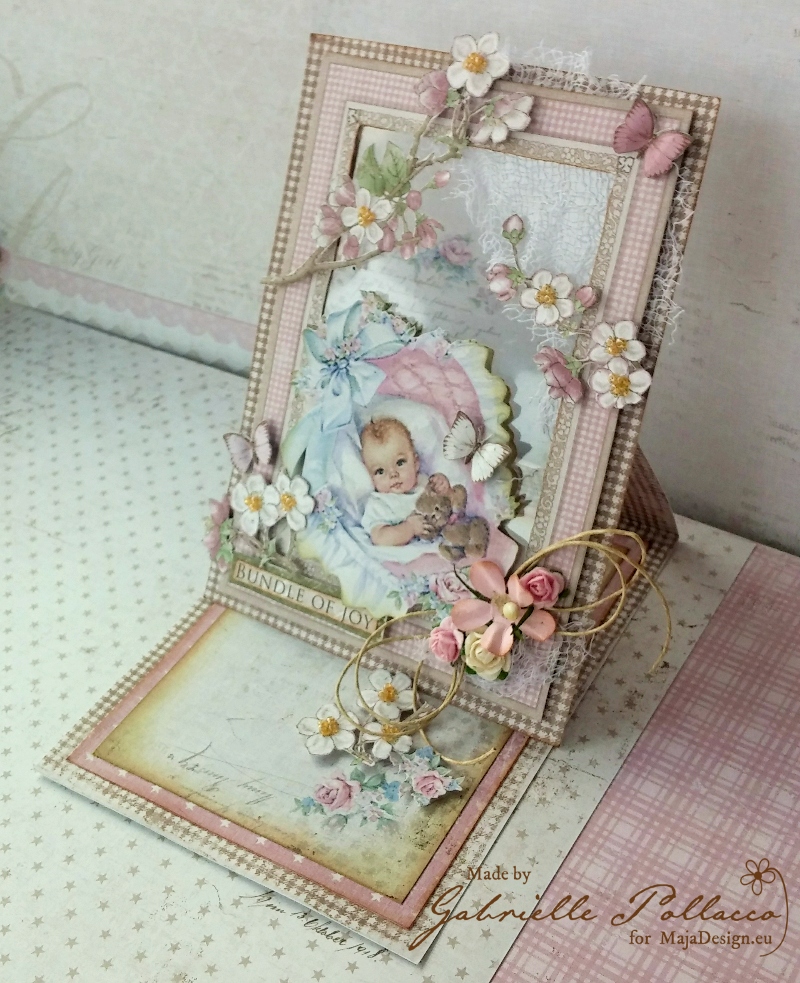
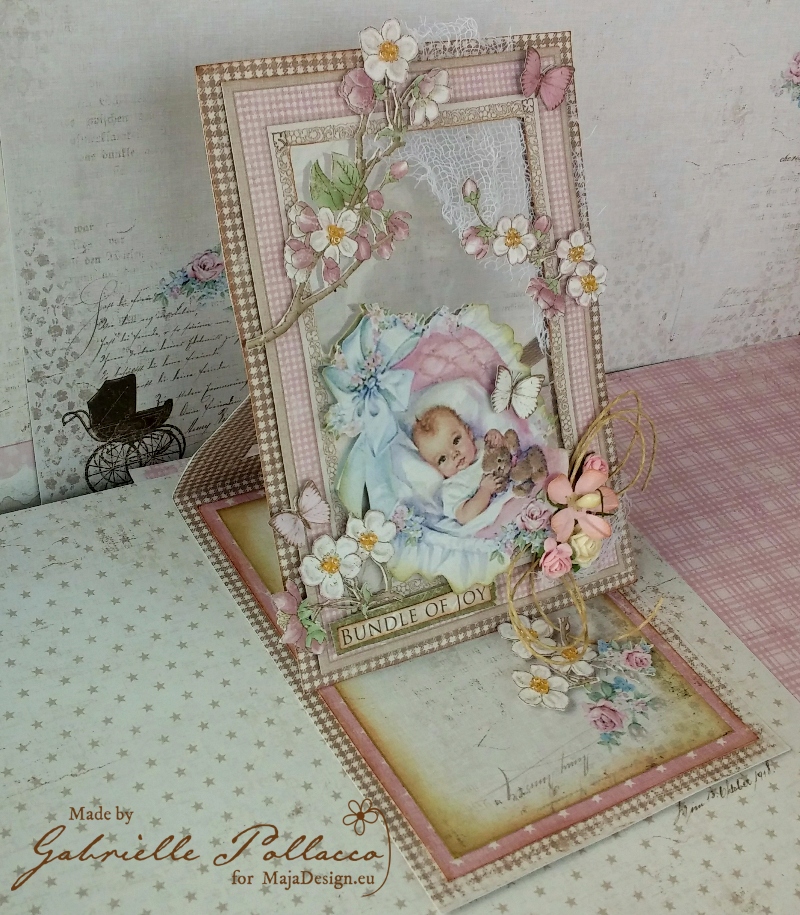
Hello Maja fans! Gabrielle here with you today to share this uniquely shaped baby card I recently made.  I tend to be a bit frugal with scrap supplies, I save everything!  Those plastic/transparent pieces that many of your embellishments come on (blooms etc.), I don’t throw them out, just in case I can use them later.  I recently found a fun use for them….making easel cards with a peek-a-boo window.  The Maja Design ‘Vintage Baby Collection’ had all the perfect elements to create the card I envisioned.

Vintage-Baby-P

I used a variety of papers from the Vintage Baby collection (Die Cuts, Die Cuts-bs, Ephemera, Expecting, Our Little Miracle and Flowers for Mom), I also did a little fussy cutting from Vintage Spring Basics (5th of May) and Coffee In the Arbour (Butterflies are Free).

Baby card photo2

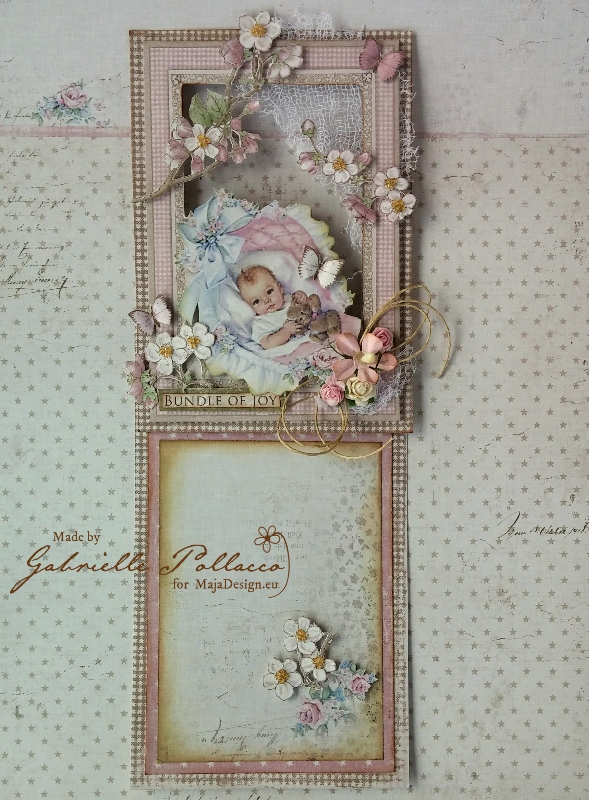
The bottom part of the card has an area for you to write in your own personal thoughts.  I added some fussy cut blossoms attached with foam adhesive dots so that the window part of the card has something to prop against.

Baby card photo1

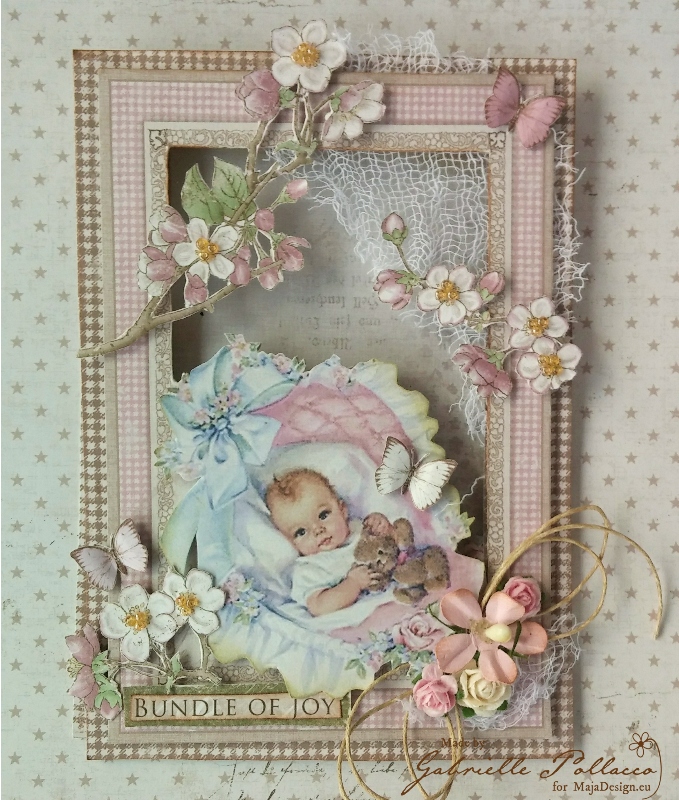
Here is a picture of the card with it’s folded shut.  To make the card I cut out the framed baby design from the Vintage Baby Ephemera paper, also cutting out the area behind the baby inside the frame with an exacto-knife. I then laid the card cut out on the brown gingham paper (backside of the Die Cuts paper) and cut a piece slightly larger in wide to the frame piece…and kept the length of the strip the full 12 inches.  I then cut a second piece of the gingham paper to frame the baby frame piece, making sure there is about a 1/4 inch edge.  I then made a fold crease in the long strip at the 6″ mark and at the 3″ mark.  I cut out the center of the upper part of the 6″ rectangle and also out of the matting piece I cut for behind the baby frame.

Baby card photo5

I then put the card together by attaching the gingham matting paper to the upper 3″ of the long card strip and then sandwiching the transparent plastic piece between the matting and the actual baby frame piece.  Now you have a cute peek-a-boo window on your easel card.  The last steps are just adding a few decorations.  I cut out a second baby image from another piece of the Ephemera paper and added it with foam pop dots, I thought it gave the card that extra pop.  I also fussy cut some flowers from the Vintage Spring Basics paper and butterflies from the Coffee In the Garden collection and added them as decorations to my card front.  A few seed beads for my flower centers and bingo, your unique baby card is done!  The cool thing?  Maja also has a beautiful baby boy framed image in this collection so you can make the card for either sex.

Baby card photo3

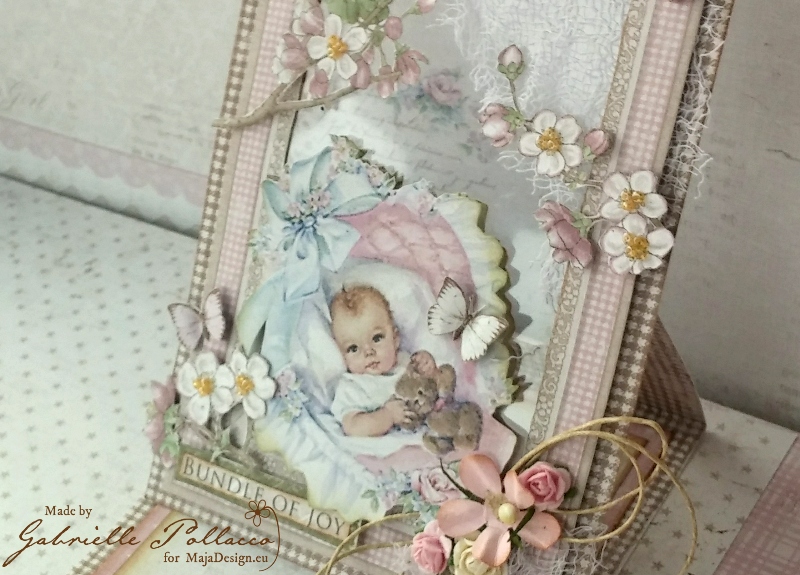
It’s hard to show in a photo the effect of the see through window so I thought I’d post an extra pic from the other angle, but believe me, in real life the effect is quite striking.  I had a lot of fun creating this special baby card and think you’d enjoy it too!  Thanks so much for taking the time to stop by the Maja blog today….as always we enjoy hearing your comments and feedback on our projects! xoGabrielle-sign

Baby Shoes for a Little Baby Girl

1

Posted by Silje Kristin Aunan

14 February, 2016 -

Write a comment

Hello Everyone <3

Congratulations with Valentines Day, everyone <3 <3 <3

My plan for today, was toshow you a box I have made for my Boyfriend on Valentines Day, but since I’m moving to a new home, there was unfortunately no time to take pictures of the project, so you habe to wait a few weeks 😉 But today I have a pink sweet box which I will share with you. This box was basically a box to a Samsung phone, but now I have given a new life to.

On the box I have used three different sheets from The Vintage Baby, these sheets I have used to dressed on the outside of the box. On the edges I have used Distress Ink Ground Espresso.

Vintage-Baby-P

To bring out the sugar sweet on the box, I have used details like silver chain with clear and ligth brown diamonds. In between the bottom and the ild, I’ve also attached a pearl string around the box.

The flowers I have used are white flowers from Wild Orchids, an extra little detail I used with the flowers, are a little white crown.

On the top of the box, you can see that I have a little plateau and on top of that I have one pair of white baby shoes. These shoes are from a dies sett from Marianne Design. The set you can also find a model for a shoes to a baby boy. On the shoes I’ve use a pink button, white thread, pink bling and a silver charms.

You open up the lid, you will see that I have decorated the inside of the box as well. The punch is from Martha Stewart, I have also attached a pearl string.

Now you have seen my little pink box, to a little baby girl <3


SiljeKristin-sign

Looking Back

3

Posted by Gabrielle Pollacco

27 January, 2016 - , , , , , ,

Write a comment

Explore_sm

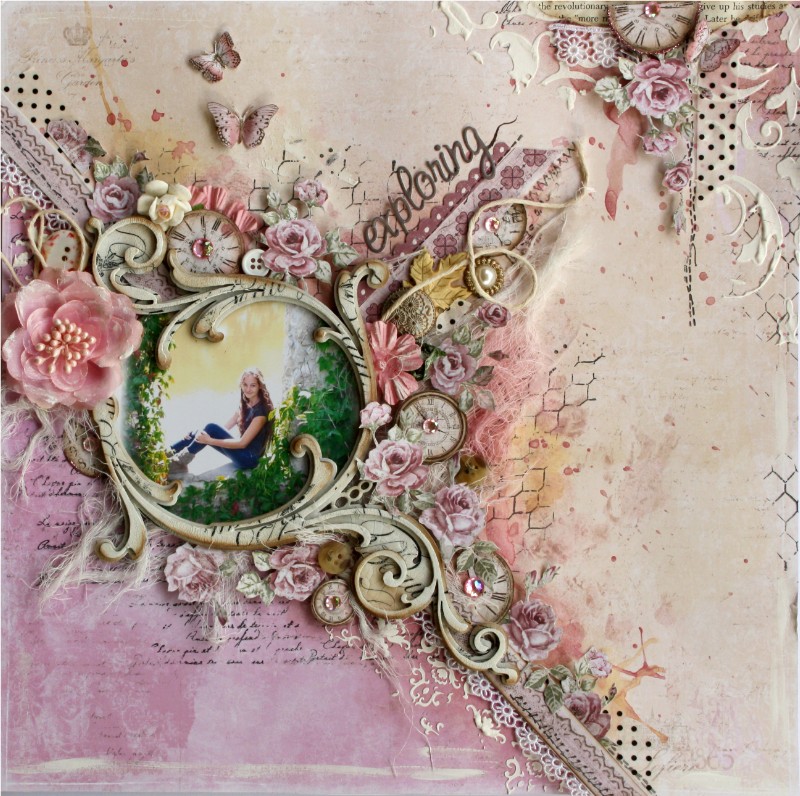
Hi All! It’s Gabrielle here with you today!  It’s the beginning of a new year, and I’m thinking it’s fun to reflect over past years on some of my favorites of projects I’ve created with Maja Design papers.  One of my favorite things about Maja Design papers is the beautiful images you can use for fussy cutting and embellishing your projects.  For the above layout I used a combination of papers from the Sofiero collection and from the Vintage Autumn Basics collections.  The clocks are clearly one of my go to favorite items to use on a scrap page, as are the gorgeous roses found in the Vintage Autumn Basics papers!

Girlie_small

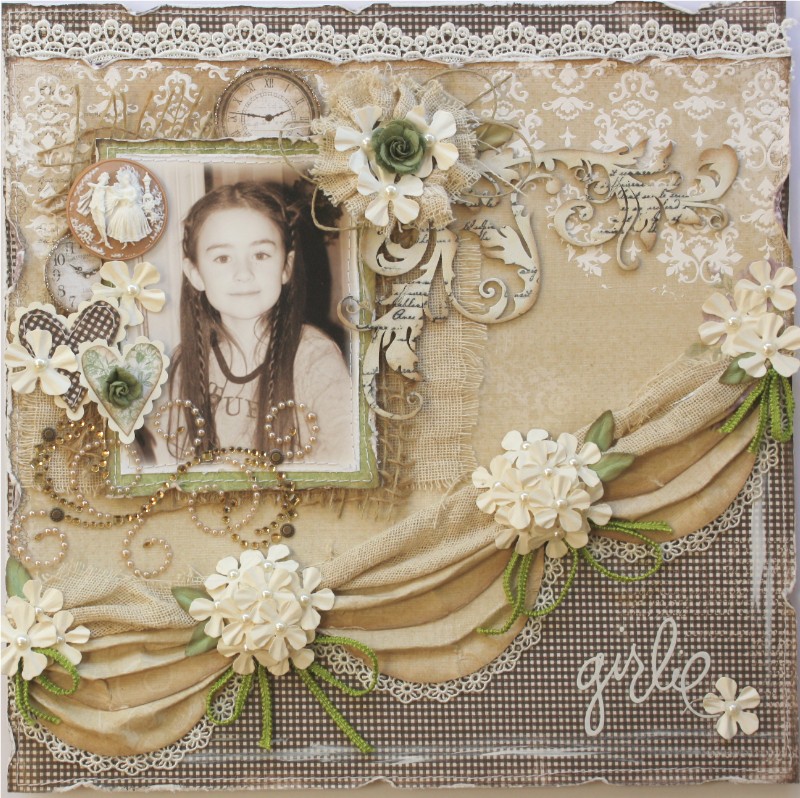
Another thing I particularly love about Maja Design Papers is their wonderful quality and the strength of the papers.  They allow you to play with and manipulate the papers with a little bit of water without falling apart on you.  For the page above I cut little swags of one of the papers in the Ska Vi Ta En Fika collection papers and created a draping effect by making little folds/pleats in the paper.

Tempus Fugit

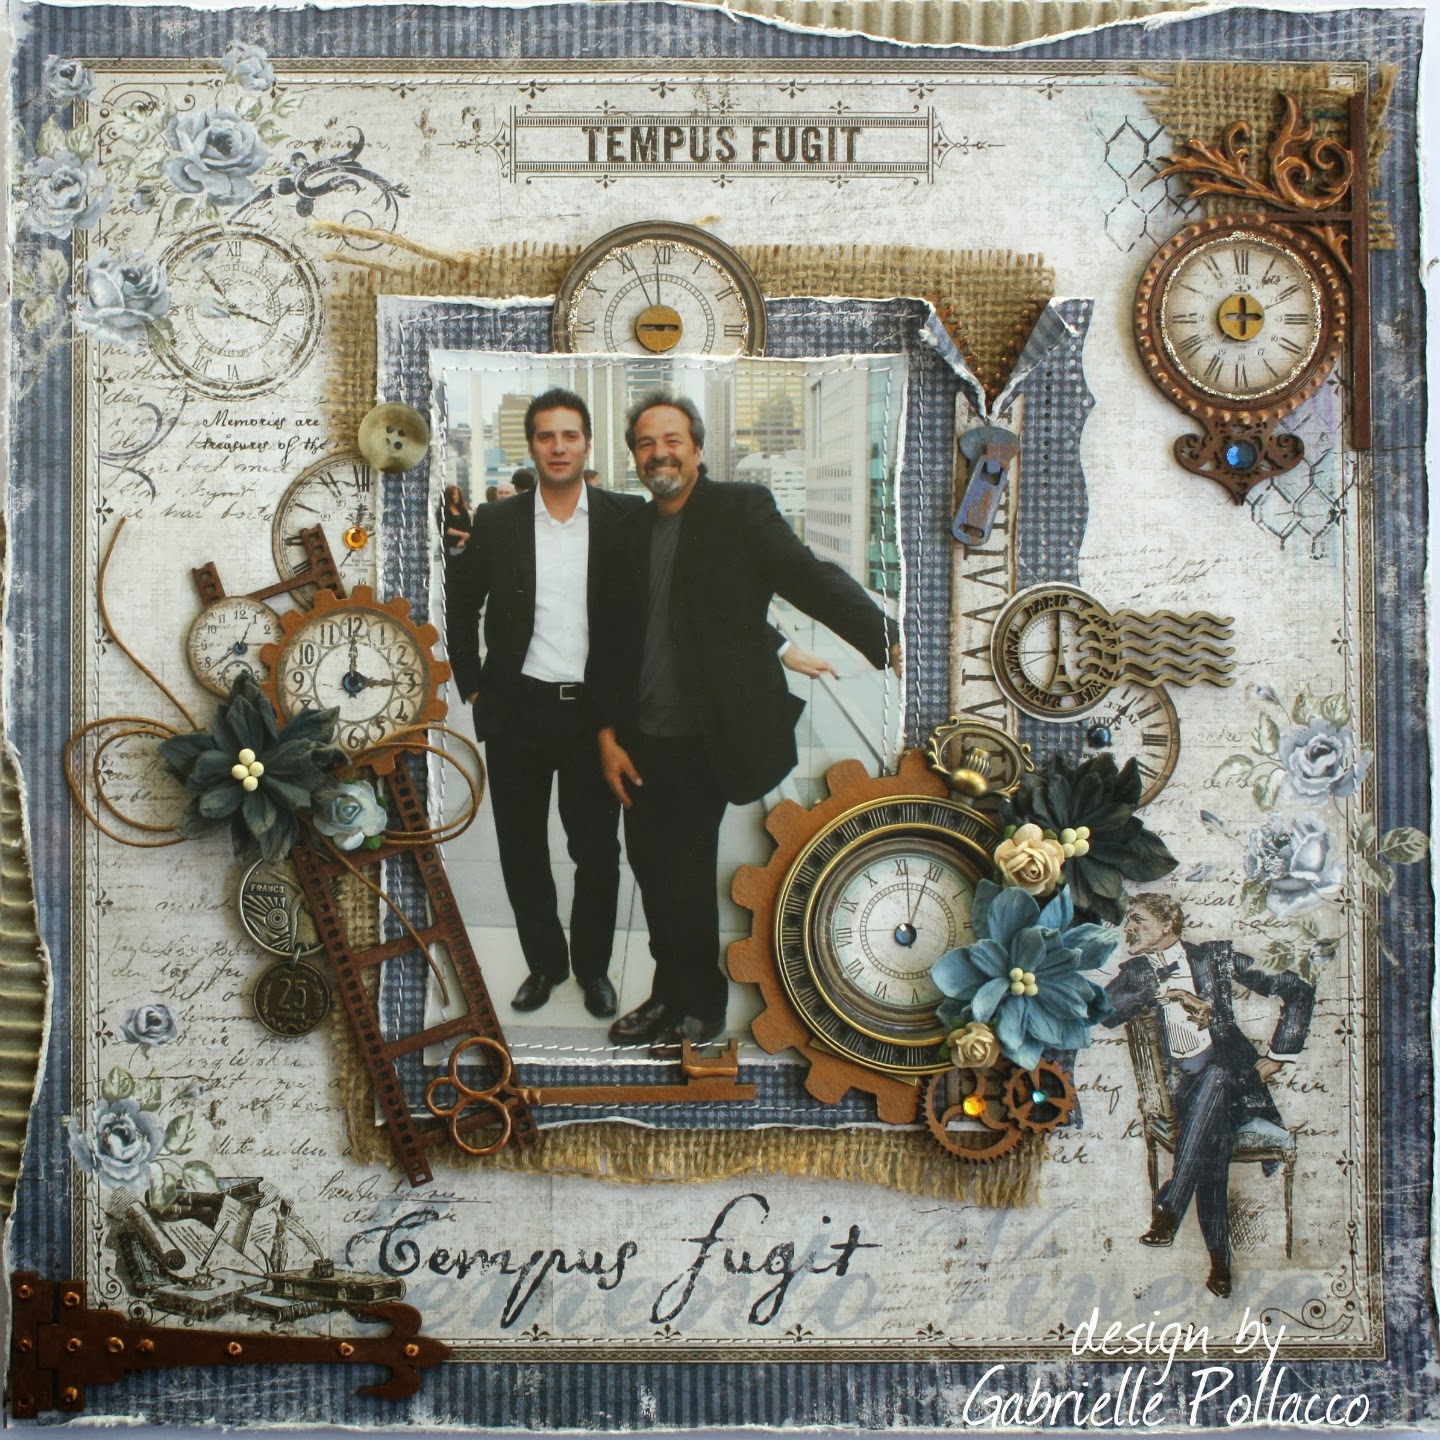
And as much as I love to create feminine pages with Maja papers, Masculine pages come together just as easily since there are so many wonderful papers and images in the papers to choose from in each collection!

Tiny Miracle

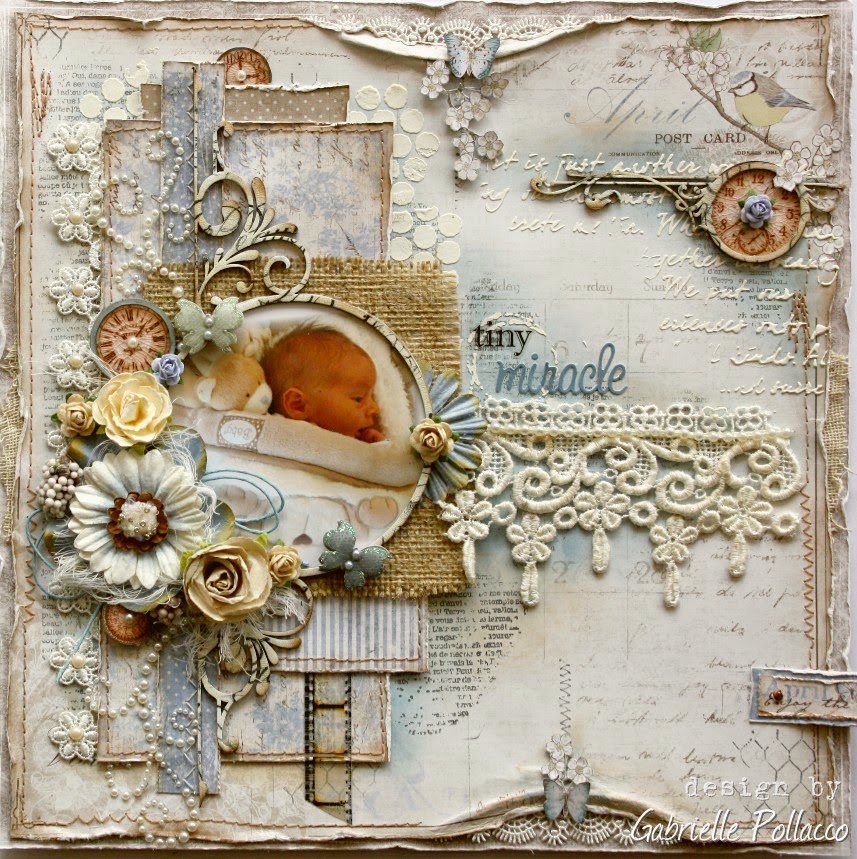
And don’t get me started on all the sweet baby pic’s you can scrap using these gorgeous papers! Above is a layout I got to make using a baby pic from my friend Jennifer who was kind enough to let me scrap her sweet baby boy….

Sweet Dreams_GabriellePollacco

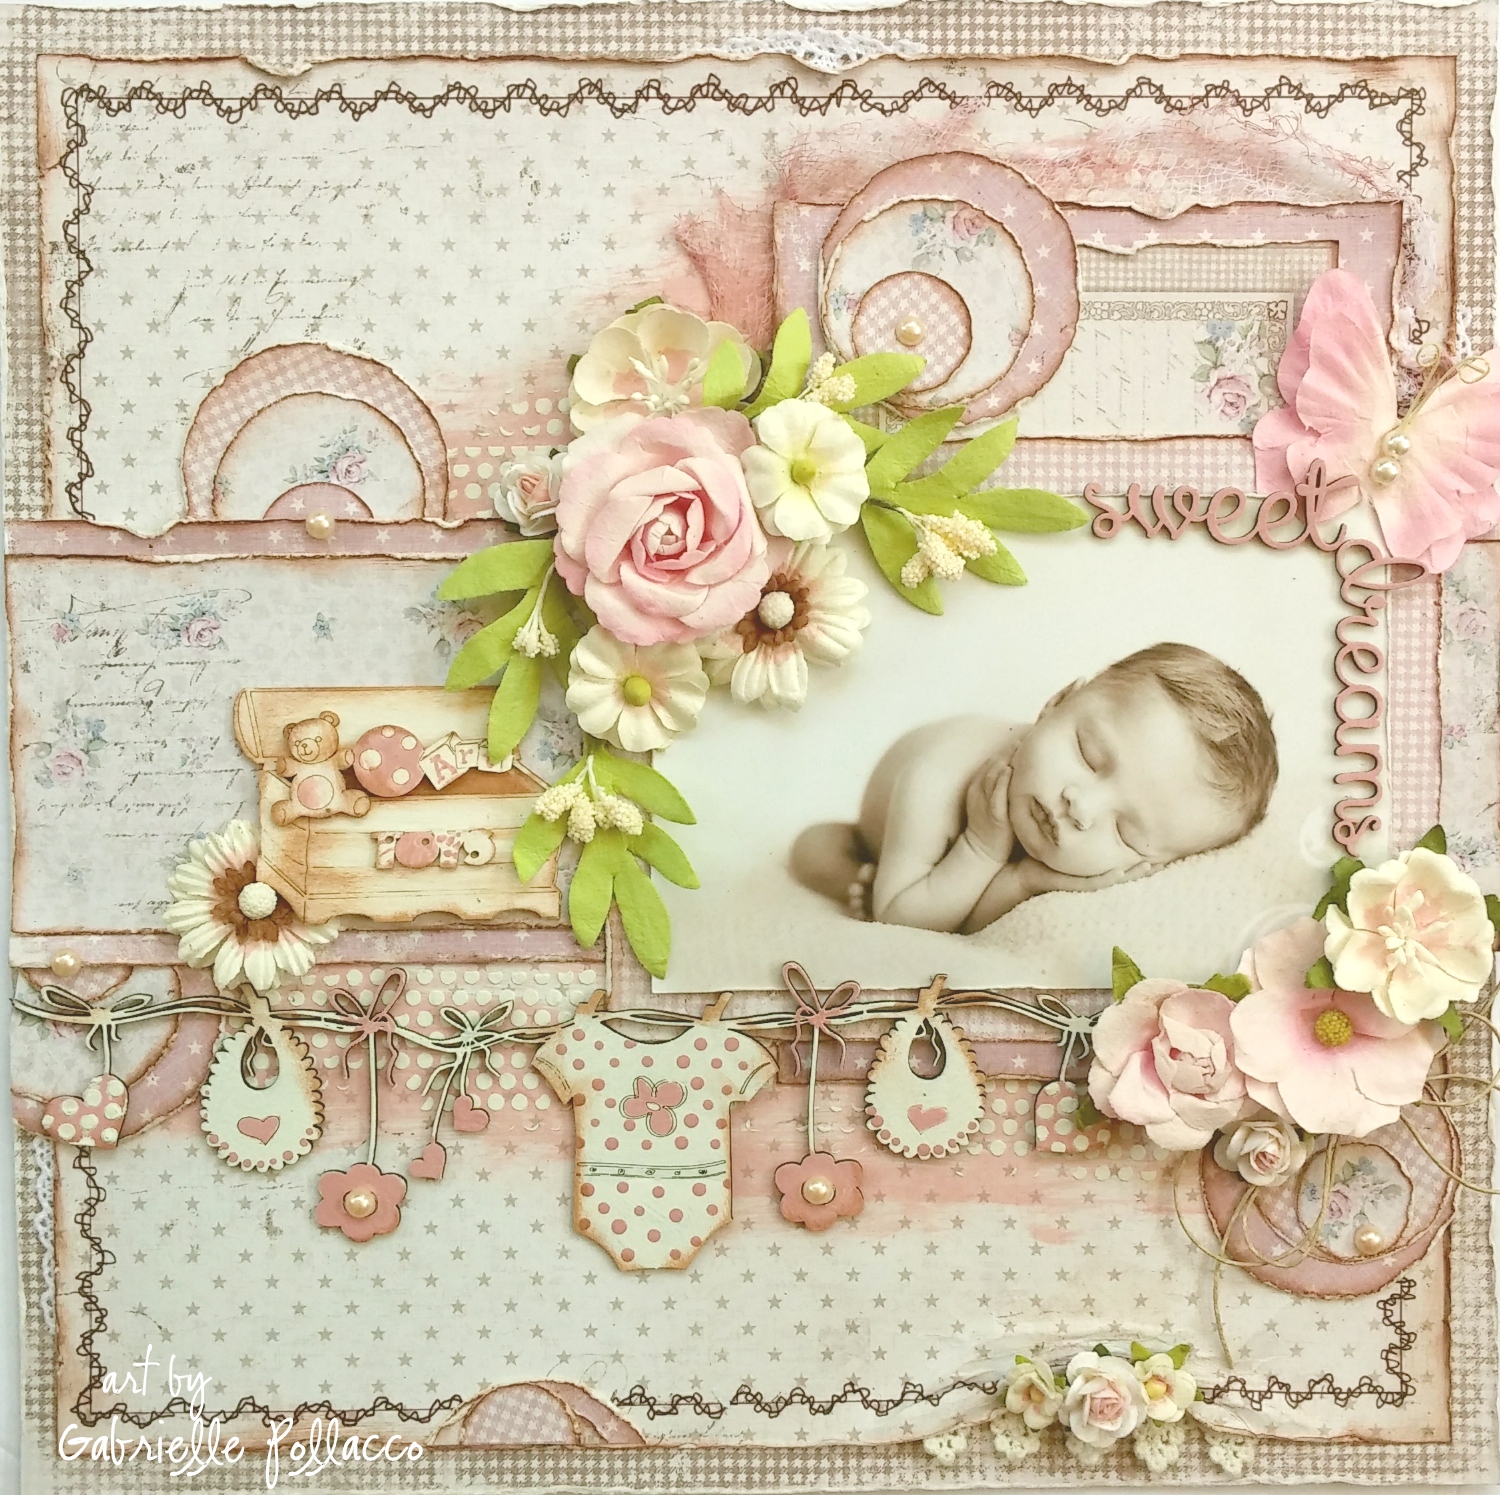
You can scrap feminine baby pics as well using the pretty soft pinks in the beautiful papers….here I used the lovely Vintage Baby collection papers to scrap this sweet pic of one of my little great nieces.

Romance

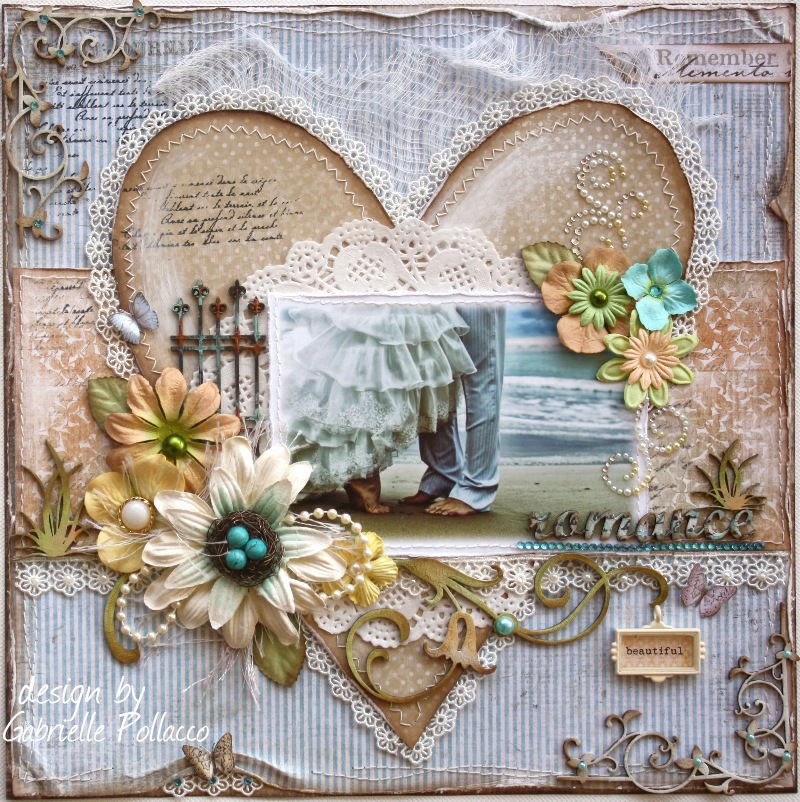
Did anyone say weddings?  Of course these papers work beautifully for romantic/wedding photos!  This was a page I designed in the first year I began on the Maja design team…..good times!

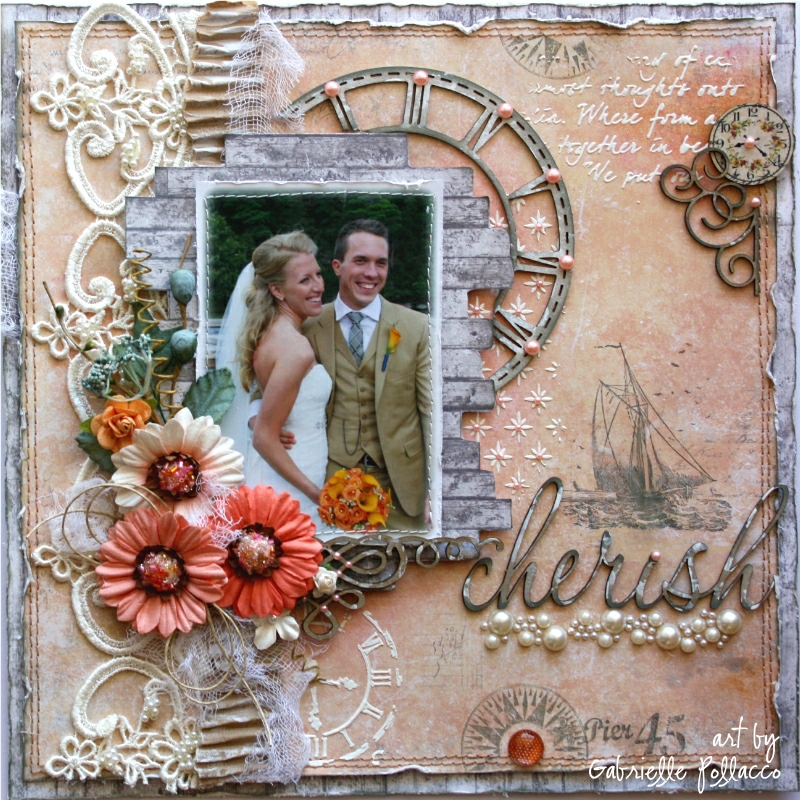
The wedding pages you can create with the different collections are endless! Here I used the Nyhavn collection to scrap this beautiful photo of my niece and her husband.  This collection worked so well for their photo as their wedding had a nautical theme.

Honestly, it was so hard to pick just a few favorites I’ve made over the years.  Every time I hear that Marie Jensen is at the drawing board creating another lovely collection, I’m excited and and so happy, looking forward to seeing what new designs and lovely images I will have to work with, whether it be on my scrapbook pages, mixed media art or OTP projects!  If I had to pick a favorite collection? Lets see…..Vintage Autumn Basics,….wait a sec, nope, Enjoying the Outdoors, oh no, wait! Walking in the Forest…..**sigh** way to hard to pic just one! 🙂
Gabrielle-sign

It’s a Girl!

2

Posted by Delaina Burns

14 January, 2016 - ,

Write a comment

Hey Hey Sweet Viewers!

I am super excited to be posting on the Maja Design Blog for the very first time!

I am so honored to be included on this fabulous team and to get to play with such beautiful papers!

I am happy you have stopped by and I hope to inspire you!

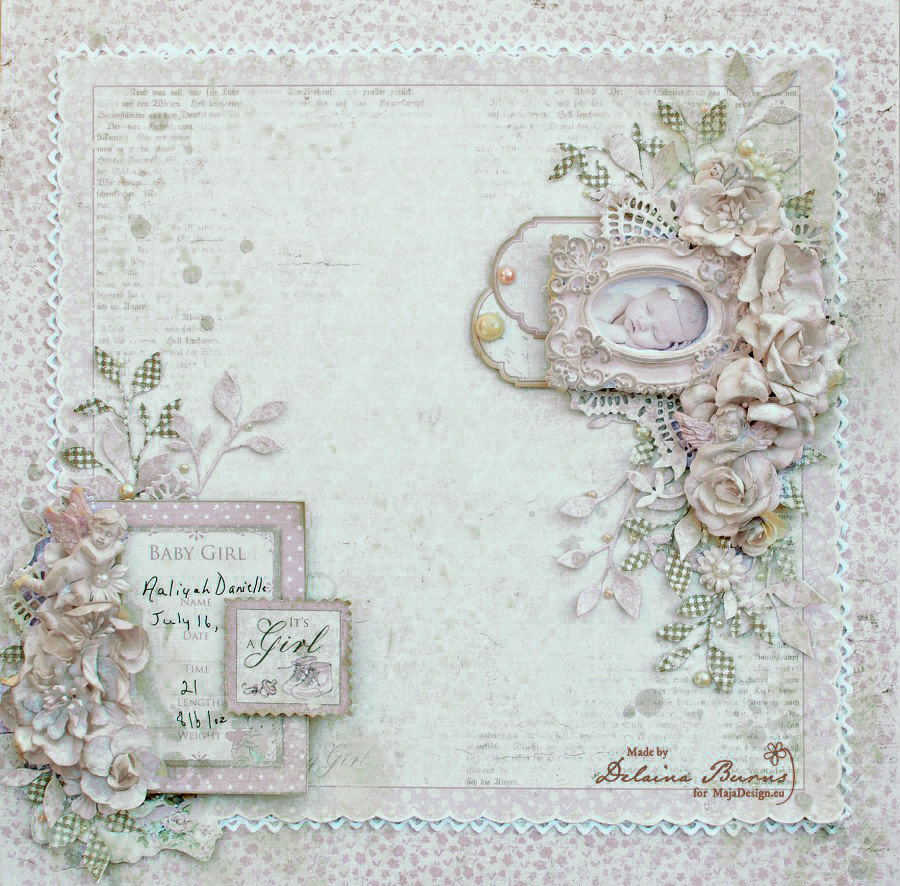
This is a sweet newborn photo of my precious granddaughter…

Delaina Burns layout

I created this page using Vintage Baby Collection. I chose the soft pink papers with a touch of brown gingham. I wanted to keep it soft with a monochromatic feel to enhance my sweet photo. I added a soft cotton trim around the outer top layer for dimension and to call attention to the fussy cut scalloped edge of the paper.

It's a Girl CU- Delaina

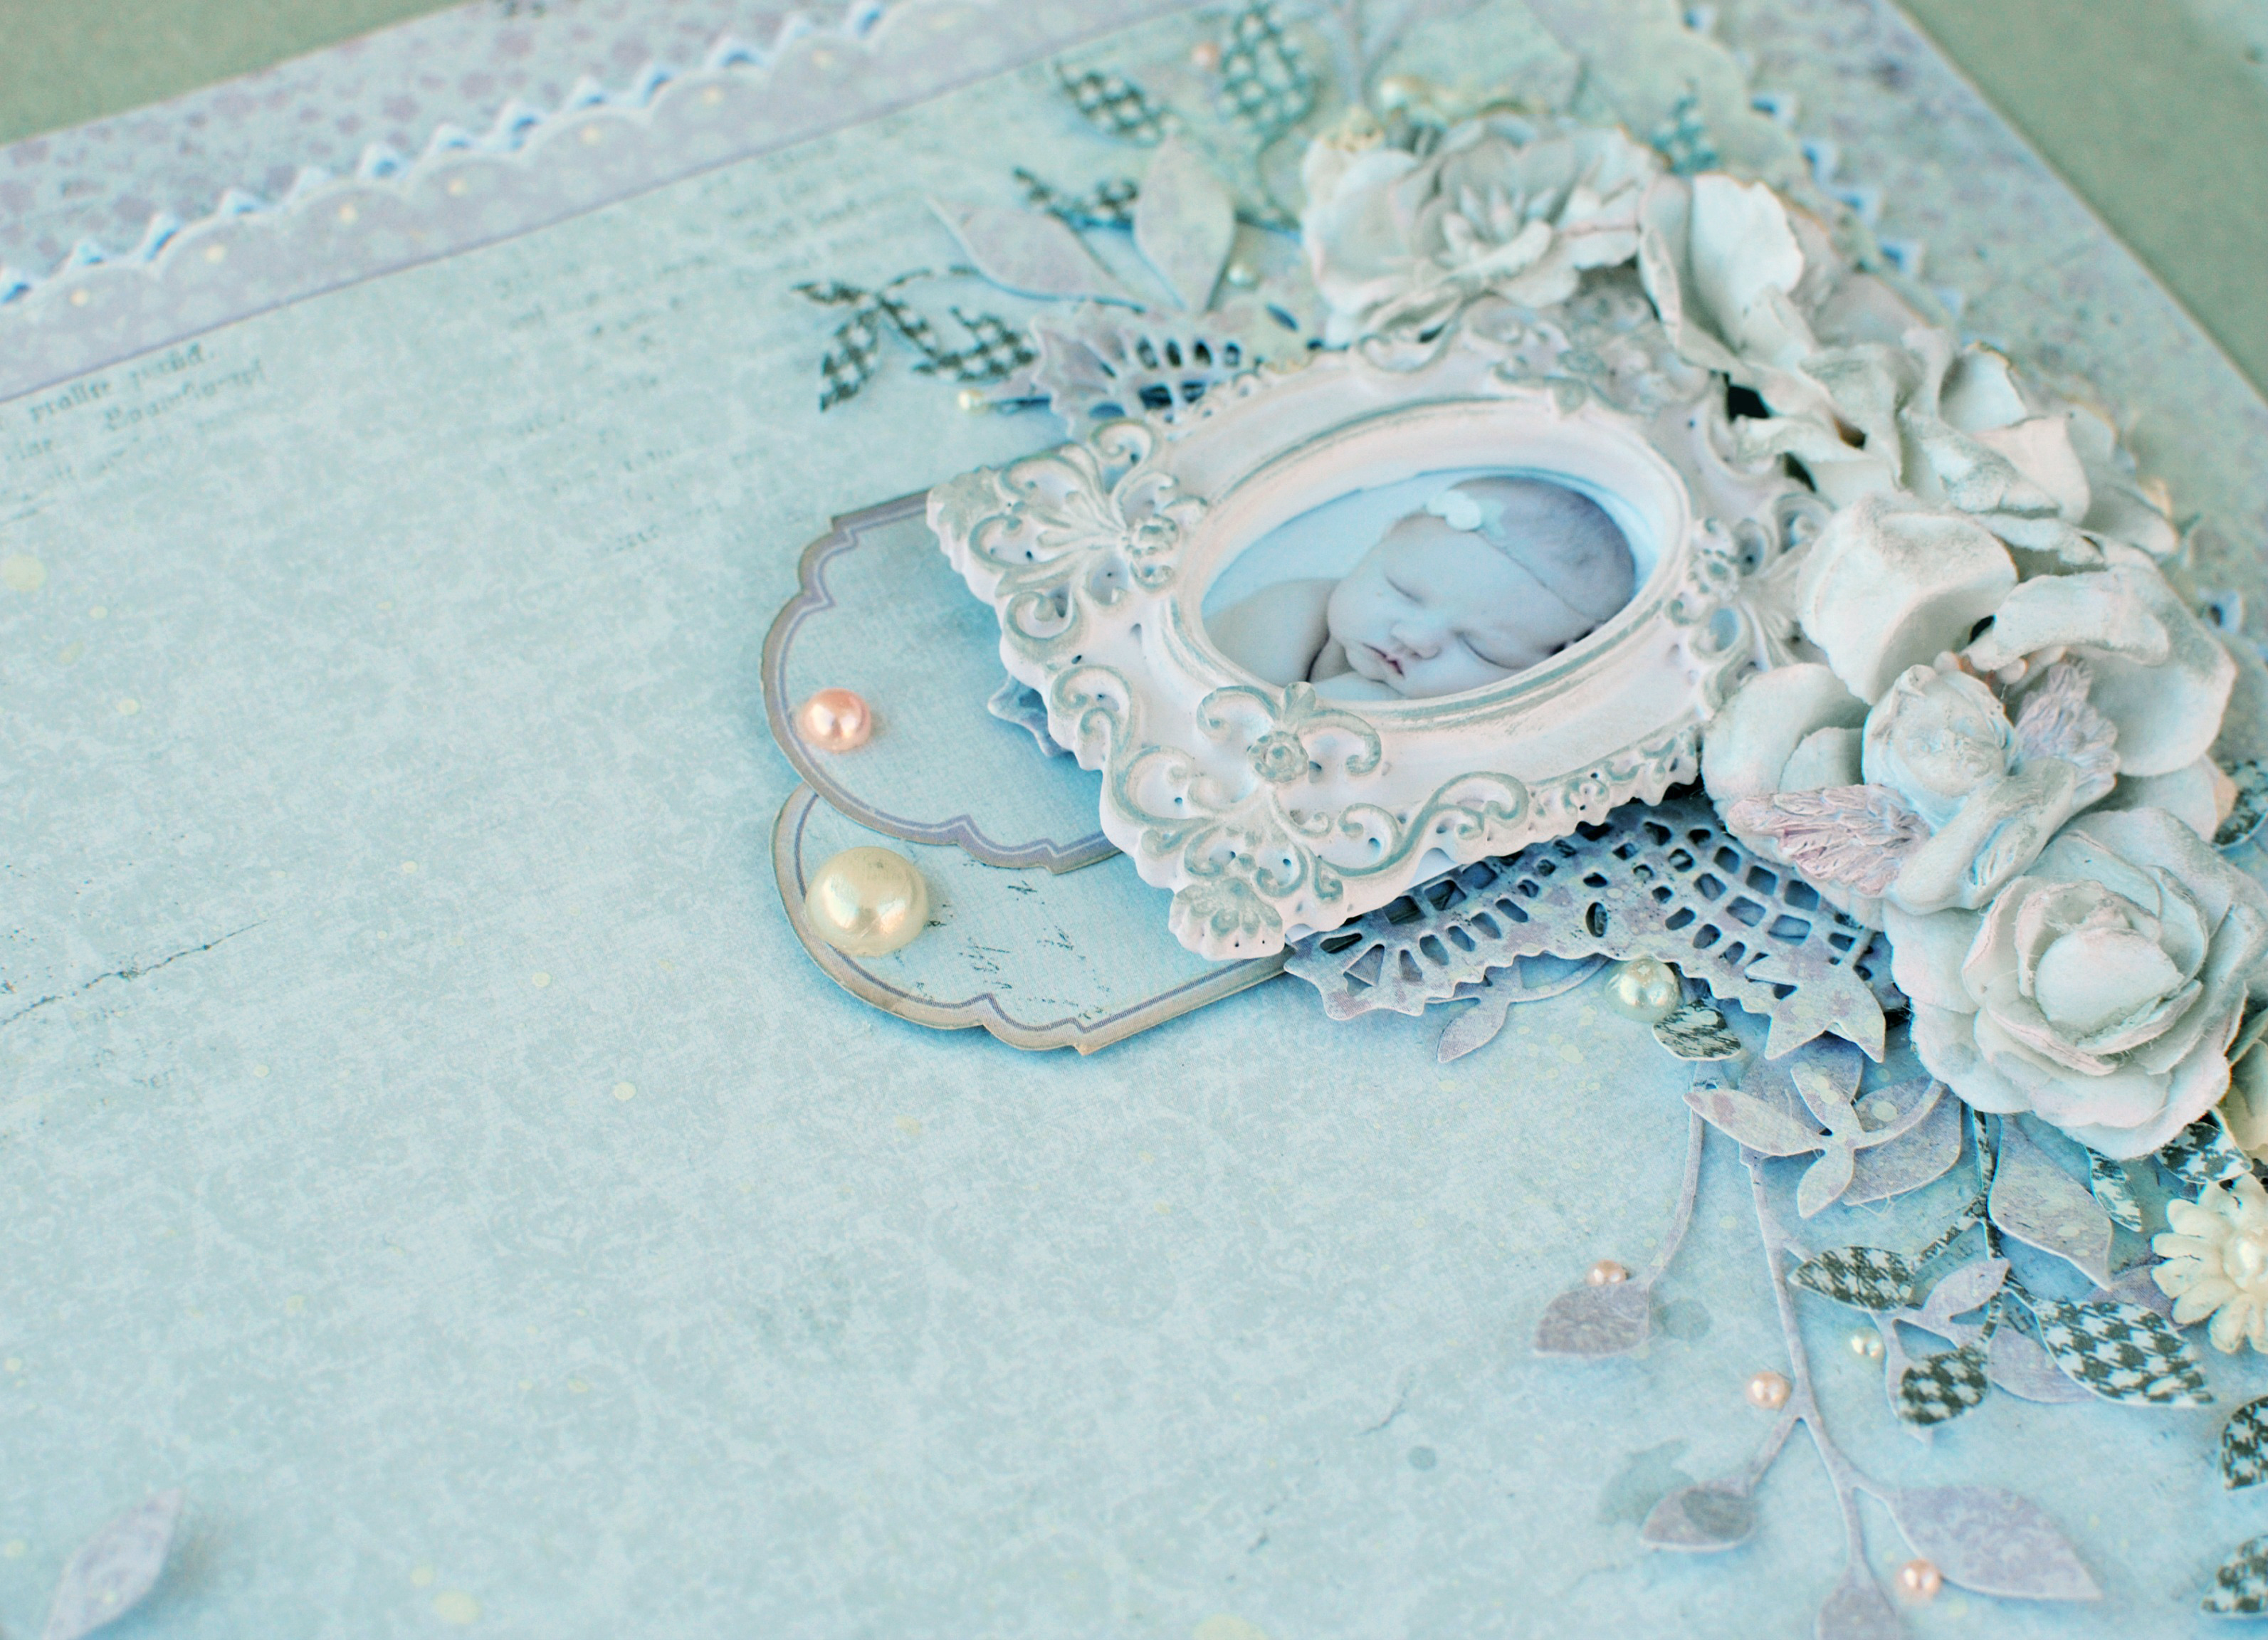
I began this cluster with a small resin frame and a few tags cut from the papers. I layered a few die cut leaf vines and doily in a few different paper patterns. I topped that with beautiful flowers, a resin cherub and pearl accents.

It's a Girl CU2- Delaina

I fussy cut a few Tags and Tickets, perfect for my photo and added more die cut pieces, flowers and resin here.

I finished the page with a mist of Storm Cloud Color Bloom, making sure to coat the flowers and added a few drips about the page.

It’s all about the details!

Products Used:

Maja Design Papers- It’s A Girl, Precious, Die Cuts

Prima- Rodanthe Roses, Resin Cherubs, Storm Cloud Bloom Spray, Pink Chalk Edger, Doily Die, Trim

Memory Box- Leaf Vine Die

My Stash- small flowers and pearl stickers (various sizes)

Vintage-Baby-K

Delaina-sign