Exploding boxes

1

Posted by Camilla Støen Bakke

2 June, 2020 -

Write a comment

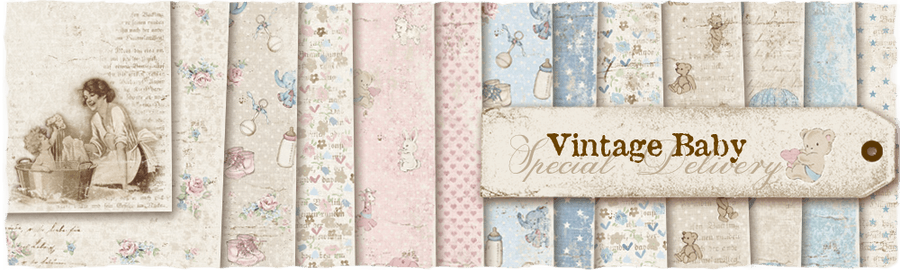
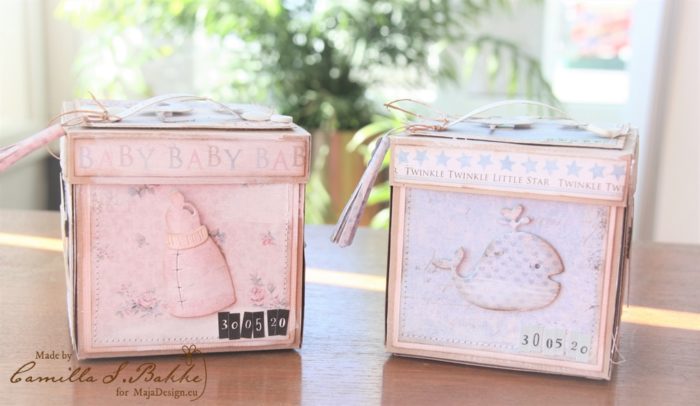
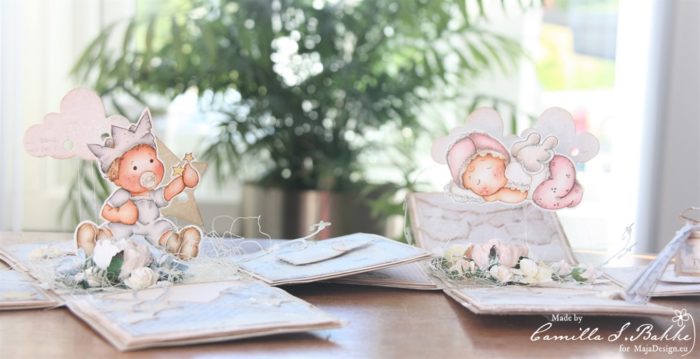
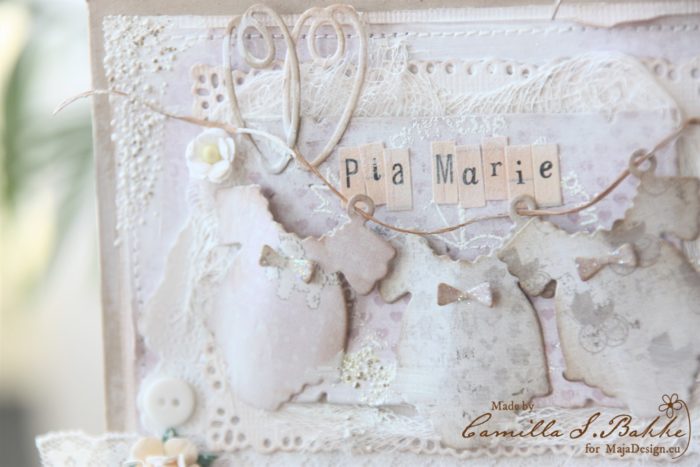
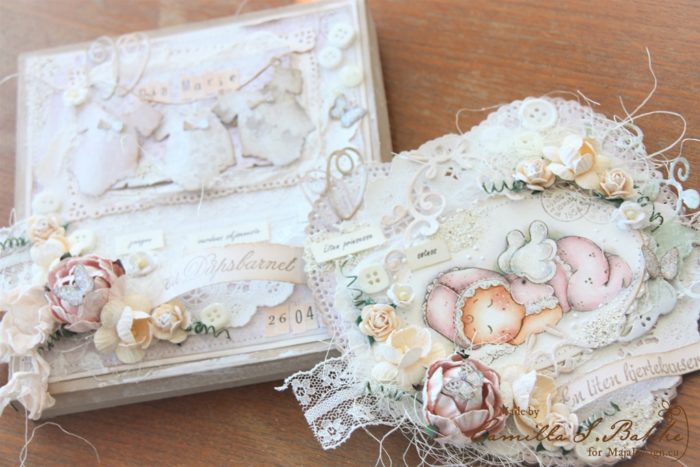
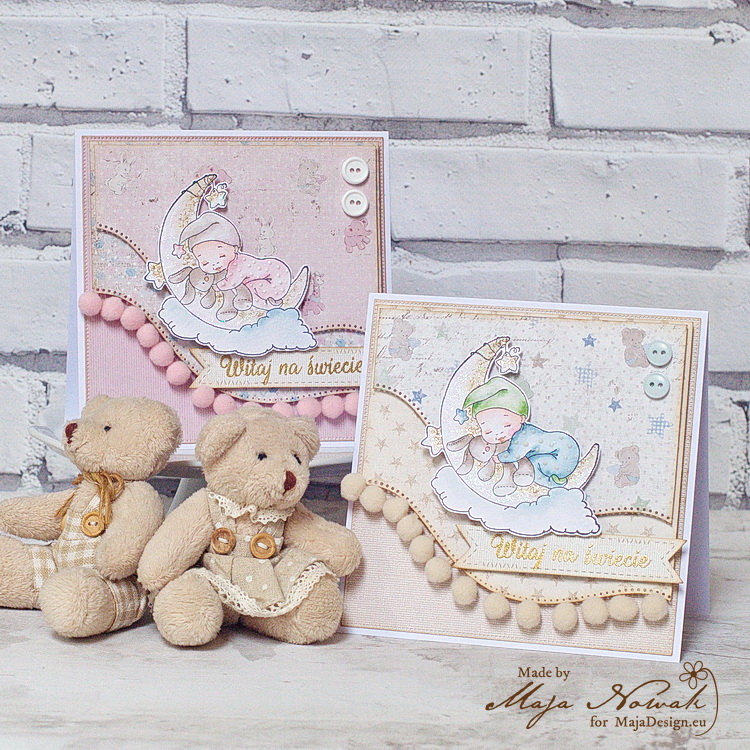
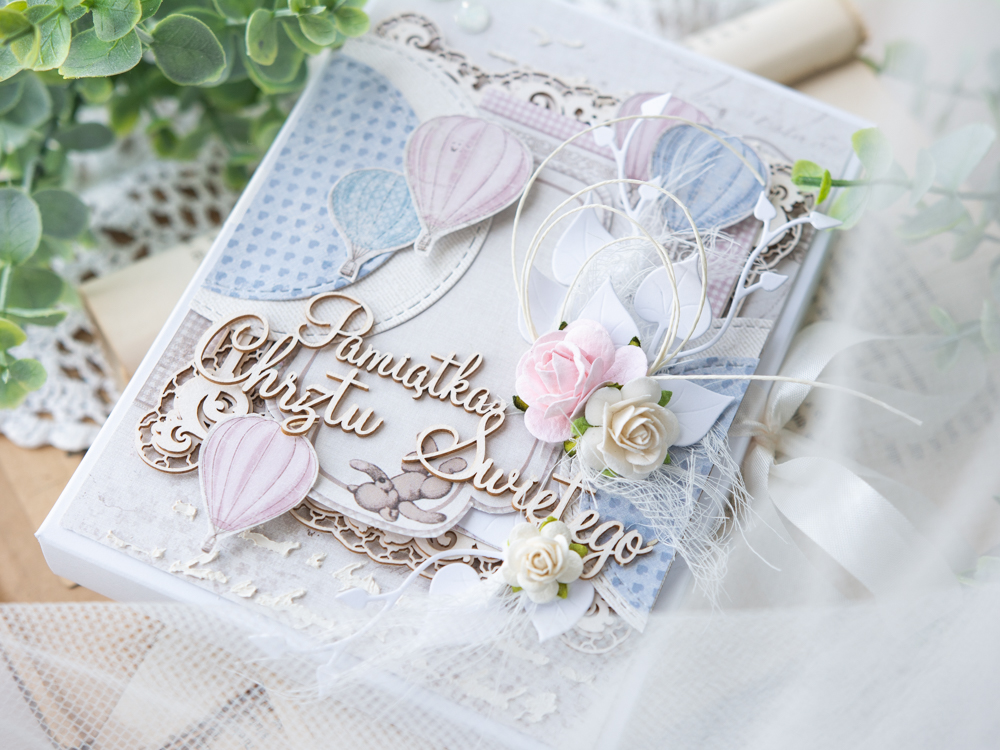
Good morning everyone! It is Camilla here today, showing you two boxes I made for baptism. One for a girl and the other for a baby boy. I have decorated the outside and the inside of the boxes with papers from the lovely Vintage Baby collection.

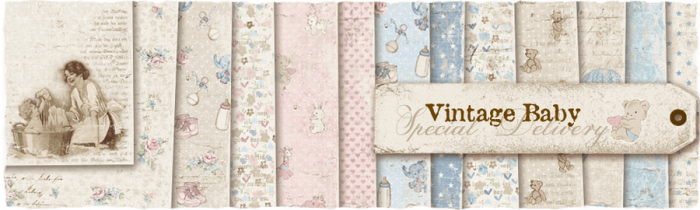
I have cut out all the parts using the Vintage Baby, except from the yellow colour, here I have used a sheet from the Vintage Spring Basics.

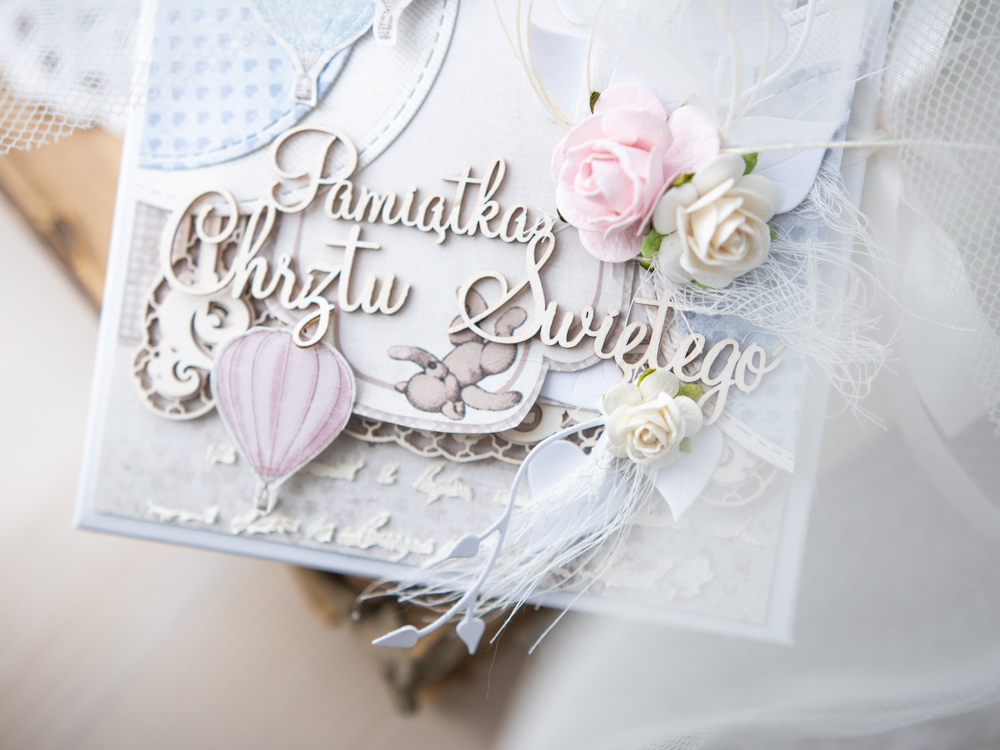
The dies used are from Magnolia, and a DooHickey Box. The text is from Stempelglede.

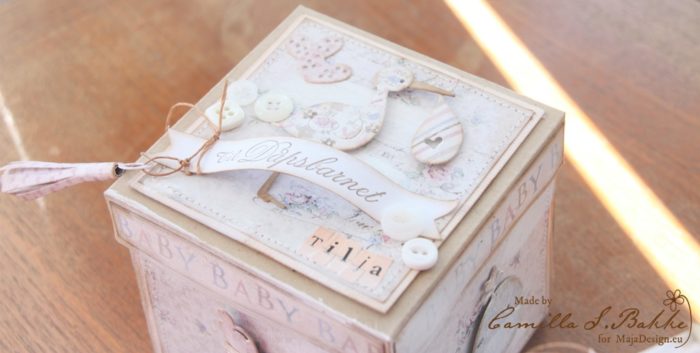
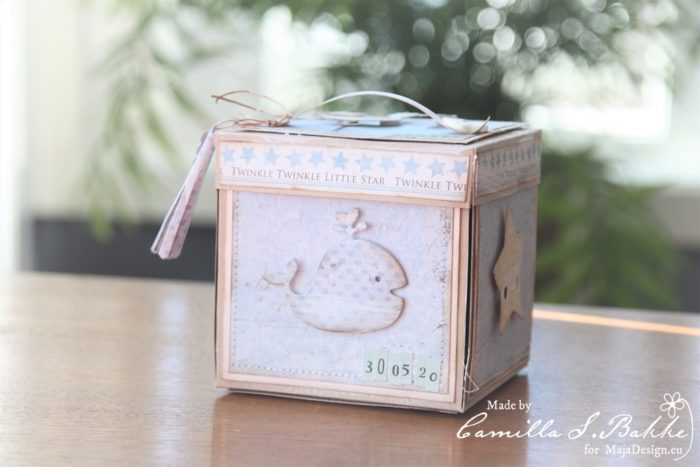
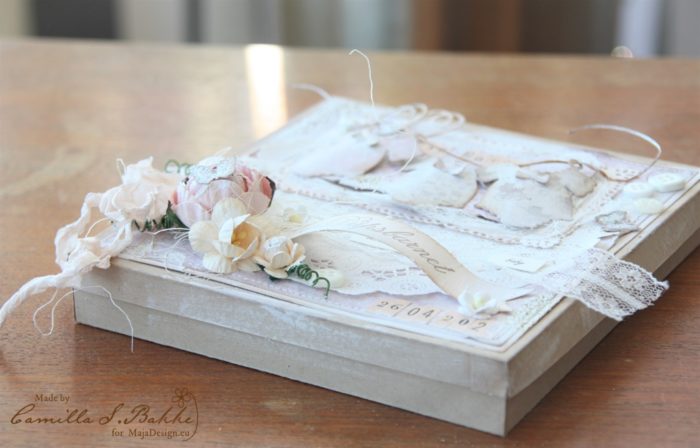
As you can see I have used the strip on the bottom of the MajaDesign pattern papers, and placed it around the top of the box (BABY BABY..).

To make the box I have cut out a Kraft Cardstock measuring 27 x 27 cm. Then I have folded it at 9 cm, 9 cm and 9 cm. And cut it out like you see under.

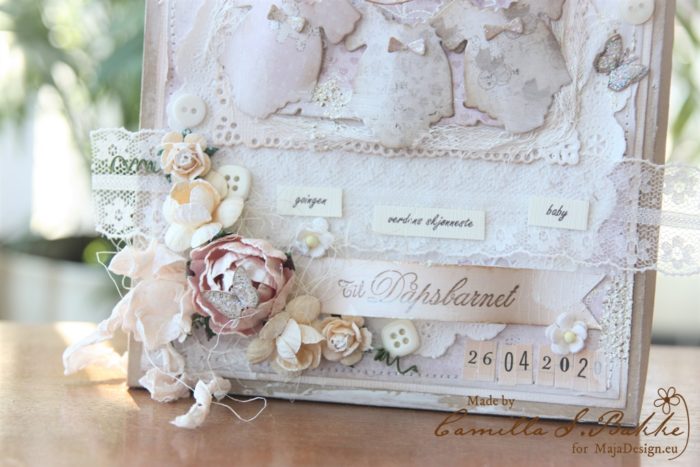
The vanilla bazzill papers are cut out 8,5 cm x 8,5 cm. Then the pattern papers 8 x 8 cm. I have inked the edges and sewed them together.

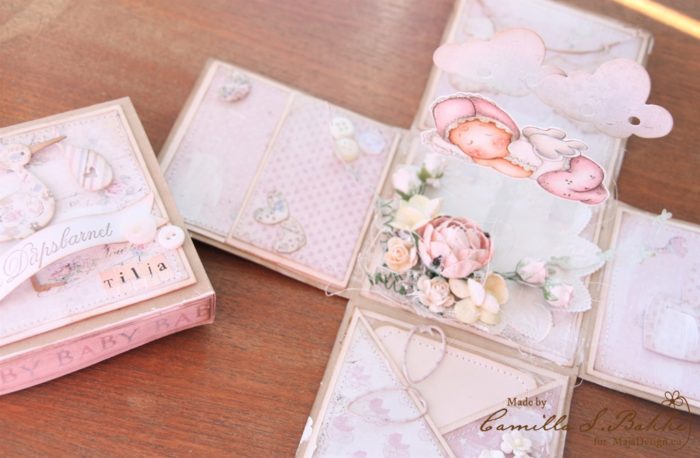
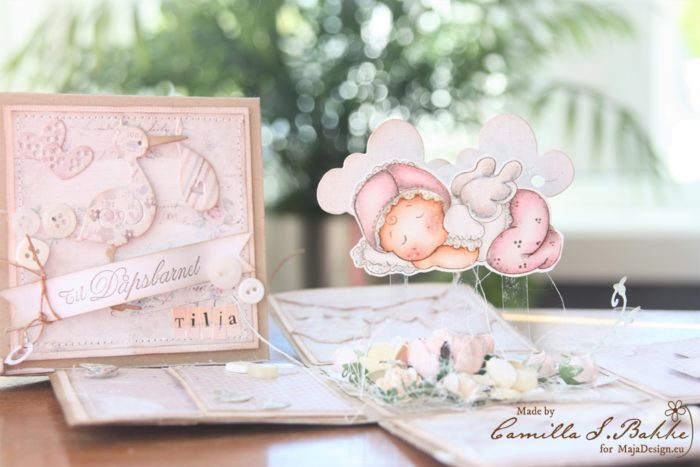
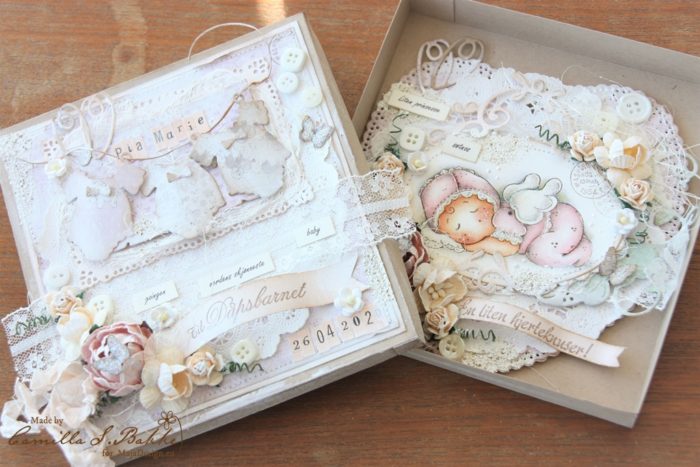
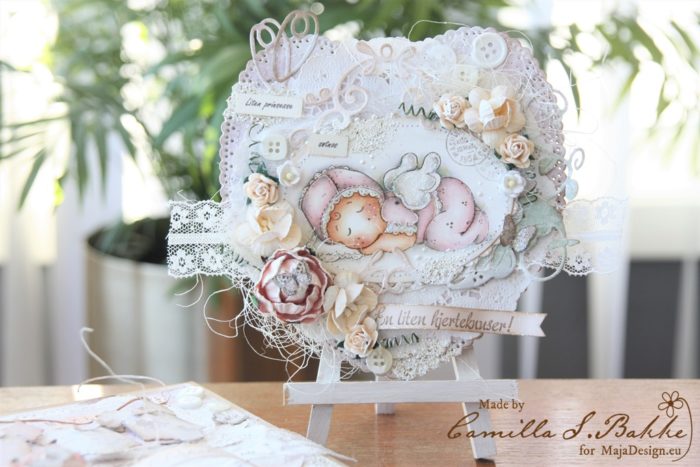
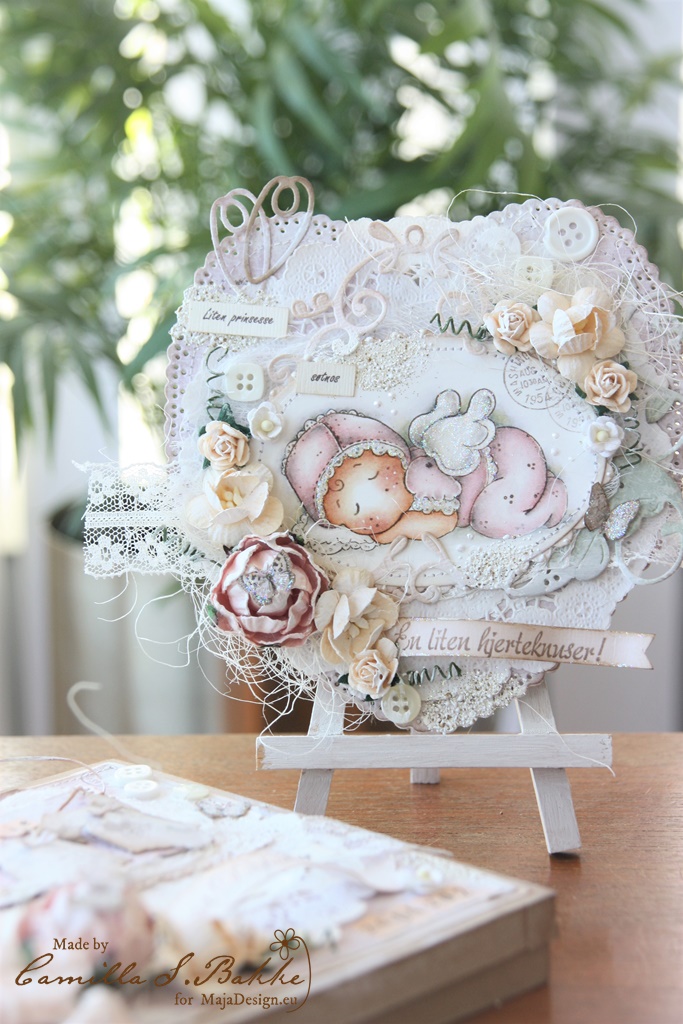
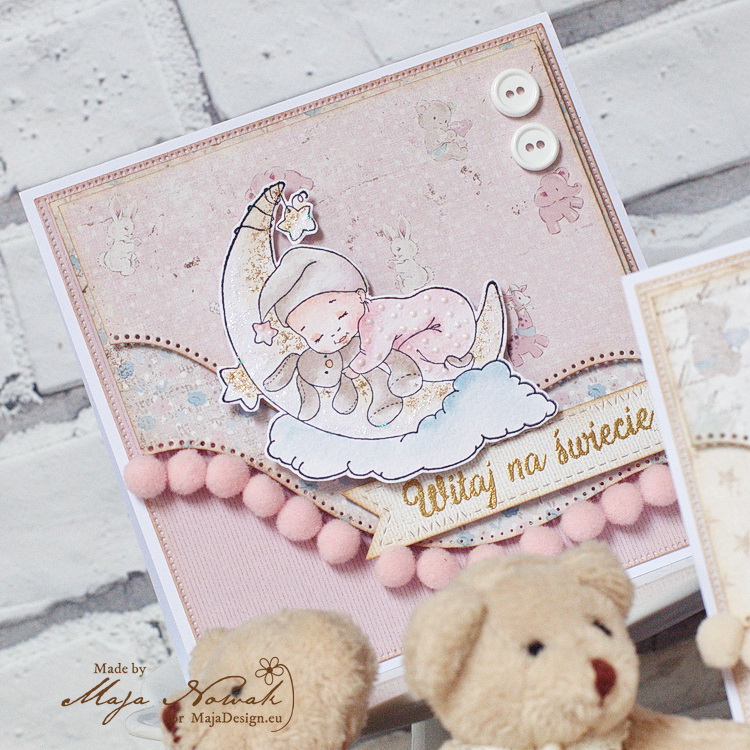
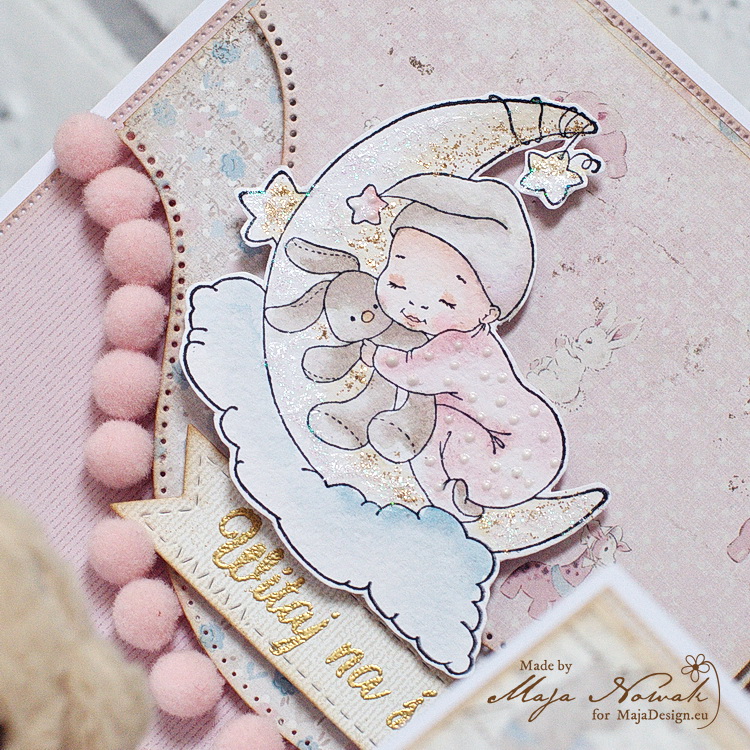
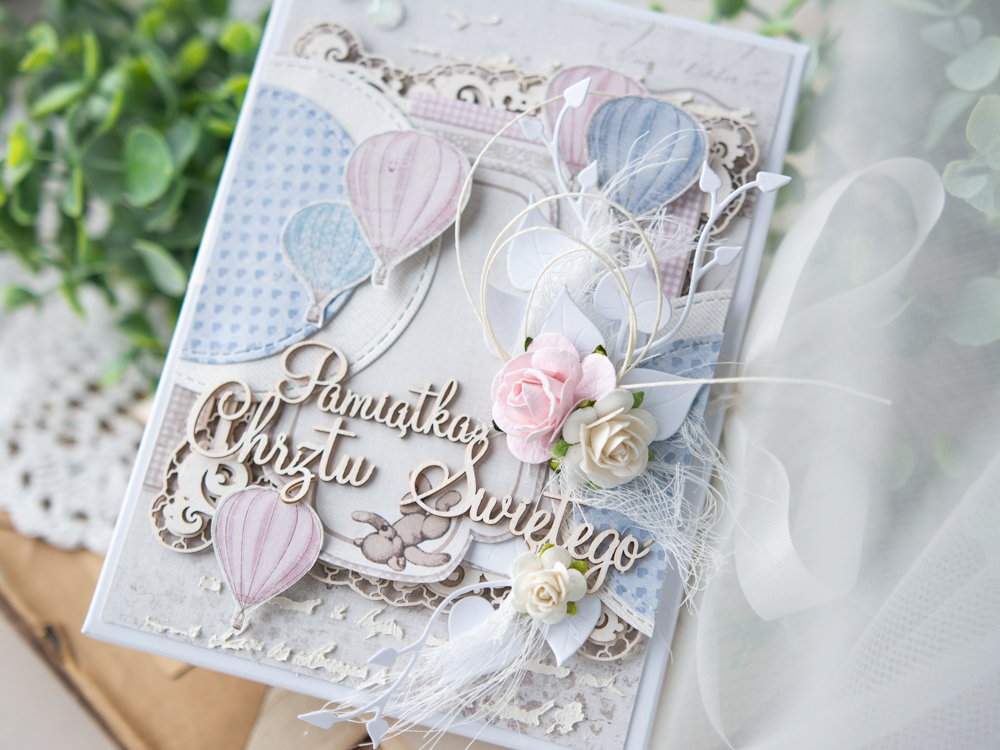
In the midle of the box I have placed a image that I have painted with Distress Ink, re-inkers and Markers. I have glued it on a strip of plastic, and then bend it a bit at the end and glued it to the bottom of the box. It almost looks like the baby is flying. I have also cut out two clouds with Maja papers, and fastend them the same way.

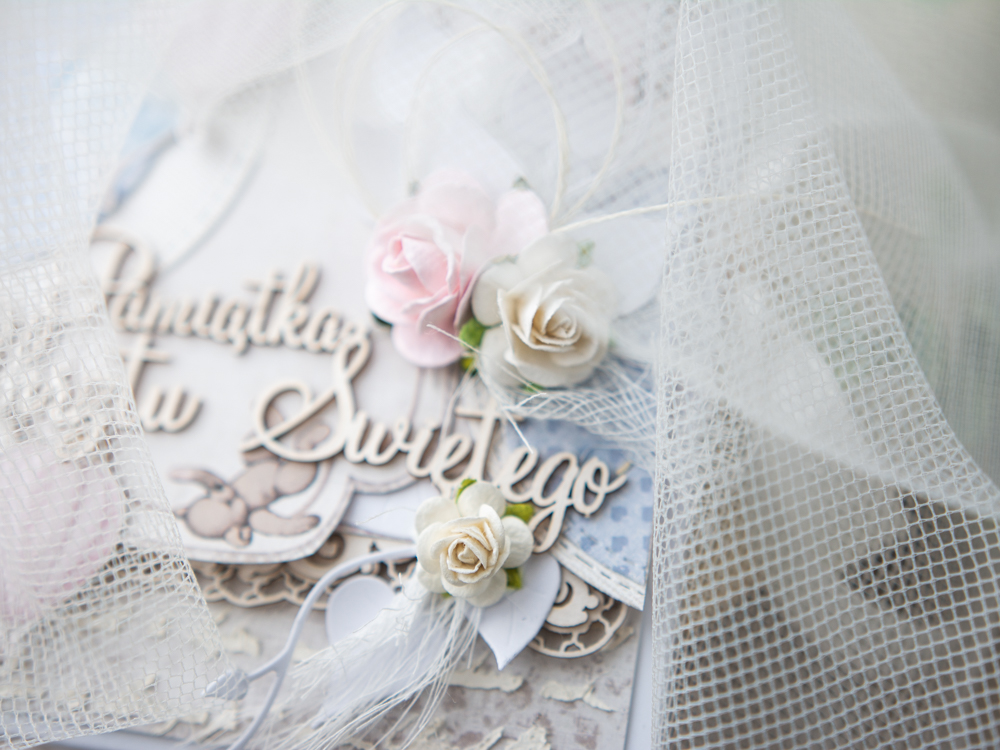
At the bottom of the box I have also added some Sisal gras, and flowers from WOC.

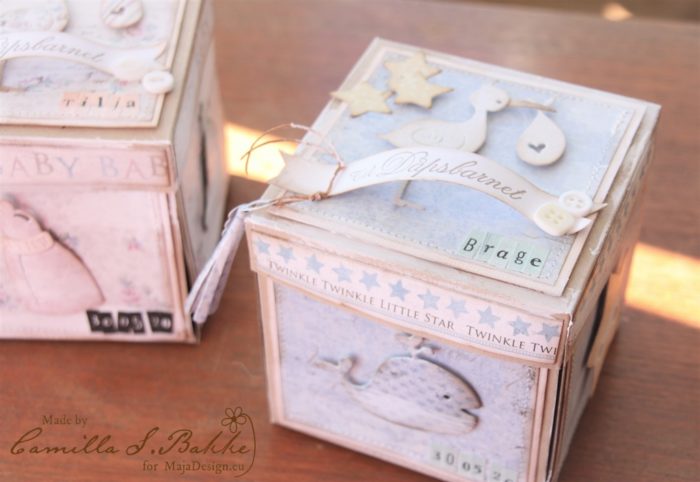
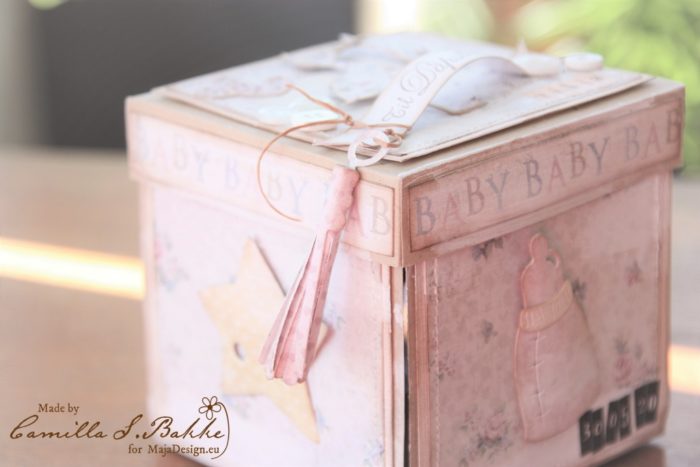
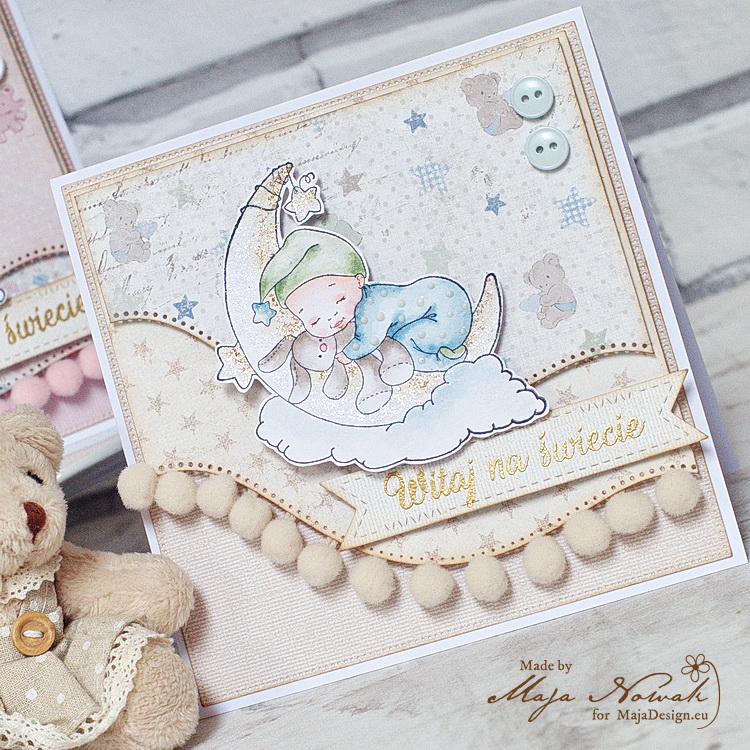
The baby boy box are made the same way. Also here I have added a strip from the gorgeous Maja papers on the top of the box.

Here is another image, also from Magnolia, which I have coloured with Distresses.

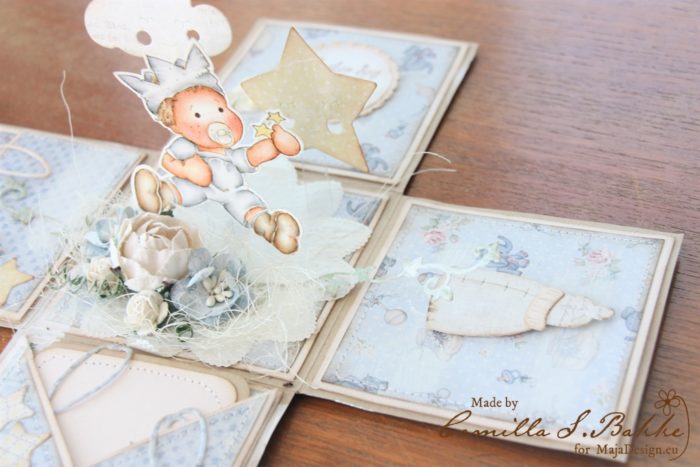
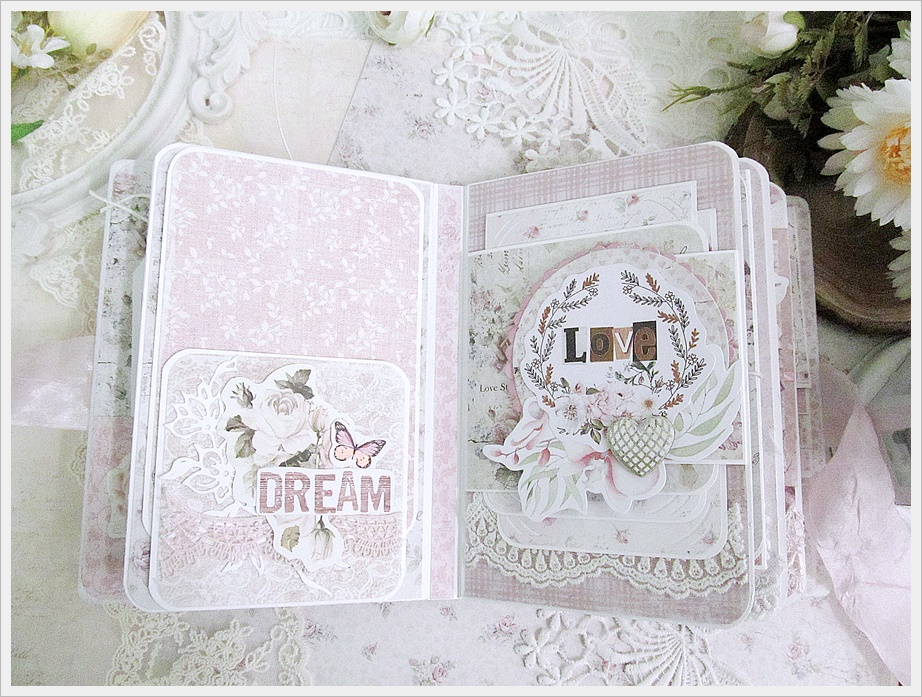
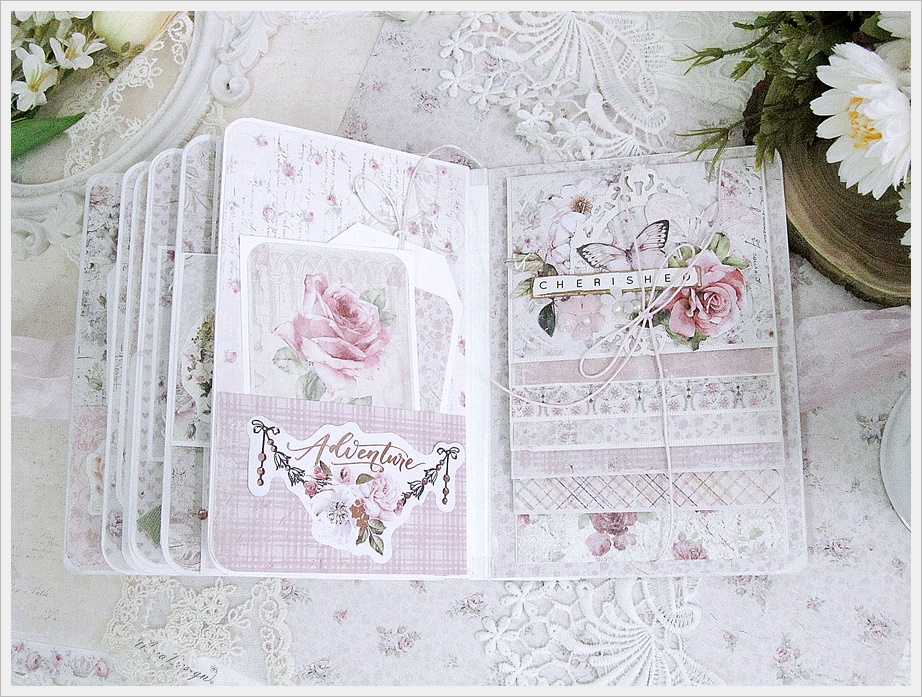
The inside is decorated with a folder with a paper to write a greeting on. And also a pocket to put the gift in (money).

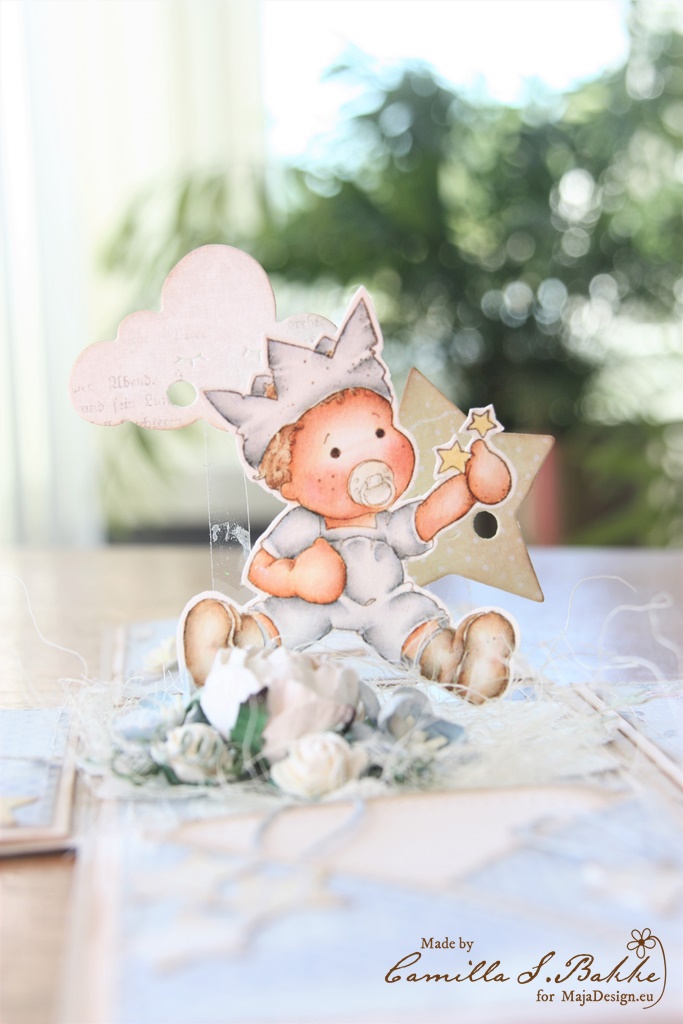
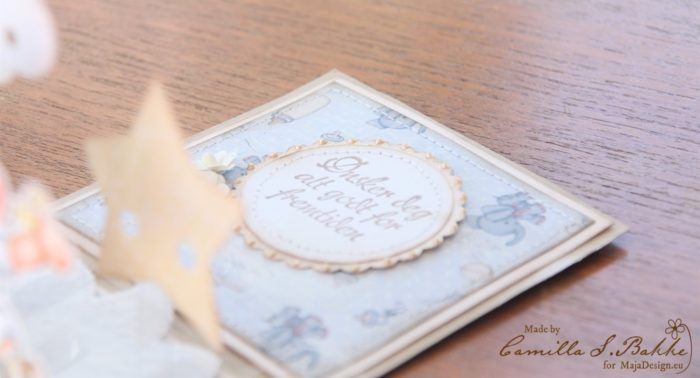
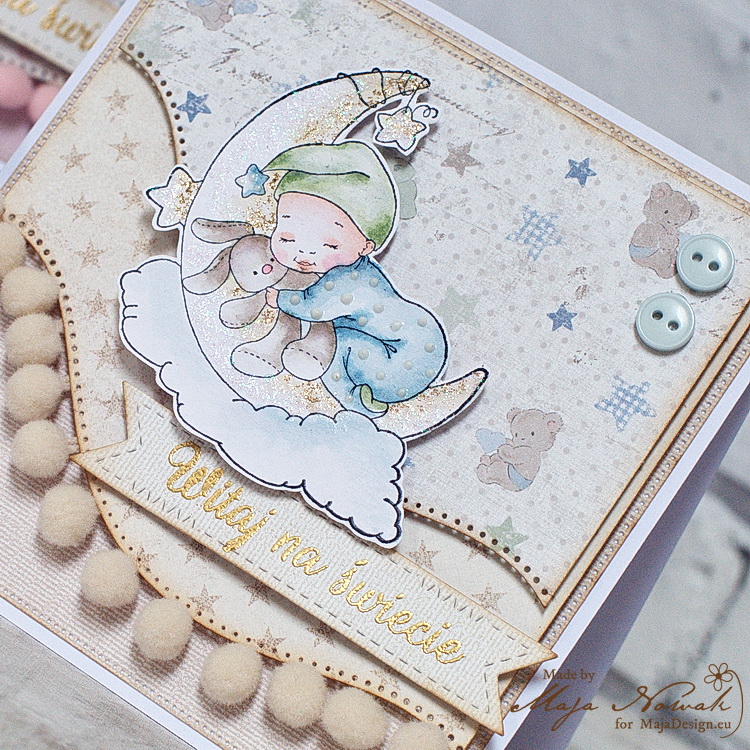
Here is a close up of the image. Also he is “flying”, as he is fasten to a plastic strip.

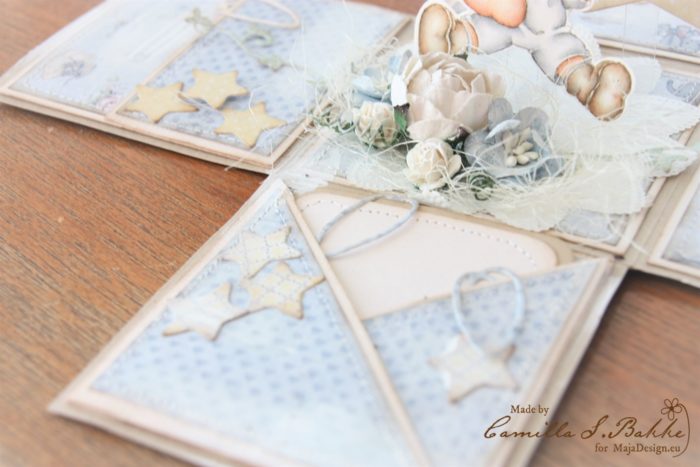
Text from Stempelglede: Wish you all the best for the future. I just love the cute paper behind the text.

It was really fun making the two boxes.

Thank you so much visiting the MajaDesign blog!

With love,

Baby girl

1

Posted by Camilla Støen Bakke

2 May, 2020 -

Write a comment

Hi everyone! Here is a card with a box I made for a babtism last weekend. It was so fun making the box, cutting out all the small parts with Maja Papers. I have used the cutest papers from the Vintage Baby Collection.

Here is a closer look on the baby clothing hanging there. I have used three different papers from the collection.

Also the papers clips are made with papers. I have added some frantage on to different parts of the papers.

The gorgeous flowers are from Wild Orchid Crafts. I have added a butterfly on the large flower. The butterfly is cut out from a paper sheet from Vintage Spring Basics. The text is written on my computer, and printed out on some thicker paper. The text “Til Dåpsbarnet” is stamped with a stamp from Stempelglede.

The box i measuring 14 x 15 cm. And is 2 cm width.

The ribbon used are also from WOC. Open the box, and you will find a baby girl inside. Here is a card matching the box.

I have used the same papers. And also similar embellishments.


The image is from Magnolia, as the dies used. And it is coloured with Distress Ink, re-inkers and Markers.

Hope you got some inspiration today! Thank you for visting the MajaDesign blog.

With love,

Shabby chic mini album

1

Posted by Kavi Tha

14 August, 2019 - , , , ,

Write a comment

Hello friends,

Kavitha here after quiet a long break.Today i want to show you a cute and chunky mini album in pink shades.I have used all those beautiful pink papers from various collections like Vintage romance,Vintage baby ,Sofiero, coffee in the arbour ,and the latest Denim and girls.The album measures 5 by 7 inches and has 6 pages including covers.Though it looks tiny it can nearly hold up-to 45 photos.

Thank you for stopping by.

Happy crafting

Welcome Baby Cards

1

Posted by Maja Nowak

10 April, 2019 - , ,

Write a comment

Good morning, Maja Friends, welcome to the blog today 🙂

Spring always makes me think about new life after winter (though we all know winter IS coming! 😉 ), and since a couple of my friends are expecting right now, I thought it would be nice to have some welcome baby cards in stock, just to be ready when the time comes! And so in my today’s post I’m sharing a set of two cards I made using a mixture of papers:

I used the same stamp for both cards, only coloured them – as usually, with Distress inks – according to traditional girl’s pinks and boy’s blues. I tried to match the shades of Vintage Baby papers that I used for the top layers of my cards. I also added some Monochromes for the bottom layer. The design is pretty simple: just some curved-edge layered papers:

…a trim of pom-poms, the coloured stamped image in the centre:

…with two little buttons in the upper corner:

…and a touch of glam with ombre glitter and a gold-embossed sentiment:

They are dimensional enough to suit my taste, but slim enough to go into an envelope 🙂

I really like the way they turned out – and look how the baby stamp imagery matches the style of those cute animals in the background 🙂

Here’s what I used:

Maja Design papers:

Other: stamps: Whimsy Stamps, Lemonade; dies: Crea-lies, Spellbinders; pom-poms, buttons: my stash.


Thank you very much for visiting us today, don’t forget to drop by tomorrow for more inspiration! See you soon!

Childish Card Box

1

Posted by Paulina Monasterska-Tronina

5 March, 2019 - , ,

Write a comment

Hello, our blog fans. For the previous inspiration, I have created two childish cards. Today I would like to show you another project – this time I created a card box in the same style. It will be a gift for a Baptism.

I did not create the paper box from the scratches – I’m not so patient. I bought a ready base from a polish producer called GoatBox. The base is really easy to fold and then decorate. Paper came from the Maja’s “Vintage Baby” Collection. I love all type of delicate pattern and pastel colors, recently. 

This time I added some structure paste. I didn’t want to make many layers. I have chosen only some chipboards from Scrapiniec and paper flowers. Kept it as simple as possible (I did my best!)

 I hope you enjoyed today’s post. If you have any question – don’t hesitate to ask! I wish you a wonderful day. Hugs, Paulina