“Amazing Beauty” by Di Garling

4

Posted by Di Garling

26 May, 2016 - ,

Write a comment

Amazing Beauty

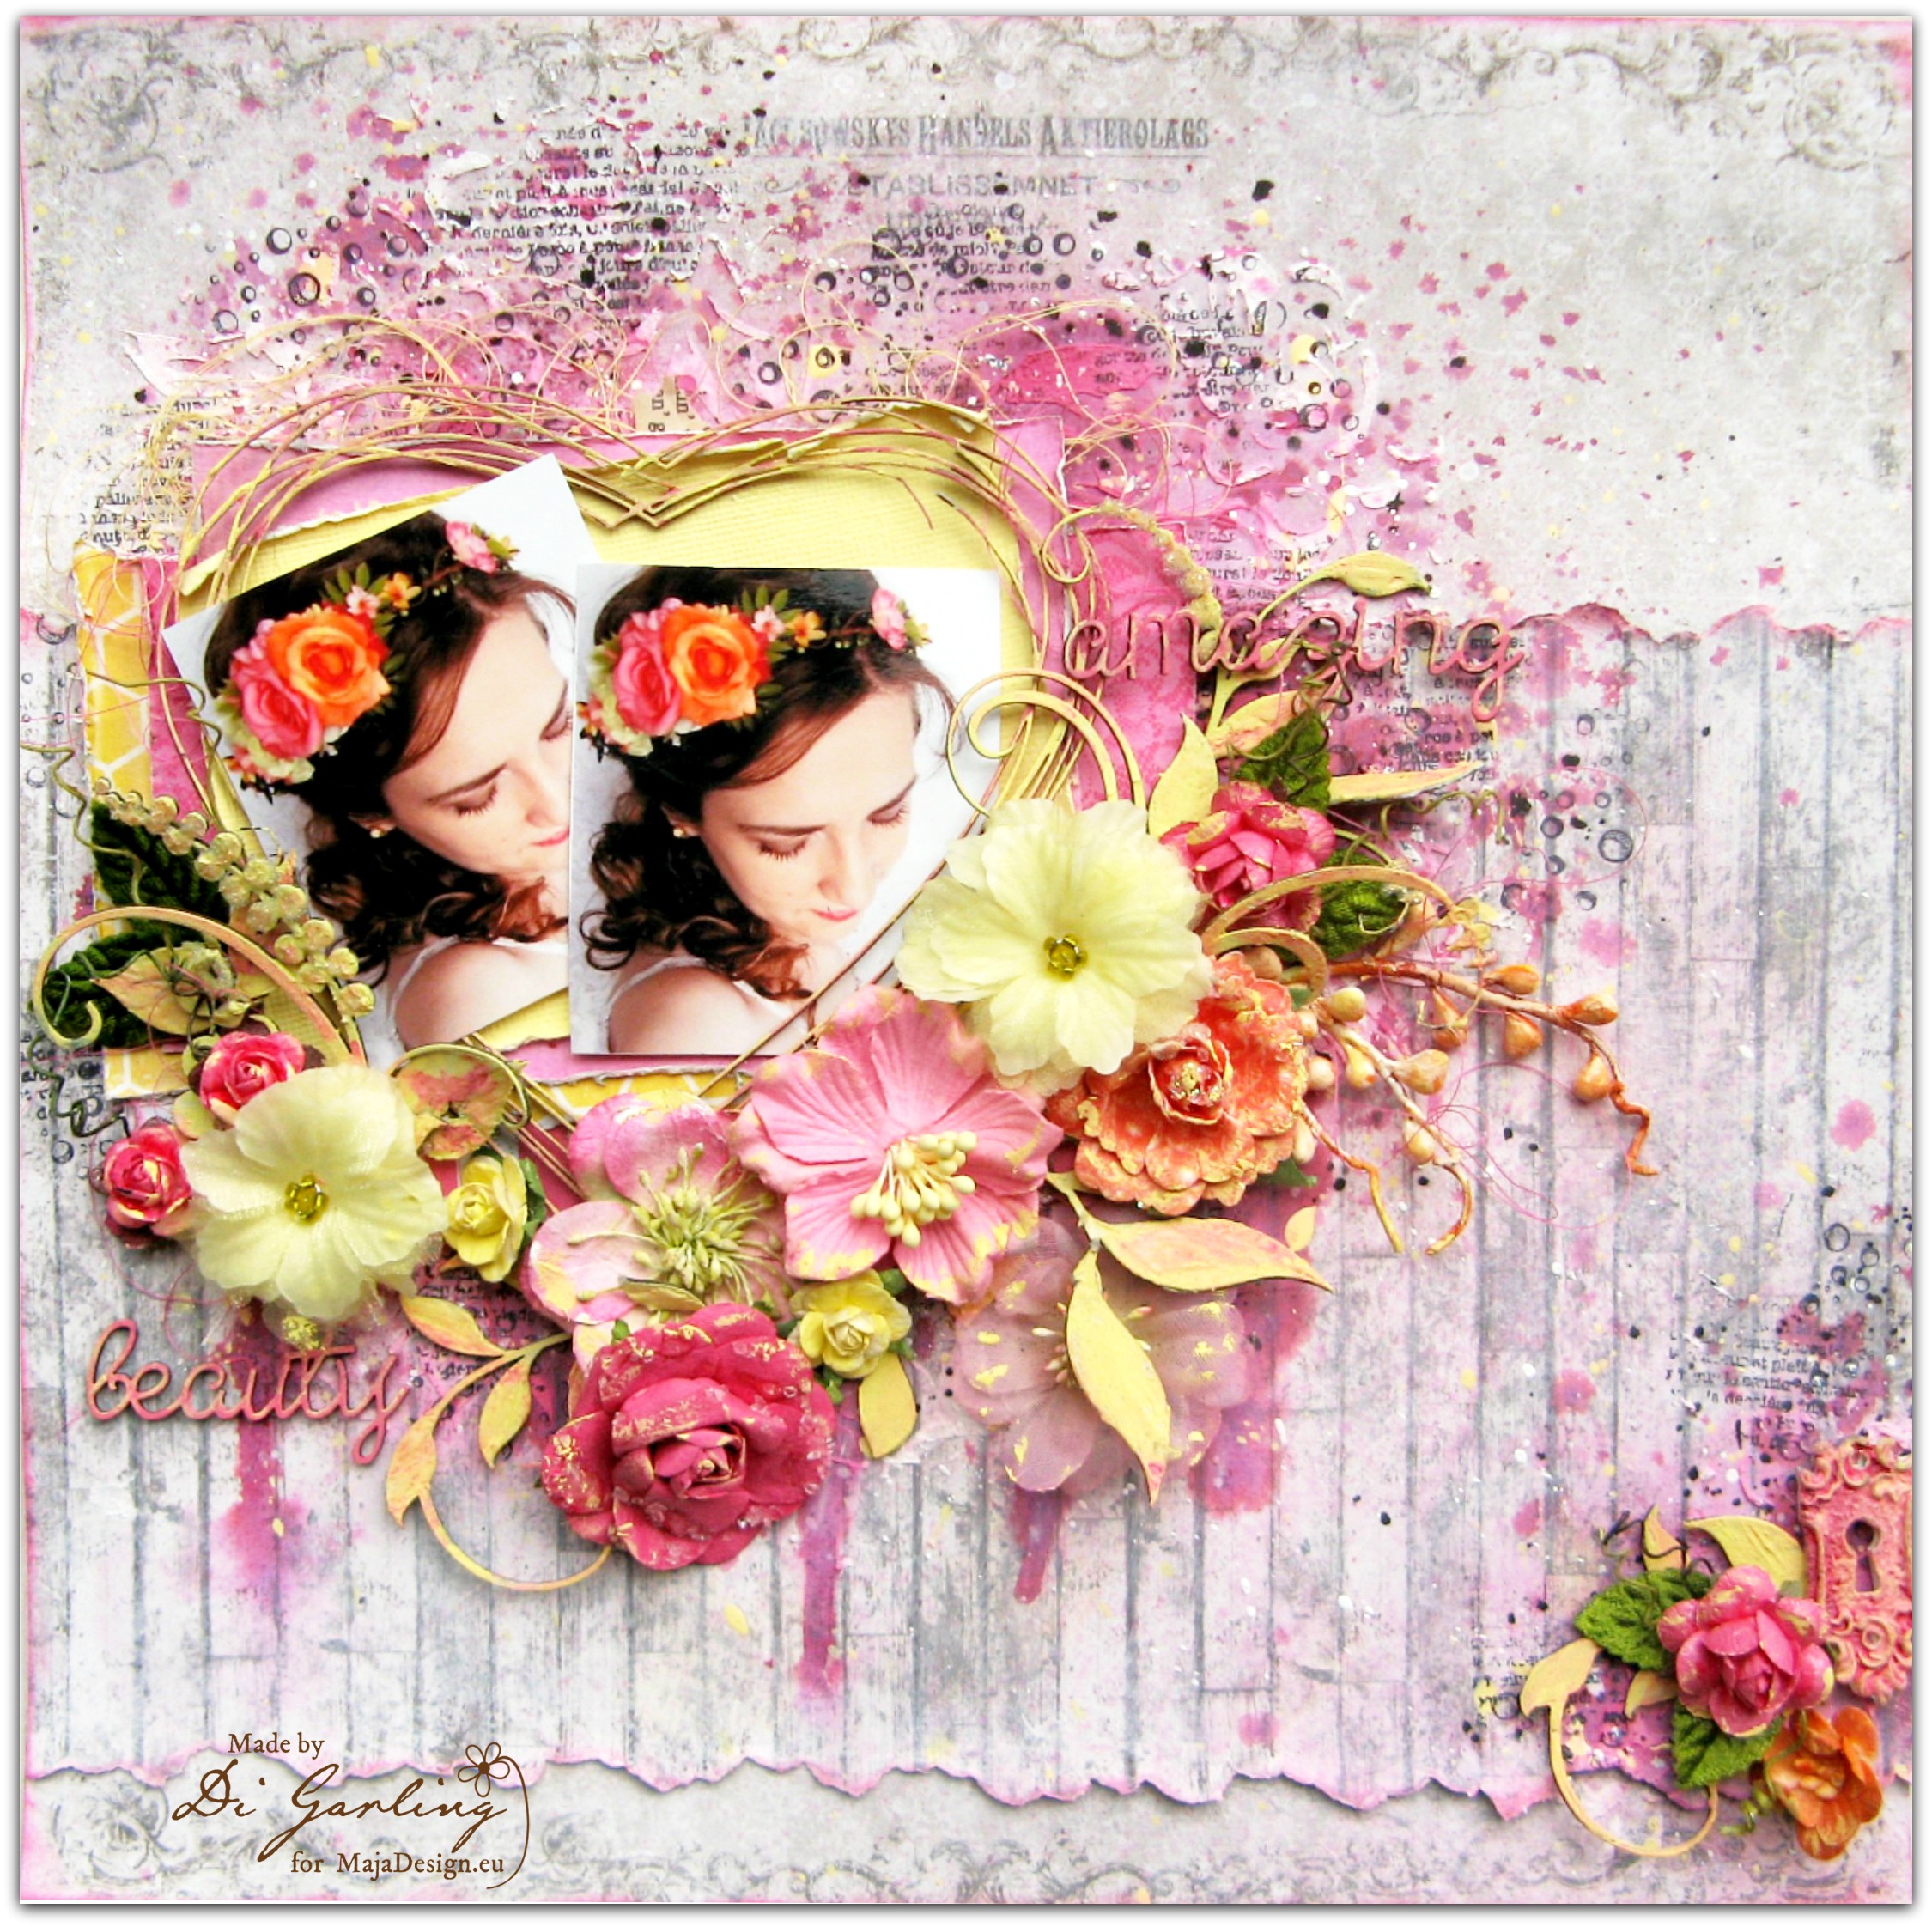
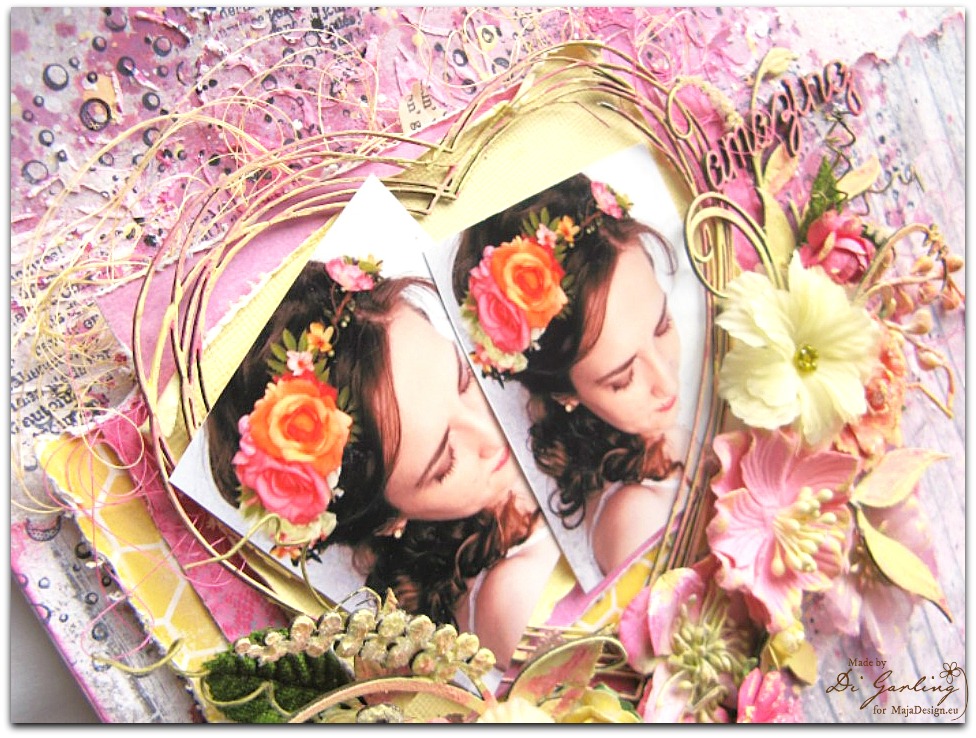
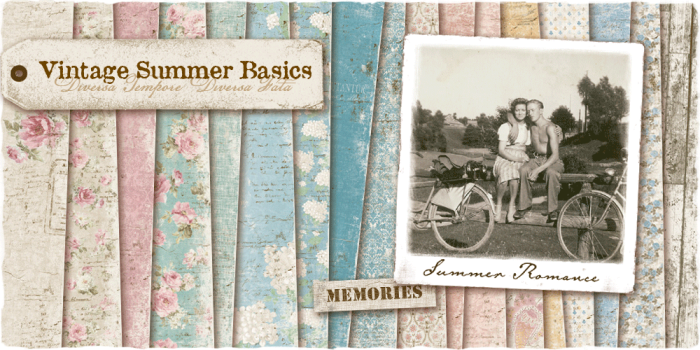
Hello there Maja fans. Thanks for stopping by. Today I have another layout to share with you & I have again used the fabulous “Vintage Summer Basics” collection. It has to be one of my favourite Maja Design collections because it is so versatile.

amazing beauty 3

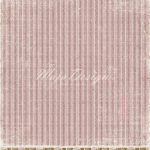
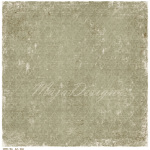
For the panel across the middle of my layout I have used the “1905” paper & for my background I have used the “1932” paper & as you can see they compliment each other so well. Because they are fairly neutral too, you can then add pretty much any accessory colour. Here I have added pinks & yellows.

amazing beauty 4

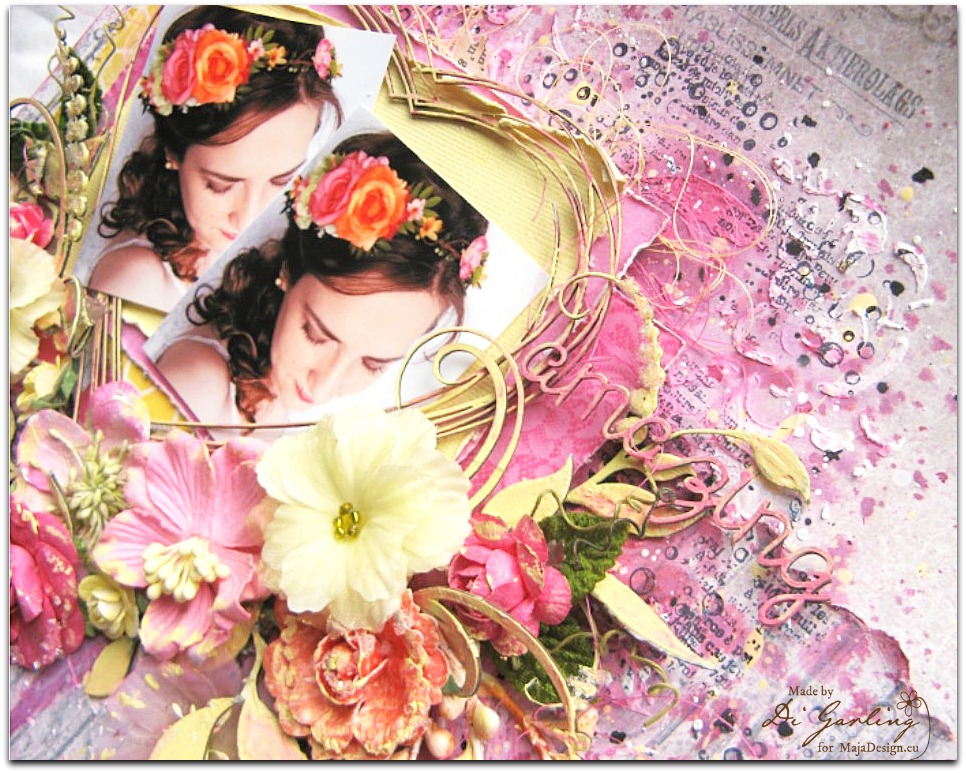
Before I started, I added a light coat of gesso to the papers which makes them a little lighter, but I wanted to then do a little stencilling with some texture paste. When I had finished the stencilling, I then added a little pink in the way of some mists & finished off with some stamping. I always like to add a little mixed media to my layouts.

amazing beauty 5

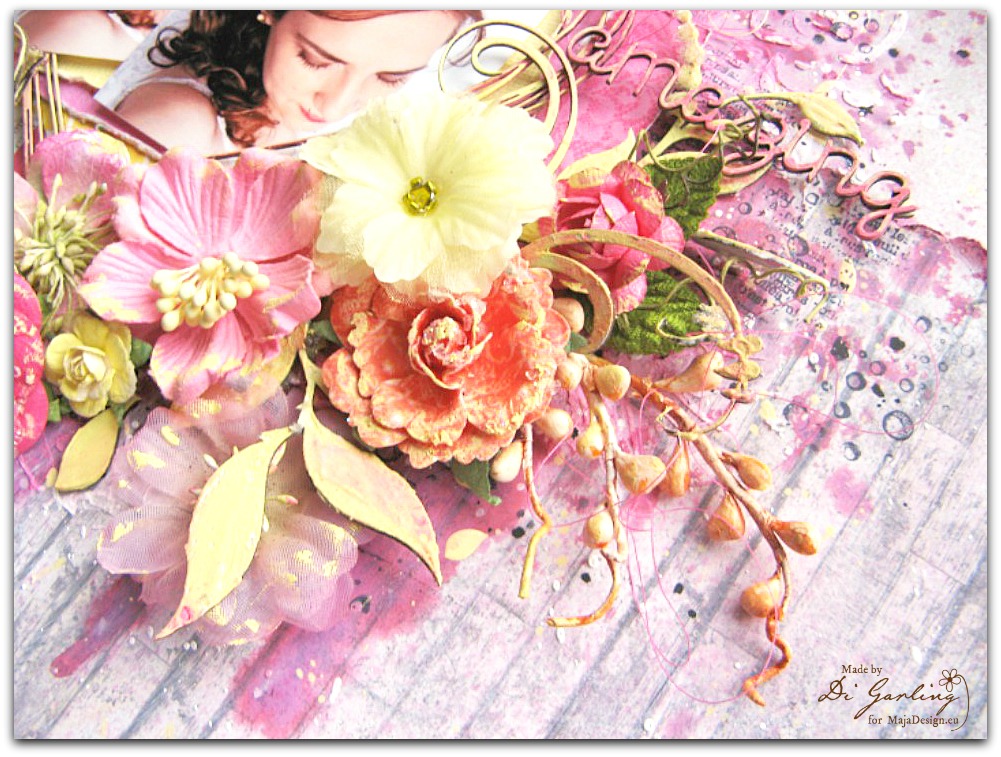
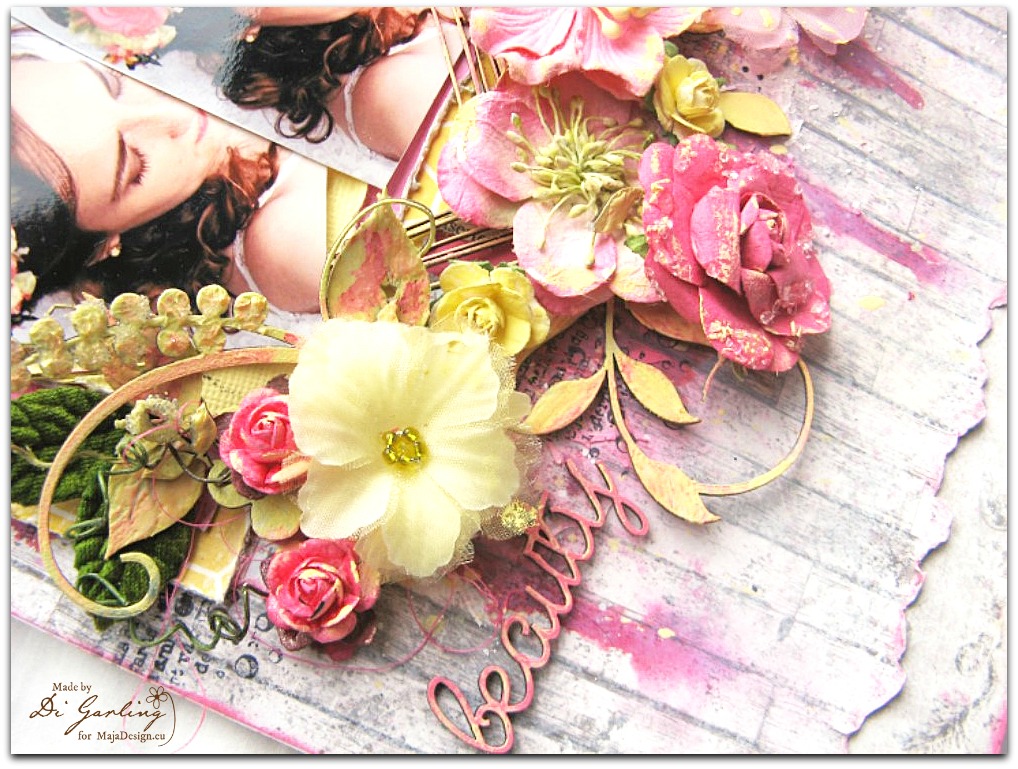
I have also used some lovely little mini words, heart frame &  chippie foliage all from 2Crafty Chipboard.

amazing beauty 6

Lots of beautiful flowers to finish off with.

amazing beauty 3

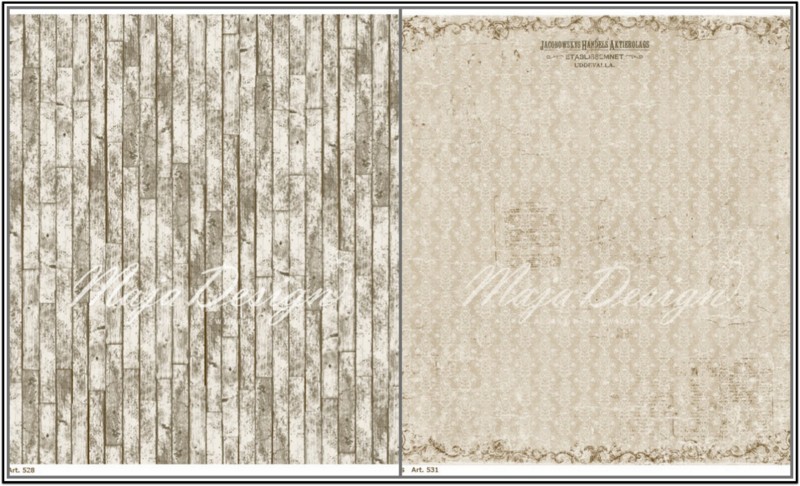
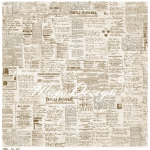
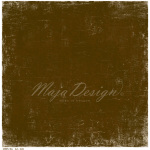
Here are the Maja Design “Vintage Summer Basics” papers I have used to create my layout. The one on the left is the “1905” & the one on the right is the “1932”. Fabulous aren’t they.

Well thats all for today. Until next time.

Di's Signature

Amazing Beauty

Vintage-Summer-Basics3


Di Garling

Hi my name is Di Garling. I am married to a very patient man, I have two grown up sons, two grandchildren & a little dog. I owned & operated a Scrapbook shop for eight years here in Australia until I recently sold it & retired. I think retirement is the best kept secret. I love it, it gives me lots of time to enjoy my craft. I still teach scrapbooking & cardmaking once or twice a week, so all in all I am as busy as ever & wouldn't have it any other way.

Summer is coming with Summer basics card

2

Posted by Evgenia Petzer

21 May, 2016 - ,

Write a comment

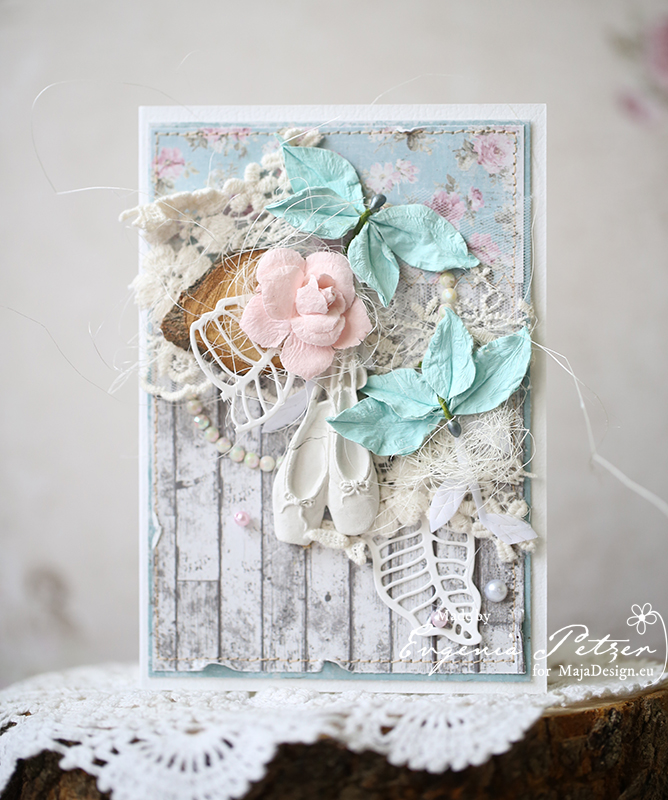
Hello dear friends! Its Evgenia Petzer with you today. In Russia we really don’t have a nice weather, though its almost summer time. So I decided to pull out my Vintage Summer Basics papers and to create the summer mood myself.
I love its soft, muted pastel colors and here is my card.

may_rose1

and some details:

rose_petzer_det1

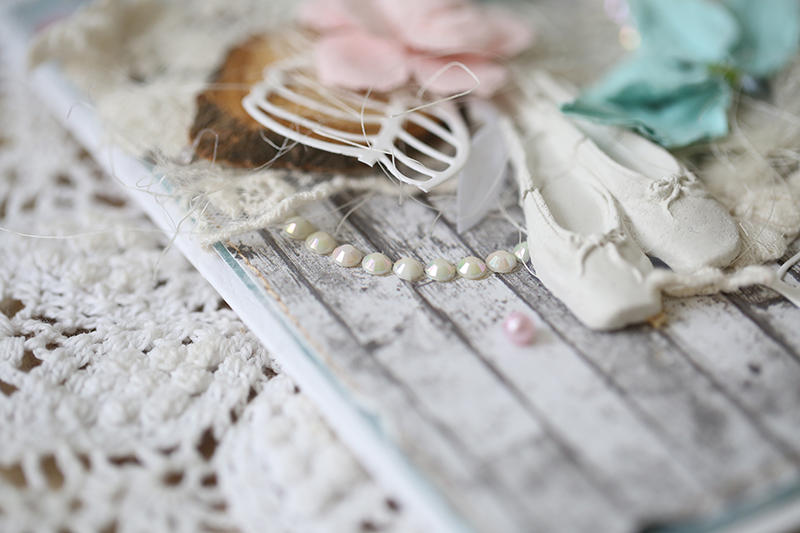
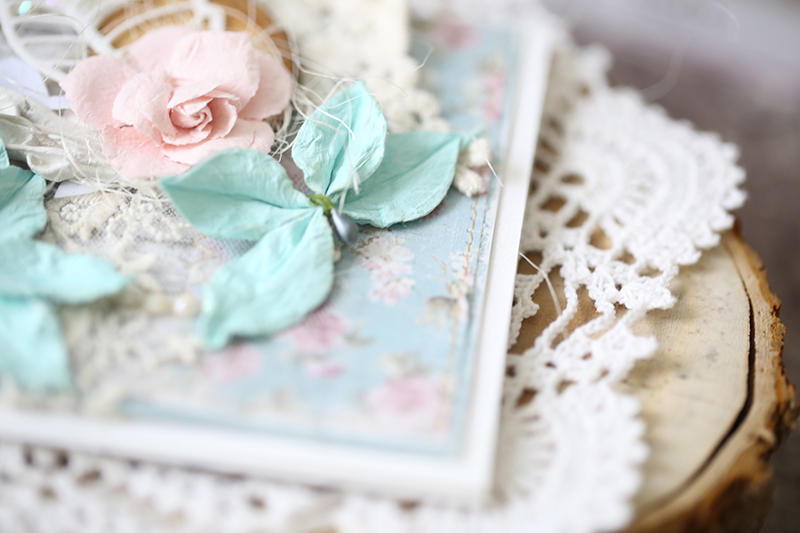
as you can see I really love use lace, pearls and flowers in my cards.rose_petzer_det2

I have used the Vintage Summer Basics paper pad for this card.

Have a lovely weekend,

Mother’s Day Card

0

Posted by Elena Olinevich

13 May, 2016 - ,

Write a comment

Good Morning crafters.

Though Mother’s Day is over, I guess you don’t need to wait for a special date to make a greeting for your Mom.

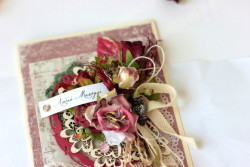
Here is the card I made for a Mother of my Friend

MotherSDayCard_ElenaOlinevich

I used the most frequent papers I choose from the Vintage Summer Basics Collection.

img_1523

I wanted the card to be a bit vintage, a bit shabby, with red and mauve colors, with lace , ribbons and string, and of course flowers, mainly roses were something my Friend’s Mother loves.

Салфетка_Кружево_Цветы

I hope she has liked the card and the words my freind wrote inside have been the most important for her.

Products used:

Vintage Summer Basics – 1921, 1922.

Elena-sign


“Sweet Girl” By Di Garling

2

Posted by Di Garling

12 May, 2016 - ,

Write a comment

Sweet girl new

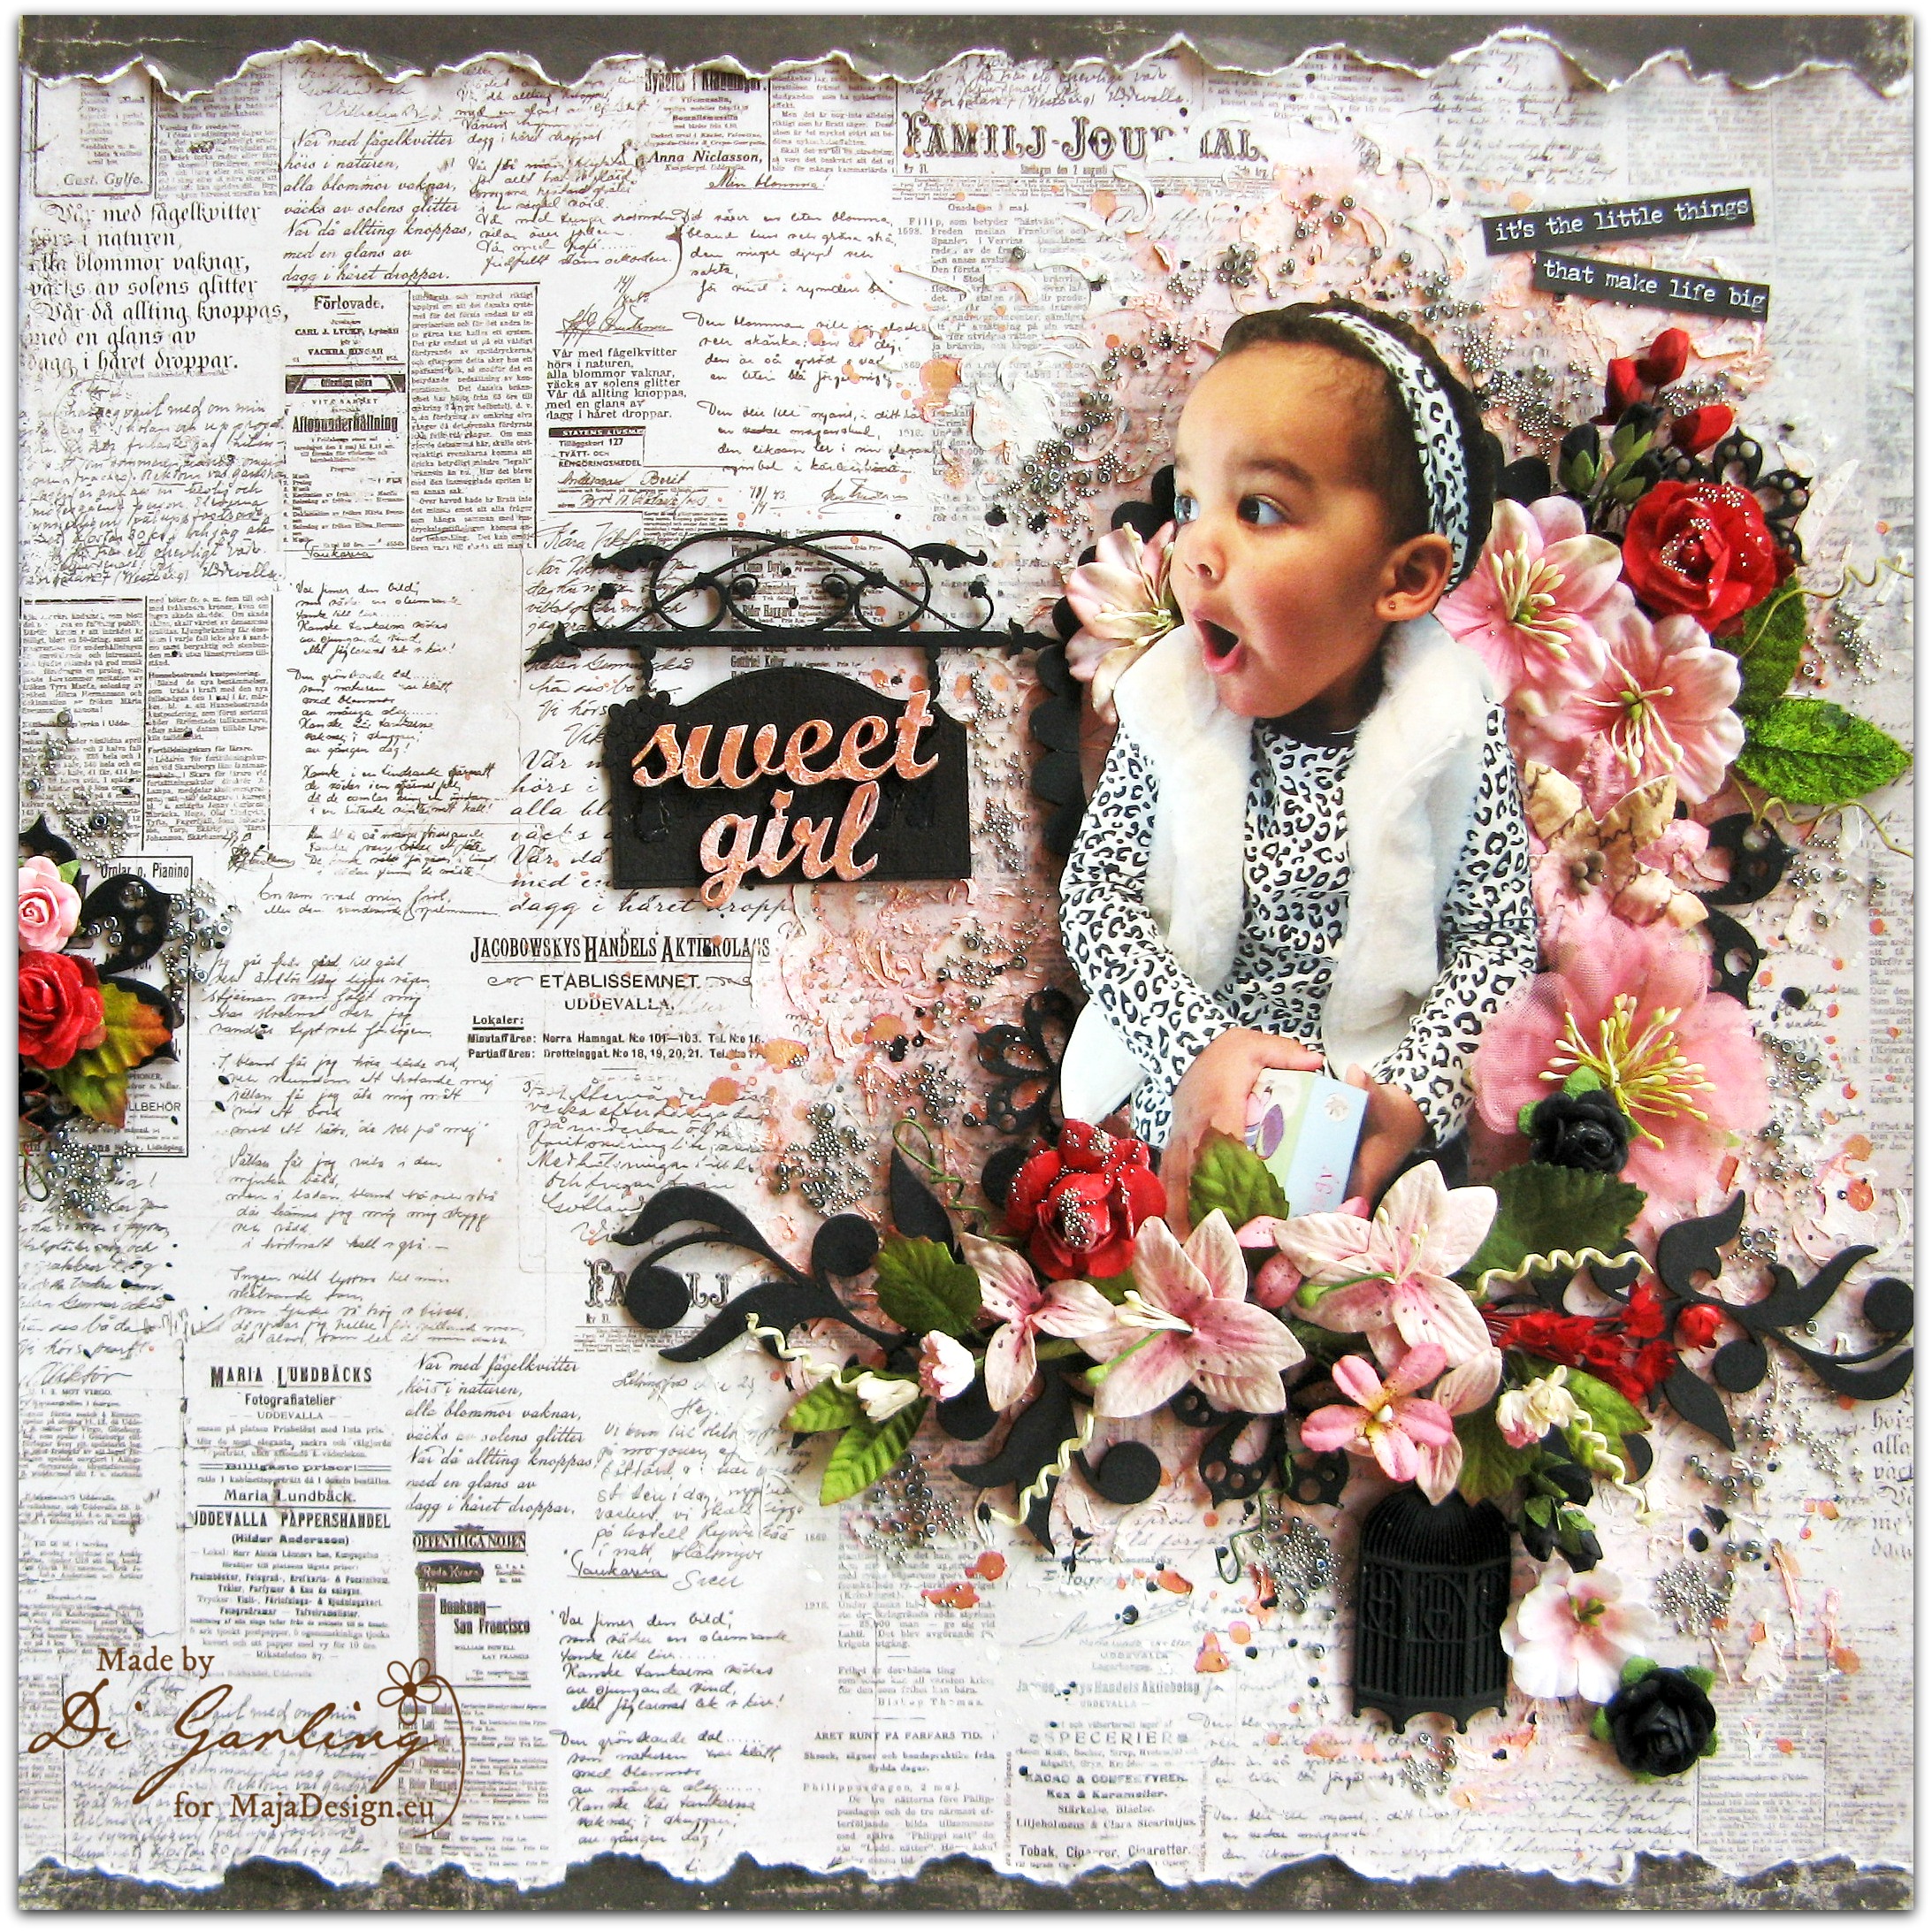
Hello there Maja fans & welcome to the blog. Today I have a layout featuring my little grandaughter & I have done it a little different to how I normally scrap!!! I have actually cut the photo out and made it a little 3D against the background. I have used some papers from the “Vintage Summer Basics” collection.

IMG_0919

Naturally I have gone with lots of beautiful flowers & I have painted all the 2Crafty chipboard in black to create a good contrast to this fabulous paper.

I have also done some mixed media around the photo cluster & added lots of stamping, micro beads & added a little watercolour as well.

IMG_0920

For my background I have used the “1891” paper & I have torn a strip to place along both the top & bottom edges using the “1905” paper. Both these papers are from the “Vintage Summer Basics collection.

IMG_0921

Here is a close up of the photo fussy cut out. It is a great idea if there are things you don’t want to see in the background of the photo, although not all photos are suitable for doing this & I would never cut up an original.

IMG_0922

Here is another close up of that “1891” paper. I think it gives this layout a rather modern edge.
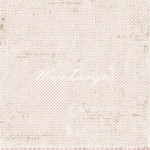
Below you can see the papers I have used.
Vintage-Summer-Basics3

Thats all for today & I will see you back here again in a couple of weeks.

Until then.

Di's Signature

Di Garling

Hi my name is Di Garling. I am married to a very patient man, I have two grown up sons, two grandchildren & a little dog. I owned & operated a Scrapbook shop for eight years here in Australia until I recently sold it & retired. I think retirement is the best kept secret. I love it, it gives me lots of time to enjoy my craft. I still teach scrapbooking & cardmaking once or twice a week, so all in all I am as busy as ever & wouldn't have it any other way.

Love is in the Air!

3

Posted by Nancy Dynes

3 May, 2016 - , , ,

Write a comment

A 1 PS

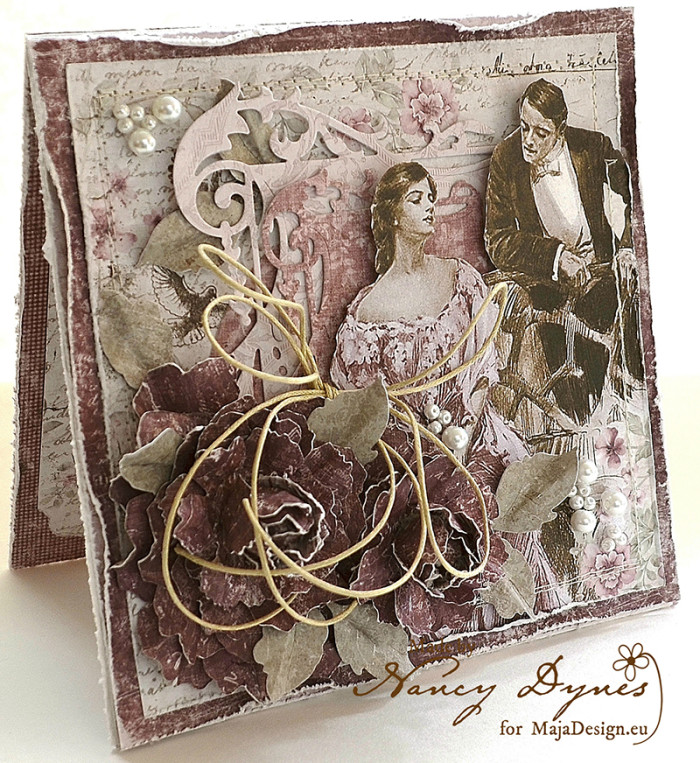
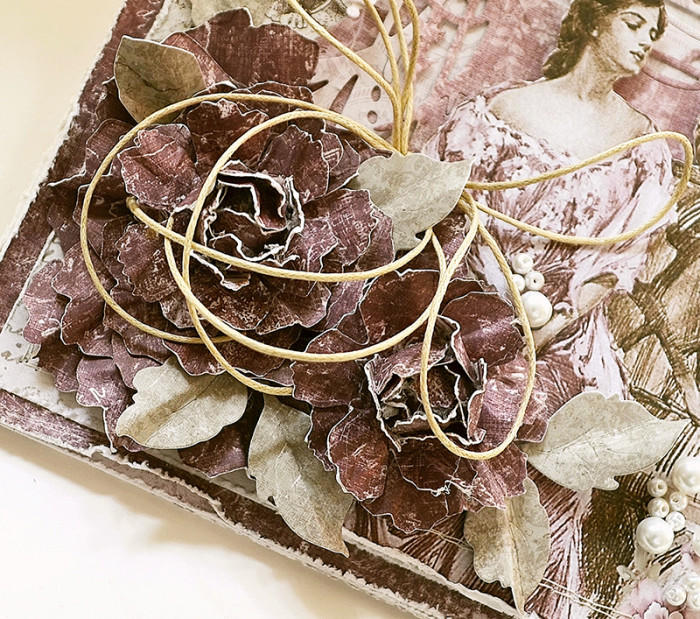
Hello and welcome! I hope you’re having a lovely day. It’s Nancy here, sharing my ‘Love is in the Air’ card. It features Maja Design’s recently released paper collection, Vintage Romance! I discovered that Vintage Romance partners perfectly with Vintage Autumn Basics and Vintage Summer Basics, so I couldn’t resist using all three collections in my card.

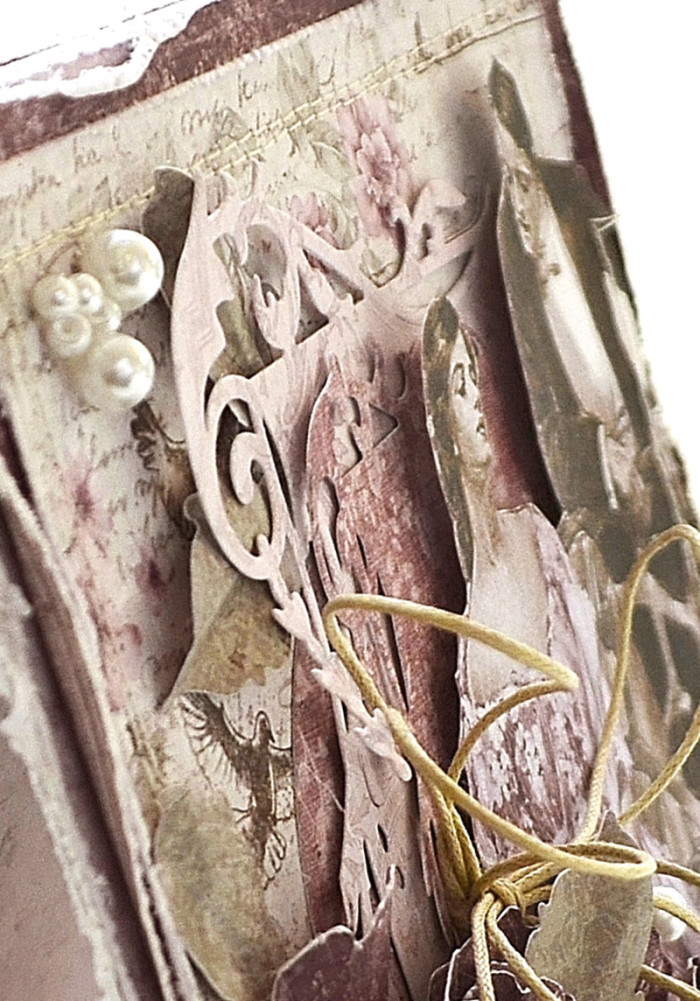
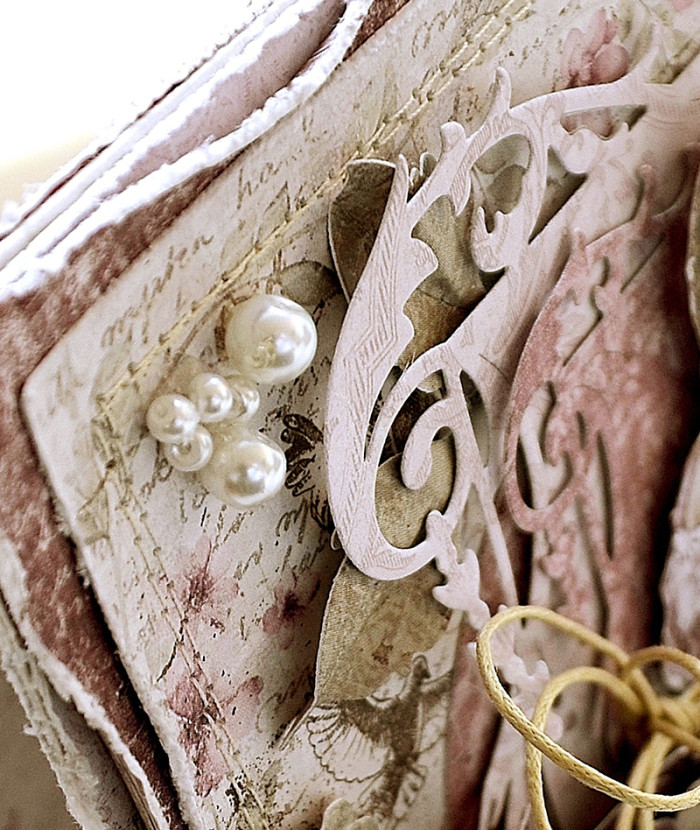
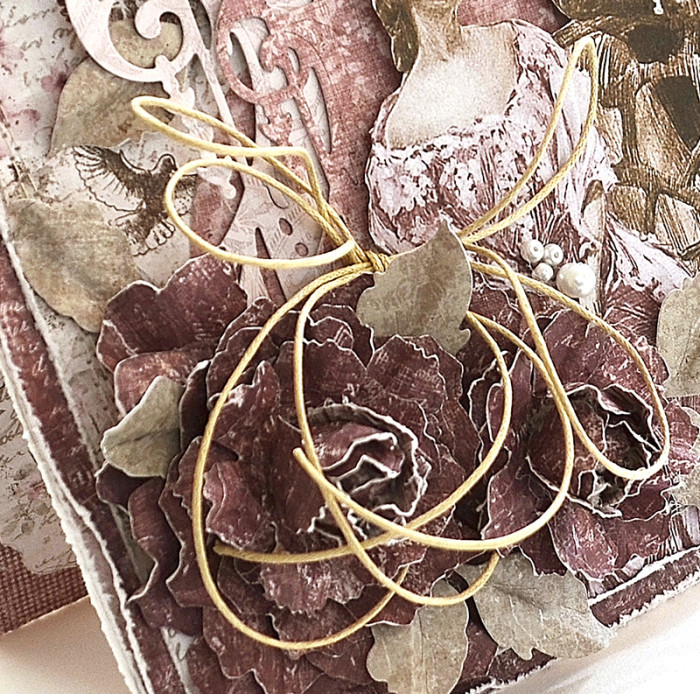
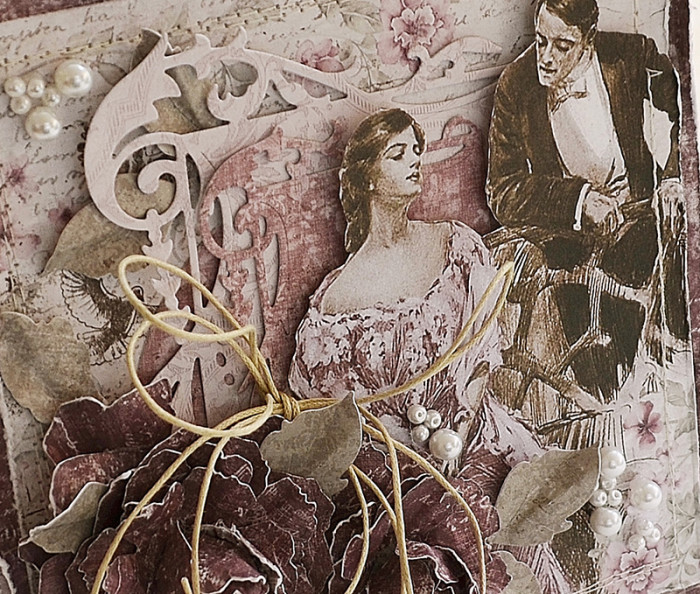
Three layers of design paper are distressed, layered, and stitched in the usual fashion to form the base of the card. Now the real fun begins! Die cutting and fussy cutting are combined to create embellishments for this romantic garden. All of the elements are popped up with foam tape for a dimensional effect. The photos below give a peek into the layering.

A 3 PS

A 8 PS

A 10 PS

The roses are handmade using design paper. You can find a tutorial for these roses on the sidebar of my blog. A scattering of glass pearls and a twine bow are fanciful touches in this enchanting garden.

A 14 PS

Layered die cut frames provide a dreamy backdrop for the focal image which is fussy cut from design paper.  All of the supplies used to create this card, including individual papers, are included below.

A 7 PS

Maja Design Paper Used: 

Vintage-Romance-L

Vintage-Autumn-Basics

Vintage-Summer-BasicsK

Additional Supplies: Wild Rose Studios Elegant Frames die, Magnolia Rose Leaf Die, Alterations Tattered Florals die, Spellbinders Circle die, Glass Pearls, Natural Twine, Foam Tape, Sewing Machine, Thread, Detail Scissors.

Thank you so much for stopping in to take a peek at my card! May your day be filled with sunshine, happiness, and a sprinkling of fairy dust!

Hugs,

Nancy-sign