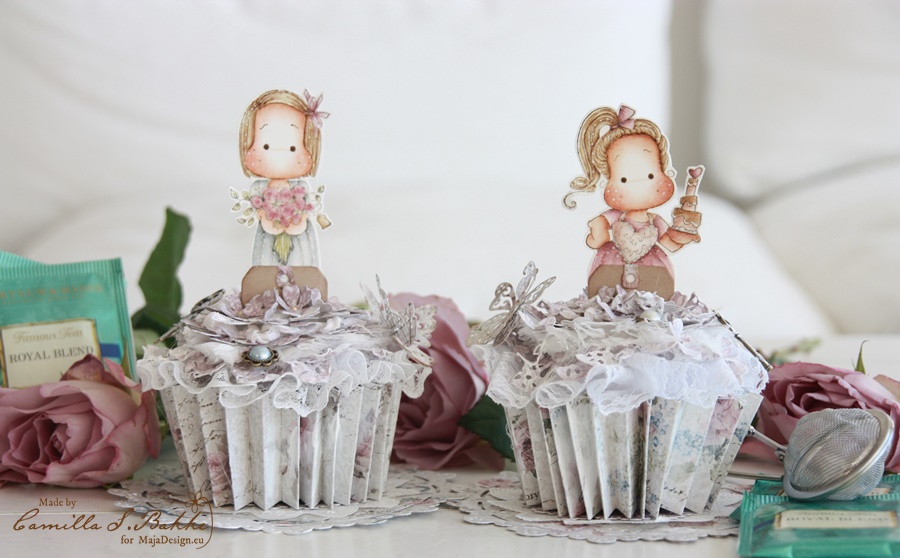
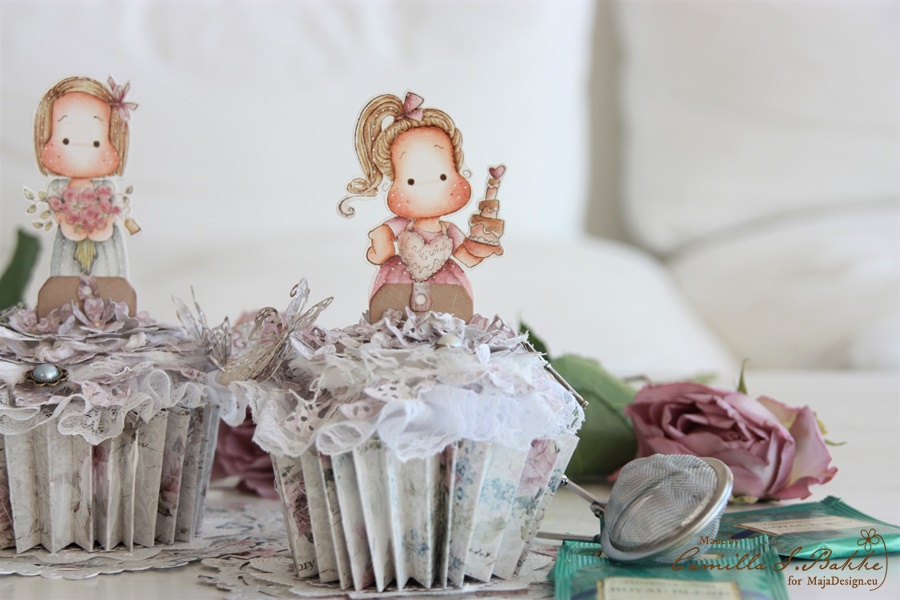
Hi dear Maja fans! Today I want to show you how I made these two cupcakes. The lovely papers used are from the Vintage Romance collection.
Ok, let’s start with showing how it is made!

Here is all you need for your cupcake: Dies from Magnolia, a Styrofoam ball, two Maja papers measuring 30,5 x 4, 5 cm, two circles cut out from hard cardboard (1 ¾ “), a paper measuring 13 x 13 cm, laces and ribbons, metal embellishments and of course your favourite Tilda.
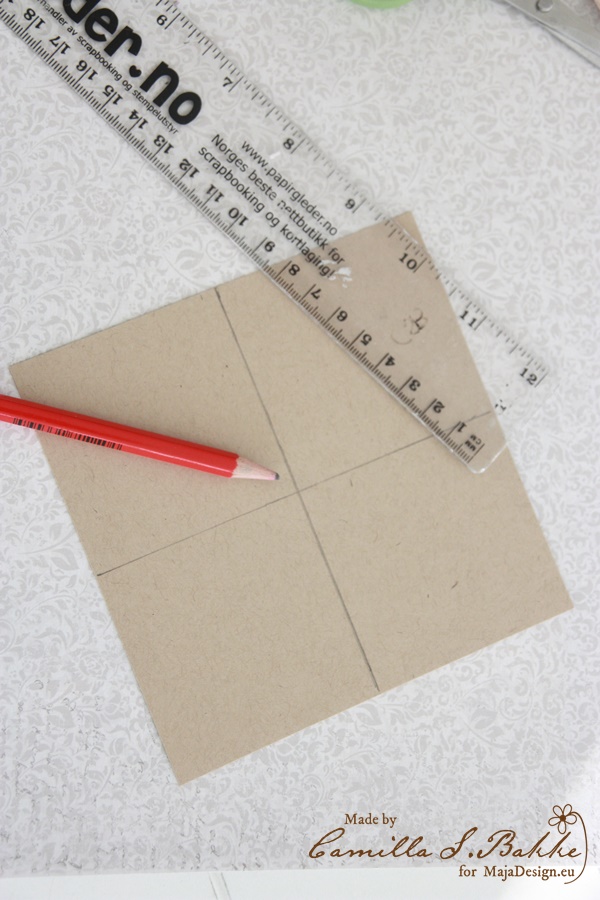
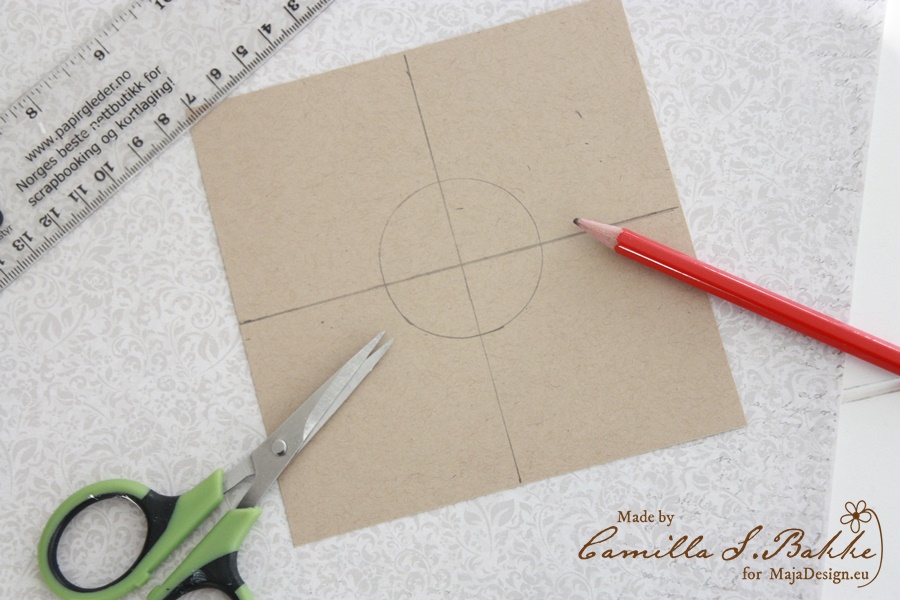
Find the middle of the paper measuring 13 x 13 cm.
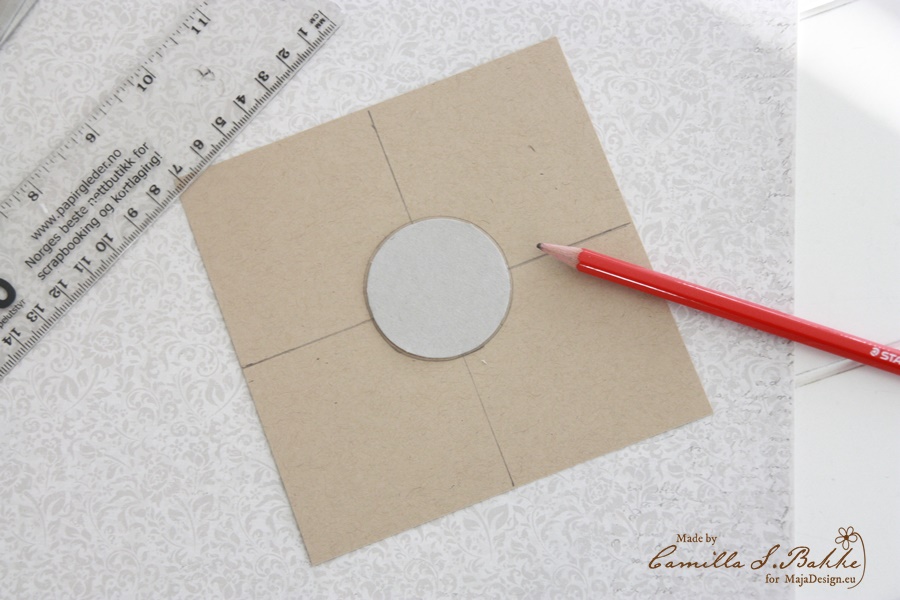
Put the circle in the middle and draw around it.
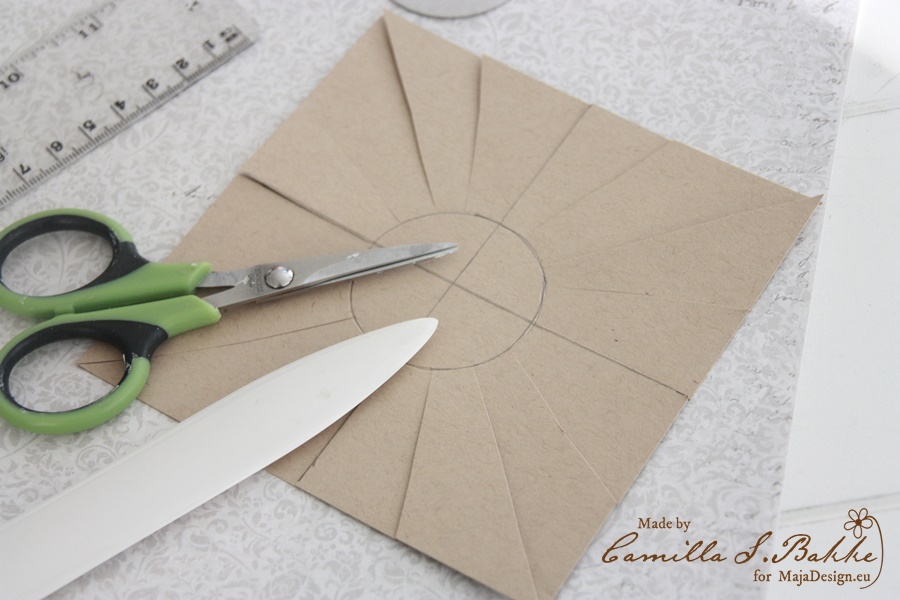
Then cut the paper like you see in the photo. Then score around the circle.
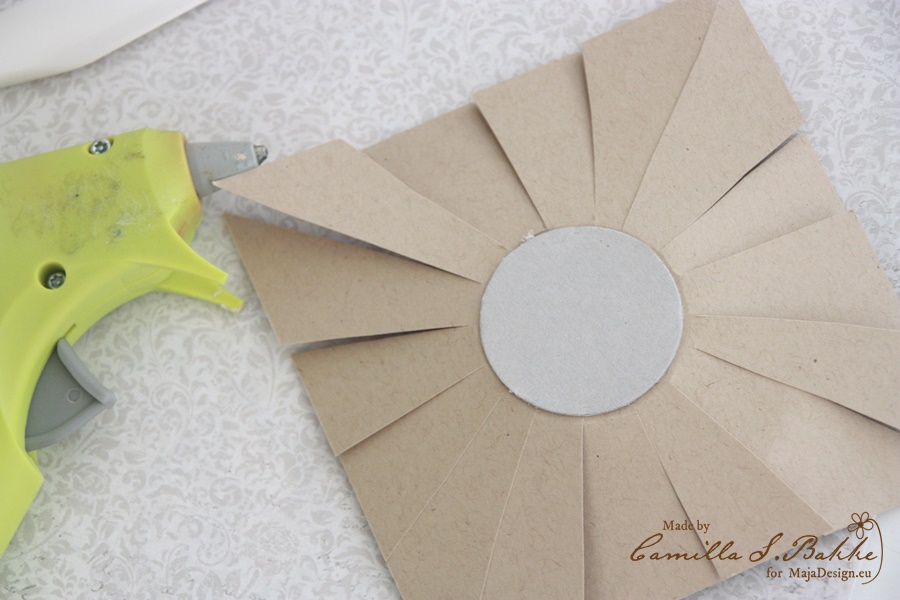
Fasten the circles on both sides of the paper.
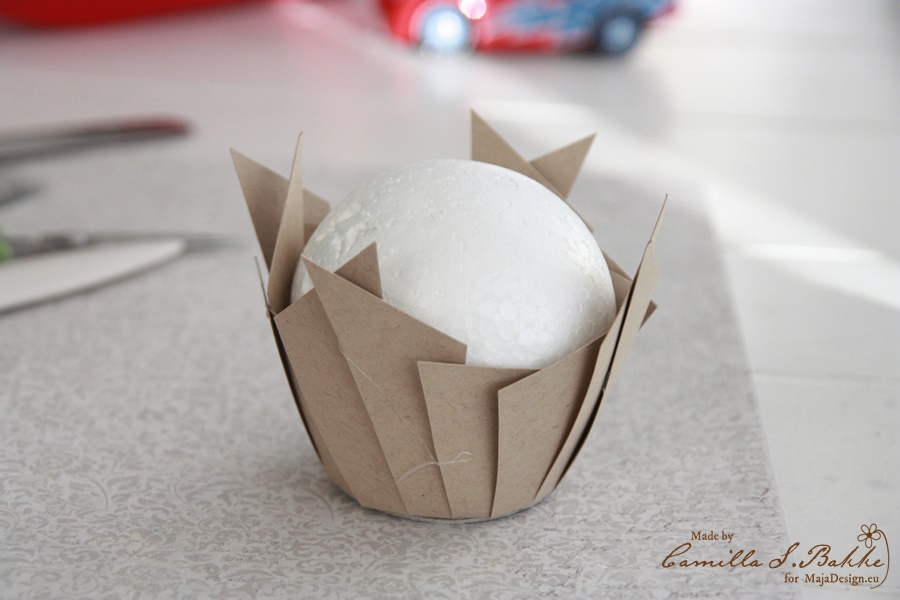
Put the ball inside and fasten it with glue, also fasten the sides of the papers on the ball. Like you see here.
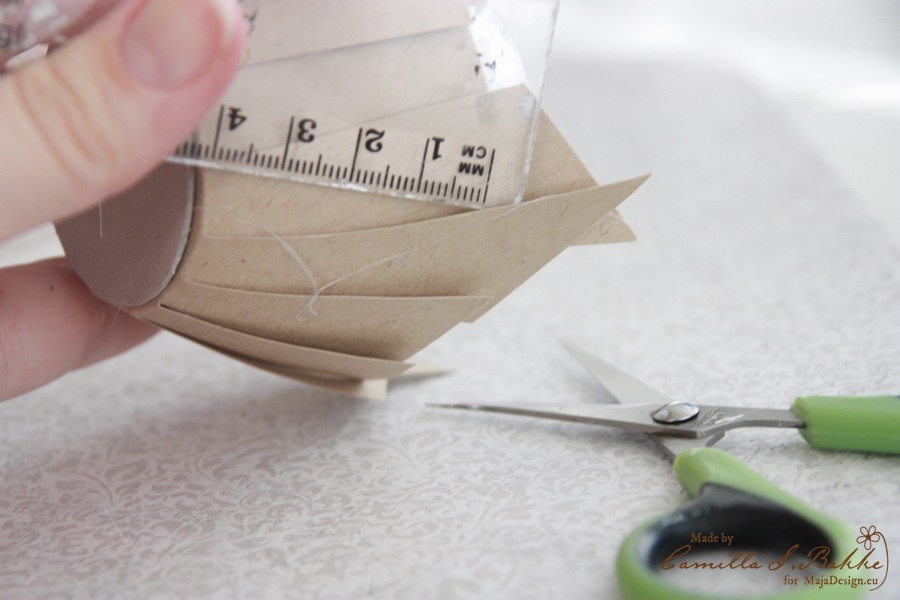
Cut off the longest papers. I cut them down to 4 cm.

Make a cut for the tag. Remember to make it as deep as you can.

Then you can easily place your tag inside.

Here are the two papers which I have folded on each cm. I will now glue it on.
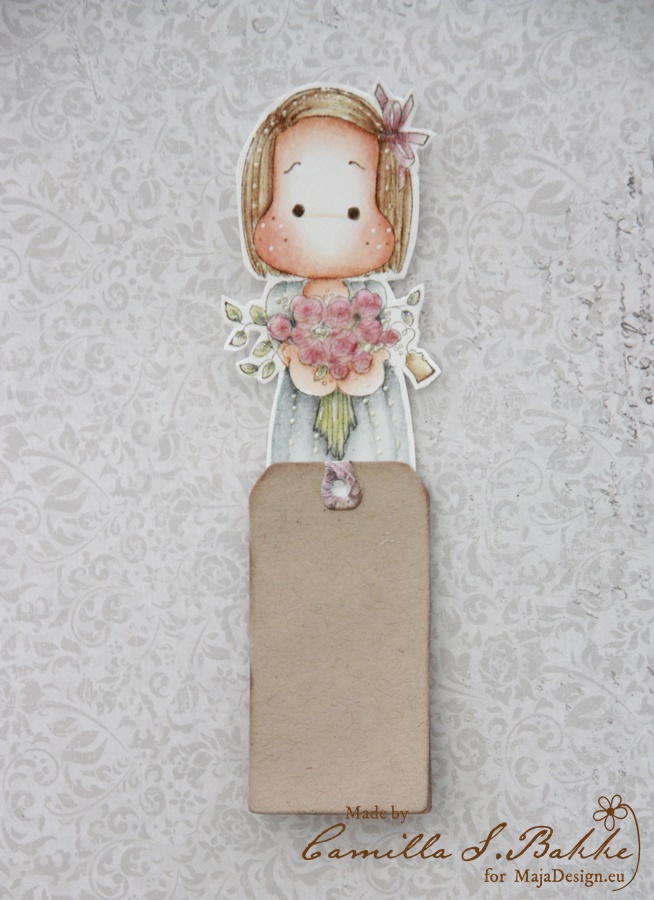
Here is the tag.
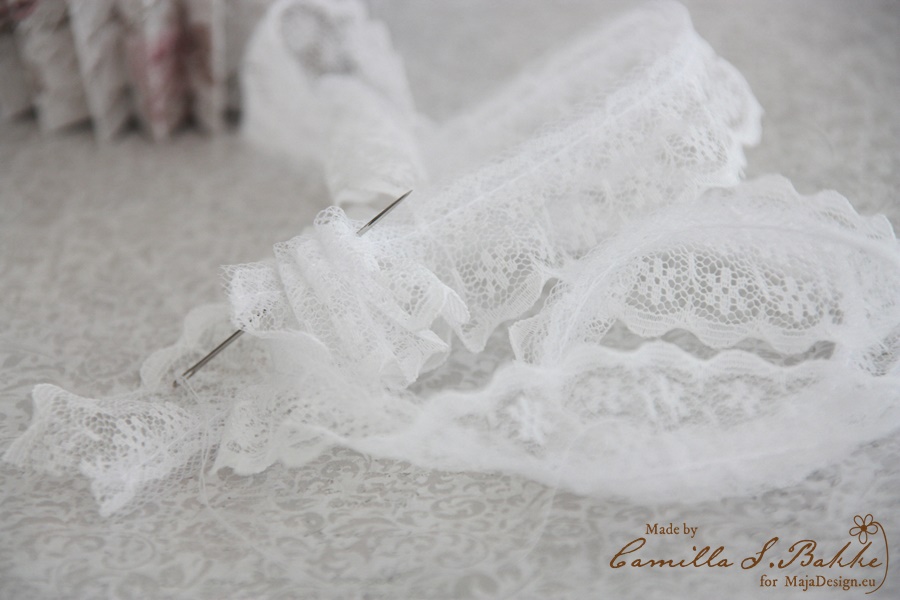
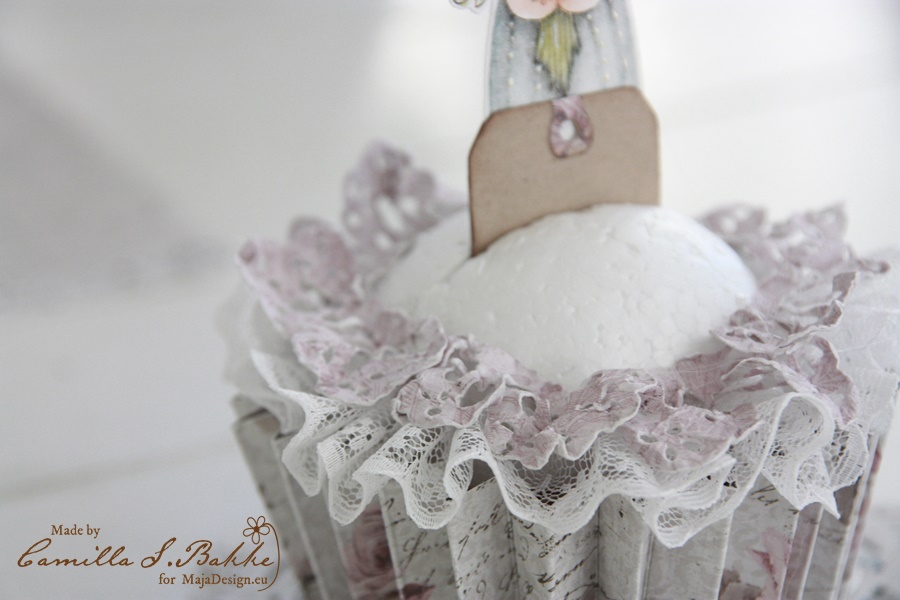
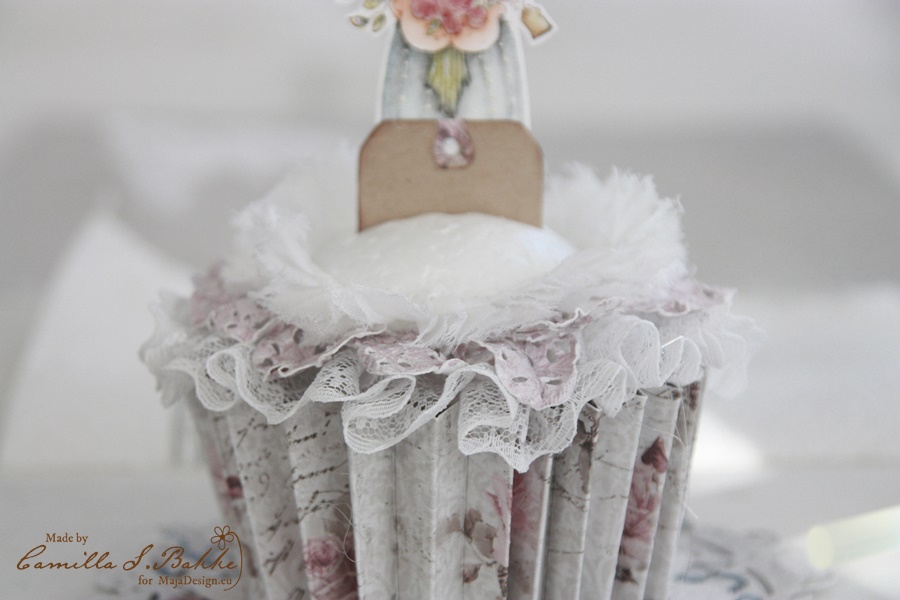
I use a needle and thread and sew the thread up and down on the lace, so that it curles up nicely.
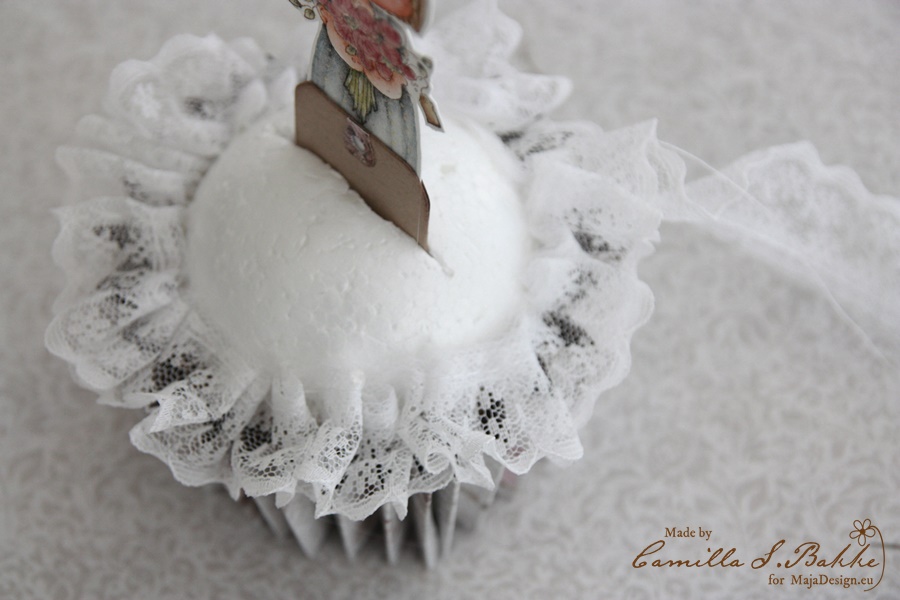
Then I fasten it to the cupcake. It looks like frosting 🙂
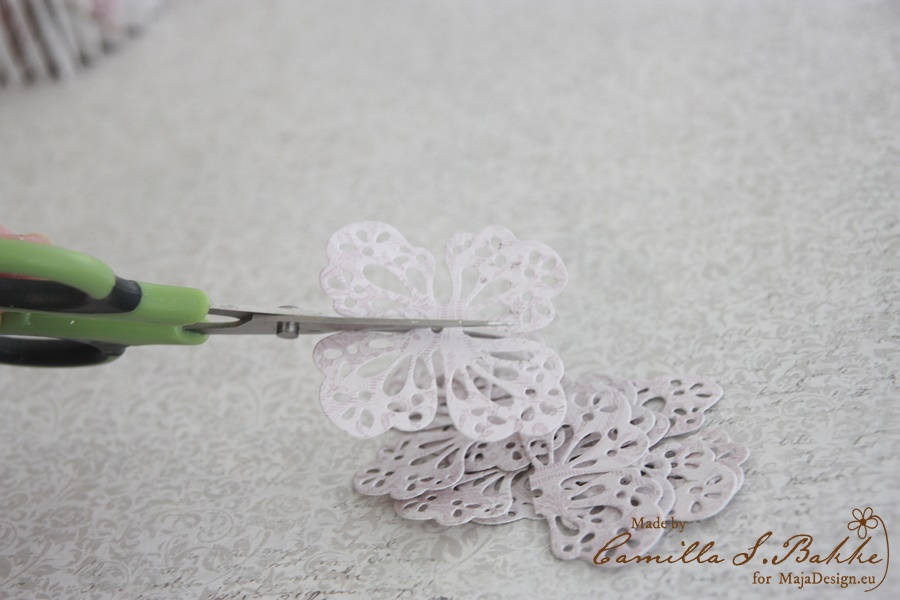
For the flowers, I cut them in half.
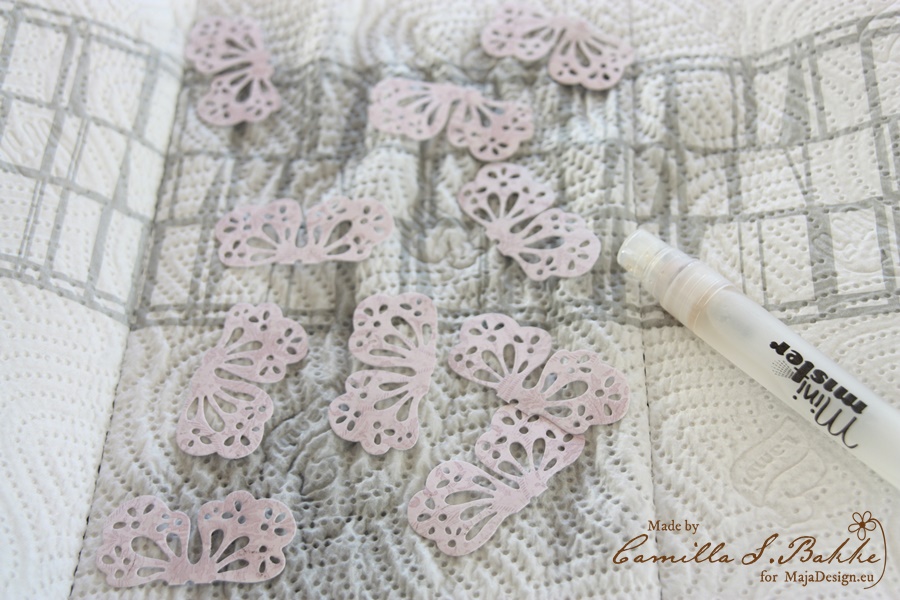
Then spray them with water to get them curled up.

I curl them up, and leave them to dry.
Then glue them on to the ball.
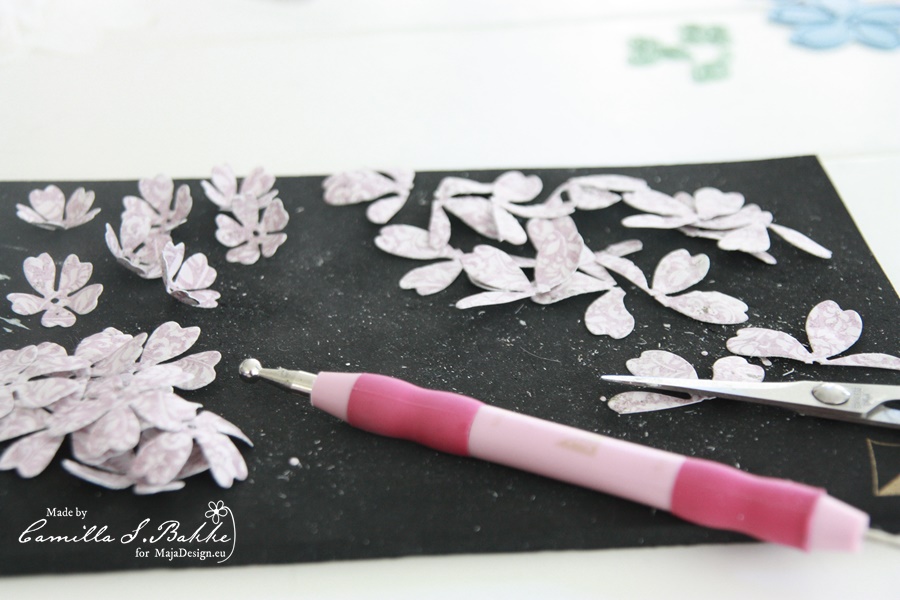
Cut more flowers in half and curl them a little with the tools.
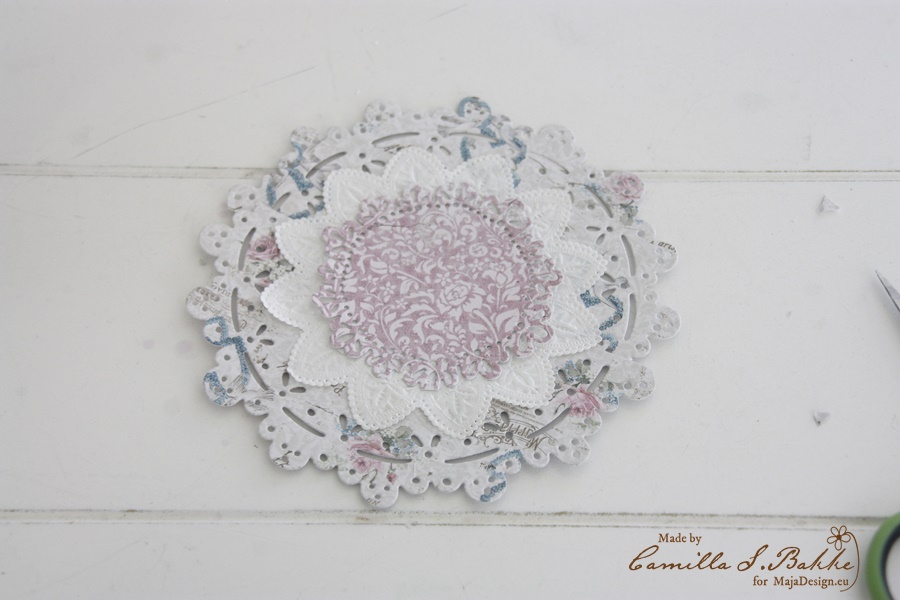
Make a lovely doily for the cupcake to stand on.
Continue with more layers and end it with some more flowers.
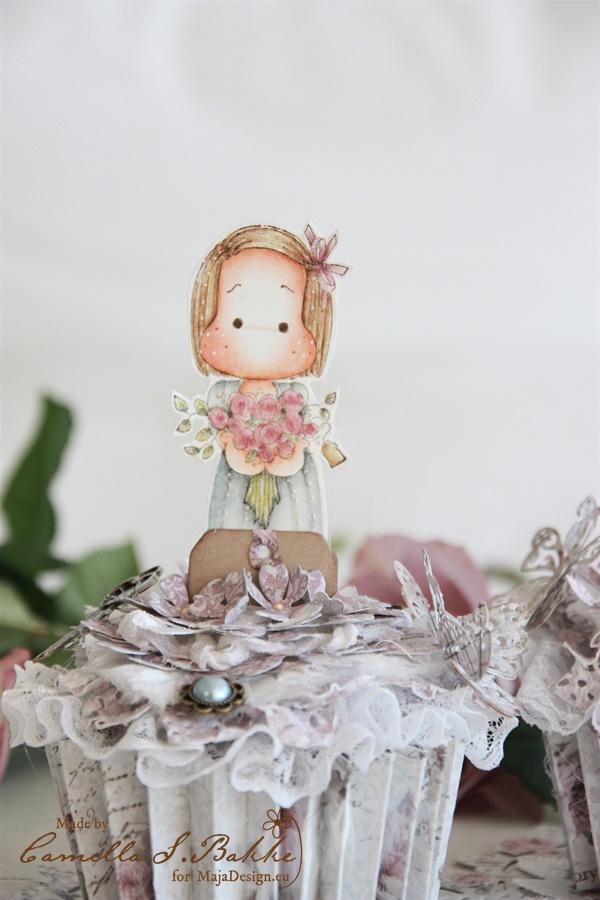
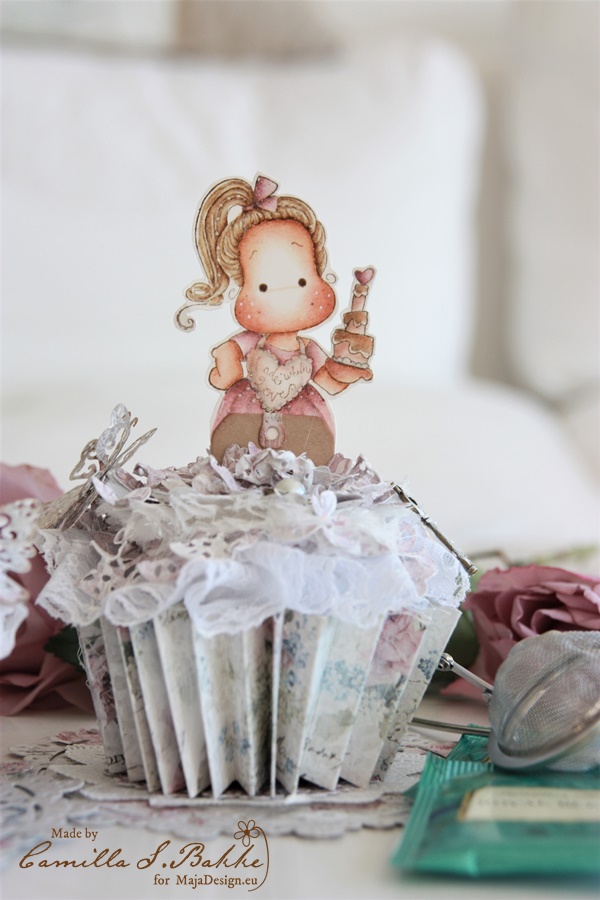
Here is some pictures of the finished cupcakes. Doesn’t they look yummy!?
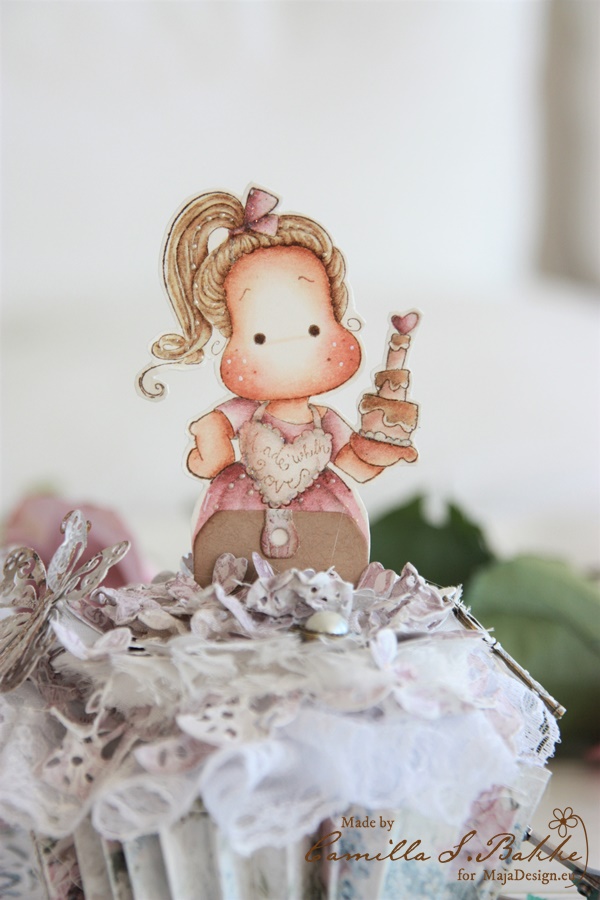

You can write a greeting on the tag.
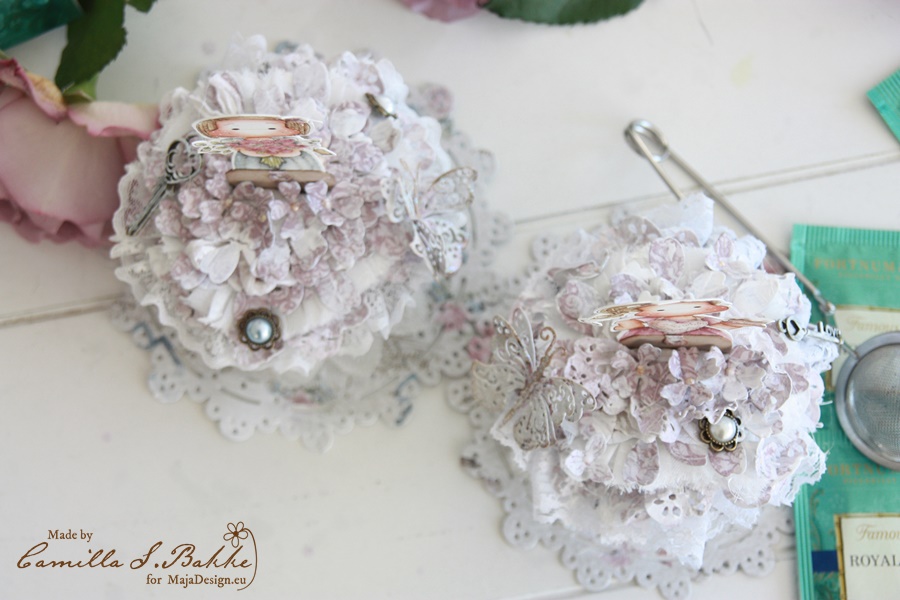
Here they are from above!
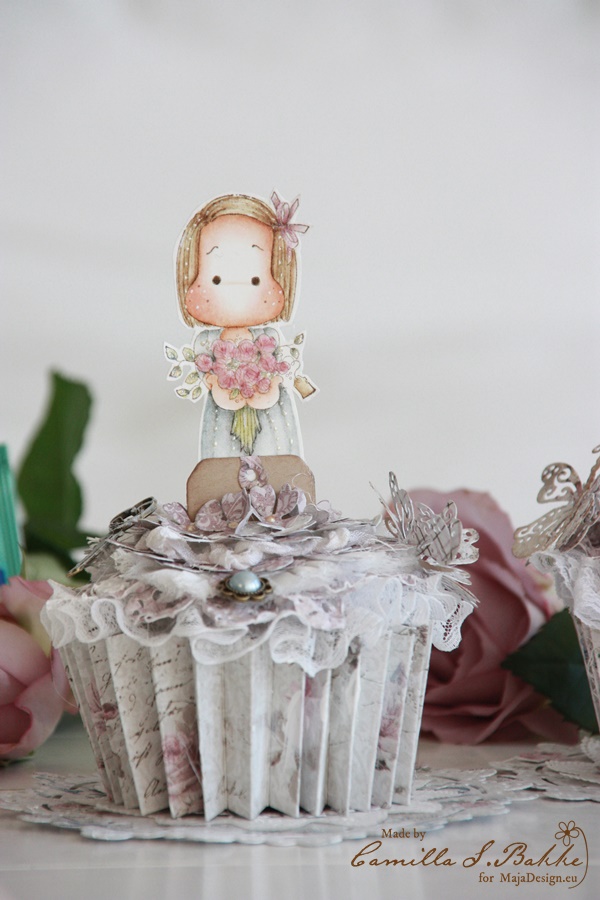
The beautiful Maja papers are just wonderful to work with, and gives the cupcakes the perfect romantic, vintage look. The cupcakes were also made for Magnolia’s DooHickey vol 14. Thank you so much for visiting the blog today!
With love from,
