Flag Shaker Card with Instructions – Using Everyday Life Collection

1

Posted by Jennifer Snyder

6 August, 2022 -

Write a comment

Welcome friends.  Jennifer Snyder here to share a shaker card made with Maja Design’s Everyday Life Collection.  This is a wonderful collection filled with warm summer/autumn images and colors.

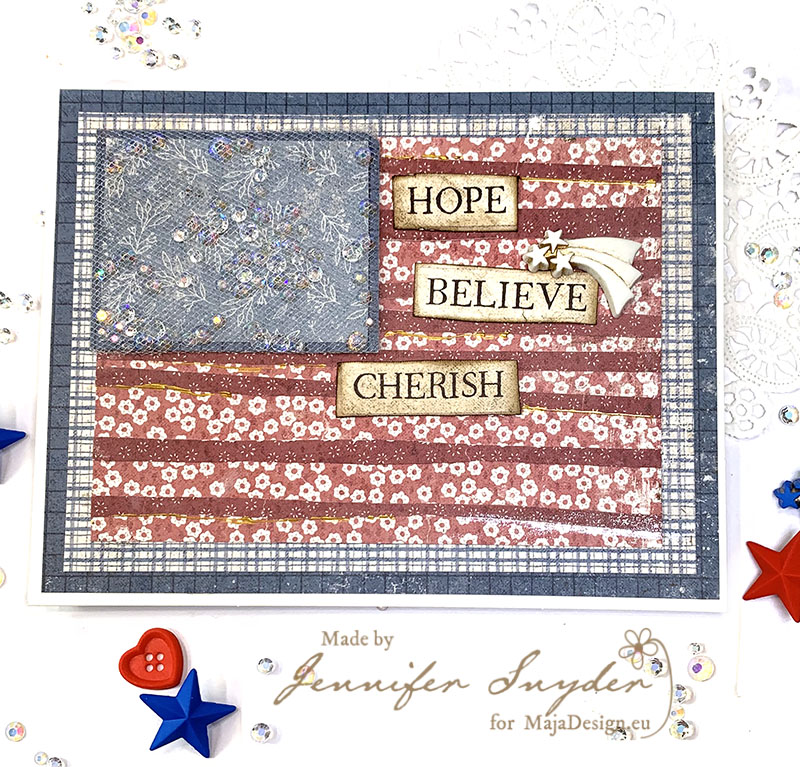
Today I have a shake card in an “Americana” style, which simply means a shabby chic patriotic style featuring the American Flag.  While Maja Design is a Swedish company, we LOVE Maja Design in the U.S. and all around the world!    My point is to show how a little imagination can transform the papers to meet your particular needs.

Hope, Believe, Cherish!

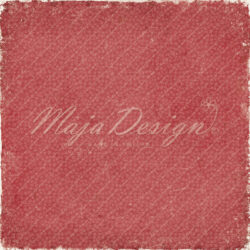
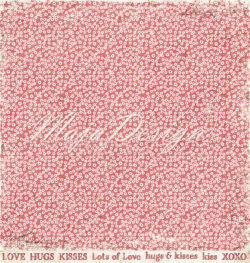
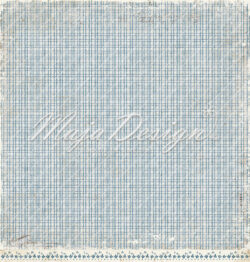
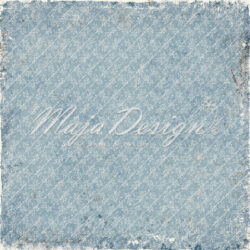
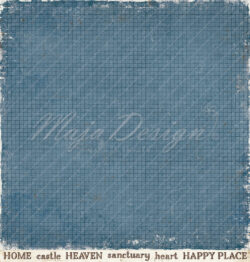
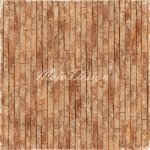
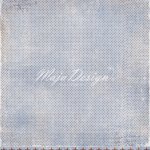
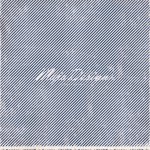
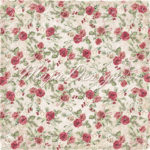
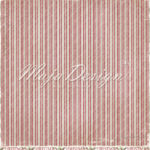
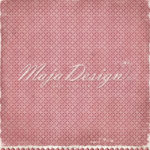
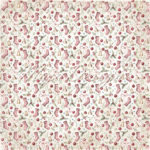
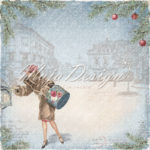
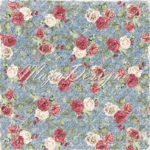
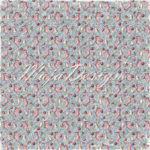
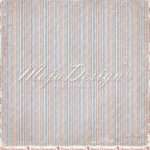
Here are the individual papers used from the collection: Hugs & Kisses (both A and B sides), Indoors 2, Home Sweet Home (both A and B side), Art Journaling.

Hugs & kissesHugs & kisses-bs

Indoors 2 cut out-bsHome sweet home.

Art journaling Home sweet home-bs


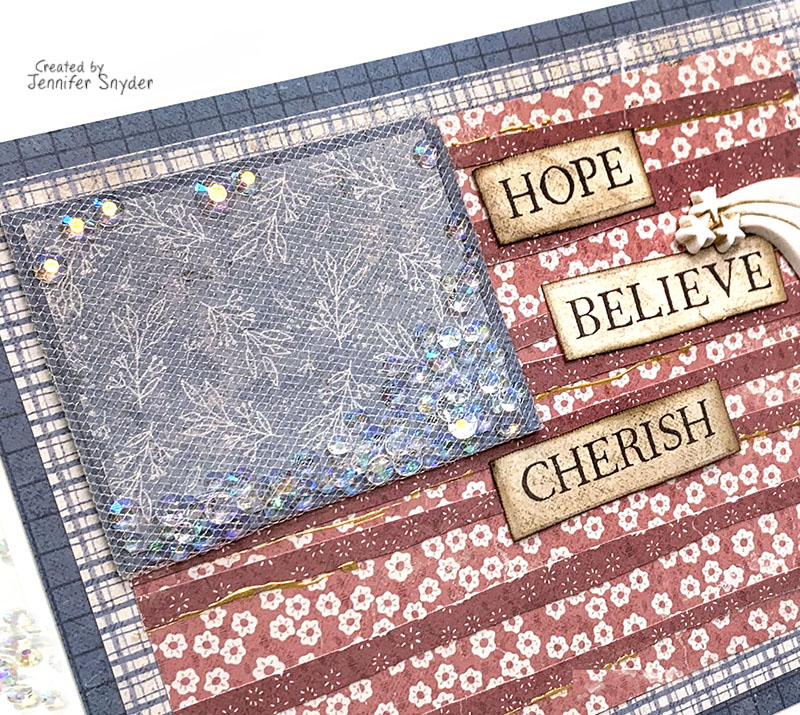
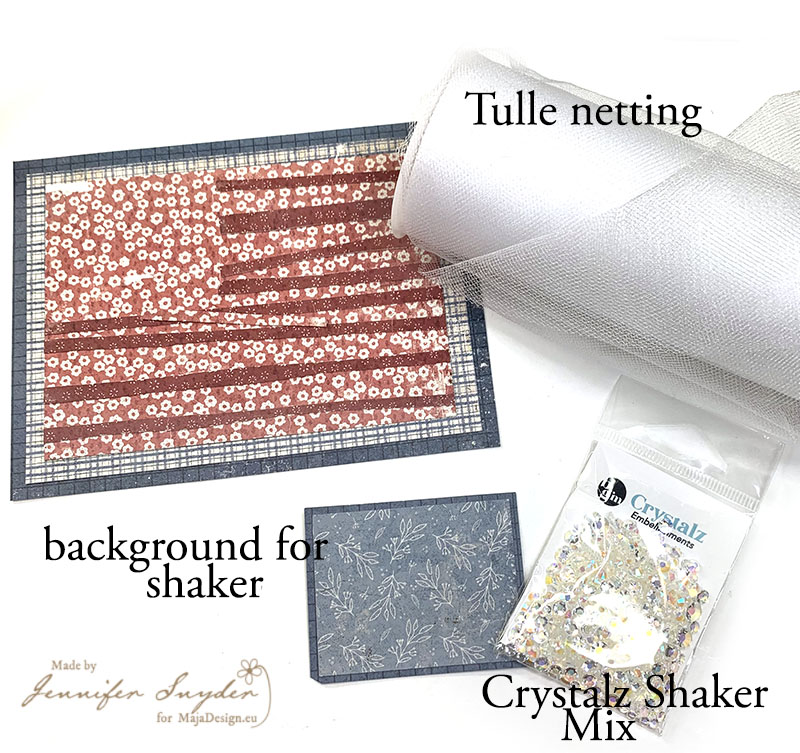
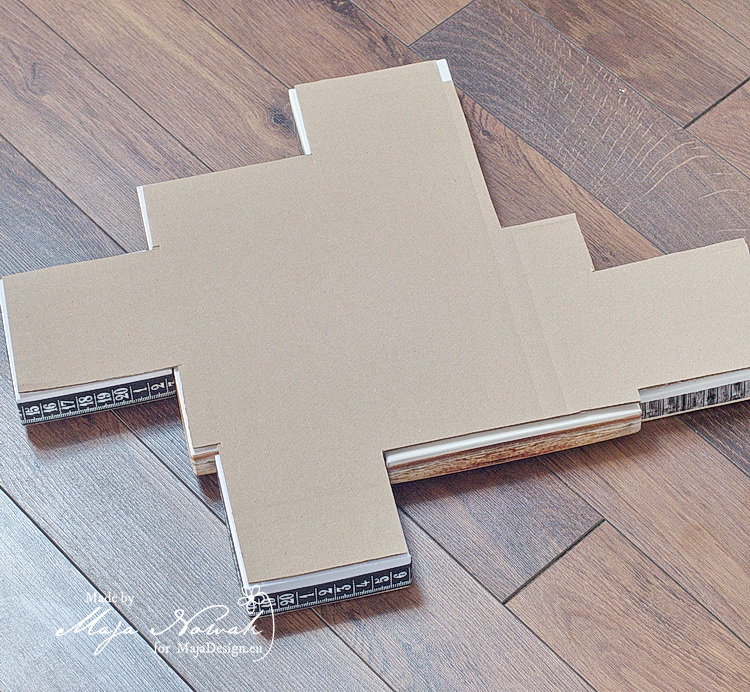
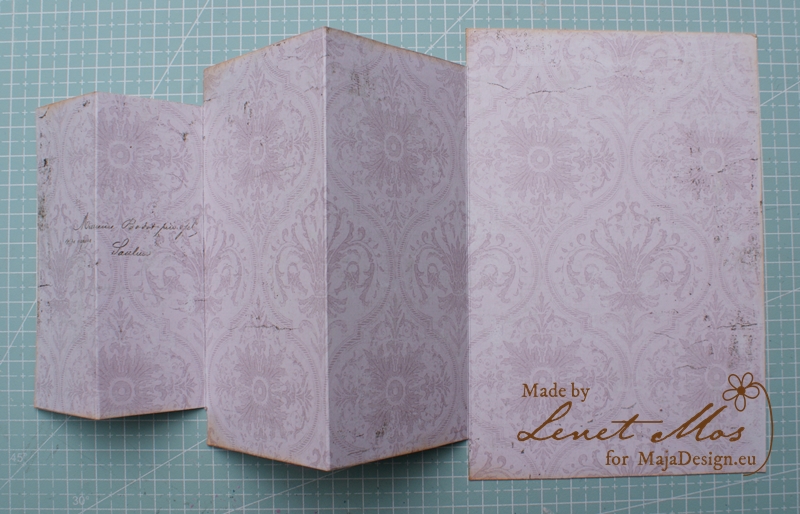
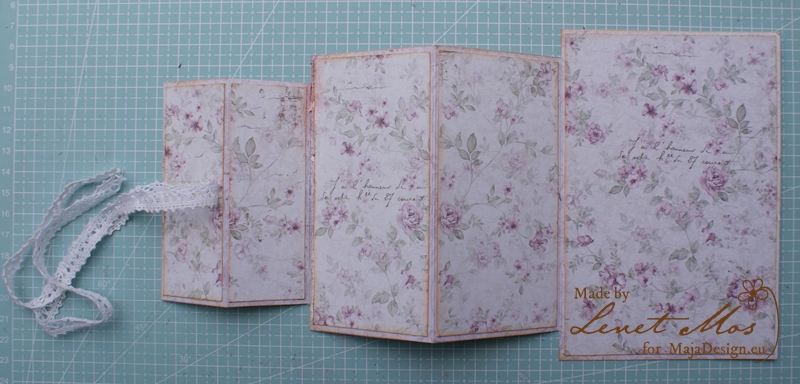
Below is a simple image of how easy this was to create.

I made the base card, then cut out the square to be used for the shaker.  The tulle netting will be the window for the shaker.  Yep, tulle netting is great to use for simple, quick shakers because it has “slack” or allows for space to let shaker mix move freely.

Instructions: 

1. Cut a piece of tulle netting big enough to wrap around the paper square.

2. Wrap the tulle around the paper square like a present,  then secure the netting on the back with double sided tape – leave one side open for filling.

3. Fill with fun shaker mix  ( I used Crystalz from Buttons Galore and More) and make sure all sides are glued/taped down so mix doesn’t spill out.


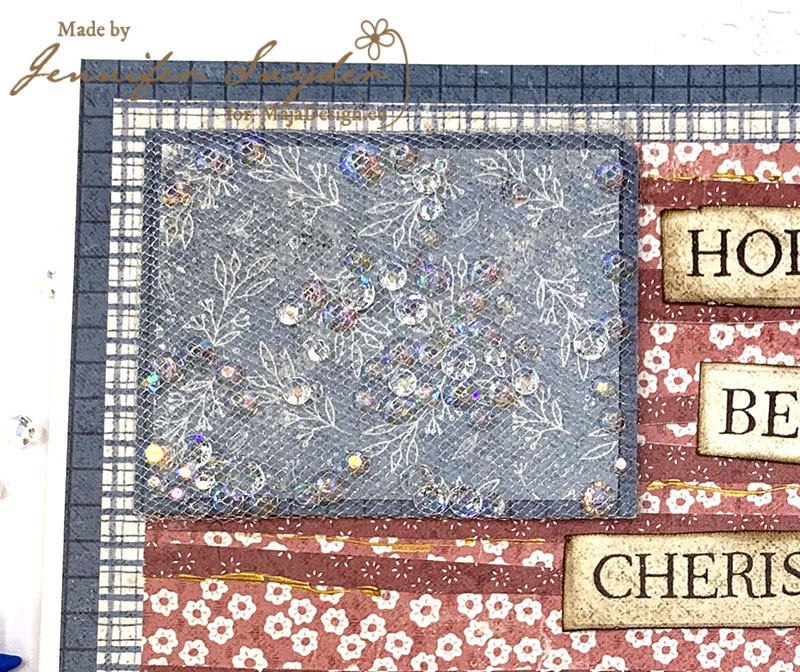
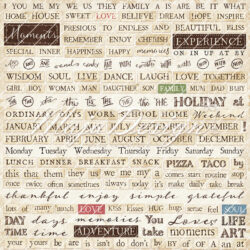
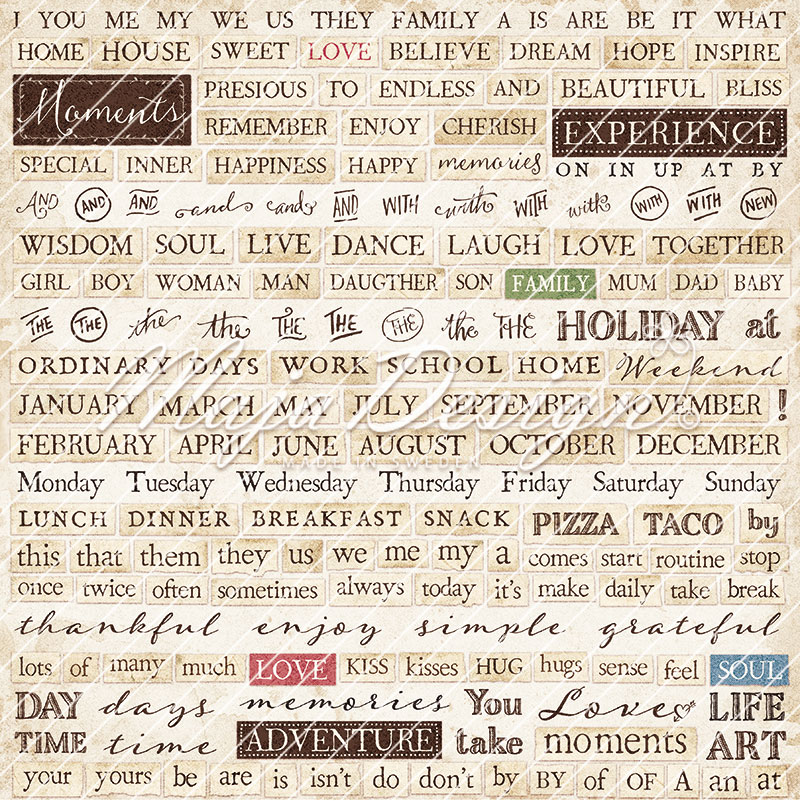
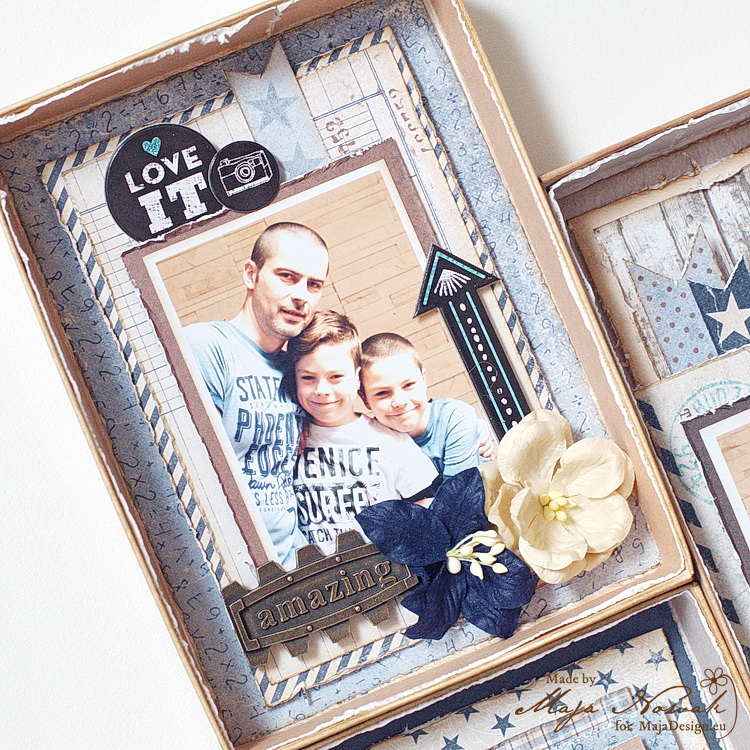
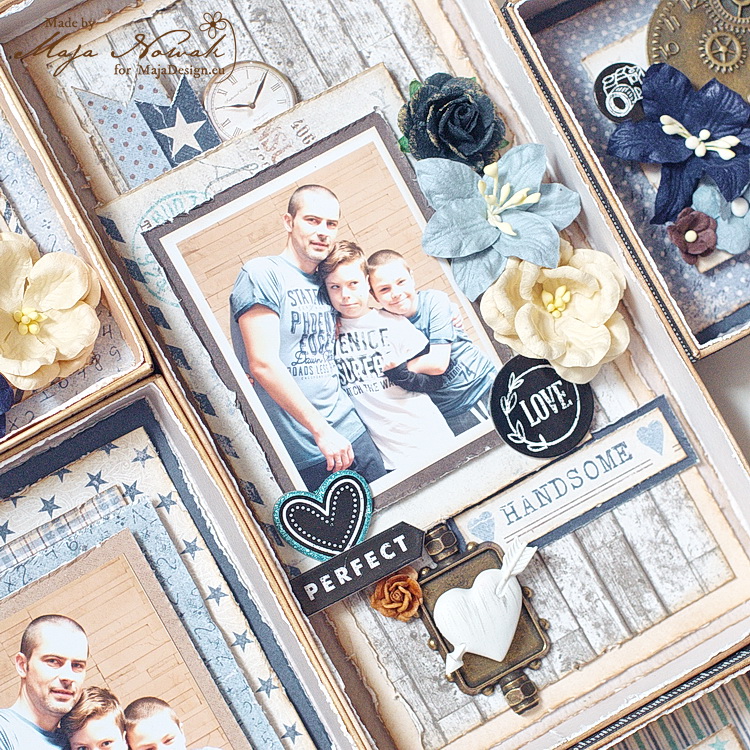
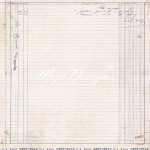
I finished off the card with a 3D shooting star button from Buttons Galore, and also with some of the journaling words  cut from the fabulous Journaling Sheet in the collection.  See the image below.  Isn’t that a cool sheet for so many uses.

Art journaling

Thanks for stopping here.  Happy crafting.

Daddy Rocks – A Boxframe Tutorial

1

Posted by Maja Nowak

24 June, 2019 - , , ,

Write a comment

Good morning, dear Maja friends, welcome to the blog today 🙂

Yesterday we celebrated Father’s Day in Poland. For this very special occasion I decided to make a special gift. But first let me share you a story behind it 😉

I make a lot of dimensional cards and therefore use a lot of card boxes too. And being a true scrapper and hoarder 😀 I tend to collect everything that could potentially be used, altered, reused and recycled, and that includes faulty box pieces. And so I gathered lids and bottoms that were assembled wrong, or stained, or wonky – and felt it was the right time to do something about them 😉

Yes, I decided to make a shadobbox-like frame using box elements 🙂 And I’m going to share a step-by-step tutorial with you.

The boxes were of various sizes and colours, so first I inked all the outside edges:

…and then wrapped the sides with washi tapes:

The next step was to decorate the inside of the frames – first I covered the inner sides with strips of papers and then added layers of papers inside. I used the Denim&Friends collection – my all-time favourite papers for masculine projects:

First I decorated the photo frames:

…and then additional decorative pieces:

Once I had all the pieces finished, I tried various element designs to make a frame. When I was happy with the layout, I attached them all together with strong double-sided adhesive tape:

Then I took the largest cardboard piece I had in the house 😉 and traced the shape of the frame. I cut out the shape slightly smaller so that the cardboard doesn’t peek outside the frame:

And my Father’s Day box frame was done 🙂

Let’s take a closer look:

I really like the way it turned out: the papers’ colour palette perfectly matches the photos, I used up pieces of boxes I couldn’t use for cards and I made an original gift that can decorate the wall above my husband’s desk 🙂

What do you think of it?

And here’s what I used:

Maja Design papers:

Other: flowers: Prima, Wild Orchid Crafts; metal embellishments: Scrap Hobby; stickers: MAMBI.

And that’s all for today. I hope you liked my tutorial! See you soon!

Trifold card with tutorial.

3

Posted by Lenet Mos

25 February, 2019 - ,

Write a comment

Hello Lenet here again ,

Today I bring you this card, with a little tutorial.

For this card you need a piece of paper of  6 by 12 inches.

Score it at 1,5″ – 3″ – 5,5″ and 8 inch. and fold it like the picture below

Than measure  1 inch from top and bottom of the first fold and 0,5 inch from the second like you see in the picture below.


than cut away those parts and you get  what you see on this picture.

Now we can start decorating the card.

I took 20 inch lace and glued it in the middle to the front of the first flap.  With this I’m going to close the card.


For the front I took a square piece of paper of 2.5/8 inch , and gave it a little pocket by folding a doily around one corner.

And made a little ticket to put in it.


For this card I used the vintage romance collection and took two diecuts  from the diecutsheet.

The one  with the doves is glued to one half of the second flap /fold , just like the top square other wise you can’t close the card.

of course you can decorate it to your own liking but keep in mind not to use bulky embellishments .

I hope  you like my card and my tutorial , happy crafting and till next time.

Christmas Season Cards and a Video Tutorial with Elena

2

Posted by Elena Olinevich

16 November, 2018 - ,

Write a comment

Hello Maja Friends. Have you seen the new Christmas collection – Christmas Season? I think it is a good occasion to start Christmas preparations isn’t it?

I have already made a bunch of cards with it.

Well, no doubt I started making my cards with focusing on the beautiful ladies from this collection – really unusual for the Christmas theme and so feminine .

The florals – roses are also something nontraditional but look how it makes the cards to look wintery and festive at the same time

Except for the fussy cutting the roses and the Lady – this time I focused on creating the different background for my cards using almost the same papers I used fr the cards set as well as mixing the leftovers and negatives of the die cuts.

It was quite easy to do and you can check my video tutorial on how I made it here

http://https://youtu.be/vJuiEAmILCs

I used the papers from 12×12 and 6×6 paper pad, as well as added the Monochromes – Shades of Christmas, that match the patterned papers perfectly.

The images I used mostly from the smaller size of the paper, and for the fussy cutting I used the 12×12 paper sheets.

Recently I’ve started to use only paper embellishments for my cards  and it’s quite easy to make with Maja papers – all you need are the scissors and /or die cutting machine

I also made “non-floral Christmas cards” too

I always liked to used blue and white for my Christmas cards and I admit that traditional colors such as green, red are not boring for sure, but I like the cards to be of all colors . So what I love about Maja papers and their collections, especially for Christmas, is that everyone can find something of their own taste.

I’ve only added there a few cut out roses – but it still looks like for Christmas Season


Products used:

Christmas Season – 6×6 paper pad, Spellbinders dies, Fantasy Dies

Mini tutorial by Padoriaa

1

Posted by Paulina Monasterska-Tronina

27 May, 2018 - , ,

Write a comment


Hello our blog friends. Today I would like to show you my mini tutorial for a childish card. I bought one of the most popular metal dies from Sizzix (than’s Marta for you help ! ) and finally after a few weeks I managed to use it !

  1. I was looking for a pastel and sweet paper collection – Summer Crush was just perfect.
  2. I used some of my metal dies and cut the elements to use with my composition.
  3. Added some laces, flowers and created the base.
  4. Painted edges of the elements with Distress Vintage Photo ink.
  5. Put all elements together.
  6. Added flowers, chipboards, splashed my card with the white ink.

Hope you will like my inspiration. Hugs, Paulina