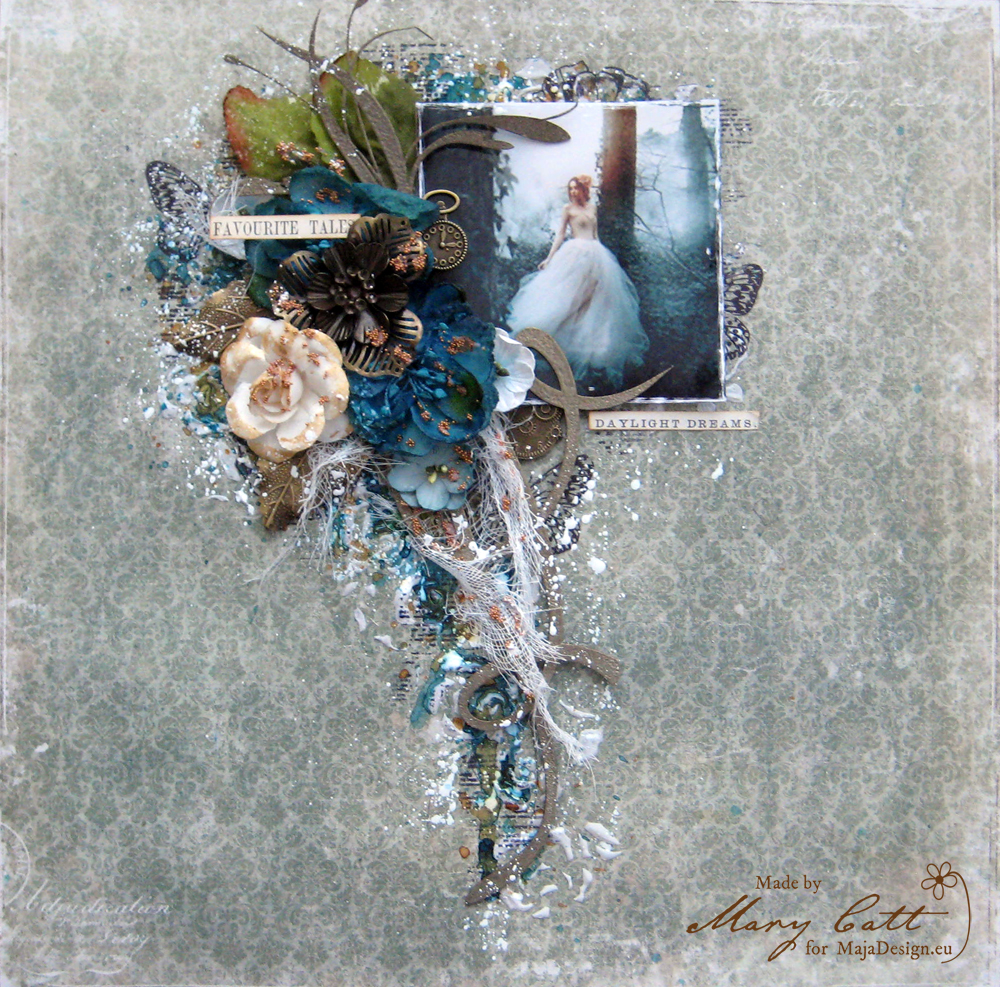
Favorite Tales

0

Posted by Mary Tzalla

29 October, 2017 - ,

Write a comment

Layout

Hello my dear friends!!!

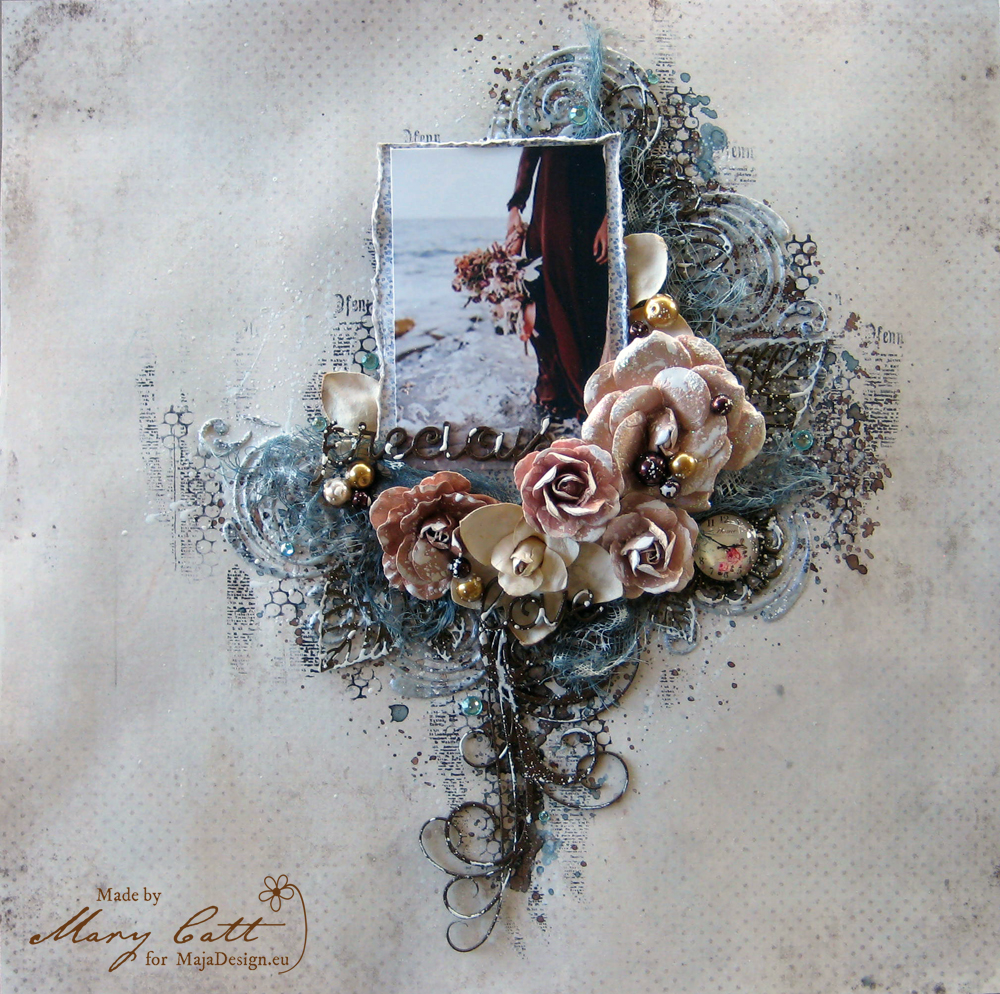
It’s Mary here with you today and I have a new layout to share with you.

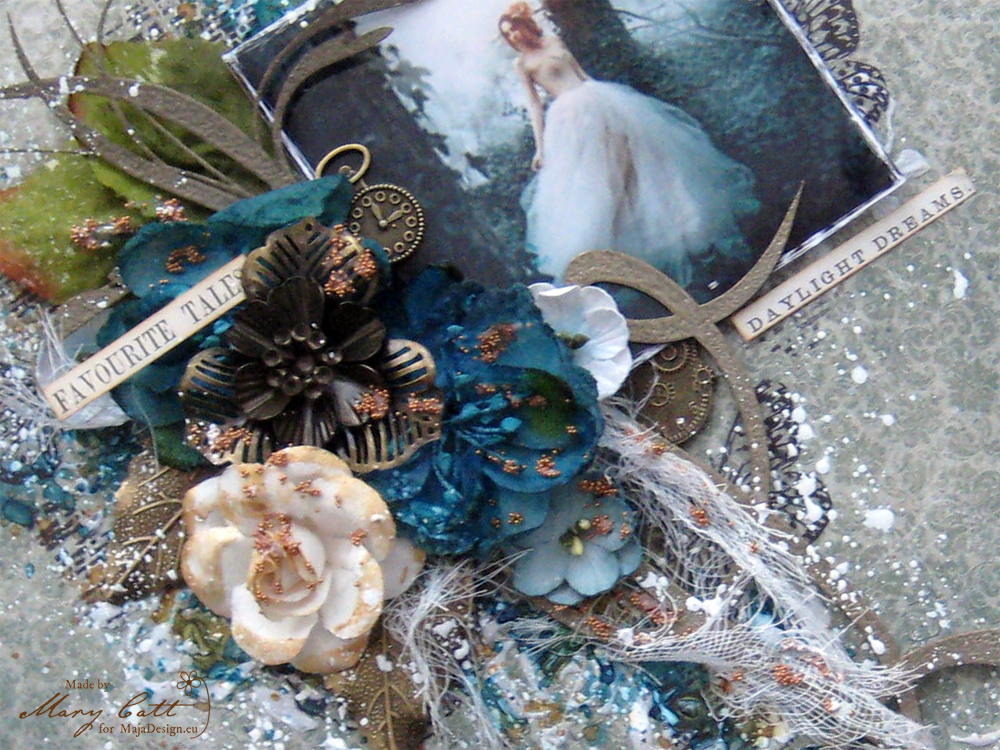
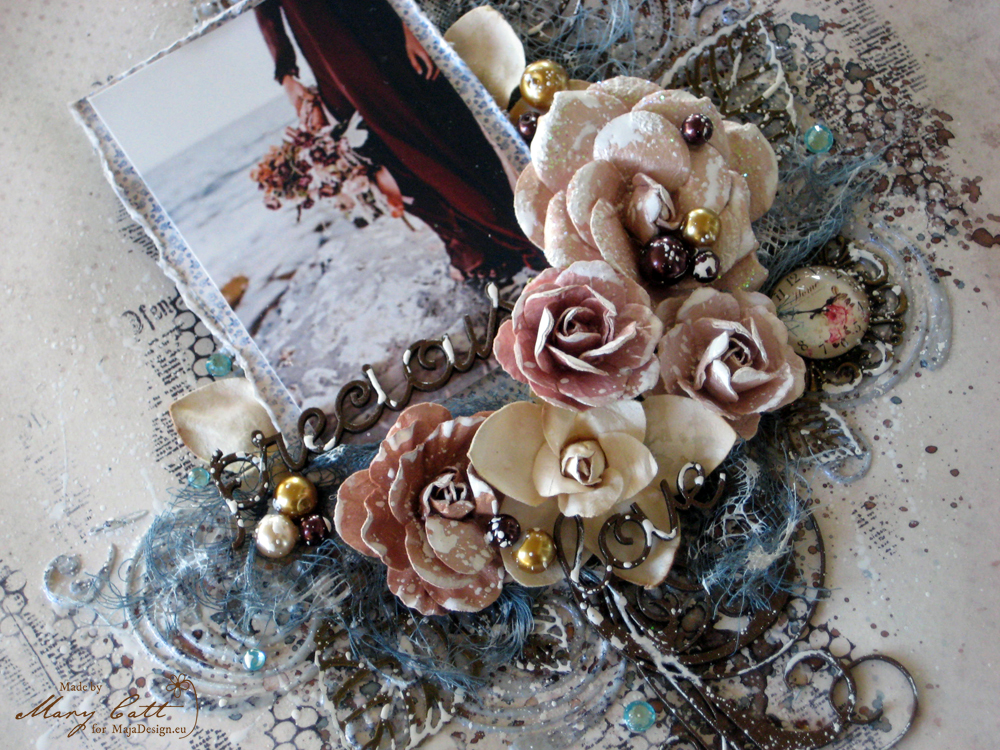
As you may already know, I love finding my photos on Pinterest and this time, while I was searching I found that beautiful photo. So, I choose paper from the ”I Wish” collection and combined it with some beautiful flowers and a few metal embellishments. But, before I continue more I want to give all the proper credits to the ”unknown” photographer.

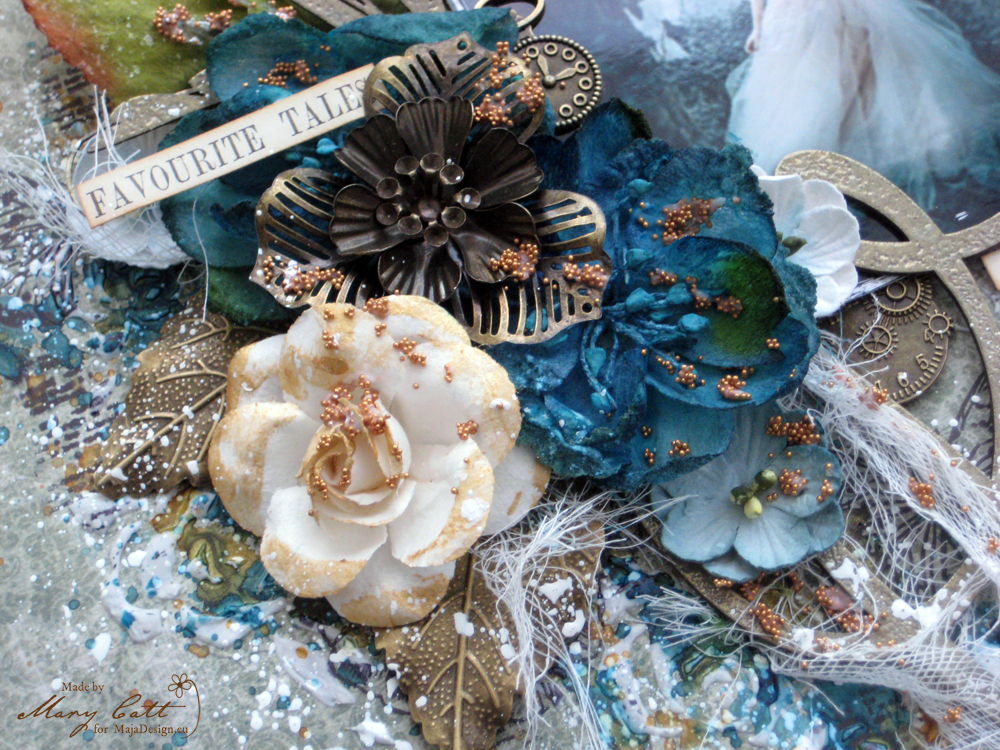
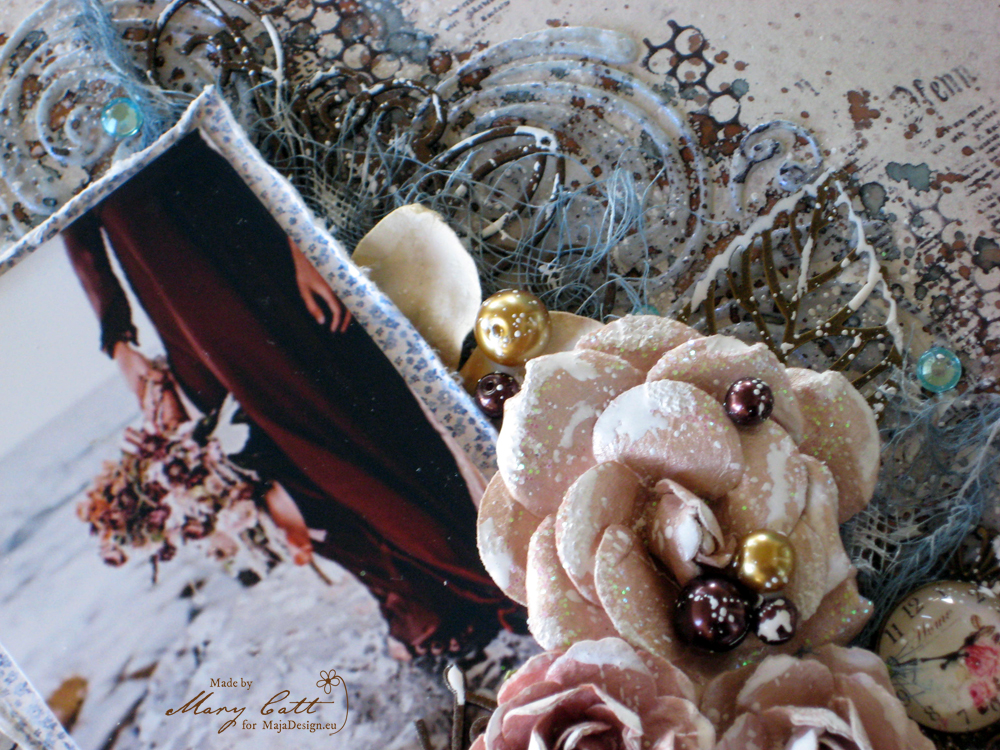
Closer 1

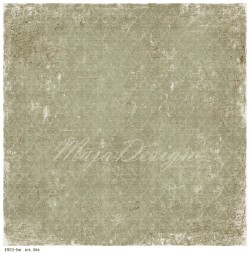
For my background, I used the ”I Wish For Peace and Joy” paper. First, I gave my background a coat of clear gesso. When it was dried I added some texture with modeling paste and a stencil. I continued by coloring my page with Lindy’s sprays ”Danny Zuko’s Denim”, ”Green with Envy Green” and ”Grab a Guy Gold”.

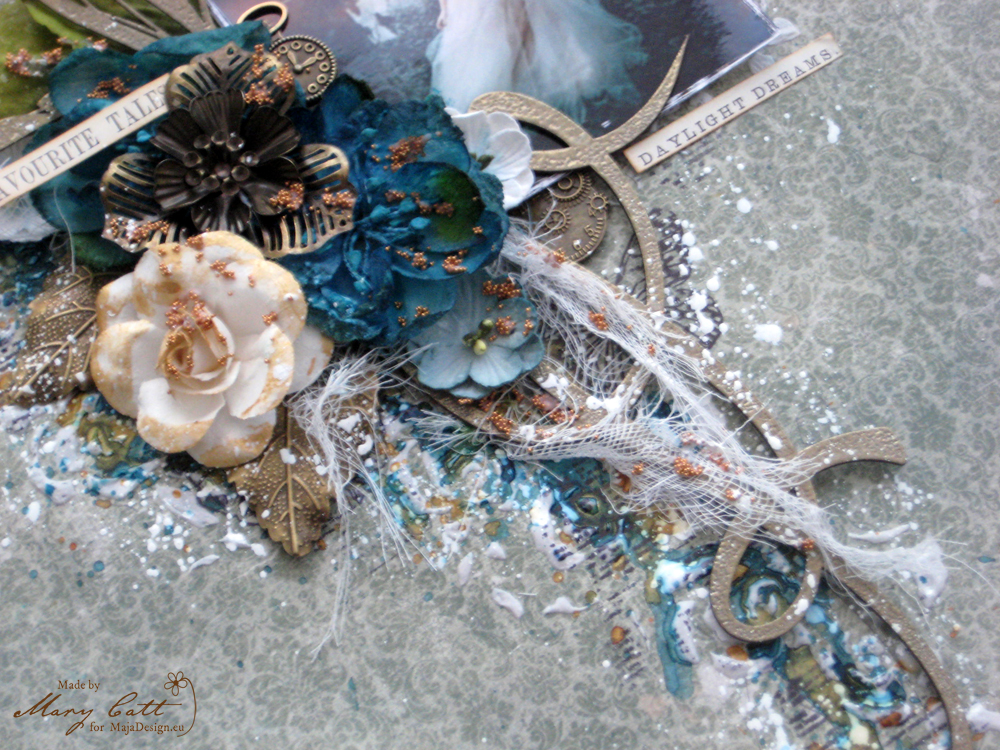
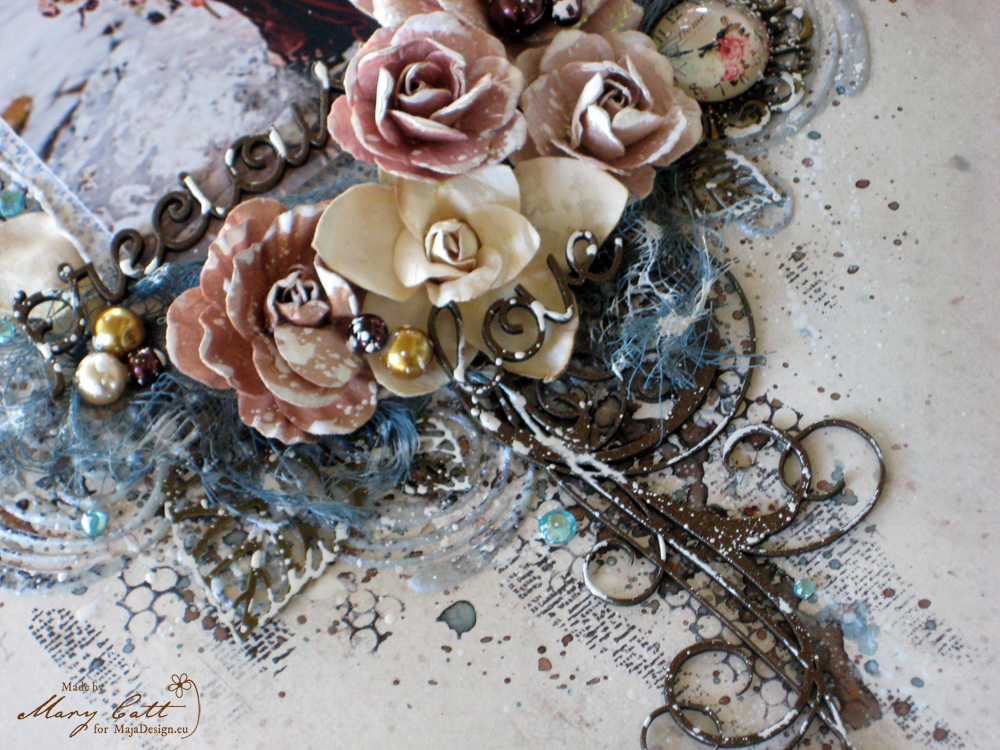
Closer 2

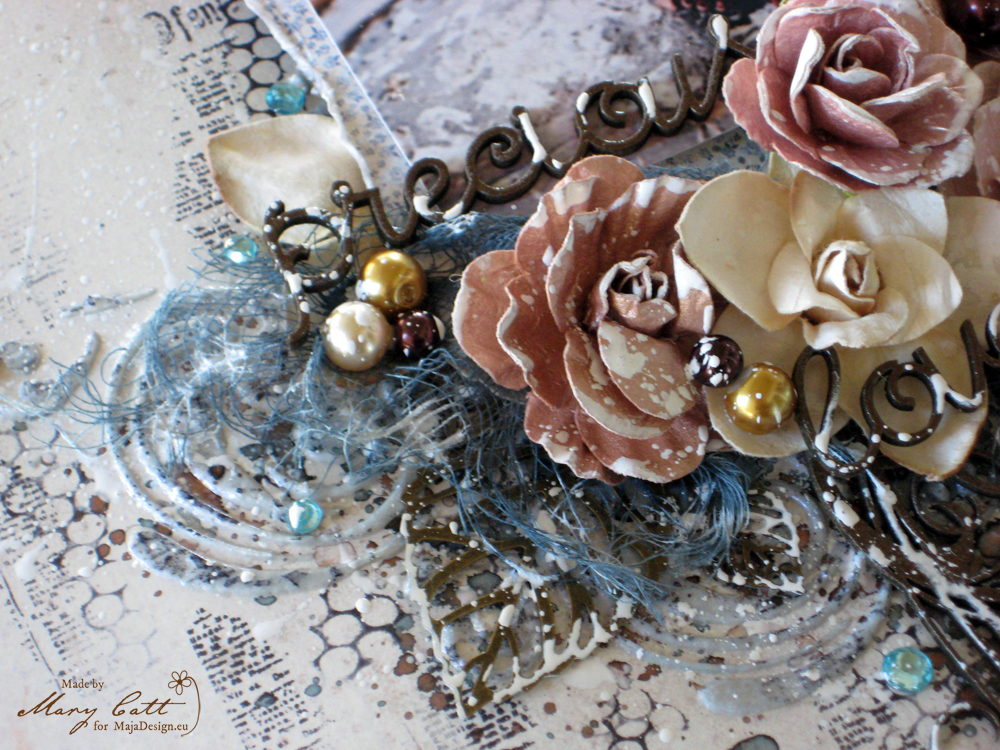
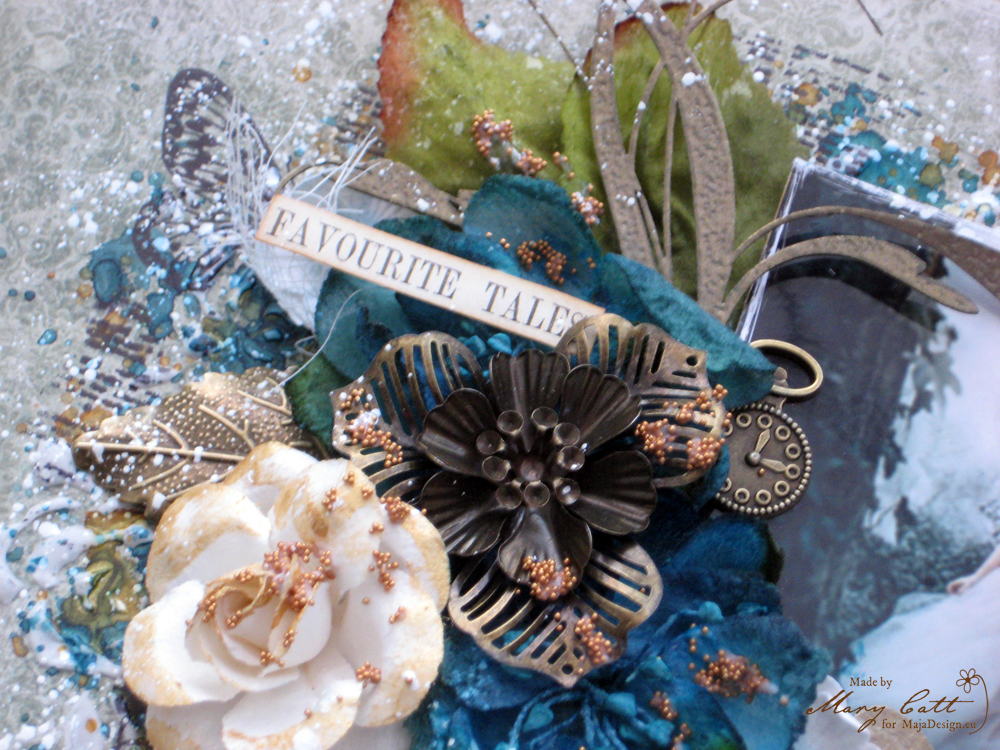
I heat embossed all the chipboards with the ”Orbit Olive Gold” Lindy’s embossing powder. As usual all the chipboards I used are 2crafty.

Closer 4

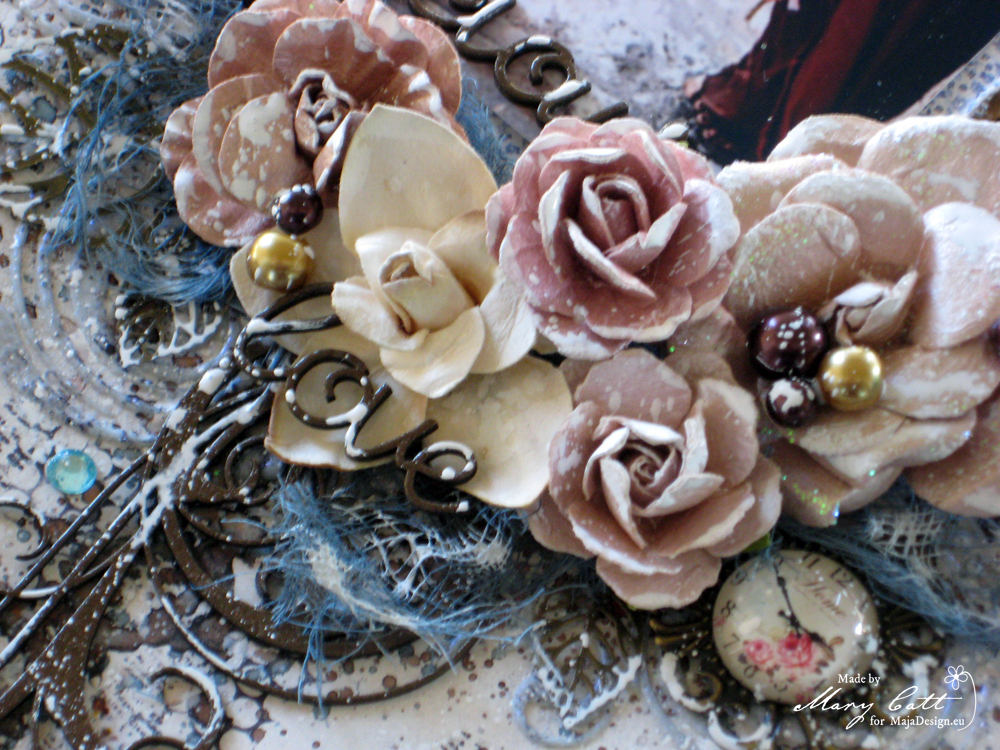
When everything was glued down, I added some copper micro beads and made some splatters with white acrylic artists ink.

Closer 3

Paper used:

866-I-wish-for-peace-and-joy

I-wish-P

That’s all for today, my friends!

Thank you for stopping by!

Beautiful Memory– Layout by Keren Tamir

0

Posted by Keren Tamir

22 October, 2017 - ,

Write a comment

Hi Everyone,

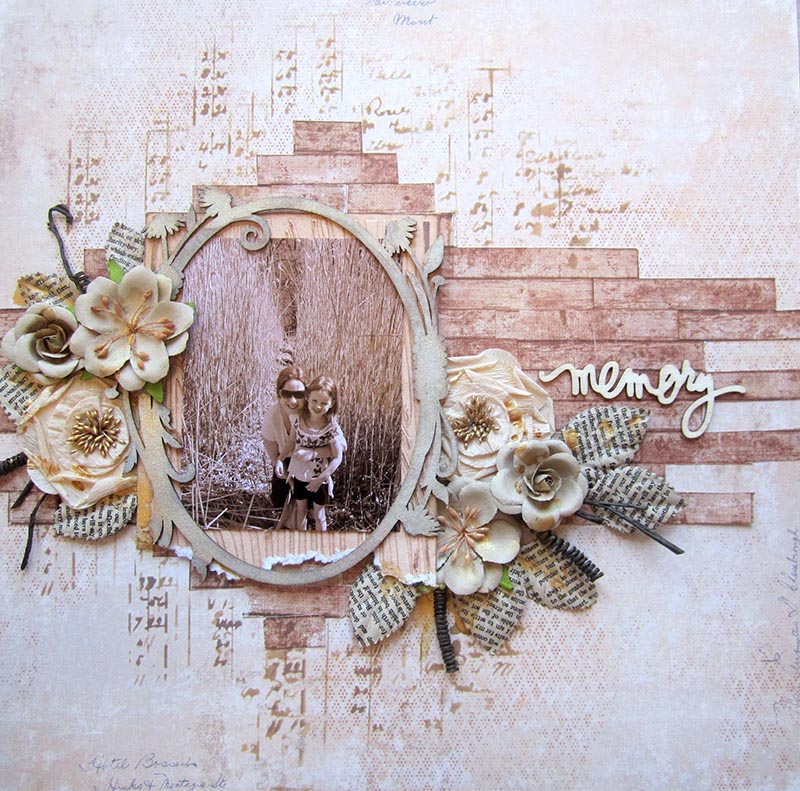
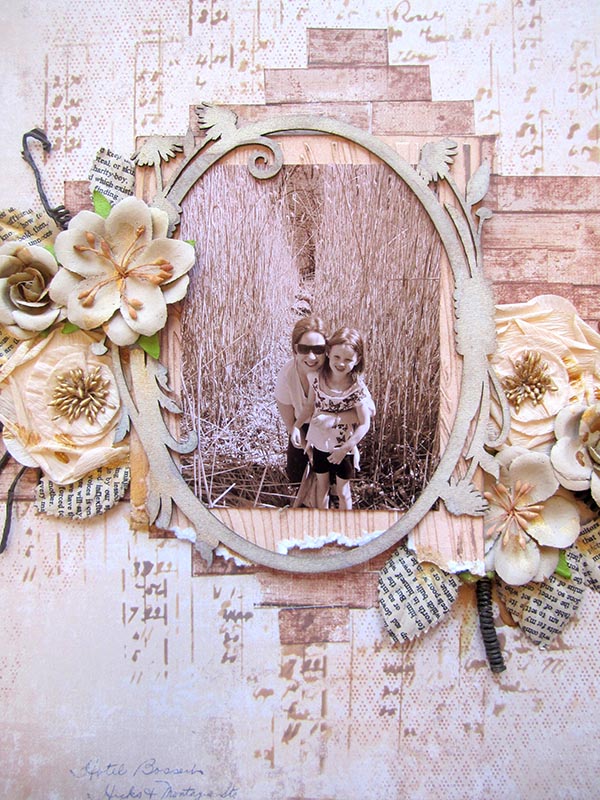
Its Keren here and I created a new layout for Maja Design using the new Denim & Friends collection. I used the “Wood and Summer Shirt” papers  for the layout as they’re very light and match the colors of the picture.

IMG_4218 copy

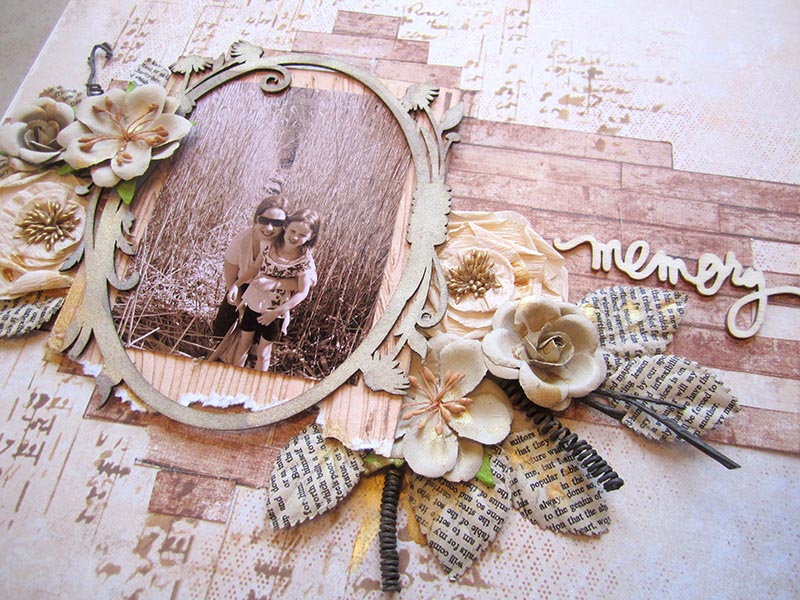
I cut the “Wood” paper to make it look as cut planks. I wanted to use it to create a wooden texture in the background.

IMG_4217 copy

I used chipboard and flowers to embellish the layout.

IMG_4221 copy


Here are the papers I used from the Denim & Friends collection:

904-Summer-shirt-bs Wood

Thank you so much for visiting the Maja Design blog

Have a wonderful day!!

Keren-sign

mm

Keren Tamir

I'm Keren Tamir a self taught scrapbooker, mixed media artist and designer. Since I was a child, I always loved art. I used to doodle on my notebooks and on anything I could get my hands on. ​ Fourteen years ago I discovered scrapbooking and fell in love with it. One of the main reasons I started scrapbooking was to preserve memories and photos for my children. Scrapbooking opened a creative door to something that I had longtime forgotten I'd loved. It gave me peace of heart and mind. visit my blog for more inspiration: https://kerentamir.blogspot.ca

Precious Love

0

Posted by Mary Tzalla

15 October, 2017 - ,

Write a comment

Layout

Hello my dear friends!!!

It’s Mary here with you today and I have a new layout to share with you.

When I found on Pinterest that gorgeous photo I new that I had to scrap it. So, I choose papers from the ”Denim & Friends” collection and combined them with some beautiful flowers and a few metal embellishments. But, before I continue more I want to give all the proper credits to the ”unknown” photographer.

Closer 1

For my background, I used the ”Fashion” paper and made a layer behide my photo with the ”Sunbleached” paper.

Closer 2

First, I gave my background a coat of clear gesso. When it was dried I added some texture with modeling paste and a stencil. Then, I heat embossed the pattern with the ”Cosmic Blue Violet” Lindy’s Stamp Gang embossing powder.  I continued by coloring my page with Lindy’s sprays ”Dark Chocolate Truffle” and ”Whale Watch Blue”.

Closer 3

I heat embossed all the chipboards with the ”Bratwurst Brown” Lindy’s embossing powder. As usual all the chipboards I used are 2crafty.

Closer 4

When everything was glued down, I added some ”Memory Hardware Pearls” and made some splatters with white acrylic artists ink.

Cloder 5

Papers used:

Denim-P

That’s all for today, my friends!

Thank you for stopping by!
Mary-sign1

The Bermuda Triangle

2

Posted by Pascale B

12 October, 2017 - ,

Write a comment

Hello Sweeties

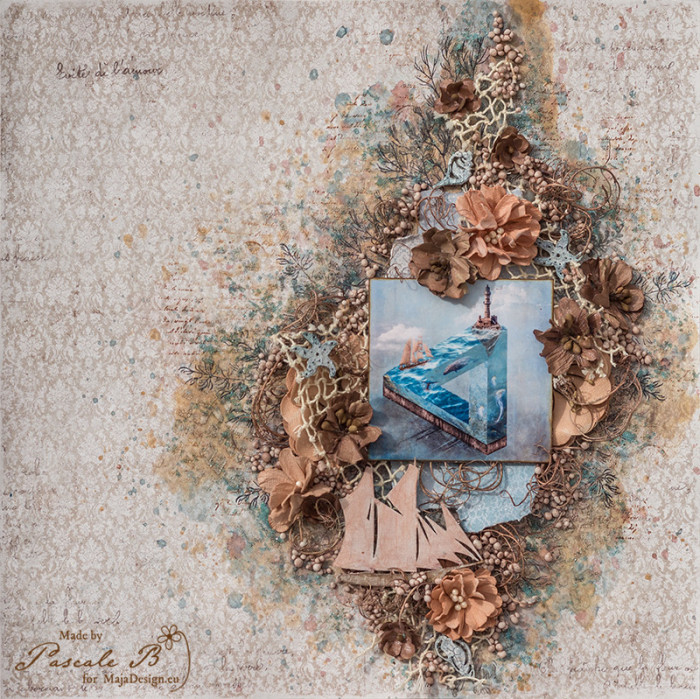
Today I’m up on Maja Design blog with a new layout featuring the Home for Holidays collection. I chose one of my photomontages.

The Bermuda Triangle by Pascale B.

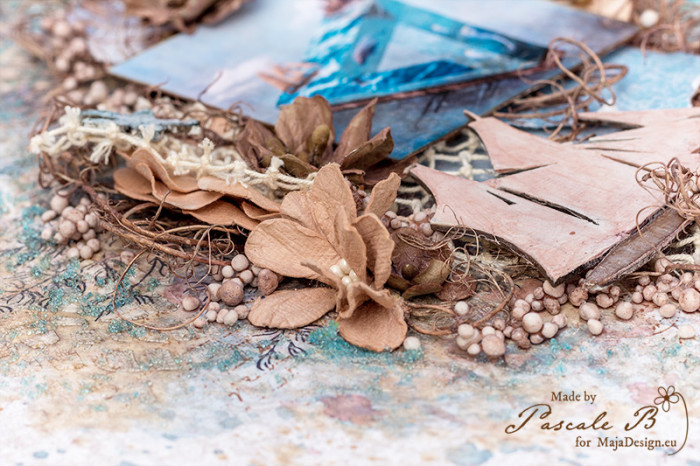
I started to stamp some leaves and some text with different Archival inks. When happy with the result, I primed the background with clear gesso. Next, I added a design with a stencil and clear crackle paste. I let dry.

The Bermuda Triangle by Pascale B.

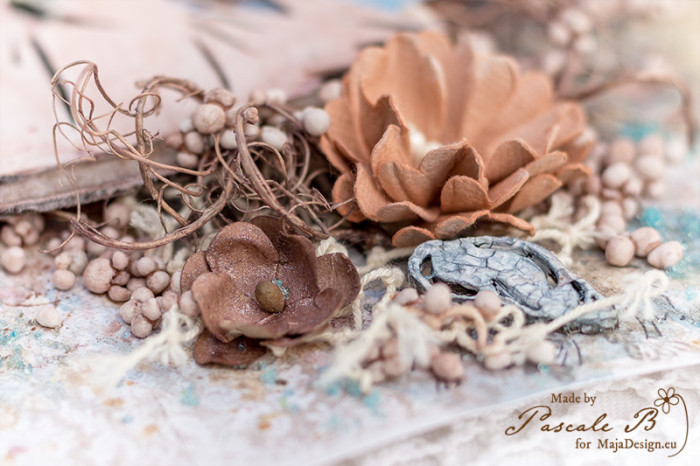
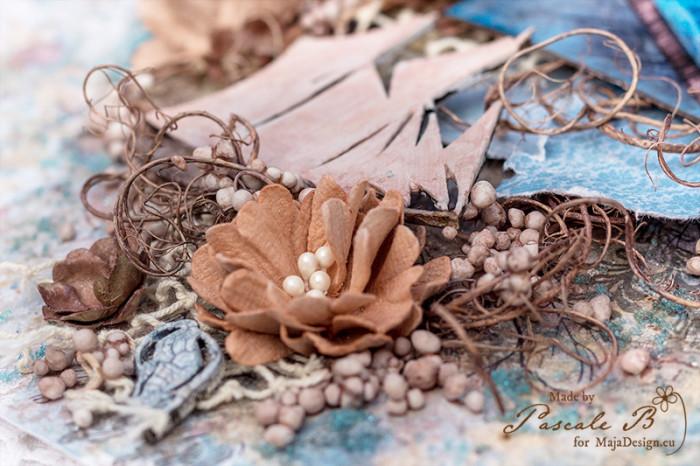
In the meantime, I covered the shells with white crackle paste. I primed the boat with white gesso, then with clear gesso, and finally, I was able to add some colors.

The Bermuda Triangle by Pascale B.

With the same inks, I colored some Art Stones as well as natural moss.

The Bermuda Triangle by Pascale B.

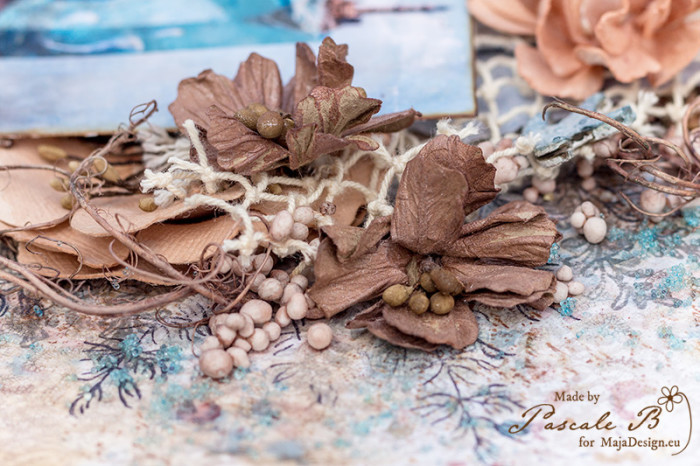
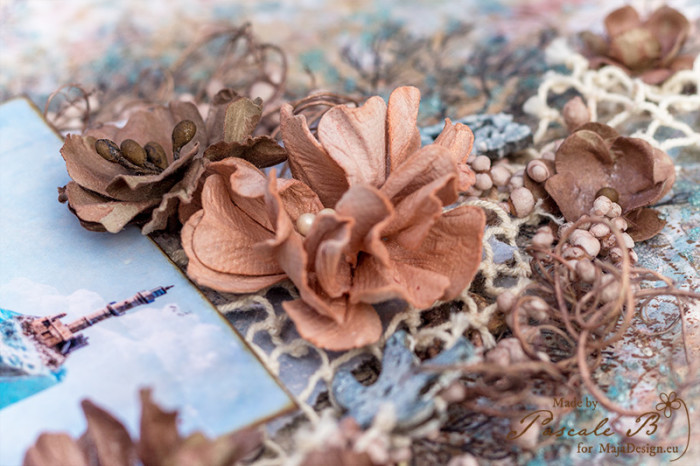
I added some shine to the flowers with inks. And when the shells were dry, I primed them with clear gesso before coloring them too.

The Bermuda Triangle by Pascale B.

As the background was dry, so I added some colors with the same inks I have used to color the different embellishments.

The Bermuda Triangle by Pascale B.

I cut some papers to add under the photo and I glued all the embellishments with a 3D gel. To finish the layout I added some microbeads.

Maja Design papers:

Home-for-the-holidays-P
Home for the Holidays
Together
Together
Happy new year
Happy New Year
White Christmas
White Christmas
31516639-origpic-04d161
6×6 paper pad

Pascale-sign

Timeless Memories

0

Posted by Mary Tzalla

1 October, 2017 - ,

Write a comment

Layout

Hello my dear friends!!!

It’s Mary here with you today and I have a new layout to share with you.

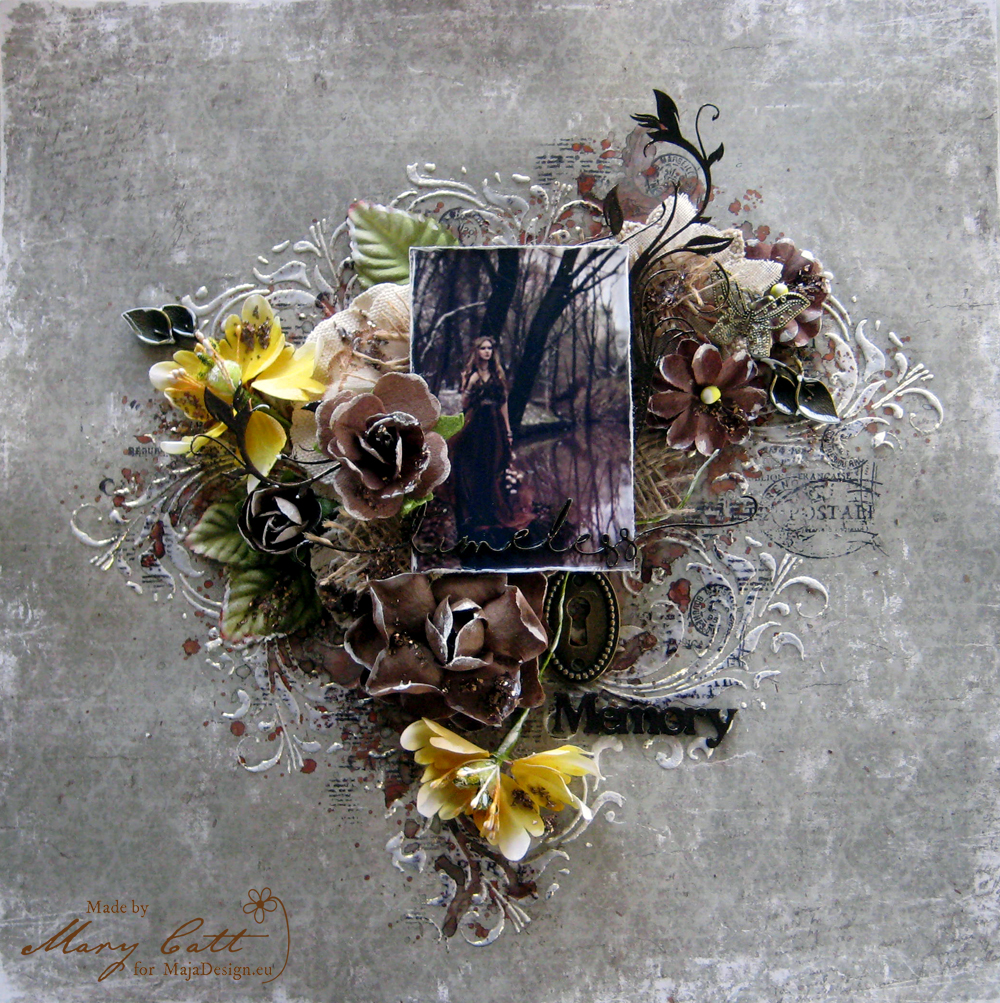
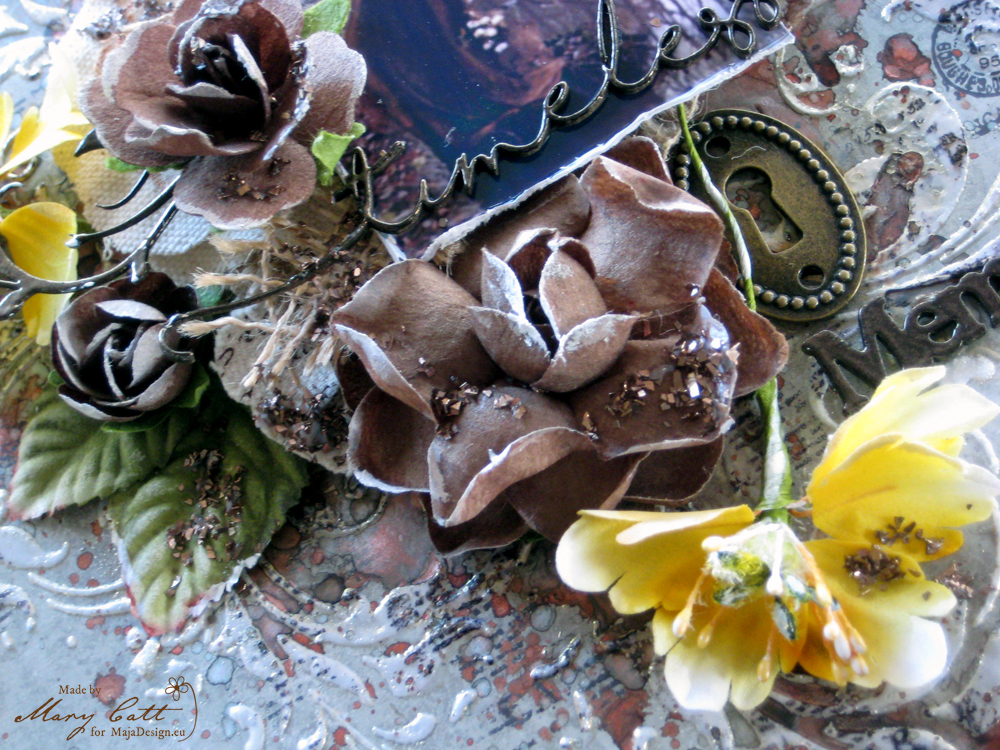
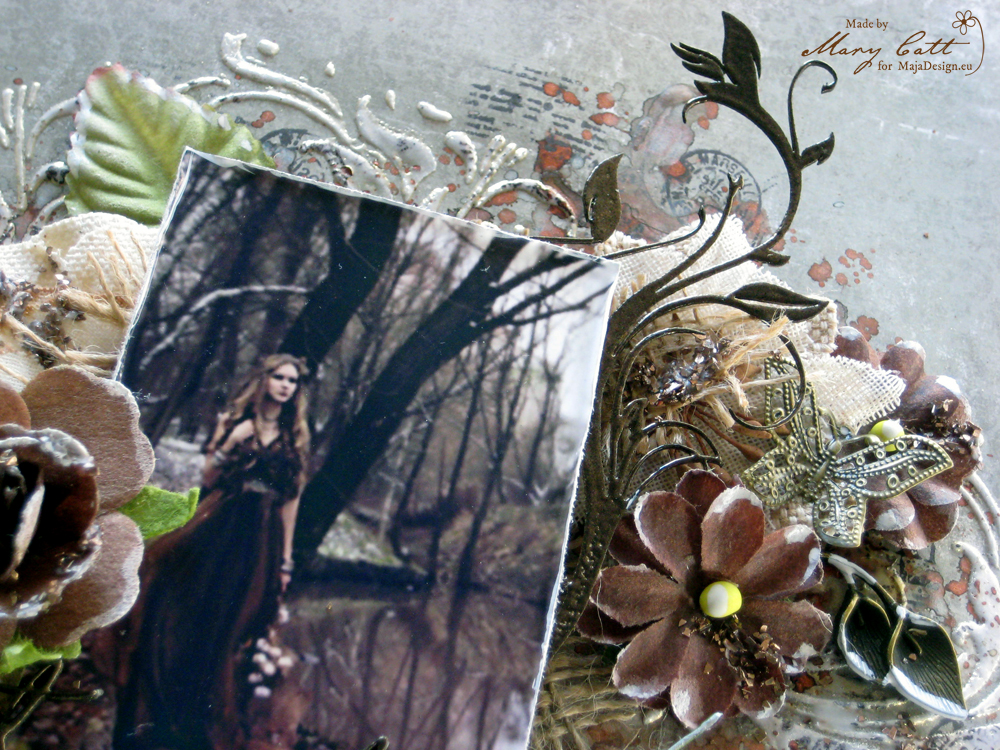
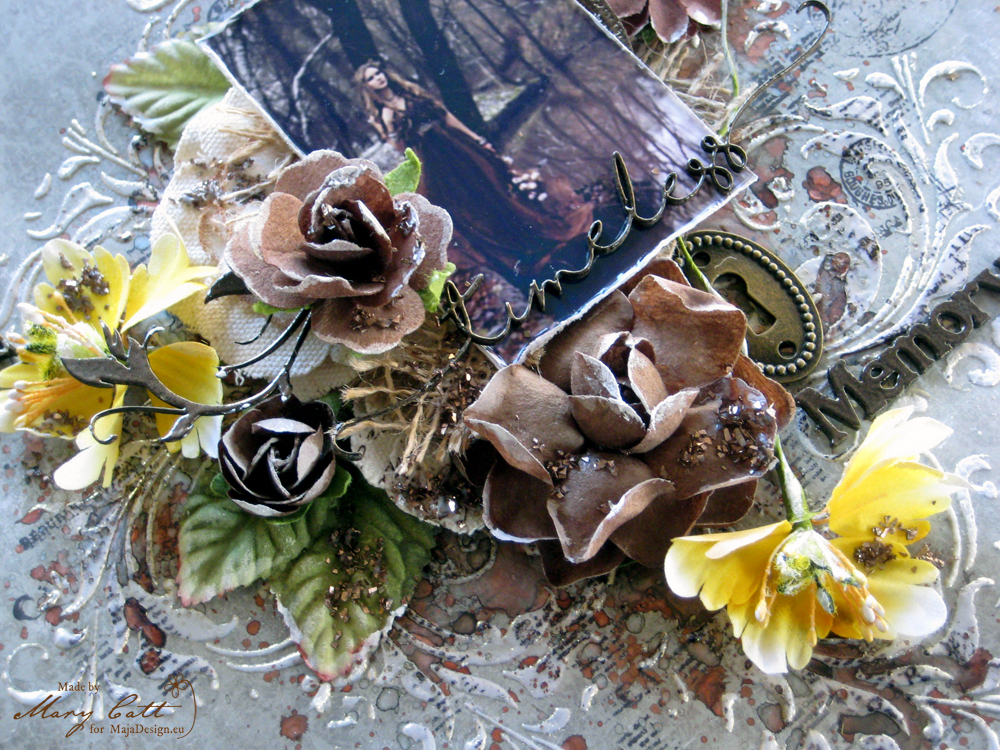
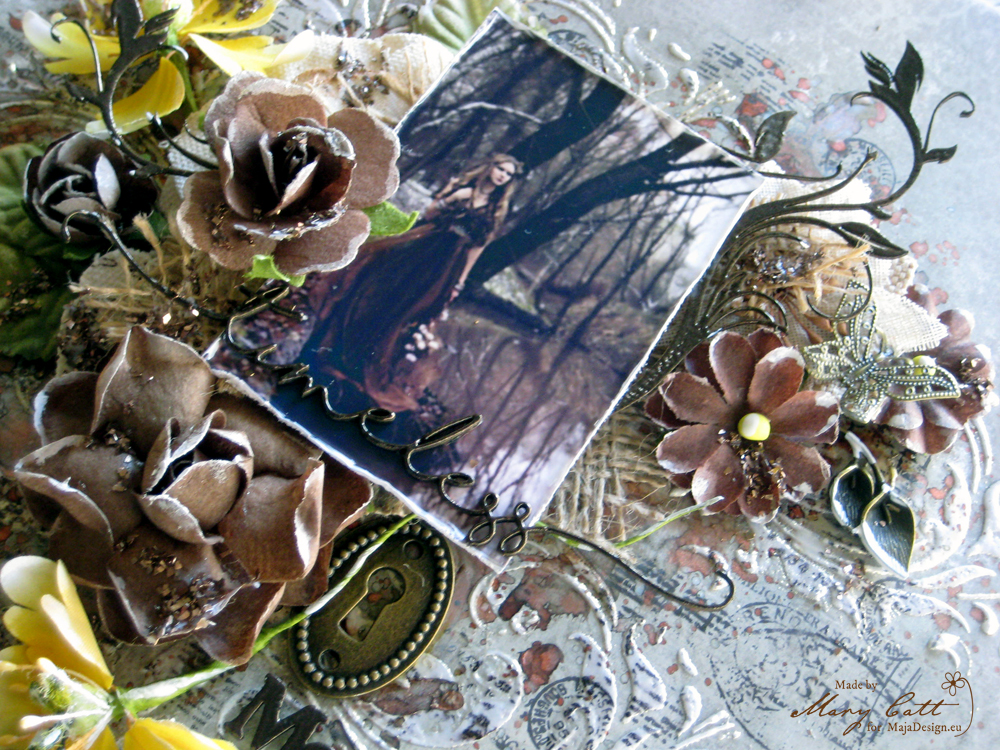
When I found on Pinterest this beautiful photo imediately came to my mind the ”Vintage Summer Basics” collection with the beautiful romanting papers.  So, I choose the ”1921” paper and combined it with some beautiful flowers and a few metal embellishments. But, before I continue more I want to give all the proper credits to the ”unknown” photographer.

Closer 1

I gave my background a coat of clear gesso. When it was dried I added some texture with modeling paste and a stencil and I heat embossed the pattern with the ”Angel Wings Gold” Lindy’s Stamp Gang embossing powder. I continued by coloring my page with Lindy’s sprays ”Cattail Copper Brown” and ”Sea Grass Green”.

Closer 2

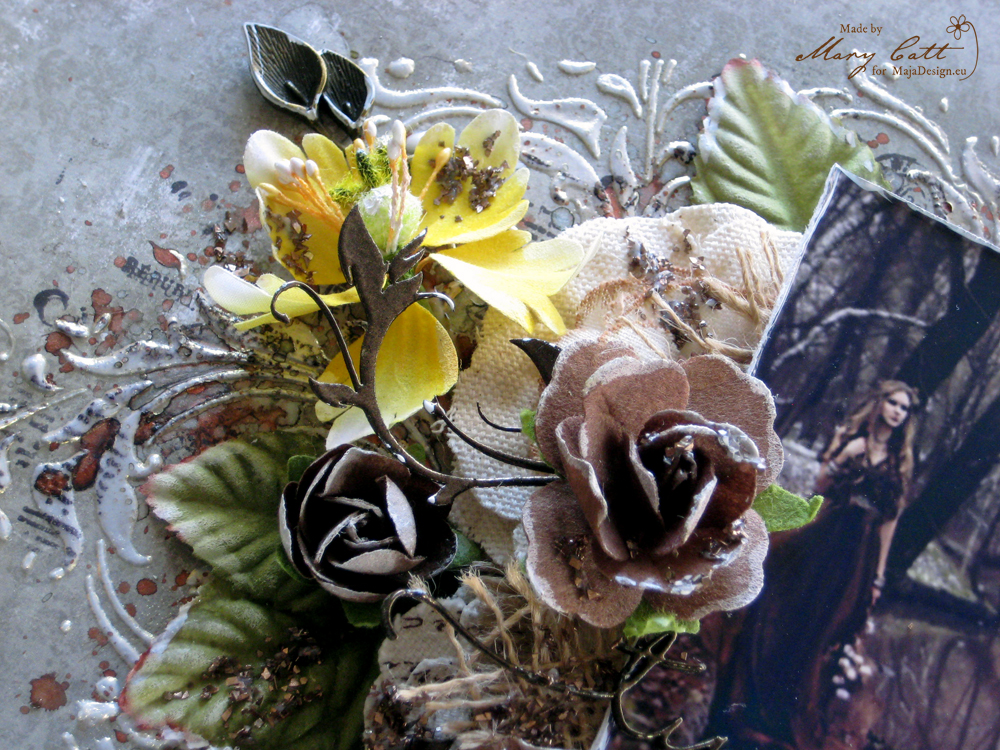
I heat embossed all the chipboards with the ”Midnight Bronze” Lindy’s embossing powder. As usual all the chipboards I used are 2crafty.

Closer 3

When everything was glued down, I added some Copper glass glitter.

Closer 4

Closer 5

Paper used:

504w1921-bs

Vintage-Summer-Basics-P

That’s all for today, my friends!

Thank you for stopping by!
Mary-sign1

Κράτα το

mm

Mary Tzalla

Hello! My name is Mary and I live in Greece. I met scrapbooking five years ago. I love creating layouts but I also design tags, cards, mini albums, canvases and altered items as well. My style is mixed media, with a little vintage and some shabby chic touches. If you want you can see more of my work here: https://artdesignsbymary.blogspot.com/