Welcome Baby Shaker Card

3

Posted by Maja Nowak

10 October, 2019 - , , ,

Write a comment

Good morning, dear Maja Fans, welcome to the blog today 🙂

I really love the look of shaker box projects. They offer some dimension and fun elements and are simply interesting to look (and play!). But I seldom make shaker box cards. And when I decided to make a welcome baby shaker card, I was quickly reminded why.
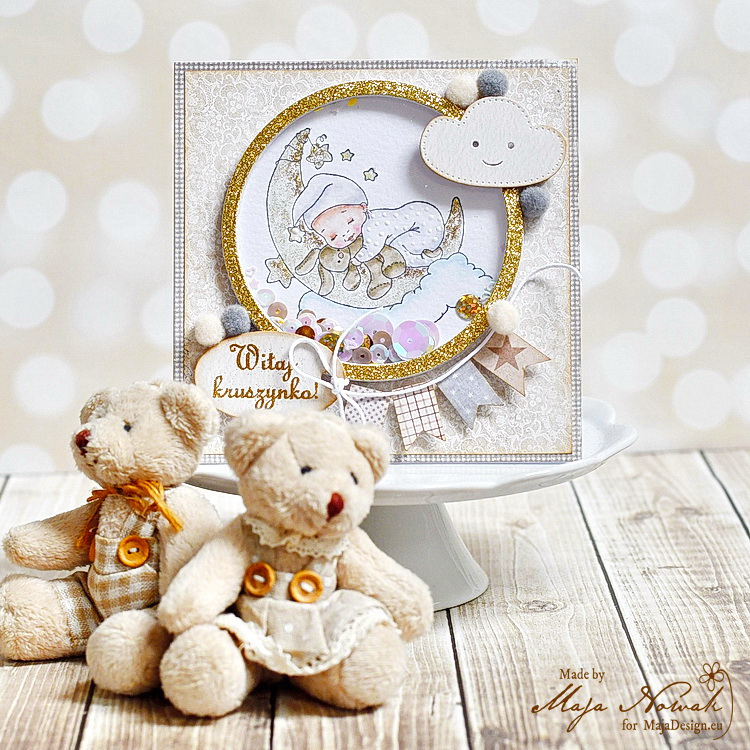
First of all, it’s easy to make shakers with square or rectangular shapes, but not so easy with other, even as basic as the circle. The capsule must be sealed tight so that the contents of the shaker do not fall out. I made many of shakers using adhesive foam squares, but with round shapes they might still leave tiny gaps, so I decided to die-cut round frames and stack them up to make the shaker box, thinking it would save me some time. Boy, was I wrong! To make a 0,5 cm high frame I had to die cut 8 pieces and then glue them one by one together. By the fourth layer the frame started to get crooked no matter how precise I tried to be! The frame is pretty thin, so that was the problem. But finally I managed to create a more or less even frame.
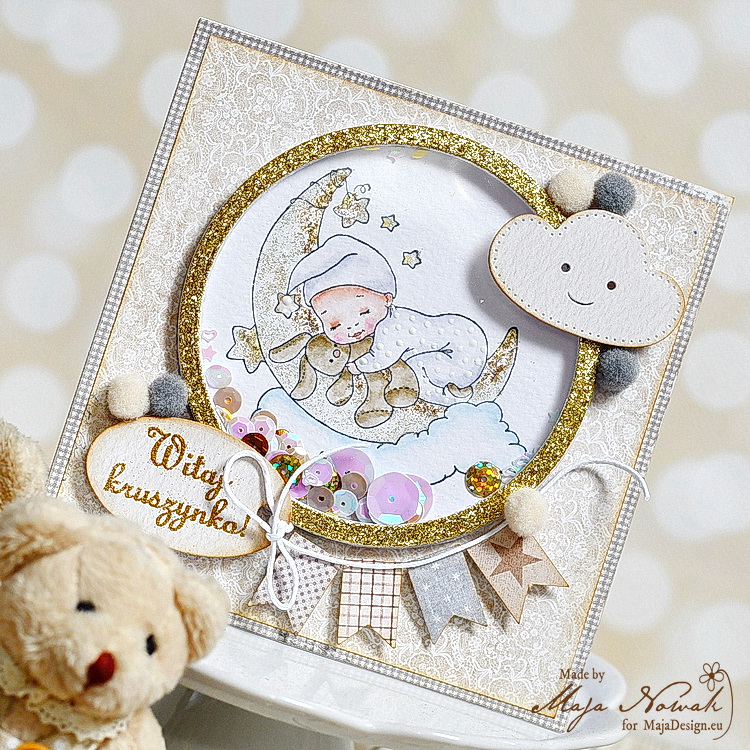
The next problem appeared with the window. I use thick laminating foil for my shakers and with smaller elements I never had any problems, but with this pretty large window the sequins I put in were jumping out or clinging to the foil due to the static electricity. I used soem anti-static spray to deal with it, some also use anti-static powders or pads that are designed for embossing. Finally I was able to assemble my card 🙂
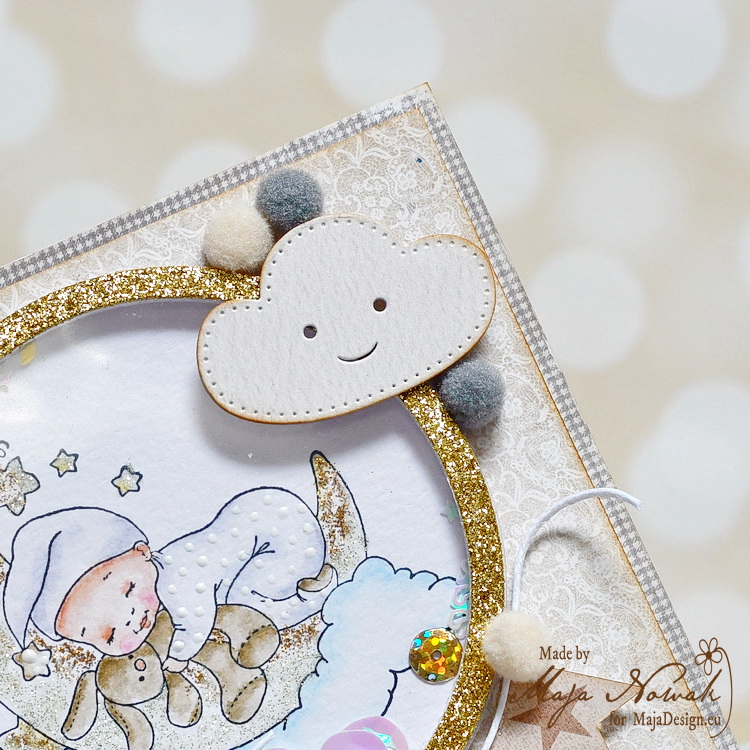
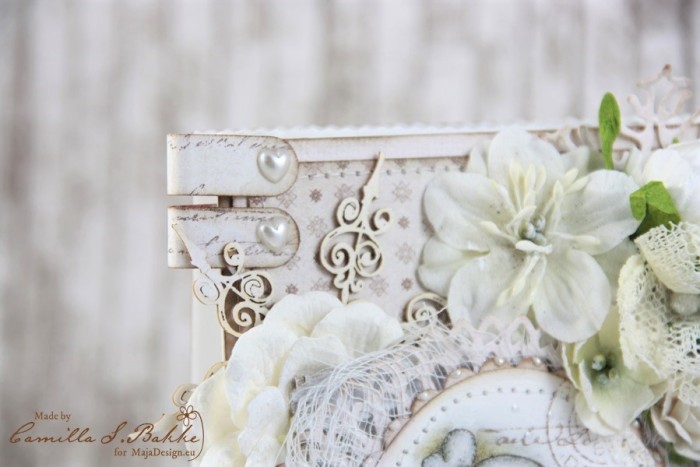
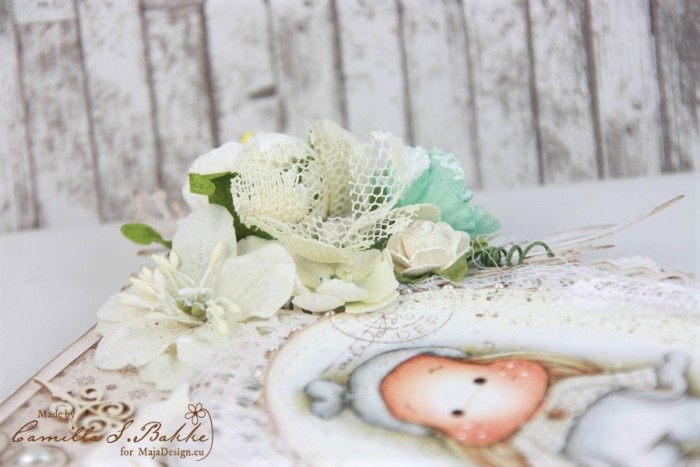
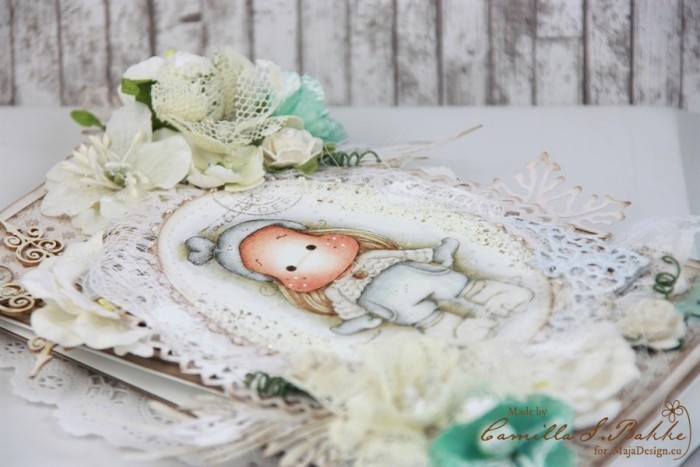
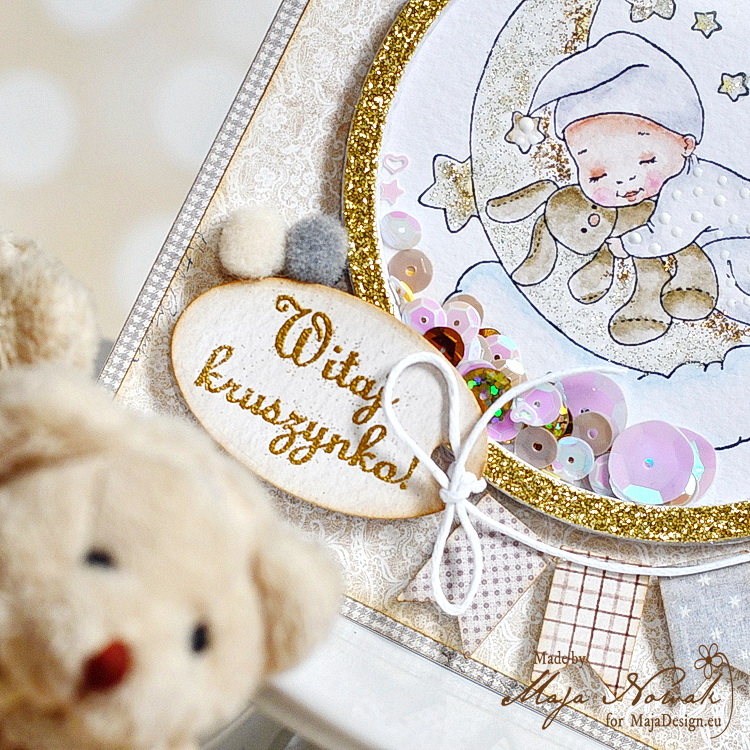
I kept the design very simple so that the shaker remains the main focus. I only added some more die-cuts and a couple of pom-poms to decorate the frame and added a stamped and embossed sentiment.
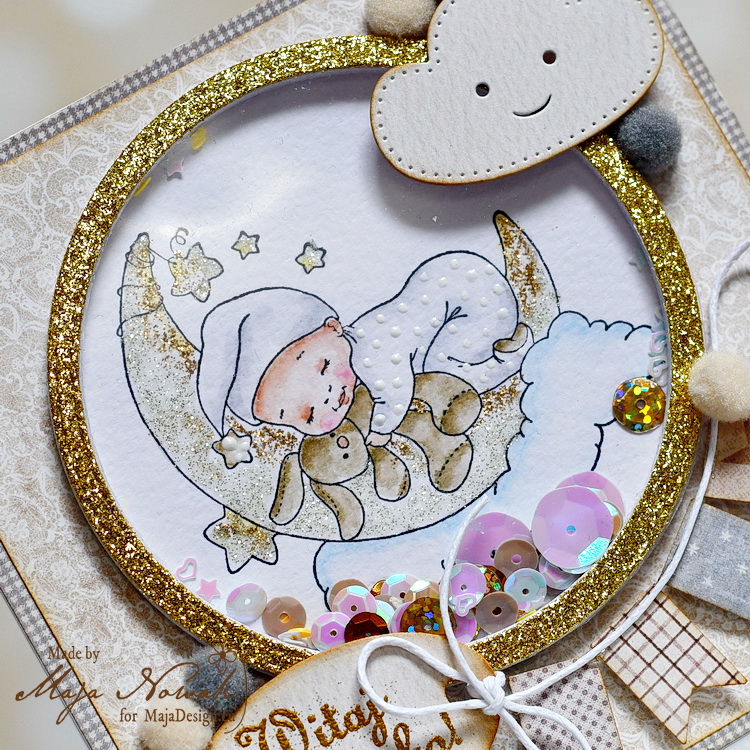
The image inside the shaker is coloured with Kuretake Twin markers. I accented the details with glitters to get an ombre effect on the moon:
It wasn’t easy, it wasn’t quick, but I still like the result. Do you? 🙂

The list of supplies:

Maja Design papers:

Other: stamps: Whimsy Stamps, Lemonade; dies: CreaLies, ScrapMan; pom-poms, glitter cardstock: my stash.

Do you make shaker box projects?

That’s all for today, thank you for visiting and drop by tomorrow!

Smiley

1

Posted by Maja Nowak

6 June, 2018 - ,

Write a comment

Good morning, dear Visitors to the Maja Design blog 🙂

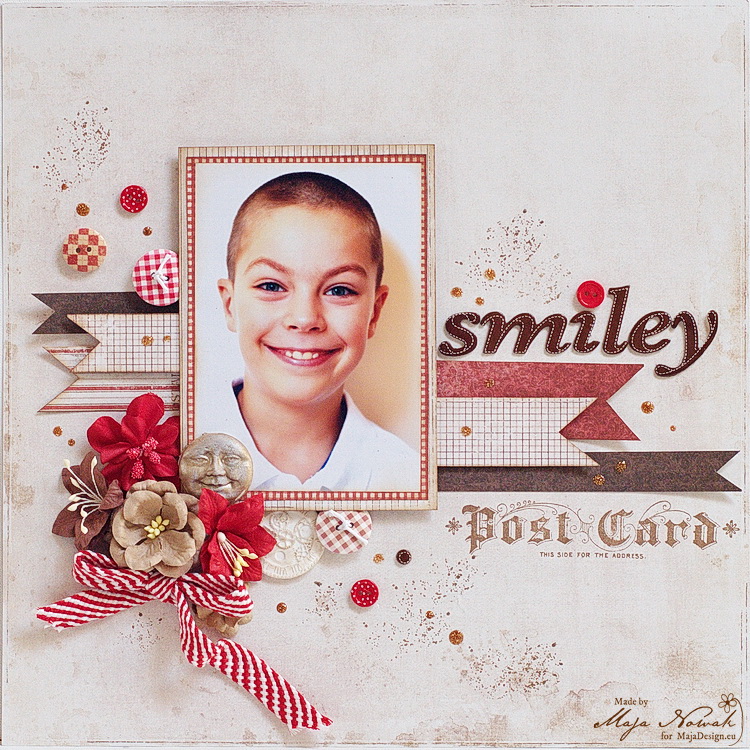
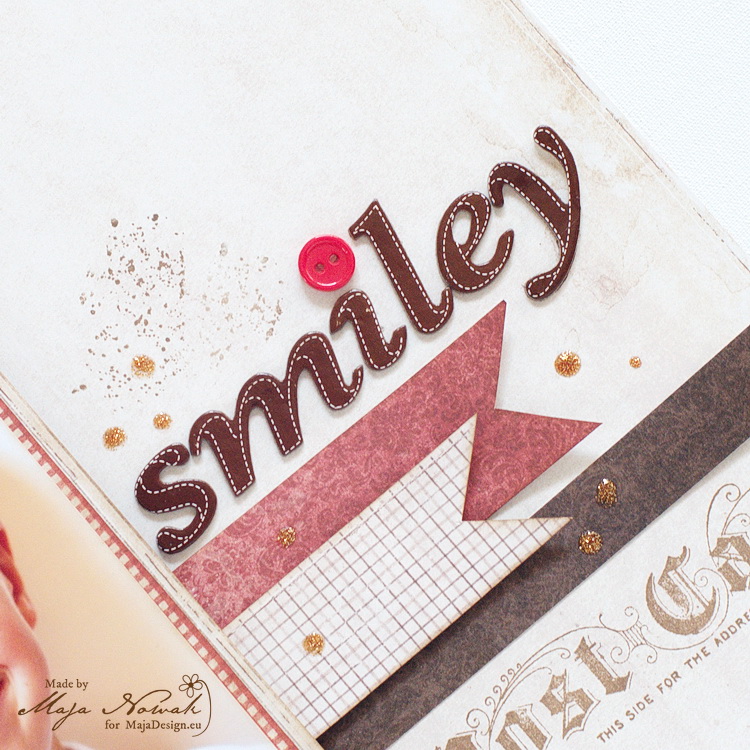
Today I have a layout to share, featuring a photo of my younger son with his signature look, that is smiling widely 🙂

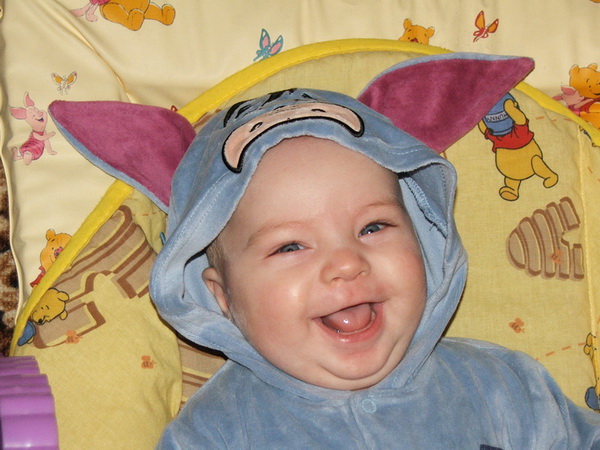
Since the moment he was born he was a very joyful child, always positive and ready to play. When I look through our family album, on almost all photos he looks like this:

Of course, there are moments of a worse mood, especially now that he is in his early teens, but if I were to characterise him in one word, that would be “smiley” 🙂 And I wanted to document this in my layout.

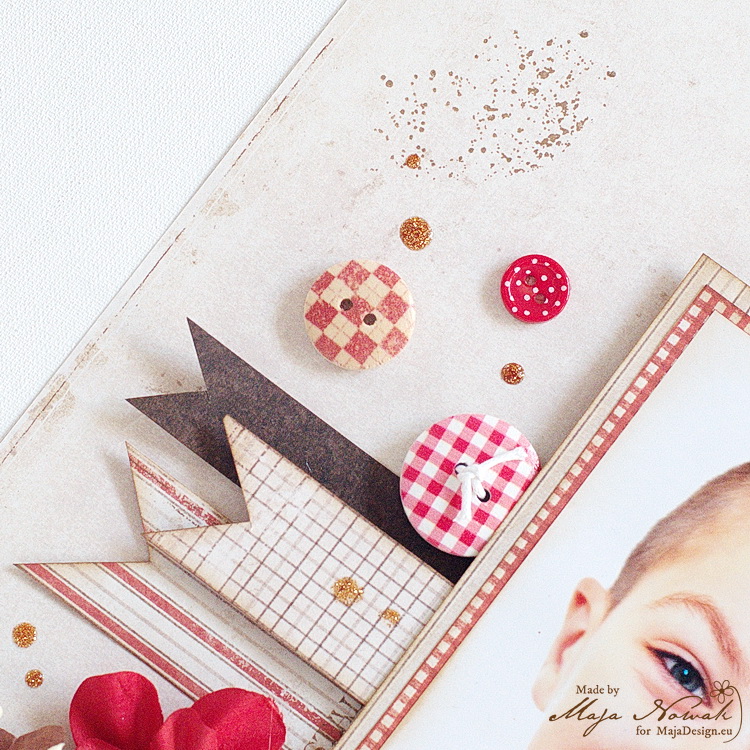
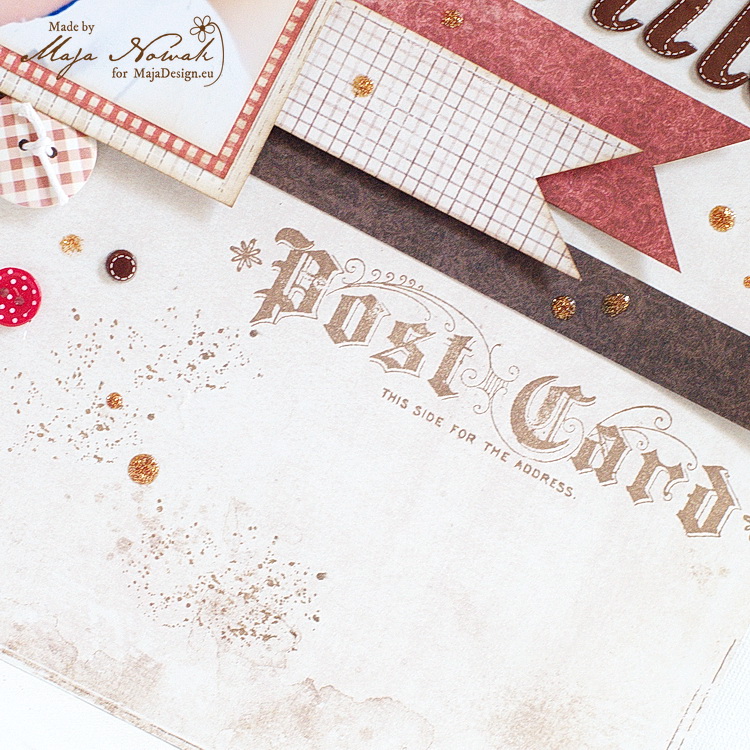
For my page I used one of our older Christmas collections, I Wish (I always use Christmas papers for non-holiday projects, usually the papers are too beautiful to use them once a year! 🙂 ) The design is very simple: just a couple of banners, some buttons and the title made of chipboard sticker alphabet:

I also added some stamping in the background:

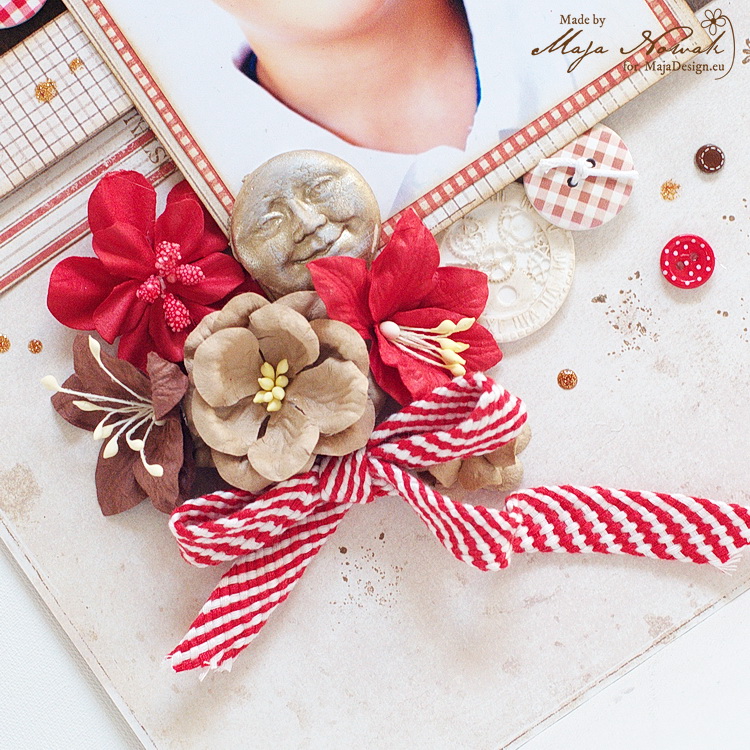
In the flwoer cluster I put a clay face that looks very similar to my boy’s smile 🙂

I do hope my son would always have a reason to smile!

And here’s the list of my supplies:

Maja Design papers:

Other: stamps: Tim Holtz; flowers: Wild Orchid Crafts, Prima; molds: Prosvet; art clay: Martha Stewart; cotton ribbon: Prima; buttons Dovecraft, glitter ink: 13@rts.

And that’s all for today, see you soon!

Favorite Tales

0

Posted by Mary Tzalla

29 October, 2017 - ,

Write a comment

Layout

Hello my dear friends!!!

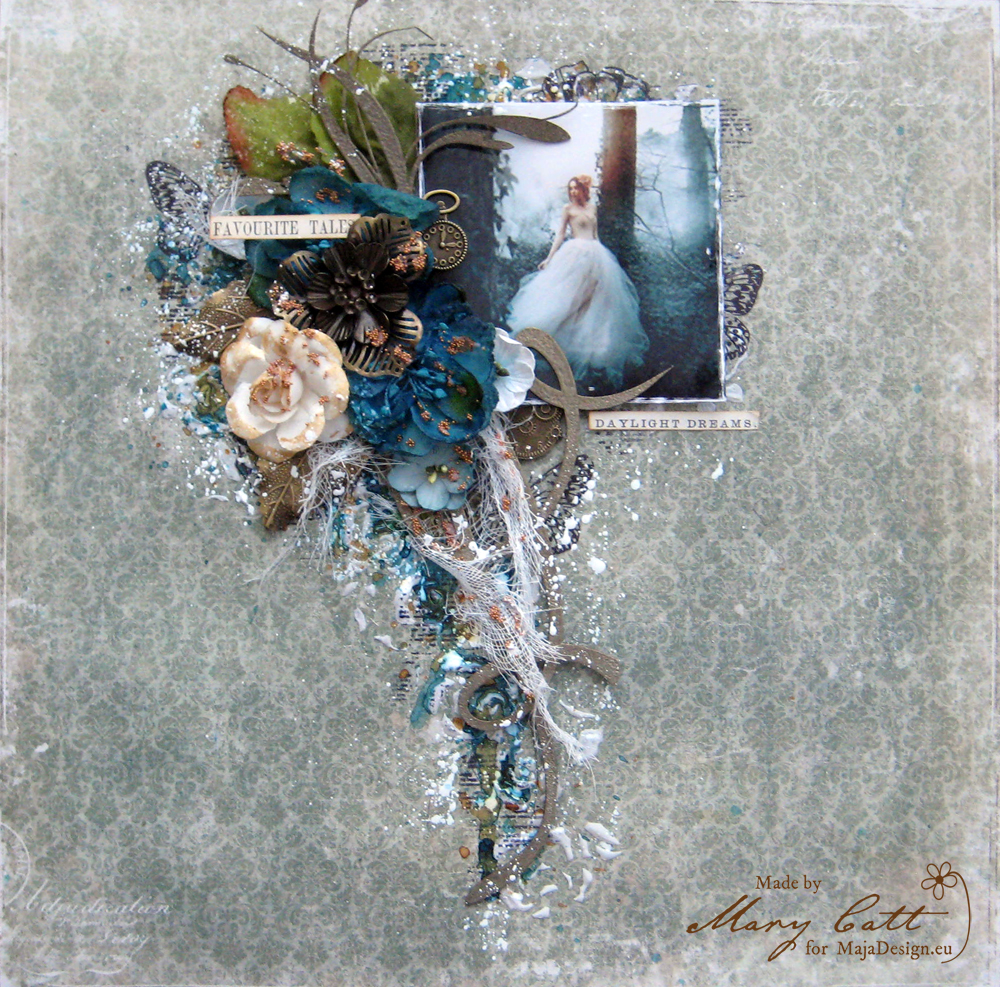
It’s Mary here with you today and I have a new layout to share with you.

As you may already know, I love finding my photos on Pinterest and this time, while I was searching I found that beautiful photo. So, I choose paper from the ”I Wish” collection and combined it with some beautiful flowers and a few metal embellishments. But, before I continue more I want to give all the proper credits to the ”unknown” photographer.

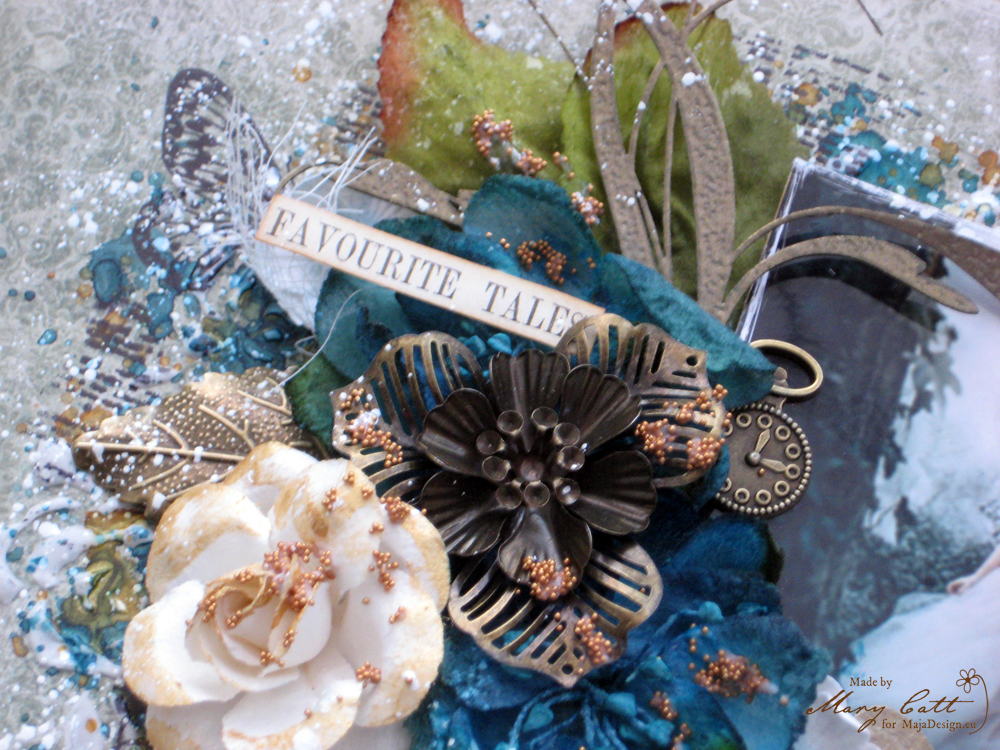
Closer 1

For my background, I used the ”I Wish For Peace and Joy” paper. First, I gave my background a coat of clear gesso. When it was dried I added some texture with modeling paste and a stencil. I continued by coloring my page with Lindy’s sprays ”Danny Zuko’s Denim”, ”Green with Envy Green” and ”Grab a Guy Gold”.

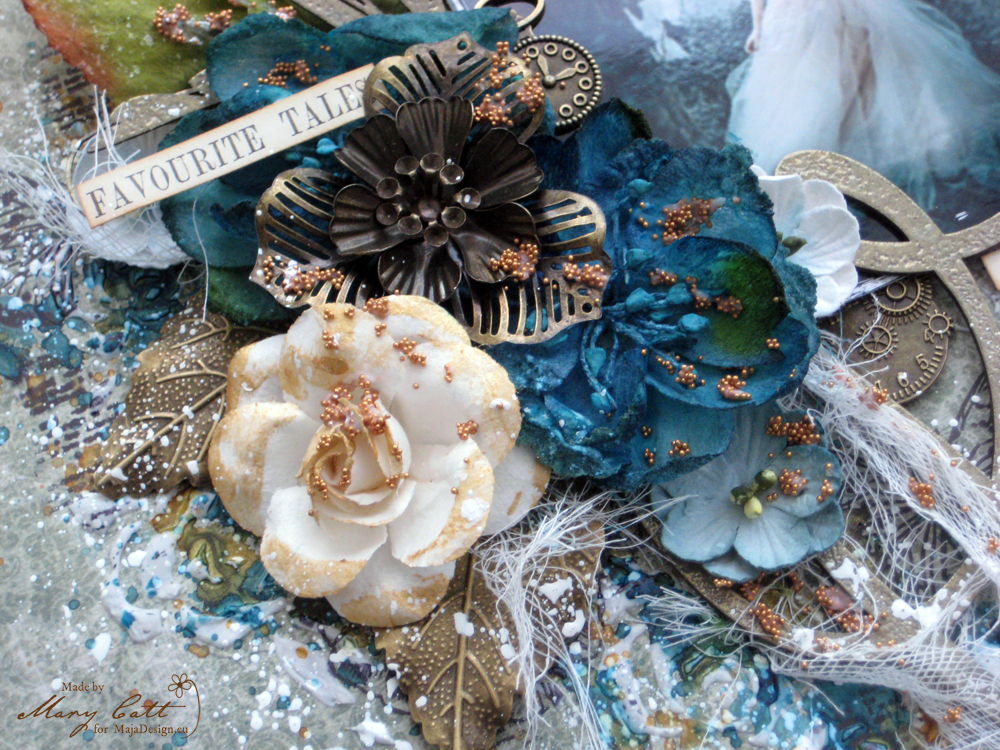
Closer 2

I heat embossed all the chipboards with the ”Orbit Olive Gold” Lindy’s embossing powder. As usual all the chipboards I used are 2crafty.

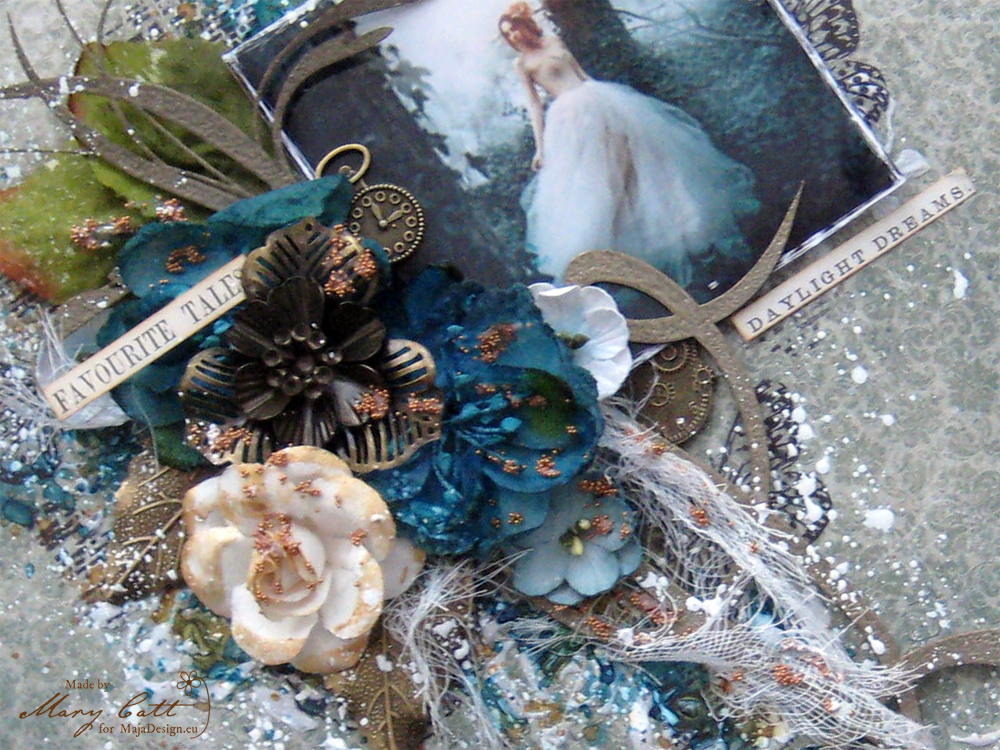
Closer 4

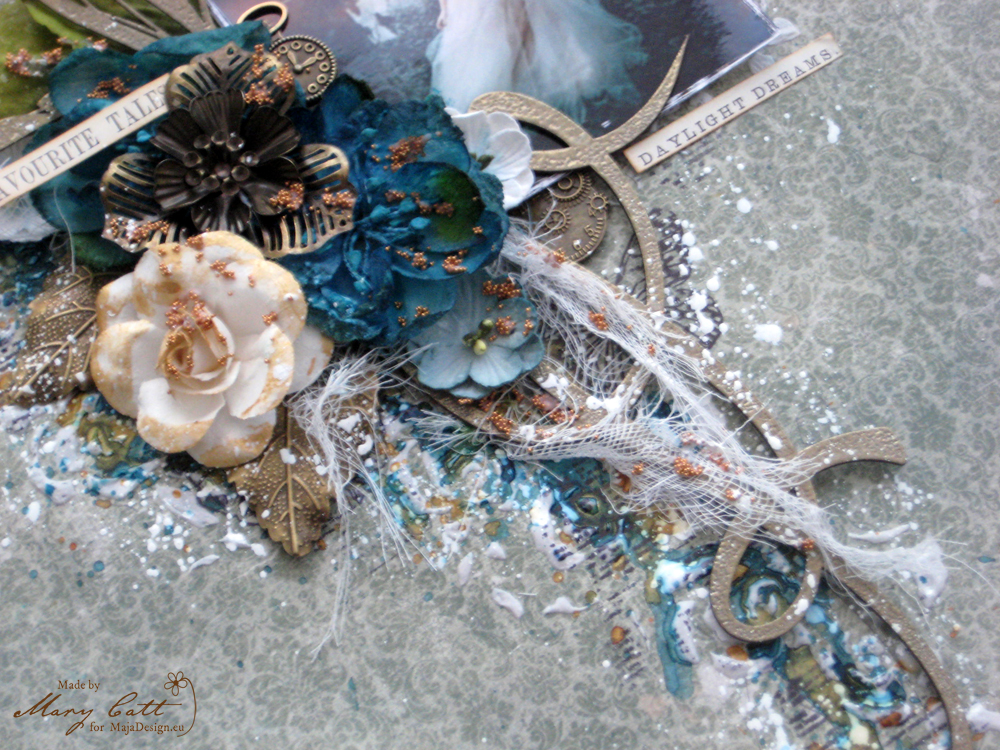
When everything was glued down, I added some copper micro beads and made some splatters with white acrylic artists ink.

Closer 3

Paper used:

866-I-wish-for-peace-and-joy

I-wish-P

That’s all for today, my friends!

Thank you for stopping by!

Some winter inspiration!

1

Posted by Camilla Støen Bakke

18 October, 2017 - ,

Write a comment

IMG_5884

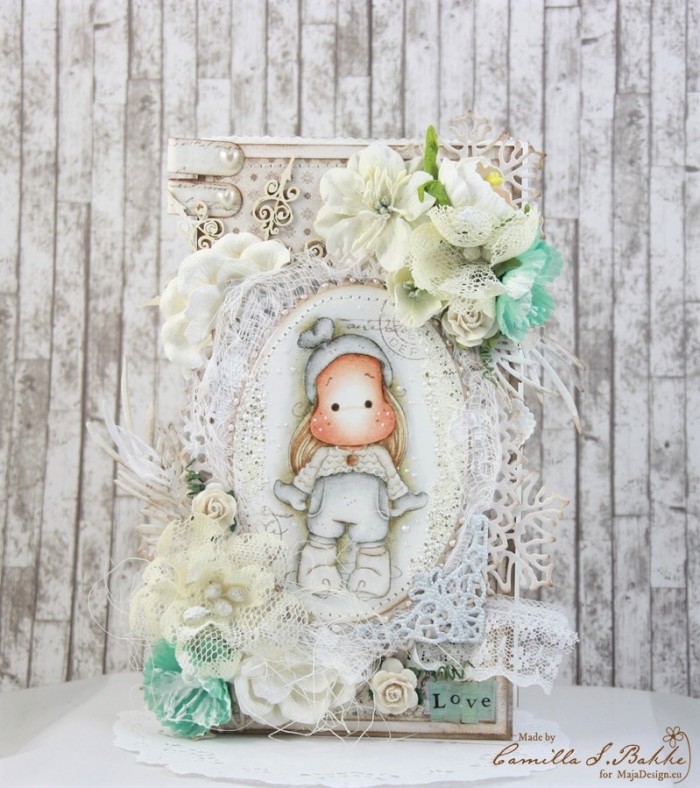
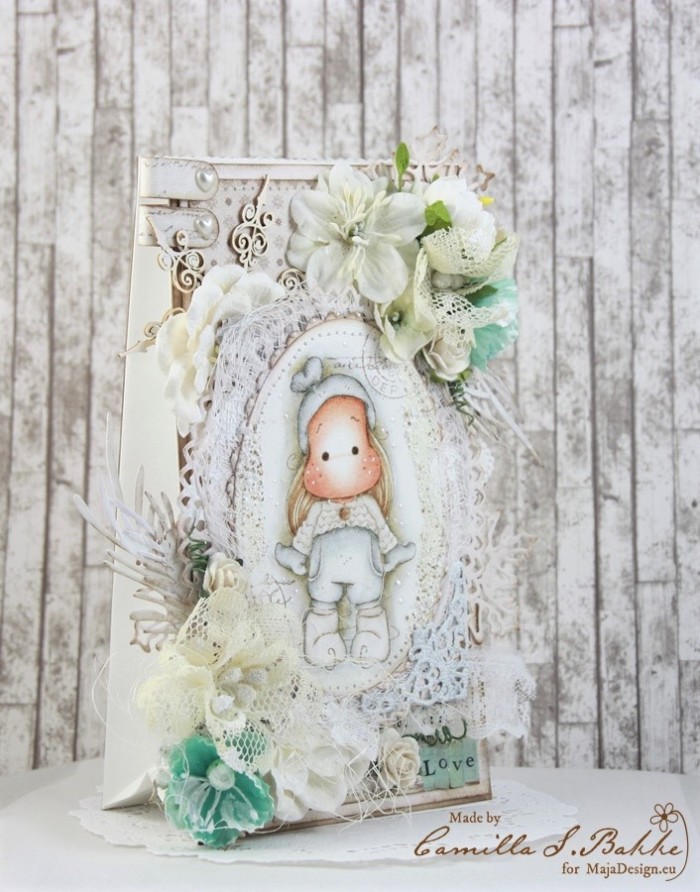
Here is a paper bag I have decorated with gorgeous papers from the collection I wish.

I-wish-P

Only days ago I came back from a holiday in beautiful Croatia! I stayed in a beautiful small village called Cavtat, just outside the city Dubrovnik. I was told that the people in Dubrovnik first settled down in Cavtat, before they had to escape and settled down in Dubrovnik. I guess thats why they built that fantastic city wall -to keep the enemies away. In Croatia it was still Summer, and blue sky every day! Inspite of that I manage to get the flu and sinusitis. Luckily this happened the day before we went home, so I really enjoyed my time there.

IMG_5905

But because of all this, I had no new card to show you. This paper bag was published in the magazine Ett Trykk last February. But I have saved it for the blogs when it was time to show some winter/Christmassy inspirations. I have made it to show my style of crafting.

IMG_5924

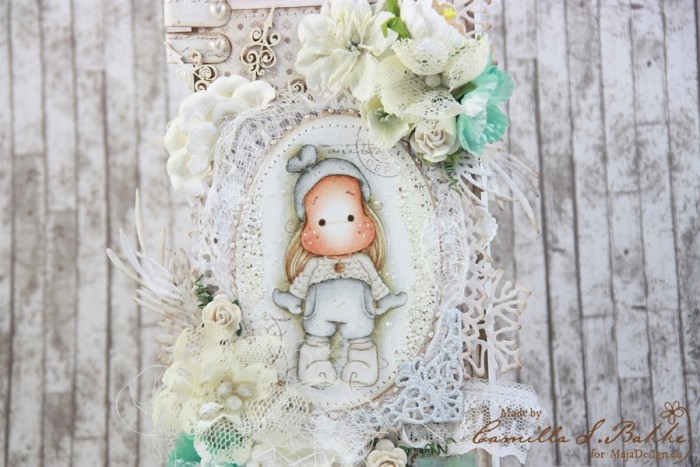
The image from Magnolia is coloured with Distress Ink, re-inkers.

IMG_5927

I have decorated with different types of flowers, cheese cloth, wycinanka, die cuts and pearls.

IMG_5941

I have added some Frantage around the image, which is matching the colours of the papers perfectly. The edges are sewed with my sewing machine.

IMG_5946

Thank you so much for visiting the Maja Design blog today!

With love,

Camilla

First Christmas card by Padoriaa

3

Posted by Paulina Monasterska-Tronina

28 September, 2017 - ,

Write a comment

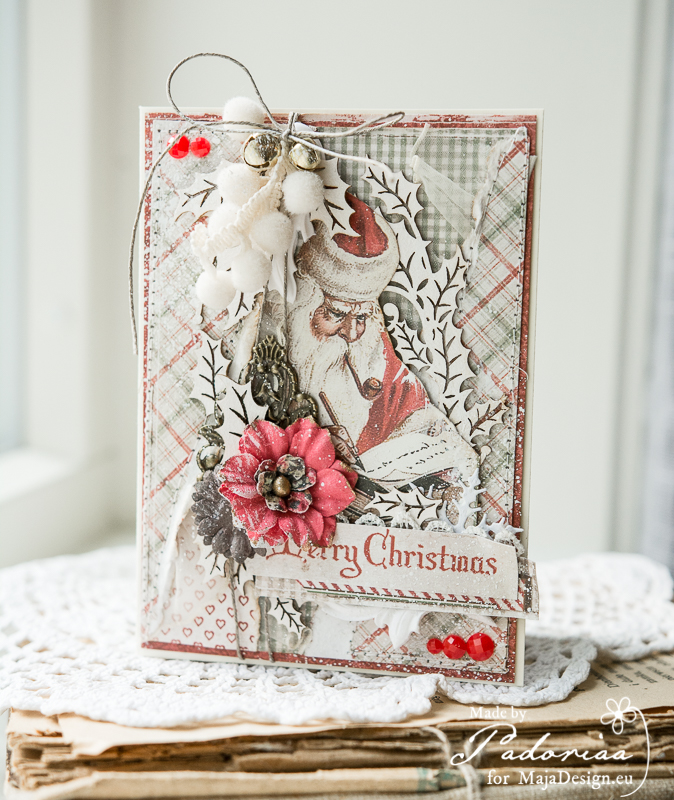
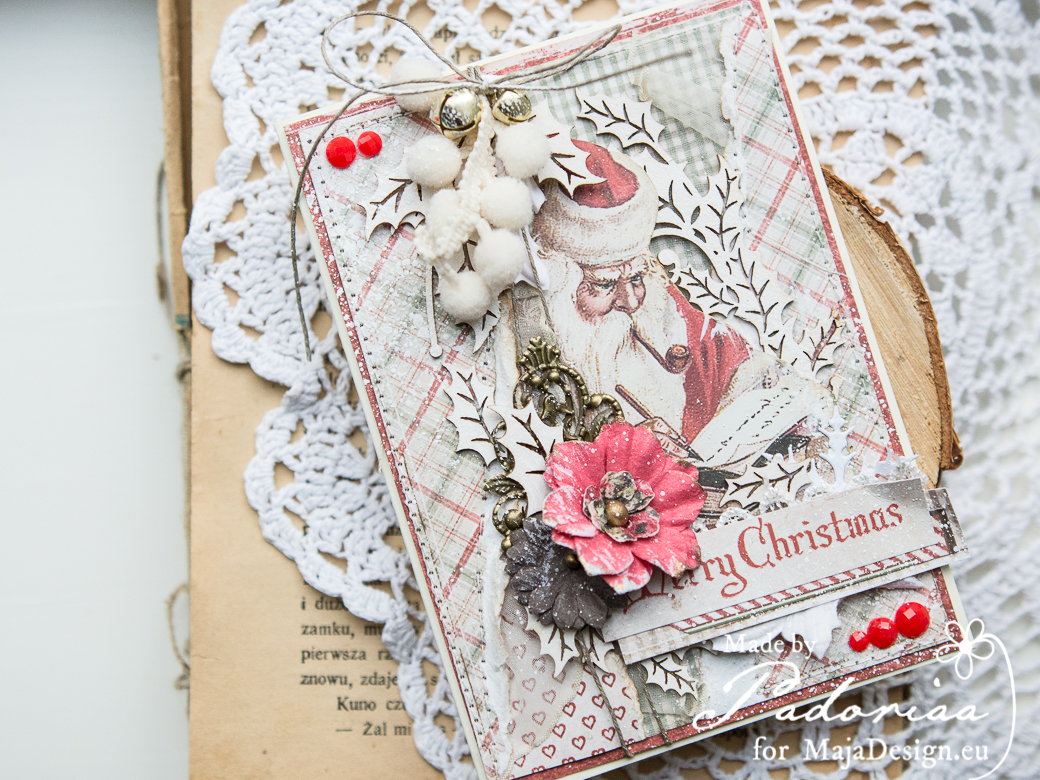
Hello our blog friends. This time I would like to show you my first Christmas Card. I received the Christmas paper collections a long time ago. Couldn’t wait to use them! Finally I can say – the season for the Christmas cards has started ! 🙂 Here is my first proposal :

Christmas Card

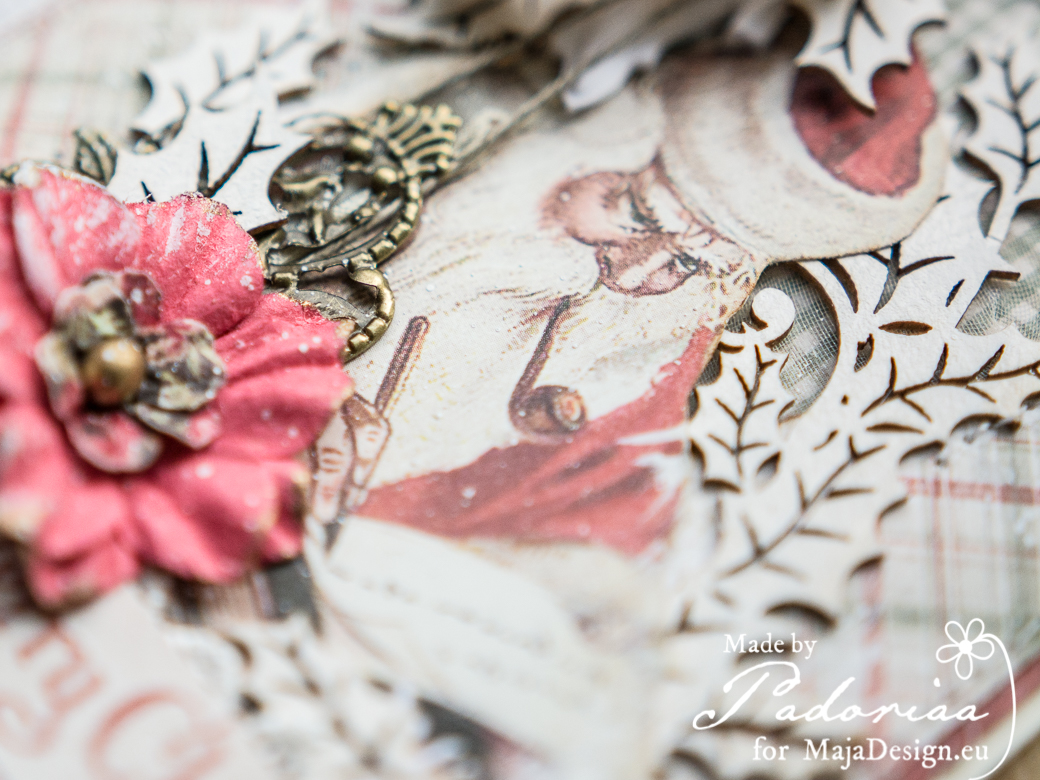
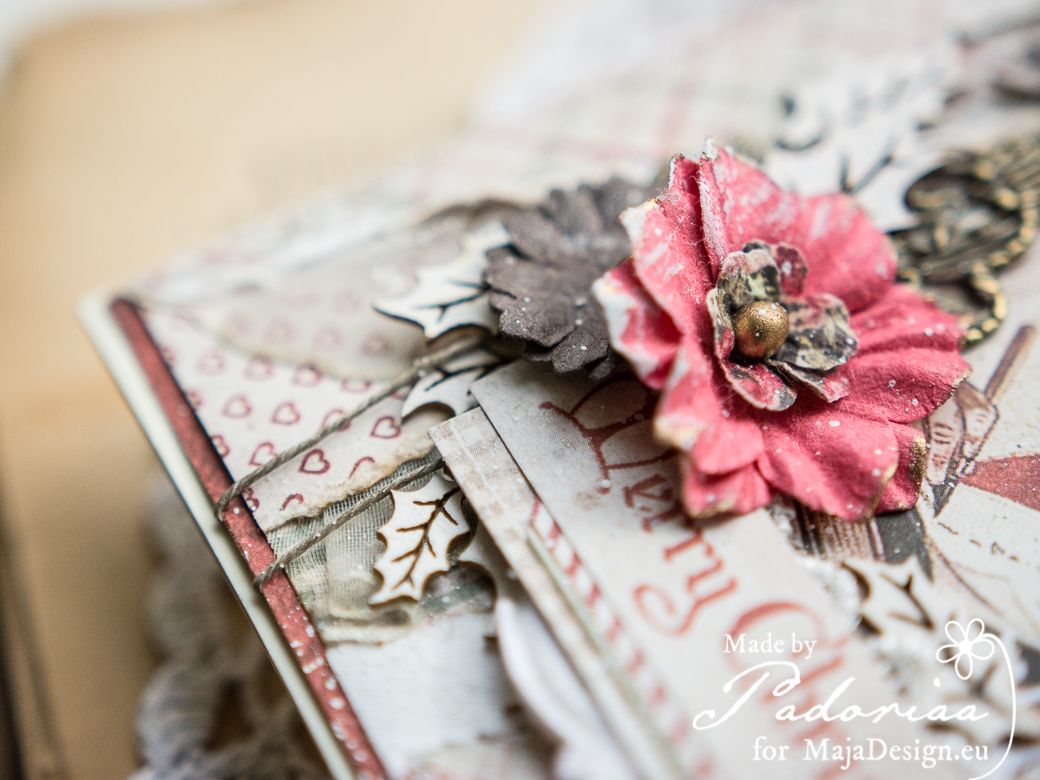
I cut out the Santa Claus from the “I wish – Ephemera” paper sheet, then created the background by adding layers one by one. Chipboard, paper flowers, some soft pom-poms and little bells.

Christmas CardChristmas CardChristmas CardChristmas Card

Do you feel this magical atmosphere of Christmas here  ? I do 🙂 Hope I will inspire some of you to  creating the Christmas cards, decorations etc. a little bit earlier. Hope this card is a good sign and I will find time to create more projects like this. Hugs, Paulina

I-wish-P

Padoriaa-sign