Springtime Tea!

3

Posted by Nancy Dynes

18 April, 2017 - ,

Write a comment

A 1

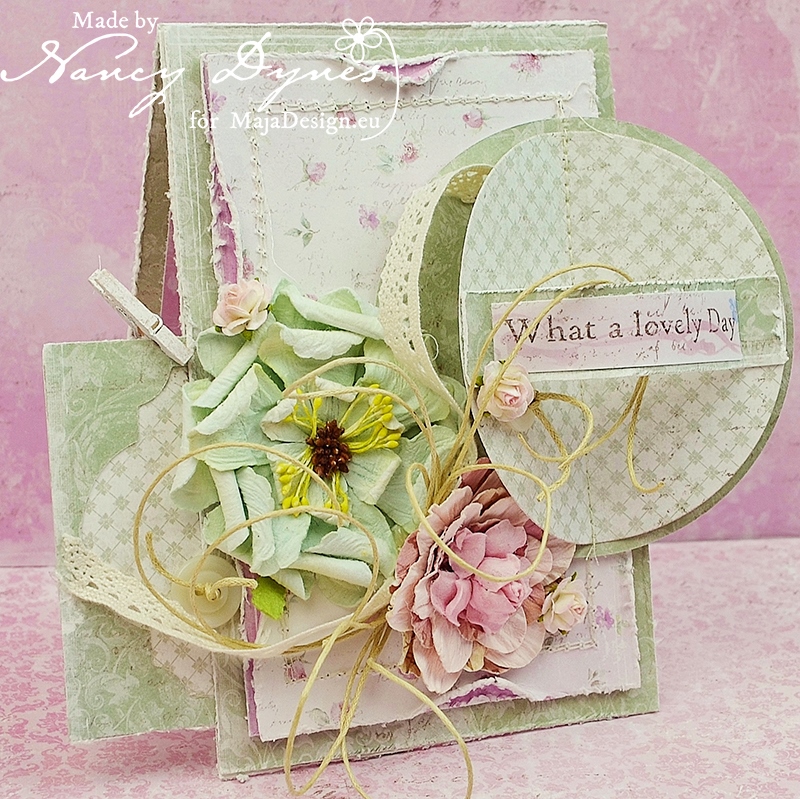
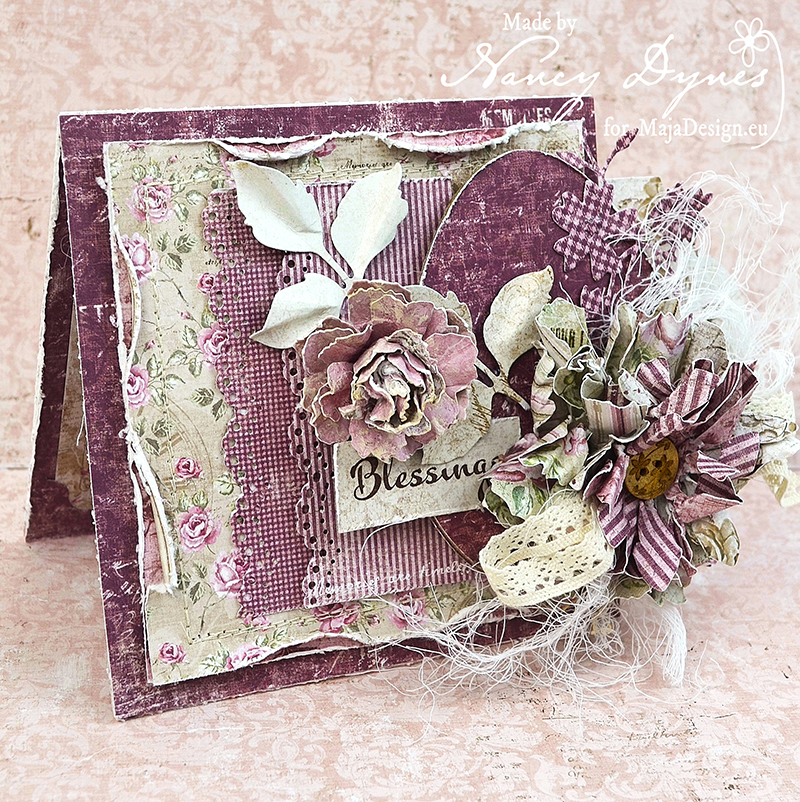
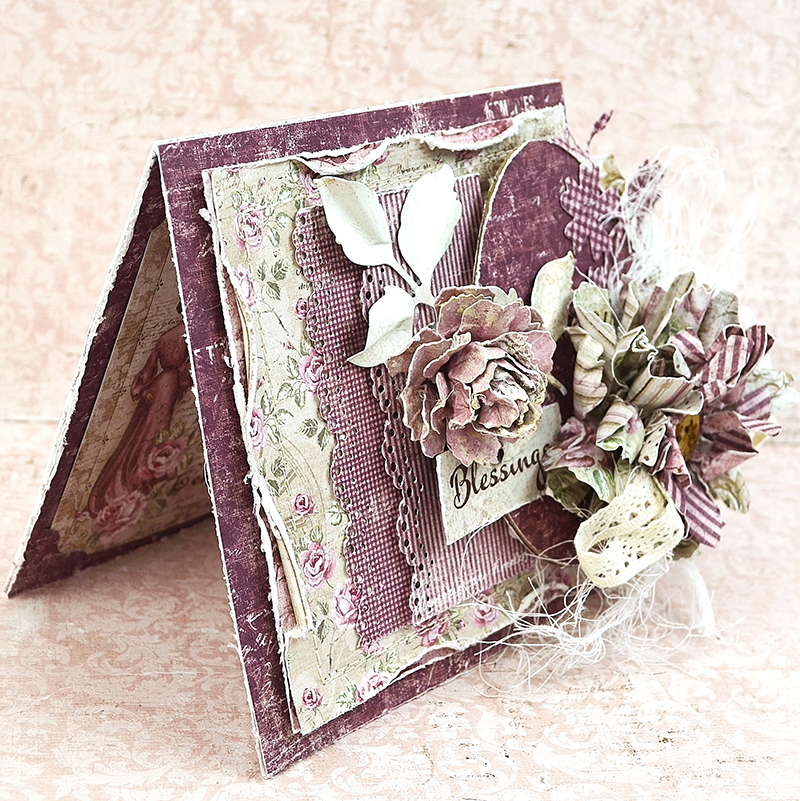
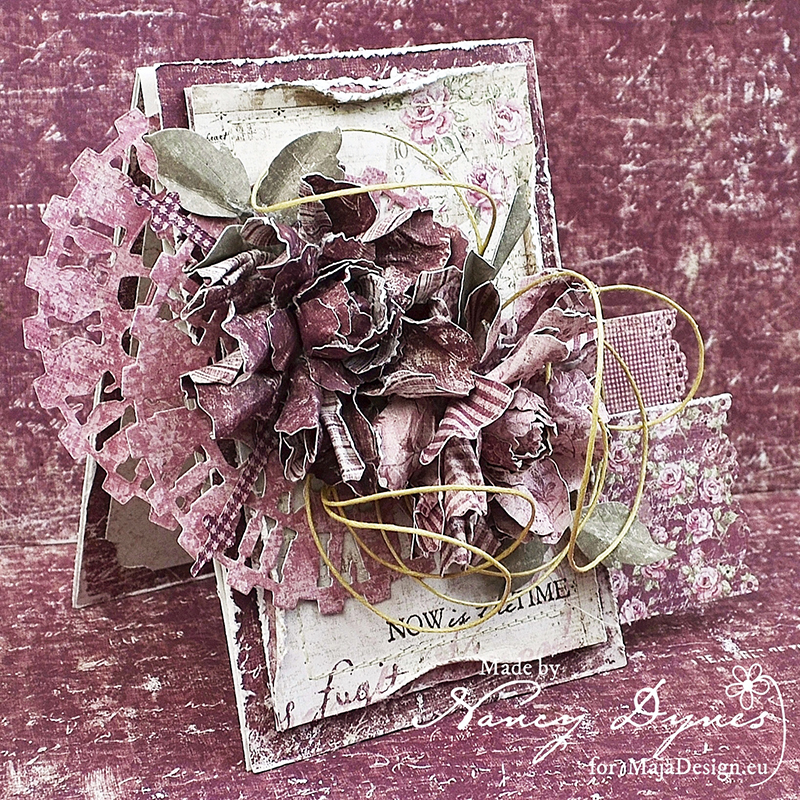
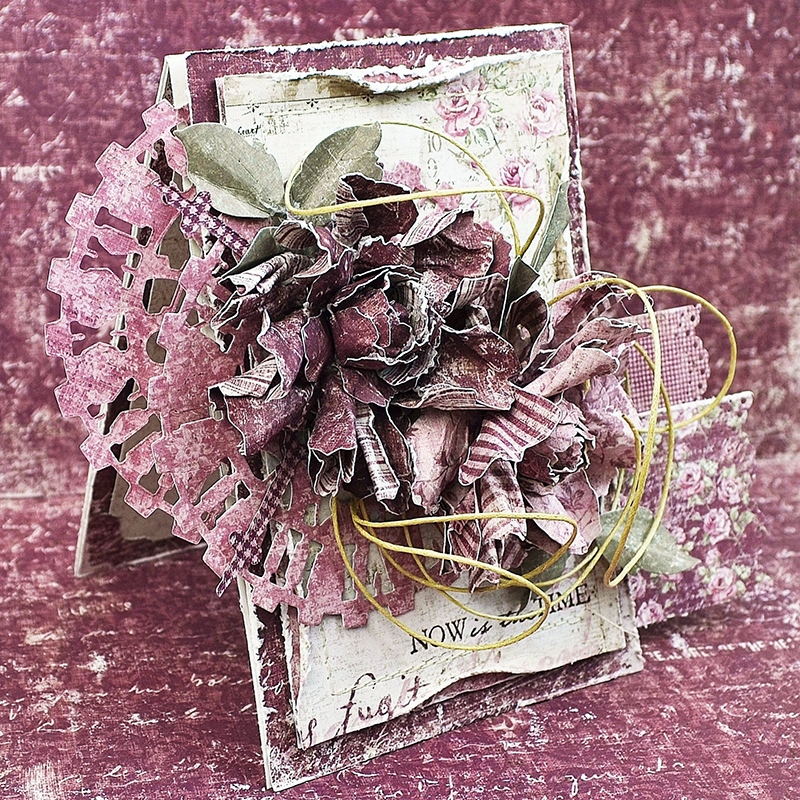
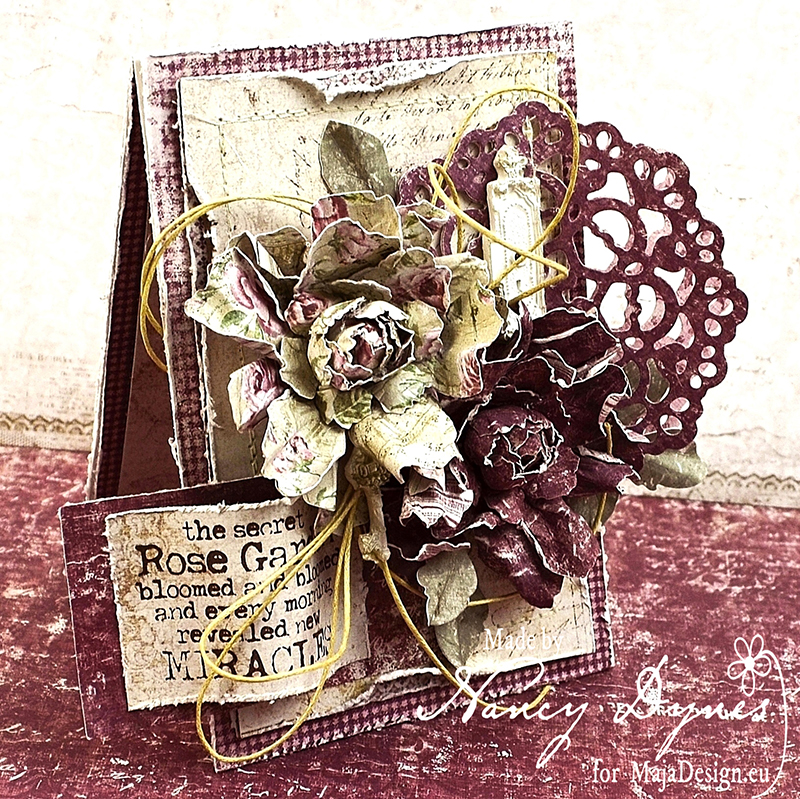
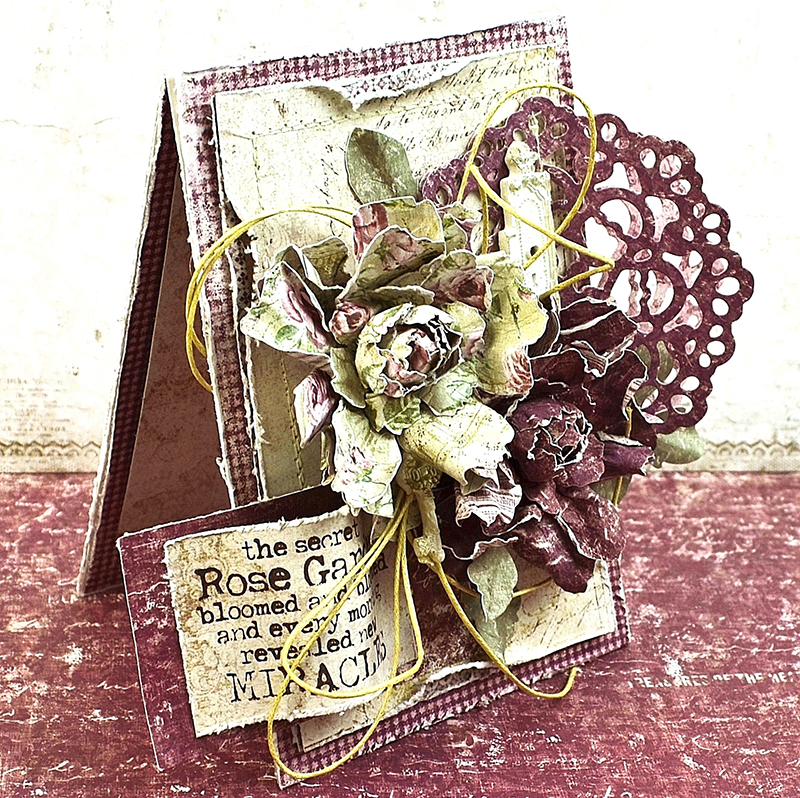
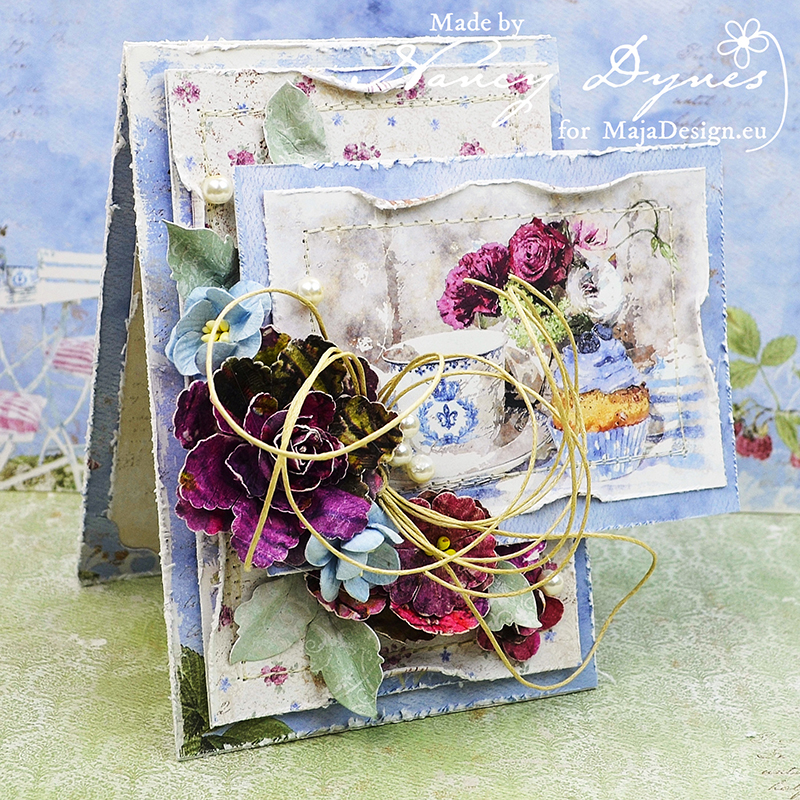
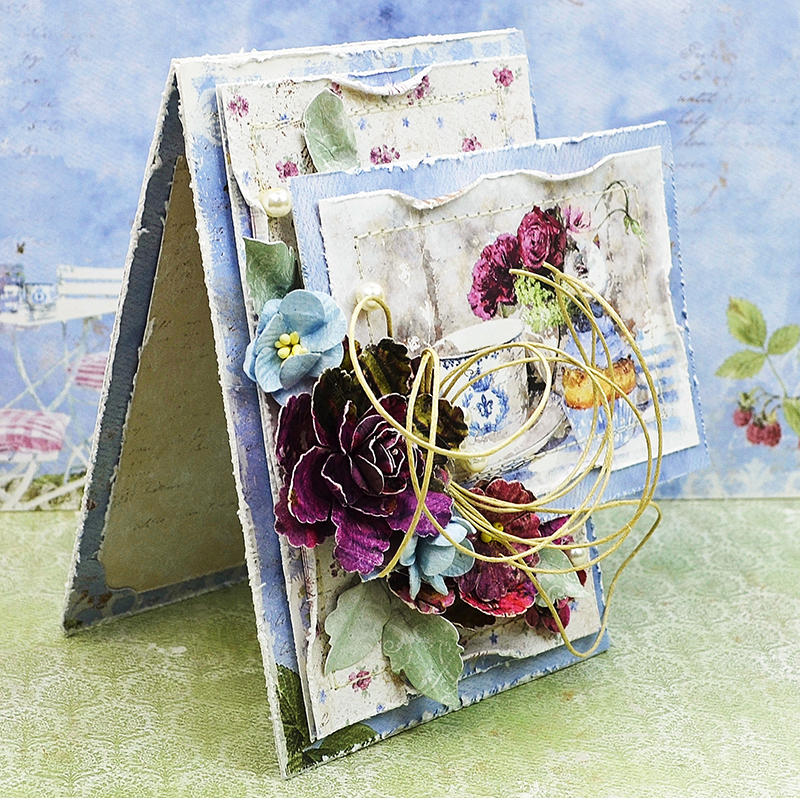
A happy hello to all of our crafty friends here at the Maja Design Blog! It’s Nancy, and I’m thrilled to be here to share my adoration of these beautiful papers with you. I’m feeling lots of love for the Coffee in the Arbour collection at the moment. Every single paper in the collection brings to mind the joy of a lovely spring day. I prefer tea to coffee, however, so I’m going with a teatime theme. This ‘Springtime Tea’ card combines pastels with a fun pop of bright color.

A 3

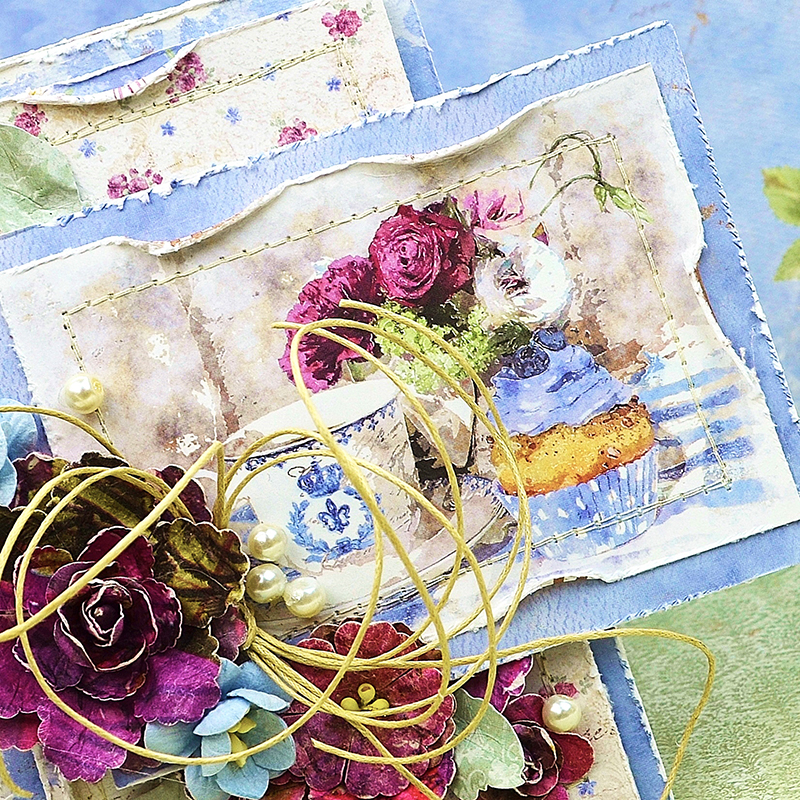
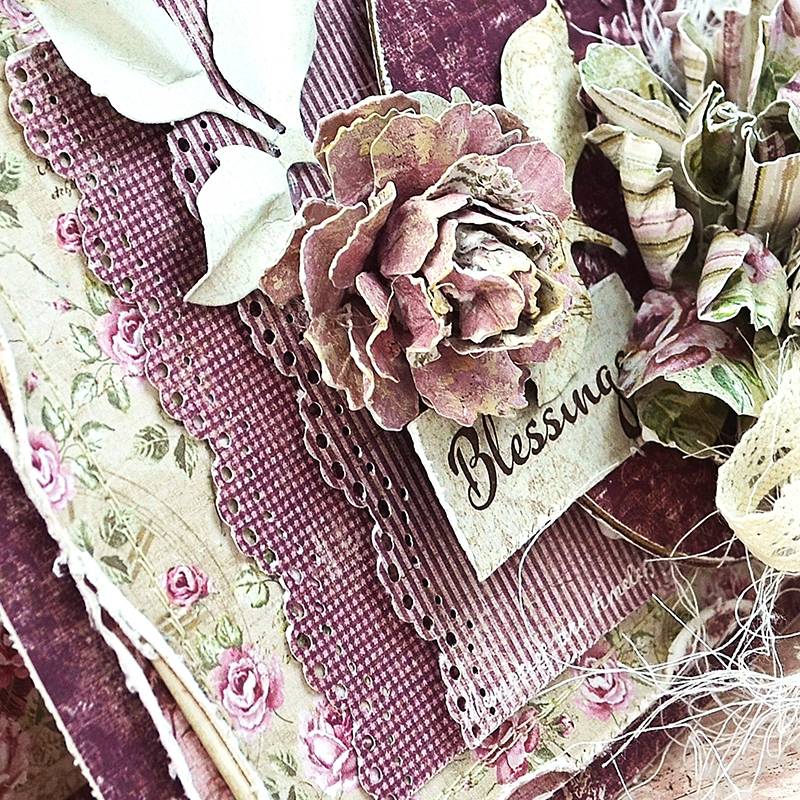
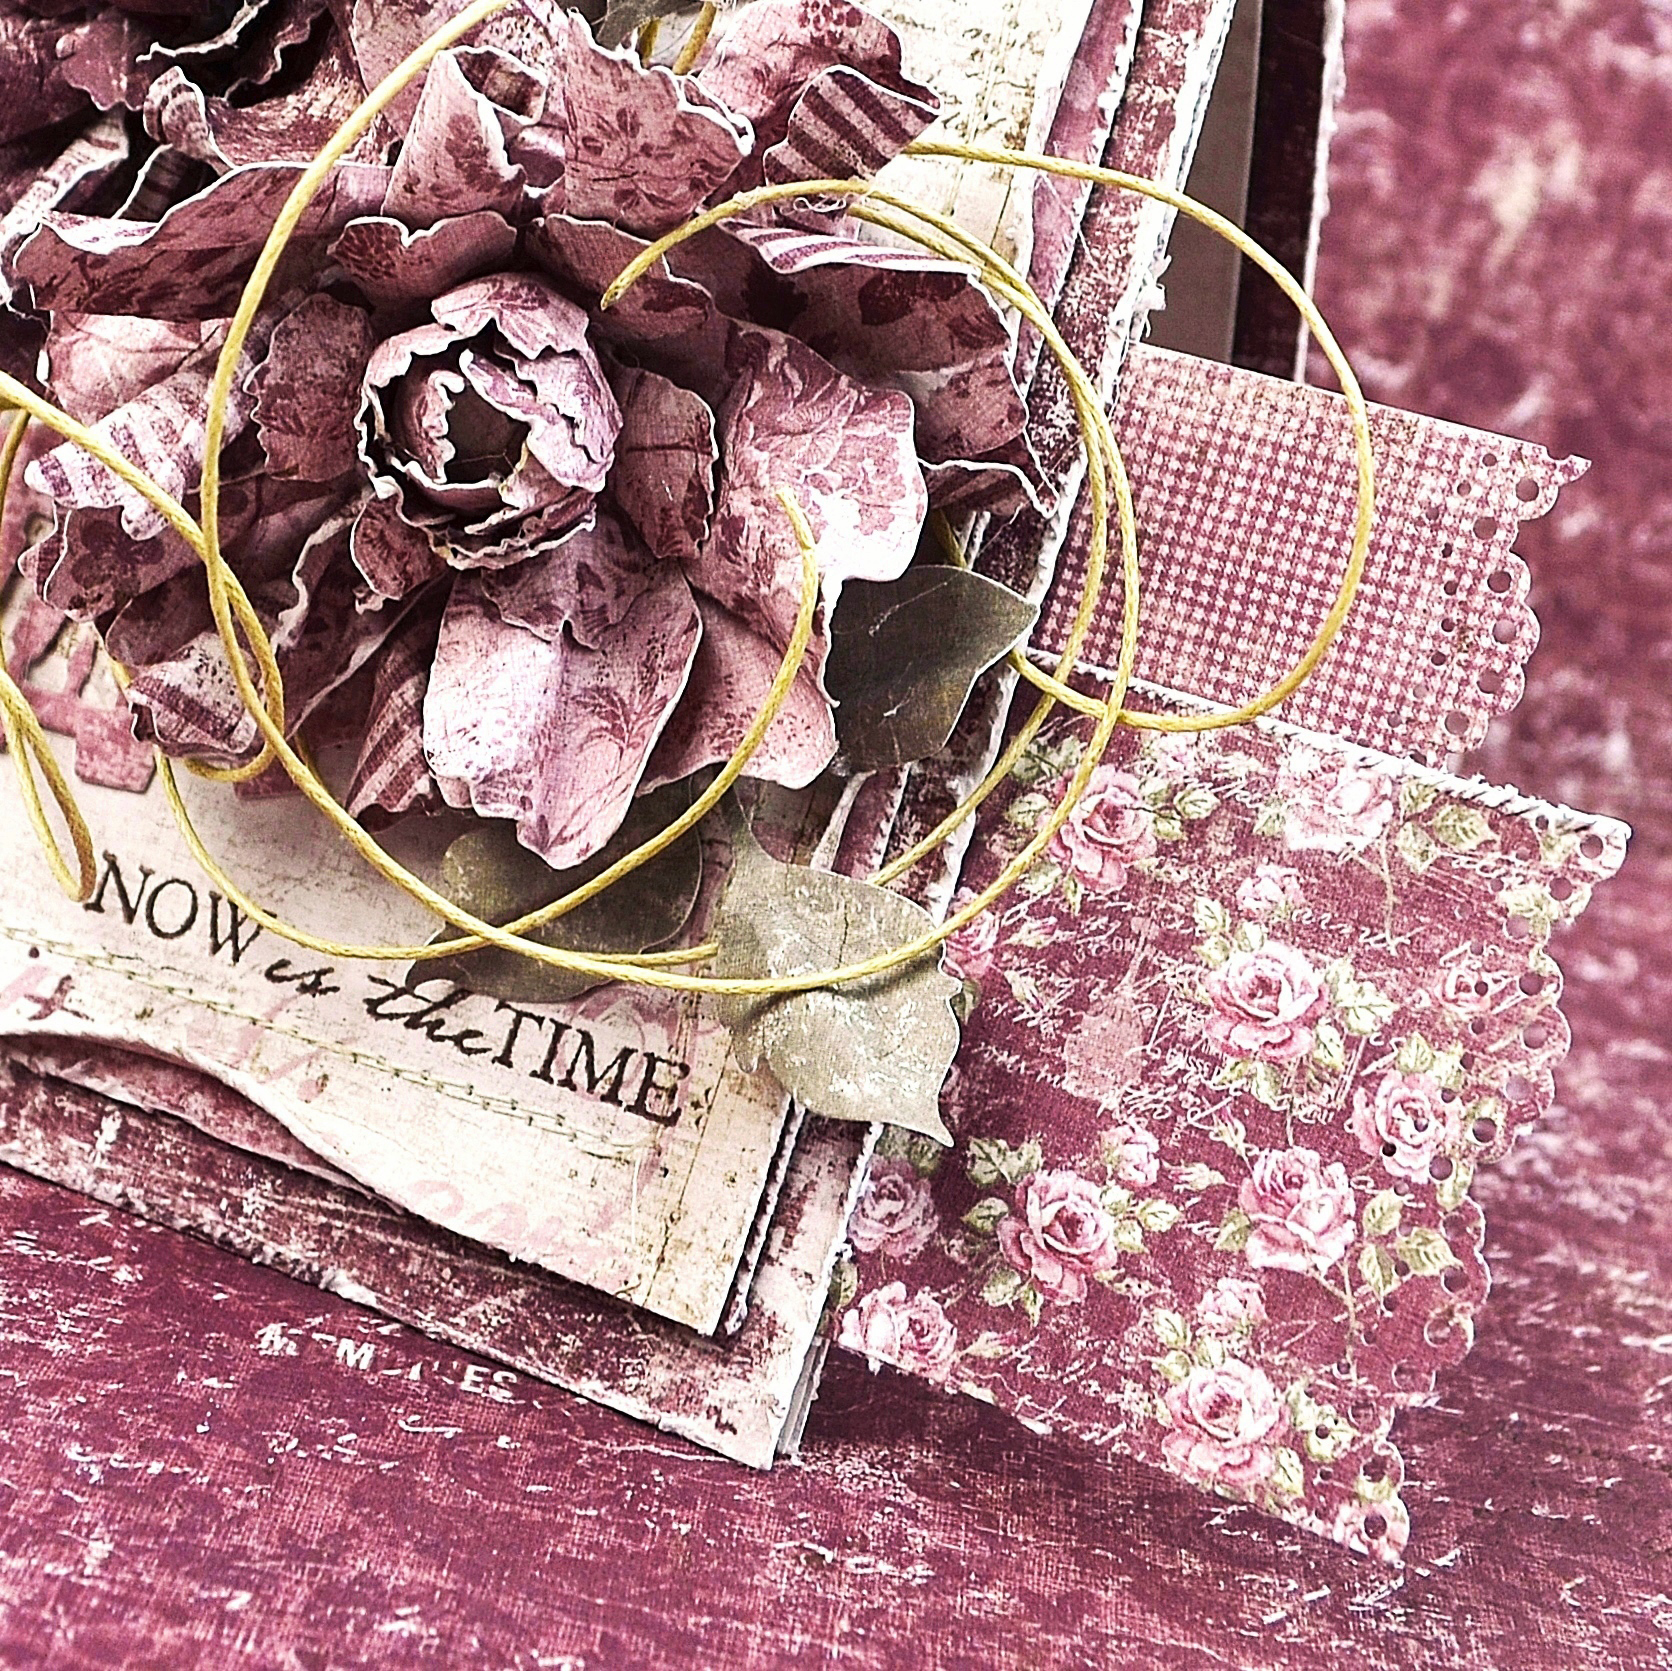
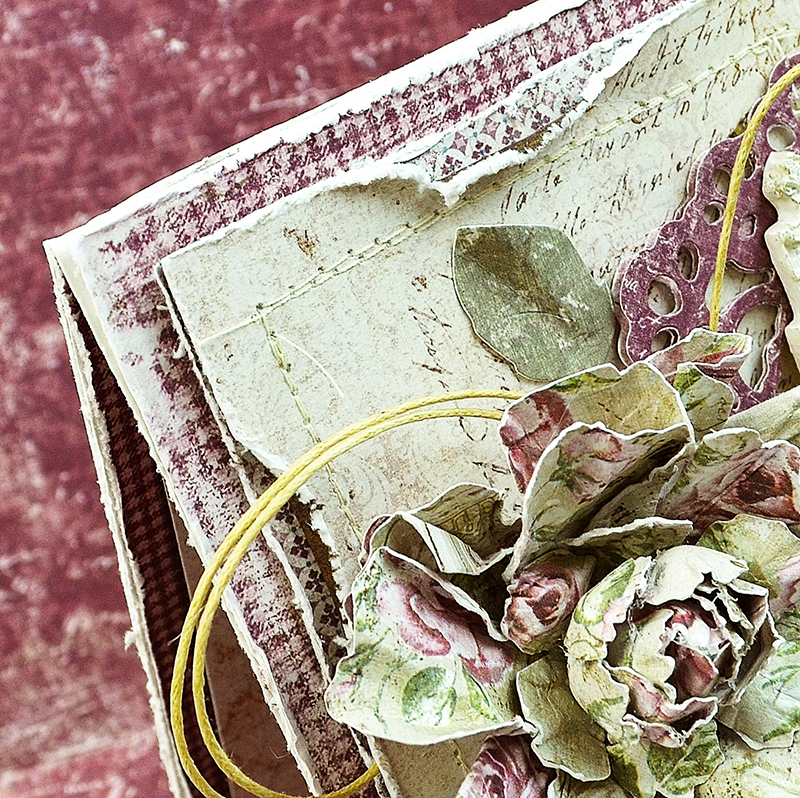
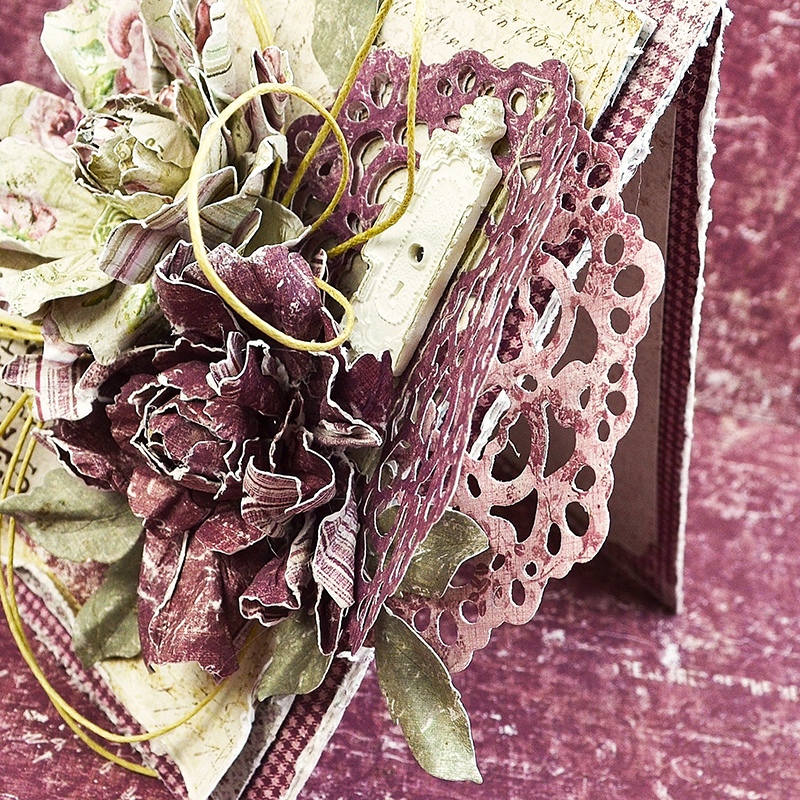
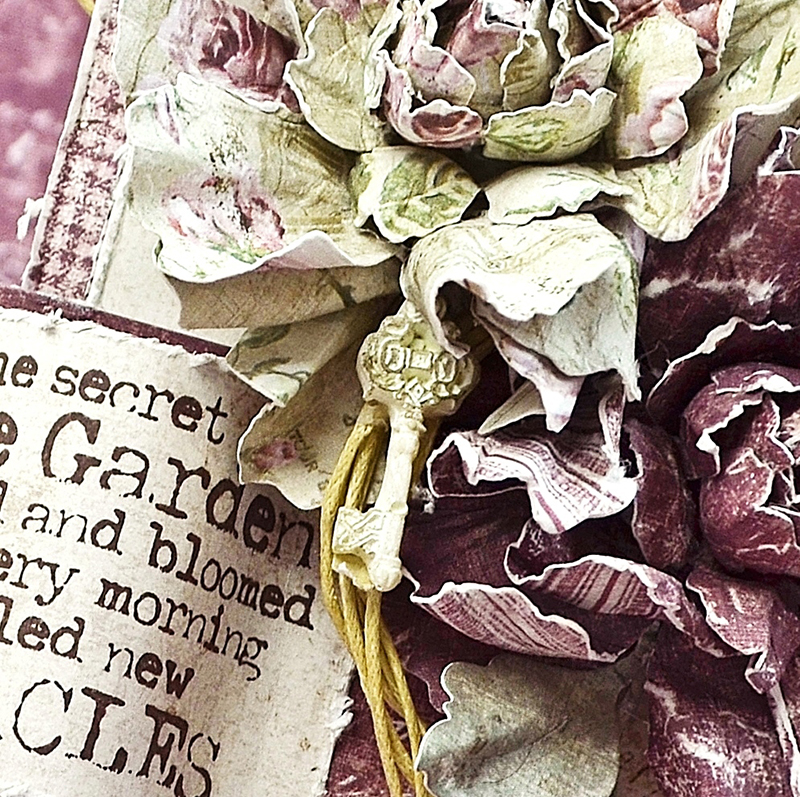
Each paper is distressed, layered, and stitched to form the base of the card. The card is designed around the focal image, which is found in the paper collection.

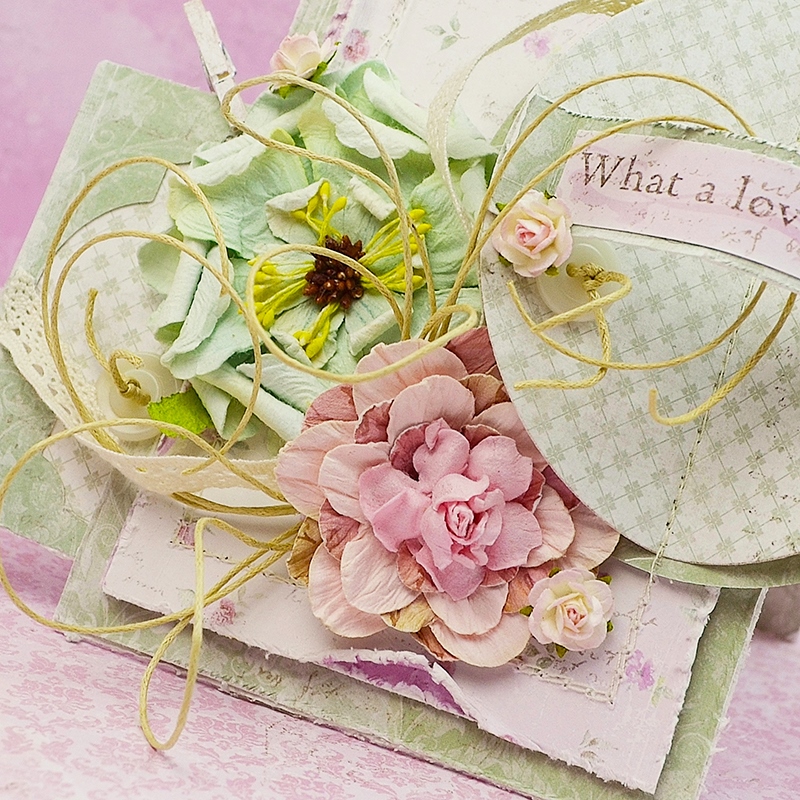
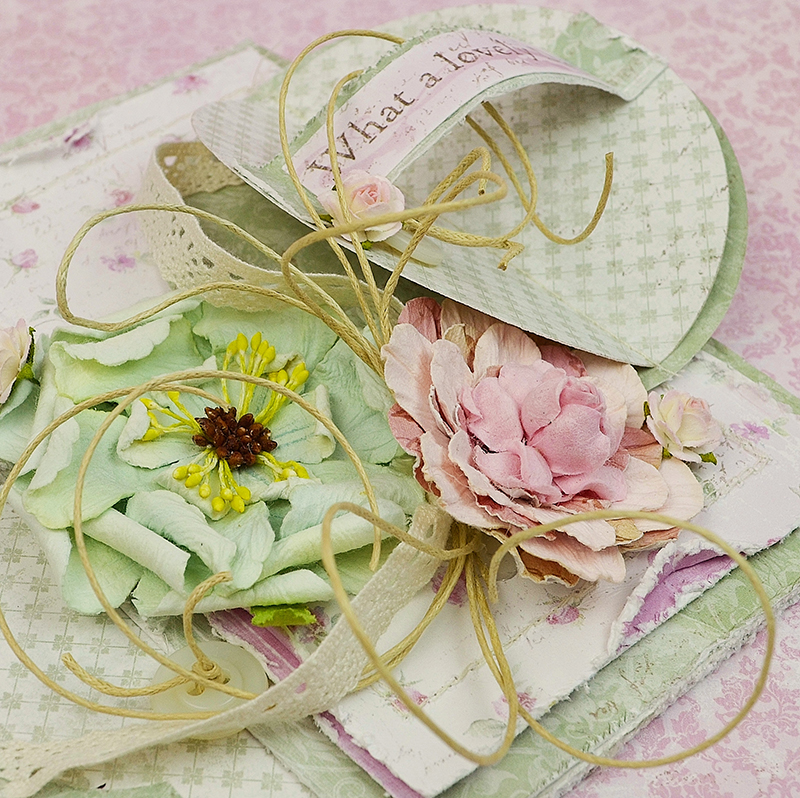
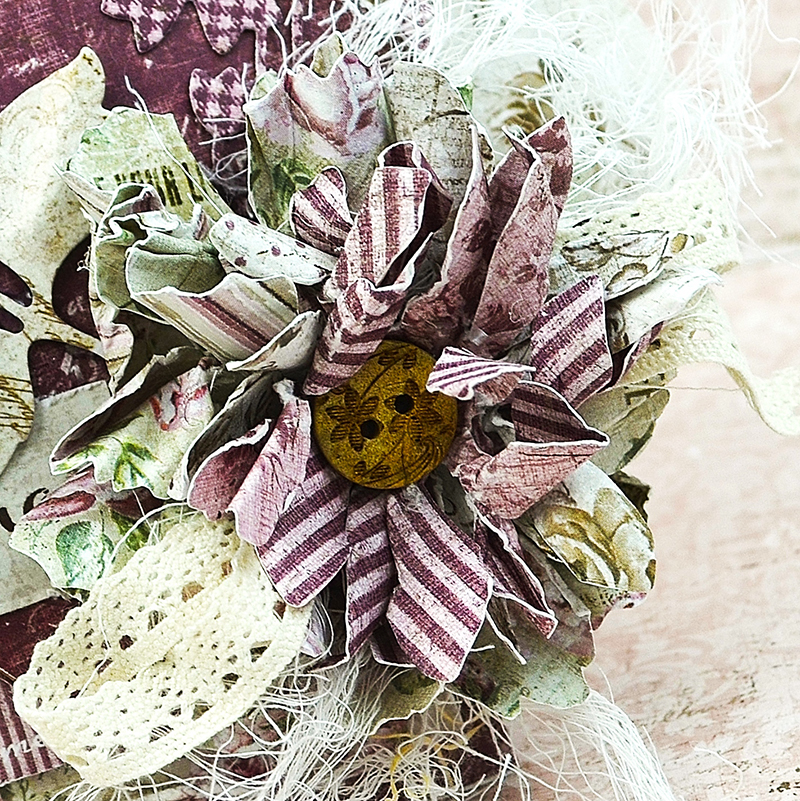
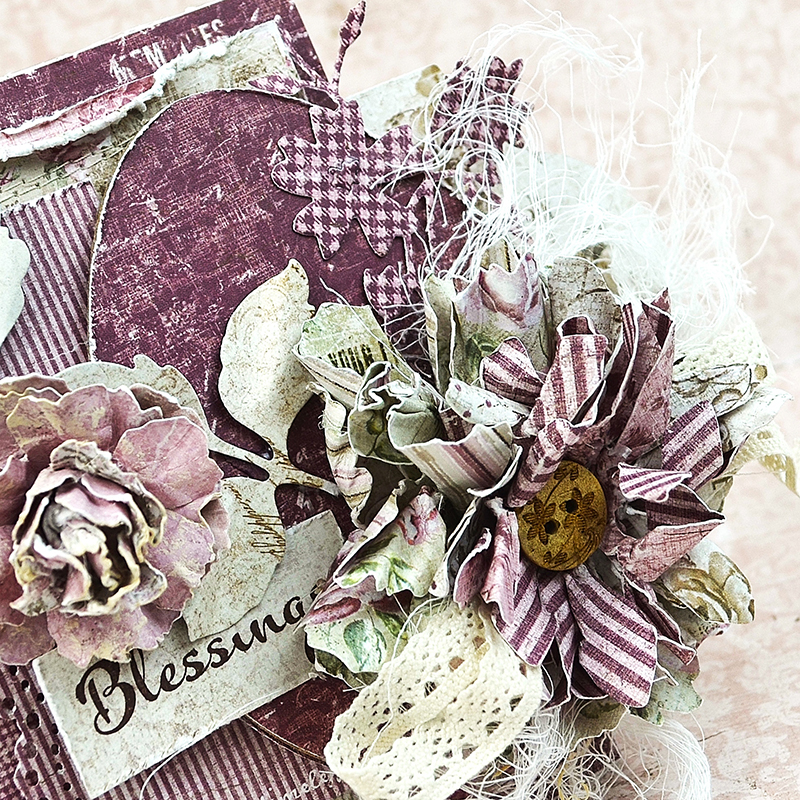
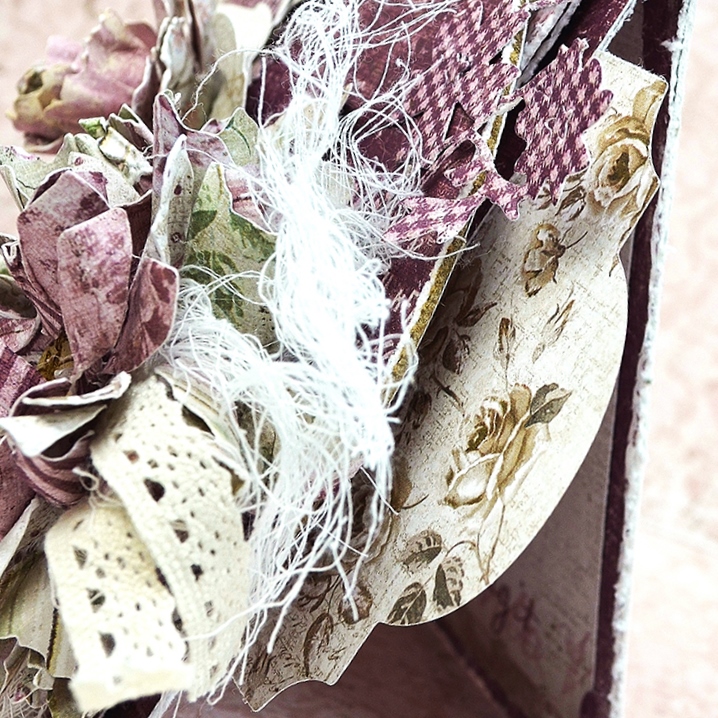
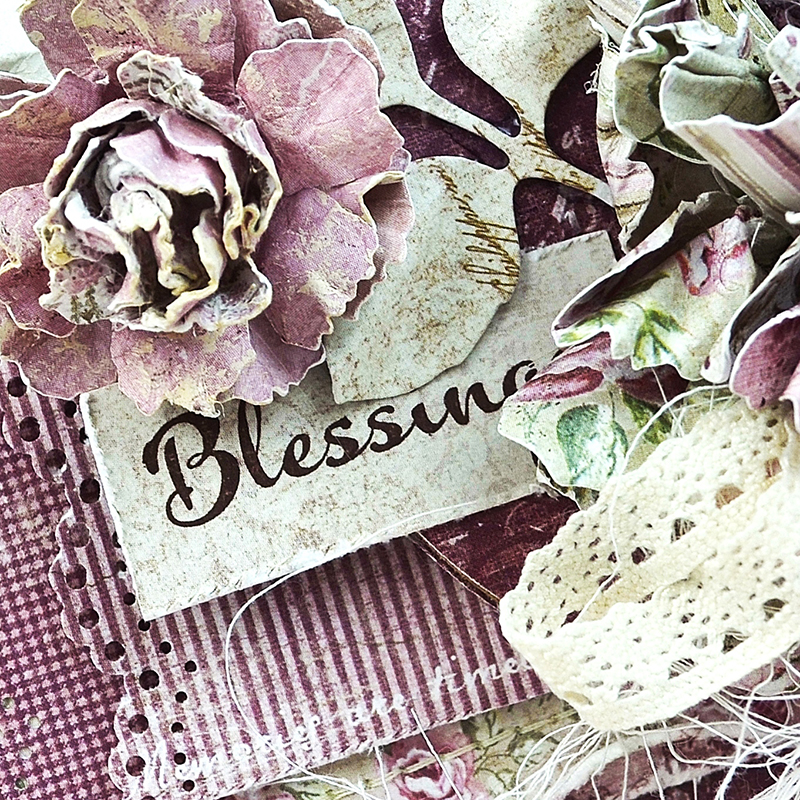
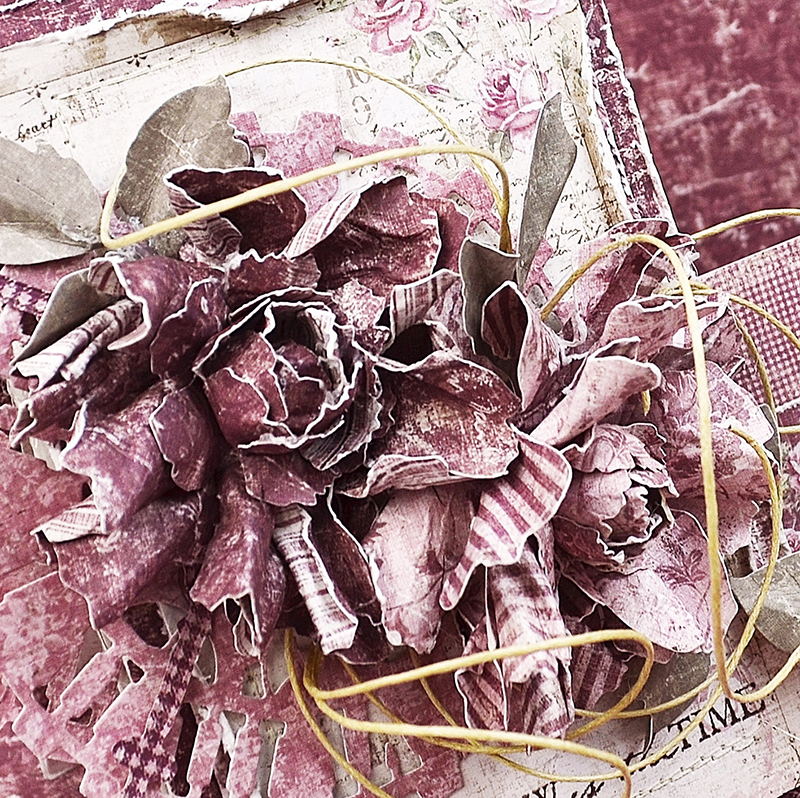
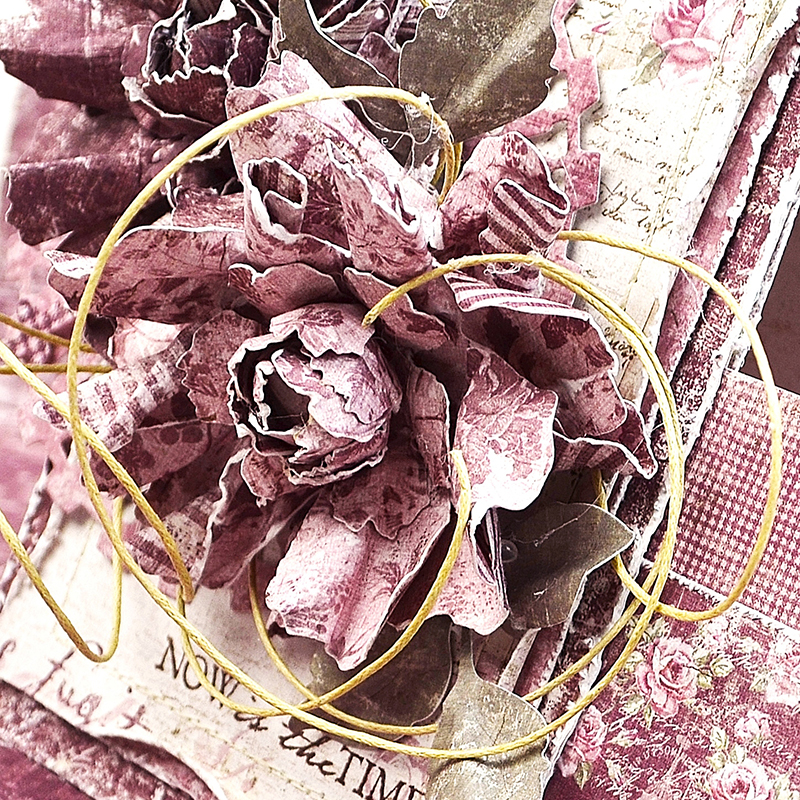
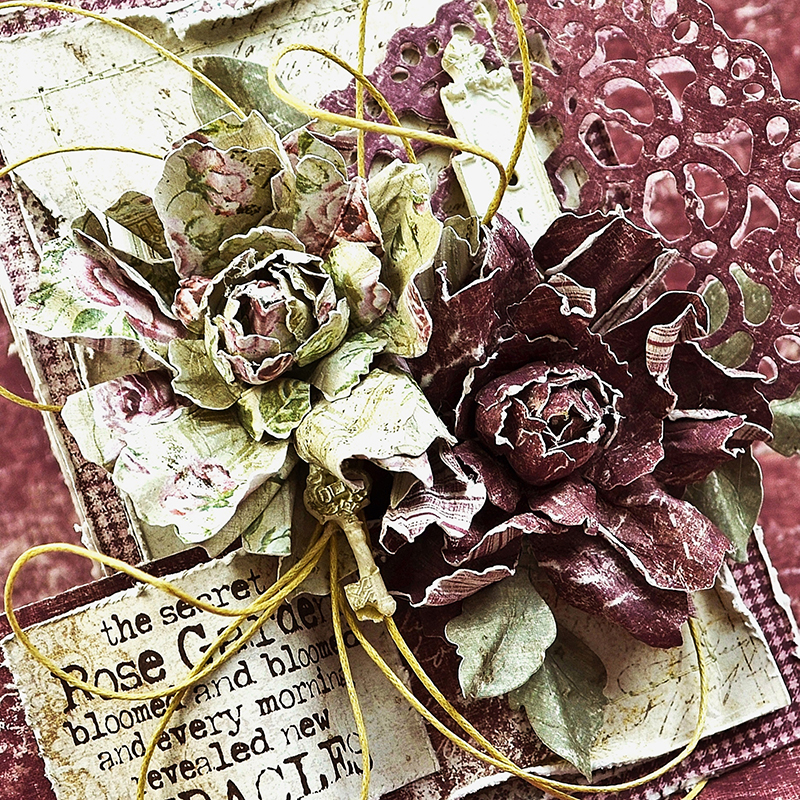
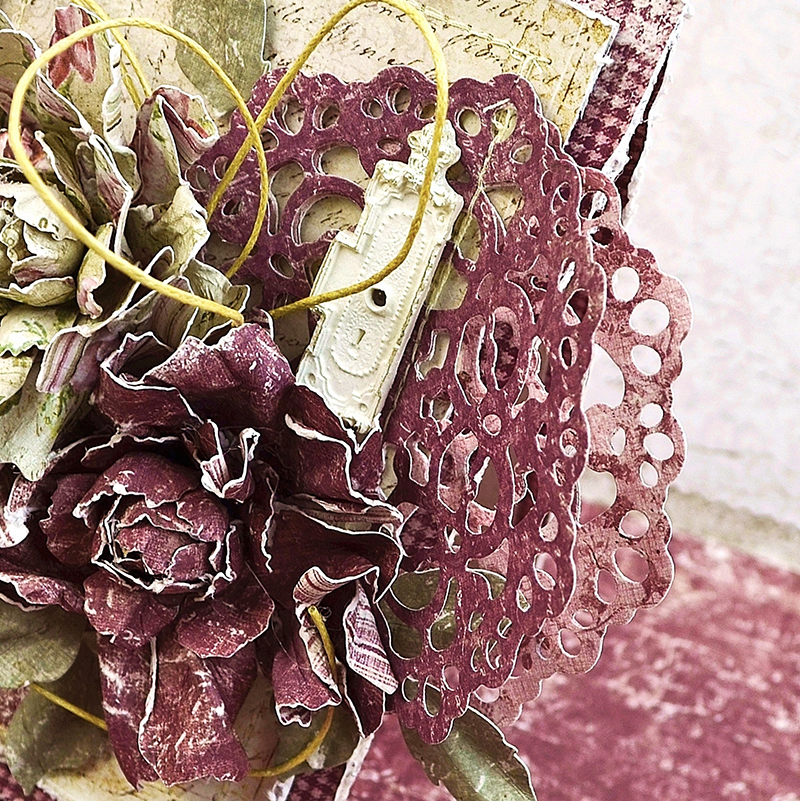
Prima flowers, die cut leaves, glass pearls, and a twine bow round out the embellishments.

A 4

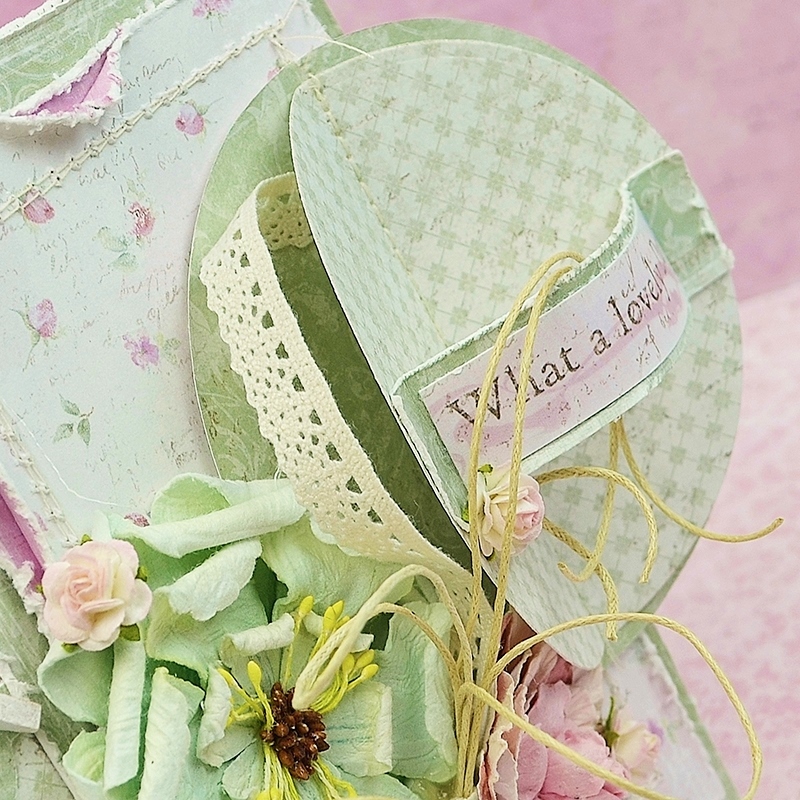
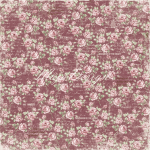
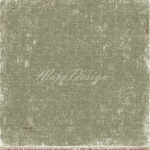
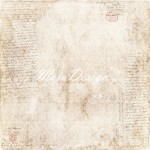
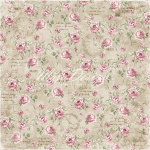
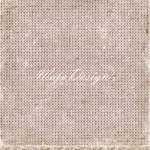
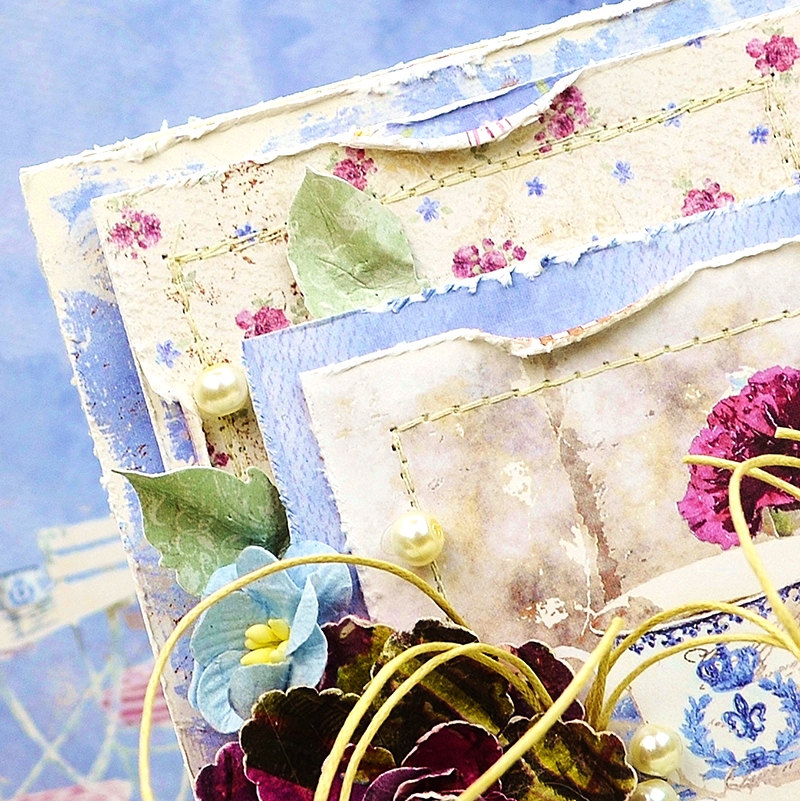
Below is a closer look at the design paper. I know I say this all the time, but it truly is amazing how beautifully the papers work together. Honestly, the hardest part is narrowing down which papers to use. SO many choices!

A 5

A 2

Maja Design Papers Used:  Coffe-in-the-Arbour-P


Additional Supplies: Magnolia Rose Leaf Die, Prima Flowers, Glass Pearls, Natural Twine, Foam Adhesive, Sewing Machine, Thread. 

Thank you so much for joining me today! If you’re wondering where you can purchase these gorgeous papers, just click on the link at the top of the blog that says ‘store finder’. Don’t forget to check out our current Mood Board Challenge (you can win an entire set of design papers!). I send wishes for a week filled with all things bright and beautiful!

Hugs,Nancy-sign

‘A Lovely Day’ Card!

3

Posted by Nancy Dynes

4 April, 2017 - ,

Write a comment

B 1

A happy hello to all of our friends here on the Maja Design Blog! It’s Nancy, and I’m so happy to be with you on the blog today. I hope you’re enjoying fine spring weather in your area. In honor of this beautiful time of year, today’s card is all in pastels from Maja Design’s Sofiero collection. I absolutely adore this collection. It is the embodiment of all things springtime.

The design paper is distressed, layered, and stitched. Graduated sizes of Spellbinders circles and labels are layered and stitched as well. The sentiment is part of the paper collection. It is from the bottom border of the paper. Most brands of papers leave that section a plain white, but Maja Design makes wonderful use of that area by placing pretty designs and sentiments for use with our projects.

B 2 c

The circles are folded at the center to add dimension and to accommodate the sentiment. Paper flowers from my stash form a fresh and cheery floral bouquet.

B 2 a

Twine, lace, vintage buttons, and a tiny painted clothespin add finishing touches to the design.

B 3 c

B 2

Maja Design Papers Used:Sofiero-P1

Additional Supplies: Spellbinders Circles and Labels dies, Tim Holtz Distress Tool, foam adhesive, paper flowers, twine, clothespin, lace, and vintage buttons from my stash, sewing machine and thread. 

Thank you so much for joining me. I truly hope you are having a lovely day. May your week be filled with fragrant flowers, warm breezes, and all the joys of spring!

Hugs,Nancy-sign

An Easter Garden!

6

Posted by Nancy Dynes

21 March, 2017 - , ,

Write a comment

A 1

Hello, friends! I hope you’re enjoying a lovely day. It’s Nancy, and I’m thrilled to welcome you to the Maja Design Blog. I’m relishing the beautiful weather and staying busy as ever in my craft room with my Easter preparations. I have a new card to share featuring two spring elements, Easter eggs and handmade flowers.

Two of my favorite Maja Design collections, Vintage Autumn Basics and Vintage Summer Basics, are used in the creation of this card. As usual, the paper is distressed, layered and stitched to form a base. One of the many things I adore about Maja Design paper is that it’s strong and behaves much like fabric when I’m working with it. As you can see, I really put it to the test and it holds up every time.

A 6

A 5

You’ll find a blooming rose and a wildflower gracing my little garden. If you visit my blog you’ll find tutorials for both styles of flowers as well as the Easter egg. A die cut flourish, ribbon and cheesecloth add a soft touch.

Design paper is border punched and layered to anchor the egg and florals. A die cut Spellbinder’s frame is tucked in behind the egg.

A 4

A 8

A 7

A 2

Vintage-Summer-Basics3

Additional Supplies: Martha Stewart Lace Border Punch, Sentiment Stamp, Archival Ink, Tim Holtz Tattered Florals Dies, Magnolia Rose Leaf Die, Flourish Die, Spellbinders Frame Die, Foam Adhesive, Button, Lace, Cheesecloth, Sewing Machine, Thread. 

Thank you so much for visiting! Don’t forget to check out the March Mood Board if you haven’t already done so. There’s still time to get your project entered. Sending wishes for sunny days filled with many joys!

Hugs,Nancy-sign


‘Now is the Time’ Card

6

Posted by Nancy Dynes

21 February, 2017 - ,

Write a comment

A 1

Hello! Welcome to the Maja Design Blog! It’s Nancy, and I’m thrilled you’re here with me. I hope you’re having a wonderful day.

I’m reflecting on time this week, as my youngest child  is about to graduate from university. How did all of those years slip away so quickly? They truly did fly by. I’m reminded to savor each precious moment, for time is a gift and memories are treasures. I’m drawing my inspiration for this card from Maja Design’s gorgeous Vintage Autumn Basics collection.

I begin by distressing, layering, and stitching design papers to form a base. All of the embellishments for this card are die cut from the Vintage Autumn Basics Collection. A double layer of vintage die cut clocks anchor the floral arrangement.

A 5

A 7

A 6

I have a tutorial for these roses here on the Maja Design Blog. Below, a border punch adds a lovely touch to strips of design paper. In the bottom corner you’ll find a stamped sentiment.

A 9

A twine bow ties everything together with a feminine flare.

A 3

Maja Design Papers Used: 

Additional Products Used: Tim Holtz Tattered Florals Dies, Tim Holtz Clock (hands) Die, Prima Clock Die, Magnolia Rose Leaf Die, Martha Stewart Lace Border Punch, Twine, Sentiment Stamp, Archival Ink, Sewing Machine, Thread, Tim Holtz Distress Tool, Adhesive.  

Thank you so much for visiting! I’m always excited when it’s my turn to join y’all on the Maja Design Blog. May each moment of your day be filled with beauty and crafty adventures!

Hugs,Nancy-sign

The Secret Garden

6

Posted by Nancy Dynes

7 February, 2017 - , ,

Write a comment

A 2 a

Hello! Welcome to the Maja Design Blog! It’s Nancy here with you on this beautiful Tuesday. A week ago I posted a complete tutorial for paper roses, so I’m using some of my handmade blossoms to bring this secret garden to life. I have a passion for secret gardens. Honestly, I can’t get enough of them. My home, Charleston, is filled with private gardens sequestered behind tall brick walls with elaborate wrought iron gates. I’m always trying to peek beyond the gates to glimpse the beauty that lies beyond.

A 10

You don’t have to peek around massive iron gates to visit my garden! Inside you are greeted by distressed Maja Design papers, layered die cut doilies, abundant handcrafted blooms, shabby resin embellishments, and a sweet stamped sentiment.

A 3

A 9

A 7

A 4

A 10

You can create your own rose garden anytime you wish by checking out the tutorial presented here on the Maja Design Blog last Tuesday.

A 1

Maja Design Papers Used: 

Additional Products Used: Magnolia Rose Leaf Die, Tim Holtz Tattered Florals Die, Doily Die, Tim Holtz Distress Tool, Tim Holtz Mini Mister, Impression Obsession Stamp, Archival Ink, Twine, Melissa Frances Resin Lock & Key, Adhesive, Sewing Machine, Thread.  

Thank you so very much for sharing your time with me! Don’t forget to check out our February Mood Board Challenge. We just launched it this week, so you have plenty of time to participate. May this day bring you untold joys and creative adventures!

Hugs, Nancy-sign