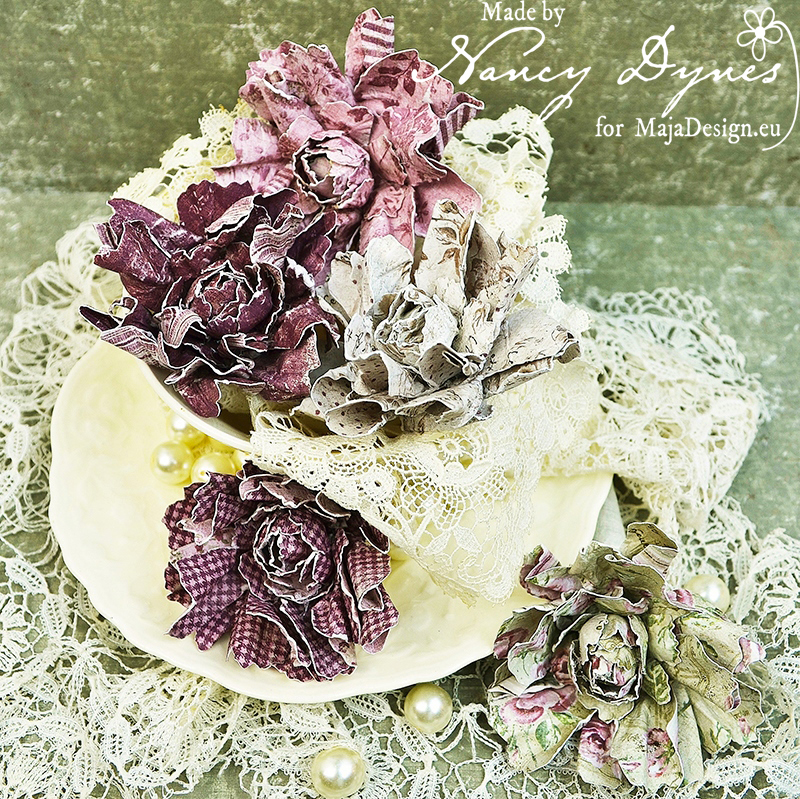
From My Garden to Yours!

3

Posted by Nancy Dynes

24 January, 2017 - ,

Write a comment

B 3 a

Hello, friends! Welcome to the Maja Design Blog. It’s Nancy here, and I’m so very happy to be here with you. If you’ve seen any of my previous projects, you know I handcraft almost all of my flowers. Today I’m sharing a tutorial for one of my favorites, my ‘wild roses’.

All of my blossoms begin with Maja Design Papers. They are perfectly suited to flower making. The papers are double sided and they are nice and strong. They can hold up to just about anything you throw at them, which you are about to see.
A 1

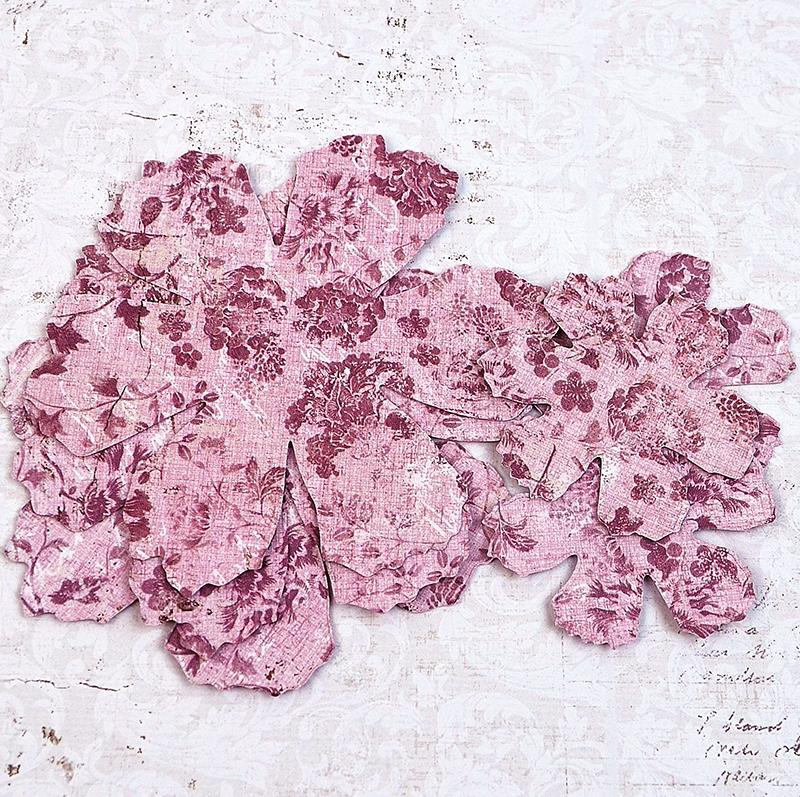
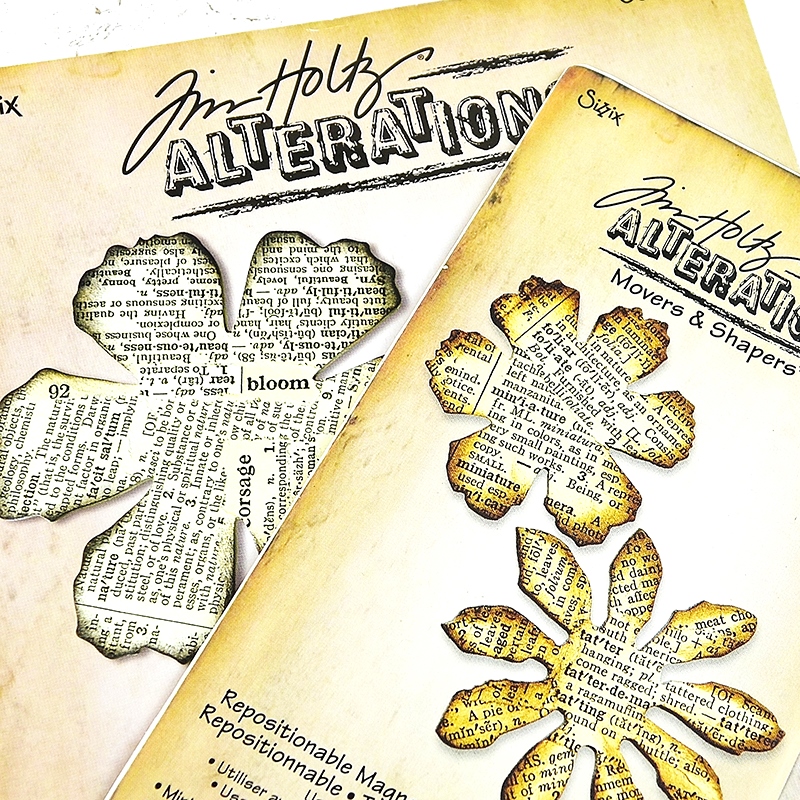
Begin by die cutting 6 petals (3 large and 3 small). I used Tim Holtz Tattered Florals, but you can use anything you have on hand, or even hand cut your petals.
A 2

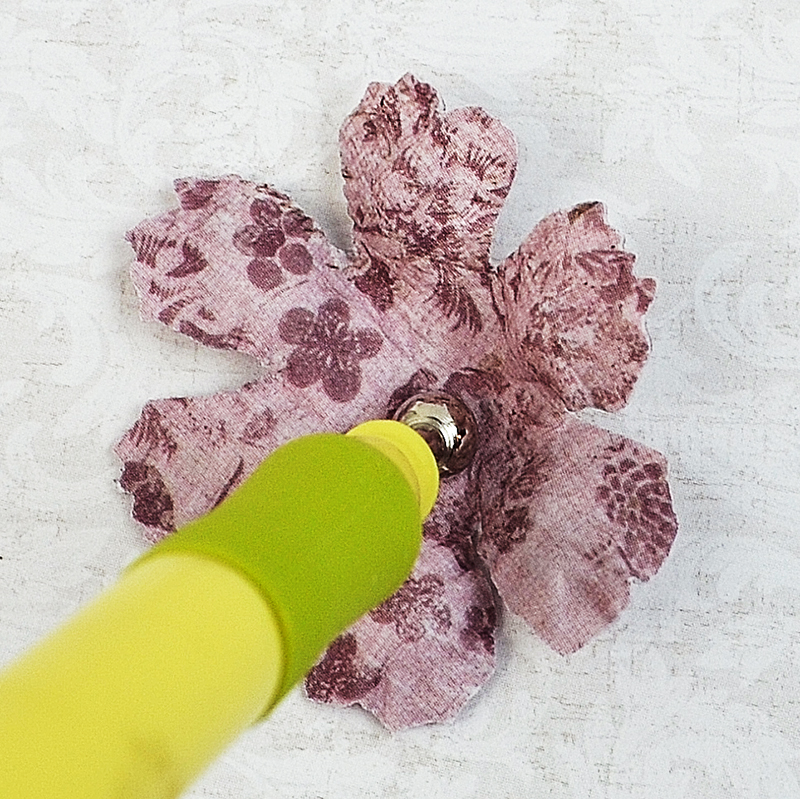
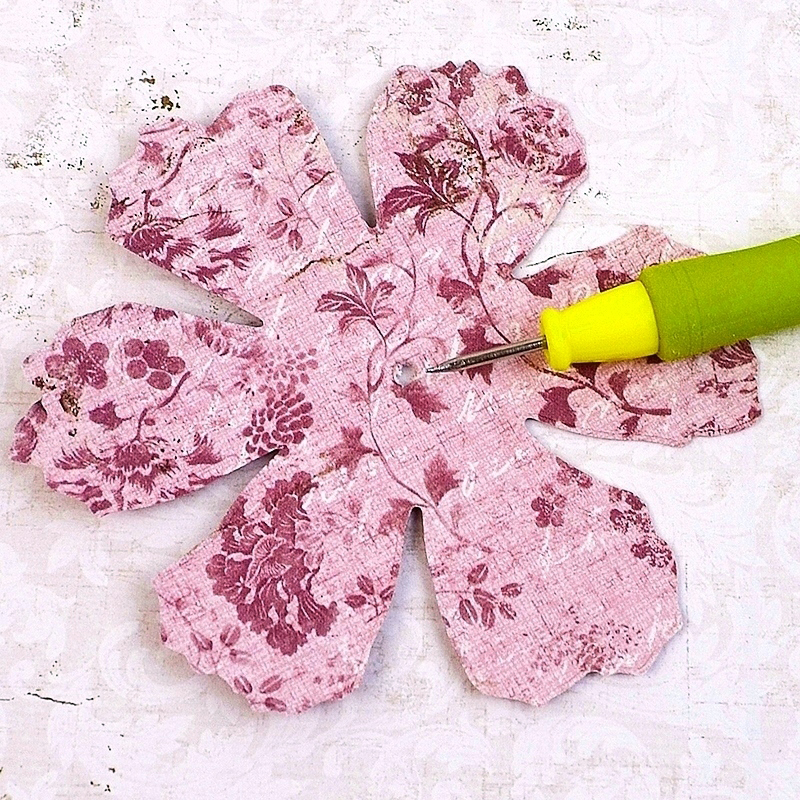
Punch a small hole in the center of each petal.
A 3

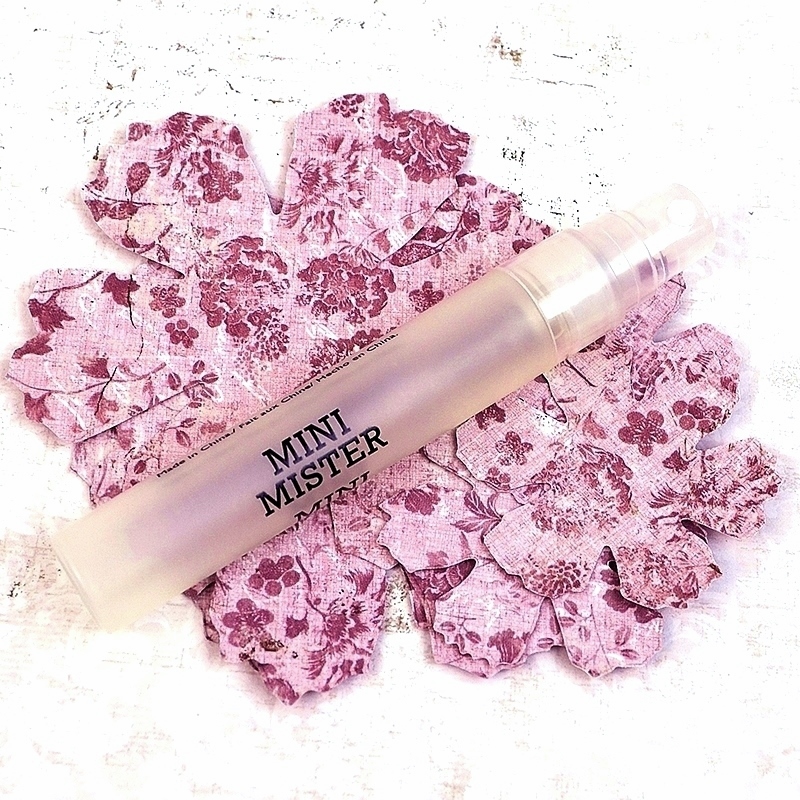
Spray or brush both sides of each petal with water. You don’t want them to be sopping wet. Just moist enough to make them pliable. As you make more flowers you’ll begin to get a feel for the level of moisture that works best for you.
A 3 a

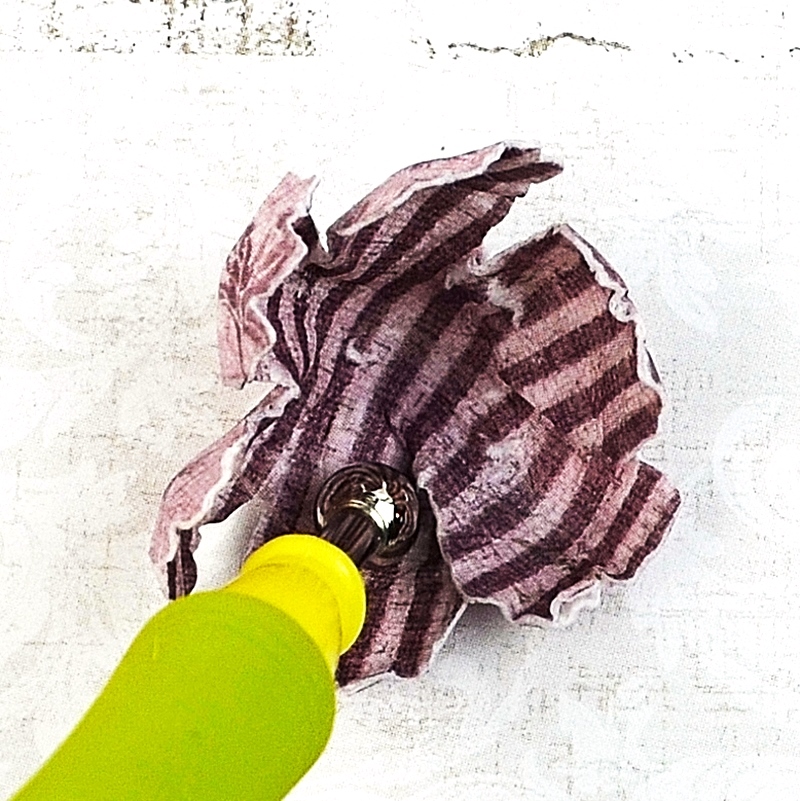
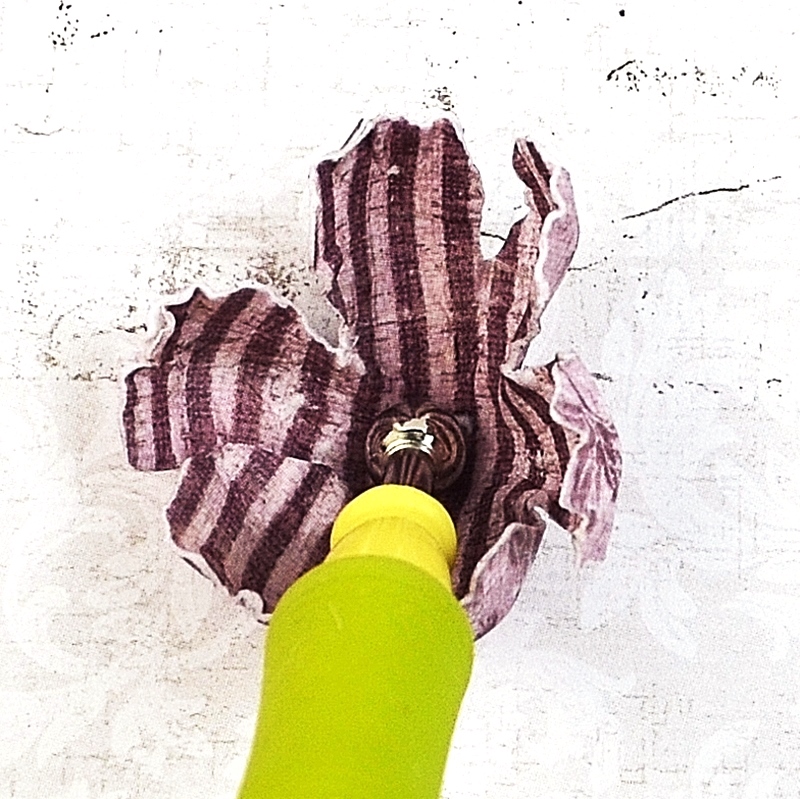
Use a shaping tool to form two small petals that will become the center of the bud, as demonstrated below.
A 5

A 4

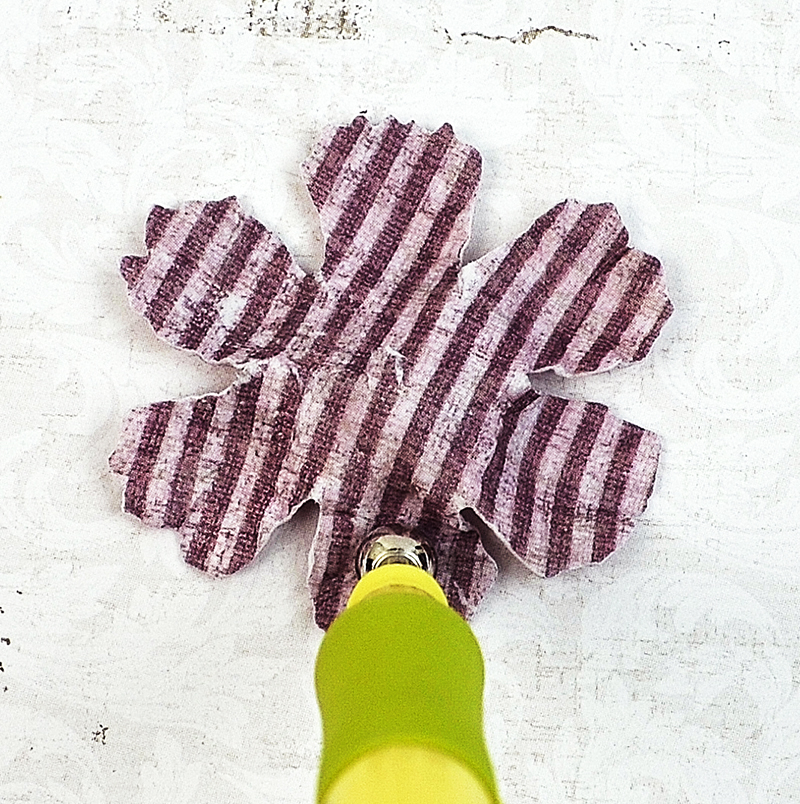
Use the shaping tool to form the third small petal as shown in the photos below.
A 7

A 8

When complete they will look like this:
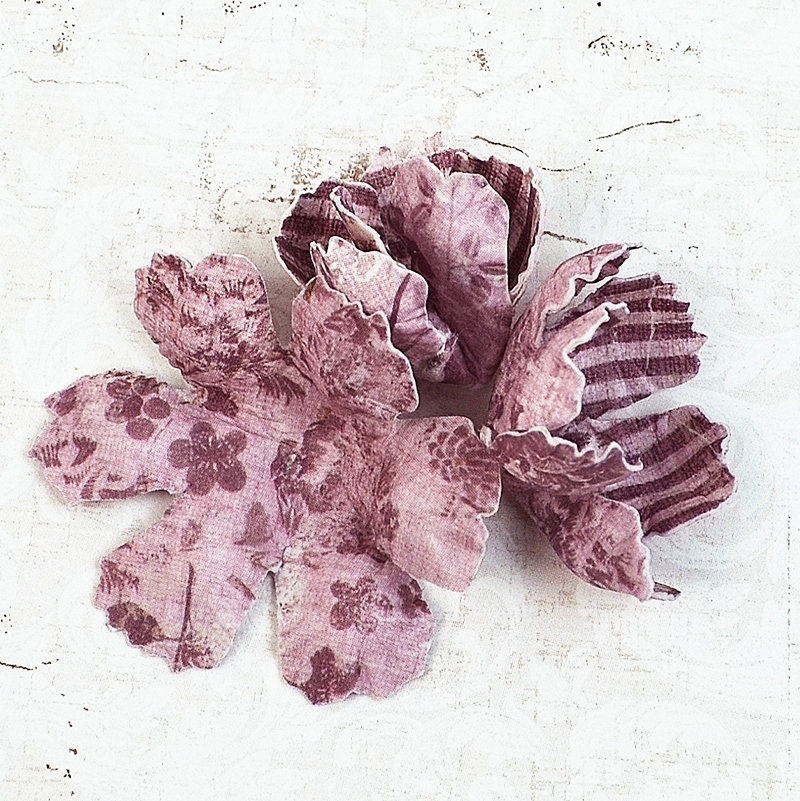
A 9 a

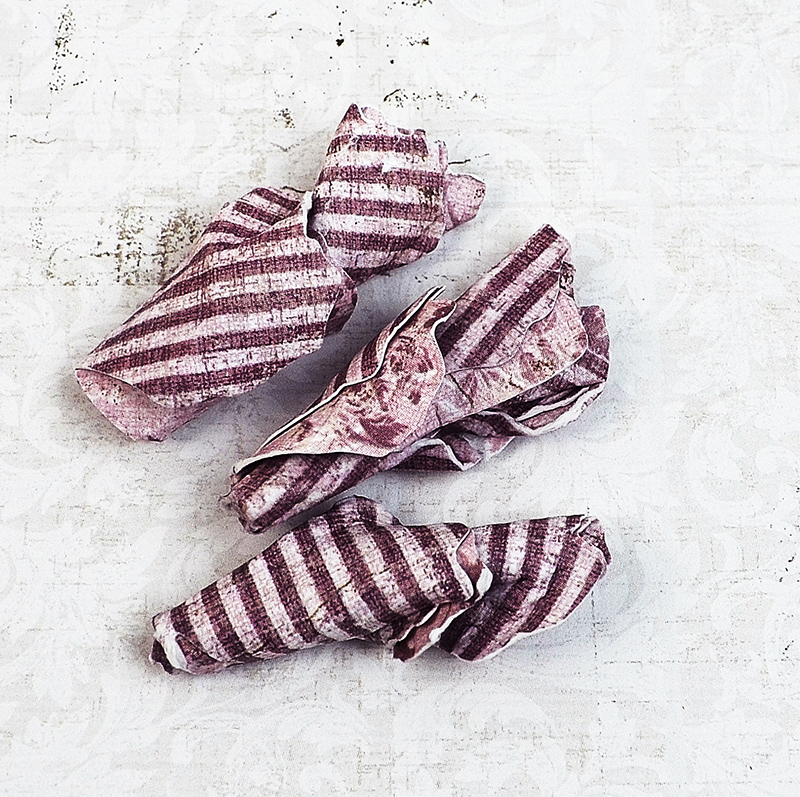
Roll and squish the three large petals. You may have to spray a bit more water. Use care not to tear the petals as you roll them. Once all of your petals are prepped it’s time to bake them. Yes, bake them. My husband often comes home to find a batch of flowers in the oven instead of cookies. Preheat your oven to 250 degrees and bake for about 10 minutes, depending on how moist your petals are. Be certain to bake until they are completely dry as this will prevent tearing when you unfold them.
A 9

Always use care when baking paper. Never leave it unattended and check on it frequently. While your petals are baking it’s time to form a base for the bud.
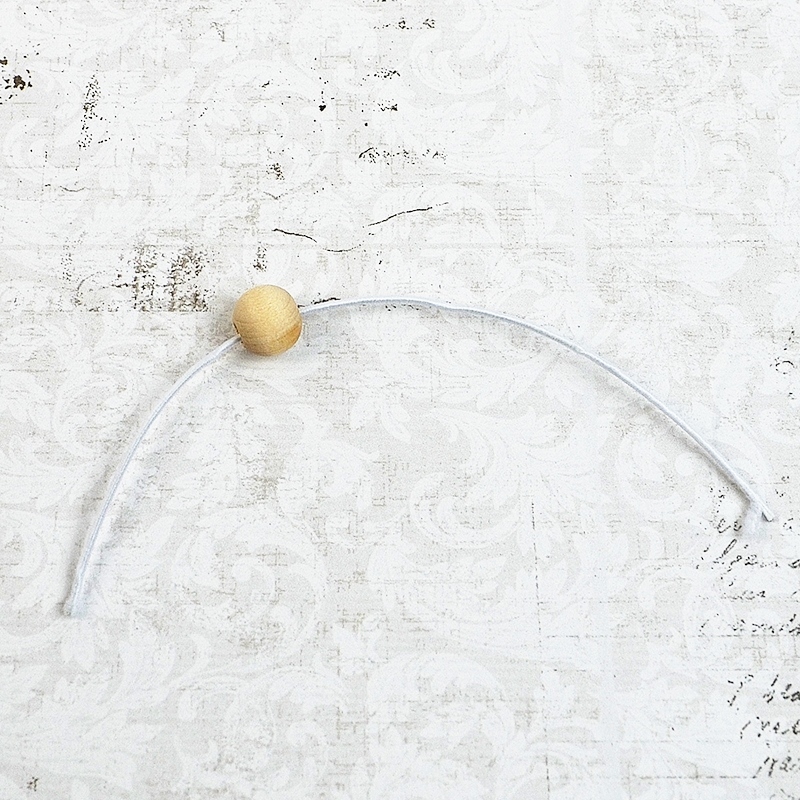
A 10

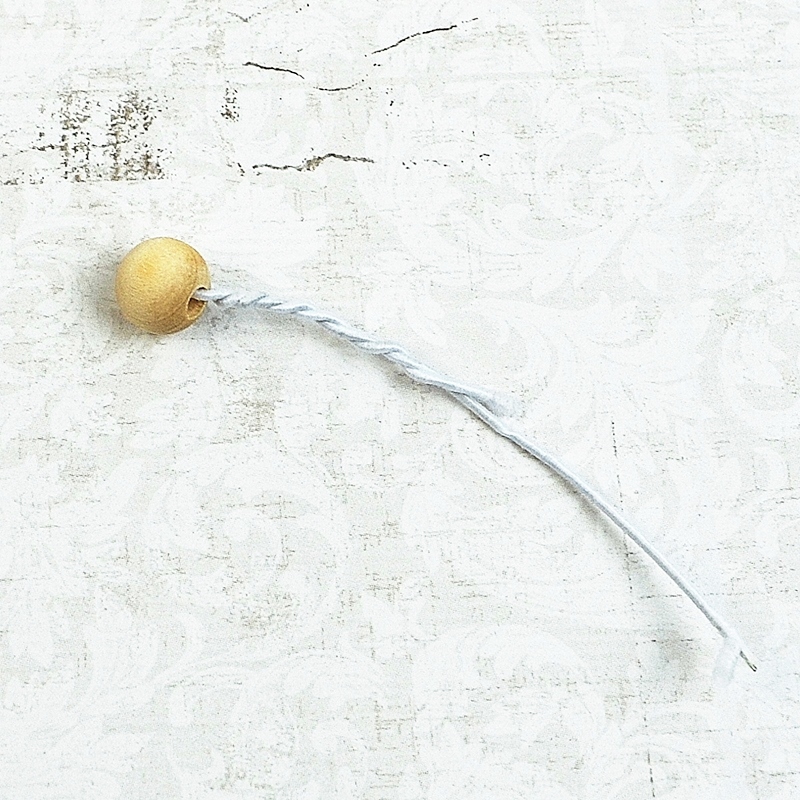
I use a small wooden bead and floral wire. You can purchase the beads and wire at any craft store. Twist the floral wire around the bead.
A 11

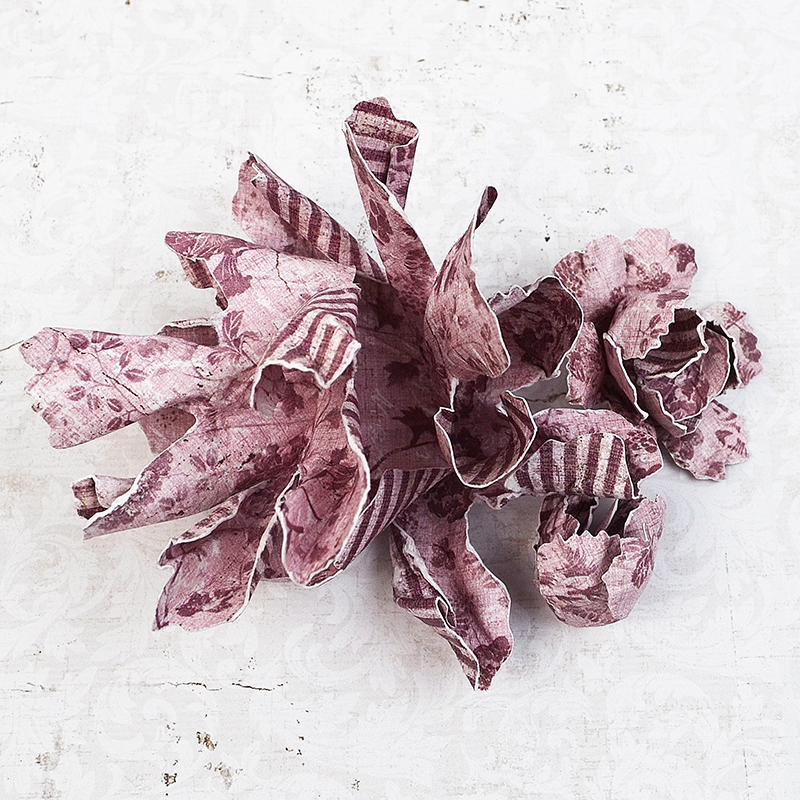
Below is a batch of petals fresh from the oven. The shape is now baked into the paper.
A 12

Thread the first petal onto the bead.
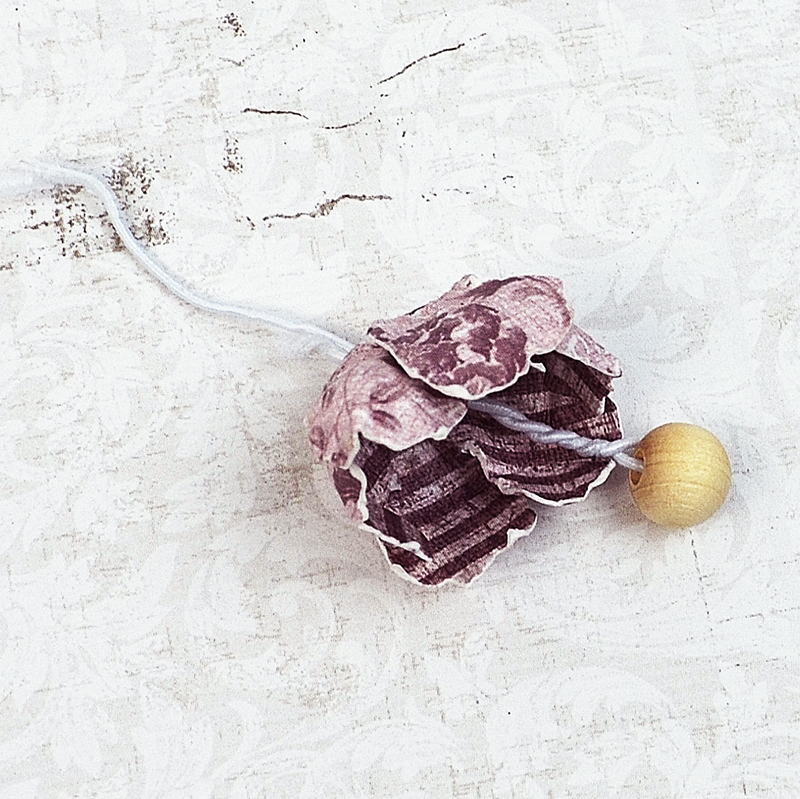
A 14

Adhere two sides of the petal to cover the wooden bead.
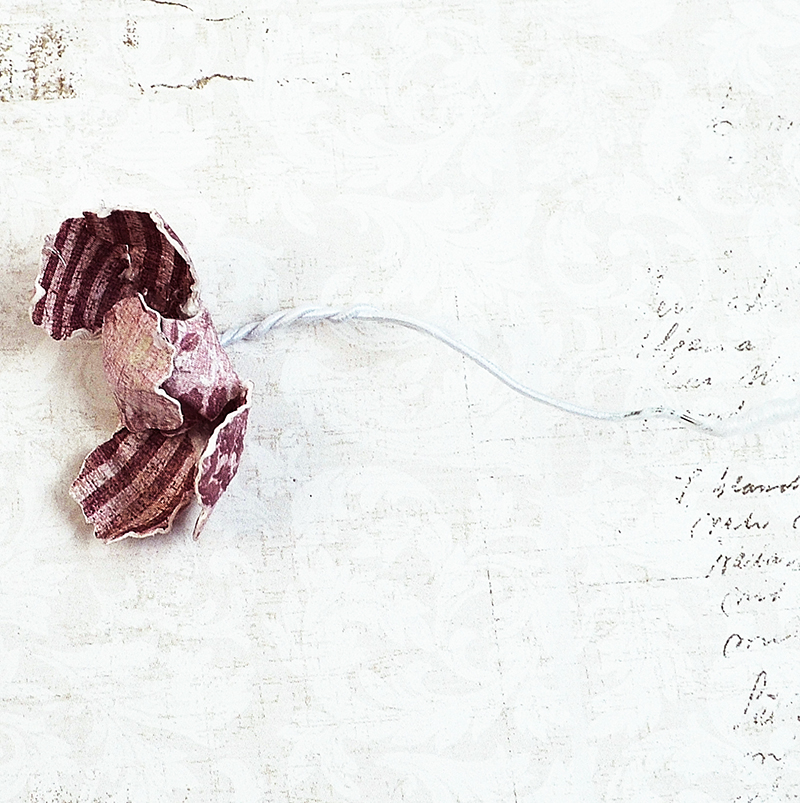
A 15

Adhere the other petals gently to form a bud.
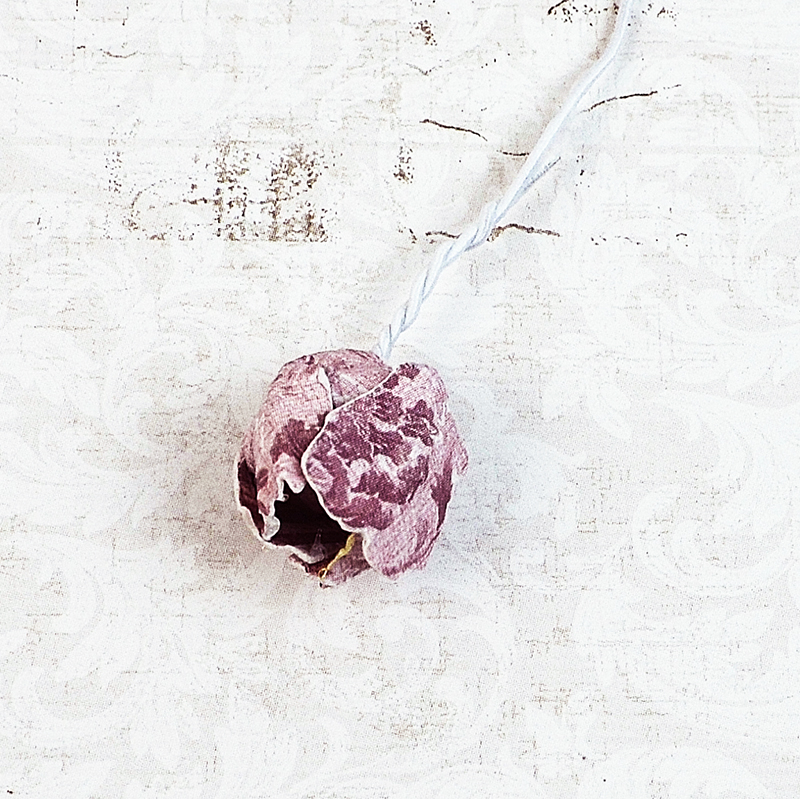
A 16

Adhere the second petal gently over the first. Stagger the petals for a more natural look.
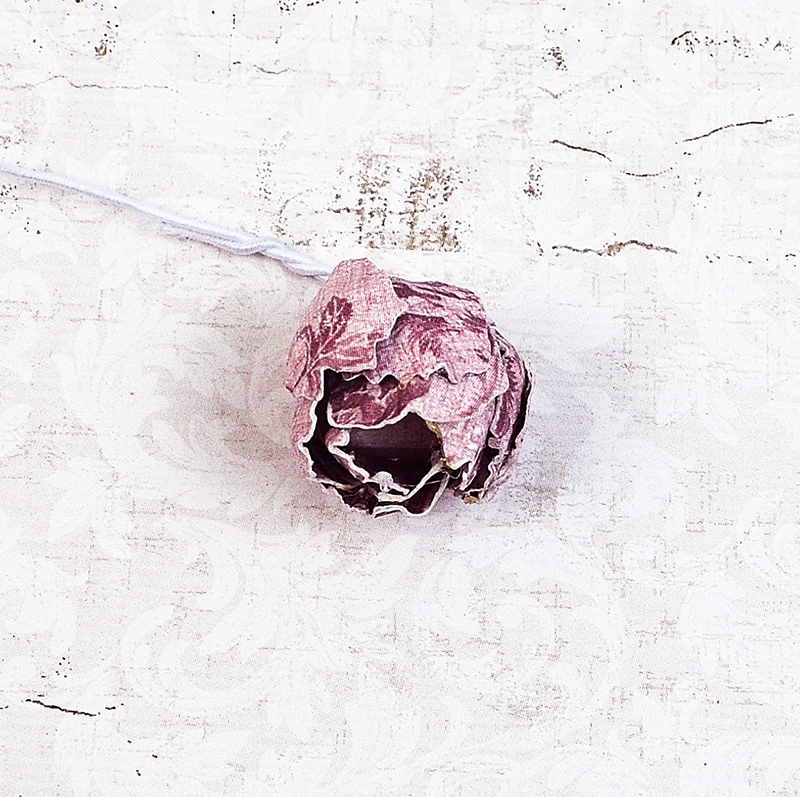
A 17

The third small petal is adhered in the fashion shown below.
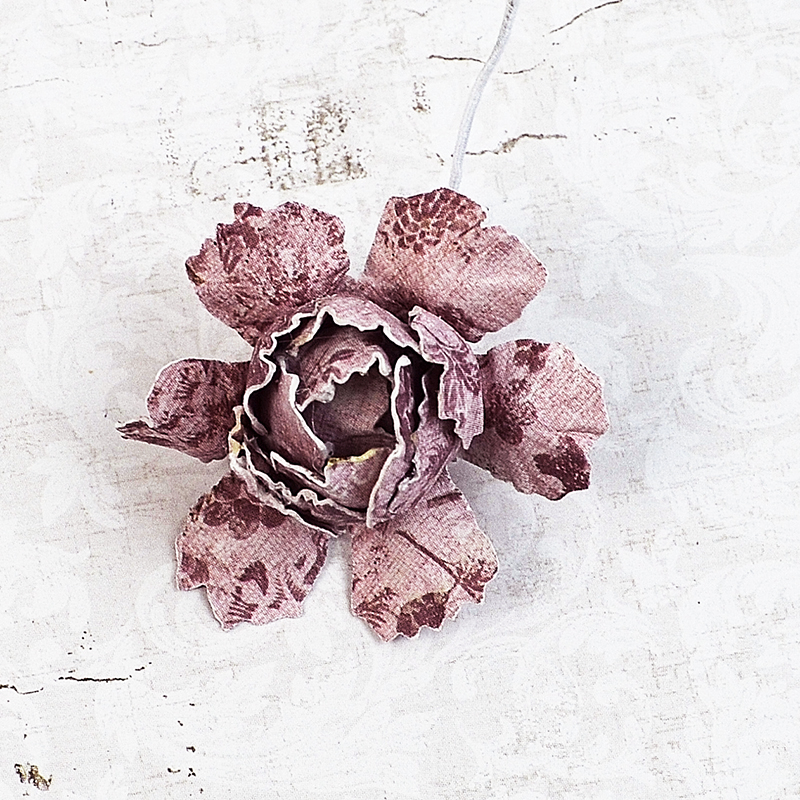
A 18

Finally, adhere all three large petals. Stagger each petal for a fuller bloom. You’ve done it! You have created a ‘wild rose’ in a few simple steps.
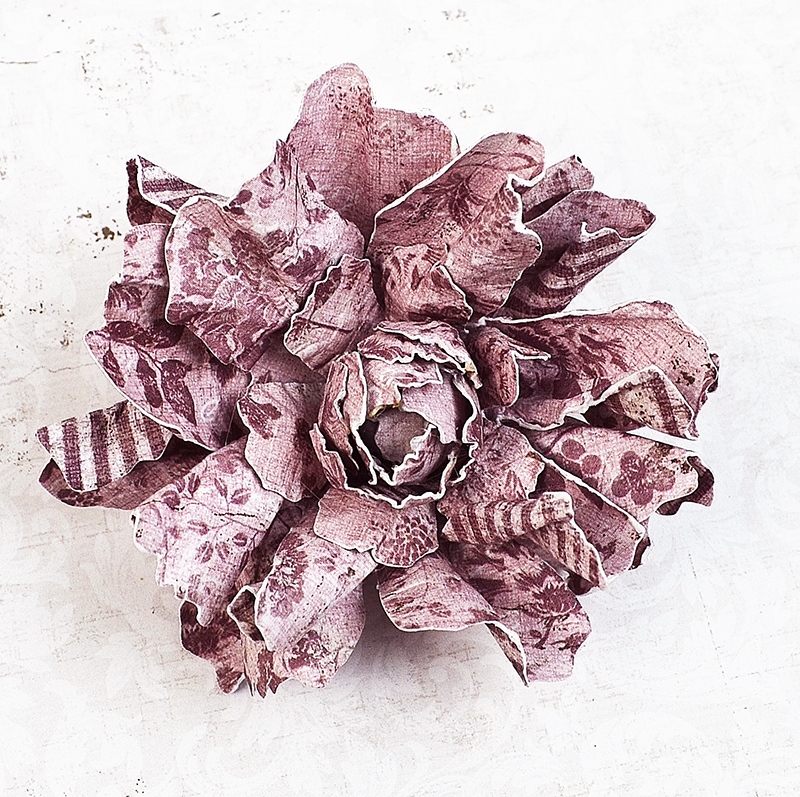
A 19

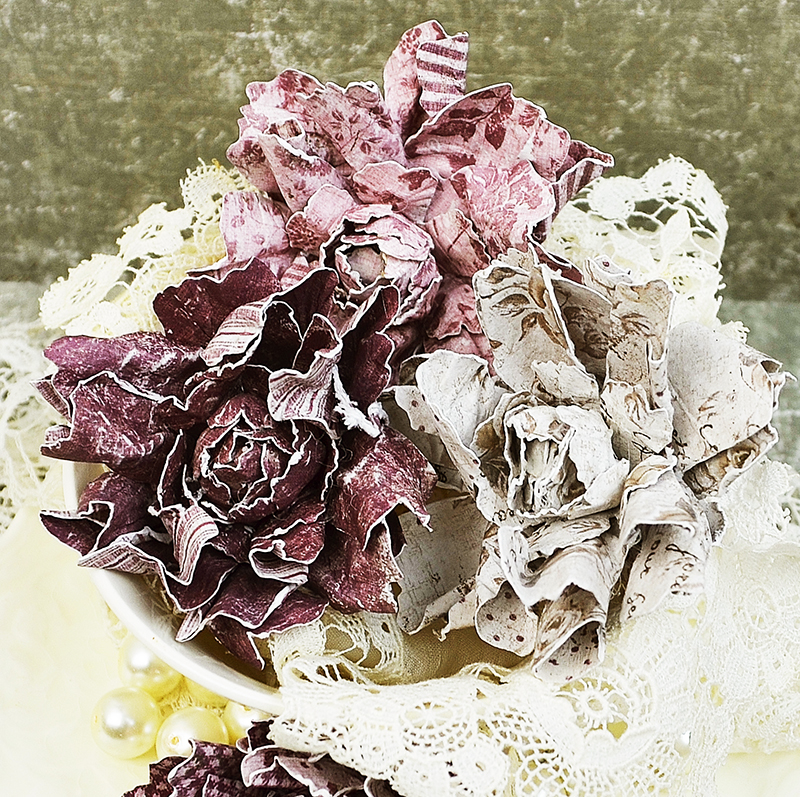
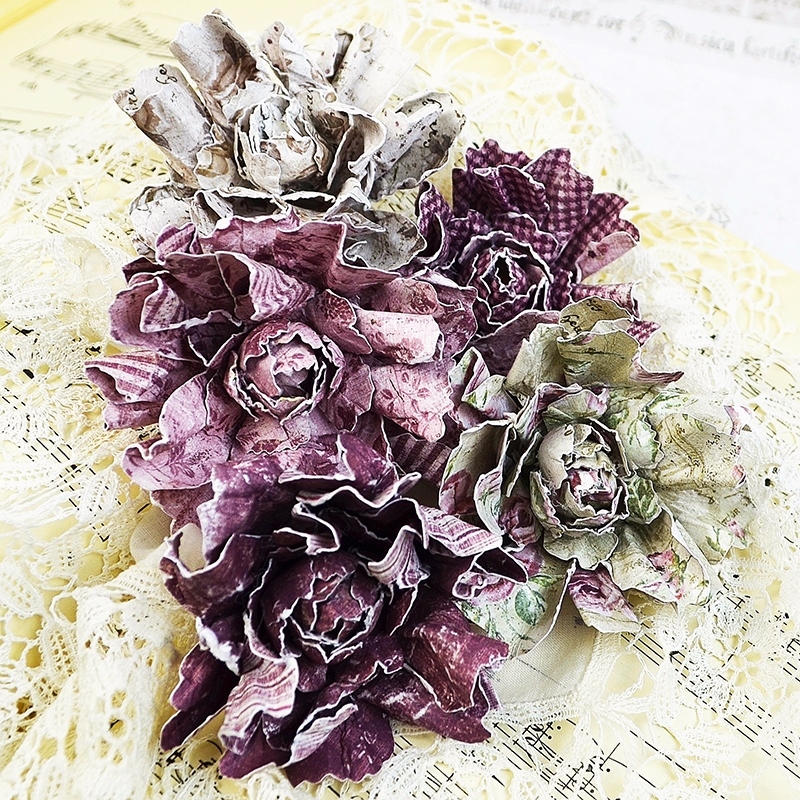
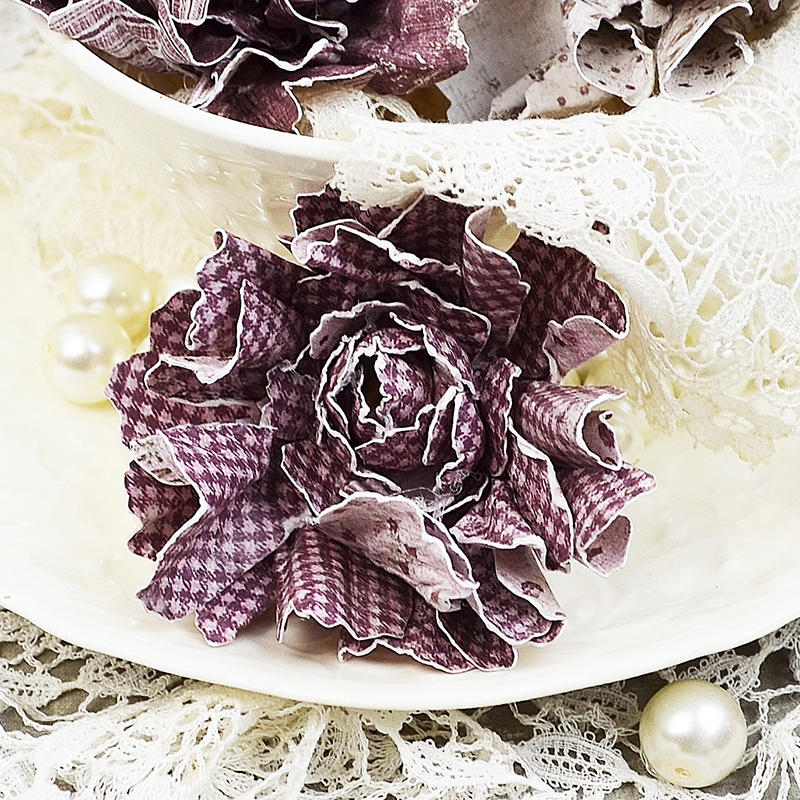
Below you’ll find a few additional blossoms I crafted to give you an idea just how beautiful Maja Design flowers can be. Each is unique and special. Each one will be a perfect match to whatever project you’re working on. It takes a little more time and effort to create your own flowers, but the result is 100% worth every moment you spend on them.
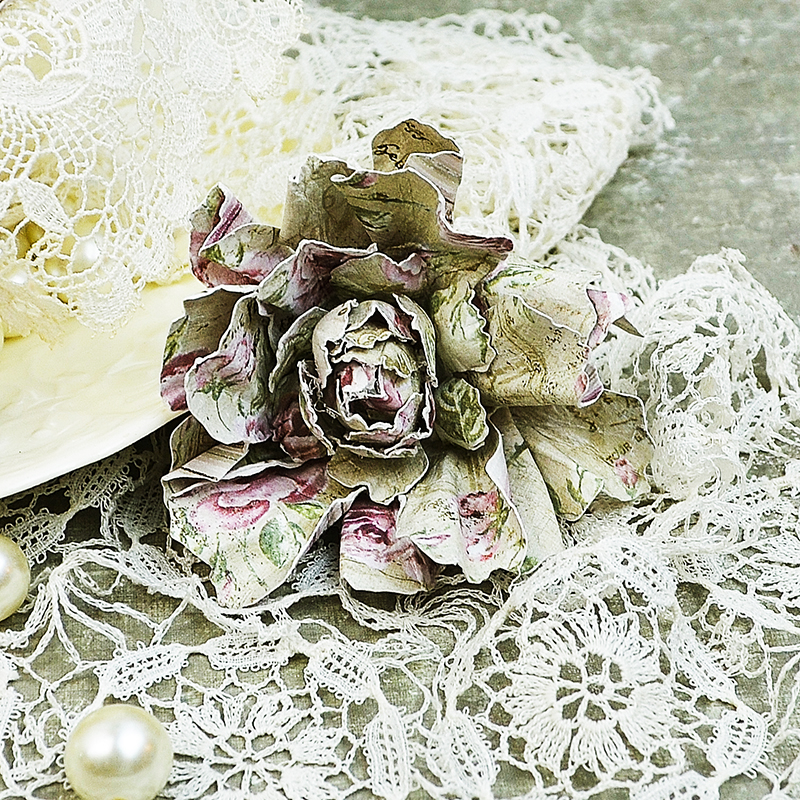
C 1

C 2

C 3

B 2 a

Vintage-Autumn-Basics

Other Supplies Used: Tim Holtz Tattered Florals Dies, Wooden Beads, Floral Wire, Adhesive, Mini Mister, Flower Shaping Tools. 

Thank you so much for stopping by the blog today! It’s been a great pleasure sharing these flowers with you. I hope you will enjoy them as much as I do. I send you wishes for all things good and wonderful!

Hugs,Nancy-sign

Santa’s List Card!

0

Posted by Nancy Dynes

27 December, 2016 - ,

Write a comment

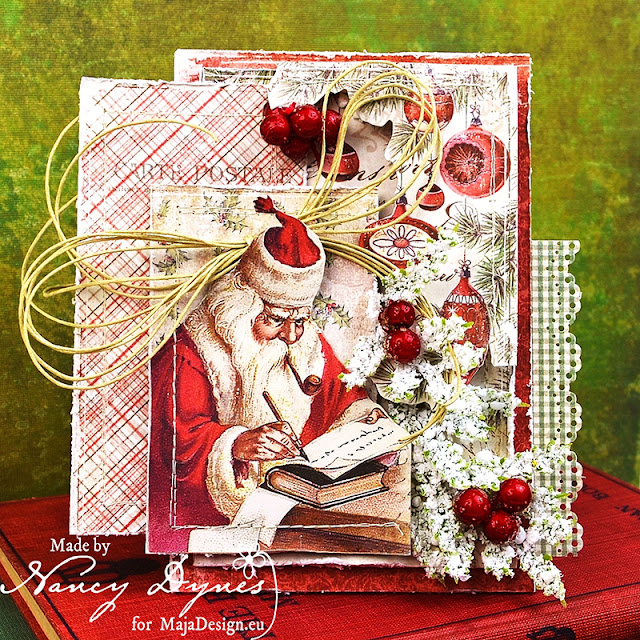
Hello, my friends! I hope you had a blessed Christmas! I’m thrilled to be sharing a project on the Maja Design Blog today. This is the last of my 2016 series of dimensional cards using Maja Design’s festive ‘I Wish’ collection. Sunday was truly the very first day of Christmas, so the way I see it we’re still firmly in the midst of season.

Santa is the front and center of this card as he studies his list in preparation for his holiday deliveries.

Each layer is distressed, layered, stitched, and popped up using foam adhesive.


The image of Santa and the holiday ornaments are fussy cut from the paper collection.

Snow frosted holiday greenery, berries, and a twine bow add finishing touches.


The lace trim is created with a Martha Stewart border punch.

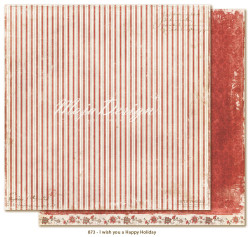
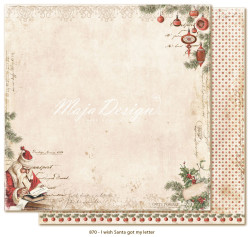
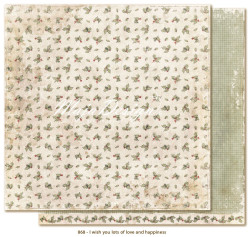
Maja Design Papers Used: 

Other Supplies Used: Twine, Holiday Greenery and Berries, Foam Adhesive, Tim Holtz Distress Tool, Martha Stewart Lace Border Punch, Sewing Machine, Thread. 

Thank you so much for visiting! It’s a great honor to share my card with you. I want to thank you with all my heart for your kind comments. I am humbled and forever grateful to be a part of such a fabulous crafty family. I can’t wait to see what y’all are working on as we head into the New Year. I send wishes for many cozy days of crafting!

Hugs,Nancy-sign


Nancy Dynes

My name is Nancy Dynes. I love creating with layers, dimension, and all things feminine. Maja Design Papers speak to me and inspire my imagination. I am honored to be a member of this amazing Creative Team, and look forward to growing in my craft while working alongside these talented artists.

Joyful Noel Card!

3

Posted by Nancy Dynes

29 November, 2016 - ,

Write a comment

A 1a

Hello, dear friends! It’s Nancy today, and I’m honored to welcome you to the Maja Design Blog.

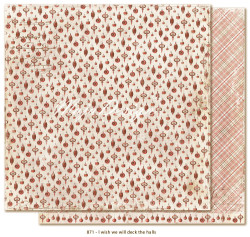
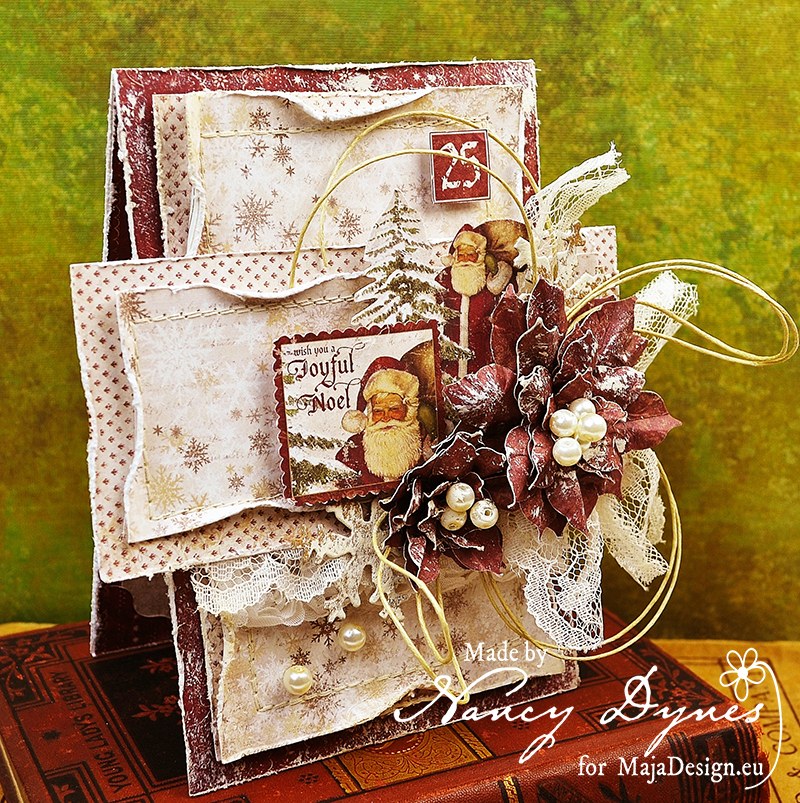
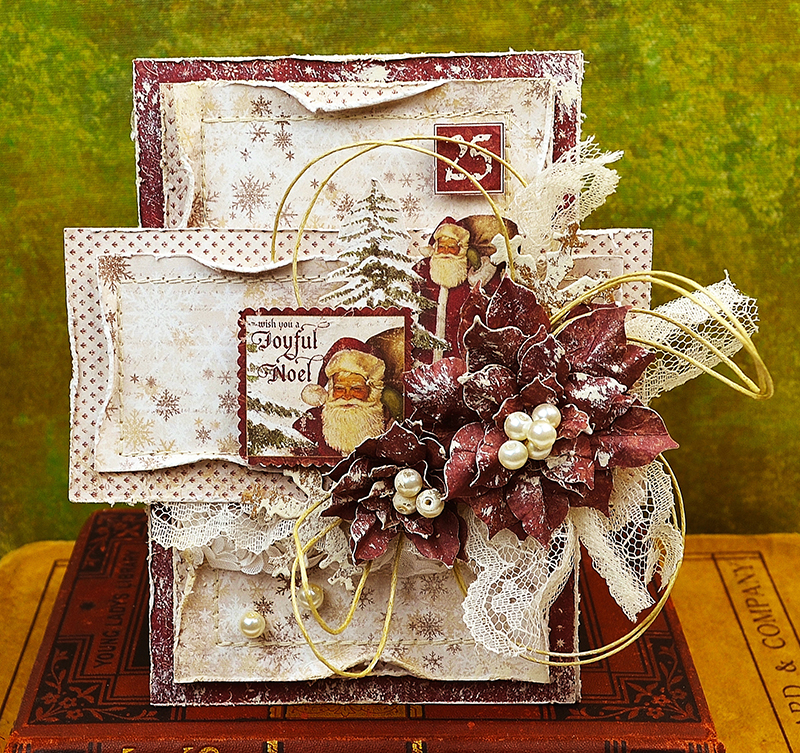
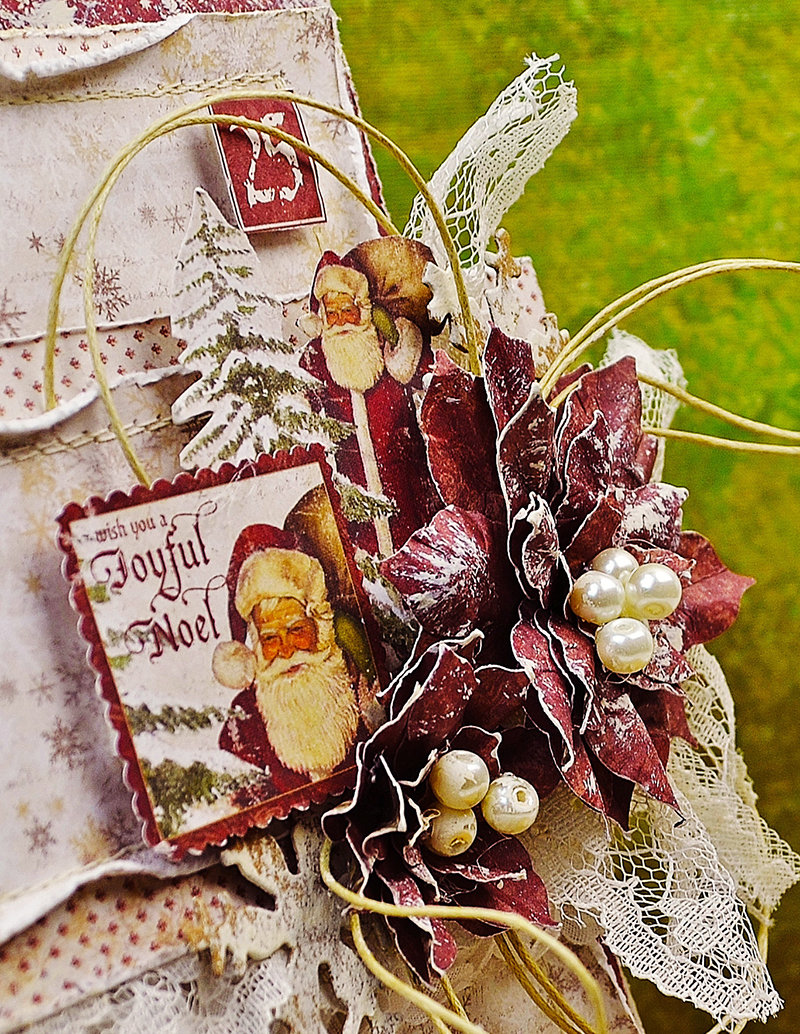
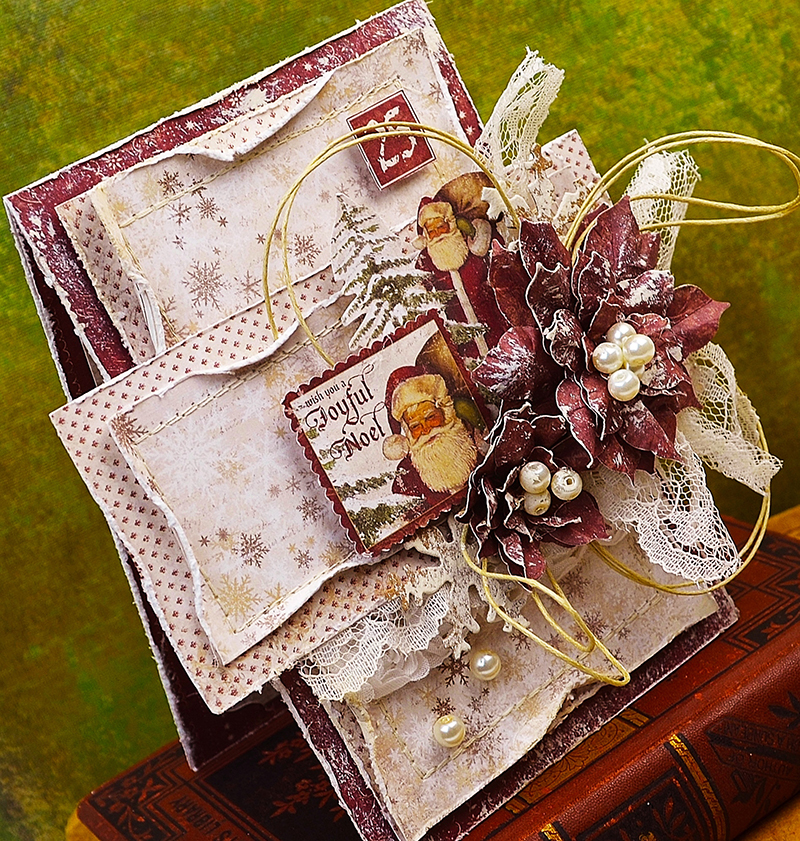
Are you busy with holiday preparations? It’s Christmas central at my house, and am I ever thankful for Maja Design Papers! They are helping my holiday crafting to go so smoothly. Today I’m sharing a Christmas card created with the festive ‘It’s Christmas time’ collection.

A 5

The base papers are distressed and stitched together.

A 3

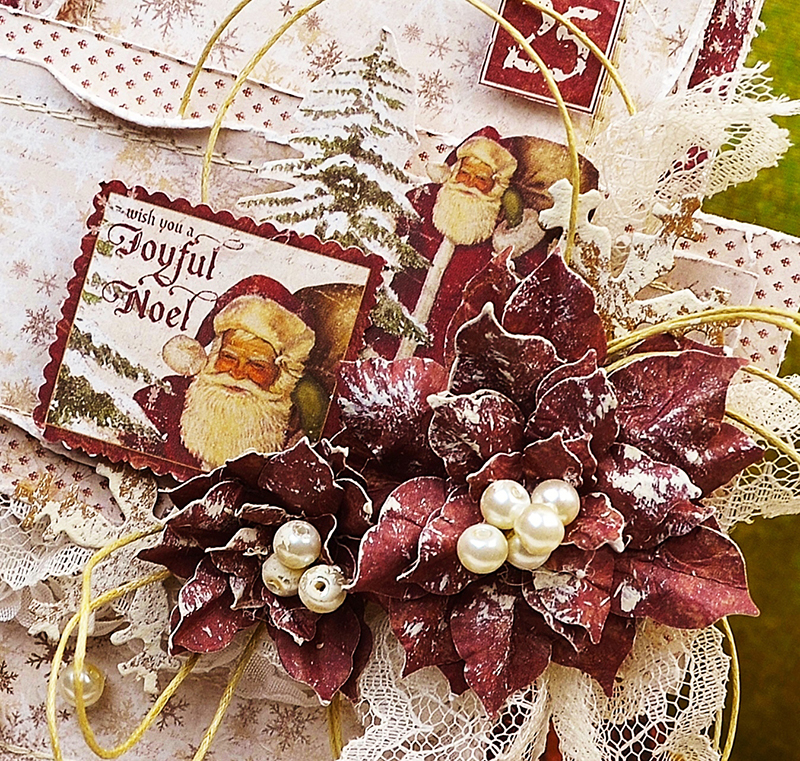
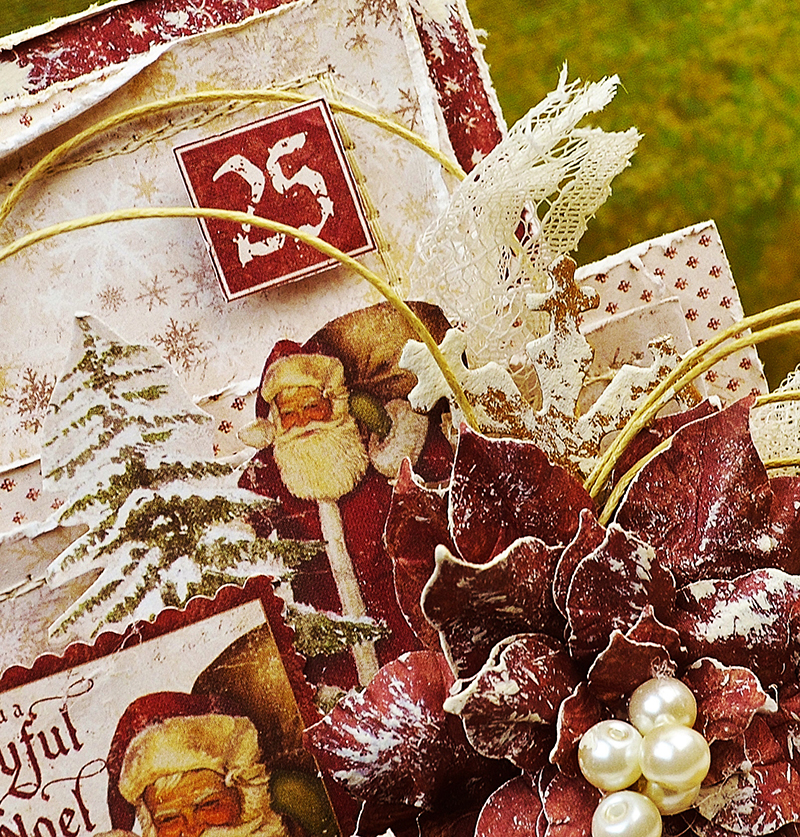
I took a chance on my arm being once again strong enough to handcraft these poinsettias. All of the paper embellishments are fussy cut from the collection. With Maja Design you can really ‘let the papers do the talking’.

A 3b

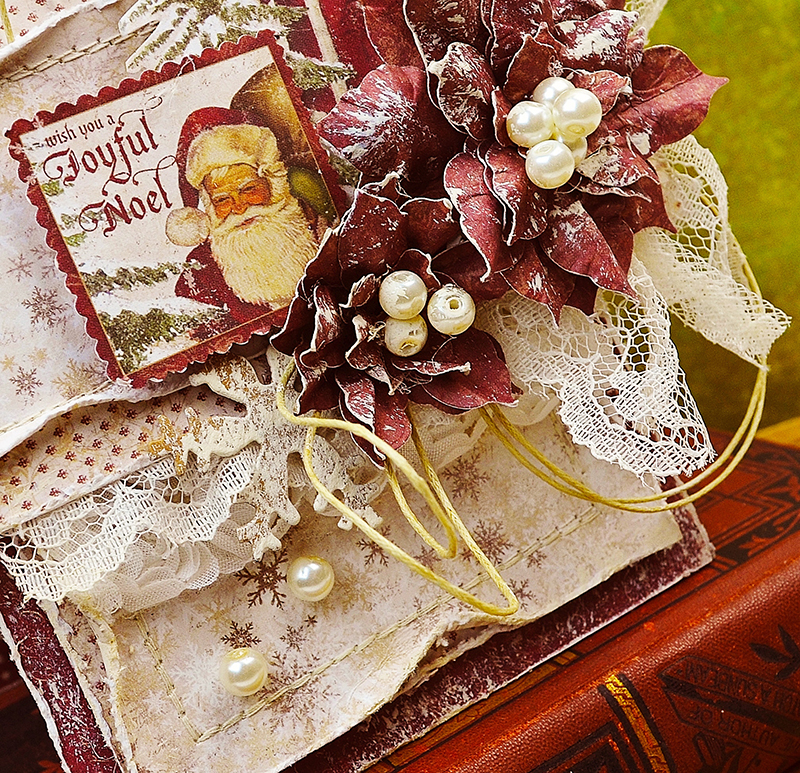
There’s a great deal of dimension to this card but I’m having difficulty capturing it in my photos. Each element is popped up with one or more layers of foam adhesive.

A 6

A couple of die cut chipboard snowflakes, some lace and pearls from my stash, and a twine bow help to complete the card.

A 7

A light dusting of gesso adds a frosty finish.

A 2

Maja Design Paper Used: Its-Christmas-time-P

Other Products Used: Spellbinders Poinsettia Die, Tim Holtz Snowflake Die, Tim Holtz Distress Tool, Lace, Loose Pearls, Natural Twine, Kraft Chipboard, Gesso, Foam Adhesive, Sewing Machine, Thread. 

Thank you for visiting today! I also thank you for your kind words on my last project. They warm my heart and mean so very much to me. I send wishes to you for a joyful holiday season!

Hugs,Nancy-sign

Autumn Elegance

4

Posted by Nancy Dynes

6 September, 2016 - ,

Write a comment

A 2 a
Hello, crafty friends! Welcome to the Maja Design Blog! I hope you’re having a wonderful day. It’s Nancy here, and I have a brand new card to share.

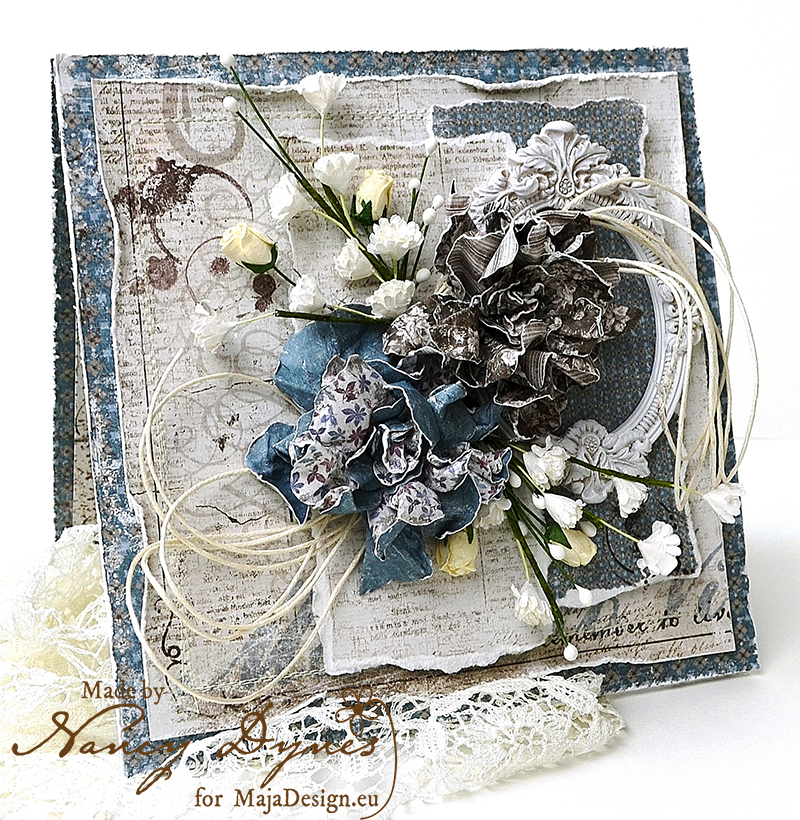
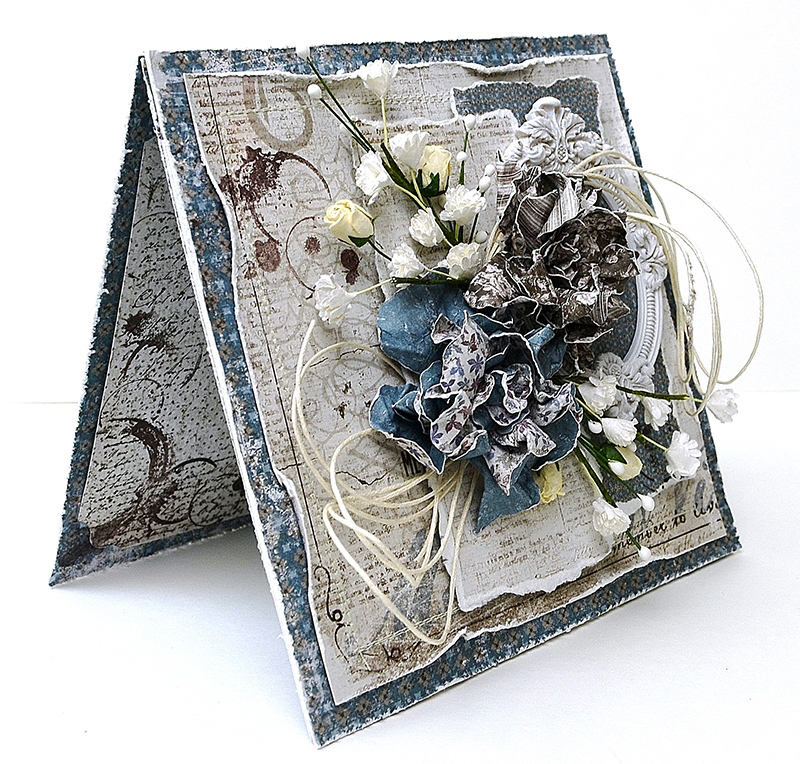
The promise of autumn is in the air. To quote my favorite bear, Winnie the Pooh, it’s a time for ‘hot chocolatey mornings and toasting marshmallow evenings’.  In honor of this glorious season I’m opening my stash of Vintage Autumn basics.

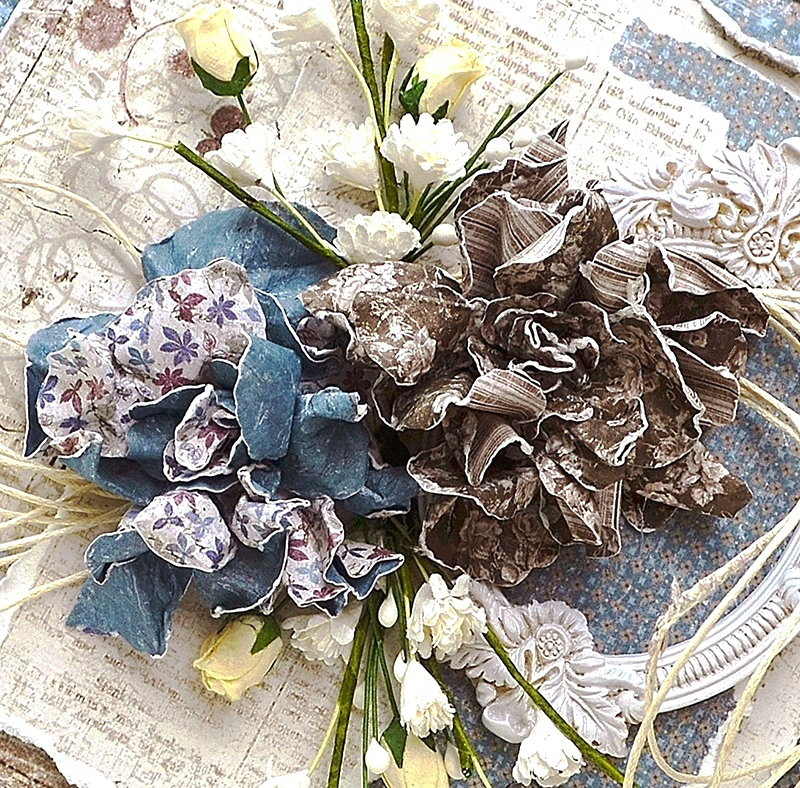
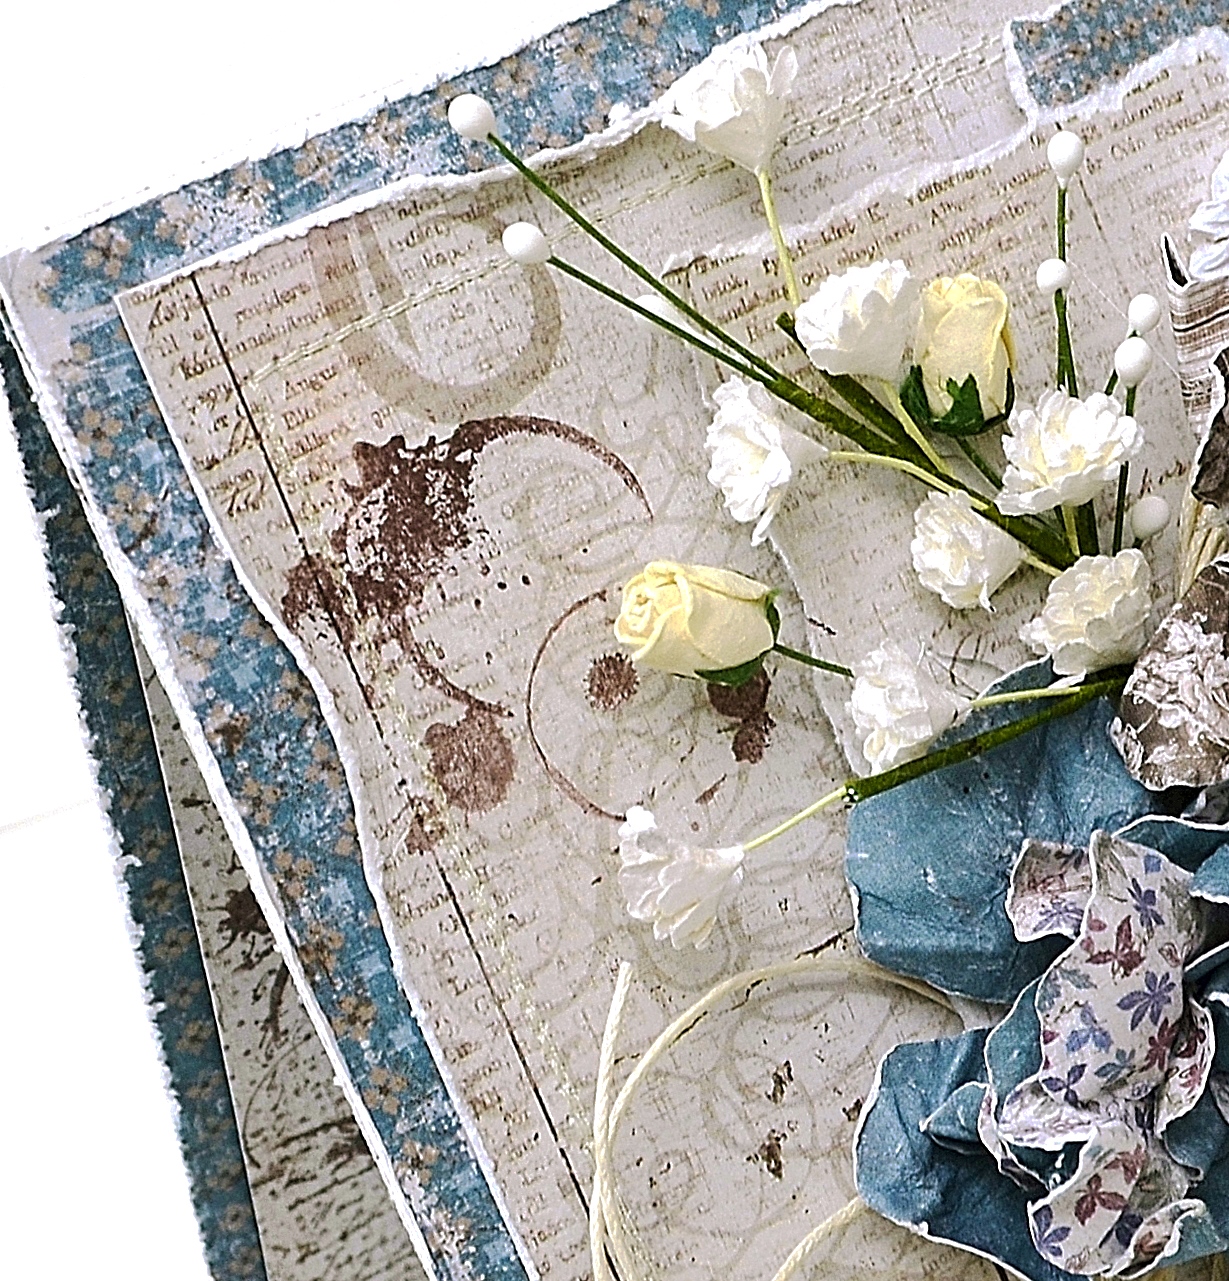
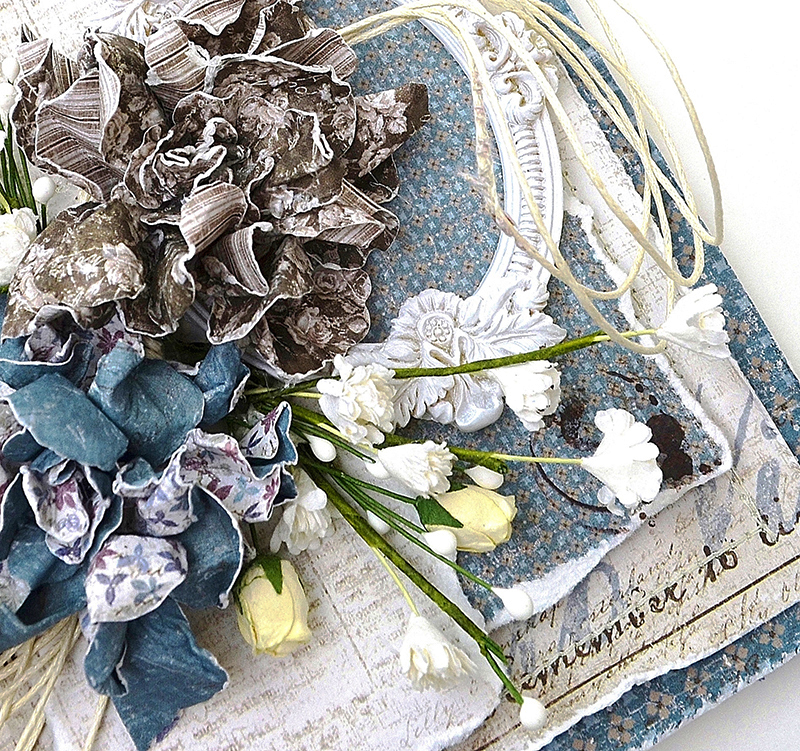
The lovely papers are distressed, stitched, and layered. Foam tape adds dimension to the torn strips on the right, forming a base for the floral embellishments. The two large flowers are handmade using design paper. The resin frame is a very happy surprise, found hidden away in my stash.

A 5

There’s a bit of stamping in opposite corners and on the inside of the card.

A 15

A 8

Paper flowers from my flower basket and some natural twine are added alongside the handcrafted blooms. Below is a little peek inside the card.

A 3


Maja Design Papers Used: 

Additional Supplies: Stamps: Invoke Art Script, Indigo Blu Ink Splats; Archival Ink, Prima Resin Frame, Paper Flowers from my stash, Natural Twine, Foam Tape, Sewing Machine, Thread, Tim Holtz Distress Tool.  

Thanks so much for stopping by. I hope you’ll join me in creating your very own autumn treasures with Maja Design’s fabulous papers. I wish you a day filled with every good thing!

Hugs,
Nancy-sign


Bygone Days of Summer

7

Posted by Nancy Dynes

23 August, 2016 - ,

Write a comment

A 1 a a

Hello and welcome back to the Maja Design Blog! It’s Nancy here, with the honor of sharing a new card with you.

Today my card is very personal. It is an expression of the love I have for the exquisite, historic city that is my home, and a tribute beauty I see around me every day.

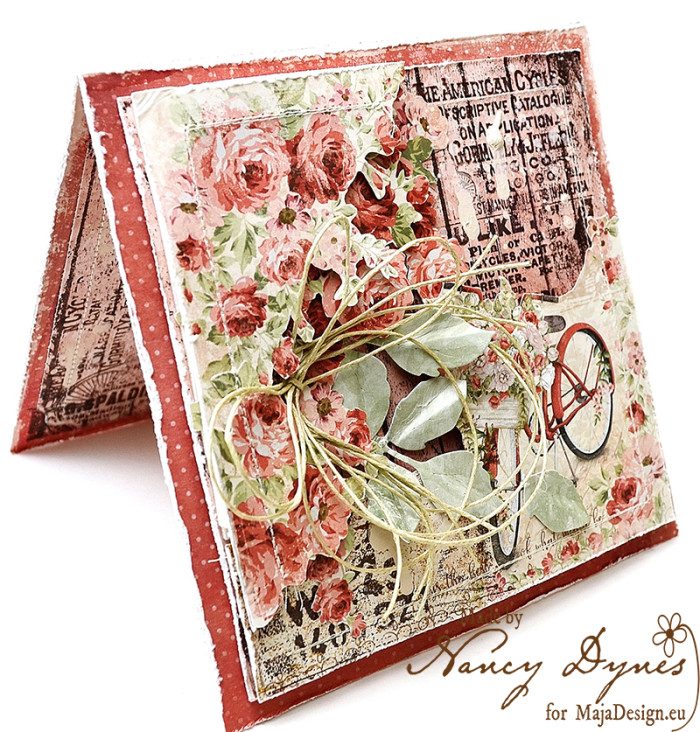
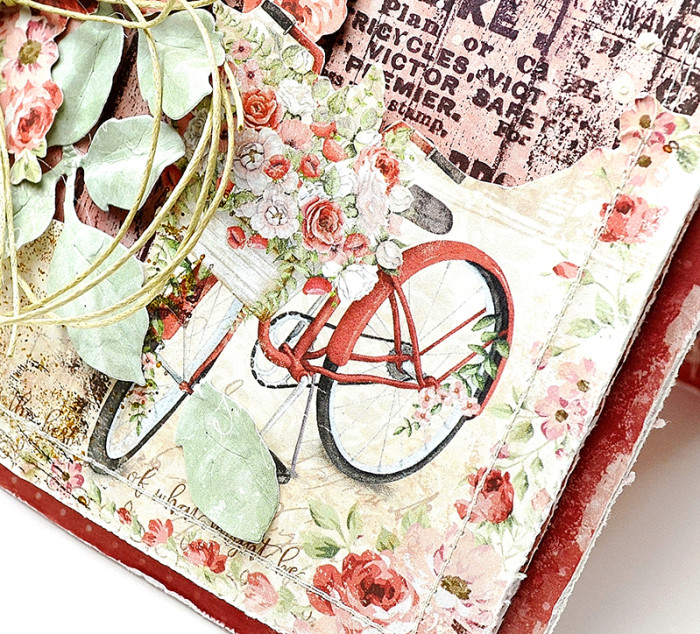
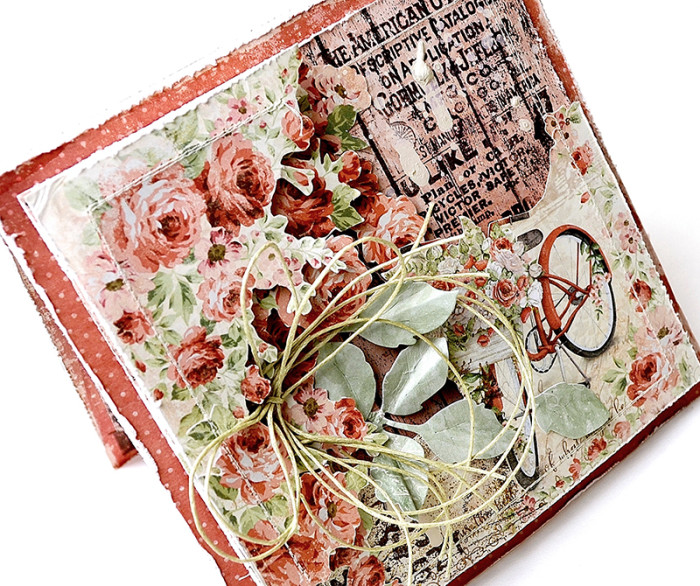
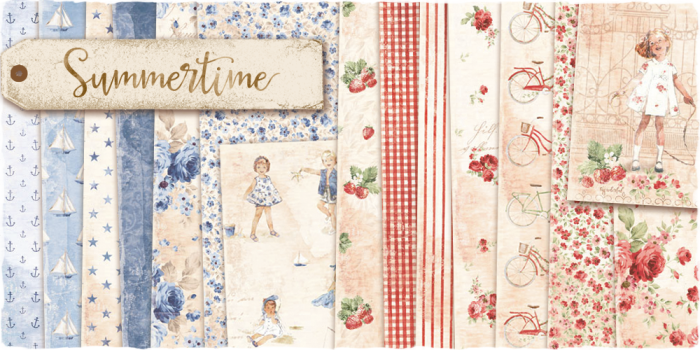
Charleston is a wonderfully preserved Southern colonial city. It is rich in history, boasting breathtaking architecture, quaint cobbled streets, manicured gardens, and cloistered courtyards with teasing glimpses of the lushness within. Maja Design’s ‘Summertime’ papers provide the perfect avenue to transfer what I can to a 6×6 card. I especially love the images of the bicycles in this collection, as this is the preferred manner of transportation for many residents and tourists.

A 12

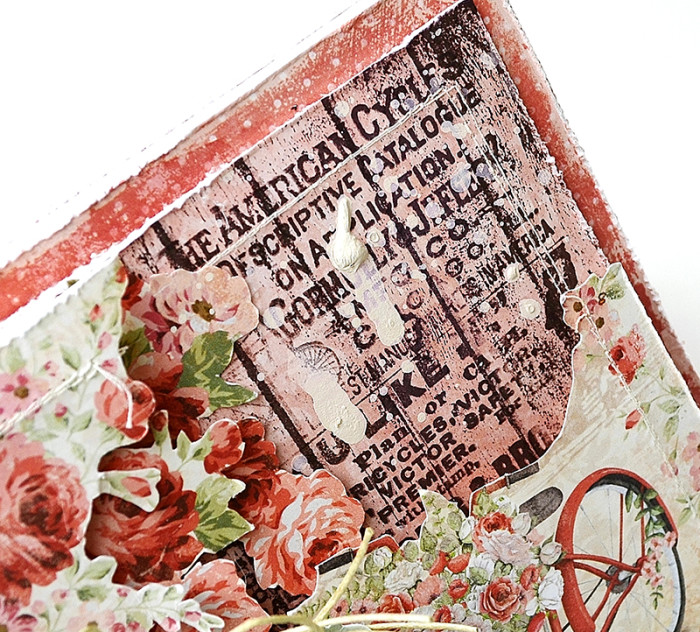
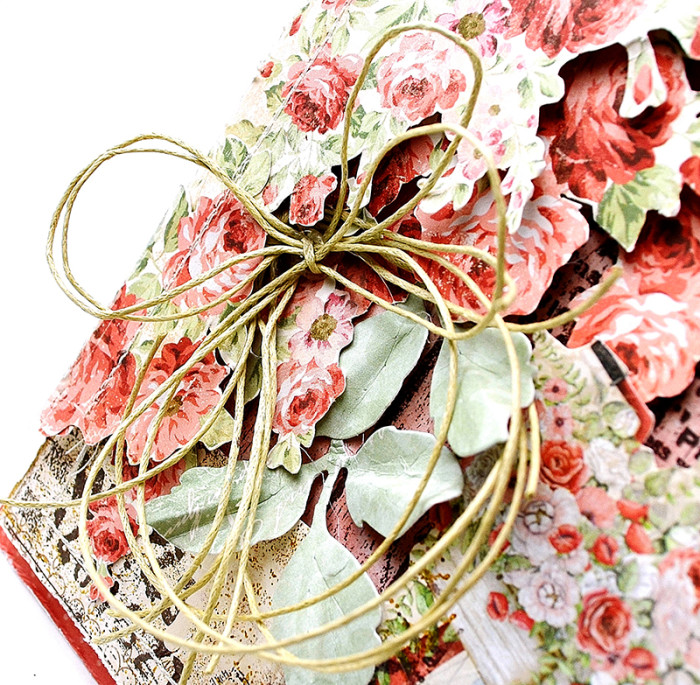
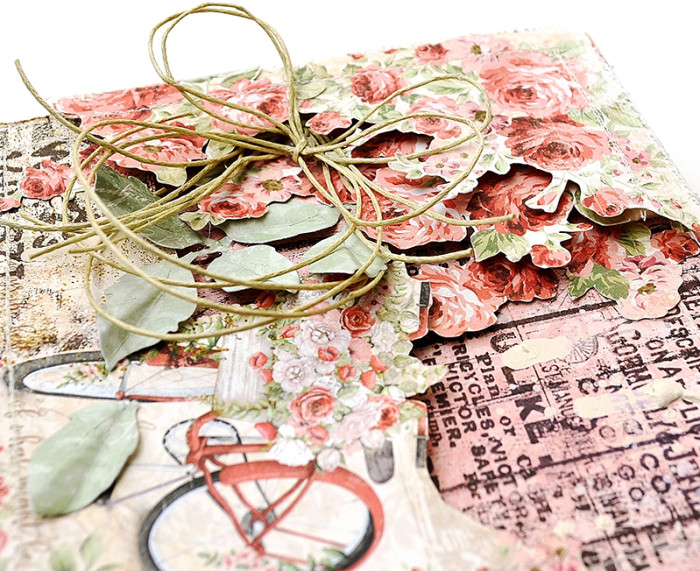
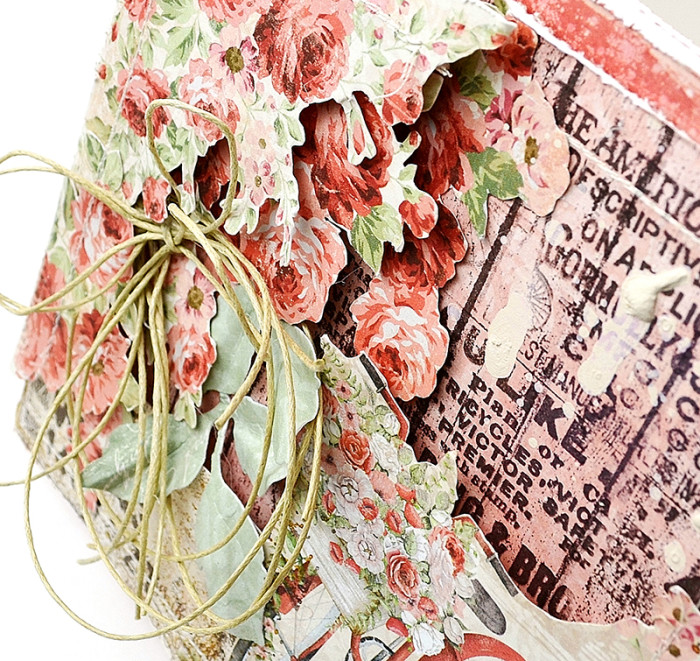
All design papers are distressed, layered, and stitched. Rubber stamping enhances the ‘yesteryear’ feel of the card. Acrylic paint is randomly splattered for a rustic effect.

A 7

A dimensional garden is achieved by much fussy cutting from the paper collection and detailed layering. Foam adhesive gives each element a ‘pop’. You’ll find some close ups below.

A 8

A 1

A 11

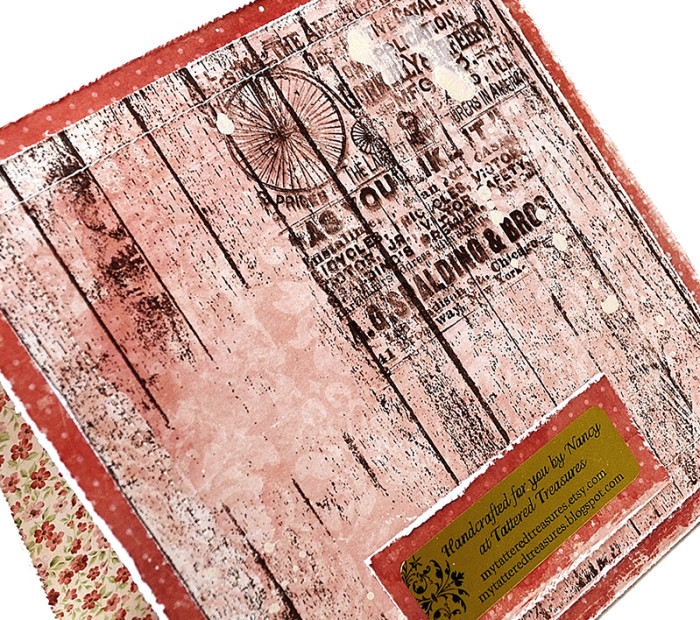
I enjoy coordinating the inside and back of my cards with the design on the front. One of our sweet readers requested photos of this process, which you will find below.

A 2

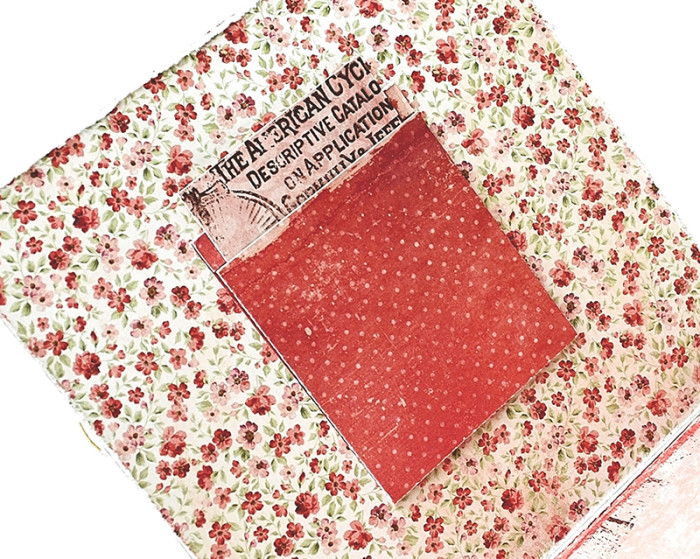
I also include a little pocket for tucking away a gift card, photo, or note.

A 3

A 4

A 14

Maja Design Papers Used: Summertime-K

Other Products Used: Magnolia Rose Leaf Die, Stamps: Prima Rust and Dust Cling Set, Impression Obsession Cover-a-Card, Oxford Impressions stamp set; Archival Ink, Detail Scissors, Tim Holtz Distress Tool, Natural Twine, Foam Adhesive, Sewing Machine, Thread.

Thank you so much for taking a peek at my card! I hope you enjoy Maja Design’s enchanting papers as much as I do. I wish you a day filled with all things wonderful, and hope that each person who enters here as a guest will leave as a friend!

Hugs,Nancy-sign

Nancy Dynes

My name is Nancy Dynes. I love creating with layers, dimension, and all things feminine. Maja Design Papers speak to me and inspire my imagination. I am honored to be a member of this amazing Creative Team, and look forward to growing in my craft while working alongside these talented artists.