

Hello Sweeties,
Today I’m up on Maja Design blog a new layout featuring a photo taken in Rennes (France). This head has a long story as it has been stolen several time.
I started to add a thin layer of clear gesso to help the paper with all the inks I will add later. Then I added a design with a stamp and clear embossing powder. Then I colored the background with different shades of brown and black.
I covered the chipboards with a white crackle paste and I aged them with Twinkling H2O.
I colored the tip of flowers with two tones of Distress Inks and sprayed them allowing the inks to move along the paper.
I colored the leaves with the same Twinkling H2O I used for the background and added some silver Mica Powder.
I finished the page with Glass Glitter and Micro Beads.
Maja Design papers used:
 |
 |
 |
 |
 |
| Nyhavn Eating out bs |
Vintage Summer basics 1891 |
Vintage Spring Basics 6th of March bs |
Vintage Frost basics 6th of December |
Vintage Frost basics 21th of December |
Hi there Maja fans. Thanks for stopping by. Today I have another layout to share with you featuring my sweet little grandaughter Mia. I have used some papers from the “Vintage Summer Basics” collection.
For my background I have used the “1934” paper from the Vintage Summer Basics collection & I have layered it over the top of the “1933” paper, that is the gorgeous floral one that is peeping out of both sides of my layout. It is a little hard to see unfortunately. (Scroll to the bottom of this post to see the papers clearly).
Also behind the photo I have added lots of different strips of various Maja Design papers, then I wiped them over with some gesso before brushing on some pink coloured mist to contrast with the lovely aqua background paper. All the chipboard is from 2Crafty Chipboard.
This is a great fun little technique as it is a good way to use up lots of your scraps & it also adds great textural interest to the page. Plus the Maja papers are so nice & thick that they are perfect for using with mixed media. Last step was to stencil some pattern over the page using a stencil & some texture paste.
Once the background was all dry I proceeded to add my photo, chipboard & of course, lots of flowers.
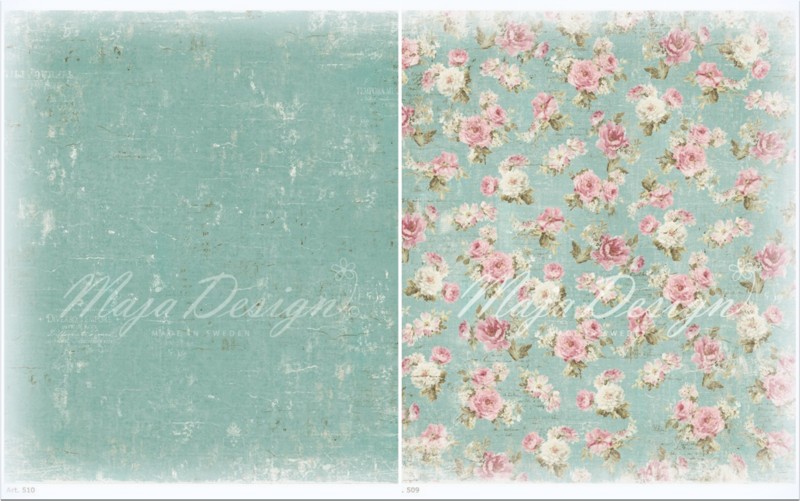
 These are the two papers I have used.
The paper on the left is the “1934” paper & the one on the right is the “1933” paper.
Well thats all from me today. Until next time.
Hi everyone. Today I have an off the page project for you.
I brought a Tim Holtz Mini Configuration Book a while ago to make it into a Jewellery Box for my Daughter. She loves pink and the Vintage Summer Basics collection has the most gorgeous pink papers which I decided were prefect for this box.
I used the Vintage Summer Basic Papers 1908, 1910, 1922 and 1925. I started by putting a layer of gesso over the whole thing and then I cut the paper to fit the cover, sides and inside of the book.
I layered lots of pretty embellishments on the cover, some of these are my Daughters favourites from my stash – e.g. the little birds nest and mini birds.
Once the papers were glued on I went over all the edges with distress ink in Vintage Photo
Then I added some lace and pearls to the spine, and to finish off I added pearls to the cover.
On the Inside I covered the larger surfaces with paper, then I took the foam out of some old jewellery boxes to fit inside the smallest squares
I used the Vintage Summer Basic Papers 1908, 1910, 1922 and 1925


Hello SweetiesToday I’m up on Maja Design blog with a monochromatic layout. I chose to work with a beige shading to highlight these photo of the Saint-Martin-d’Ardéche’s bridge (France).
I started with a layer of clear gesso to protect the background. When dry, I added a design with a stencil and white crackle paste.
When the design was dry, I splattered some watered gesso on the background, then I added some Rust mica powder mixed in water and I let everything dry.
Maja Design papers used: