A Christmas heart to you! (and a Birthday tag)

1

Posted by Camilla Støen Bakke

16 December, 2019 - ,

Write a comment

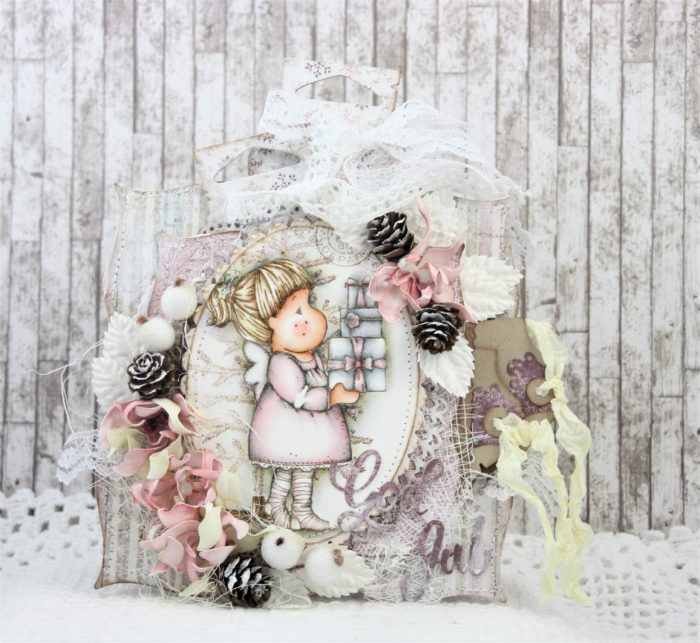
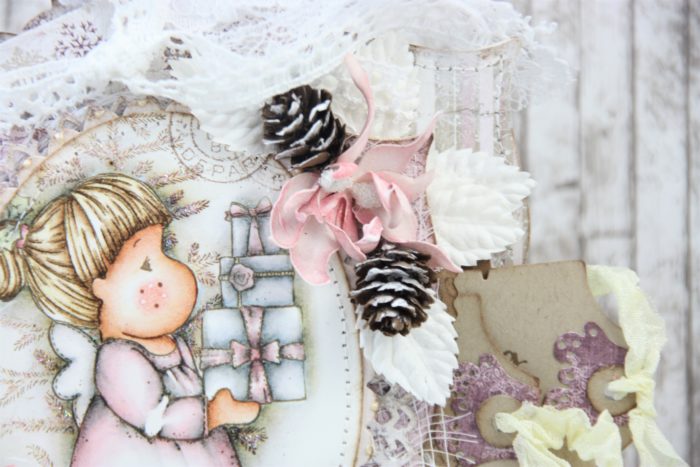
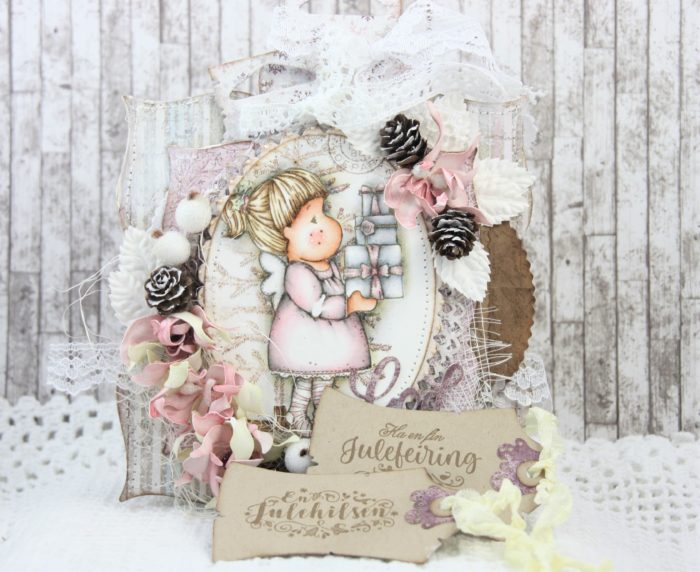
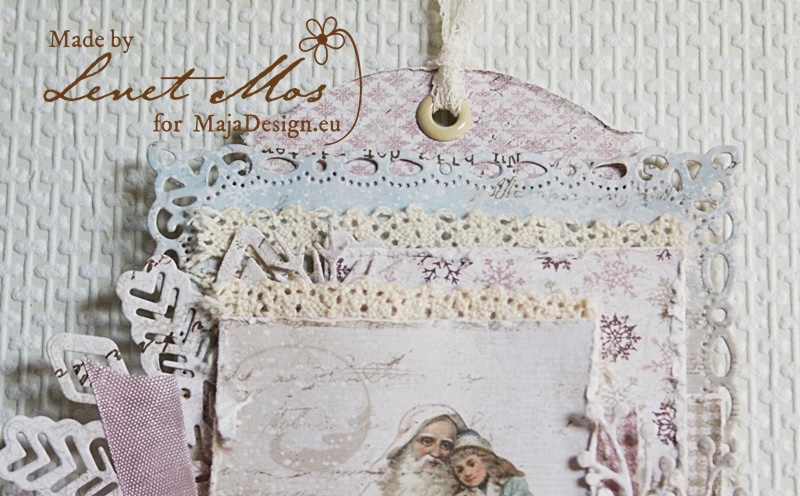
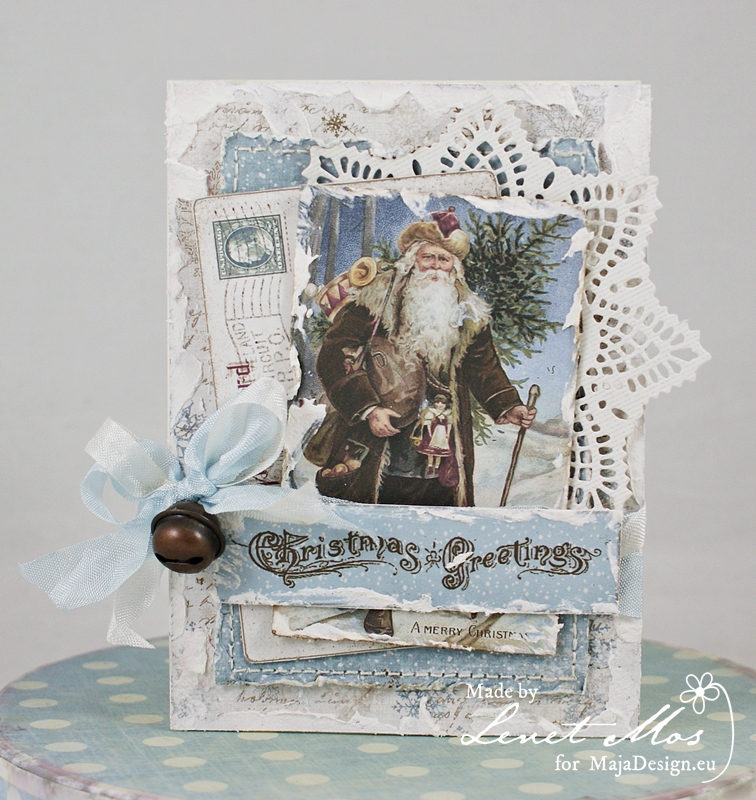
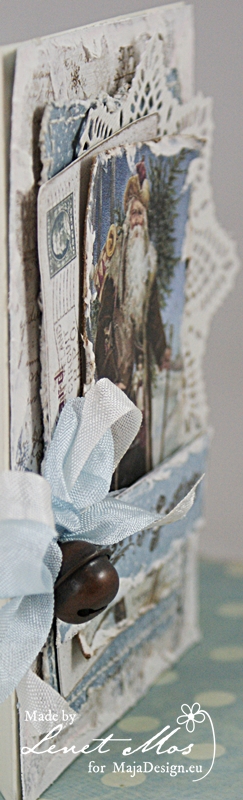
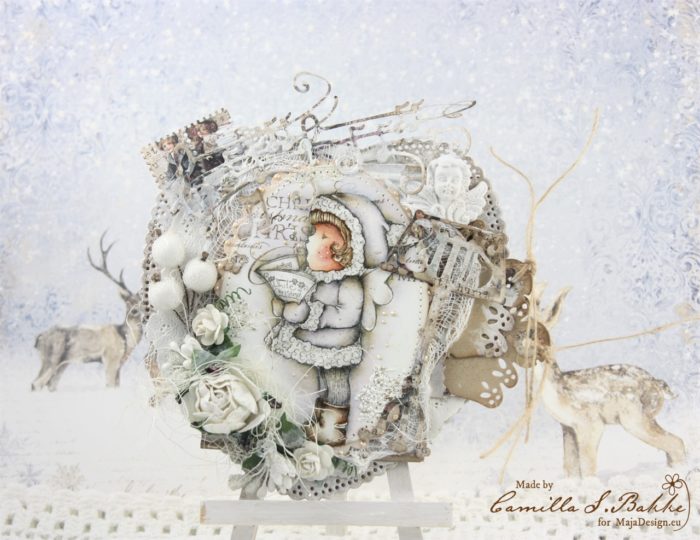
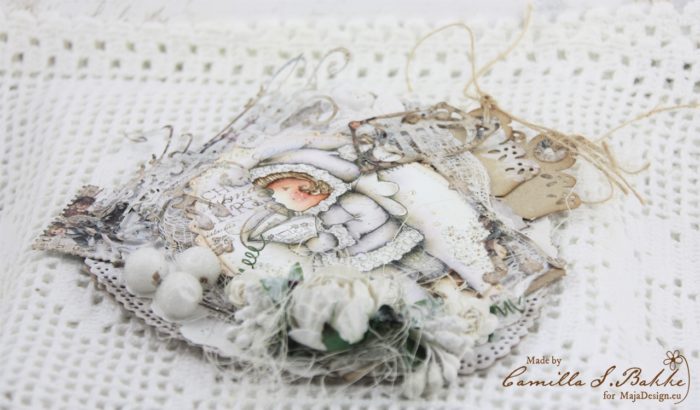
Hi everyone! Here I am with a heart shaped Christmas card using gorgeous papers from the collection called Vintage Frost Basics.

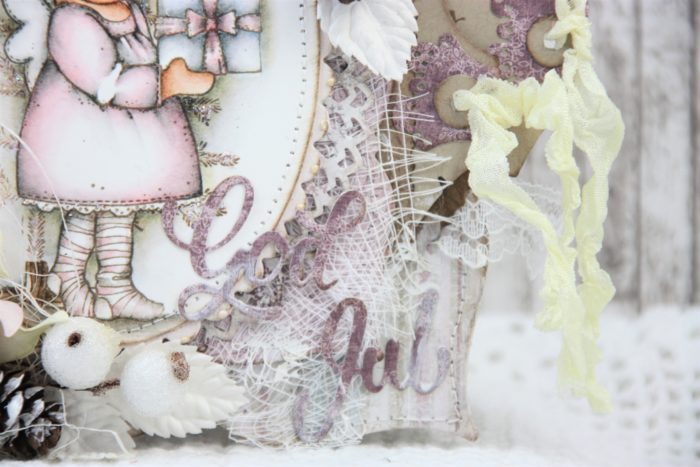
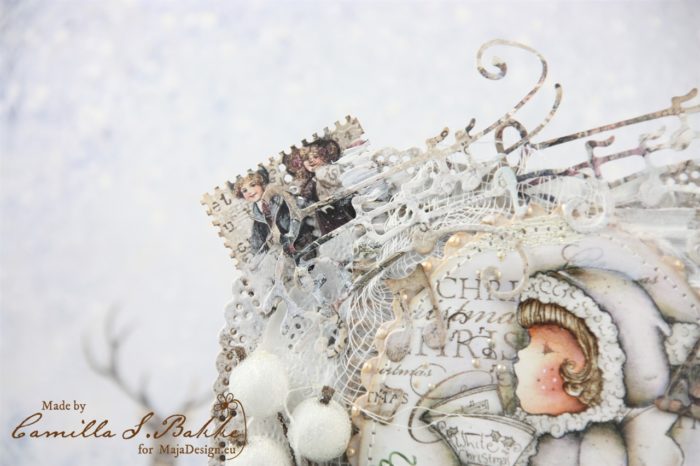
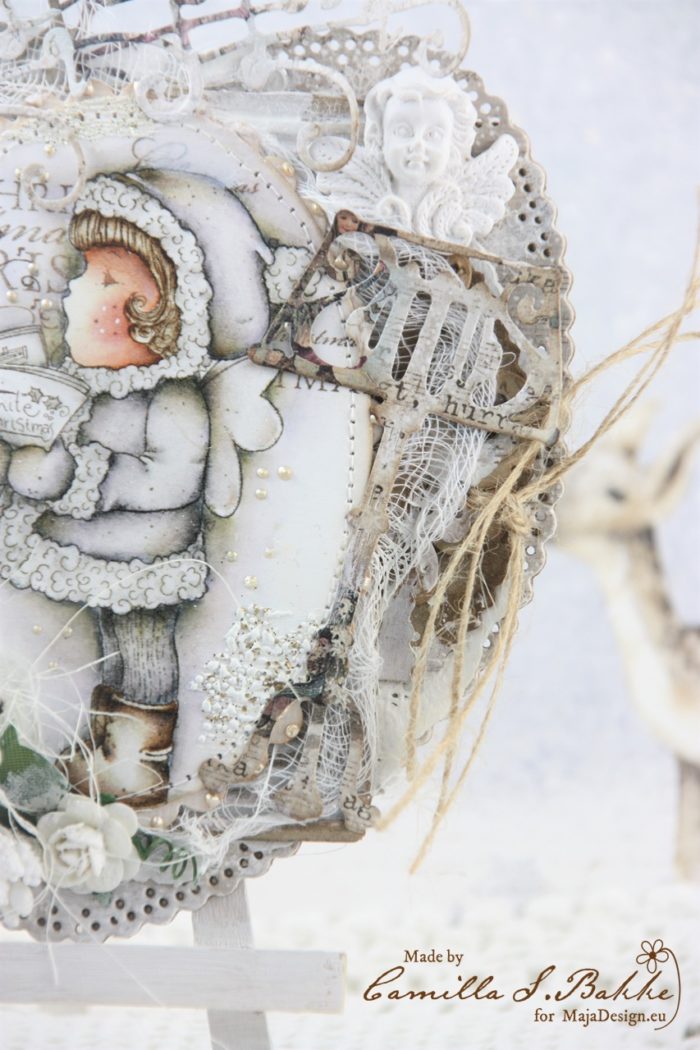
I have cut out all the dies from the pattern papers. Here you can see tones, music stand and postmarks. I have coloured the Magnolia image to match with the papers in blue and brown.

For the postmarks I have used the sheet called 2nd of December.

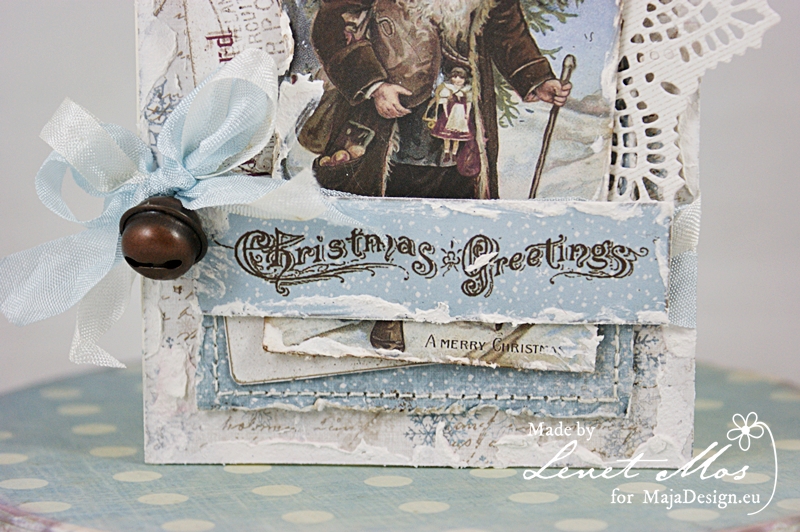
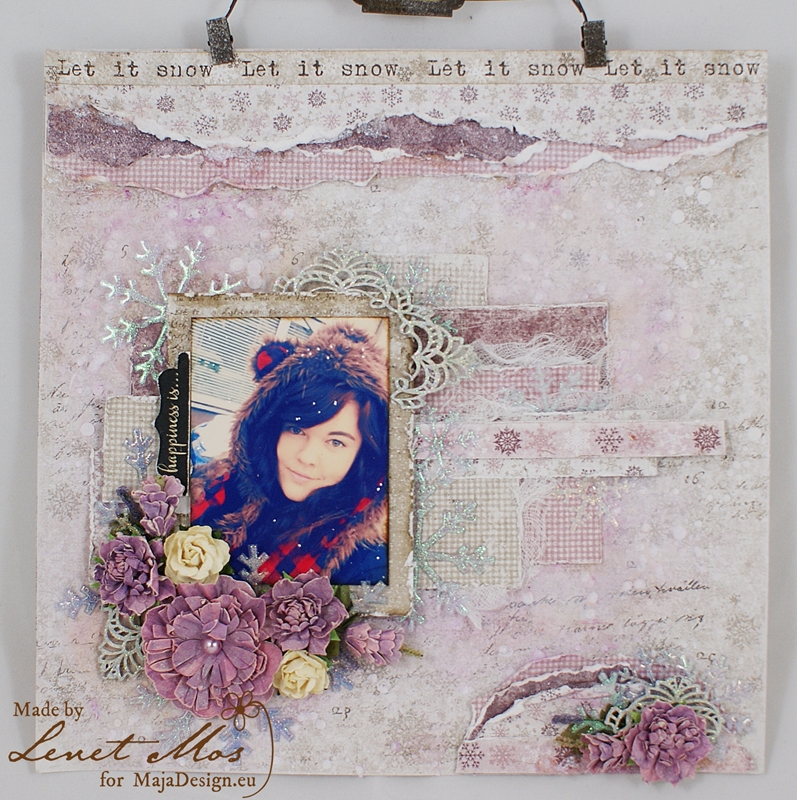
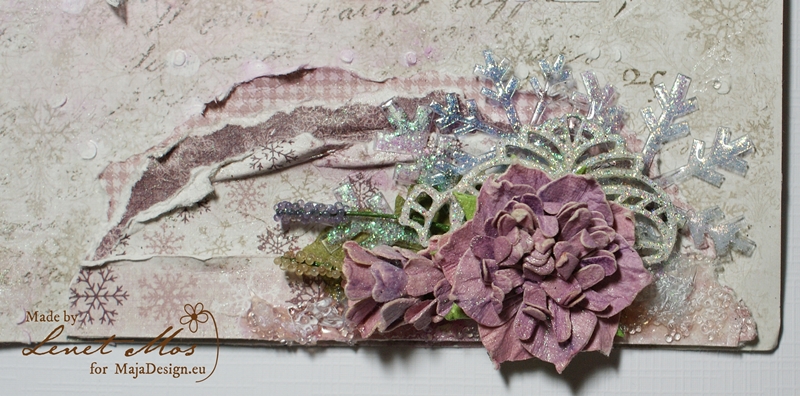
And here is the music stand. I have added a little angel above.

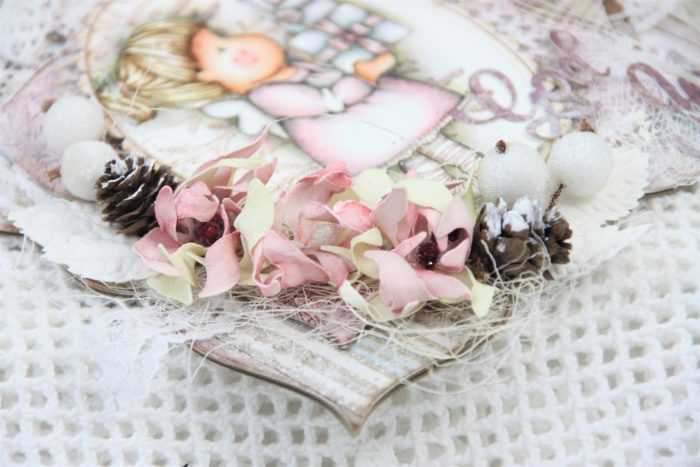
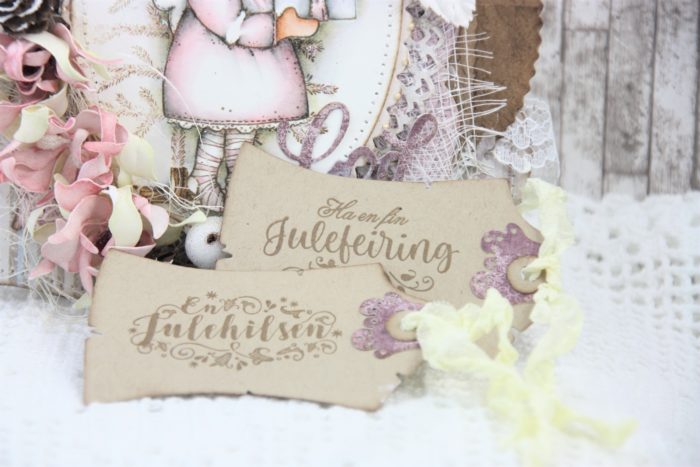
I really enjoyed making this card, using some of my favourite colours, and adding the notes around the singing image. The image is coloured using Distress inks for my painting. I have also added some Fran-tage around the image, so it looks like the snow which is falling down. So I wish for a white Christmas.

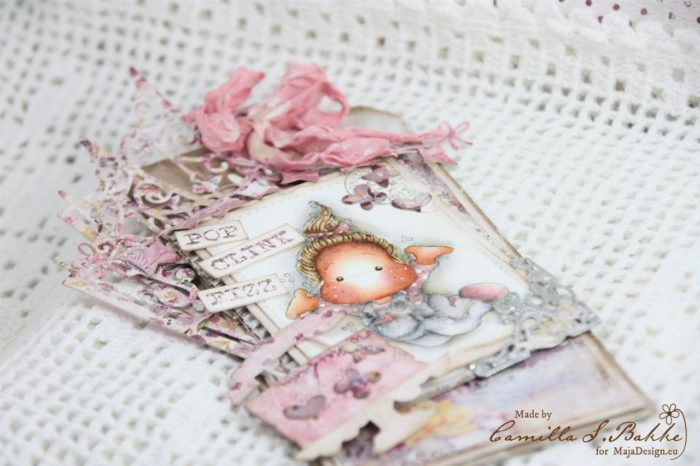
Have you seen the new collection from MajaDesign? It is called Little street Cafe.

I have made some products with these papers lately, and here is my first. A birthday tag.

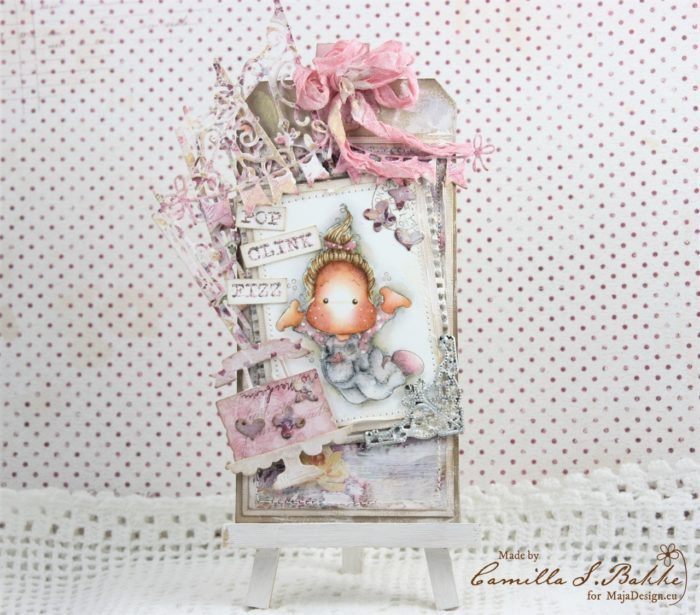
I love the fun colours, they just make me smile, like this image here.

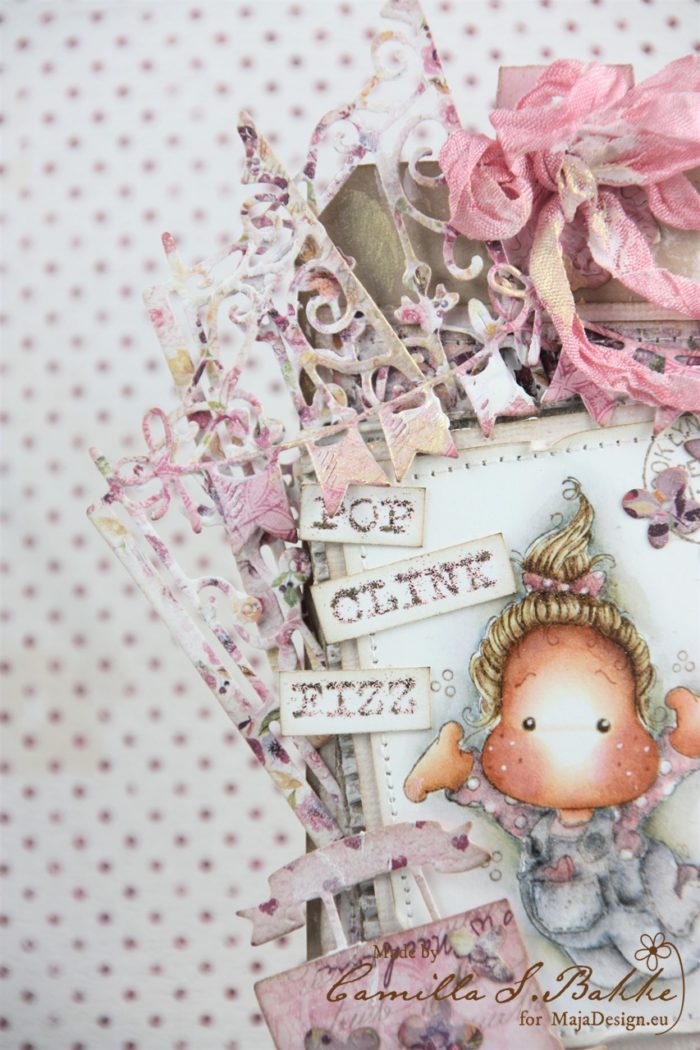
Here I have used: Tea please, Something sweet and Delisious.

Thank you so much for visting the MajaDesign blog!

With love,

Pink Christmas

2

Posted by Camilla Støen Bakke

18 November, 2018 -

Write a comment

Hi everyone! It is Camilla again here, with a pink Christmas card for a change. I made this card for the magazine Ett Trykk’s Christmas edition. And I have used some pinkish shade papers from the gorgeous Vintage Frost Basics Collection.

I have added several layers with the papers, and also used some on to the cute tags.

The text “God Jul” is made with a die from Papirdesign. God Jul means Merry Christmas 🙂

I have made the flowers out of Foamiran sheets and flower dies. I use my heat gun to make them shrink and curl up. Under the flowers I have put some Sisal grass.

The image is from Magnolia, and I have used Distress Ink, re-inkers and Markers for my colouring.

The texts on the tags are from Stempelglede. The tags are made with dies from Magnolia. And I have used a Go Kreate die for the whole card.

Thank you so much for visiting the Maja Design blog today!

Take care,

Christmas Greetings

1

Posted by Lenet Mos

27 September, 2018 -

Write a comment

Hello Sweet Maja fans.

When summer is at it’s end I always get Christmas jitters.

Although every season and holiday has it’s own charm, I really love Christmas.

Me and my kids love to snuggle up with a warm blanket on the couch, and watch every Christmas-movie we can find.

With Christmas jitters comes Christmas crafting.  So today I bring you this Christmas tag made with leftovers from the Vintage Frost Basic Collection.

I hate throwing away designpapers I love , so i safe them for smaller projects like this.


For the bottom of the base tag I used the  Martha Stewart  doily punch. one of my all time favorite edgepunches.

On top of that I laid a die cut made with Romantic Rectangles nestabilities  by Spellbinders.


Than I started stacking papers till I like it and stick them together with foamtape.

I always keep some space between the edges of my papers so I can tuck some embellishments or or small papers between the layers.

To finish it an eyelet in the top with a piece o flace thru it so it can hang .

This label will sure be a part of my Christmas decorations. I love how it turned out.

The Snow flake die I used is from the winter trails collection by  Studio Light.

Thank you very much for visiting make sure you come back for more wonderful projects made by the other Maja girls to inspire you.


Christmas in July

1

Posted by Lenet Mos

19 July, 2018 - ,

Write a comment

Hello again dear Maja fans.

We still have a amazing summer over here in the Netherlands with lots of sun and warm temperatures. They are even talking about a heatwave next week.

So in order to cool down a little , I made this Christmas card , you never start too early making them right? Maybe this year I will be done in time instead of making them at the last minute.

This one I made with some leftovers from projects I made earlier with the Vintage Frost Collection.

To create snow the snow on the edges I used Finnabair art extravagance paper texture paste.

To create dimension on the card I used foamtape to stick the pieces together.

Thank you very much for your visit, I hope I was able to give you some inspiration with this card.


Let It Snow

0

Posted by Lenet Mos

4 January, 2018 - ,

Write a comment

Hello dear Maja Fans,  Lenet  here today.

First of all I want to wish you all a wonderful and creative 2018.

I’m so happy to be a part of this wonderful team and hope I will give you lots of inspiration.

For my first post on this blog I made this layout using the Vintage Frost Basics.

Frost-Basics-P

SONY DSC

Because this picture is taken when we had the first snow this year I decided to give it a real snowy theme.

First thing I did was making a snowy effect on the background paper using embossing paste and the Confetti#2 stencil from dusty attic.

I used a lot of sparkly snowflakes, they  are clear flakes from Maja Road where I put ranger diamondstickles on.

SONY DSC

Some of the flakes I cut in pieces and sticked  them behind the flowers instead of leaves.

SONY DSC

I don’t know the brand of the chipboard frame I used, but I glittered it with a mixture of clear embossing powder and fine glitter , cut it in pieces and glued it at different place on the layout.

The flowers are from 49 market and wild orchid.

Thank you for stopping by , I hope I gave you some inspiration with this layout


Lenet-sign-site