Looking Back

3

Posted by Gabrielle Pollacco

27 January, 2016 - , , , , , ,

Write a comment

Explore_sm

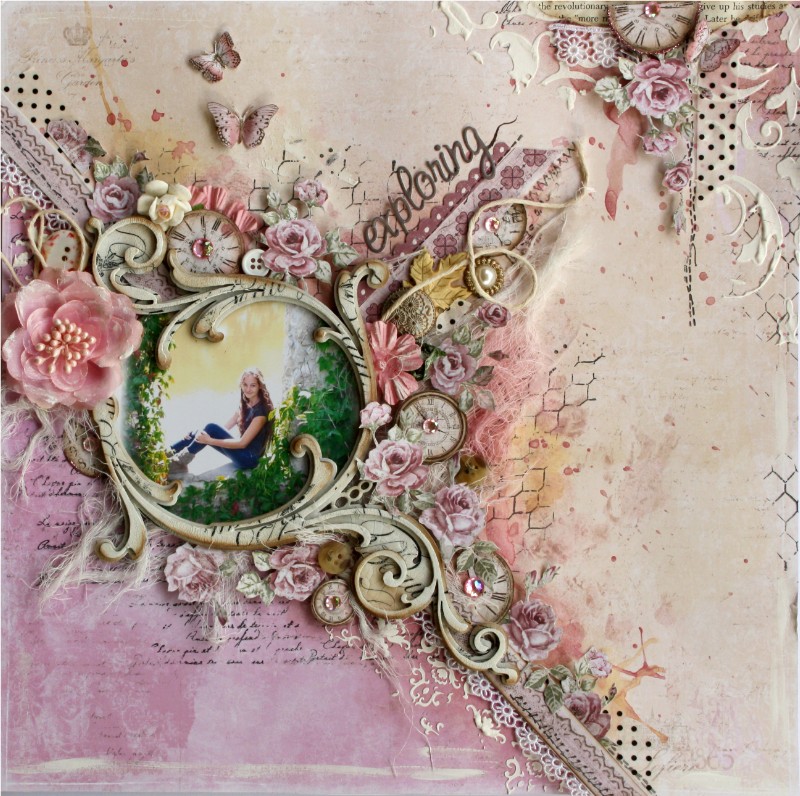
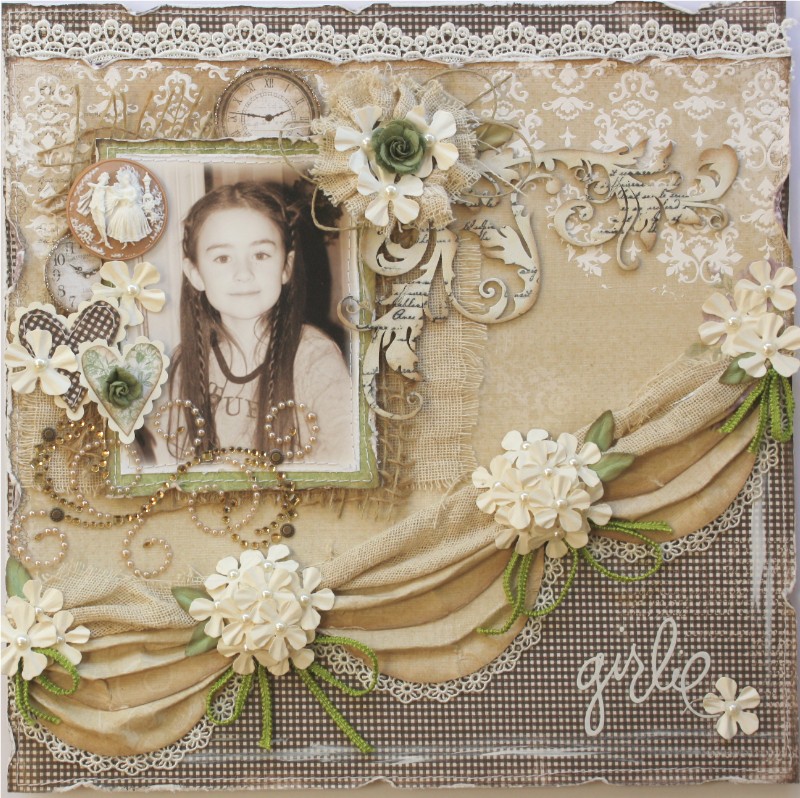
Hi All! It’s Gabrielle here with you today!  It’s the beginning of a new year, and I’m thinking it’s fun to reflect over past years on some of my favorites of projects I’ve created with Maja Design papers.  One of my favorite things about Maja Design papers is the beautiful images you can use for fussy cutting and embellishing your projects.  For the above layout I used a combination of papers from the Sofiero collection and from the Vintage Autumn Basics collections.  The clocks are clearly one of my go to favorite items to use on a scrap page, as are the gorgeous roses found in the Vintage Autumn Basics papers!
Girlie_small

Another thing I particularly love about Maja Design Papers is their wonderful quality and the strength of the papers.  They allow you to play with and manipulate the papers with a little bit of water without falling apart on you.  For the page above I cut little swags of one of the papers in the Ska Vi Ta En Fika collection papers and created a draping effect by making little folds/pleats in the paper.

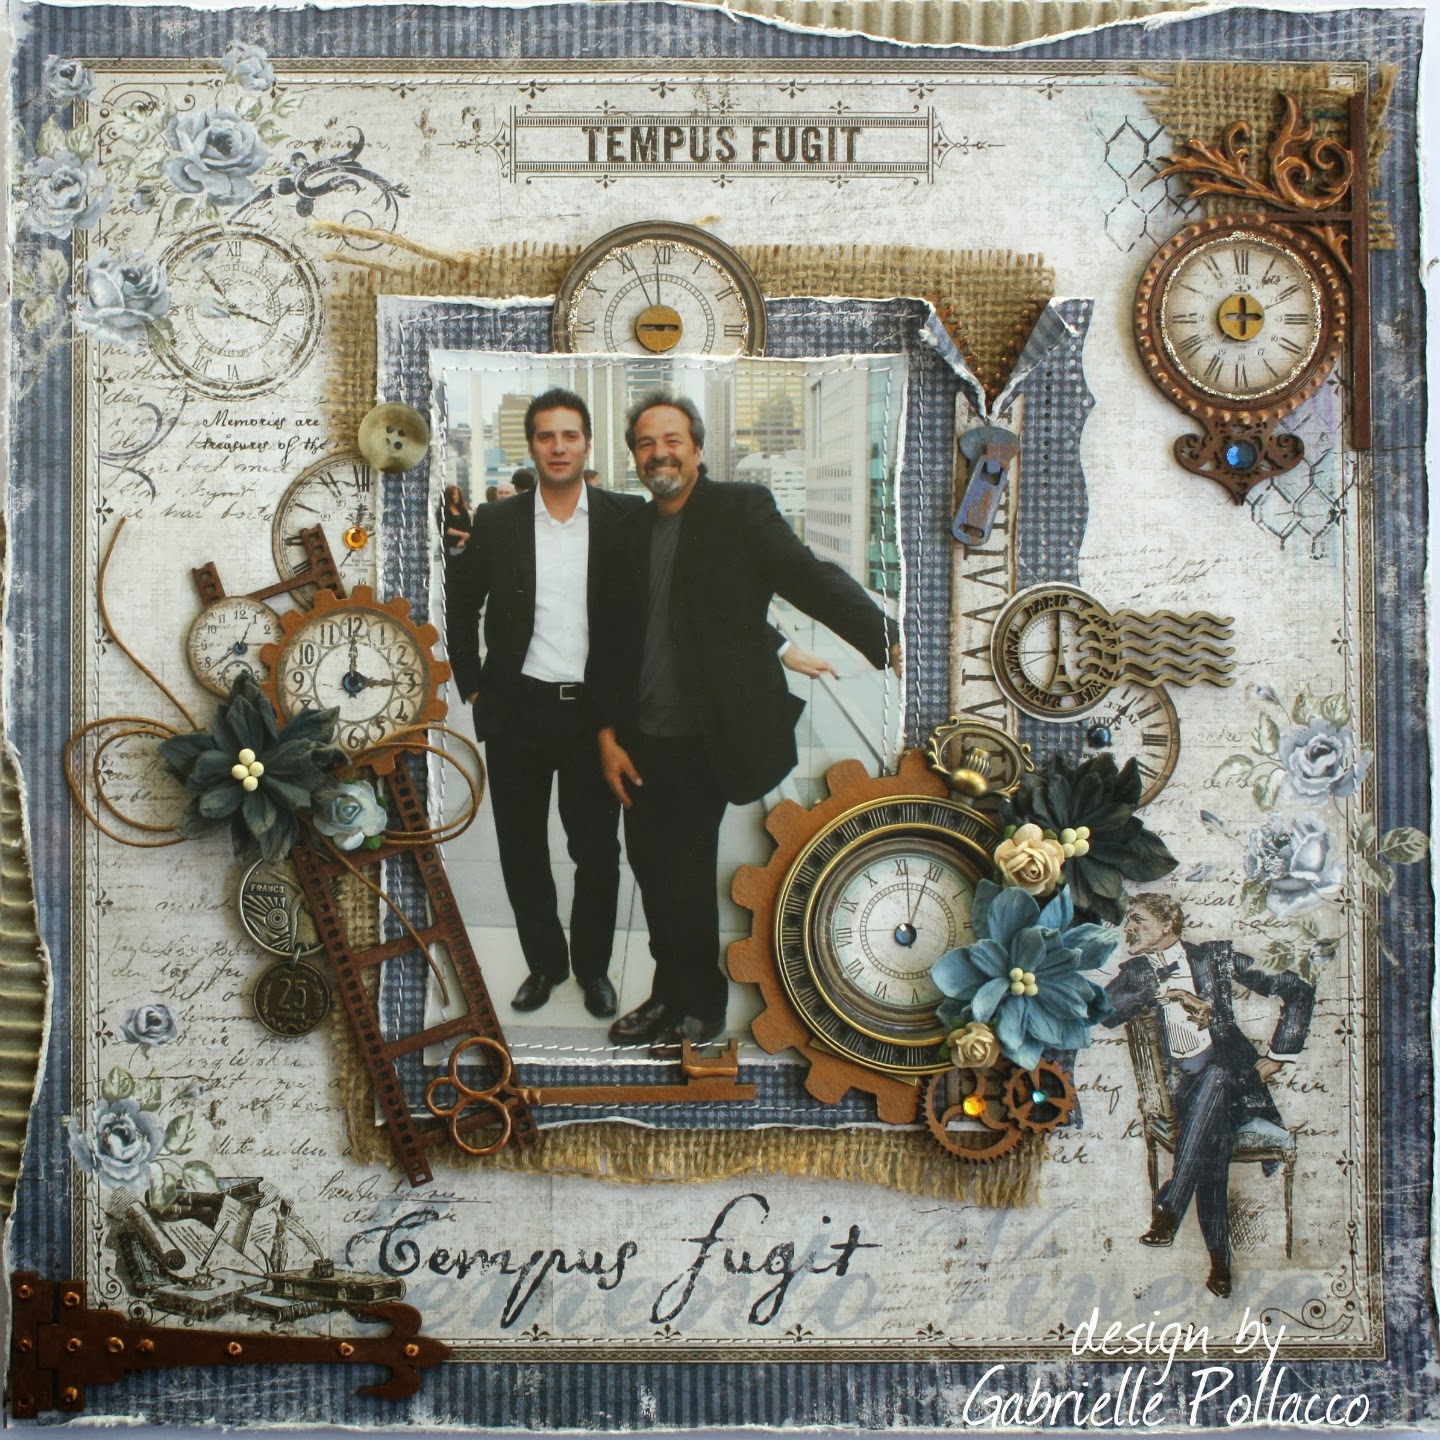
Tempus Fugit

And as much as I love to create feminine pages with Maja papers, Masculine pages come together just as easily since there are so many wonderful papers and images in the papers to choose from in each collection!

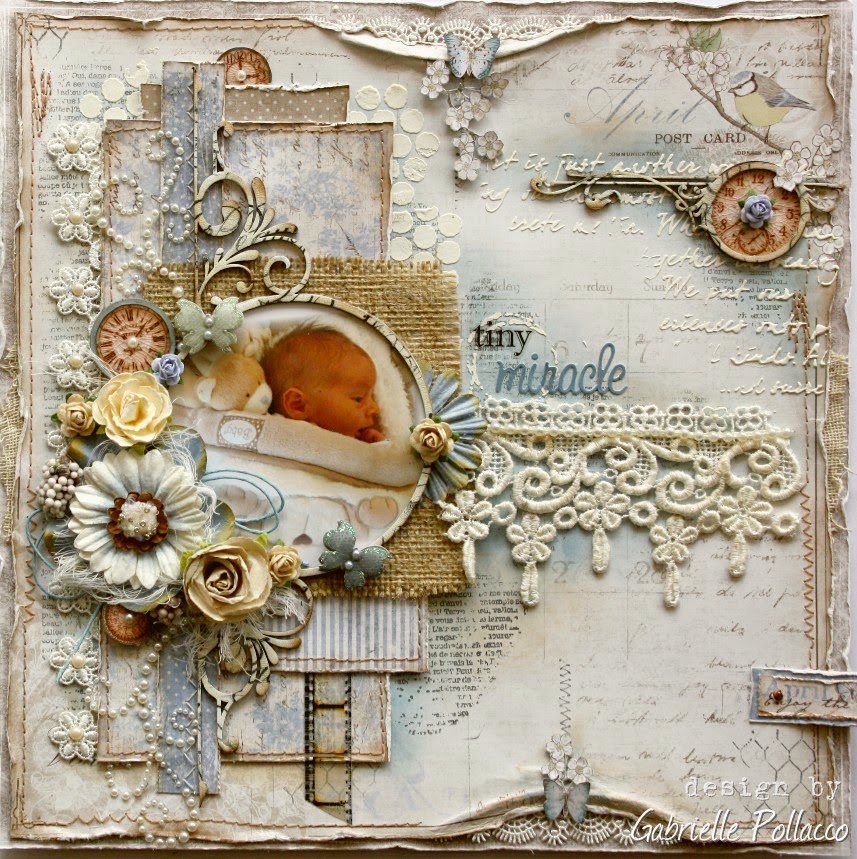
Tiny Miracle

And don’t get me started on all the sweet baby pic’s you can scrap using these gorgeous papers! Above is a layout I got to make using a baby pic from my friend Jennifer who was kind enough to let me scrap her sweet baby boy….
Sweet Dreams_GabriellePollacco

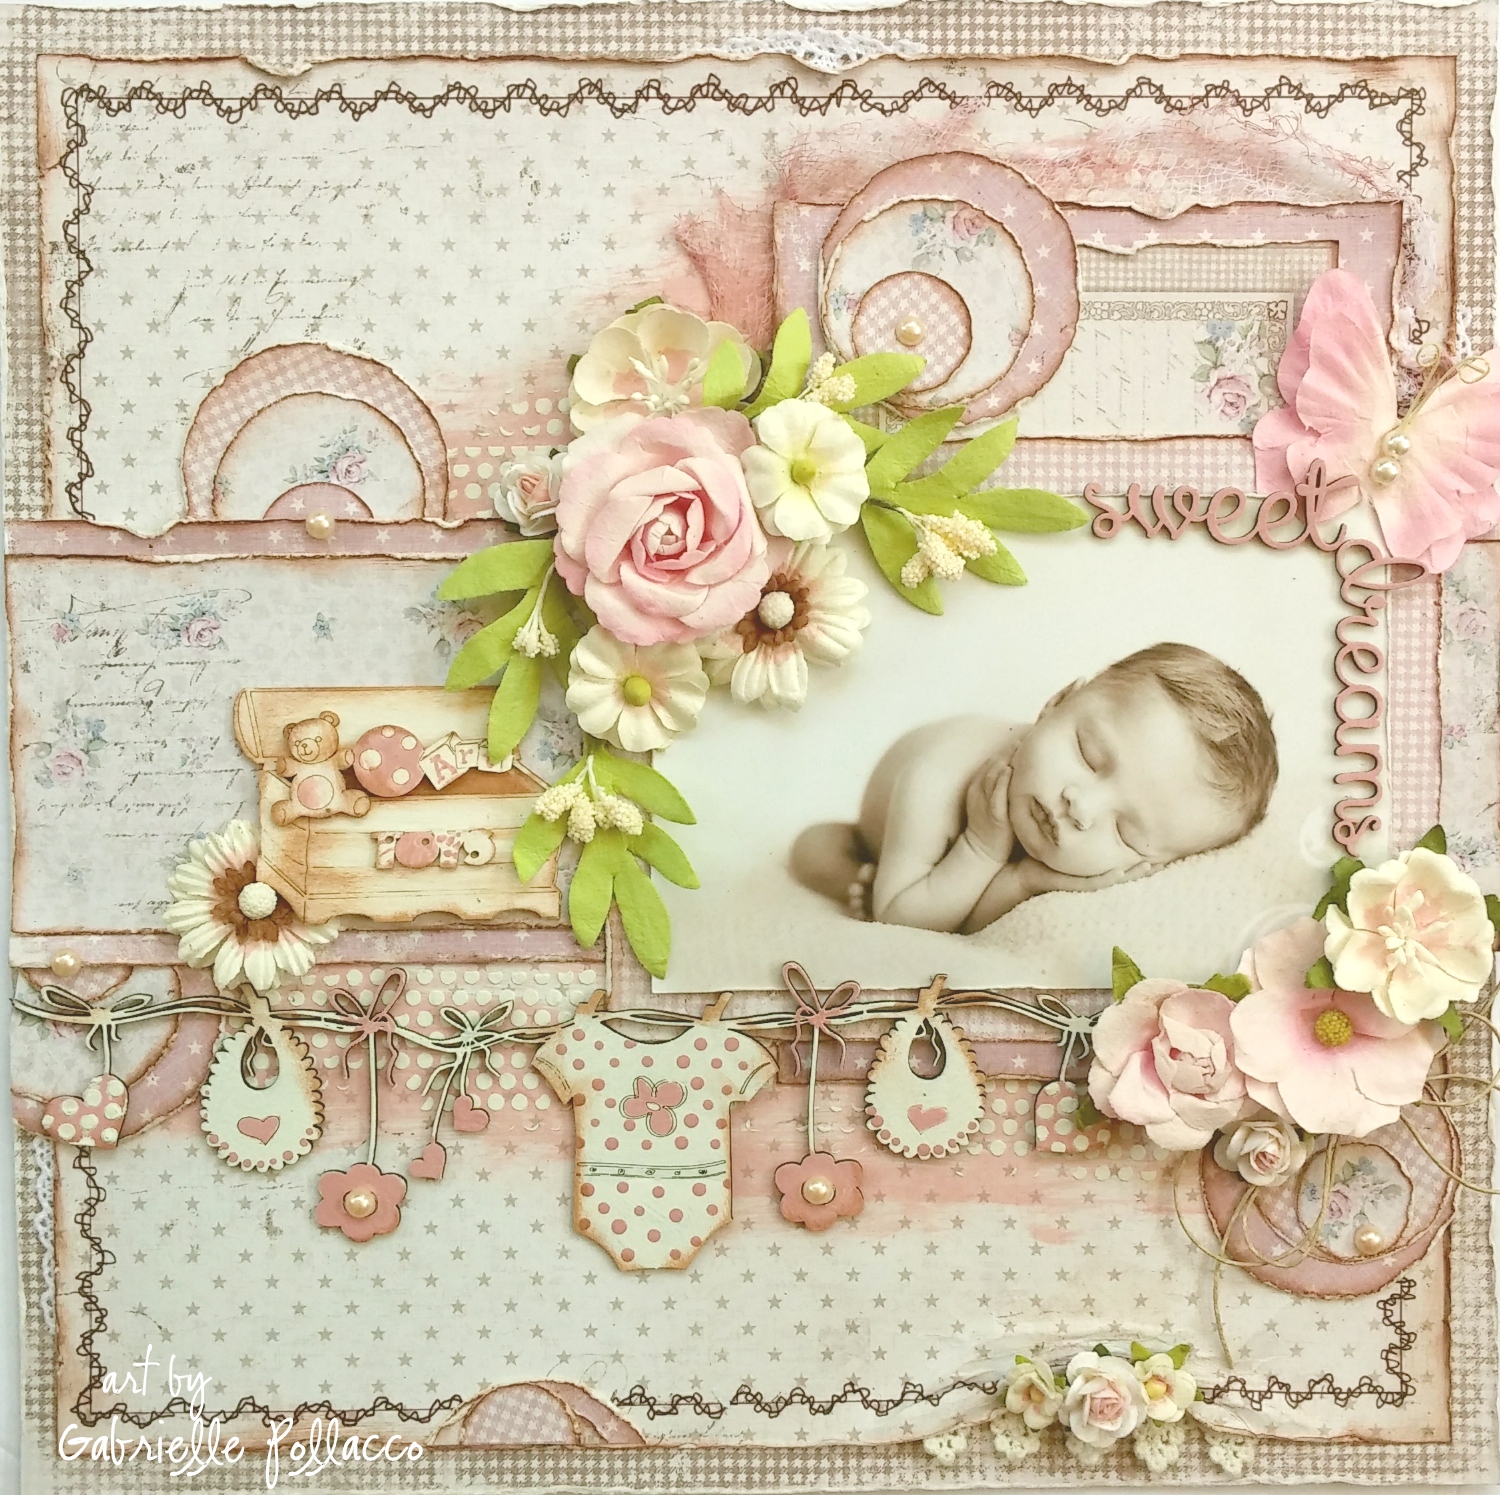
You can scrap feminine baby pics as well using the pretty soft pinks in the beautiful papers….here I used the lovely Vintage Baby collection papers to scrap this sweet pic of one of my little great nieces.
Romance

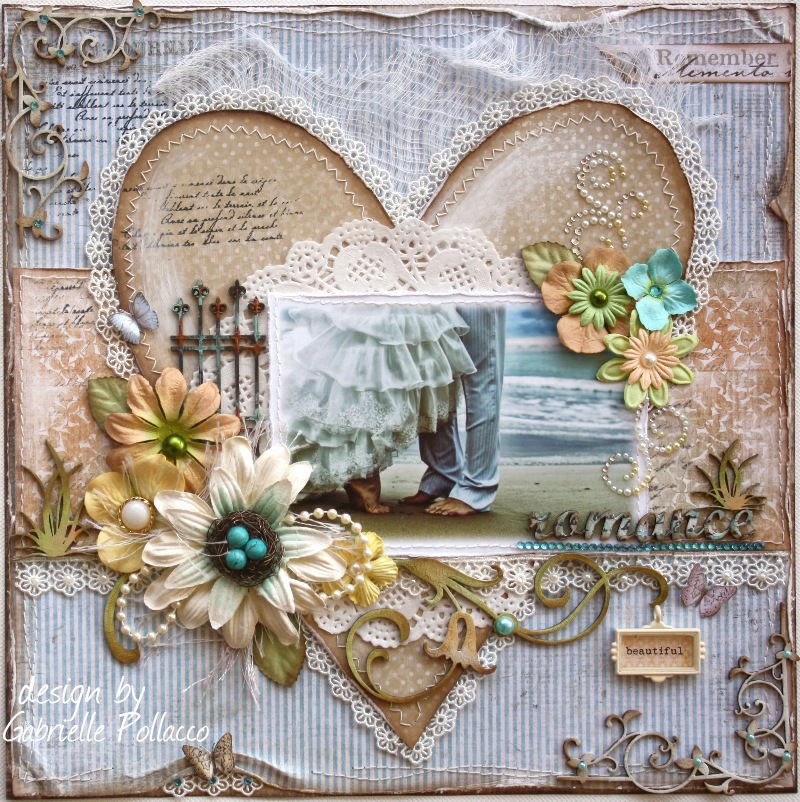
Did anyone say weddings?  Of course these papers work beautifully for romantic/wedding photos!  This was a page I designed in the first year I began on the Maja design team…..good times!
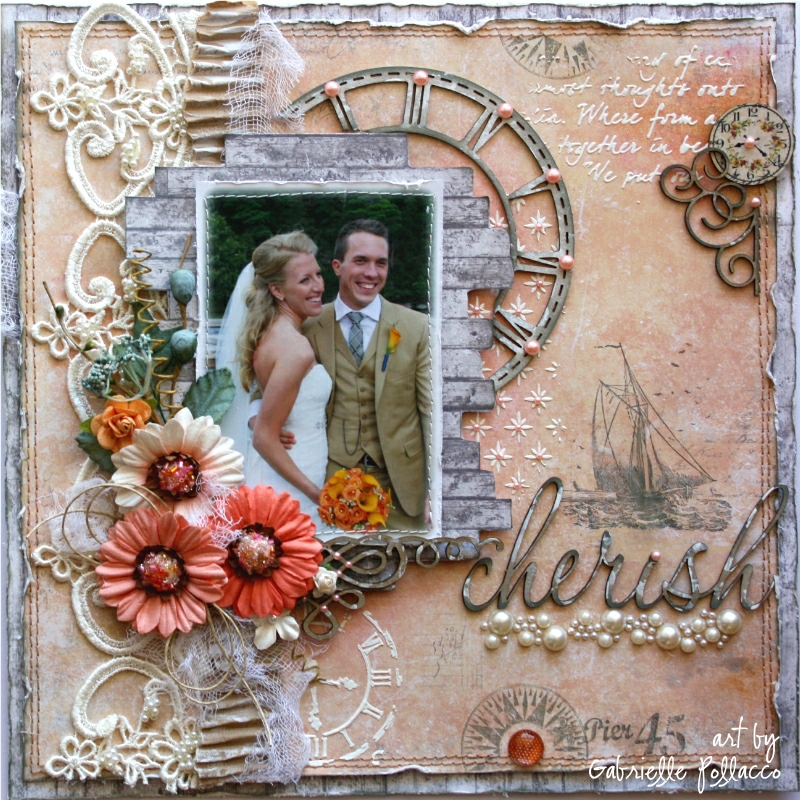
The wedding pages you can create with the different collections are endless! Here I used the Nyhavn collection to scrap this beautiful photo of my niece and her husband.  This collection worked so well for their photo as their wedding had a nautical theme.

Honestly, it was so hard to pick just a few favorites I’ve made over the years.  Every time I hear that Marie Jensen is at the drawing board creating another lovely collection, I’m excited and and so happy, looking forward to seeing what new designs and lovely images I will have to work with, whether it be on my scrapbook pages, mixed media art or OTP projects!  If I had to pick a favorite collection? Lets see…..Vintage Autumn Basics,….wait a sec, nope, Enjoying the Outdoors, oh no, wait! Walking in the Forest…..**sigh** way to hard to pic just one! 🙂

Gabrielle-sign

Wishing for Spring

1

Posted by Gabrielle Pollacco

13 January, 2016 - , , , ,

Write a comment

Majaphoto

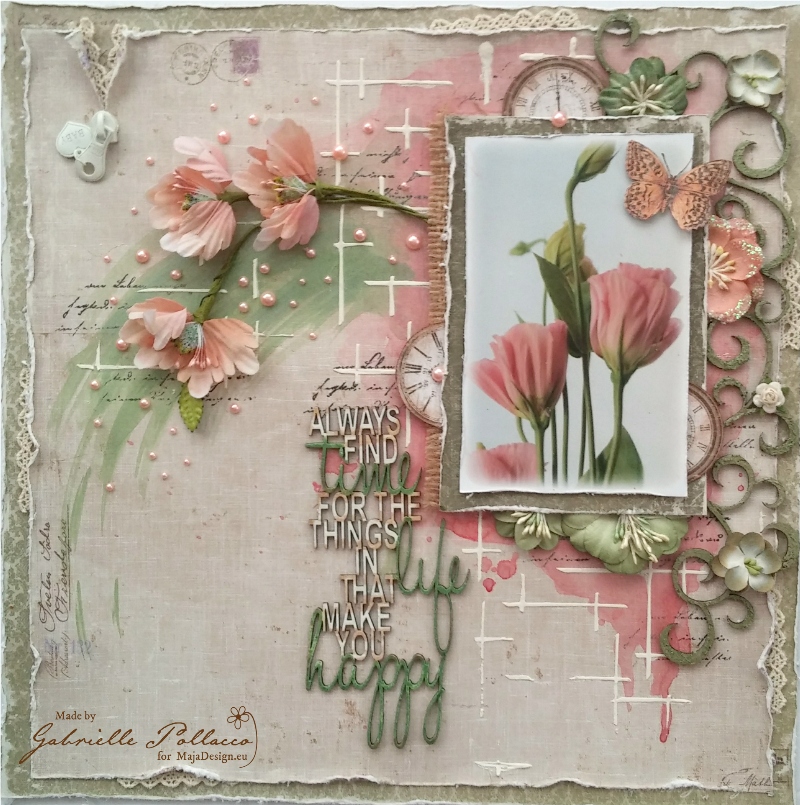
Hi all, it’s Gabrielle here with you today to share with you my latest page using Maja Design papers!  I really can’t complain too much about the weather, it’s been a fairly mild winter here in Canada (Ontario, at least) so far….but the past few days have been so cold and snowy.  It doesn’t take long for me to long for Spring!  So today I thought I would scrap something that makes me happy….beautiful flowers.

Enjoying-Outdoors-KL

I used a number of papers from the beautiful ‘Enjoying Outdoors’ collection (Beautiful Trees-bs, Woodlands, Flourishing-bs)….also a bit of Vintage Autumn Basics (XVI) – Clocks, and Walking In the Forest (Die Cut Sheet- butterfly).

Always closeup2

I found these cute flowers that I thought were a good match for the blossoms in the photo….they are Prima Marketing flowers, but I couldn’t find a name on the packaging (I think they might be from the FairyBelle collection?).

I did a little painting with some Shimmerz Paints on the background. I used ‘Naughty or Nice’ Inklingz behind the photo area and then used a combination of ‘Sage It Isn’t So’ Creameez and ‘Greener Pastures’ Inklings, splashing out from the side underneath the floral embellishments.  I gave the Dusty attic chipboard scrolls a coating of  ‘Artie Choked’ Textures.

Always closeup4

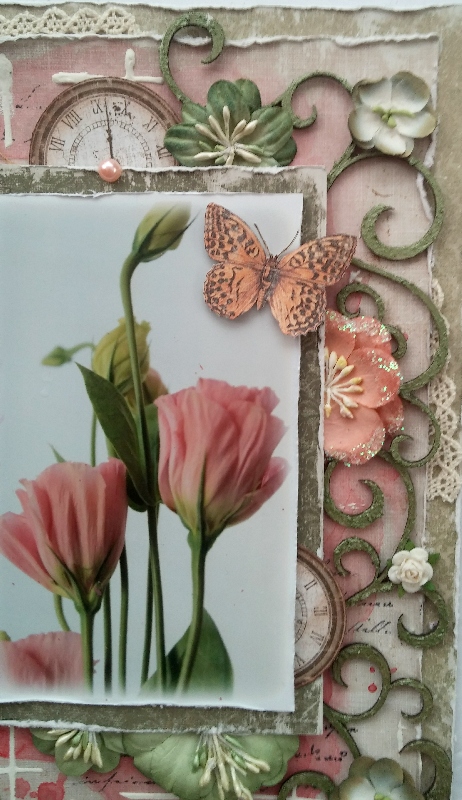
You can see in this photo, the pretty textures the green texture paste gives to the Dusty Attic chipboard Scrolls.  I also tucked a few clocks that I cut out from the Vintage Autumn Basics XVI paper around the photo area along with some Dusty Attic green blossoms.  And as a finishing touch I added a butterfly that I cut out of the Die Cut sheet from the Walking In the Forest collection as an embellishment on the photo.

Always closeup5

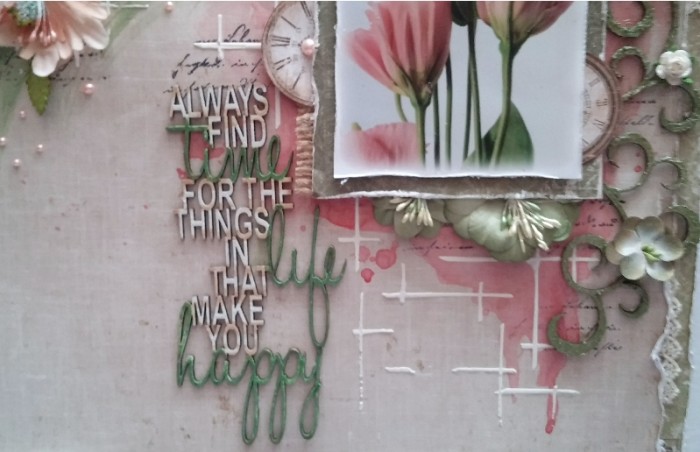
I added a bit of texture using a new Dusty Attic stencil called ‘Cross Hatch’ with some home-made texture paste. I also added a new chipboard title from Dusty Attic, using the Shimmerz ‘Greener Pastures’ paint to color the scripted words in the title.

I hope you enjoyed today’s post and that it brought you a little hint of Spring on this cold winter day!

Gabrielle-sign

“Breathe” a Walking In the Forest Layout

0

Posted by Gabrielle Pollacco

16 December, 2015 - , ,

Write a comment

Breath_GabriellePollacco_Maja_resized

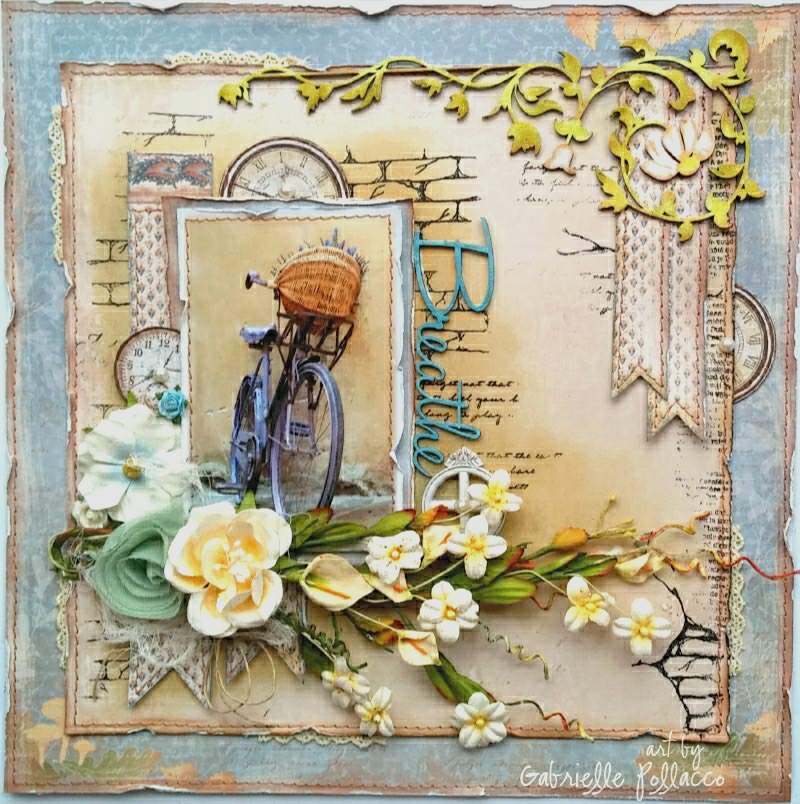
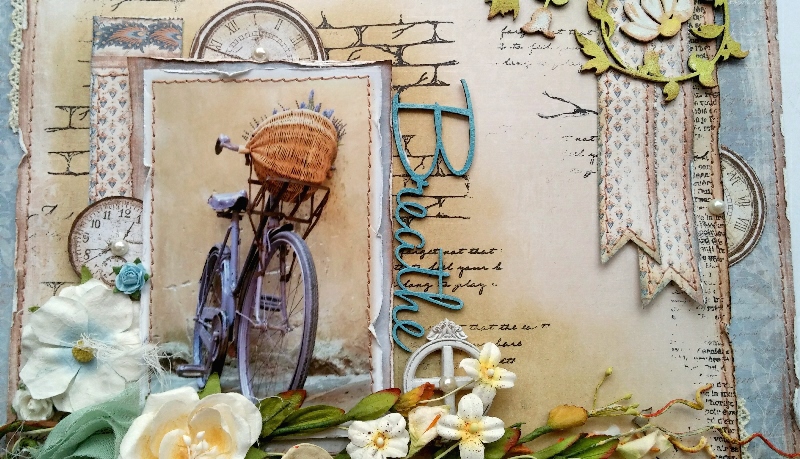
Hi everyone!  It’s Gabrielle here with you today to share a layout I made using the happy sunny, Maja Design “Walking in the Forest” collection, as well as some clock images cut from the Vintage Autumn Basics paper collection.

Walking-in-the-forest-P

I used the following papers:  Walking in the Forest (Autumn Poem, Flannel Shirt-bs, Cozy Scarf-bs), Vintage Autumn Basics (XVI)….love this paper for it’s lovely clock accents!

Breath_GabriellePollacco_Maja_close1

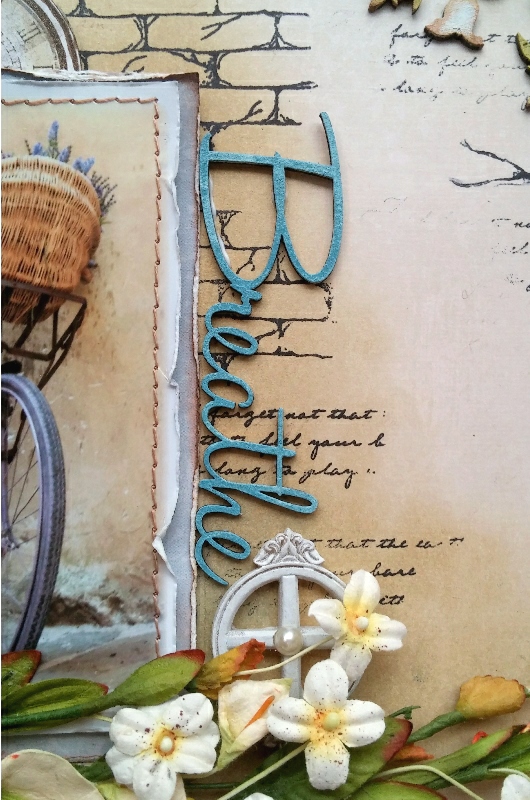
I used the Autumn Poem paper as my background matting paper and then cut the backside of the ‘Flannel Shirt’ paper to leave about an inch around the outside of the paper.  I inked the background with some Tim Holtz ‘Antique Linen’ Distress ink around the photo area using a sponge applicator.  I then did a little stamping with a couple of stamps I designed for The Scrapbook Diaries (brick stamp from my textures set and some script from my Labels stamp set).

Breath_GabriellePollacco_Maja_close2

The title is from a Dusty Attic word pack #10.  I gave all my chipboard a coat of white Gesso (I like to do this so that when I ink them, the colors show up brighter).  I then inked the chipboard with a Denim Distress Ink.

Breath_GabriellePollacco_Maja_close3

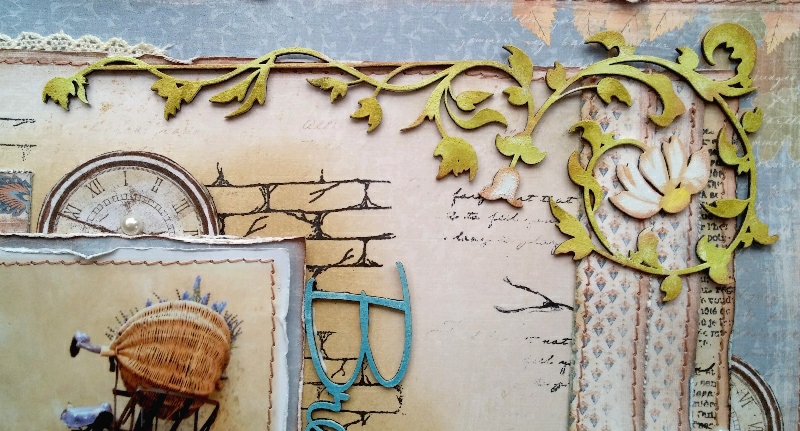
I used the Dusty Attic ‘Leafy Scroll’ chipboard design for my corner accent.  Again I painted it white with Gesso and then just randomly inked the leaves with Ingvild Bolme ‘Rock Moss’ chalk ink and edging with some Ingvild Bolme ‘Branch Bark’ chalk ink.

Breath_GabriellePollacco_Maja_close4

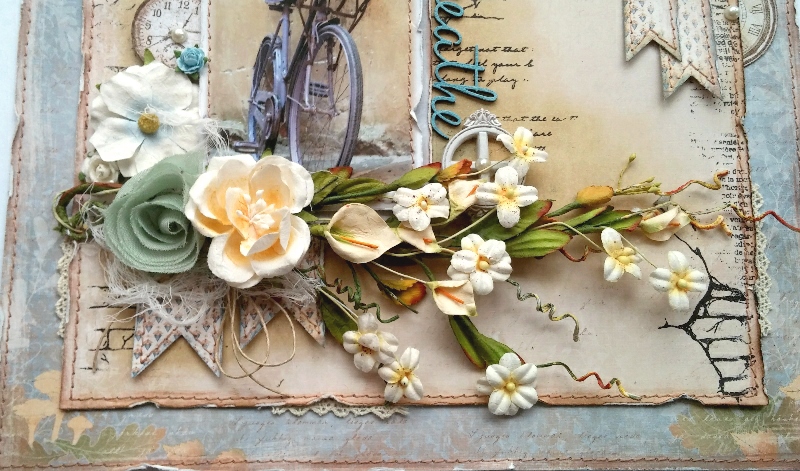
I cut banner strips from the backside of the Cozy Scarf paper and layered a few under the corner vine as well as under the photo area.

Do you ever have a page where you thoroughly enjoy working on it?  This is one of those layouts for me….the colors make me happy and every piece just seemed to work.  I hope you enjoyed my project today and hope I’ve inspired you to have a little ‘me’ time and scrap with your favorite Maja Design papers! xo

Gabrielle-sign


Home Decor ~ Door Hanger

0

Posted by Gabrielle Pollacco

2 December, 2015 - , , ,

Write a comment

Maja Door Hanger

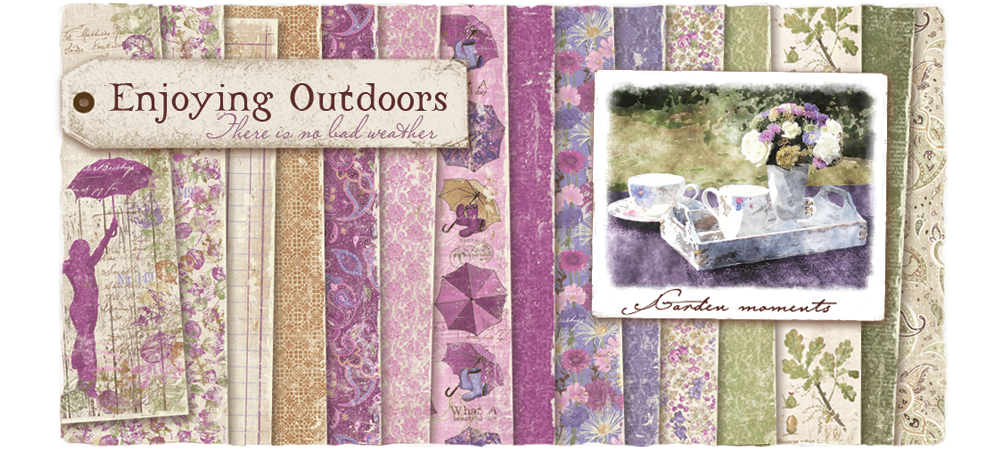
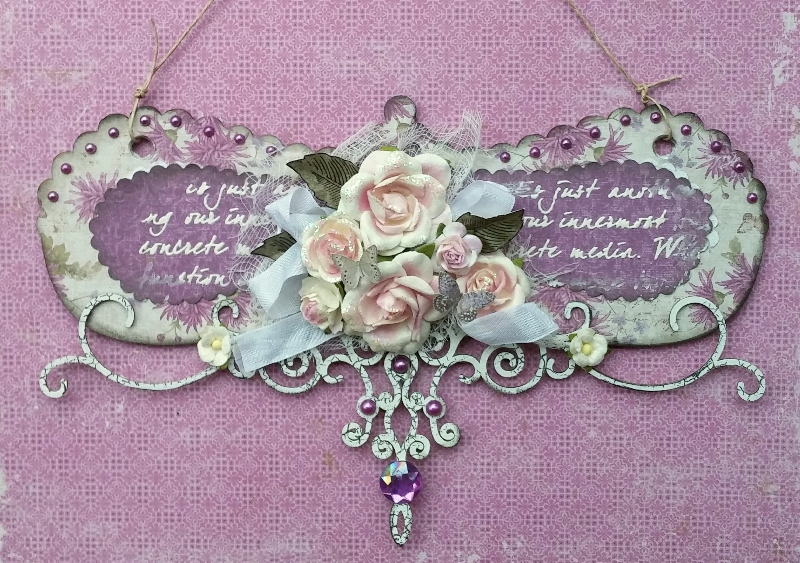
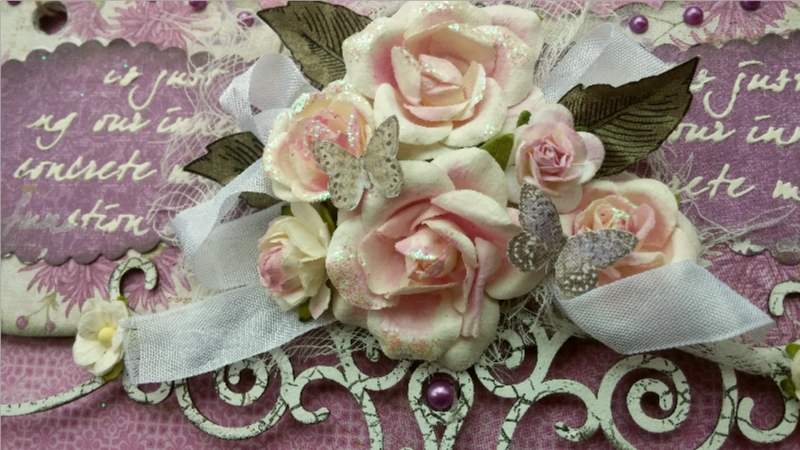
Hi everyone! It’s Gabrielle here with you today to share a home decor project I recently made using a Dusty Attic chipboard Door Hanger and some lovely papers from the Maja Design ‘Enjoying the Outdoors’ paper collection.

Enjoying-Outdoors-KL

I began by tracing the shape of the chipboard sign on the Enjoying the Outdoors ‘Autumn Picnic paper.  I glued this to the chipboard with a brush and a mixture of 50% white glue with 50% water.   I then used a decorative edge scissor to cut out a complimentary colored patterned paper from the Enjoying the Outdoors collection called “Colorful”.

Maja Door Hange2r

I used a TCW stencil called ‘Art Is’ with homemade texture paste to add some texture to the darker of the two papers. I chose some Prima white roses and gave them a pinkish/mauve center by dabbing some Shimmerz Precious Posey Inklingz and Berry Hot Creameez.  As a final touch to my centerpiece design I cut out a couple of the little butterflies from the Enjoying the Outdoors ‘Garden Creatures’ paper.

Maja Door Hange3r

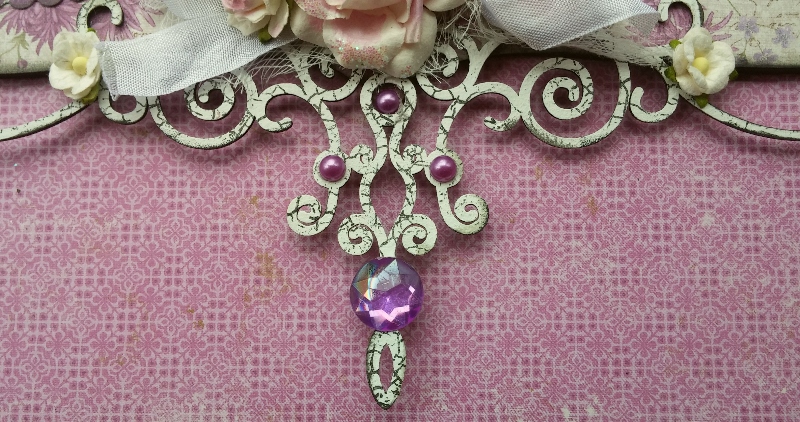
I added delicate scroll to the bottom of the hanger (Dusty Attic’s Ornamental Trim set), painted it white and stamped it with a crackle stamp I designed for The Scrapbook Diaries.  Final touch was to add some adhesive pearls that complimented the colors in the gorgeous Maja papers.

I hope you all enjoyed my project today and hope you have a chance to pull out your favorite Maja Design papers and play this week! xo

Gabrielle-sign

Beauty Mixed Media Canvas and Video Tutorial

0

Posted by Gabrielle Pollacco

18 November, 2015 - , , , , , ,

Write a comment

Beauty view2resized

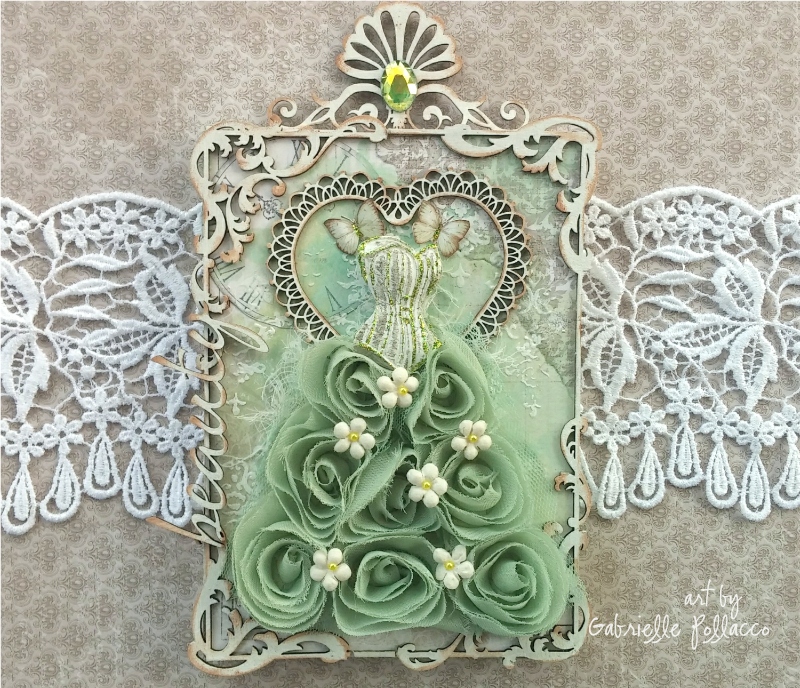
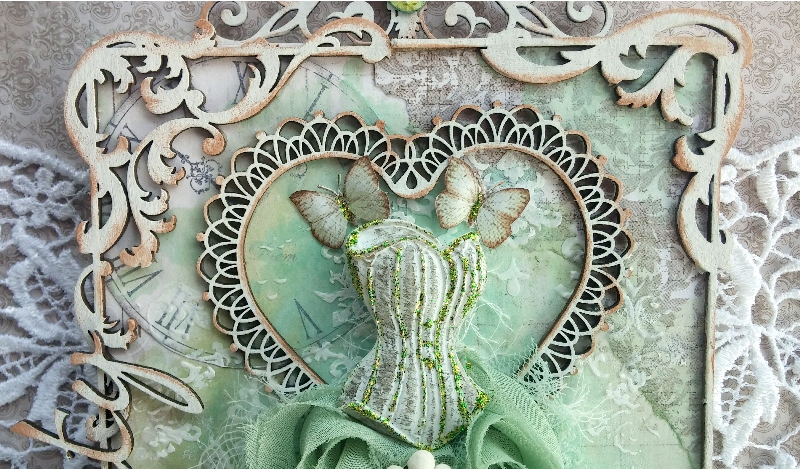
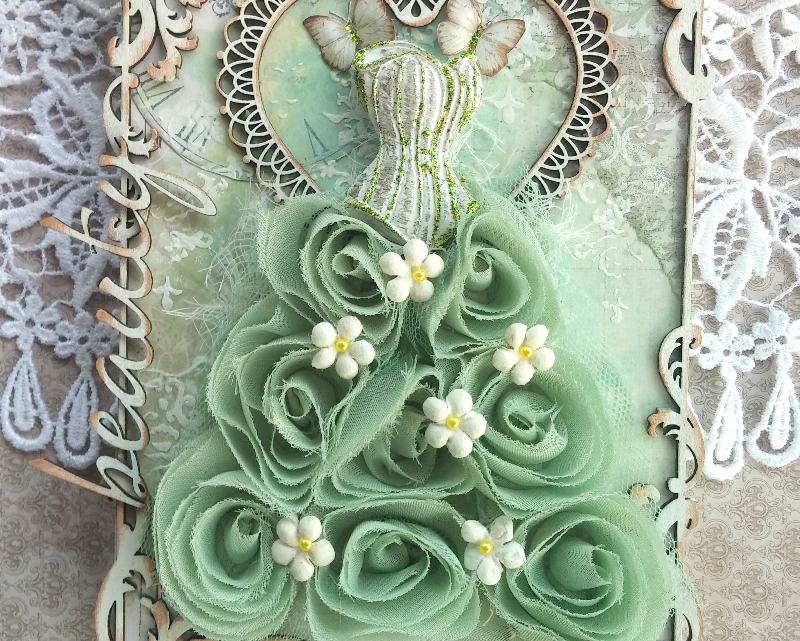
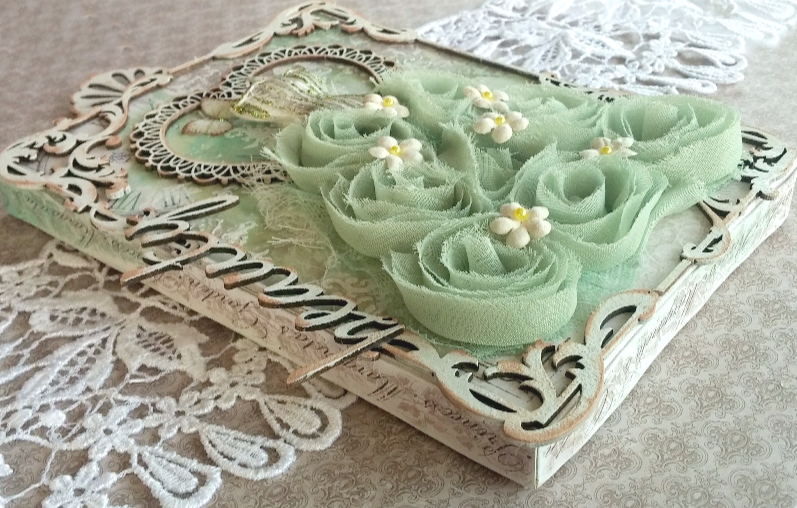
Hello Maja fans, Gabrielle here with you today to share a canvas I made recently.  I had this cute soft green rose ribbon in my stash which made me think of those pretty couture gowns I sometimes see on Pinterest.  So I gathered some of my favorite Maja Design papers some Dusty Attic chipboard pieces and some Shimmerz Paints and got started.

Vintage-Spring-Basics-P

The majority of papers I used on this  project came from the Vintage Spring Basics collection with a couple of papers from Crea Diem, Vintage Summer Basics and Sofiero collection.  I used the following papers for this project:  Vintage Spring Basics (1st of April, 6th of May), Crea Diem (Den oersättliga tiden), Vintage Summer Basics (1903), Sofiero (Princess Margareta’s Garden).

I thought it would be fun to create a video tutorial to share with you all to show step by step how this little canvas was created….so grab your favorite beverage, take a little break and enjoy!….

[youtube http://www.youtube.com/watch?v=9RlzgpnfLUY?rel=0]
I hope you enjoyed my little tutorial! I thought I would share some of the close-ups below so you can view them at you leisure…

Beauty View4

I like to save all my title strips from my Maja Design papers for my projects and one of my favorite uses for them is to use as borders on my canvas’s.  They are a perfect fit width-wise and for a 4×6″ canvas, they fit perfectly  all around as well. Here I used the paper strips from the Sofiero ‘Princess Margareta’s Garden’ paper for this (although you can use any border that suits your fancy for this.

Beauty closeup1

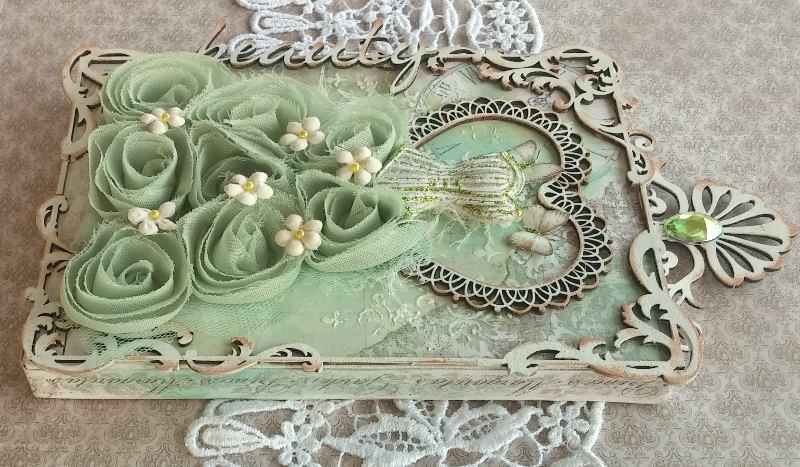
I found the perfect little frame for this in the Dusty Attic Baroque (Square) Frames ….using the smaller of the two frames in the set I just gave it a little snip here and there to make it fit my 6″x 4″ canvas.  Prima’s Shabby Chic treasures had just the right size corset in it to suit my project.  And then I found a lovely little heart frame in the Dusty Attic Lacey Heart Frames.

Beauty closeup2

I chose my mixed media paint colors from the Kaisercraft rose ribbon a friend had sent me a little while back. I picked Shimmerz Paint’s ‘Ride the Tide’ and ‘Sage It Isn’t So’ Creameez to add a soft hint of color to the background of my design.  I added a little texture with some texture paste and TCW’s ”Mini Brocade” 6 inch stencil.  And finally I added a scripty title by using the chipboard word ‘Beauty’ from Dusty Attic’s Wordpack #20.

Beauty View3

I hope you enjoyed today’s project and hope you feel inspired to create your own shabby-chic wall art using Maja Design papers! xo

Gabrielle-sign