“Love you to the moon and back” by Tina Ollett

2

Posted by Tina Ollett

28 March, 2017 - , ,

Write a comment

A big big welcome back to the home of Maja Design.  Today I have for you my next Maja Design Team creation.

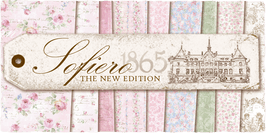
It was so exciting to hear that “Soferio” an old favourite was being reprinted into a new edition with an additional Die Cut Sheet and Monochromes.

 Can’t wait to share with you my next creation but until then I present to you

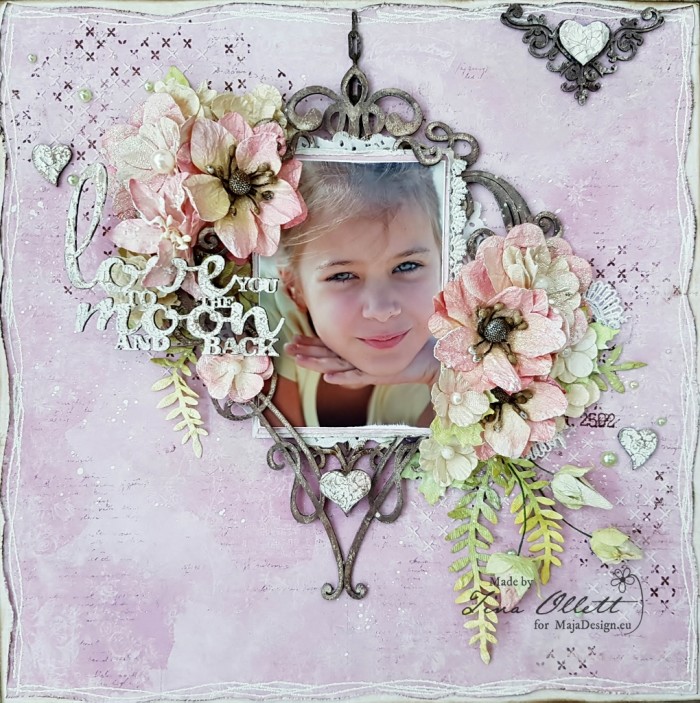
“Love you to the moon and back”……..

2017-03-28 Love you to the moon and back 023 (1020x1024)

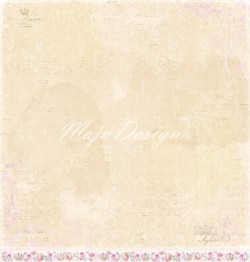
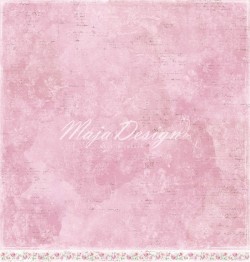
 As soon as I saw this first sheet of the collection called Strolling down the rose path, I instantly knew that this was where I would start. I teamed it with “Enjoying the fragrance” to create this lolly coloured layout of my gorgeous girl.

Sofiero Collection

Strolling down the rose path bs

Strolling down the Rose path bs

Enjoying the fragrance bs

Enjoying the fragrance bs

My starting point for this layout was to stamp and stencil with texture paste the background of Enjoying the fragrance. I have used Distress Ink Ground Espresso with a 49andMarket Stamp – Ethereal Stamp Set.  The edges of the paper were also stamped and powder embossed with another 49andMarket Stamp Set called Gabi’s Line Stitch . Once this was heat set I cut a wavy pattern from around the stamped image and then backed this to Enjoying the fragrance bs.


2017-03-28 Love you to the moon and back 002 (768x1024)

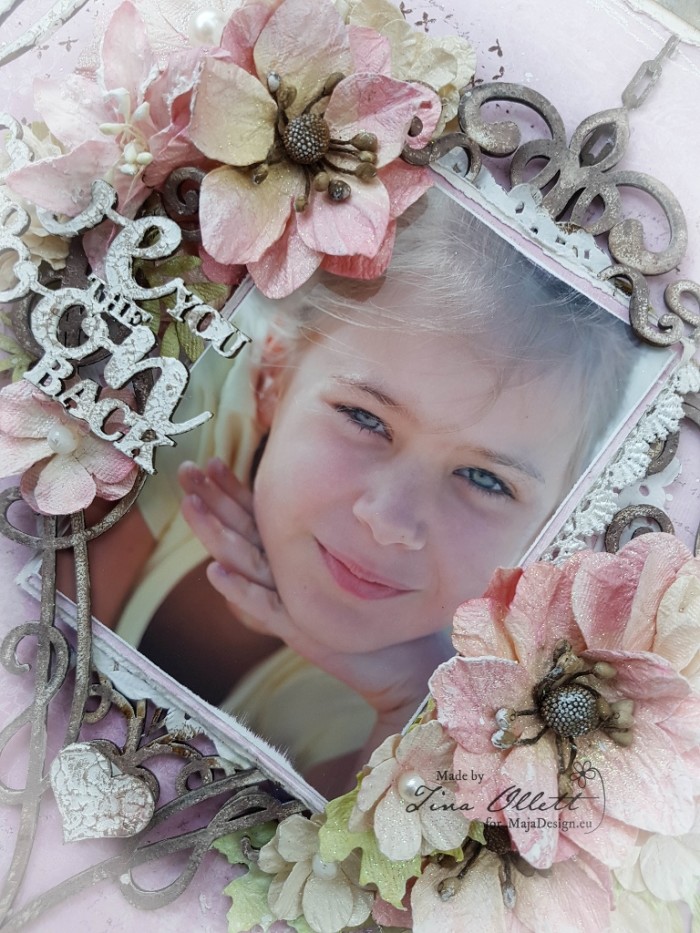
My photo was matted using pieces from the 6 x 6 paper pack of the same papers. They are so darn cute perfect for matting this sizing of photos.

As you can see above I have also tucked in some small snippets of miscellaneous lace I found sitting on my desk.

2017-03-28 Love you to the moon and back 016 (1024x768)

My photo and paper matting were sat upon some Dusty Attic chipboards that I put together to make a unique heart shape frame. These chipboards were gessoed and then inked randomly with Ground Espresso Distress Ink. I also rubbed a little Liquid Pearl “Blush” over and around the edges to pick up on the pink shades from the papers.

2017-03-28 Love you to the moon and back 020 (768x1024)

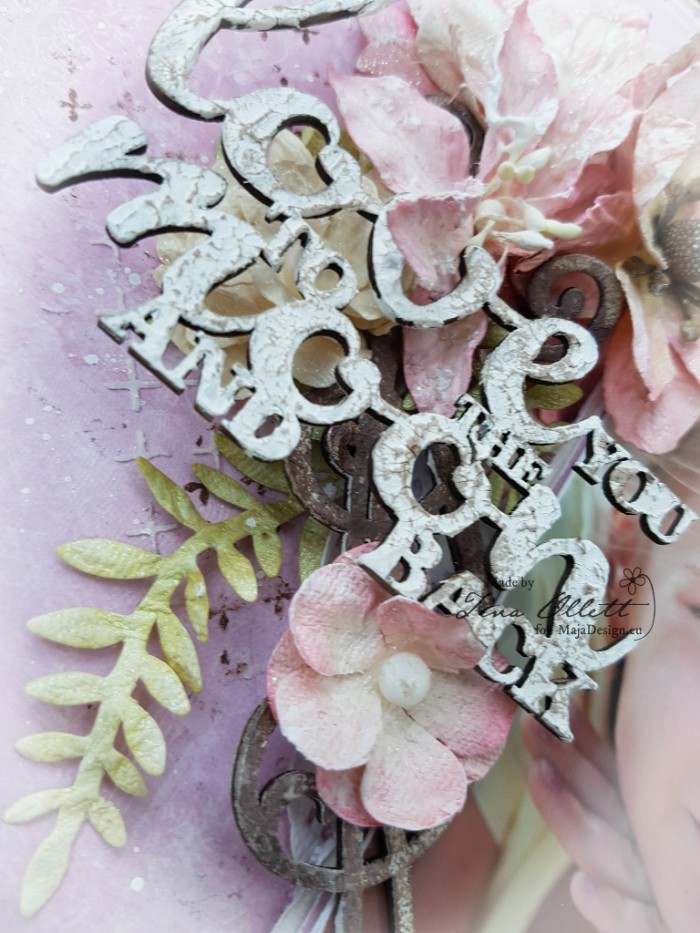
My Dusty Attic title “Love you to the moon and back” is a very special saying that my gorgeous girl and I have used for each other for as long as I remember. So it was only fitting to use it here. This was dressed in Finnabairs Art Extravagance Texture Paste White Crackle. Once it was dried I rubbed in some of the Blush Liquid Pearls and then rubbed over the textures with a little more of the Distress Ink.

2017-03-28 Love you to the moon and back 021 (768x1024)

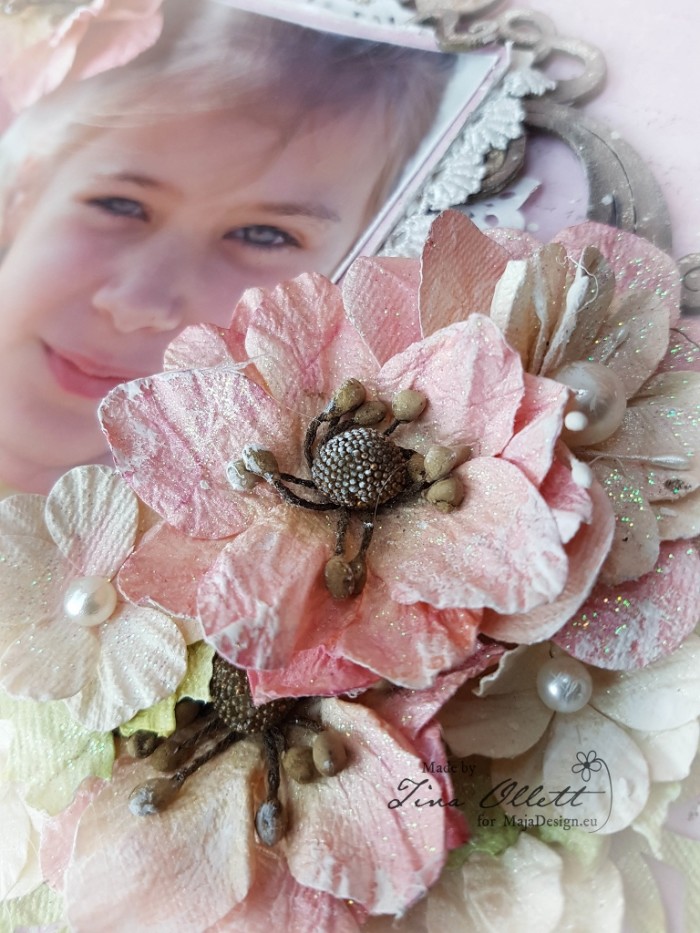
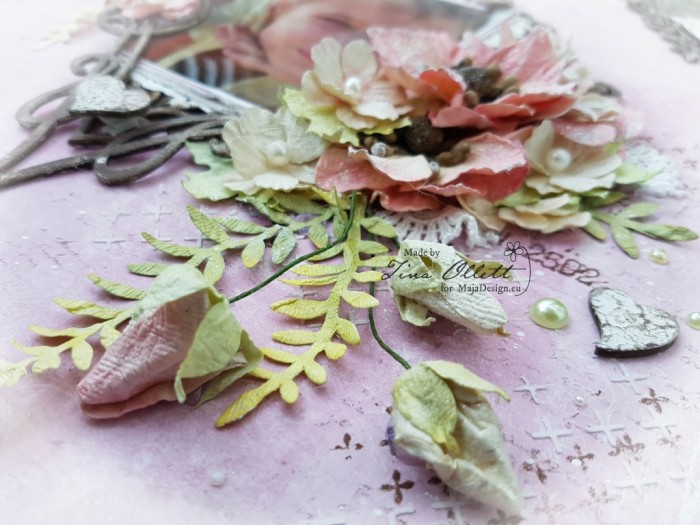
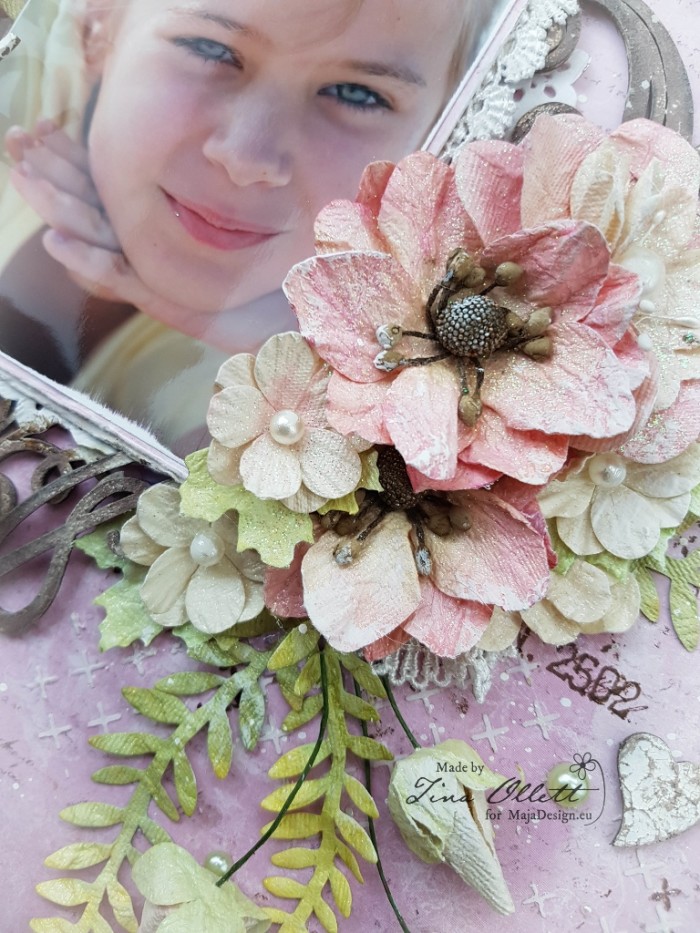
My clusters of flowers that I have used here are the newest of the 49andMarket collections.

Shimmer and Shine in both the Blush and Ivory Melange. They compliment these papers perfectly!

2017-03-28 Love you to the moon and back 022 (768x1024)

And one more sneak peek!

For your convenience I have made a full and complete list of the materials used for this creation below.

I hope you have enjoyed my layout today. As I said before I have another coming up using this same beautiful beautiful collection.

I can’t wait to share it with you! Until then happy scrapping.

Tina-sign

Materials List

Sofiero New Edition – Enjoying the lovely fragrance SOF-616

Sofiero New Edition – Strolling down the Rose path SAF-615

Dusty Attic – “Love you to the moon and back” DA1190

Dusty Attic – Fancy Accent #1 – DA1623A

Dusty Attic Corner Swirl #1 DA1574

Dusty Attic Ornate Corner #DA0465

Dusty Attic- Mini Chains – DA04058

Dusty Attic – Criss Cross Stencil

Dusty Attic – Pearls DA

Miscellaneous Coloured Pearls

49andMarket – Gabrielle Pollacco – Gabi’s Ethereal Stamp Set

49andMarket Gabi’s Line Stitch Stamp Set

49andMarket – Shimmer and Shine – Blush Melange

49andMarket – Shimmer and Shine – Ivory Melange

49andMarket – Shimmer and Shine – Blush Jardin

Lace – Miscellaneous Pieces

Distress Ink Ground Espresso

Ranger Texture Paste

Finnabair – Art Extravagance – Texture Paste – White Crackle

Finnabair – Art Basics – Heay Gesso

Liquid Pearls – Blush

Versa Mark Ink

Embossing Powder – Seafoam

“Breathe” a Walking In the Forest Layout

0

Posted by Gabrielle Pollacco

16 December, 2015 - , ,

Write a comment

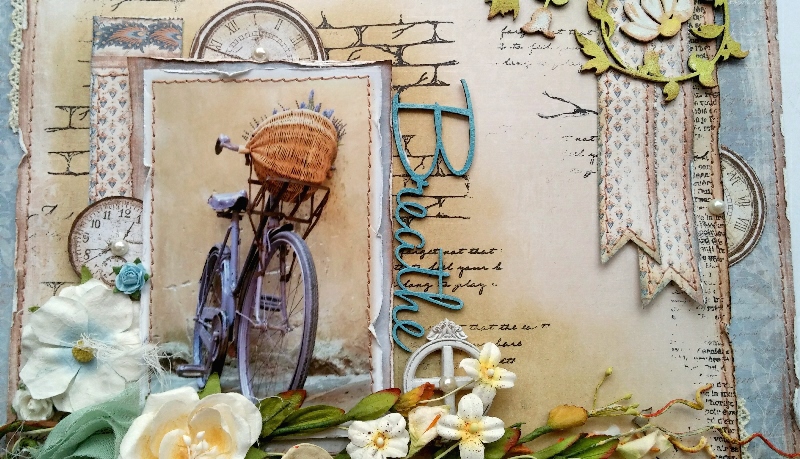
Breath_GabriellePollacco_Maja_resized

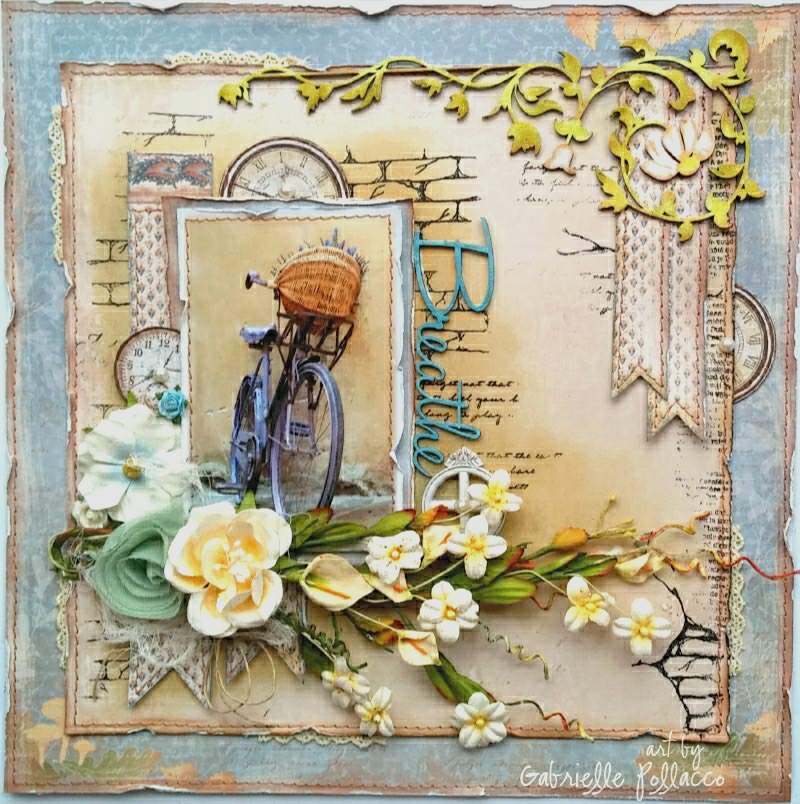
Hi everyone!  It’s Gabrielle here with you today to share a layout I made using the happy sunny, Maja Design “Walking in the Forest” collection, as well as some clock images cut from the Vintage Autumn Basics paper collection.

Walking-in-the-forest-P

I used the following papers:  Walking in the Forest (Autumn Poem, Flannel Shirt-bs, Cozy Scarf-bs), Vintage Autumn Basics (XVI)….love this paper for it’s lovely clock accents!

Breath_GabriellePollacco_Maja_close1

I used the Autumn Poem paper as my background matting paper and then cut the backside of the ‘Flannel Shirt’ paper to leave about an inch around the outside of the paper.  I inked the background with some Tim Holtz ‘Antique Linen’ Distress ink around the photo area using a sponge applicator.  I then did a little stamping with a couple of stamps I designed for The Scrapbook Diaries (brick stamp from my textures set and some script from my Labels stamp set).

Breath_GabriellePollacco_Maja_close2

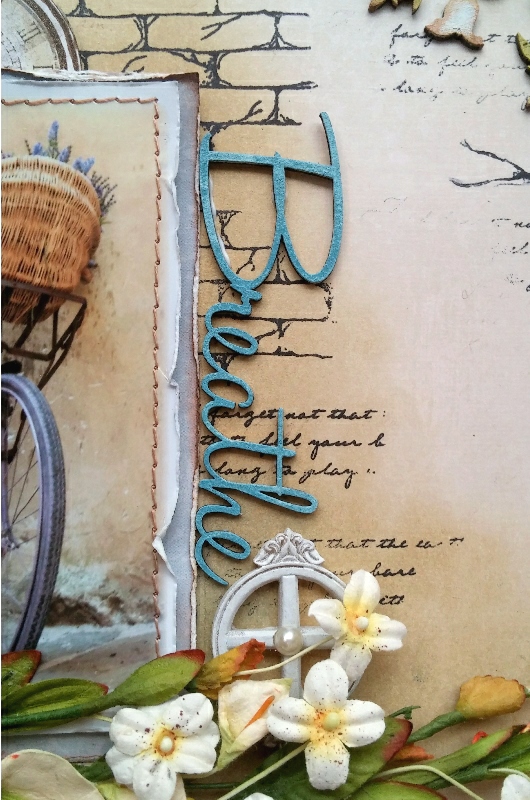
The title is from a Dusty Attic word pack #10.  I gave all my chipboard a coat of white Gesso (I like to do this so that when I ink them, the colors show up brighter).  I then inked the chipboard with a Denim Distress Ink.

Breath_GabriellePollacco_Maja_close3

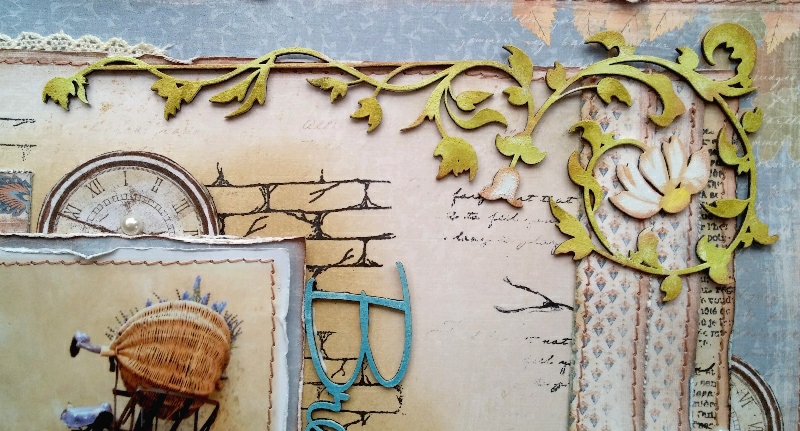
I used the Dusty Attic ‘Leafy Scroll’ chipboard design for my corner accent.  Again I painted it white with Gesso and then just randomly inked the leaves with Ingvild Bolme ‘Rock Moss’ chalk ink and edging with some Ingvild Bolme ‘Branch Bark’ chalk ink.

Breath_GabriellePollacco_Maja_close4

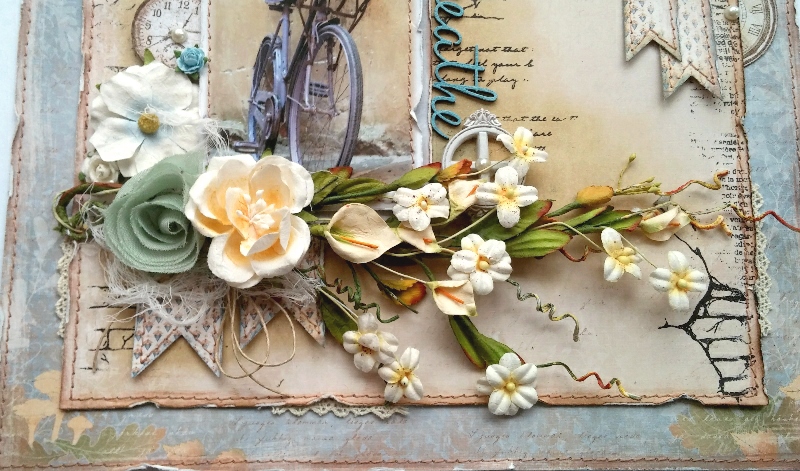
I cut banner strips from the backside of the Cozy Scarf paper and layered a few under the corner vine as well as under the photo area.

Do you ever have a page where you thoroughly enjoy working on it?  This is one of those layouts for me….the colors make me happy and every piece just seemed to work.  I hope you enjoyed my project today and hope I’ve inspired you to have a little ‘me’ time and scrap with your favorite Maja Design papers! xo

Gabrielle-sign


Saying Thanks

0

Posted by Gabrielle Pollacco

4 November, 2015 - , ,

Write a comment

Autumn Card Maja Gabi

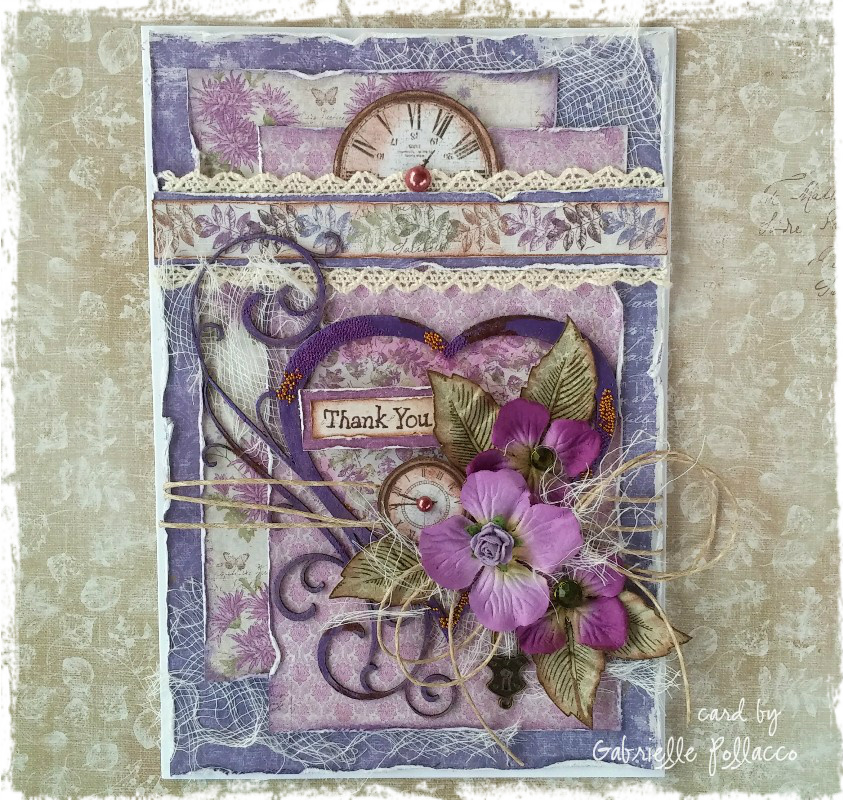
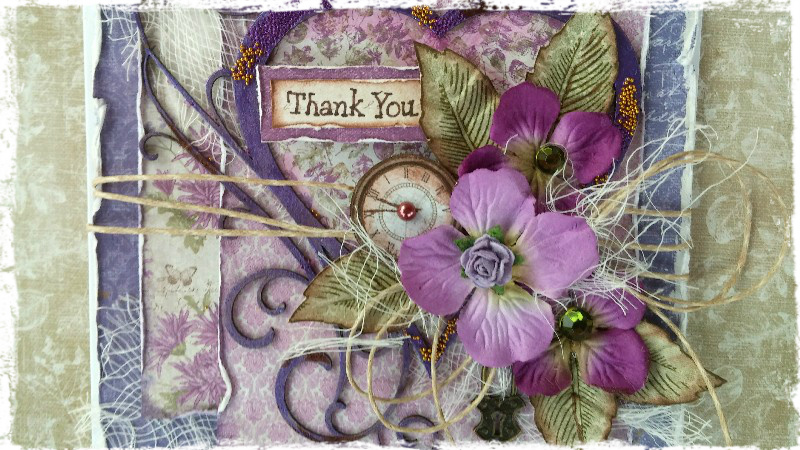
Hello Maja Design fans, it’s Gabrielle here with you today!  I don’t know about you, but I have so much to be thankful for, so for me it’s important to always have lots of pretty ‘Thank-you’ cards on hand.  I made this card for a dear friend who has been so generous with me, I wanted to say thanks to her in a way that shows my deep appreciation for her friendship.

Enjoying-Outdoors-KL

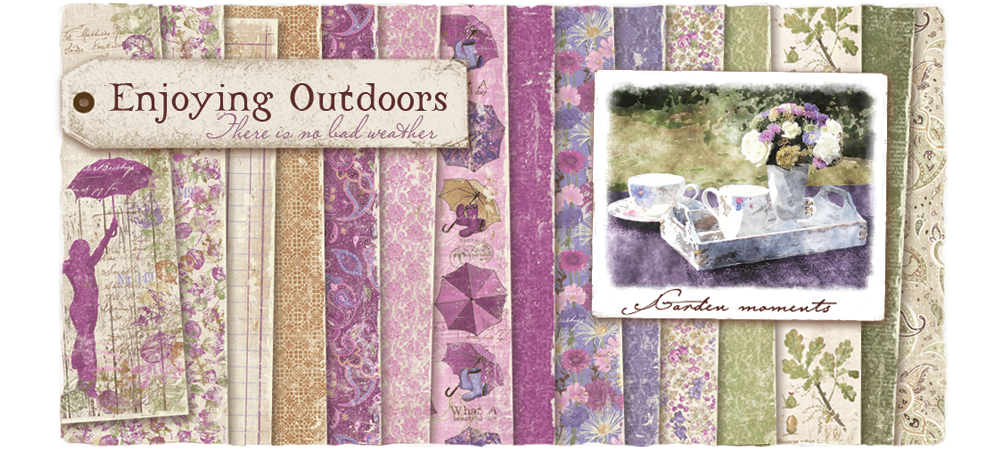
For this card I mainly used papers from the Maja Design ‘Enjoying the Outdoors’ collection.   I used ‘Late Summer Flowers-bs’ for the background of my card.  Then I opened my pack of Enjoying the Outdoors 6×6 paper pack and layered a variety of the patterned papers onto my card, using one of the mini-print floral papers as the inside of my heart design.

Autumn Card Maja Gabi close1

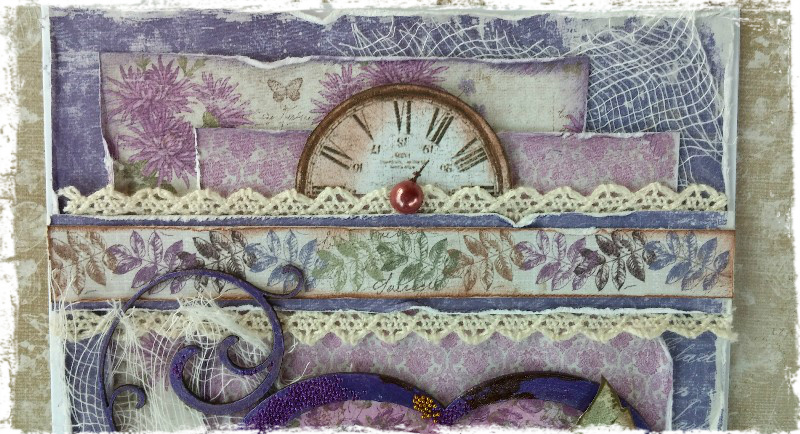
Another paper that I find indispensable is the clock paper ‘XVI’ from the Vintage Autumn Basics collection.  I usually take a moment to cut out all the clocks and keep them in a little plastic baggie so I have them handy for embellishing my projects.  Another little tip:  I never throw out the paper strips from the bottom of my 12×12 paper pads, they come in so handy for decorating my projects as you can see here.

Autumn Card Maja Gabi close2

A sweet friend of my sent me a bunch of chipboard frame designs, among them was this heart design.  I painted the heart with Shimmerz Paints ‘Grape-tastic’ Dazzlerz, this is a thick pearlescent paint that goes on beautifully in one coat.  While the paint was still wet I sprinkled on some bronze and purple micro beads (no name dollar store brand). I then finished the card design by adding a few Prima Hydrangea’s in a purple color and used a leaf stamp from one of my stamp sets that I designed for The Scrapbook Diaries….these I stamped onto the ‘Woodlands’ paper, cut out and slightly crinkled them, then just tucked them into the floral cluster.

I hope you enjoyed my project today and hopefully inspired you to use this gorgeous paper collection for your next cardmaking adventure! xo

Gabrielle-sign

Be Happy Every Minute Card

0

Posted by Elena Olinevich

3 November, 2015 - ,

Write a comment

Hello Maja Friends,

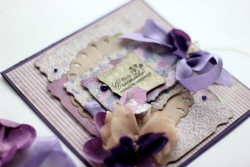
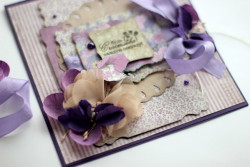
Today I have a card to share with you. It has one of my  favorite colors – purple and lilac.

MyFavoriteColor_Card_ElenaOlinevich

I absolutely love new collection, so rich in colors. I think new many cards and albims are coming. as I have started crafting and can not stop using it.

BeHappy_Card_ElenaOlinevich

This time I tried to add as more paper layers as possible, No doubt the papers have been the main focus.

BeHappy_Card_Sneak_ElenaOlinevich

It was quite easy, as the papers were so perfect to match eaach other.

LilacFlowers_Card_ElenaOlinevich

Products used: Enjoying Outdoors -6*6 paper pad, Spellbinders Dies.

Elena-sign

A Little Fall Drama with Walking In the Forest

0

Posted by Gabrielle Pollacco

21 October, 2015 - , ,

Write a comment

Drama_Gabrielle_Pollacco_Maja_Design2

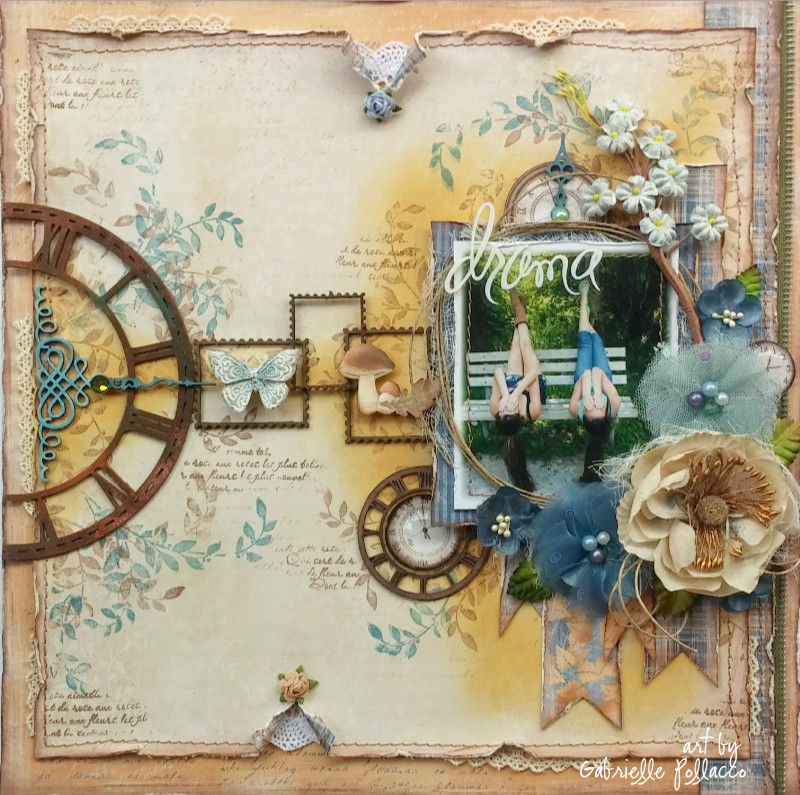
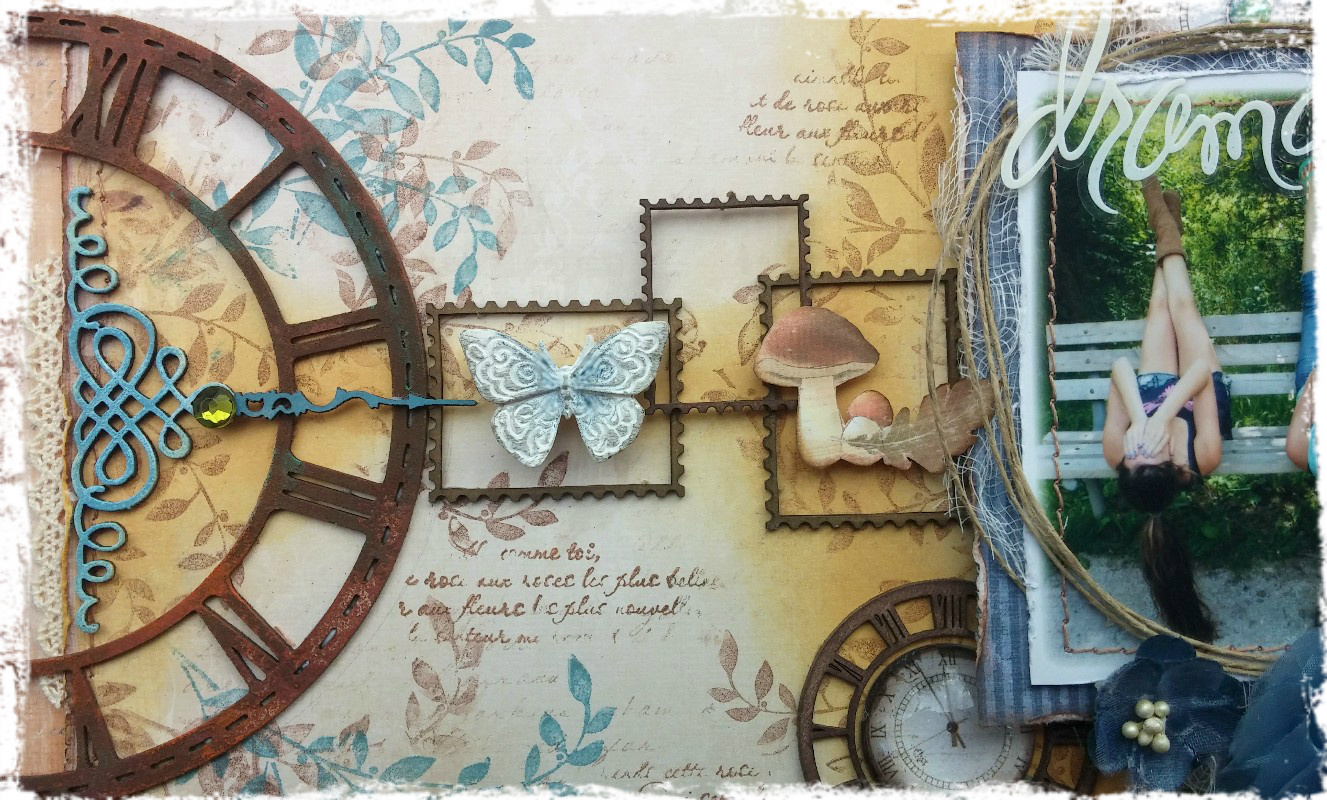
Hello Maja Design fans, Gabrielle here with you today! I’ve had this photo of my two girls hamming it up on a walk we went on, waiting to be scrapped for over a year now, it was time to do it!  It’s autumn and I just had to do a little scrapping with the beautiful Walking in the Forest collection!

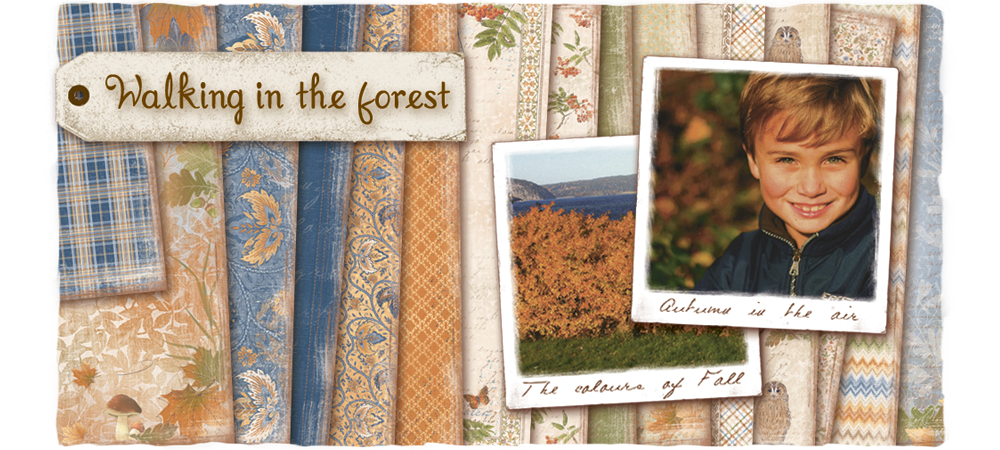
Walking-in-the-forest3

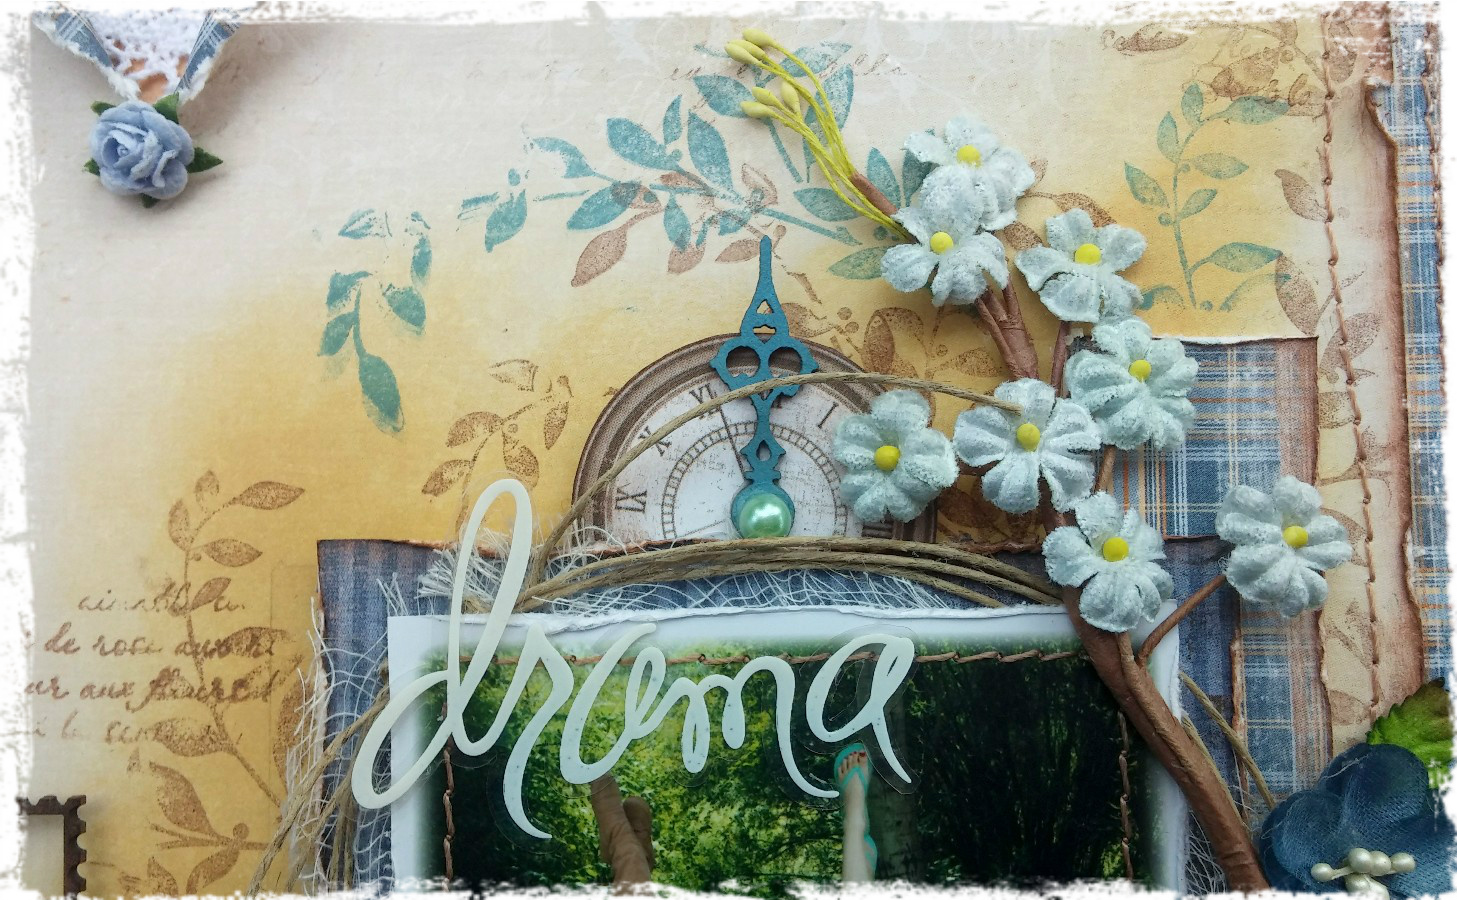
I just love the lovely denims and flannel print designs in this collection.  I chose the following papers to work with for this page: Walking In the Forest (Fresh Air-bs, Flannel shirt-bs, Flannel shirt (front side), Autumn In The Air, Birch).

Dramaclose1

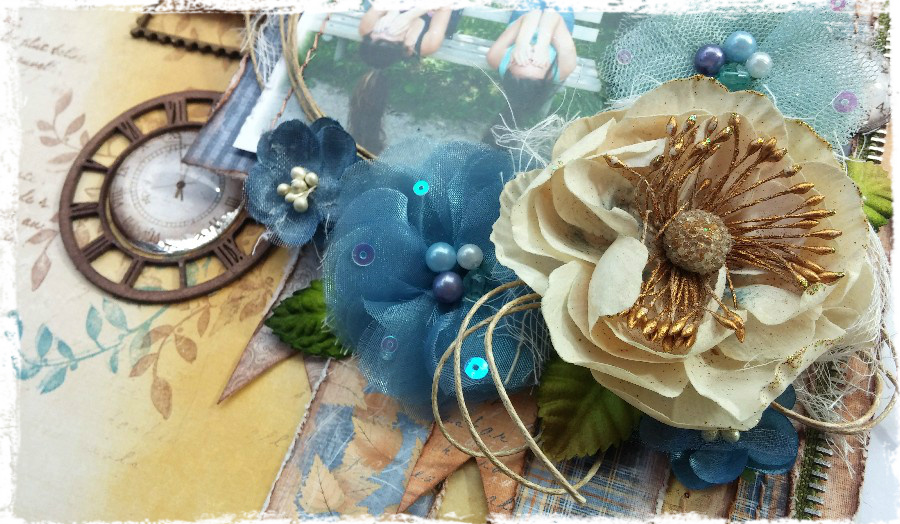
I used a variety of Dusty Attic chipboard to decorate this page with.  I got the idea to use the postage stamp chipboard design from the Walking in the Forest Die-cut sheet of paper.  The Dusty Attic Clock Frame got a rusty treatment using Dusty Attic Rusting powder sprayed with a combination of 75% white vinegar and 25% water.  You wait about 1/2 hour for the rusting to happen.  The l’il mushroom design was cut from the ‘Autumn in the Air’ paper and attached with foam pop dots.  The white butterfly is from Prima.  The Clock faces were cut from a paper called XVI from the Vintage Autumn Basics.

Dramaclose2

The blossoms I used for this page are a combination of Prima blooms (large cream flower), some Recollection (Michaels Craft store brand) blossoms, and some Dusty Attic blossoms (small blue).

Dramaclose3

I layered a few of the Walking In the Forest papers behind the photo, creating a few ribbon banners peeking out of the bottom. I added some foliage stamping in 2 colors around the focal points on the page.  The stamp is a K & Company set called Lotus by Amy Butler.  The inks I used were Prima Branch Bark chalk ink and Denim Mixed Media chalk ink by ColorBox.  The title is by Heidi Swapp.  Directly behind the photo I used a little Scattered Straw Distress ink by Tim Holtz.

Thanks so much for stopping by the Maja Design blog today, we love to hear your comments and feedback! xo

Gabrielle-sign