Mont Saint Michel

2

Posted by Pascale B

26 January, 2018 - , ,

Write a comment

Hello Sweeties

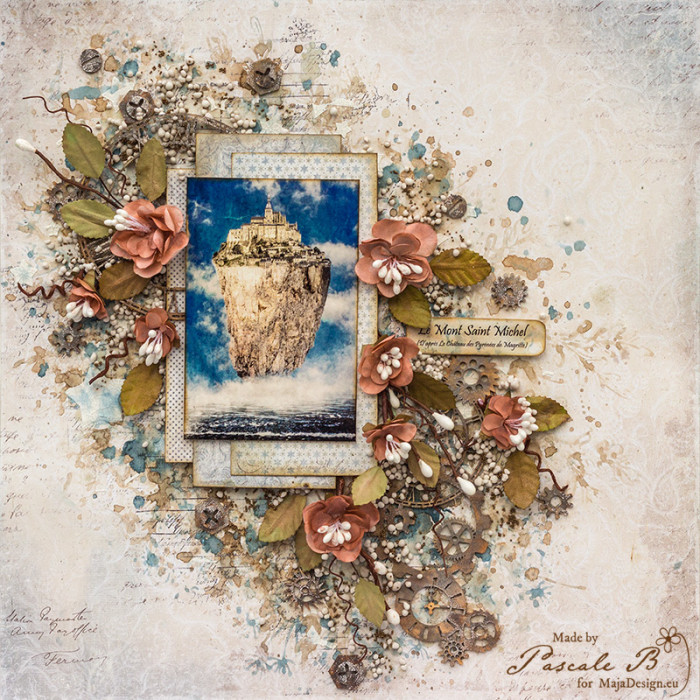
Today I’m up on Maja Design blog with a new layout featuring the Joyous Winterdays collection. I chose to work with a photomontage I’ve made, inspired by The Castle of The Pyrénée by René Magritte. Oh, I forget to tell you that there is a step-by-step video showing you how I make this layout.

Mont Saint Michel by Pascale B.

I stamped randomly the background with two of my stamps Pascale’s Form and Pascale’s Grammar with a black Archival ink. Next, I primed the background with clear gesso.

Mont Saint Michel by Pascale B.

When dry, I used different stamps to add some color to the background with different inks. I finished with splatters of the same inks. When happy with the result, I added a design with a stencil and white crackle paste.

Mont Saint Michel by Pascale B.

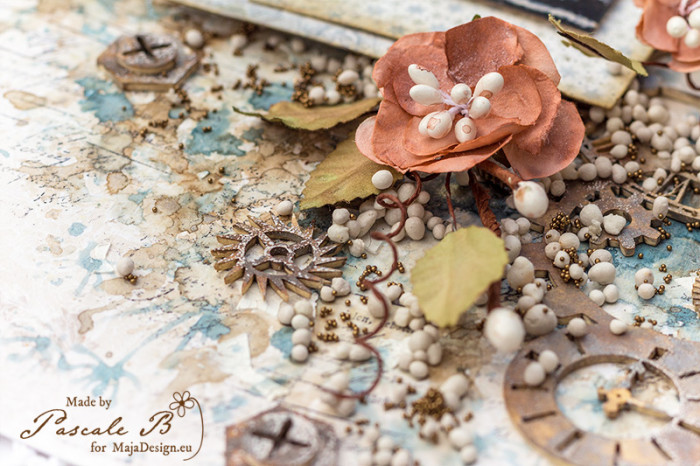
While the paste was drying, I colored the Archival board with Magicals. Next, I sprinkled them with an embossing powder to add some interest.

Mont Saint Michel by Pascale B.

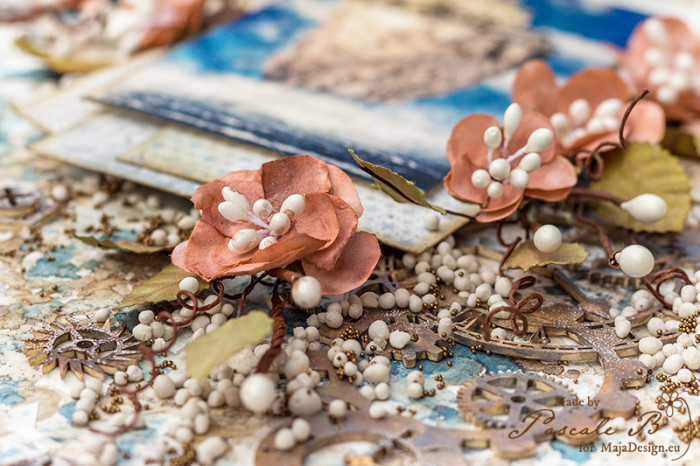
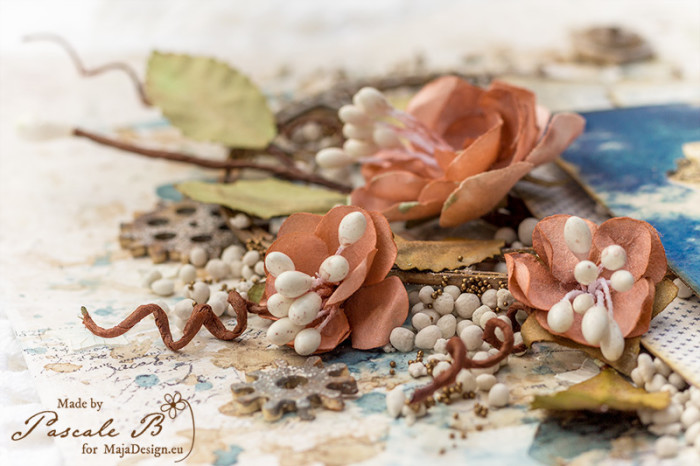
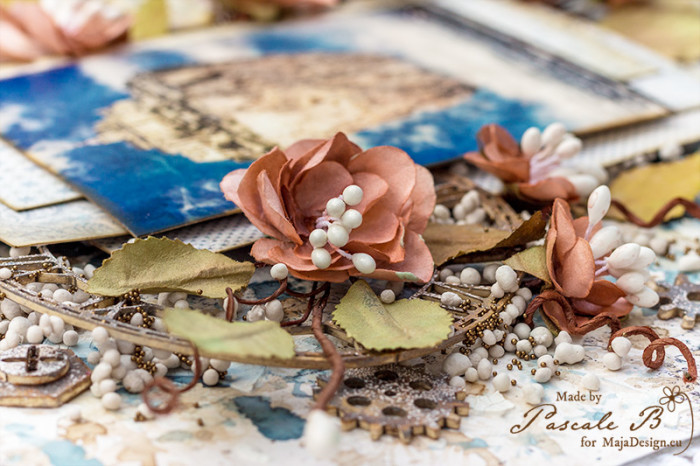
I colored the flowers with two inks: one peach, one vintage rose.

Mont Saint Michel by Pascale B.

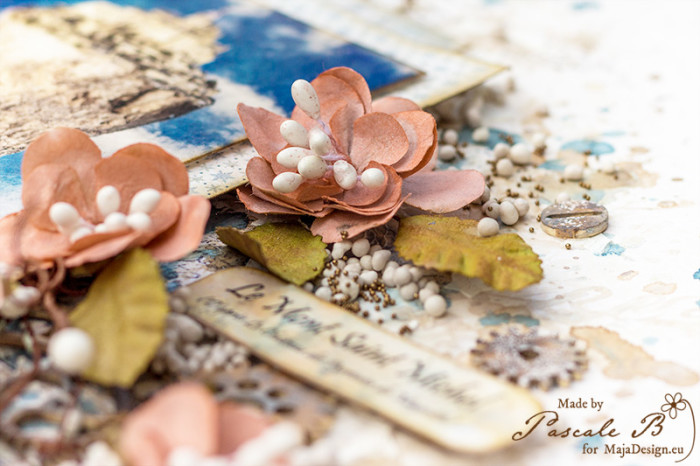
I cut a few papers to add under the photo and I glue all the embellishments with a 3D gel. To finish the layout I added some Art Stone and microbeads.

Mont Saint Michel by Pascale B.

And here is the video link:

[youtube https://www.youtube.com/watch?v=2s-oy6QRhcQ]

Maja Design products:

Joyous Winterdays collection
Ephemera bs
Ephemera bs
Sparkle
Sparkle
Blizzard bs
Blizzard bs
949-Paper-pack-Joyous-Winterdays-w
6×6 pad

Pascale-sign

”Always and Forever” Layout with a Video Tutorial

5

Posted by Mary Tzalla

18 September, 2016 - , ,

Write a comment

Layout

Hello Maja fans!

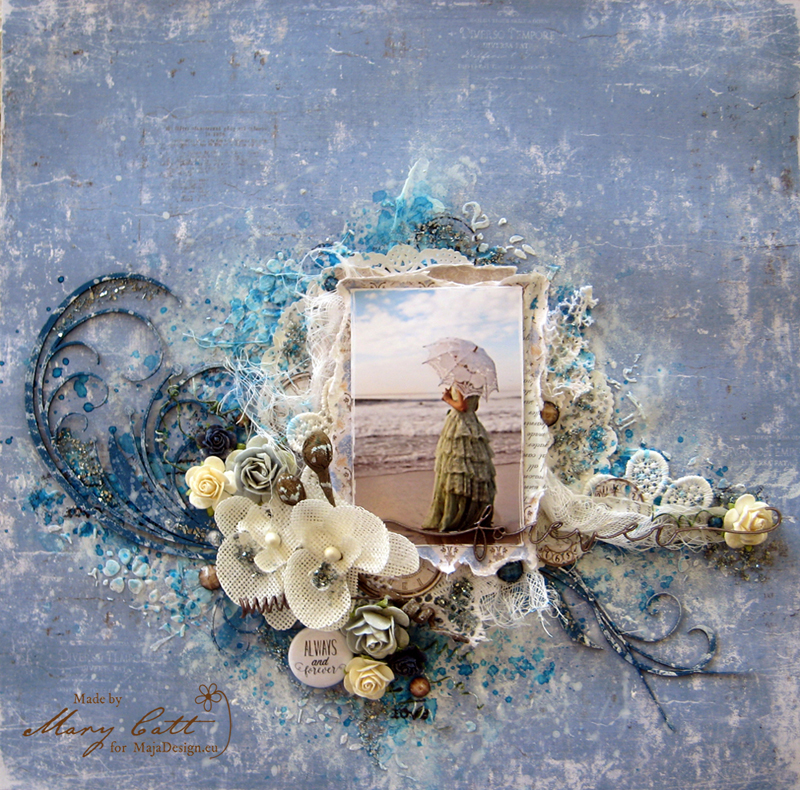
I have a new layout to share with you today. I made a mixed media vintage page using two different collections… ”Vintage Summer Basics” and ”Vintage Autumn Basics”.

I have also made a Video Tutorial…

As I always do I found this beautiful and romantic photo on Pinterest. So I want to give to the photographer all the proper credits.

Close Up 1

This photo is so romantic and inspired me to make a soft romantic layout.

For my background I choose the ”1916” paper from ”Vintage Summer Basics” collection and behind my photo I placed some torn pieces from ”1915” and ”1932” papers to make some layers.

At first, I gave my paper a coat of clear gesso and then I added some white gesso where I wanted to place my photo. I added some texture to my background with a light paste and two stencils. Then, I used Lindy’s Stamp Gang mists, ”Delphinium Turquoise” and ”Baby Blue Eyes Aqua” with some water to make a watercolor effect on my background.

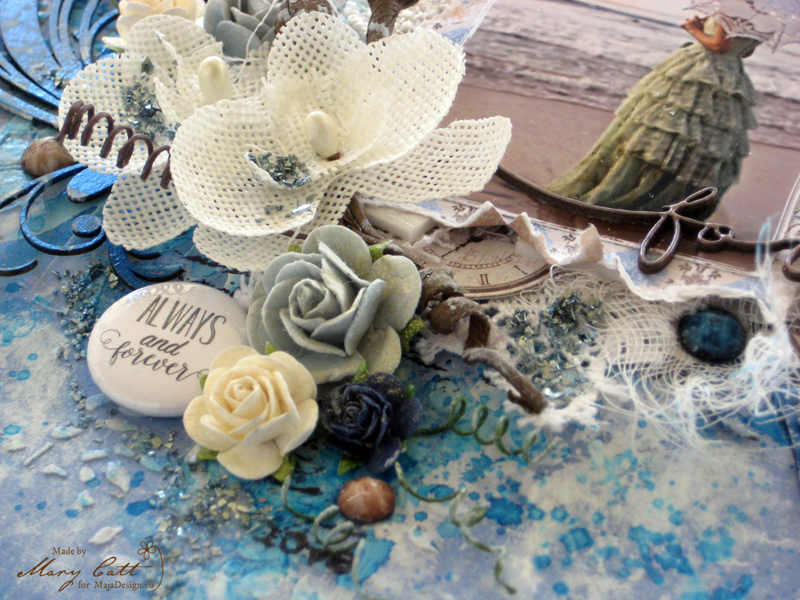
Close Up 2

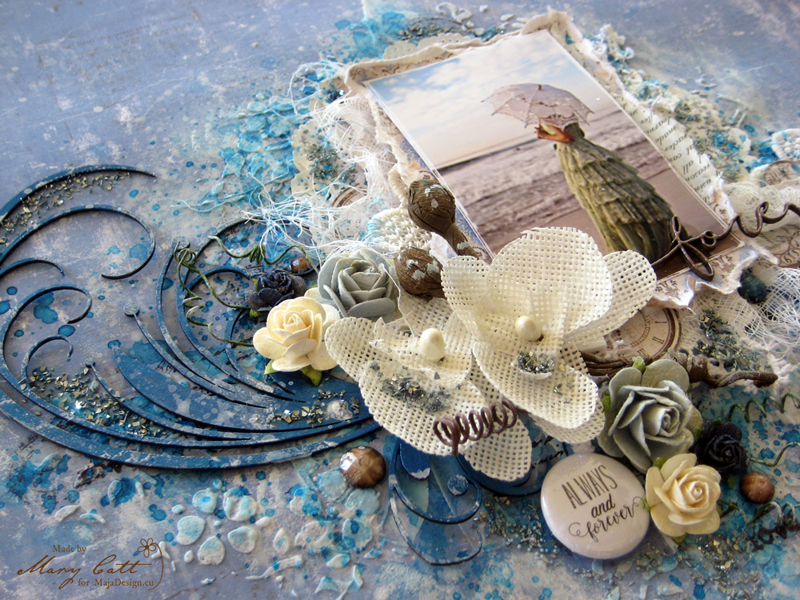
I sprayed my flowers with ”Blazing Sun” Lindy’s Glitz Spritz to make them shine. Then, I made a fussy cutting on some clocks from Vintage Autumn Basics ”No XVI” paper and added them to my clusters.

Close Up 3

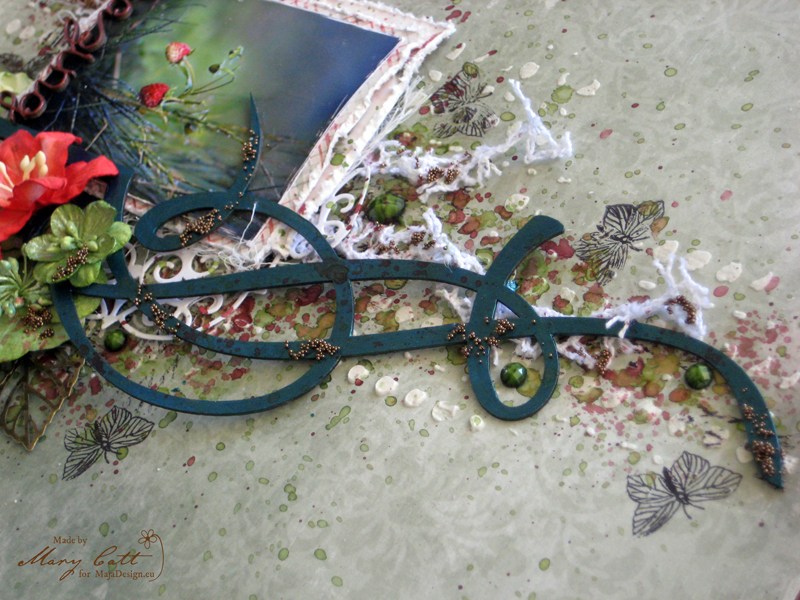
All the chipboards I used are 2Crafty. I colored the two flourish pieces with ”Deep Waters” Finnabair acrylic paint and the ”Forever” title was heat embossed with ”Golden Angel Wings” Lindy’s embossing powder.

Papers used:

Vintage-Summer-Basics-P

Autumn-Basics-P

Well, that’s all for today…

Thank you so much for visiting. I hope I gave you a little bit of inspiration!

See you again in two weeks!

Mary-sign1

”Amazing” Layout with a Video Tutorial

2

Posted by Mary Tzalla

4 September, 2016 - ,

Write a comment

Hello my friends!

This is my very first post for Maja Design as a design team member and I’m so excited to share it with you!

Maja design has amazingly beautiful papers and designing with them is like a dream come true to me! I’m so very thankful to Camilla and Marie for having me in the team and for the their trust in me!

Well, here is my layout…

Layout

I found my photo on Pinterest but unfortunately I don’t know who the photographer is… …so I want to give to the ”unknow” photographer all the credits.

For the background I have used the ”Greenery” paper from ”Summertime” Collection. I just loved that paper and matched so well with my photo.

I also have made a Video Tutorial…

[youtube http://www.youtube.com/watch?v=1US4uqFCSYc]

…and some detailed photos…

Close Up 4

I added texture to the background with a light paste mixed with ”Gold Opal Magic” mica powder and applied it through a stencil. Then I used the ”Edelweiss Moss Green” and the ”Peony Scarlet Red” Lindy’s Stamp Gang mist to give some colour. Some stamps and my background was ready.

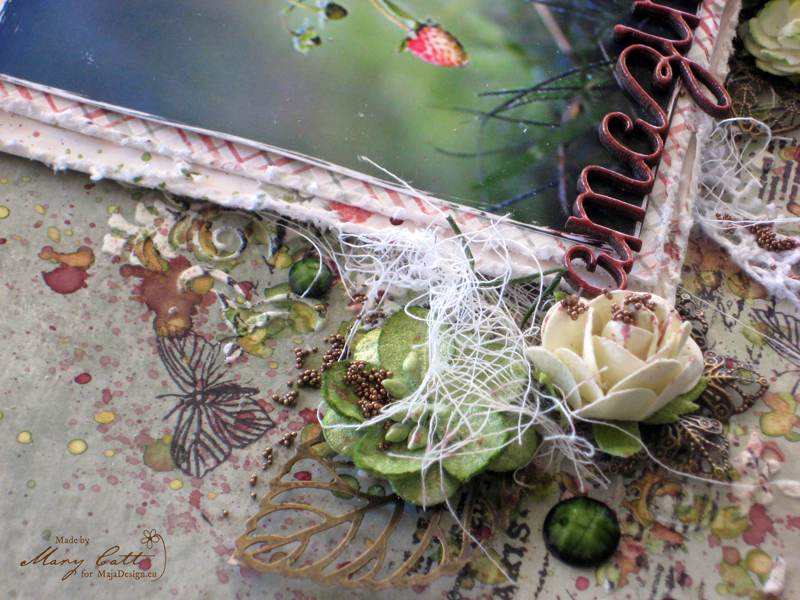
Close Up 1

Behind my photo, I made two layers using both sides of the ”Taste the Strawberries” paper from the same collection. I distress the edges with a scissor to give them a vintage look.

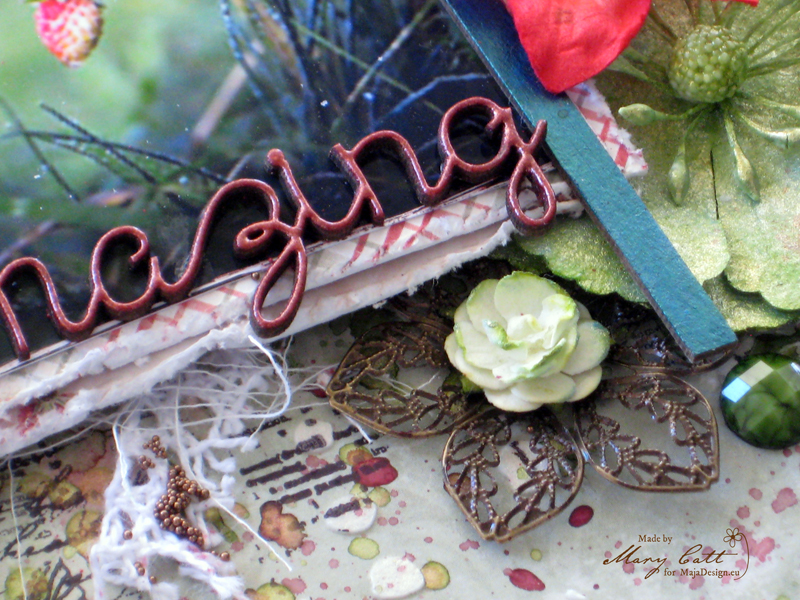
Close Up 2

The green flowers were misted with the same mist I used for my background. Oh, I wish I could show you how shiny they are.

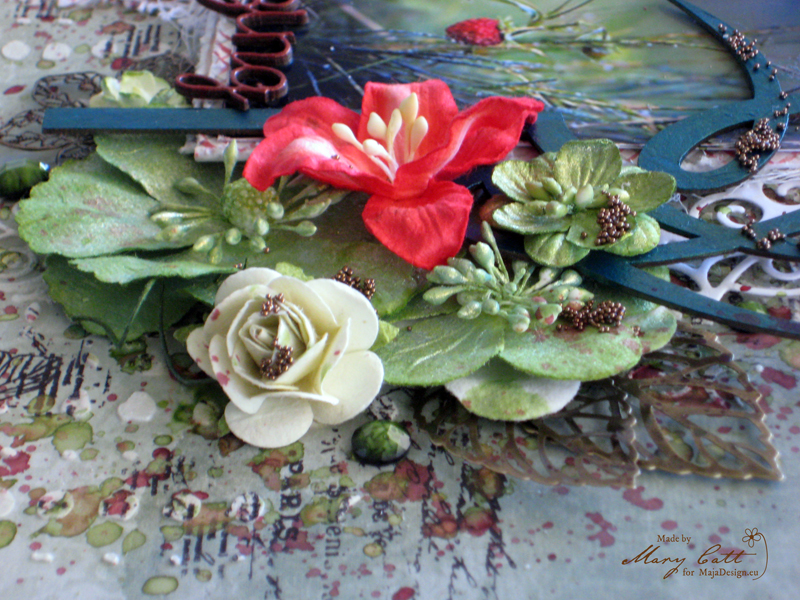
Close Up 3

All the chipboards I used are from 2Crafty Chipboard. I painted the florar chipboard with ”Metallique Emerald Green” Finnabair acrylic paint. The title was heat embossed with ”Terra Cotta Rust” Lindy’s stamp Gang embossing powder.

I finished my layout by adding some gems and some ”Bronze” micro beads.

Close Up 5

Papers Used:

Summertime-P

Thank you so much for stopping by!

Mary-sign


Moments by the Sea – and a Video Tutorial

4

Posted by Elena Olinevich

19 August, 2016 - , ,

Write a comment

Hello Maja Friends,

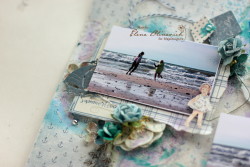
I’ve got a short vacation , and we spent a few days by the sea. I am so happy I had a chance to watch it and to breathe it.

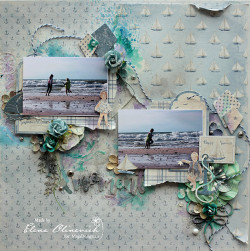
So I decided to make a layout using the just taken shots, moreover I made a step by step tutorial.

Nautical Moments, by Elena Olinevich, Maja Design, Main

I chose the papers from the new collection Summertime. Before that I tried only those with the strawberries and roses, time for strawberries left, so it’s time to try something nautical.

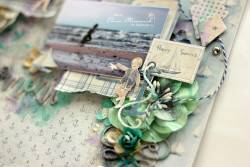
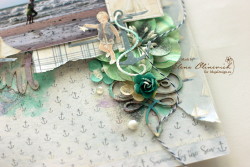
Nautical1, Moments, by Elena Olinevich, Maja Design

You can not believe me, but I am so in love with everything nautical – all those tarts, anchors, sailboats, and this time the images of the kids let me enjoy the process of papercrafting.

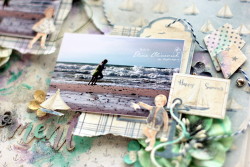
Nautical2, Moments, by Elena Olinevich, Maja Design

I added some flowers and…

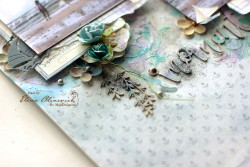
Nautical3, Moments, by Elena Olinevich, Maja Design

made some coloring, you can check it in my video.

Nautical4, Moments, by Elena Olinevich, Maja Design

However, I don’t know how, but while filming I deleted some clips, so I hope you forgive me that, I only missed the process of priming the background, misting it and adding the texture with the modeling paste and the stencil.

Nautical5, Moments, by Elena Olinevich, Maja Design

However, I ‘ve prepered some fun tips for you, so please enjoy it.


Elena-sign

Save

Love in the Summertime!

3

Posted by Gabrielle Pollacco

6 August, 2016 - , ,

Write a comment

Love_watermark

Hello Maja Fans!  It’s Gabrielle here with you today to share a layout and video tutorial with you using the absolutely gorgeous new summer collection by Maja Design called Summertime.  I was delighted to be asked back again to do a guest spot using this fresh beautiful new paper collection!  ….Has your summer been a good one so far?  Ours has been busy and lots of fun!  And I have some big news to share….my oldest daughter got engaged a few weeks ago! It’s still hard to absorb that my little girl is so grown up now.  But we are all so happy, he’s an awesome guy and they are so very happy together!  Every photo I have of them, you just see they glow with joy, so I thought I would use one of these pics to scrap with this lovely summery paper!
Summertime-L

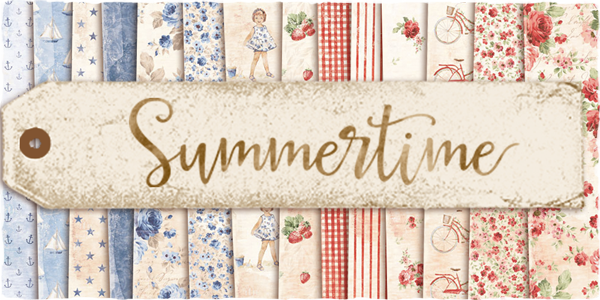
I used a variety the Summertime collection papers for my layout…’Light Scarlet’ as my matting paper, ‘It’s Always the Best’ as the main background design, ‘Flowers Everywhere-bs’ for the heart design, ‘Smell the Roses’ for the matting for the heart and ‘Light Scarlet-bs’ for the gingham inserts.  I thought I would share a video tutorial with you all on how this page was put together, so get yourself your favorite summer drink (my favorite is strawberry lemonade), take a load off, relax and enjoy!….
[youtube http://www.youtube.com/watch?v=37nolY7JX4o?rel=0]

I hope you enjoyed my tutorial and hope this inspires you to play with this beautiful collection for your own summertime photos.  Here are some close-ups and details of this page that you can enjoy at your leisure.
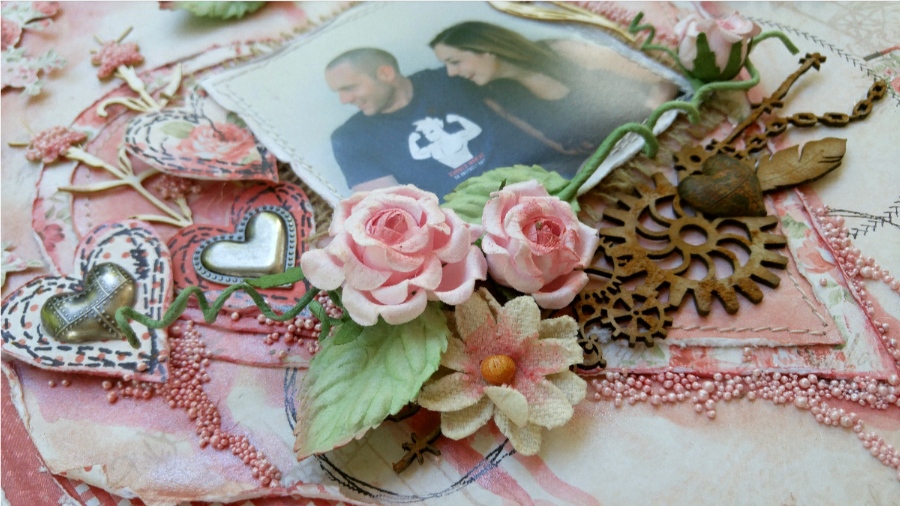
closeup1

Since this is a love story, I thought I would use lots of heart images throughout the layout.  I used the ‘Circle Stitch Stamp Set’ I designed for The Scrapbook Diaries, using the stitched heart stamp on a variety of the Summertime patterned papers and added Prima Mechanicals (hearts) to the centers to create fun and unique little embellishments for the page.
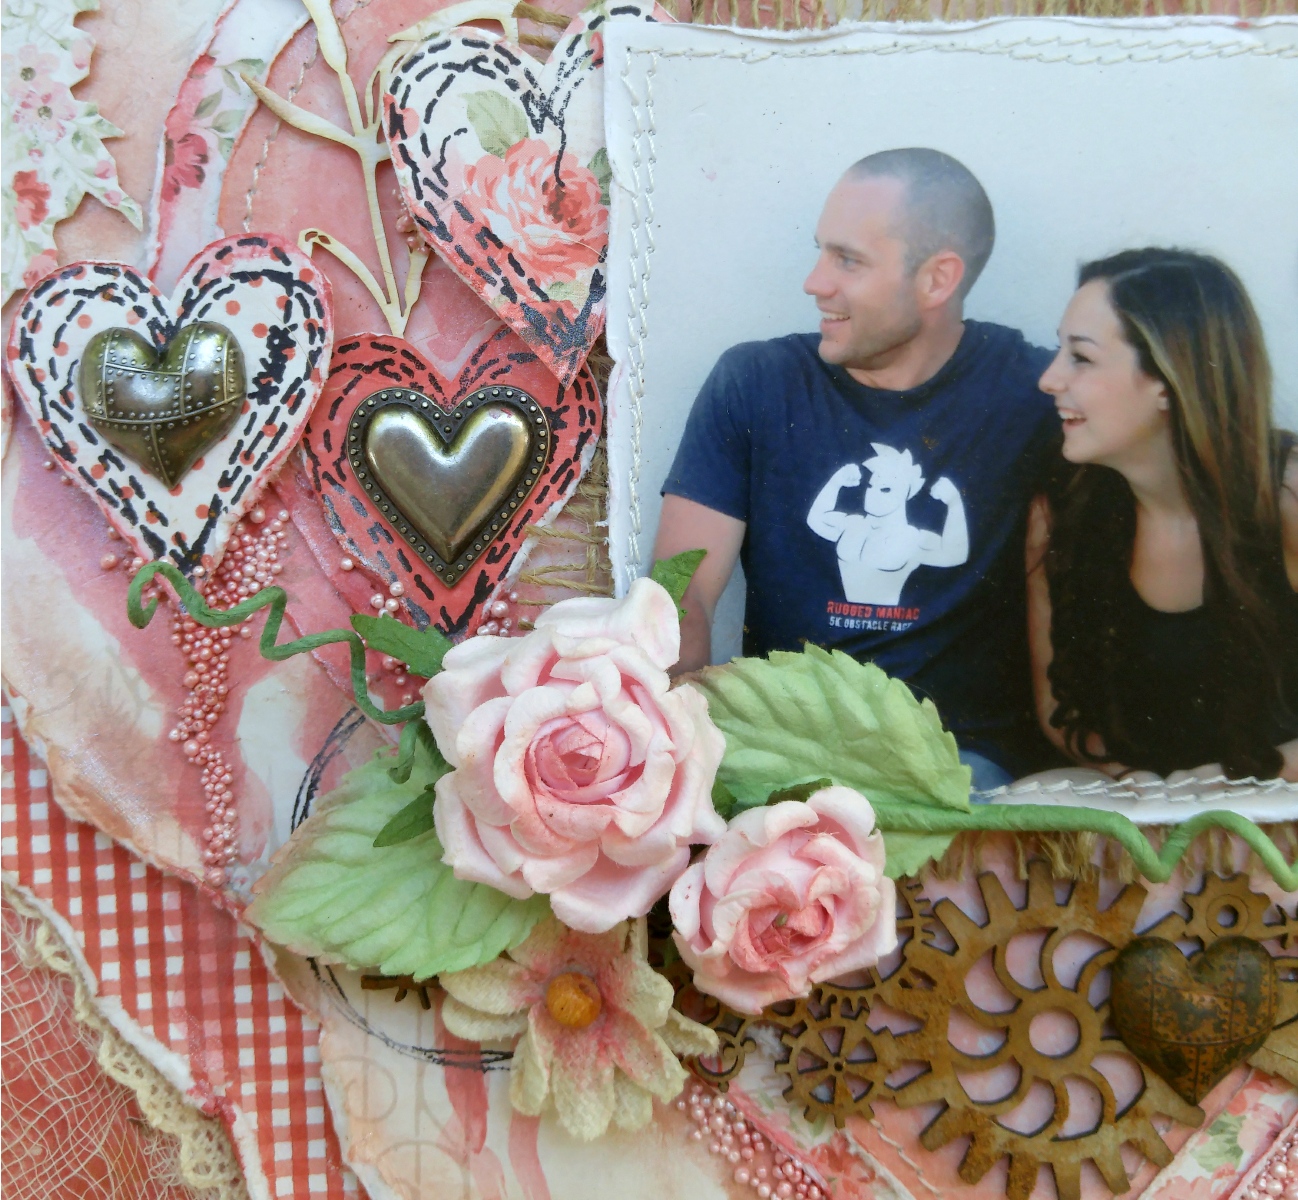
closeup2

The flowers are also from 49 and Market, the roses are a floral stem that I cut up and used in various places on the layout, and I used canvas blooms from their Rustic collection to tuck in around the photo area.  For my mixed media product I used two crayons by Faber Castell called Iced Rose and Iced Currant (see video for various ways I used this paint crayon).
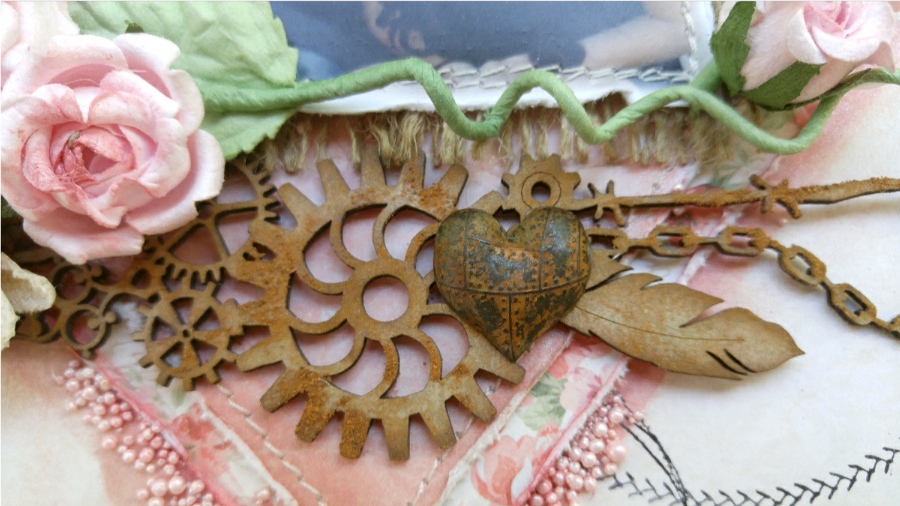
closeup5

The cogs chippie is from ScrapFX, and again the metal heart is by Prima.  (this whole page design, including chipboard, mixed media products, stamp and papers can all be bought as a kit from The Scrapbook Diaries).
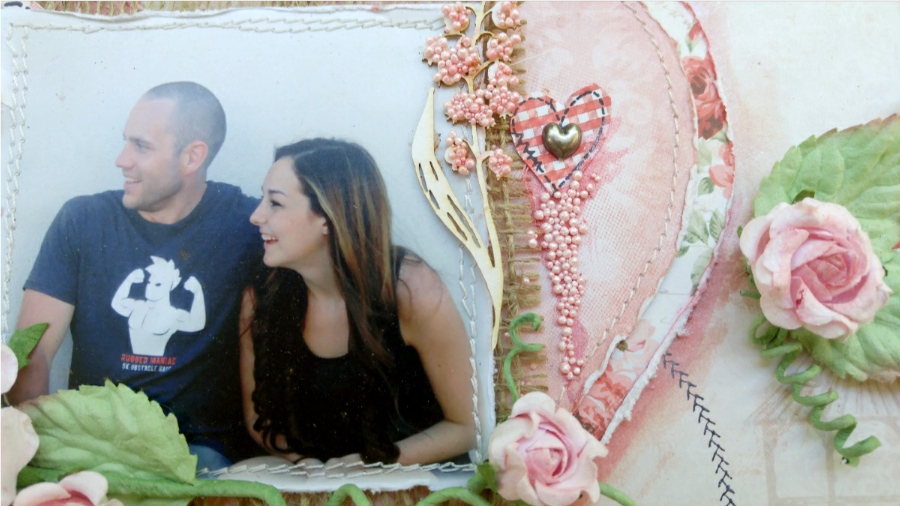
closeup3

Another product I’ve had a lot of fun with lately is those little colorful pebbles called Prills, here I used Tutu Pink Prills to accent the wooden floral accents from Scrapeniec and to accent my heart designs.
closeup6

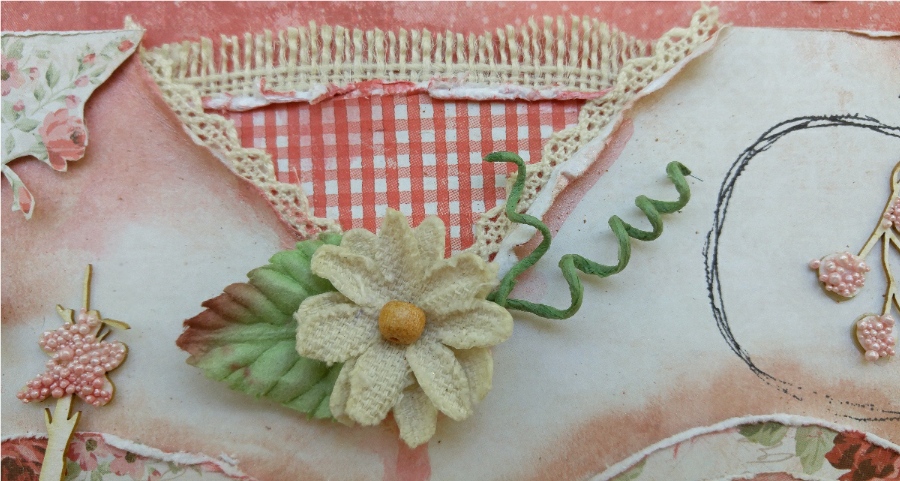
I just love to layer all the pretty paper designs in this collection.  For me, the gingham design on the backside of ‘Light Scarlet’ paper just speaks of summer.  Here I tucked it in a tear I made in the background paper “Is Always the Best’. Tucking in a little lace and burlap, I think adds a nice rustic look.

I really enjoyed working with these lovely papers and I think you will too!  Would you like a chance to win this beautiful ‘Summertime’ collection?  Be sure to pop over to my post at my blog and leave a comment, I will choose a winner on August 31st, it’s that easy!

Have a happy Summertime!

Gabrielle-sign