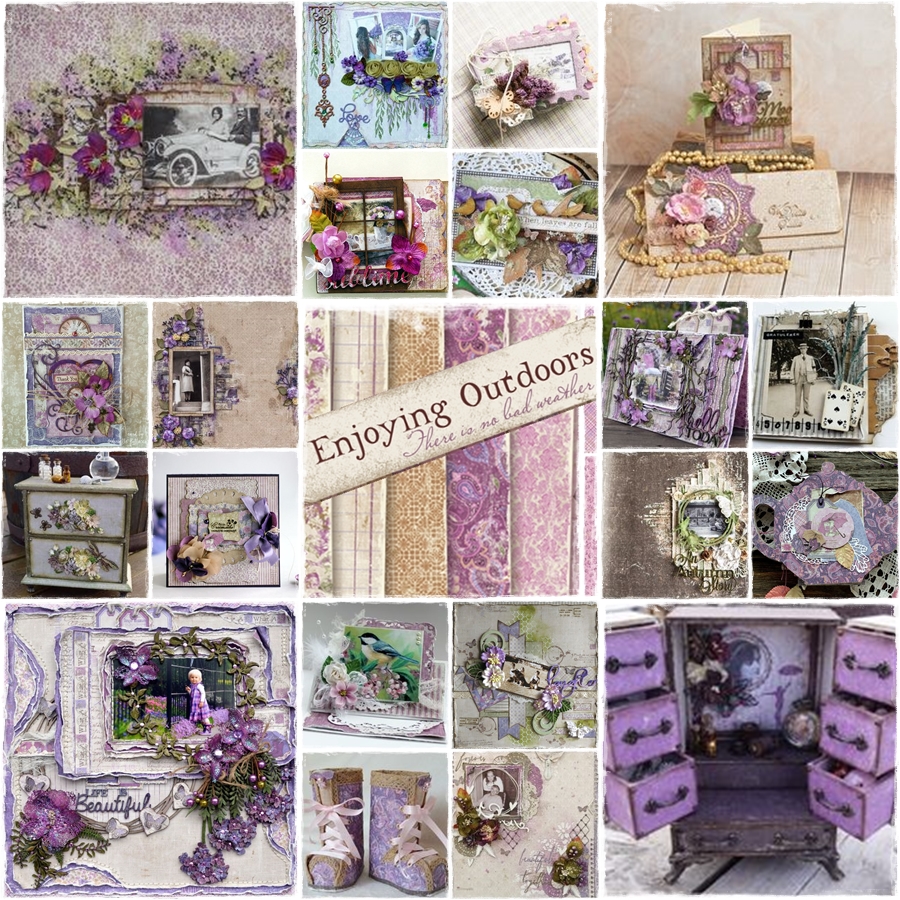
Hello, today,I am back with my first post, for Maja Design after taking a 6 month break to work in my garden. Wow,time fly’s!!! I have a few projects here to share with you,one is a easel card,that I did a Tut,with photo’s. This is a card I made using the “new” Enjoying Outdoors Collection.
 I used from the 6×6 paper pad:Singing in the rain, Singing in the rain-BS, Feeling good, Colourful, Harvest Time, Beautiful Trees BS, What a beautiful day, Tags & journaling cards, The 12×12 sheets used: Garden Moments, Colorful,Colorful-BS
The Dusty Attic used: Leafy Frame set #2,Hello today I pretty much did the same to this card,as I did with the card below, only this card is not a easel…
Here is my next card with a step by step photo tut……….
 I used:Enjoying the Moments,Enjoying the Moment-BS, Raspberry cupcake, Raspberry cupcake-BS, Grandma’s old porcelain, Grandma’s old porcelain-BS, Raspberry jam cupcakes, Raspberry Lemonade,Delicious Moments &Labels
The Dusty Attic used: Foliage #2, Hashtag sayings
Flowers are I am Roses & Berry stems are Petaloo
 Here is a photo tut I did, as to how, I made this card…..
 bottom layer ,using Raspberry jam cupcakes, measures 6×9’1/2
 I distressed the edges
 The first layer,using Grandmas old porcelain, I did some punch work using my favorite Martha Stewart punch, the inked the edges with a brown ink pad…
  added 2 more layers, Enjoying the moments &Grandmas old porcelain…..
 using a paper pierce, I pierce holes, for my next step,hand stitching…..
 shows the front & BS,of the completed paper piercing….
 hand stitching is completed…
 the next 2 layers. using Raspberry cupcakes-BS & enjoying the moments, I ripped the corner on the top one, & the bottom one, I made a pocket,( so that I could enclose a note,or gift card, ect), I did some cross stitching on these layers
 Using a 12×12 sheet of raspberry cupcake, it measures 10×12, I folded it in half, then the top part in half . My next step is to glue, to 2 card pieces onto the base. For the top piece, glued it onto the top part of the fold, (this is how you will get your easel) if you glue under the fold, it won’t work as a easel. I glued the bottom piece to the full half…
 Shows the card coming together as a easel….
 I am now starting to embellish, I used Dusty Attic hashtag sayings “lifeisgood” that I just painted white. I painted the Dusty Attic foliage #2 forest green,then clear crackle. Once the crackle dried I painted it with LuminArt olive vine, & moss green H2O’s to give it shimmer & to bring out the cracks….
 Added berry clusters from Petaloo, & roses from I am Roses
 added a little clipboard, using a piece I cut out from the sheet raspberry lemonade, then inserted it into the pocket
 final step,was to add the tags
 Completed card
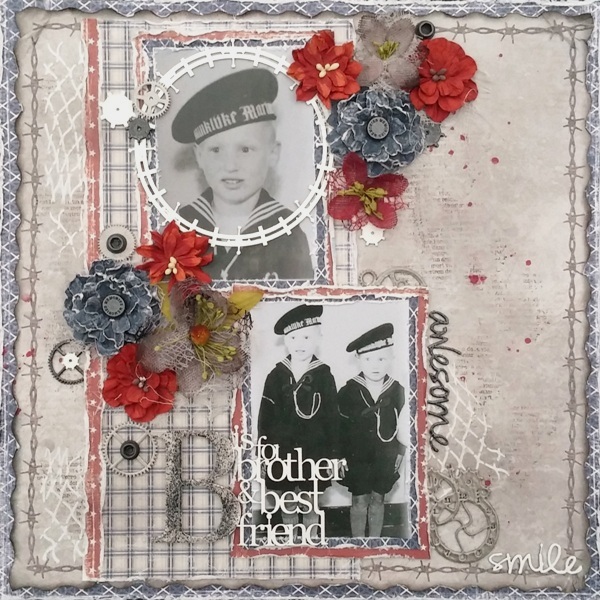
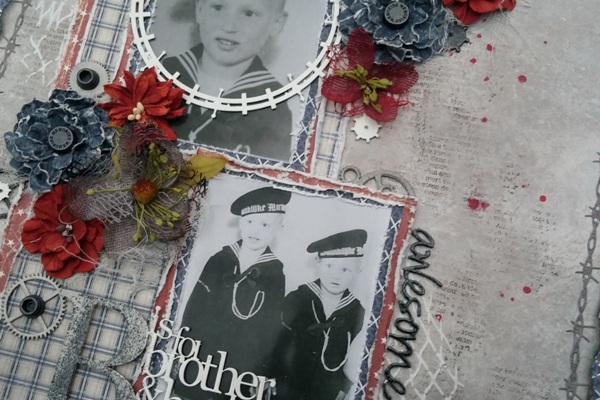
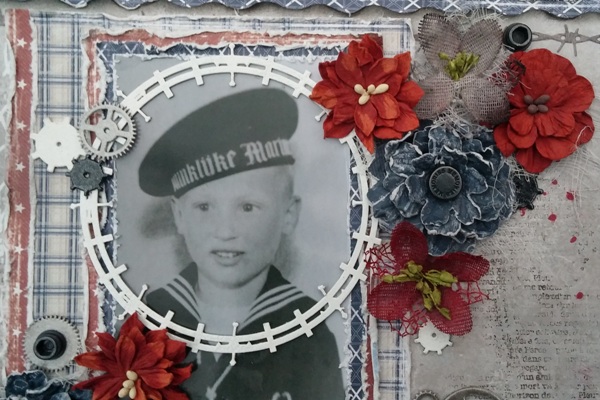
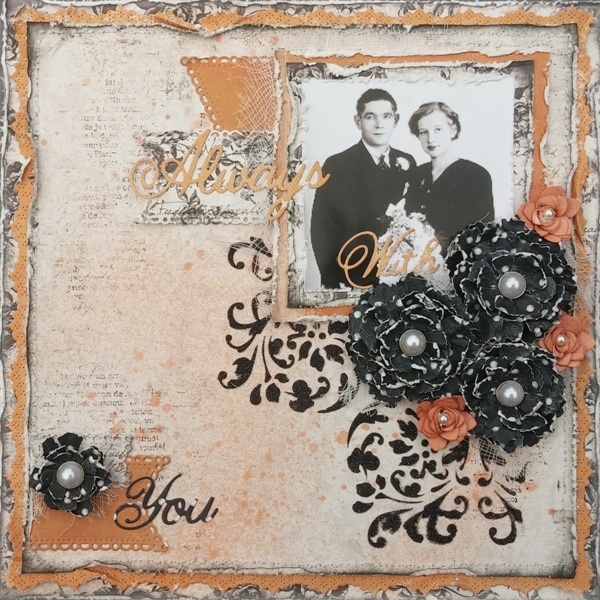
The next 3 cards I used the Vintage Autumn Basics Collection

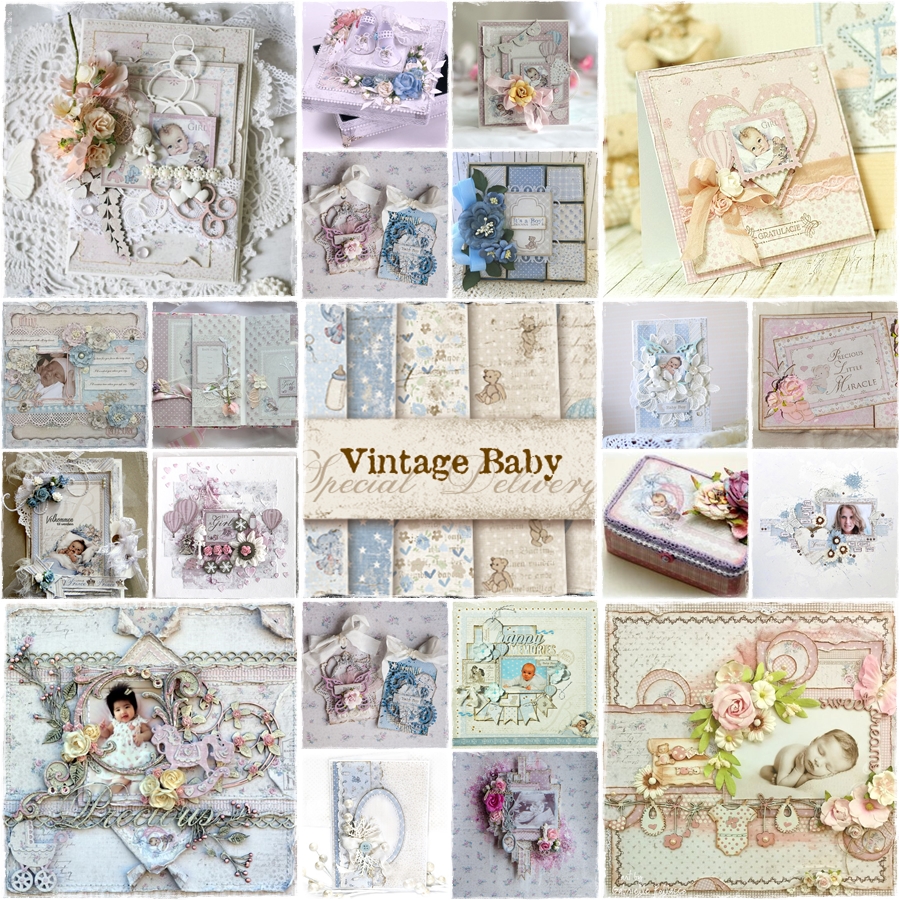
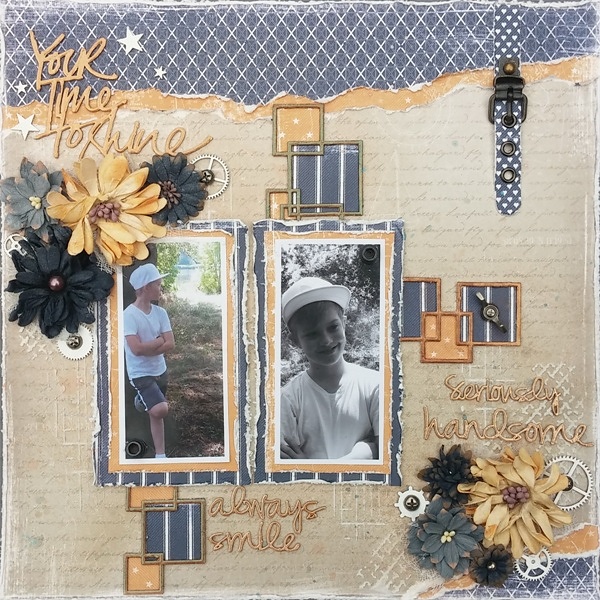
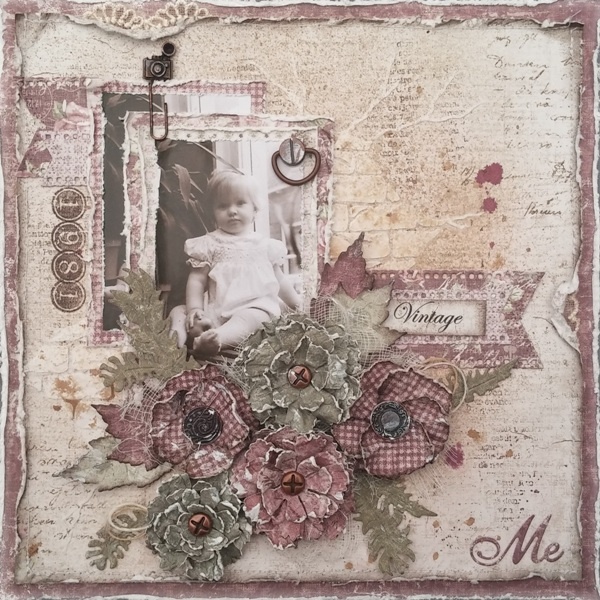
 On the next LO,I combined the Vintage Baby & Vintage Spring
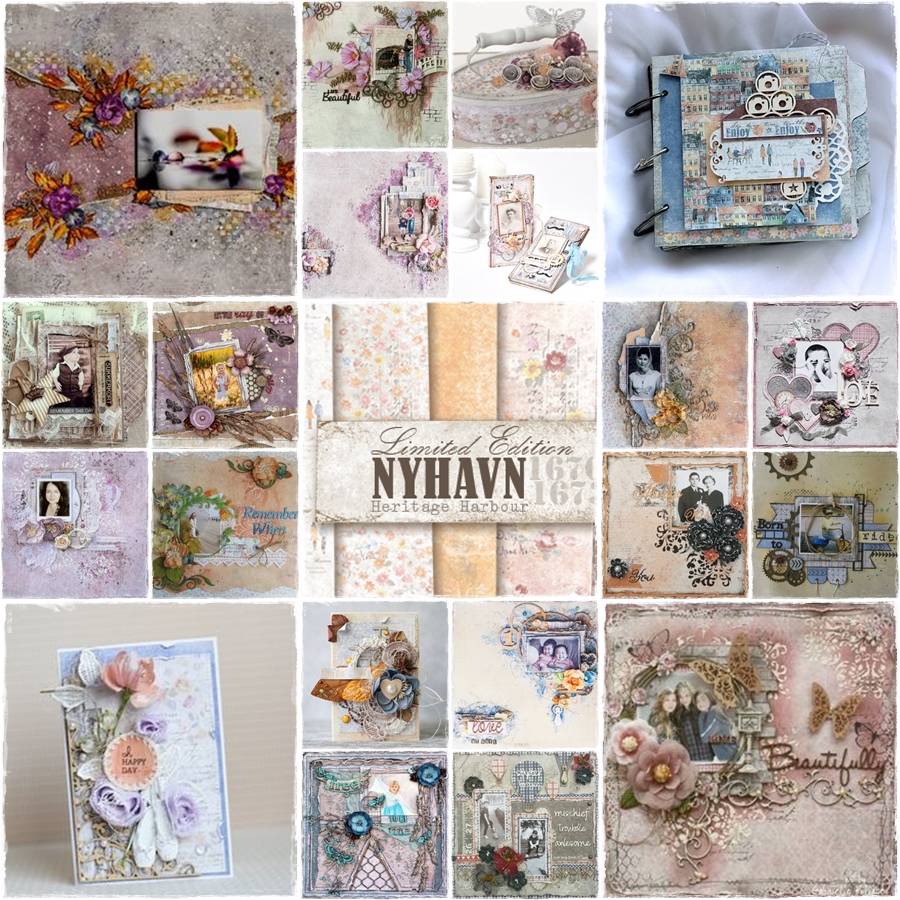
 On the next 2 LO’s I combined the Nyhavn Collection with the Vintage Autumn Basics Collection

 Well,you can see my garden work is not quite complete, I am waiting for a hard frost before I start on fall clean up. All the green plants “Mexican marigolds”,that are in the middle of the driveway & the front of the house are in full bud again. Depending on the weather,I could have another burst of color.I think the leaves will be off the trees, before I take out the annuals,which is rare for our climate.
 Closeup of one of the plants showing all the buds.
Thank you so much for taking the time to look…….Rachelle


