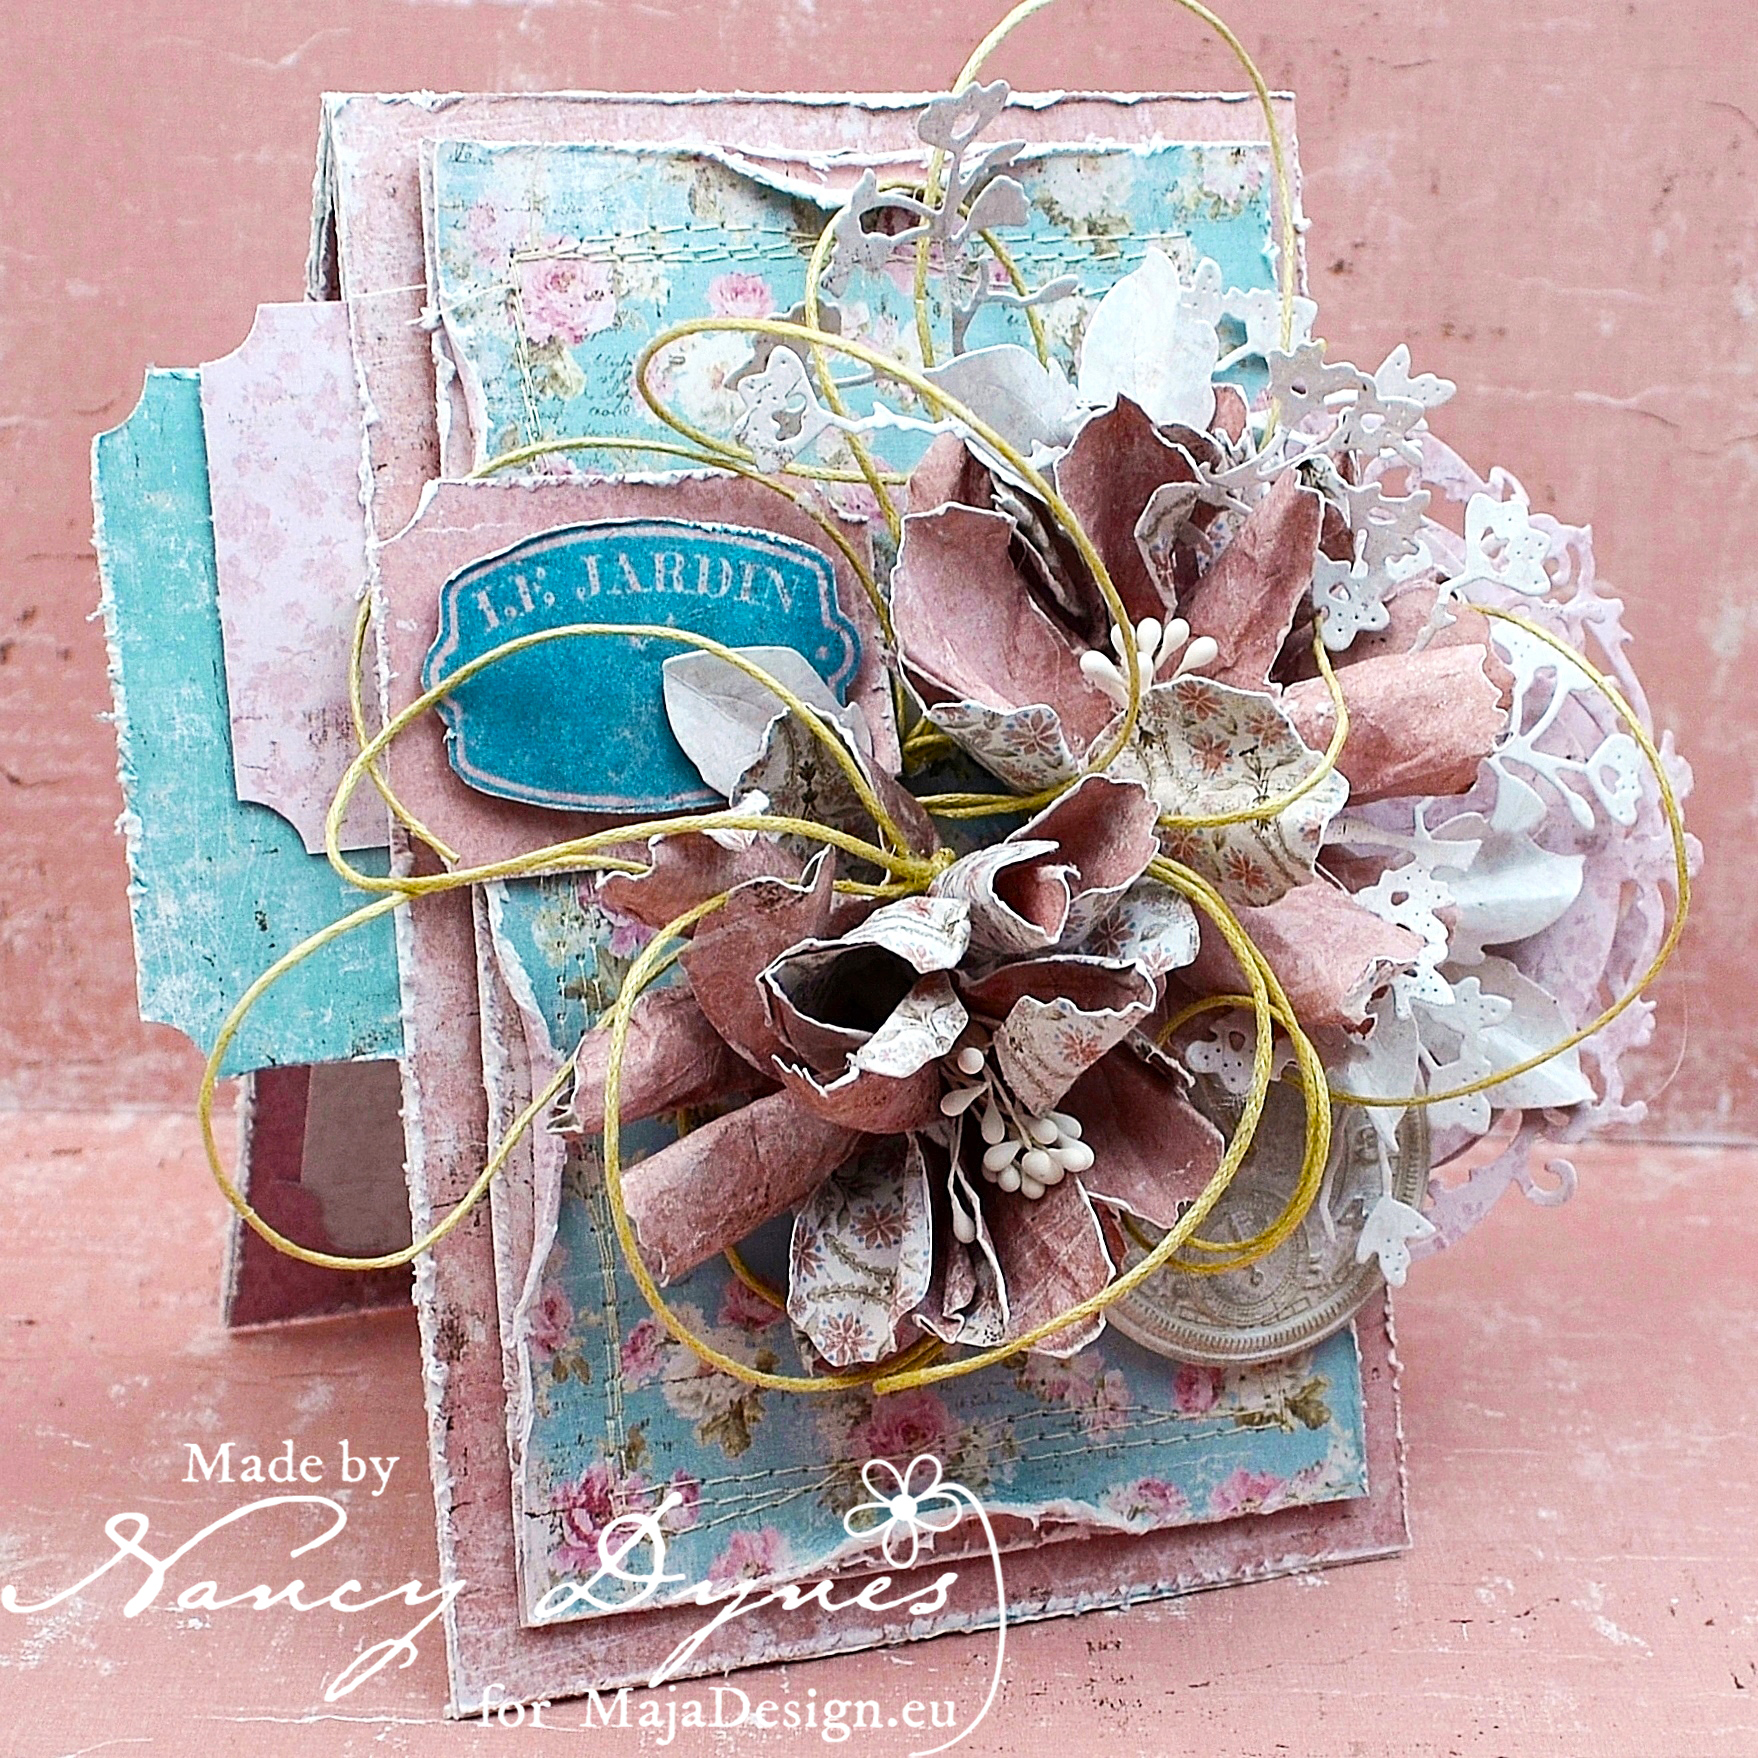
Le Jardin

3

Posted by Nancy Dynes

2 May, 2017 - ,

Write a comment

A 1

Hello and welcome to the Maja Design Blog! I hope this post finds you well. It’s Nancy, and I’m beyond delighted to be here with you on this lovely spring day.

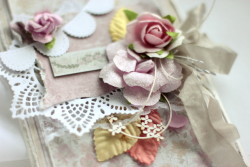
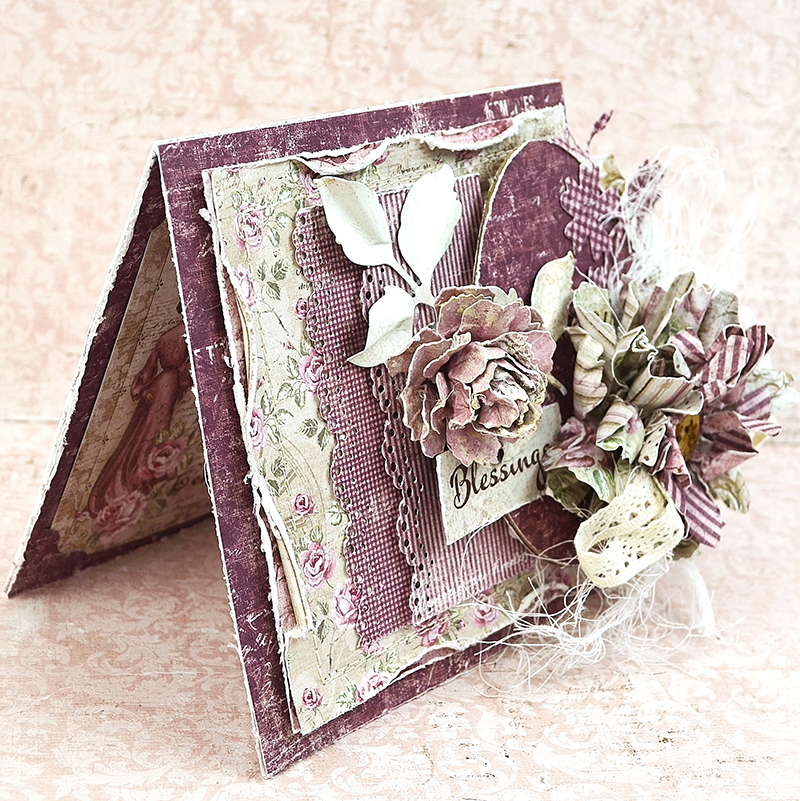
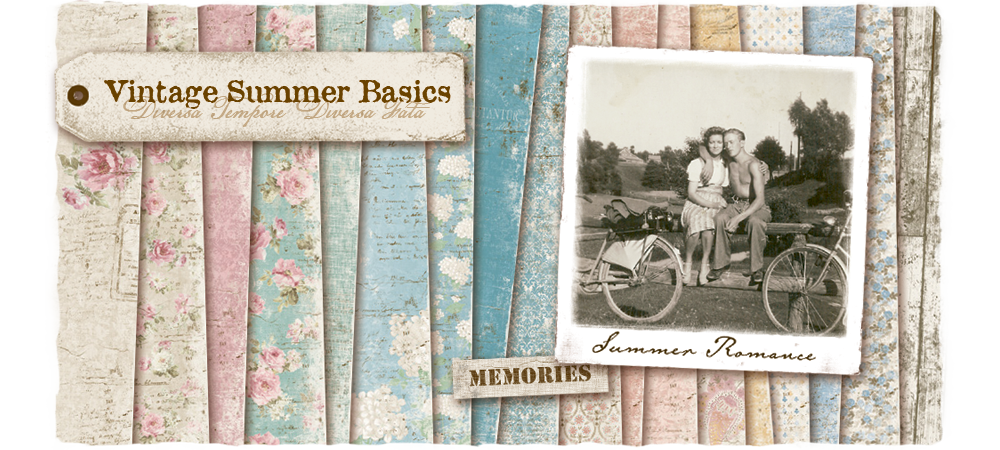
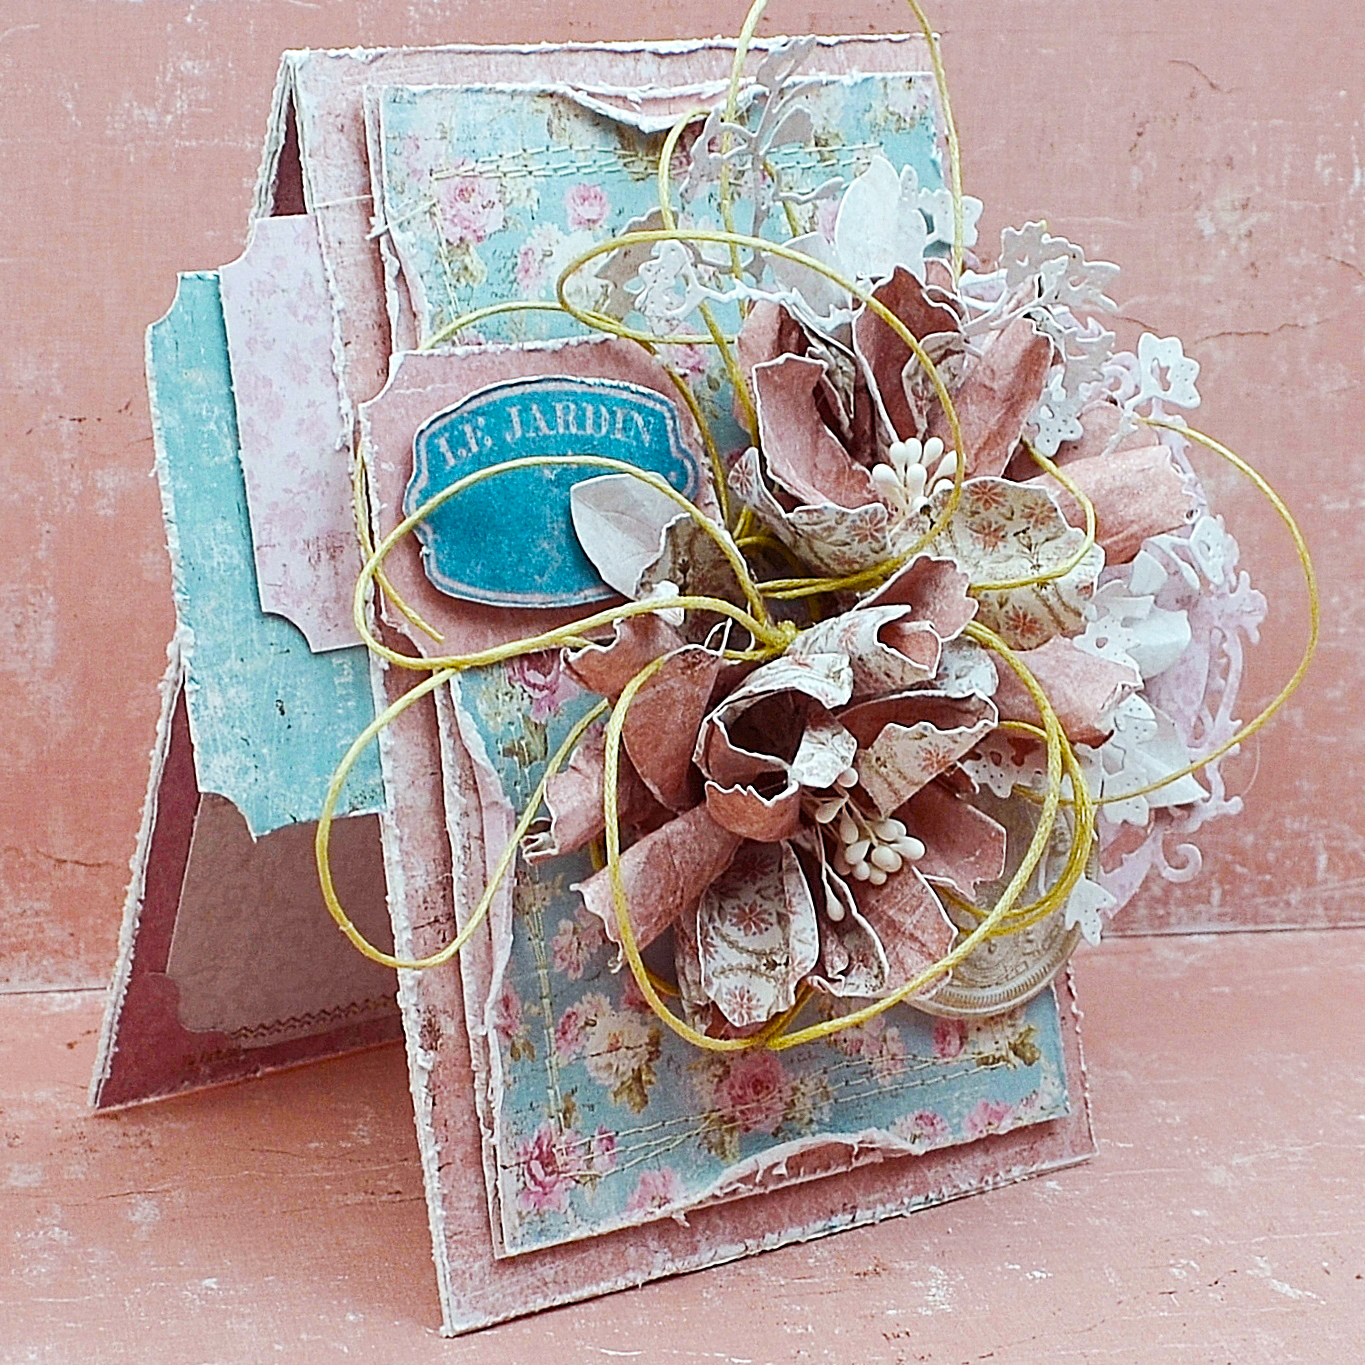
As you know, I love every single collection that Maja Design creates. Each is timeless and compliments the other designs beautifully, but the Vintage Basics collections are truly my go-to papers. I simply can’t do without them! It seems the perfect time of year to relish the season’s exquisite gardens, so I’m sharing this new ‘Le Jardin’ card crafted from Maja Design’s Vintage Summer Basics papers.

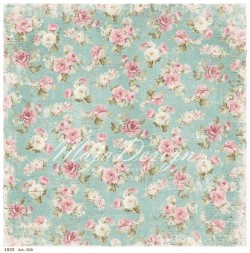
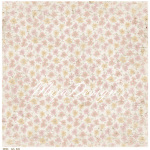
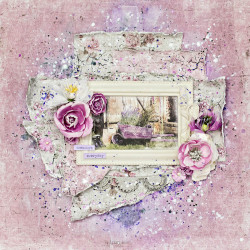
I don’t believe I’ve ever used this gorgeous floral pattern before. It’s deliciously shabby chic. I don’t know how this pattern escaped me for so long, but I’m making it right today.

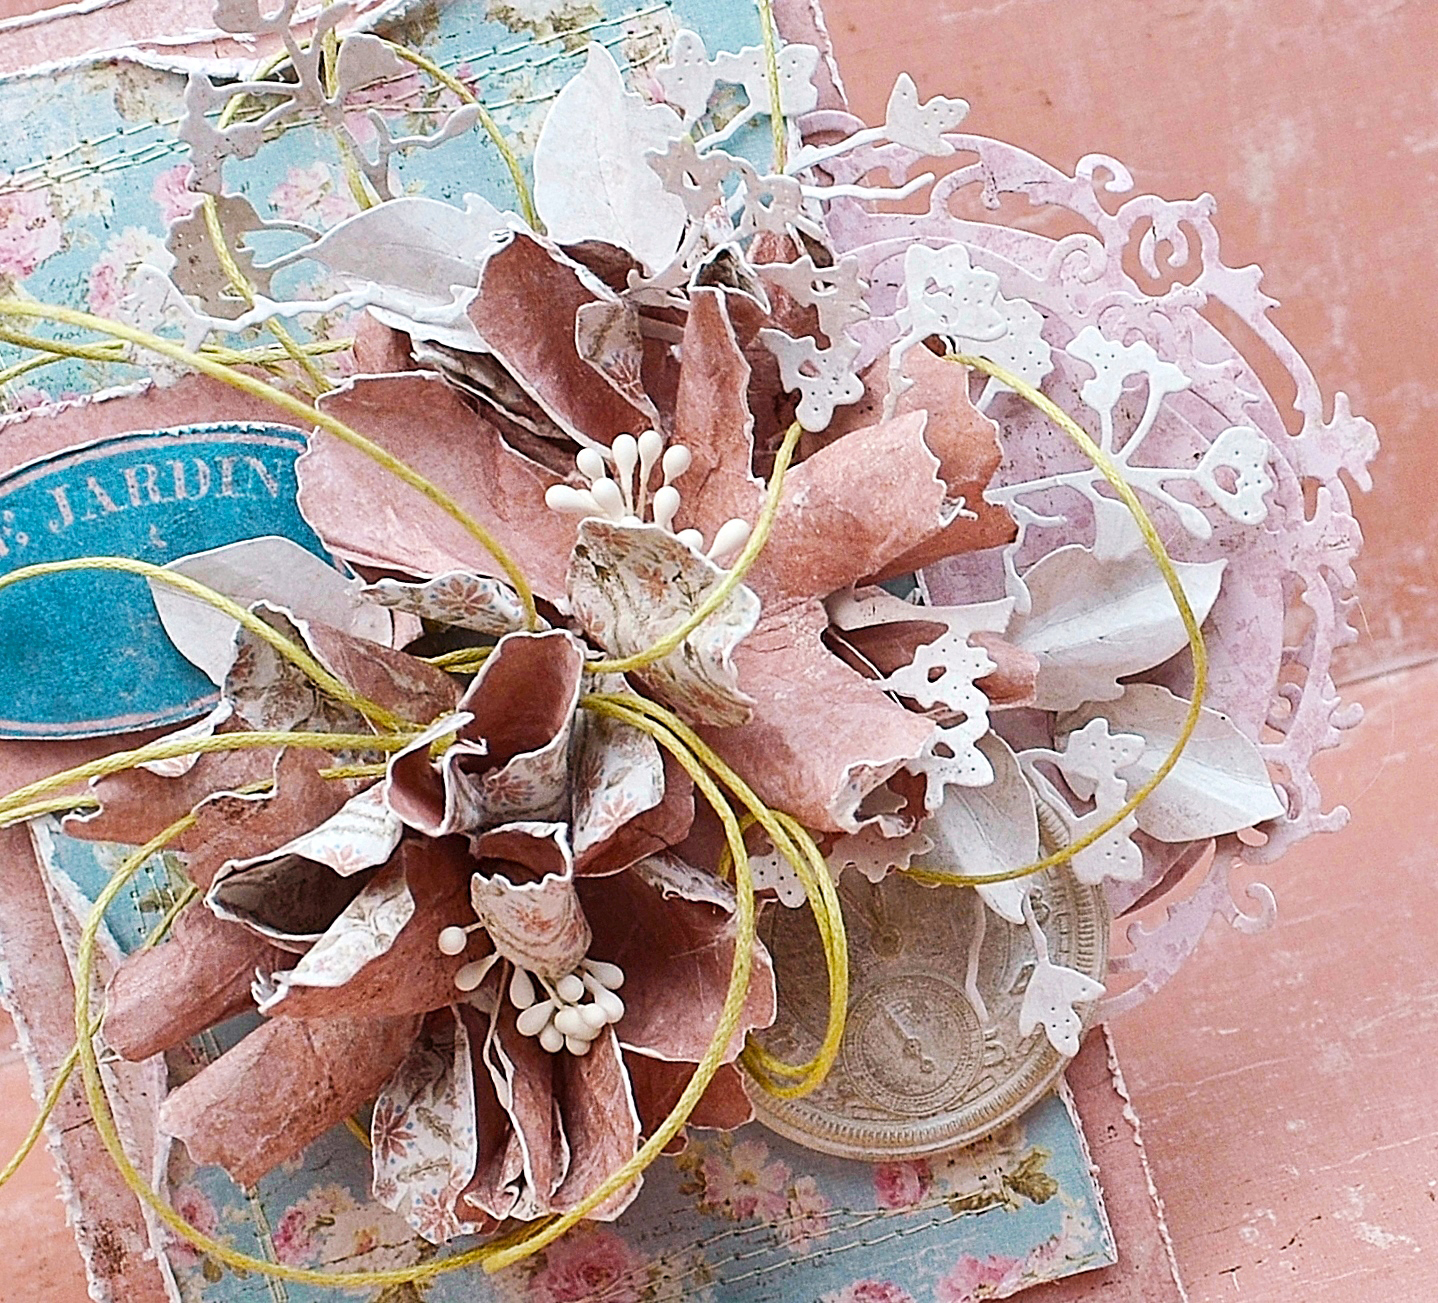
Each paper is distressed, layered, and stitched to form a base. I’m feeding my addiction to flower making with these blooms that are handcrafted from the paper collection.
A 4

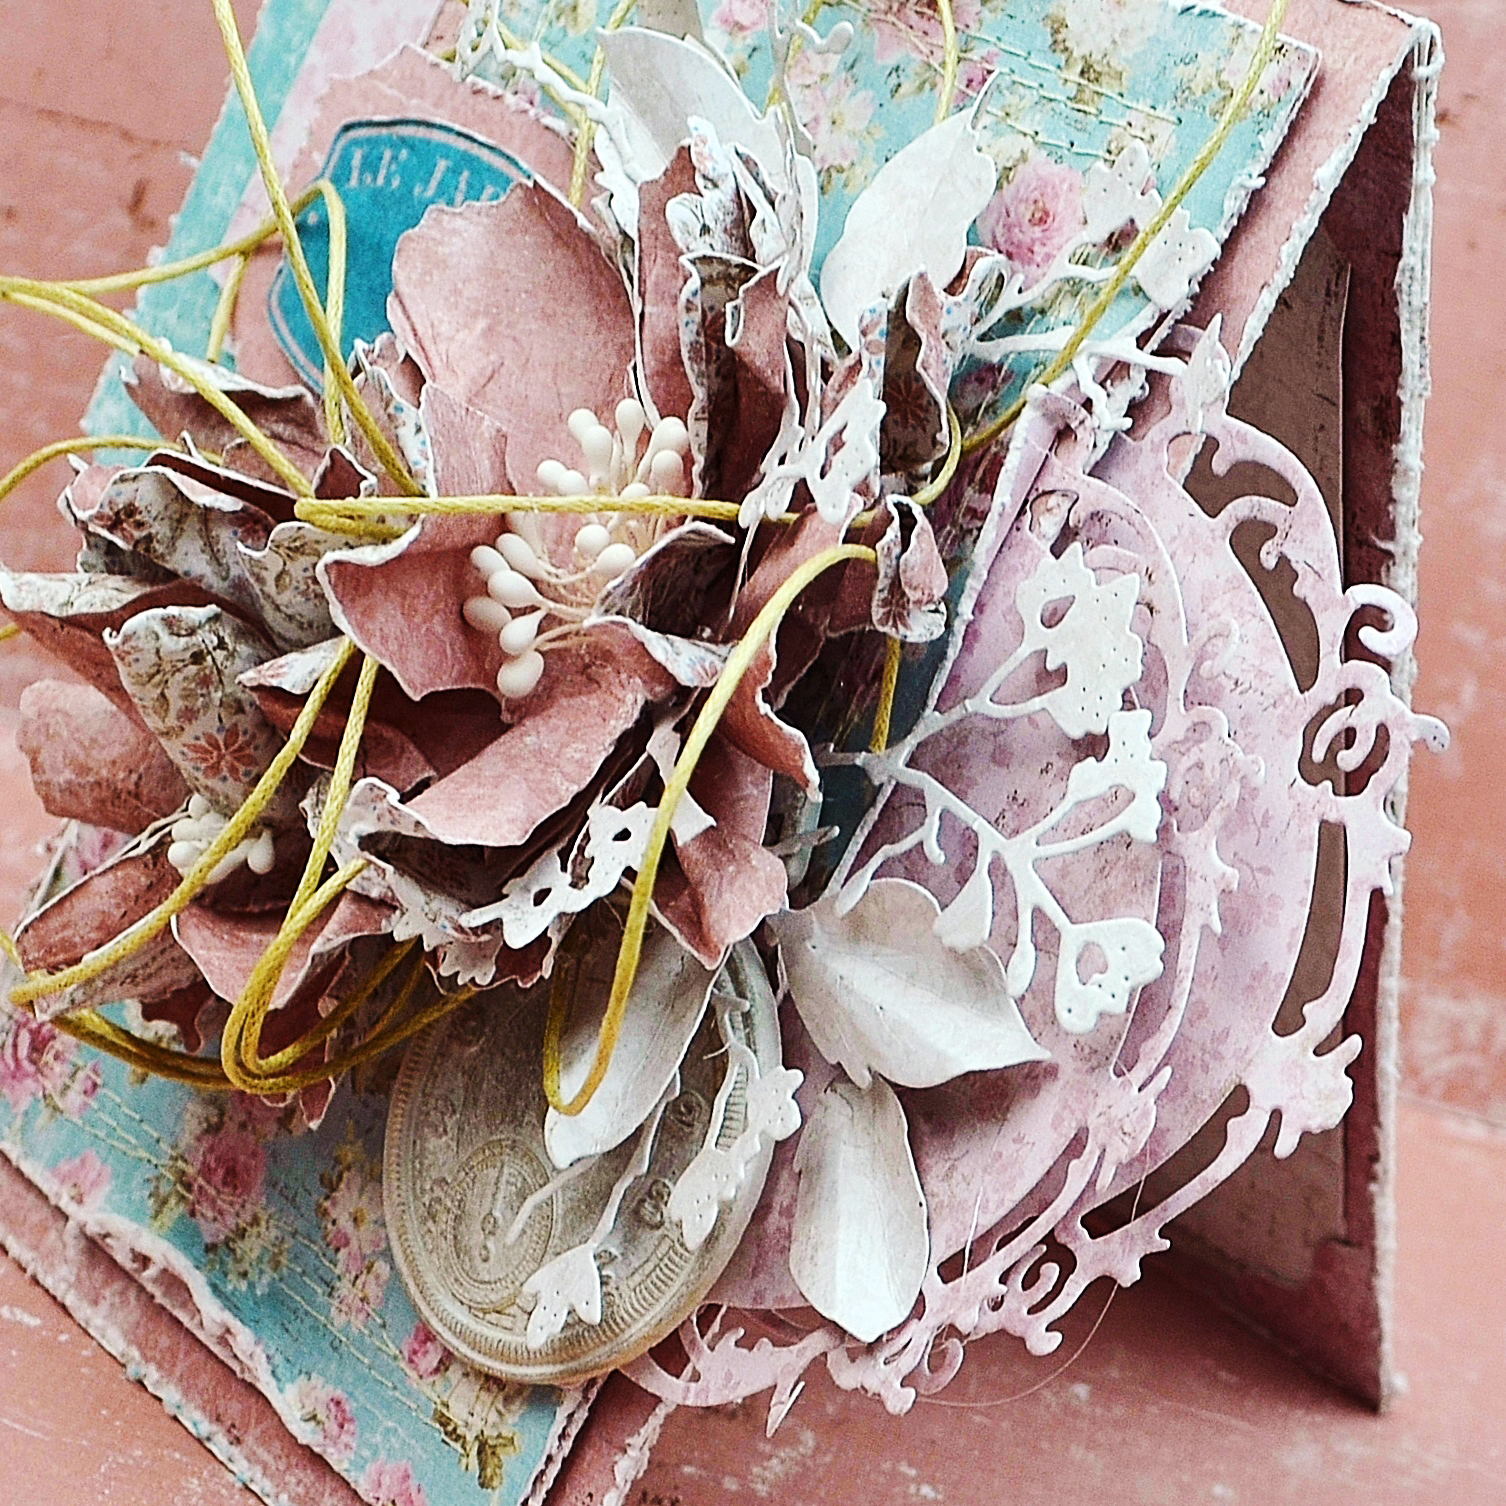
The florals are layered over a backdrop of pretty, die cut ovals. A resin timepiece is tucked away in the corner. An abundance of die cut sprigs and leaves are interspersed throughout the bouquet, along with a natural twine bow.
A 5

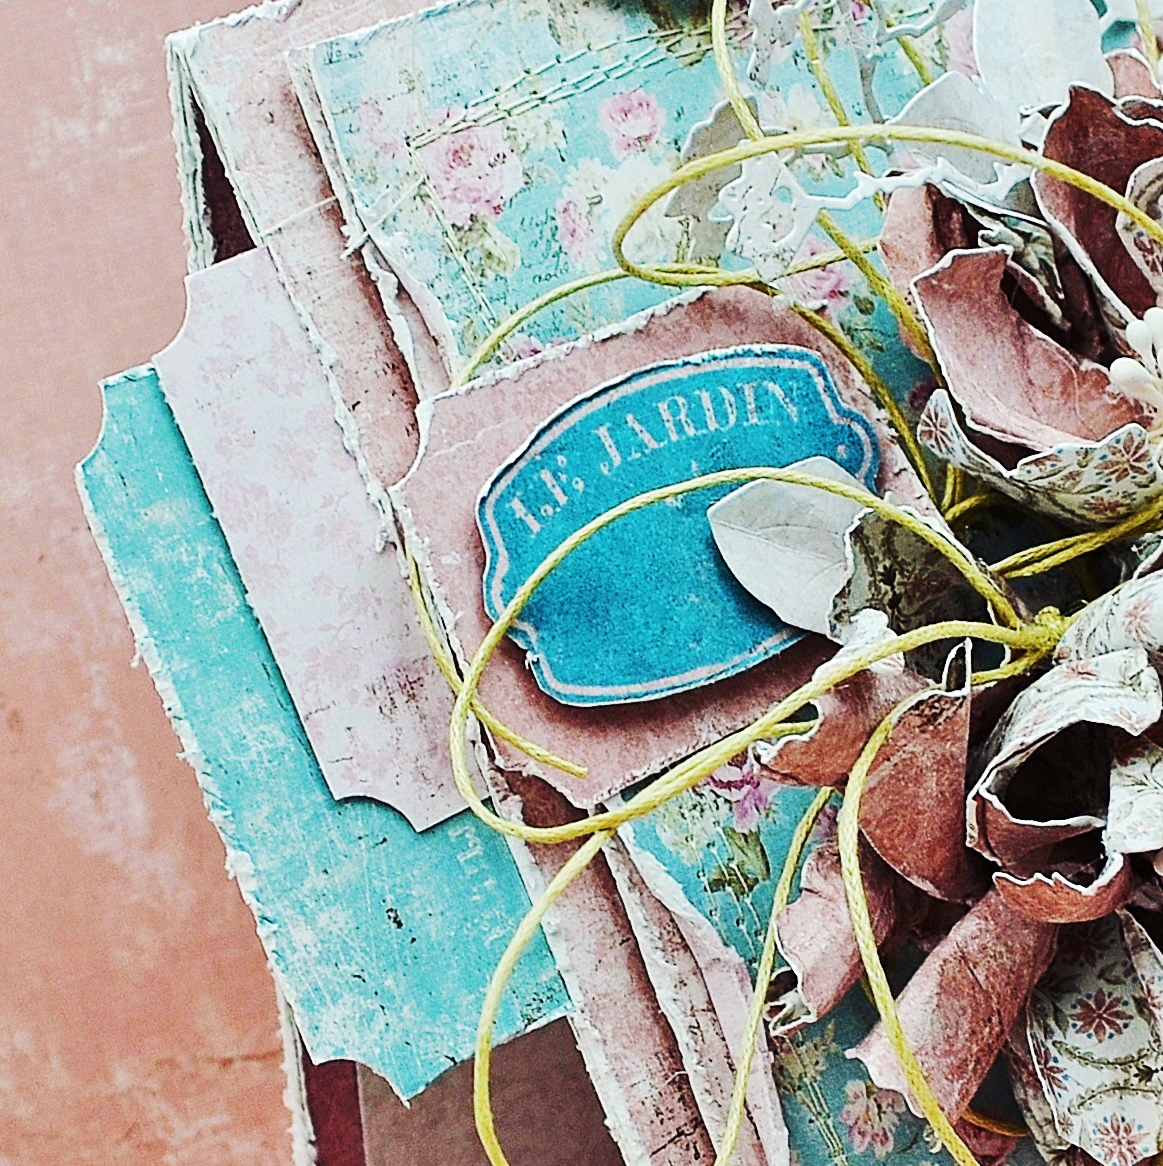
‘Le Jardin’ is stamped onto design paper, then fussy cut, distressed, and layered. All of the ticket shapes are created using a ticket edge punch.
A 3

A 2

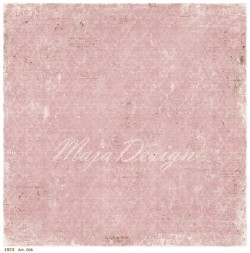
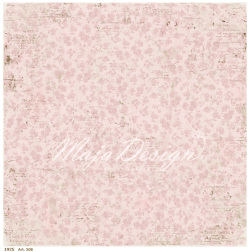
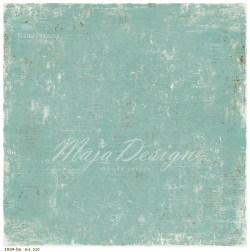
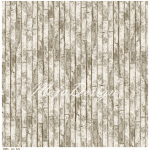
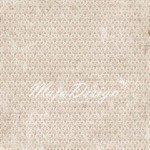
Here are the Maja Design papers I used today:

I also used: Melissa Frances Resin Clock, Tim Holtz Tattered Florals die, Wild Rose Studio Oval Frame die, Memory Box Blooming Branch die, Magnolia Rose Leaf die, Stampin Up Ticket Corner punch, Hero Arts Clear Stamp, Tim Holtz Distress Oxide in Broken China, Prima Twine, Flower Centers, Tim Holtz Distress Tool, Foam Adhesive, Hot Glue Gun, Sewing Machine, Thread.

Maja Design papers are my favorite in all of the world! I can’t say it enough. Every other brand of paper in my craft room is completely neglected. All you have to do is work with them once to see and feel the difference. After that you’ll never want another brand again. I consider them the luxe line in the world of papercrafting, the Chanel of the crafty universe, but priced so you can afford to treat yourself. You can have them on your doorstep just by clicking on the ‘Store Finder’ tab at the top of the blog. For the chance to win a free collection don’t forget to check out our monthly Mood Board Challenge! Thank you so much for stopping by today. I send wishes for all things wonderful!

Hugs,Nancy-sign


Wonder

2

Posted by Mary Tzalla

30 April, 2017 - , , ,

Write a comment

layout

Hello my friends!

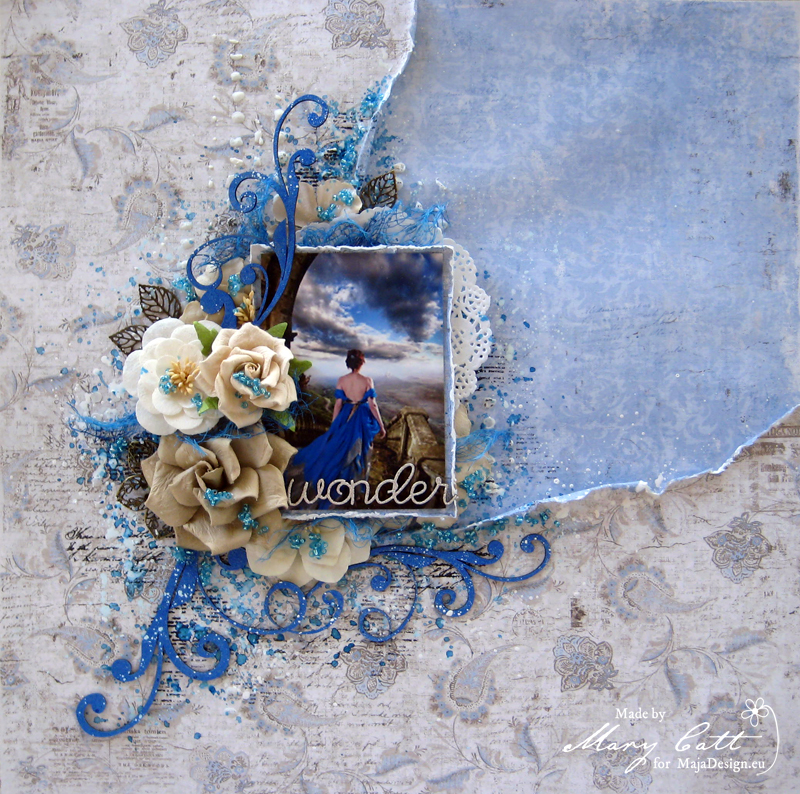
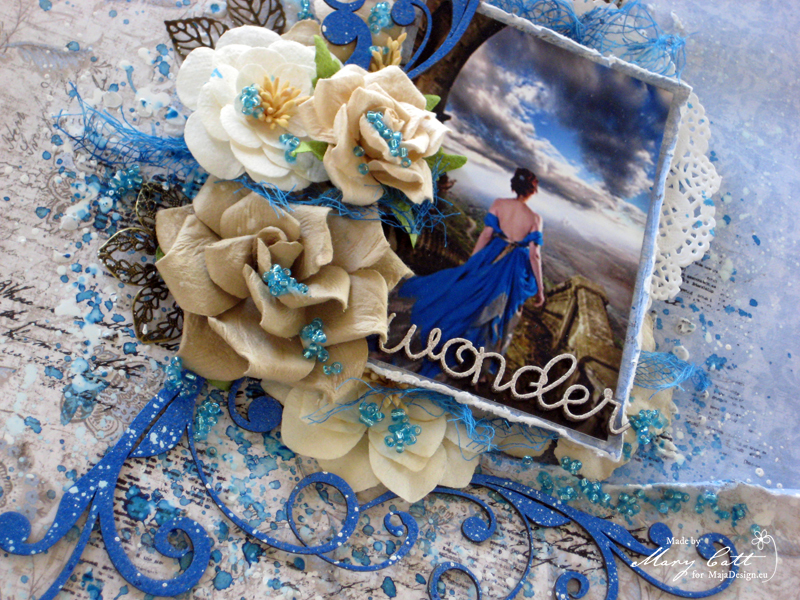
It’s Mary here with you today sharing my latest layout featuring the ”Vintage Summer Basics” collection.

A mysterious layout in blue tones that was inspired by the beautiful photo which I found on Pinterest. And, before I continue I want to give all the proper credits to the ”unknown” photographer.

closer 1

I used as the main paper for my background the ”1914” and I made another layer on it with the backside of the ”1902”, which I had torn it and removed a piece from the center. Then, with the torn piece from the ”1902” I matted my photo.

closer 2

I primed my background with clear gesso and when it was dried, I added some texture with modeling paste and a stencil. Then, I colored my page using Lindy’s Stamp Gang sprays ”Baby Blue Eyes Aqua”, ”Blue Hawaiian Blue” and ”Hydrangea Blue”.

closer 3

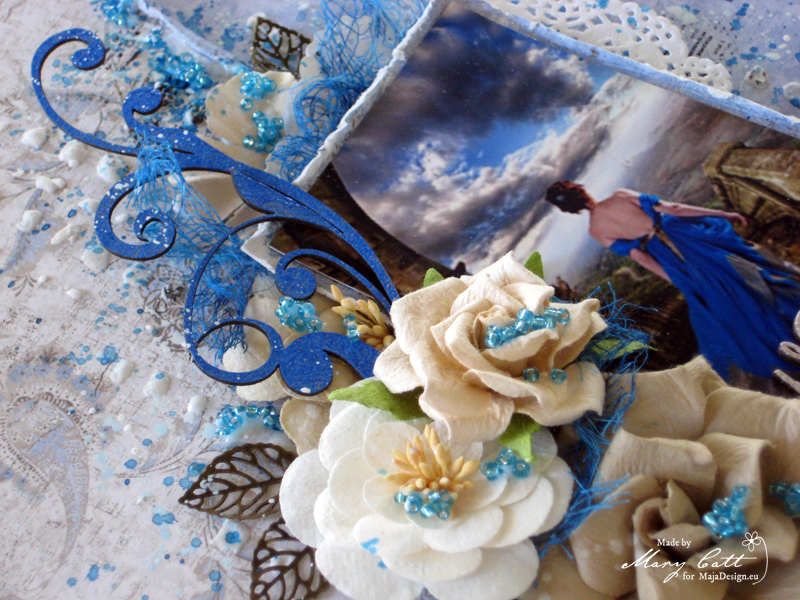
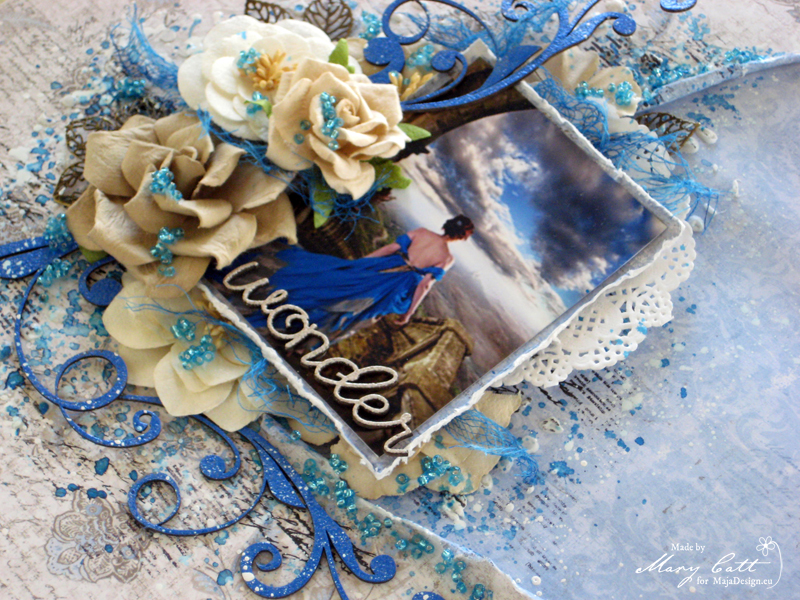
I heat embossed the ”Flourish Adornment Set 5” chipboards with ”Bavarian blue” Lindy’s embossing powder. The title was also embossed with the ”Cafe’ au lait” powder.

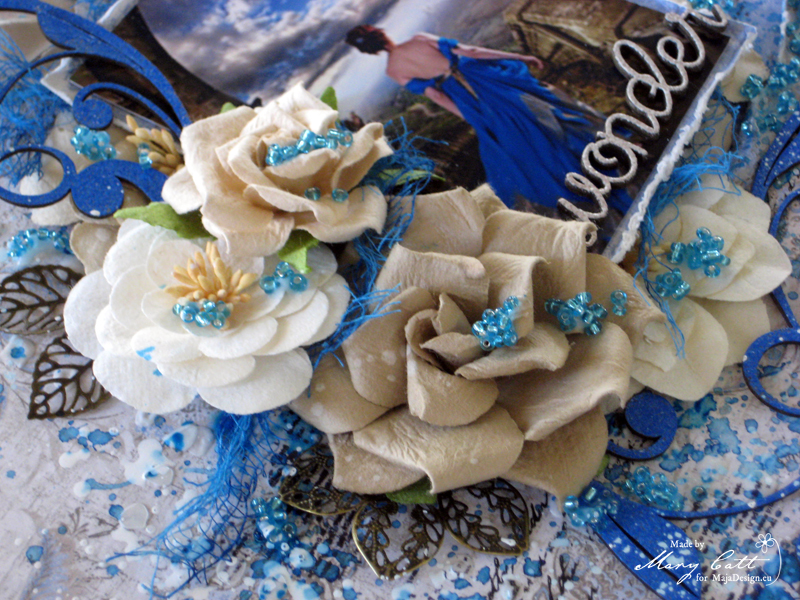
The chipboards I used are 2crafty and all the flowers are Prima Marketing.

closer 4

To finish, I added some turquoise glass beads with gel medium and made some splatters with white acrylic artists ink.

closer 5

Papers used:

Vintage-Summer-Basics-P

That’s all for today, my friends!

Thank you for stopping by!

Mary-sign (2)

Shabby is a passion? why not

1

Posted by Elena Olinevich

14 April, 2017 - ,

Write a comment

Hello Maja Friends,
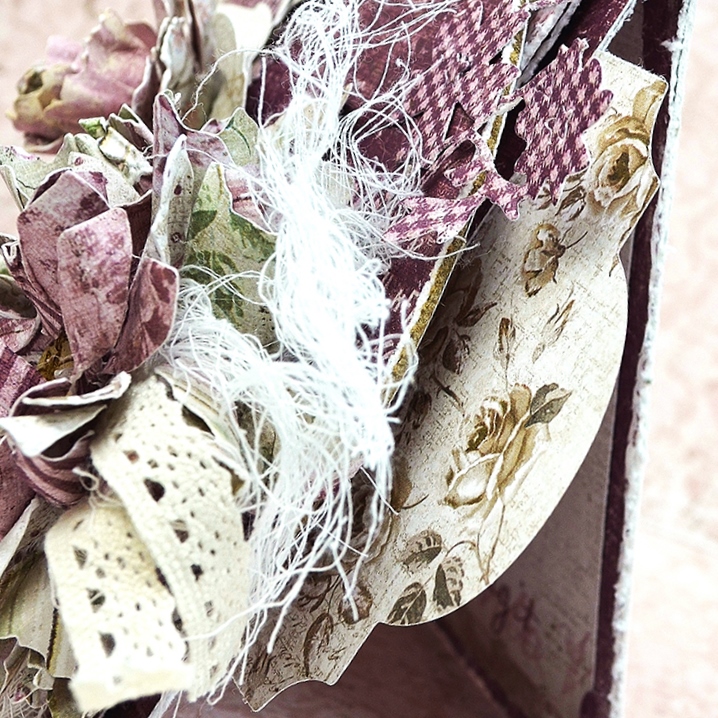
I guess some of you are busy with Easter preparations, however I would like to share with you my passion for Shabby cards.
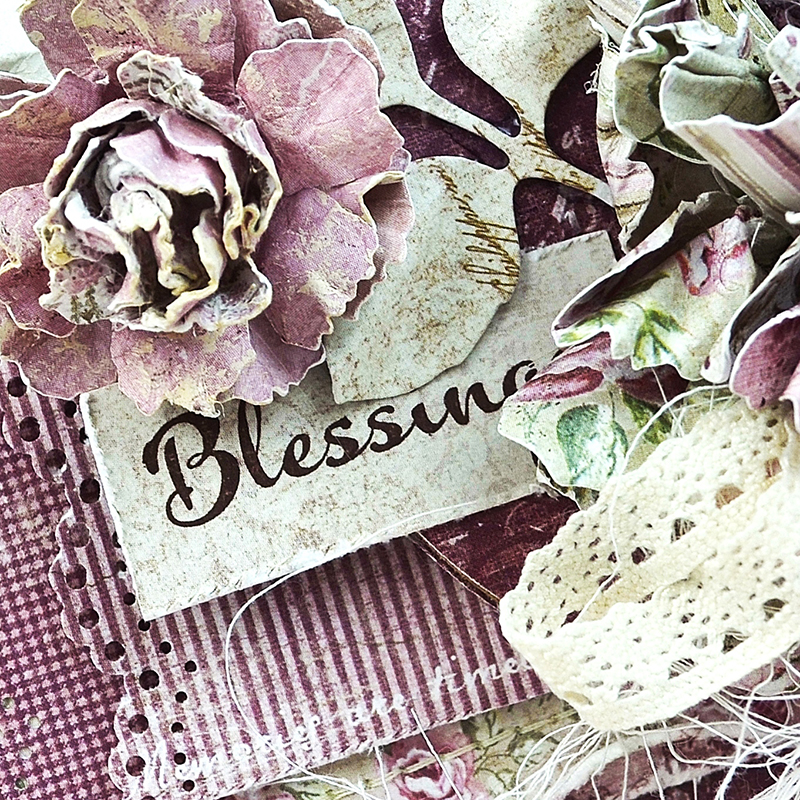
Today I’ve got the cards that I made for some of my classes.

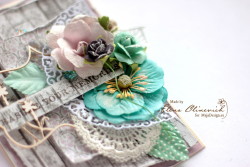
ShabbyCard_Flower_EelenaOlinevich2

I have already told that the Basics collections are my favorites ones, as they are so versatile and you can use them for any type of project mostly.

and of course, shabby style is something that is quite easy to create with them.

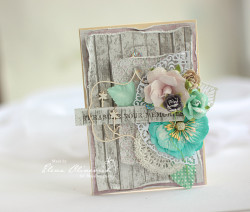
ShabbyCard_ElenaOlinevich2

But Vintage Summer Basics is the collection that I come back to over and over again.

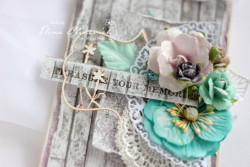
ShabbyCard_Close_ElenaOlnevich2

All you need is to add flowers , lace and chipboard – and here you’ve got a feminine soft card.

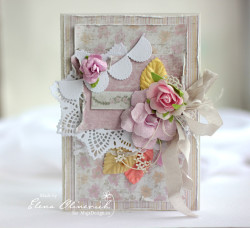
ShabbyCard_ElenaOlinevich1

One more card that I made using the same collection but added more warm colors

ShabbyCard_Flowers_ElenaOlinevich1

I really enjoy creating cards with Maja papers and what about you?

Supplies used:

Prima Marketing Flowers and a  Doily Die, Wycinanka Chipboard.

Elena-sign

Treasure Everyday mixed media layout

1

Posted by Tiffany Solorio

10 April, 2017 - , , ,

Write a comment

Hello everyone. Tiffany Solorio here.

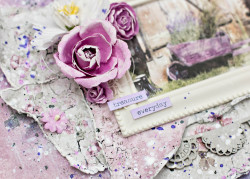
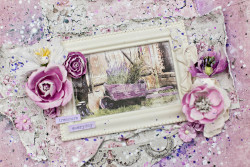
I have a layout to share with you. IMG_9703

I created a mixed media layout using Vintage Summer Basics for my background paper. I used some sprays, light paste and some stamps to create a mixed media background. IMG_9704

I tore some papers from the Vintage summer and Vintage Romance papers

IMG_9705

I used an image from Enjoying the outdoors paper for my focal point. I love how all these papers go so great together even though they are not from the same collection
IMG_9708

I hope you are inspired to create your own layout.

Maja designs paper used
Enjoying-Outdoors-P Vintage-Romance-P Vintage-Summer-Basics-P

Thank you for stopping by.

An Easter Garden!

6

Posted by Nancy Dynes

21 March, 2017 - , ,

Write a comment

A 1

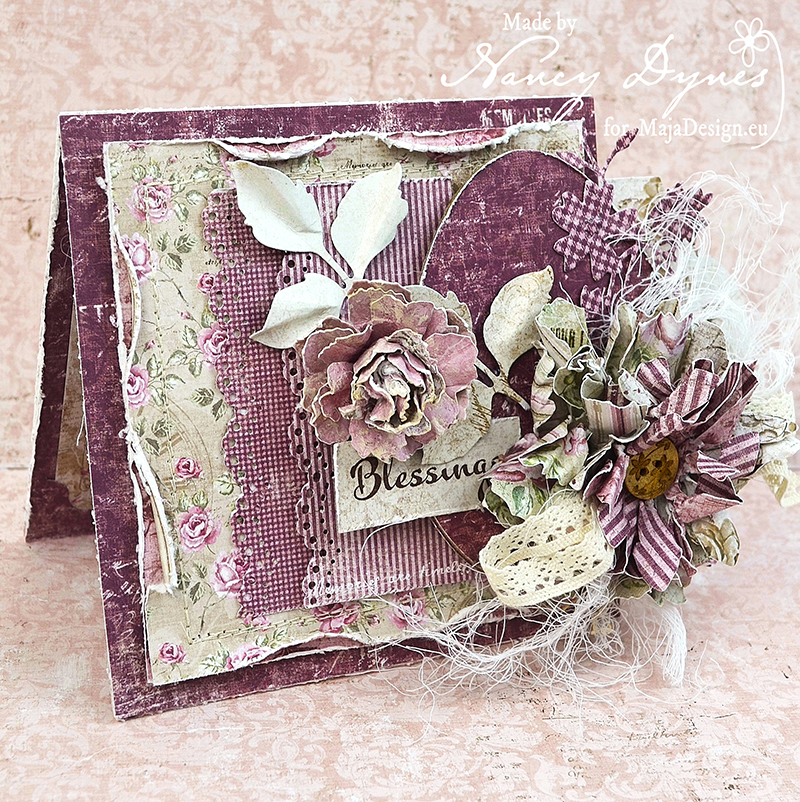
Hello, friends! I hope you’re enjoying a lovely day. It’s Nancy, and I’m thrilled to welcome you to the Maja Design Blog. I’m relishing the beautiful weather and staying busy as ever in my craft room with my Easter preparations. I have a new card to share featuring two spring elements, Easter eggs and handmade flowers.

Two of my favorite Maja Design collections, Vintage Autumn Basics and Vintage Summer Basics, are used in the creation of this card. As usual, the paper is distressed, layered and stitched to form a base. One of the many things I adore about Maja Design paper is that it’s strong and behaves much like fabric when I’m working with it. As you can see, I really put it to the test and it holds up every time.

A 6

A 5

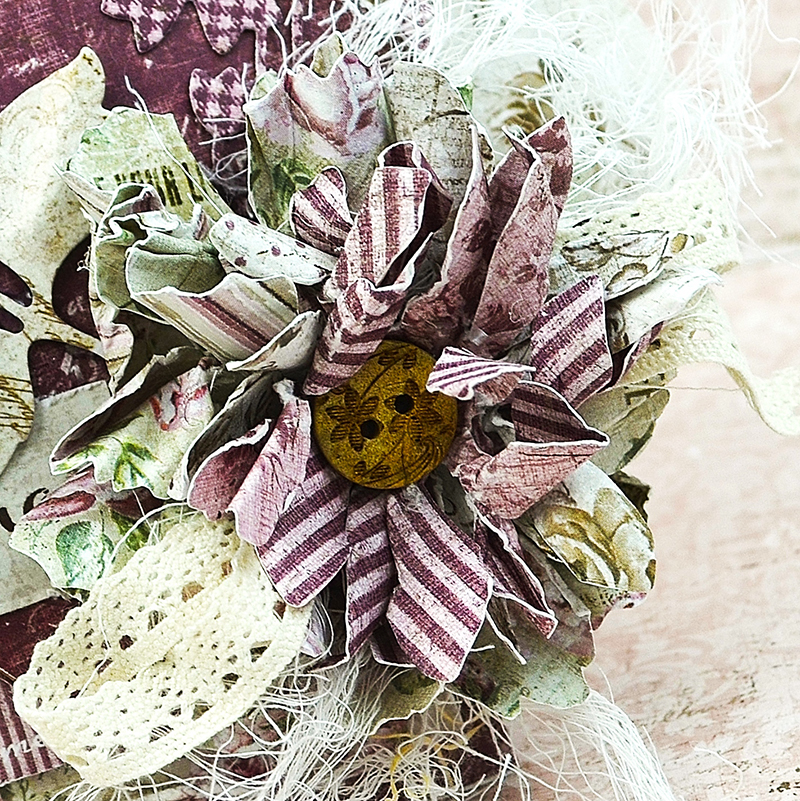
You’ll find a blooming rose and a wildflower gracing my little garden. If you visit my blog you’ll find tutorials for both styles of flowers as well as the Easter egg. A die cut flourish, ribbon and cheesecloth add a soft touch.

Design paper is border punched and layered to anchor the egg and florals. A die cut Spellbinder’s frame is tucked in behind the egg.

A 4

A 8

A 7

A 2

Vintage-Summer-Basics3

Additional Supplies: Martha Stewart Lace Border Punch, Sentiment Stamp, Archival Ink, Tim Holtz Tattered Florals Dies, Magnolia Rose Leaf Die, Flourish Die, Spellbinders Frame Die, Foam Adhesive, Button, Lace, Cheesecloth, Sewing Machine, Thread. 

Thank you so much for visiting! Don’t forget to check out the March Mood Board if you haven’t already done so. There’s still time to get your project entered. Sending wishes for sunny days filled with many joys!

Hugs,Nancy-sign