Snow Taffy

2

Posted by Rachelle Sigurdson

5 March, 2016 - , , , , ,

Write a comment


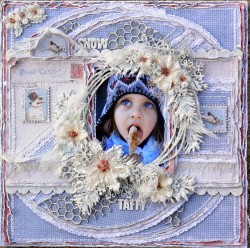
Hello, Rachelle here, with a Winter LO I did using the Beautiful Home for the Holidays & Vintage frost Basics Collections. I love working on Winter LO’s, even if it is not one of my favorite seasons. Our days are starting to get longer, & warmer, so Spring is in the air!!!

9a451d5a07f94f8f97037305da6e5eee

Home-for-the-holidays-P

I used: A real Fellow,Never to Old-BS,Celebration,& Die cuts

Vintage-Frost-BasicsKL

I Used: 14th of Dec-BS

The Chipboard used is from Dusty Attic

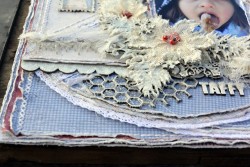
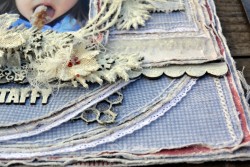
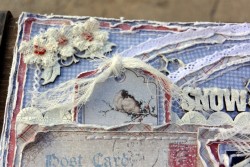
Here are some closeups

8f38404bcee9490f9a2d85a4bfeb7f64

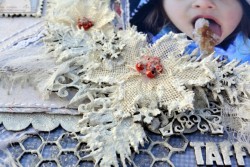
On winter LO’s I love to do lots of paper layers, just as you would bundle up to go outside. I always distress the edges, & Maja Papers are the softest, best quality papers, that distress beautifully….

fe3efc44a468402da772739ac6cb0921

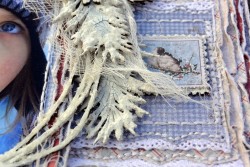
I also did some hand stitching, & used some lace & chipboard in the layers…

d2a4de9e4a934738ae8a4aa81a568feb

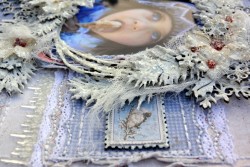
I painted the chipboard with white crackle, then once the crackle dried,I applied snow texture, & glass glitter…

c1d482f66416431cb97a3501b6ba18c5

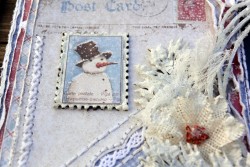
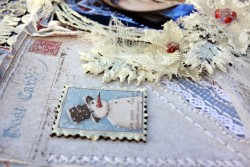
I love the postage stamps, on the die cut sheet. The flowers are petaloo, I also applied snow texture, & glitter on the flowers…

07de7dcfed324e22bf6895e1e07a7ce0

d79d1564ad704ae299c40818d1bd1f92

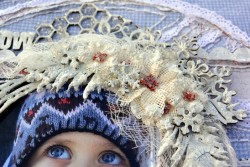
I was trying to achieve the crystal look, of the snow taffey, with the glass glitter…

0f29871b5ca846a2a56452d7e550167a

Shows,glass beads glued into the chicken wire…

44fbe4b35e49418697bdcaa2d227dc83

b1a4fb6a2abb4cbc871d17d53fb98a6f

428ebbf4ea7e460885b680fd8a5b709a

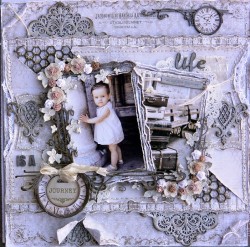
This is a LO I did combining the Vintage Summer Basics,Vintage Spring Basics & Vintage Autumn Basics Collections..

55d65fa56d3c4daba8c9371fbe3dc6b5

From the Vintage Summer Basics I used: 1905,1932-BS,& 1903 From the Vintage Spring Basics I used: 1st of March, & 10th of March Vintage Autumn Basics I used: N0. XVI

Thankyou so much for taking the time to look….Rachelle

Rachelle-sign

“Wonder, Always, Enjoy”

8

Posted by Di Garling

3 March, 2016 - ,

Write a comment

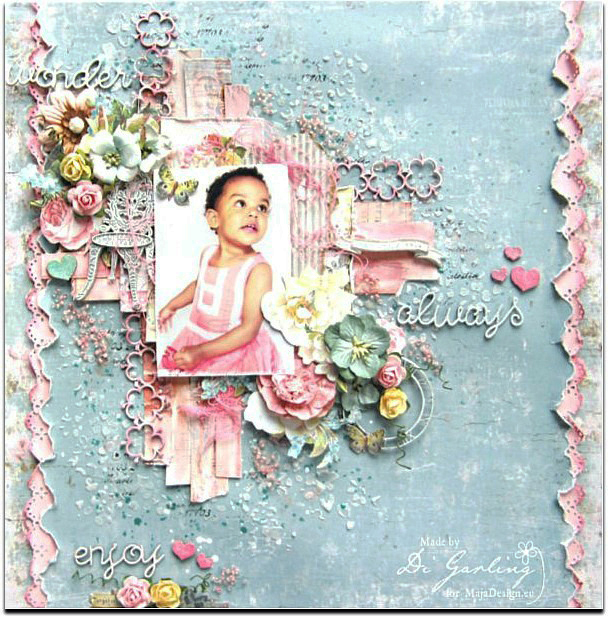
Wonder #1..

Hi there Maja fans. Thanks for stopping by. Today I have another layout to share with you featuring my sweet little grandaughter Mia. I have used some papers from the “Vintage Summer Basics” collection.
Wonder 2

For my background I have used the “1934” paper from the Vintage Summer Basics collection & I have layered it over the top of the “1933” paper, that is the gorgeous floral one that is peeping out of both sides of my layout. It is a little hard to see unfortunately. (Scroll to the bottom of this post to see the papers clearly).

Wonder 3

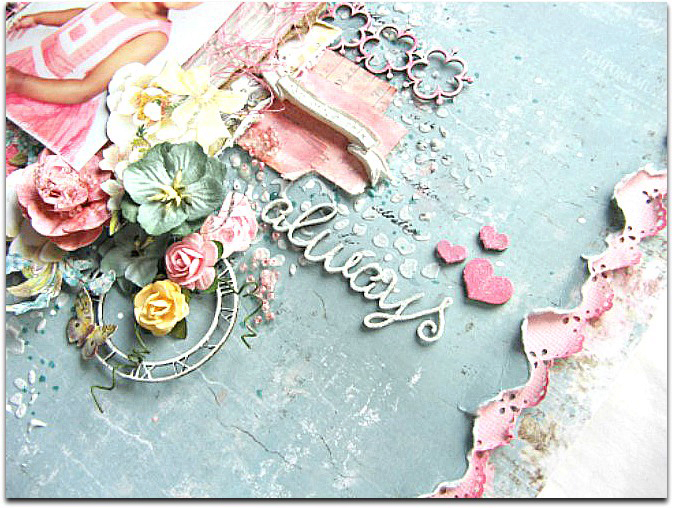
Also behind the photo I have added lots of different strips of various Maja Design papers, then I wiped them over with some gesso before brushing on some pink coloured mist to contrast with the lovely aqua background paper. All the chipboard is from 2Crafty Chipboard.

Wonder 4

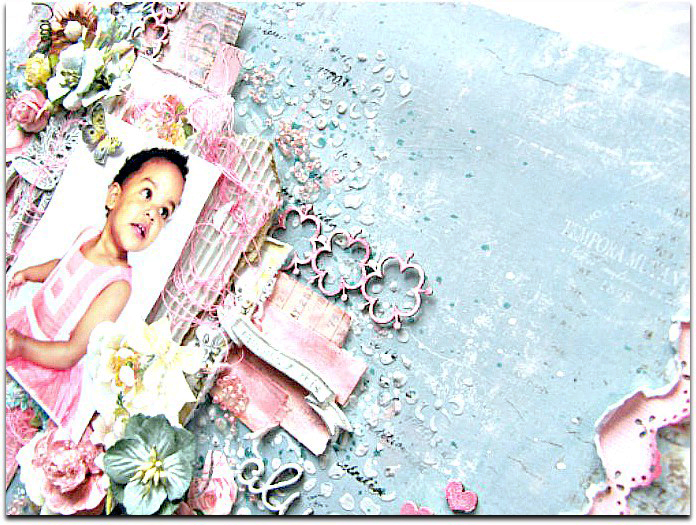
This is a great fun little technique as it is a good way to use up lots of your scraps & it also adds great textural interest to the page. Plus the Maja papers are so nice & thick that they are perfect for using with  mixed media. Last  step was to stencil some pattern over the page using a stencil & some texture paste.

Wonder 5

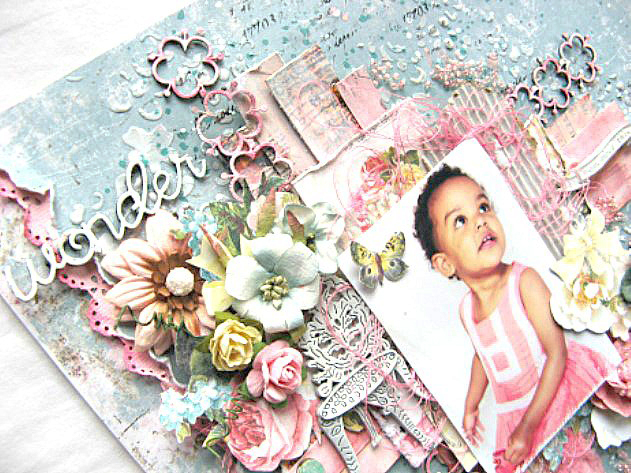
Once the background was all dry I proceeded to add my photo, chipboard & of course, lots of flowers.

Desktop13These are the two papers I have used.

The paper on the left is the “1934” paper & the one on the right is the “1933” paper.

Well thats all from me today. Until next time.

Di-sign


Di Garling

Hi my name is Di Garling. I am married to a very patient man, I have two grown up sons, two grandchildren & a little dog. I owned & operated a Scrapbook shop for eight years here in Australia until I recently sold it & retired. I think retirement is the best kept secret. I love it, it gives me lots of time to enjoy my craft. I still teach scrapbooking & cardmaking once or twice a week, so all in all I am as busy as ever & wouldn't have it any other way.

Vintage Summer Basics Jewellery Box

3

Posted by Bec Genet

1 March, 2016 - ,

Write a comment

Hi everyone. Today I have an off the page project for you.

Maja March Jewellery box (1)

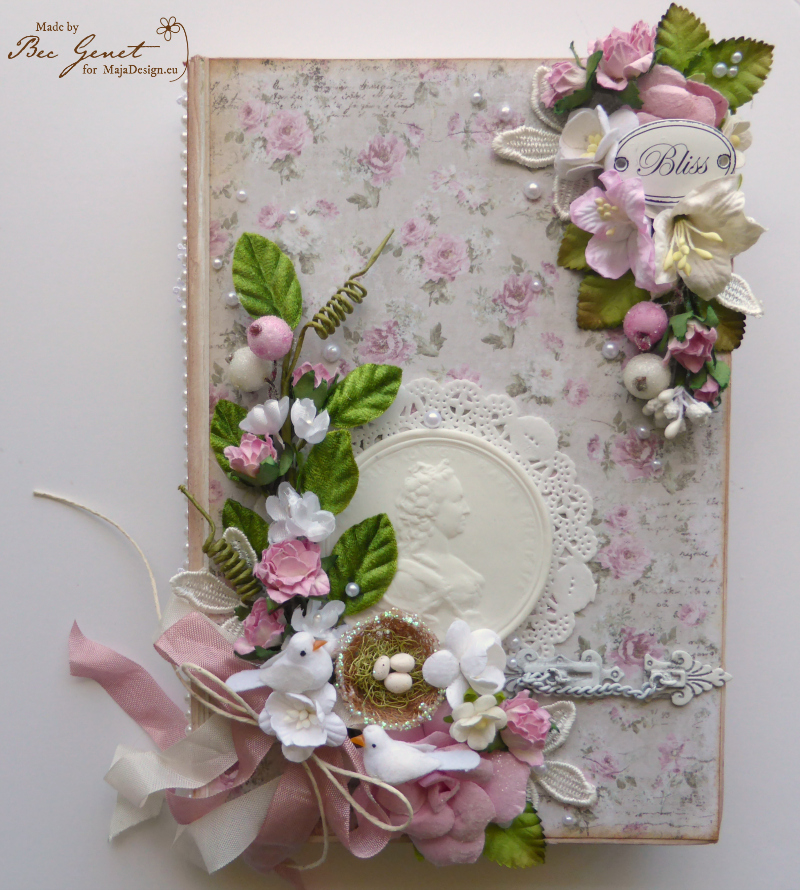
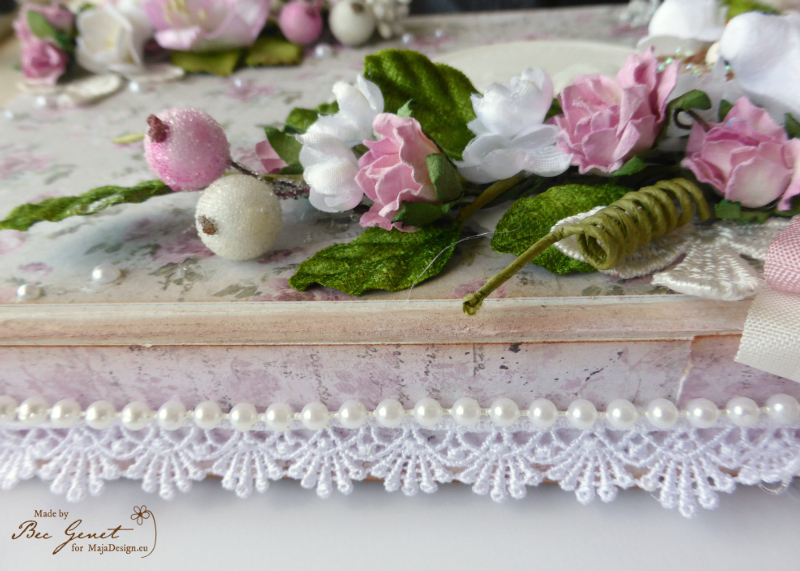
I brought a Tim Holtz Mini Configuration Book a while ago to make it into a Jewellery Box for my Daughter. She loves pink and the Vintage Summer Basics collection has the most gorgeous pink papers which I decided were prefect for this box.

Maja March Jewellery box (2)

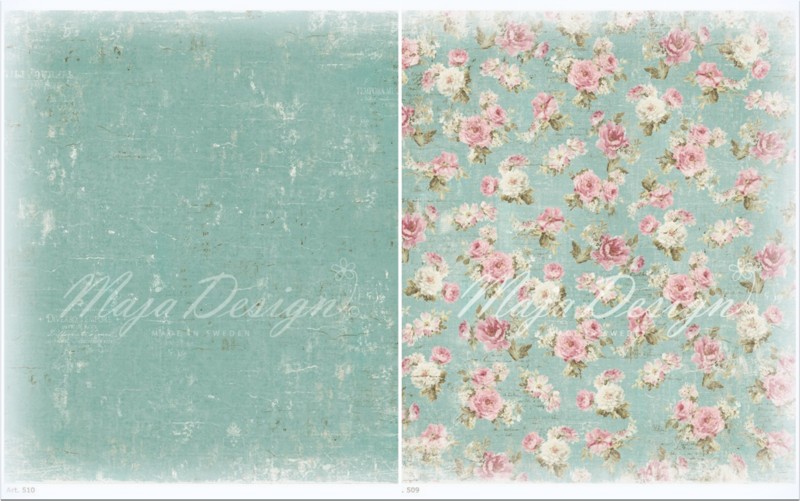
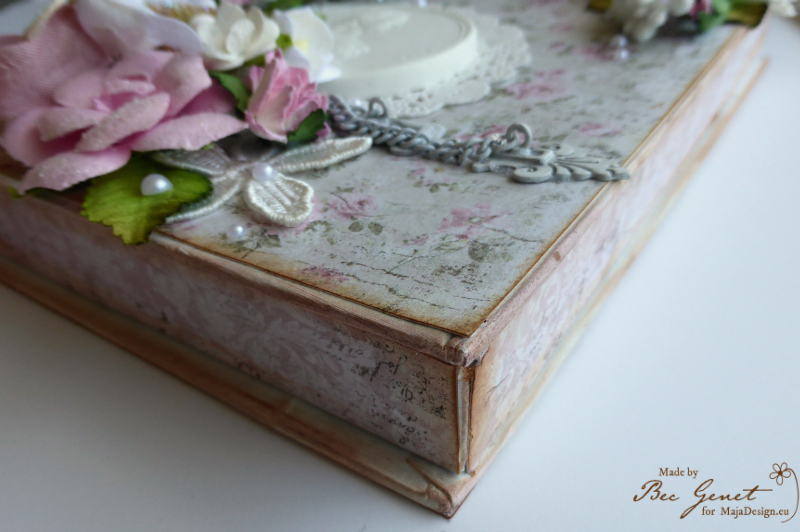
I used the Vintage Summer Basic Papers 1908, 1910, 1922 and 1925. I started by putting a layer of gesso over the whole thing and then I cut the paper to fit the cover, sides and inside of the book.

Maja March Jewellery box (3)

Maja March Jewellery box (4)

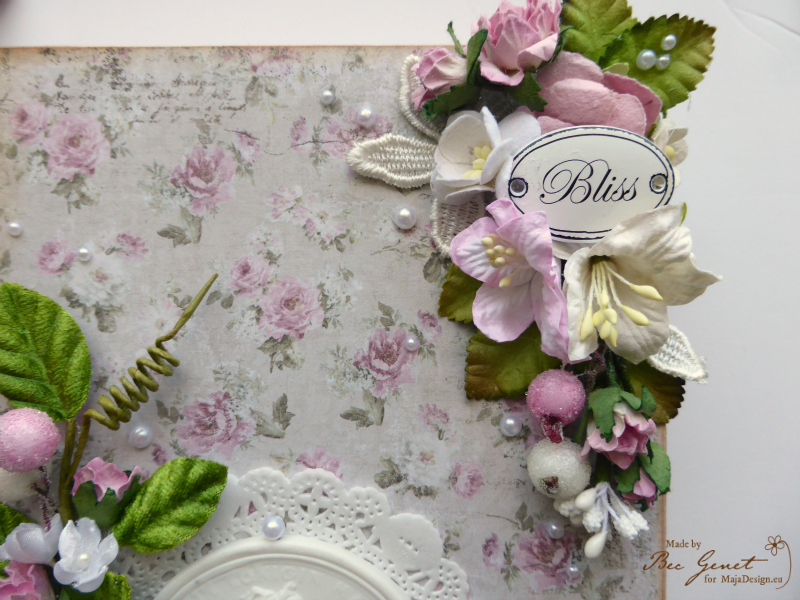
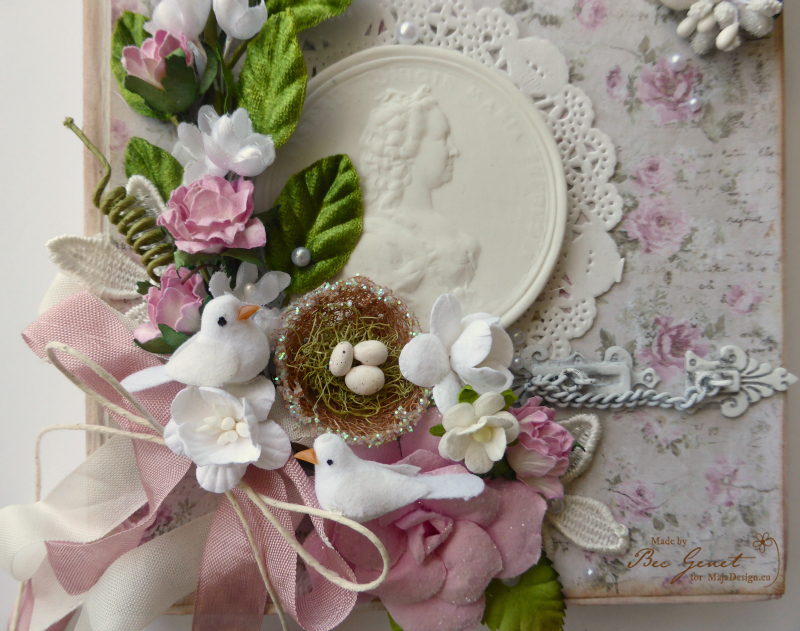
I layered lots of pretty embellishments on the cover, some of these are my Daughters favourites from my stash – e.g. the little birds nest and mini birds.

Once the papers were glued on I went over all the edges with distress ink in Vintage Photo

Maja March Jewellery box (5)

Then I added some lace and pearls to the spine, and to finish off I added pearls to the cover.

Maja March Jewellery box (6)

Maja March Jewellery box (7)

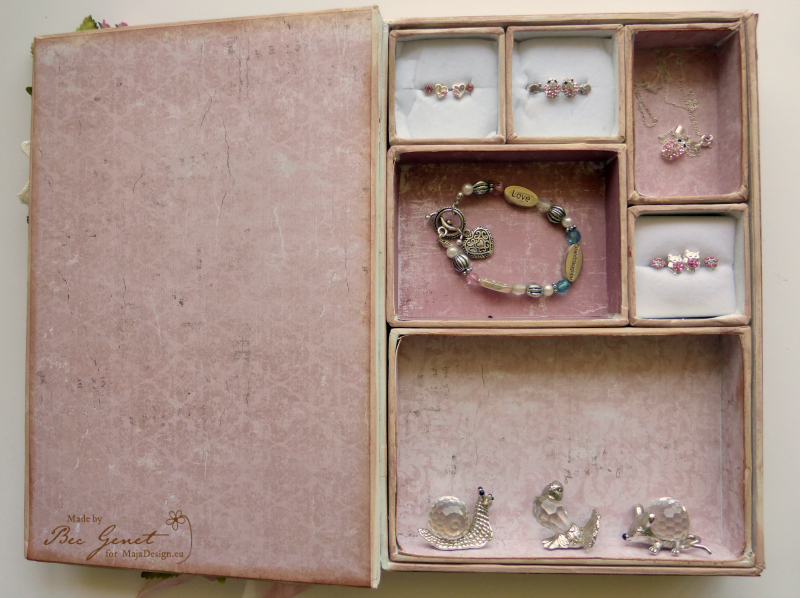
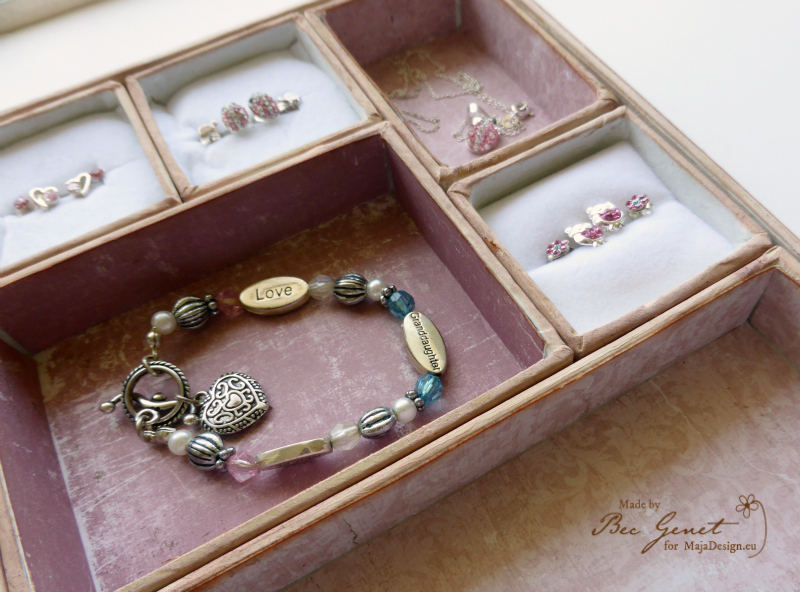
On the Inside I covered the larger surfaces with paper, then I took the foam out of some old jewellery boxes to fit inside the smallest squares

Maja March Jewellery box (8)

I used the Vintage Summer Basic Papers 1908, 1910, 1922 and 1925

Vintage-Summer-Basics-P

Bec-sign

‘Afternoon in the Garden’ Card

6

Posted by Nancy Dynes

23 February, 2016 - , ,

Write a comment

maja 1

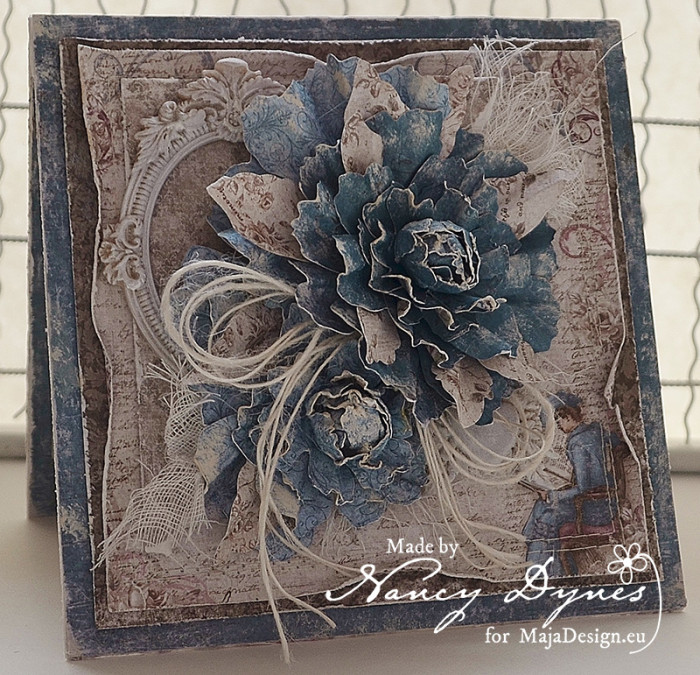
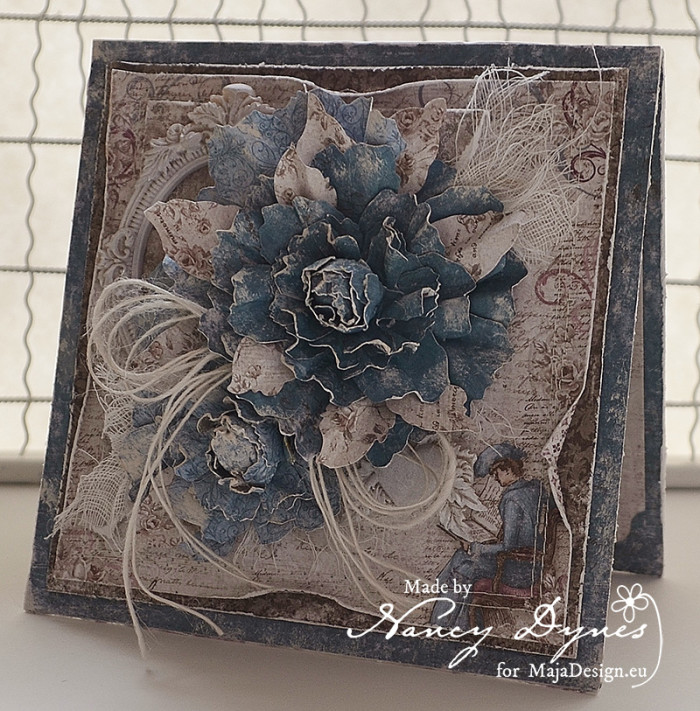
Hello and welcome to the Maja Design Blog! It’s Nancy, and I have a new card to share with you this lovely Tuesday.

I’m overwhelmed with inspiration every time I pull out my Maja Design papers. Today’s card was influenced by this design of an elegant woman relaxing with her magazine. My minds eye flew away to Jane Austen novels and the manicured gardens of aristocratic Regency England. My sweet mom created an enthusiastic daydreamer when she instilled a love of reading in me, for which I will be eternally grateful.

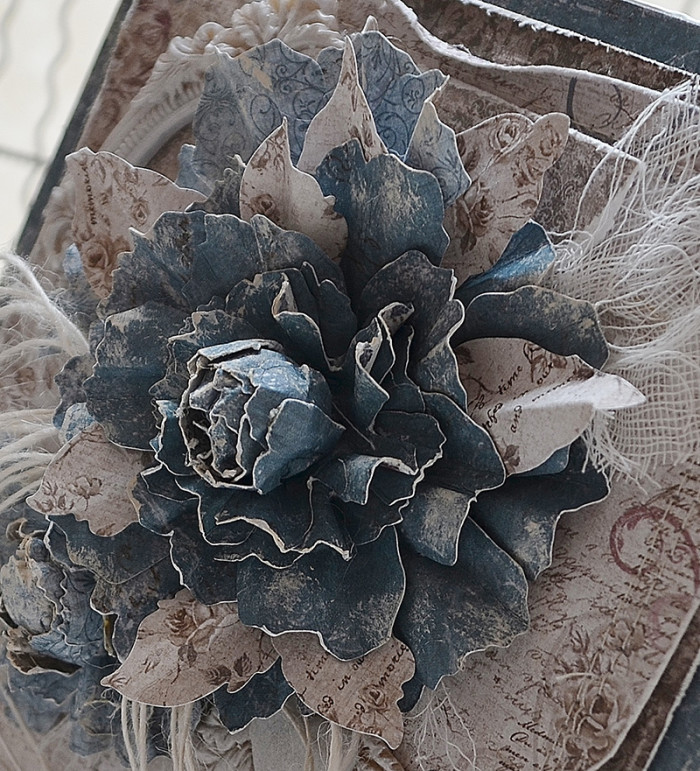
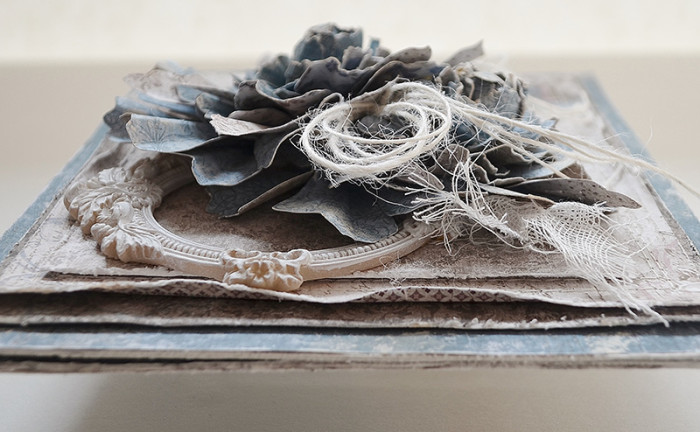
The gorgeous papers are first distressed, layered, and stitched to form a base, then the pure joy of embellishing the card begins. The roses and leaves are handmade using the paper collection.

Maja 3

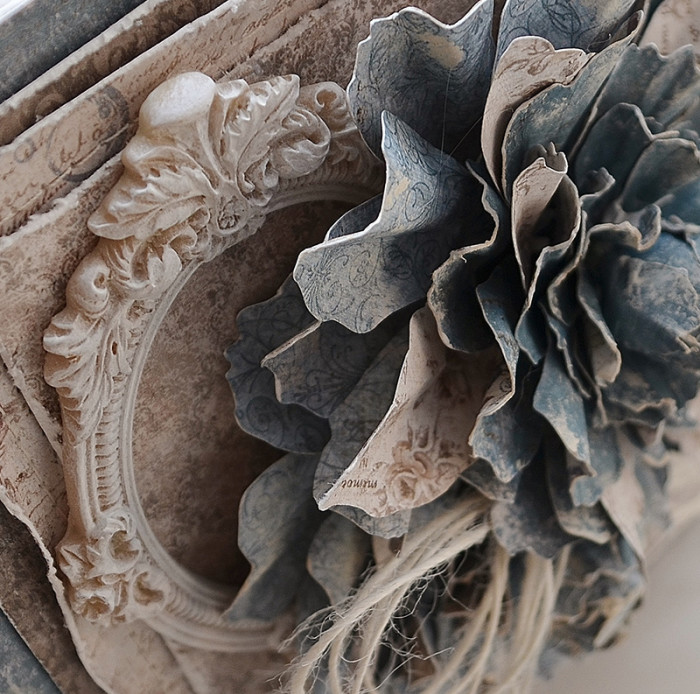
Prima’s resin Shabby Chic Treasures are a perfect fit with the theme of my card.  The frame below has the feel of neoclassical moldings found in many of the finest homes of the era.

maja 4

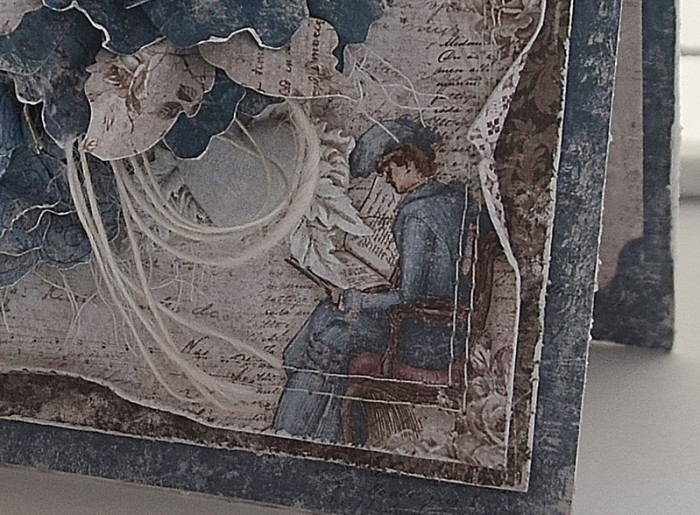
Below is a close up of the image that inspired my card. You’ll find another Prima Shabby Chic Treasure tucked in there as well.

Maja 5

Maja 6

The frayed cheesecloth and bow lend a soft finishing touch.

maja 2

Maja Design Papers Used: 

Vintage-Autumn-Basics


Vintage-Summer-BasicsK

Other products used: Tim Holtz Tattered Florals dies, Tim Holtz Distress Tool, Magnolia Rose Leaf die and another leaf die with no manufacturers name, Susan’s Garden Flower Shaping kit, Prima Shabby Chic Treasures, Cheesecloth, Twine, Adhesives, Sewing Machine, Thread, Heavy White Cardstock.

Thank you so much for visiting today! Now it’s over to you… Head to your cozy crafting area and create your own timeless treasures with Maja Design’s exquisite papers!

Hugs,Nancy-sign


Nancy Dynes

My name is Nancy Dynes. I love creating with layers, dimension, and all things feminine. Maja Design Papers speak to me and inspire my imagination. I am honored to be a member of this amazing Creative Team, and look forward to growing in my craft while working alongside these talented artists.

Bridge

1

Posted by Pascale B

21 February, 2016 - , , ,

Write a comment

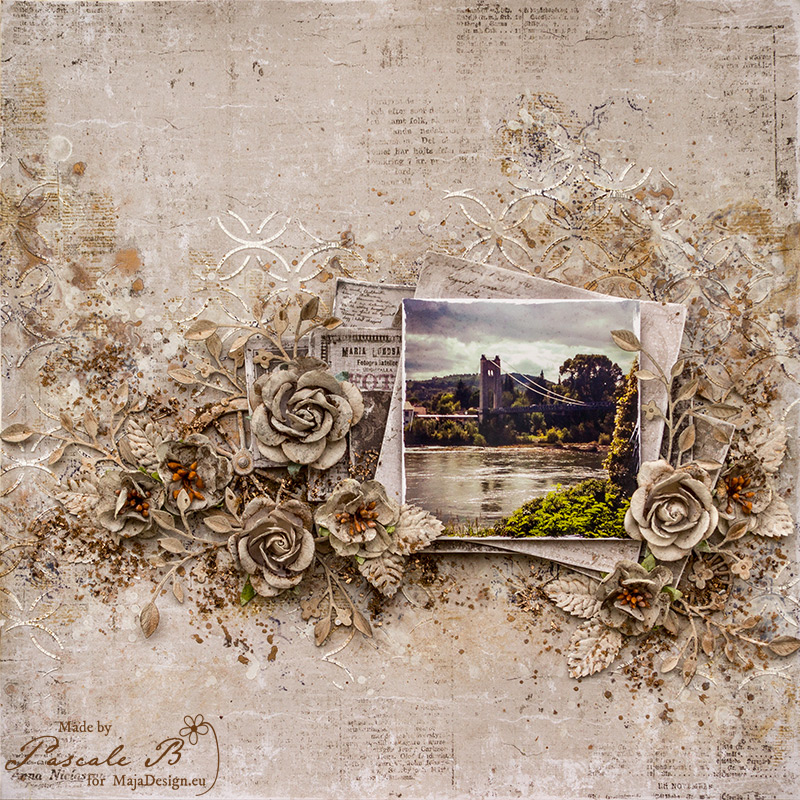
Hello SweetiesToday I’m up on Maja Design blog with a monochromatic layout. I chose to work with a beige shading to highlight these photo of the Saint-Martin-d’Ardéche’s bridge (France).

Bridge by Pascale B

I started with a layer of clear gesso to protect the background. When dry, I added a design with a stencil and white crackle paste.

Bridge2 by Pascale B

While the crackle paste was drying, I chose different papers to go under my photo and distress them with a distress tool.

Bridge2_detail2 by Pascale B

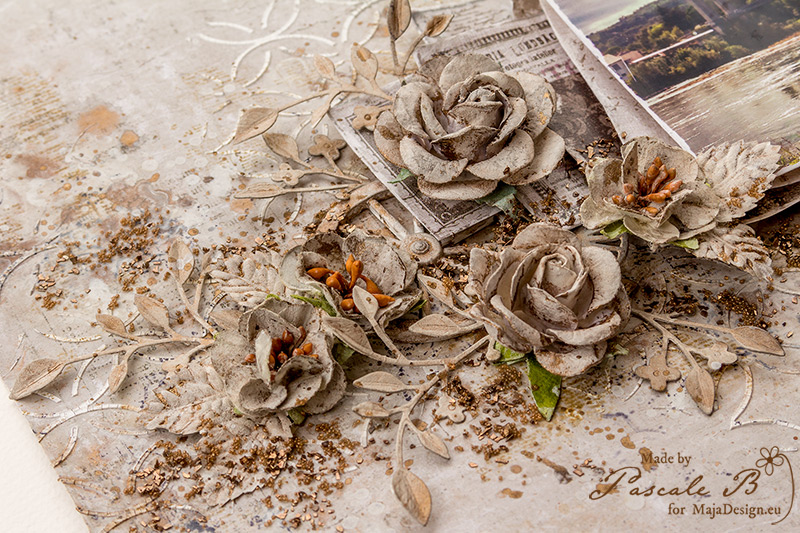
When the design was dry, I splattered some watered gesso on the background, then I added some Rust mica powder mixed in water and I let everything dry.

Bridge2_detail3 by Pascale B

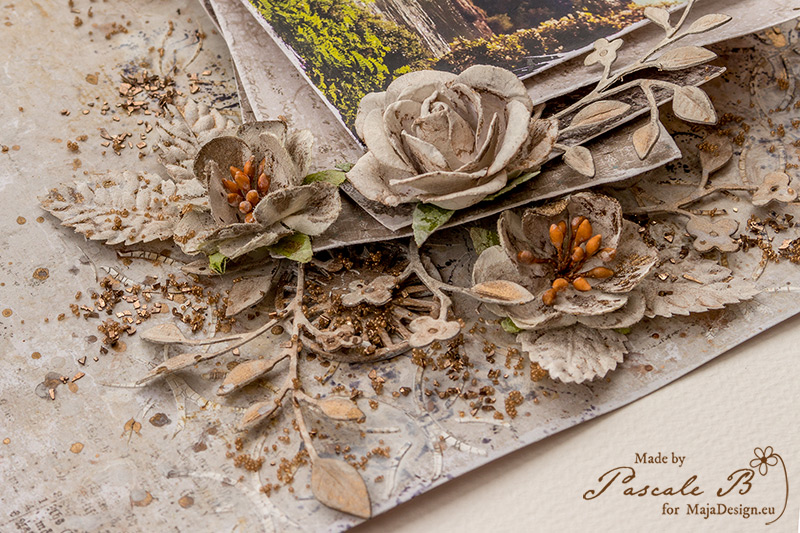
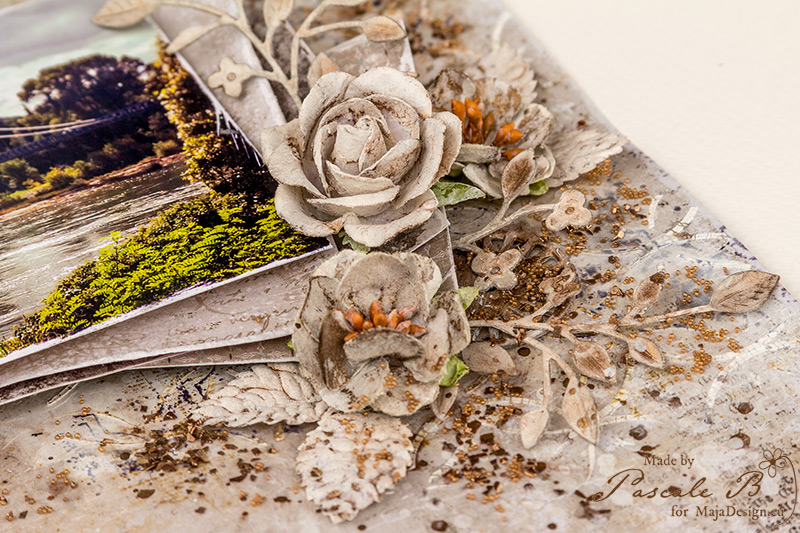
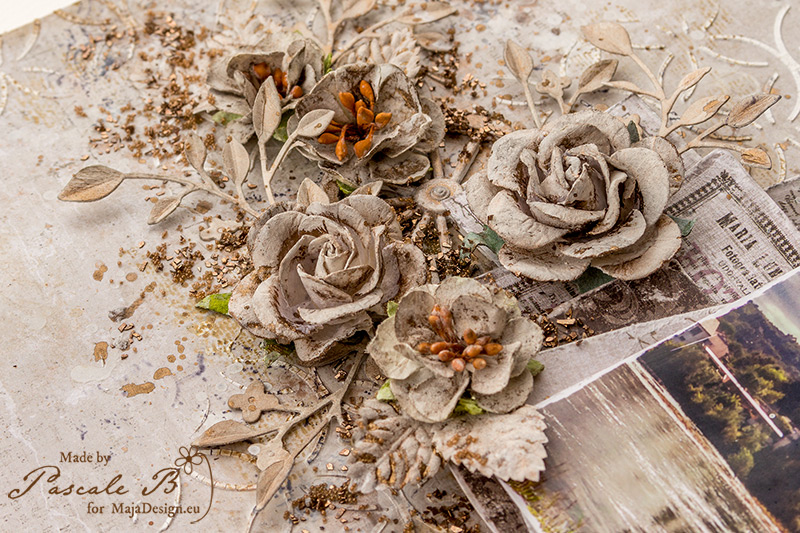
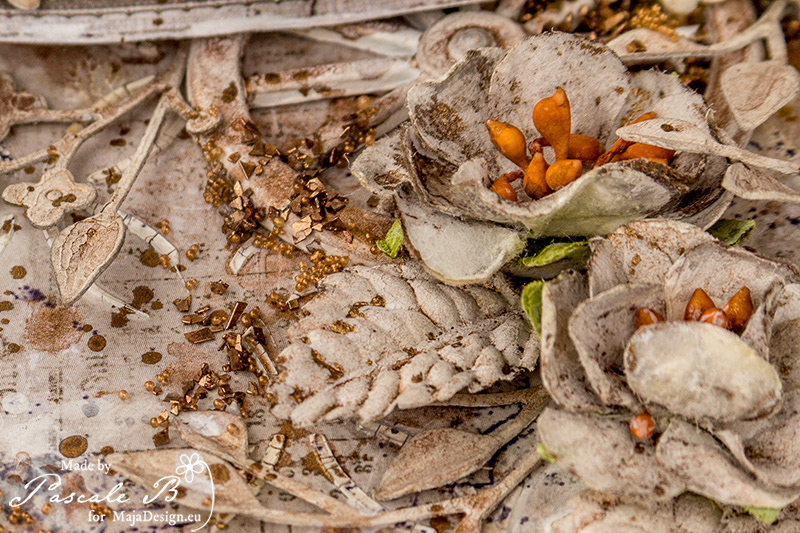
I covered all the embellishments (flowers, leaves, die-cut and metallic embellishments) with gesso and dry them. Then I colored everything with some Rust mica powder.

Bridge2_detail4 by Pascale B

I added some some random stamping and glued all the embellishments.

Bridge2_detail5 by Pascale B

To finish the layout, I added some glass glitter and micro beads.

Maja Design papers used:

1946 1891 Minnen 6th of December 21th of December BS
Vintage Summer Basics Vintage Frost Basics
1946 1891 Minnen 6th of December 21st of December bs