To My Beautiful StepSon

1

Posted by Silje Kristin Aunan

1 August, 2016 -

Write a comment

Hello all you wonderful people

Today I am ready with a new project for Maja Design, one project that I can not with to share with you. I’ve made a chest, a special coffin, to a very special boy. 

A boy who deserves the whole world, a boy who deserves sunshine even when it rains, a boy who deserves to play all day long with the toys he love the most, a boy who deserves laugh and smile always. 

I’m so lucky that I’m a stpmom for a boy named Henrik. 
He is a lovely boy who makes me laugh, smile and fills up my days with so much joy. 

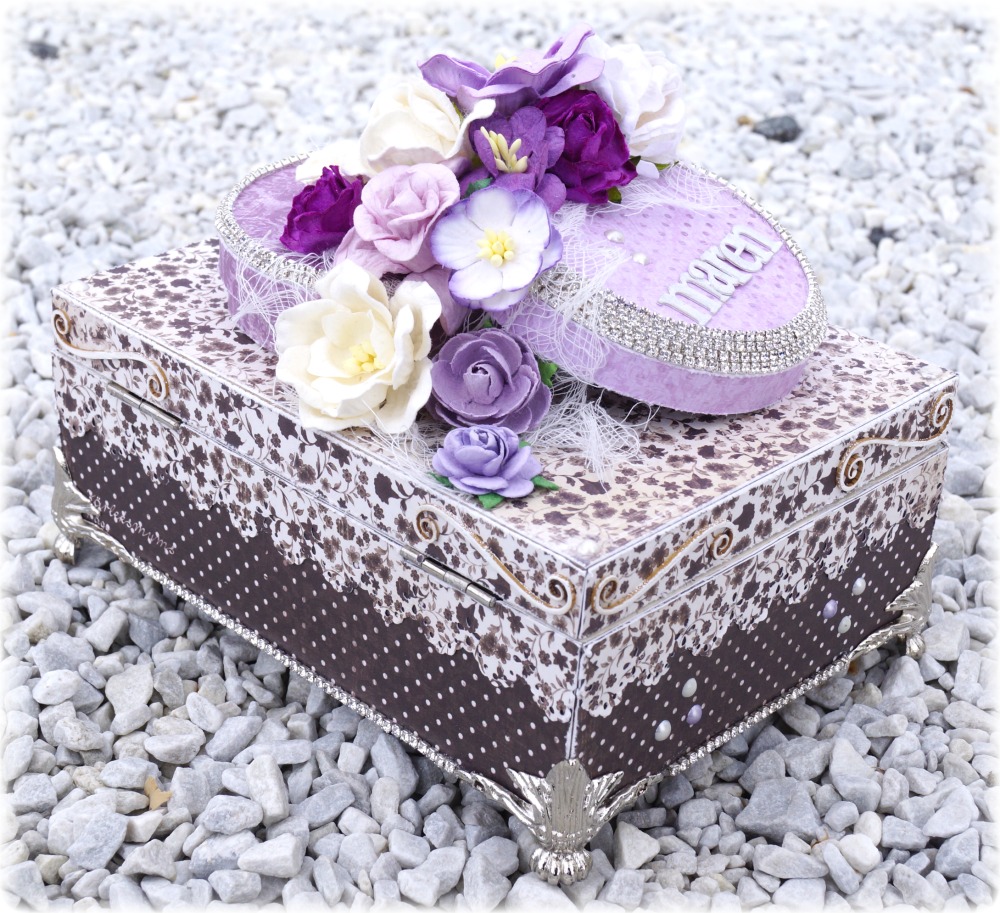
This is a chest which we will use to take care of special memories, everything from drawings, things we find outside in the woods, special clothing, to things he in the future is going to make or things he collect. The chest has a special touch, without that most likely the chest is to much babyish when he is older. It has his name on the front, while the sides we find tractors, one of his favorite. The chest is simple and clean in design, so one day it fits into a home to a young adult Henrik <3

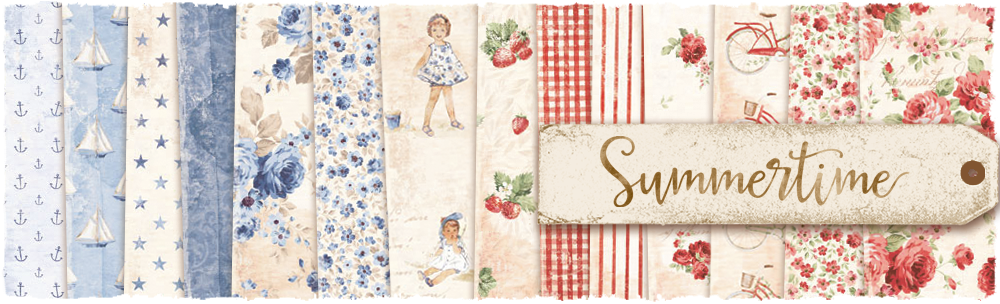
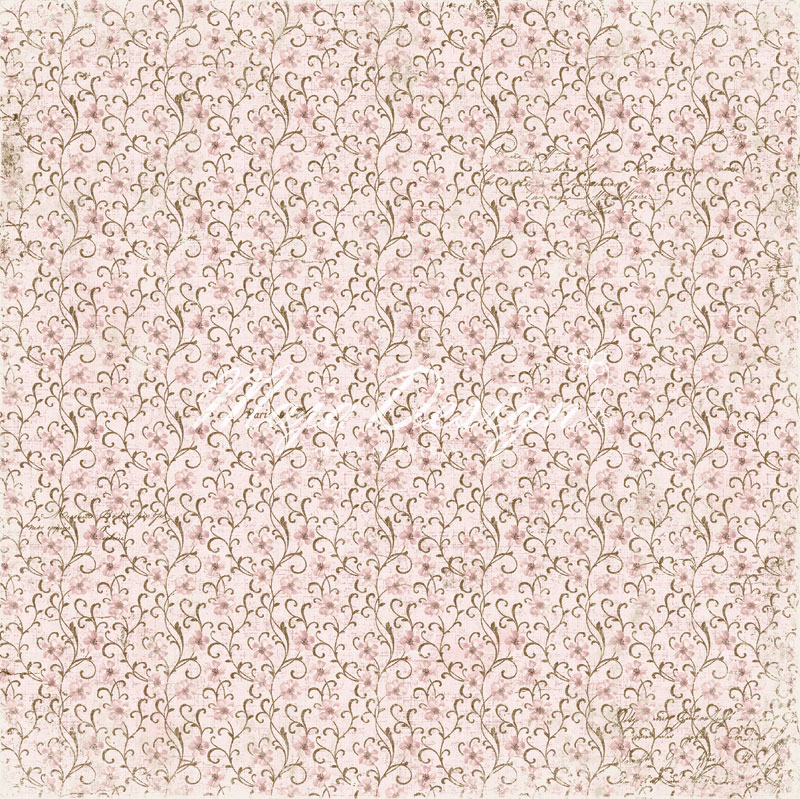
I have used two types of patterned paper on this project, both sheets are taken from Maja Design’s collection Vintage Spring Basics.

Vintage-Spring-Basics-P

The chest I painted white first, before I used the pattern sheets. Around the chest, I have a strap that I have weaved myself from wax tread. The belt consists of two kinds of colors, and it holds the lid in place with the help of a brace from Tim Holtz. 

At the ends, I have used white embossing powder to be absolutely sure that the strap does not go up. Same technique I’ve used on the handles.

In all corners, I glue on white rivets.

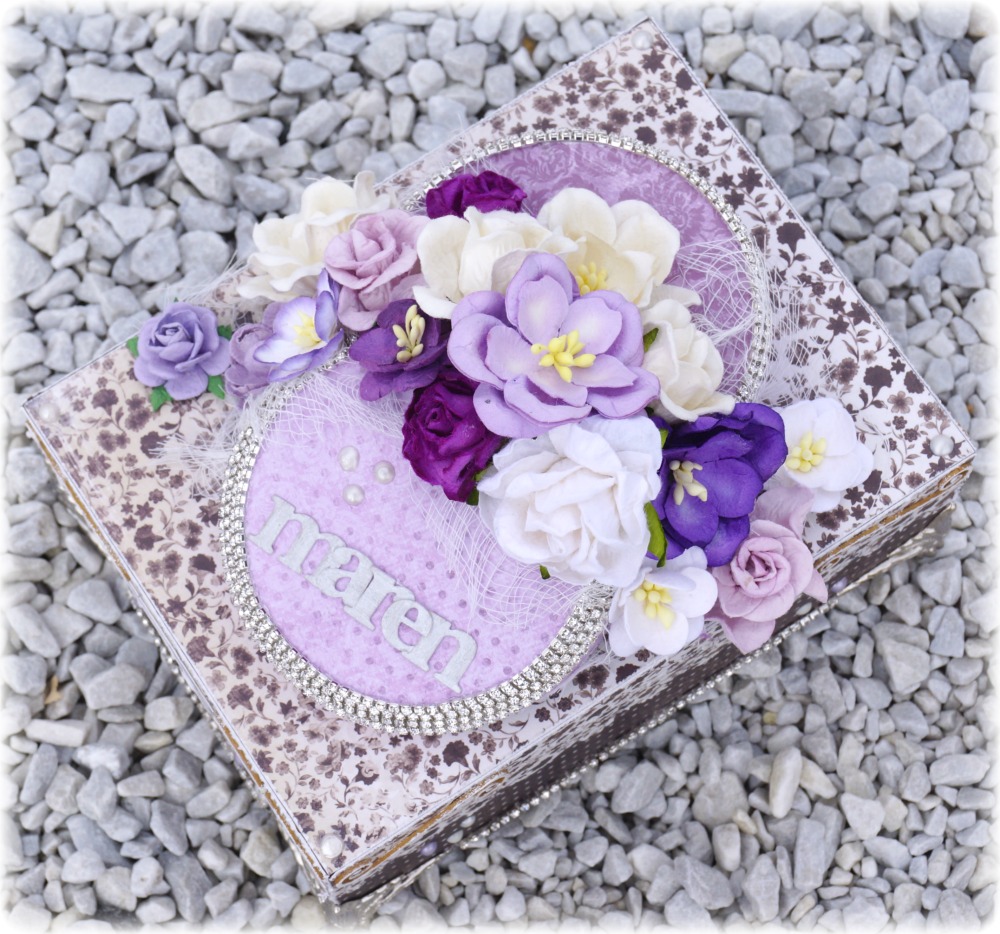
On the front of the coffin, I have chosen to have the name too Henrik. These are large wood letters from a Polish producer named Scrapiniec. 

I made the name on a sign first, before I attached it to the coffin with many 3D pads. 

All the letters are embossed with white embossing powder.

On each side of the chest, I have 3 tractors, these tractors are wood from Wycinanka and is embossed with the same white embossing powder which I’ve used on the letters.

Over the tractors I have one handle, this is made on ​​the same way as the belt around the chest, just smaller. I used White embossing powder on the ends, I have attached the handle with screws into the coffin and to hide the screws I glue solid white rivets over. 

Over the handle I have three white crown, one large and two small ones.

At the back side of the chest, I have one tree, this is one dies from La La Land and down from the tree, I have a small swing, a dies from Memory Box. 

The tree is the symbol of family, that one must always remember the roots and where we come from. One symbol from us to Henrik, that whatever happens, he can anyway come to us <3 

Under the tree I have text tough guy, wood from Scrapiniec.
The word you see are on Norwegian.

Before I wish you a great Monday, I’ll tell you when I got the idea for this gift to Henrik. I met Henrik in January, even then, I knew that I’ll make a special project to this little boy <3

In February, I bought the chest from the store Søstrene Grene and in June it was finish. A special gift to a little boy, who has a very special place in my heart <3

SiljeKristin-sign

Champagne in the Summertime

2

Posted by Silje Kristin Aunan

24 July, 2016 -

Write a comment

Hello everyone 🙂

Today it is finally time to share my first project created with the new collection to Maja Design, Summertime <3 

This is a delightful series of sheets that remind us of the summer. It brings up memories and makes us think about what we will do this summer. I have used the new sheets to decorate a small bottle with Champagne, placed it in a wheel barrow and the only thing I can think of is summer evenings with good friends, wine and strawberries <3

I have for a long time have the wheel barrow from Wycinanka, until the new sheets came from Maja Design, it have just been waiting for me to get an idea for what I whant to do with it. So I painted it white, before I started with the details. 

I have used several sheets from Maja Design, both from the collection that are 12×12 and 6×6. 
I have used these blue sheets from the new collection: 
Is My Favorite, Gives Me Joy, Glittering Water and By The Sea

The bottle I have decorated with a label with a bike on, just to remind us abute lazy summer days.

On the bottleneck I have attached two buttons with a bow.

All the flowers are put together with an unknown dies and the leaves below is embossed with embossing powders in silver. 

Half pearls that I spent inside the flowers and on the buttons I’ve made myself with Nuvo Crystal Drops.

I have also chosen to place a bike on the front of the wheelbarrow, this is also embossed with silver and comes from Wycinanka.

In addition to the buttons on the bottleneck I have also attached a tag, here you can write a summer greeting if you will.

SiljeKristin-sign

Jewelery Box to the Young Woman

1

Posted by Silje Kristin Aunan

19 June, 2016 -

Write a comment

Hello Maja Followers

Today I stop by the Maja Design blog, becuse I have a new project made in lovely  Maja paper. A simple box to a young woman who is to be confirmed.

For this box I have used sheets from a Maja Design collection  called for Ska Vi Ta En Fika 

The sheets I have used are :
Kladdkaka, Kärleksmums, Söders Höjder and Mandelkaka.

Fika-P

I placed the pattern sheets directly on the box and put them on with double sided tape. The punch that I’ve used is from Martha Stewart and called Eyelet Lace. 

I often create boxes that I use metal feet in silver, and yes it is on this box too. At the bottom edge, I glue on a silver chain, which runs all the way around the box. On the lid I have used wood from Wychinka, these I have embossed with white embossing powder from Ranger. The three half pearls that you find on the side of the box are made with Nuvo Crystal pearls, the colors I have used are Oyster Gray, Ivory Seashell and Wisteria.

On the back of the box are the details about the same as on the other sides, the exception is that I have not pearls on the side and the wood from Wychinka are smaller than those at the front.

On top of the box you will find the big details. 
What I ‘ve done is I ‘ve spent a round box and covered the lid and the bottom with patterned sheets and silver chain with diamonds. These I have glue little bit on the top of each other.

At the center of the two circles I have placed a lot of flowers in white and alot in various purple tones. Under the flowers I have used some cheese cloth for an extra effect. This can be done on any type of project you create, if you dont whant to use leaves under the flowers, use some cheese cloth instead. 
The flowers are from Wild Orchids.

On one of the circles, you can see the name Maren. Maren is the girl this box is made too.

The letters I have used are from Prima and I made them brighter with Wink of Stella Bruch White.

If you Opens the box, I’m sure Maren can fit all the jewelry she gon on her special day <3

SiljeKristin-sign

The Wedding Vows

0

Posted by Silje Kristin Aunan

13 June, 2016 -

Write a comment

Good Morning Everyone, and thank you for visiting the Maja Design Blog 🙂

I have in the past few weeks think about weddings and the ideas just come by themselves all the time. I feel inspired to create several different weeding projects, filled with Romance, details, bright colors and love. 

The project I am going to show you today is actually taken from one project I made ​​a little while ago. Today I’ll show you some paper bags  made ​​to the Bride and the Grom. I also made ​​a step by step in pictures, which are published in my blog tomorrow.

The paper sheets I’ve used on the bags are from Maja Design’s new collection Vintage Romance.

Vintage-Romance-P

I have used two sheets in a blue tone and two papers in a pink tone. Both sheets are similar in pattern, only the color that separates them.

Happy Ever After

Happily ever after

Together Forever

Together forever

Passion


Passion

Just You and Me

Just you and me

I have not done so much with the paper sheets, the only thing I have done is to use a pair of scissors on the edges to make them worn. This is to make the project a little more Shabby Chic.

The idea of ​​doing the front with a girl and a boy, came when I found one set of dies from Frantic Stamper – Silhouette Kids.

These are just so cute and fits just as perfect, if you want to make something romantic. I have intentionally used the boy on the front of the bag that is in pink and the girl on the one in blue. 

The idea is that the bags may have the marriage promises. In the one from the man, in the pink bag as a gift for the woman, and the one that is written by the woman is a small gift to the man. This is also a great way to preserve the vows <3

On Back of the bags is the other one. What I mean by this is that the blue bag with a girl in the front, there’s a boy on the back side and on the pink bag it is a boy.

Each of the bags are decorated with flowers, rings and Embossing powder. 

The pink bag with the boy, has pink and white flowers, a lady ring which is braided of white woks tread and pearls.

The bag in the blue have the same details, only that here there is a larger ring and instead of flowers in pink, these are blue. The flowers are from Wild Orchids and Papirdesign.

If you looking through the silhouette of the boy and the girl, you can see the promises that lies inside of the bags. This Paper sheets is also from Vintage Romance, and called Words of Love.

On the back side of the bag, you can see that the bag are closet with a large bow, with a lage white button. The great thing with this bag is that it is not necessary to open the bow to have something inside the bag. You can do this at the bottom of the bag. 

Both the boy and the girl are embossed with white powder from Ranger. Here I have tried to bring out some of the color underneath, so it gets a little pink on the blue bag and a little blue on the pink bag. 

I’ve also made ​​it so that the back of the bag with the girl on, it’s a boy and vice versa on the other. This I have done because I wanted it to be a boy and girl on both bags, as a couple.

On the front I have also used white Embossing powder to create an special effect and I want to bring up some of the items that I’ve used on the back of the bags. 

The half pearls are created by Nuvo – Crystal Drops, the color I have used is called Ivory Seashell. These bottles are absolutely wonderful and come in many beautiful colors. I really recommend them.

Now I have shown you my bags with the wedding vows, a romantic way to preserve the romance <3

SiljeKristin-sign


The Secrets in the Jewelry Box

2

Posted by Silje Kristin Aunan

8 May, 2016 - ,

Write a comment

Hello Everyone 🙂

Today it is a bit special day here in Norway, it is Liberation Day and about nine days, it is May 17th, Norway’s National Day. Then it is 202 years since Norway got its own constitution and we were a separate nation after several years in the union with Sweden and Denmark. Today, Norway is one of the world’s best and most beautiful country and stay in, we have been awarded several years in a row that we have the world’s most beautiful coastline. But on May 8th the tradition that we lifts the Norwegian flag to the top.

But today is also my day to inspire you with my new project made for Maja Design. The history of this project is not 202 years old, but it started a few years back when I was at flea market.

You know that I love flea market, it is because I can find the most amazing things. Things I can change, refine and give a whole new life to and this visit was not a disappointing.

In between all the old glass and jars, stood one old jewelery box in brown mahogany. The jewelery box consisted of one drawer, one lid that could be raised, with one mirror and one small room where one could hide their secret treasures in. For a long time the box stood in one closet, until a few days ago when it got a new life with the new collection to Maja Design, Vintage Romance. A perfect gift for a young bride or to a young woman who soon stand as a confirmand.

On the box, I have chosen me out some beautiful sheets from the new collection. Vintage Romance consists of several great sheets in gorgeous colors and for this project I’ve used these sheets:

Champagne, Marriage Proposal and Forget Me Not.

Vintage-Romance-P

In my project I have chosen to decorate all parts of the box with pattern sheets. I’ve tried to create a harmony tune over the box, by using light brown sheet and a blue sheet with strong contrasts to the bright.

I have inked all the edges with Distress Ink Walnut Stain, I did that after I had attached the various parts on the box. Pattern sheets are attached with double sided tape and glue.

When I was finished with the sheets, I attached four silver feet on the bottom of the box, before I glue on the pearl string.

On the top of the lid I have attached some flowers in various blue tones, a button, glass bottles and metal leaf.

The flowers I have used are from Wild Orchids and Papirdesign. The leaves I used was in bronze, until I used one Embossing Powder from Stampenduos and color called Shabby White. The Button I’ve created a white bow and placed a half pearl on the top.

In the four different glass bottles are filled with pearl string, pearls, straws and the same embossing powder that is on the leaves.

On the back and the sides, are the same detail as on the front. I have used the same pattern sheets and pearls.

If you open up the lid, you will see whats inside.

On the inside of the lid I have attached a mirror in the middle, with string of pearls around. I’ve also attached some pearls in the corners.

In the jewelry box I have added my own jewelry and earrings.

With the tray below, you have plenty of space to hide all your treasures.

Now you have seen the Jewelry Box with all the secrets.

Maby next time you are at the flea market, you can keep your eyes open, so maybe you will find some treasure for yourself you can change.

SiljeKristin-sign