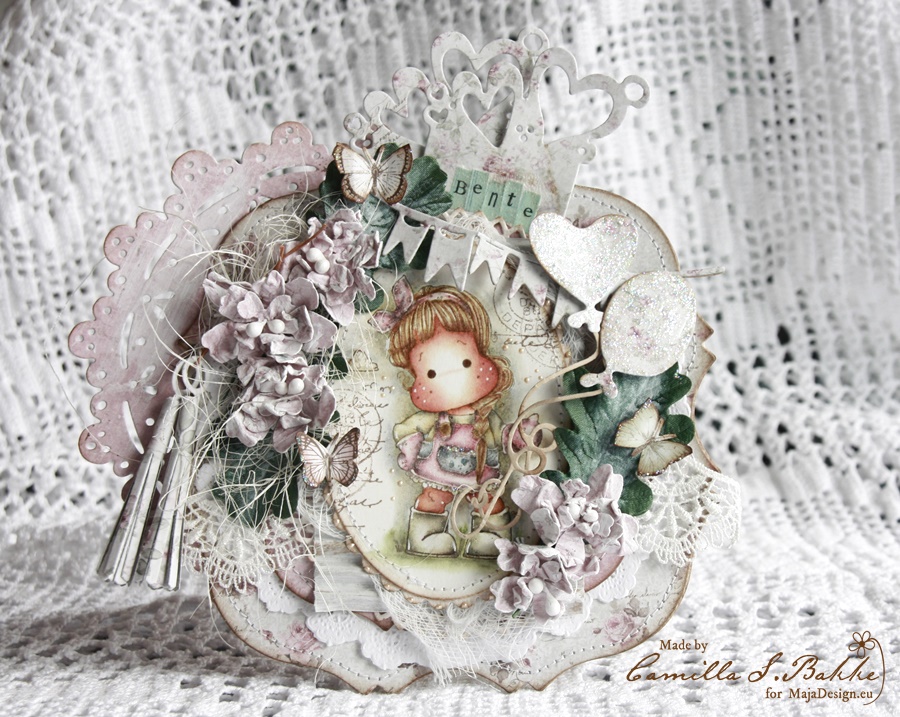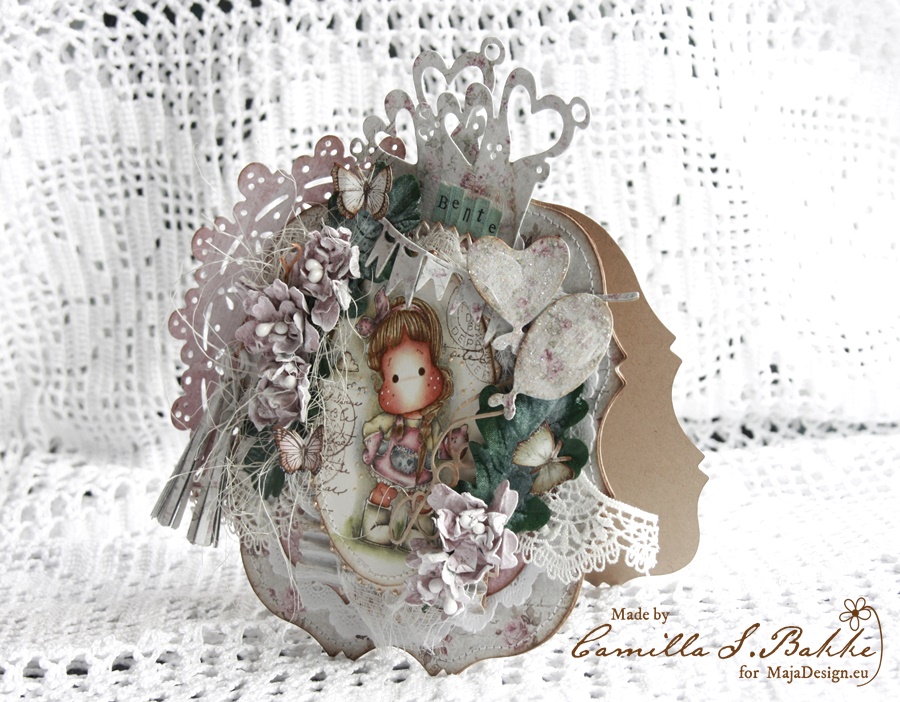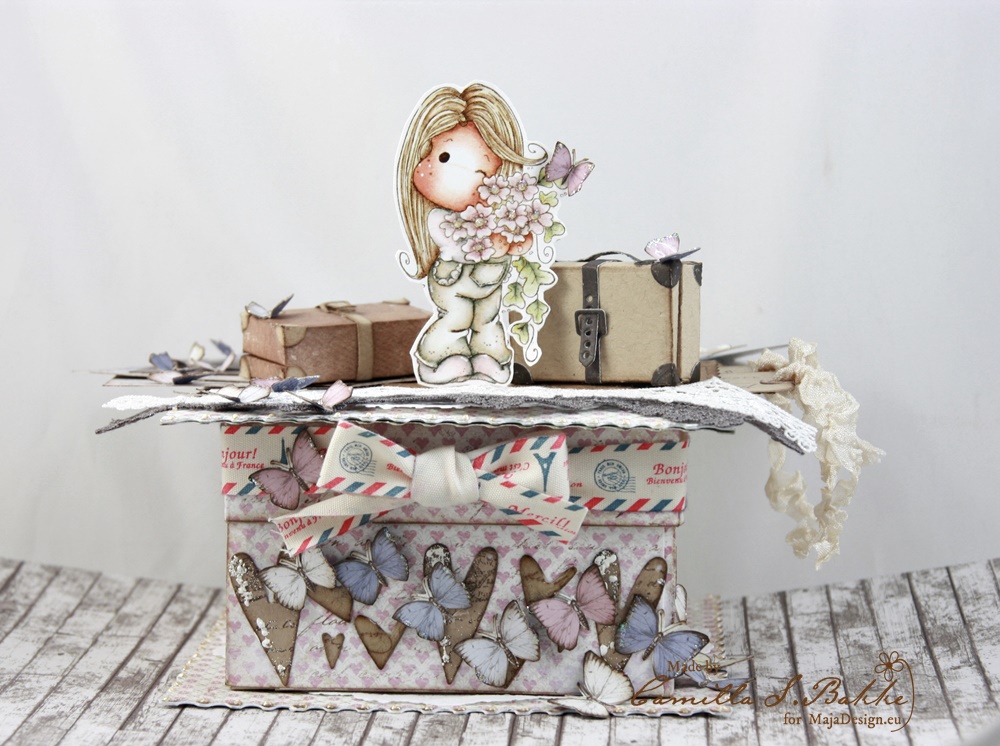
Hi there! I will show you a giftbox I made with wonderful papers from Maja Design. It is not Christmassy at all, but I will give you the tutorial on how I made the simple box; and who knows, maybe you want to try to make a box like this in a Christmassy style?! 🙂
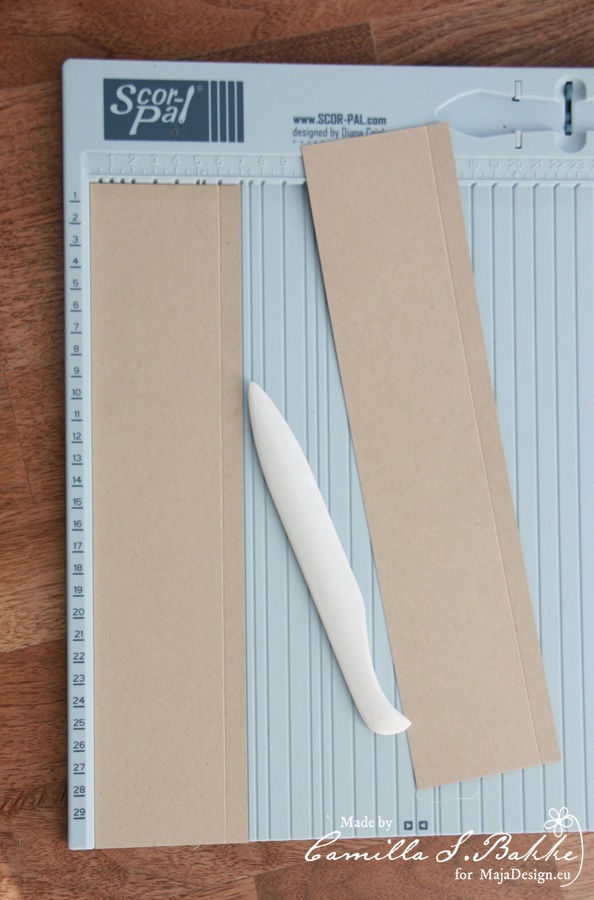
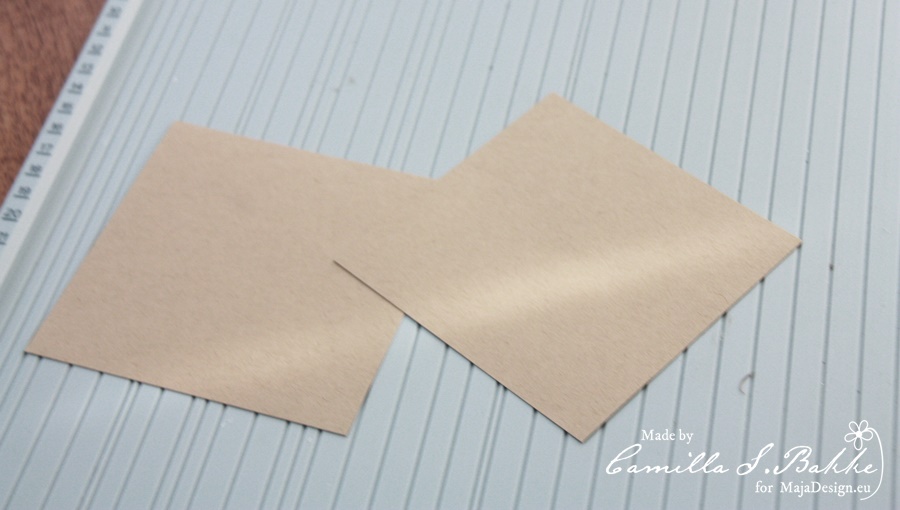
Cut out two papers measuring 30 x 7 cm. Then fold both at 6 cm.

Then fold at 10,5 and 21.
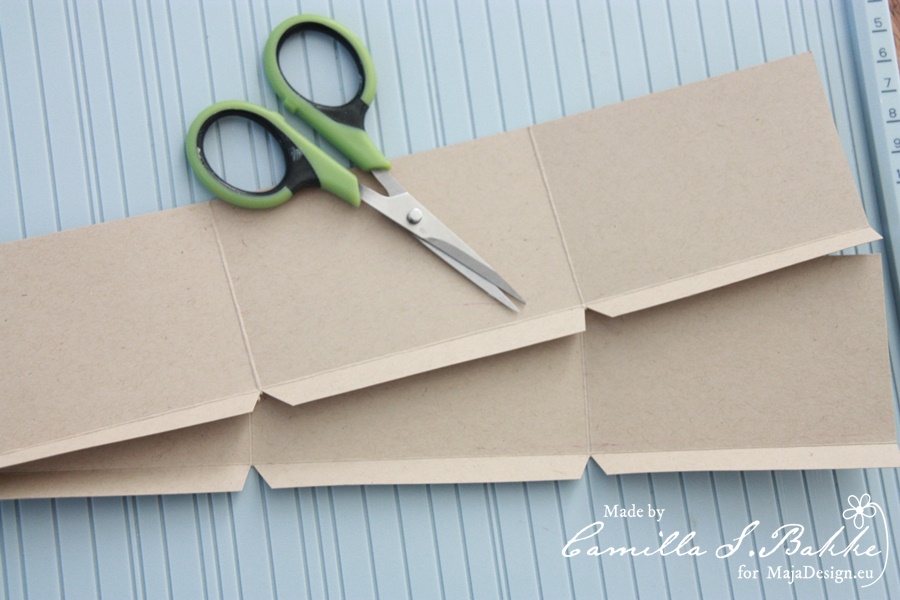
Make cuts like this.
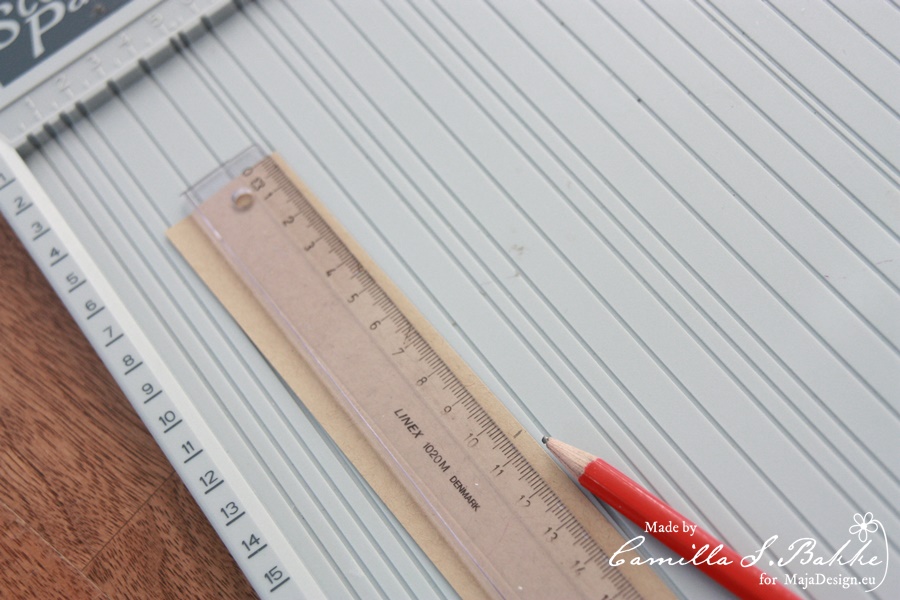
Then start with the lid on the box. Cut out two papers measuring 4 x 30 cm. Also here fold at 1 cm first.
Then fold the other way at each 10,6. This is because the lid has to be a bit larger than the bottom part of the box.

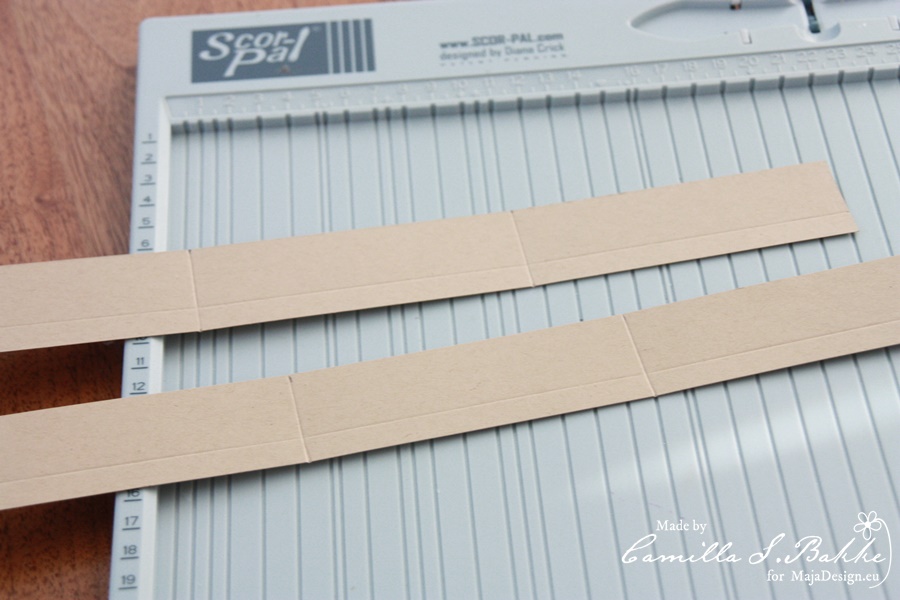
Make the cuts.

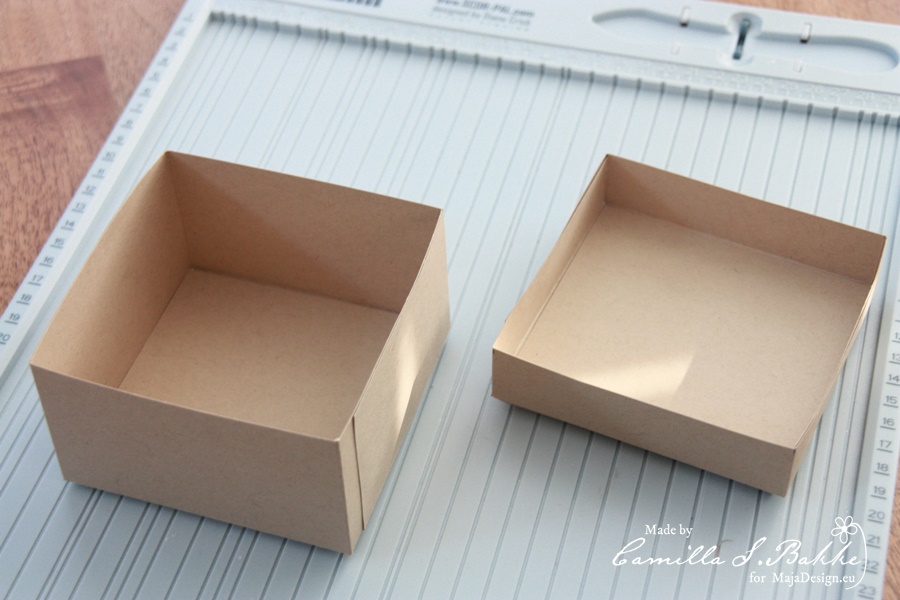
Put the parts together like this.

And this.
Cut out parts to fasten inside the bottom of the box and the lid. (10,4 x 10,4 and 10,5 x 10,5).
Like this.
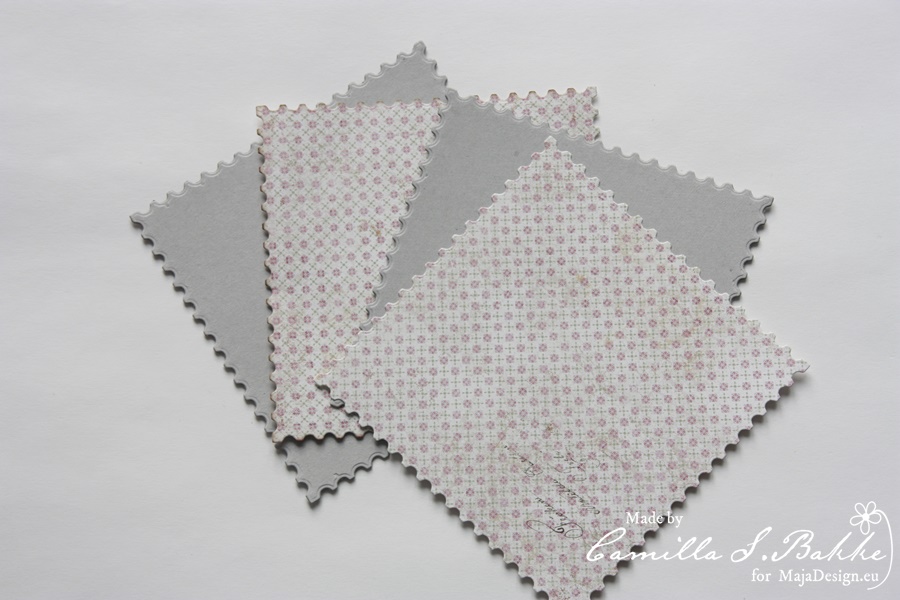
Then use the background die to cut out the bottom part and one on the lid. I use a harder cardboard for this.
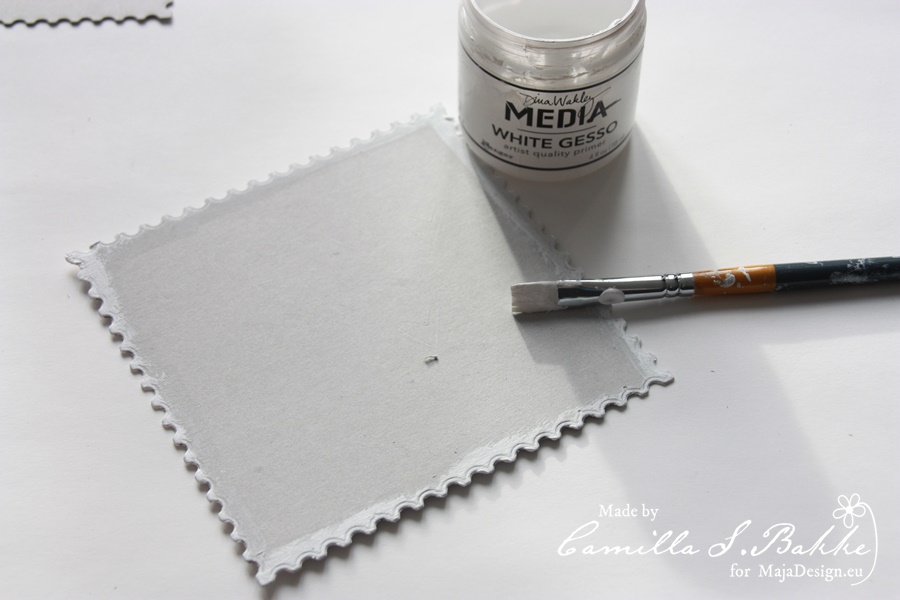
I also have painted the edges with white Gesso.
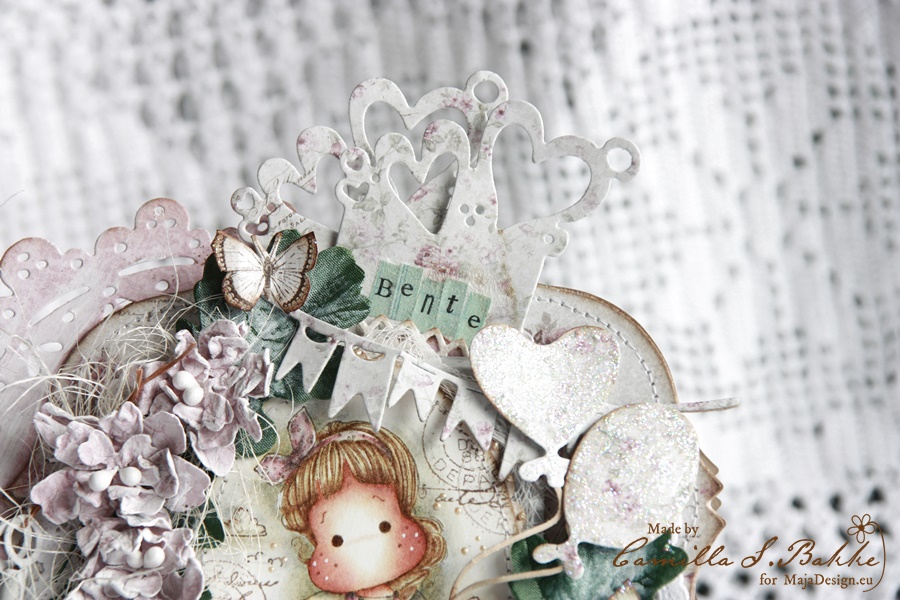
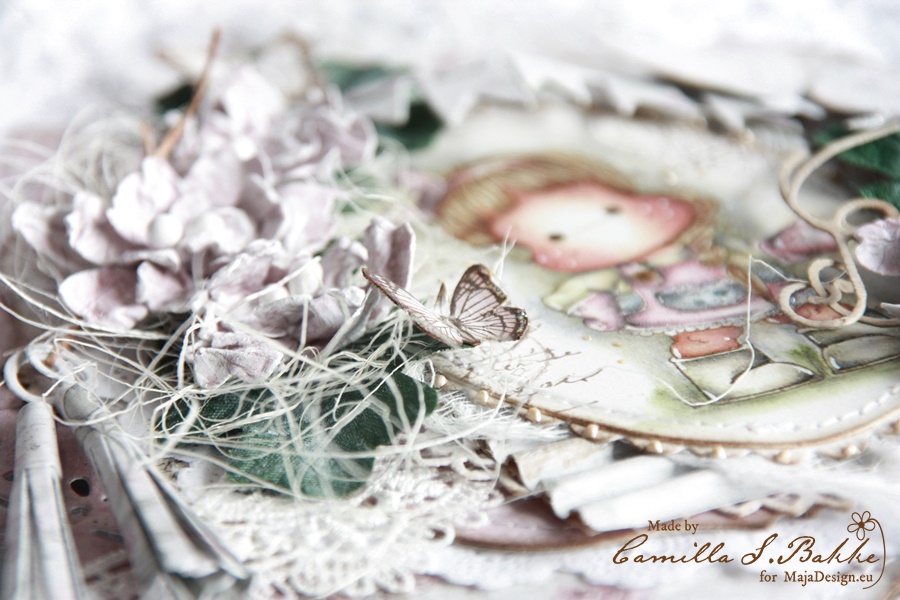
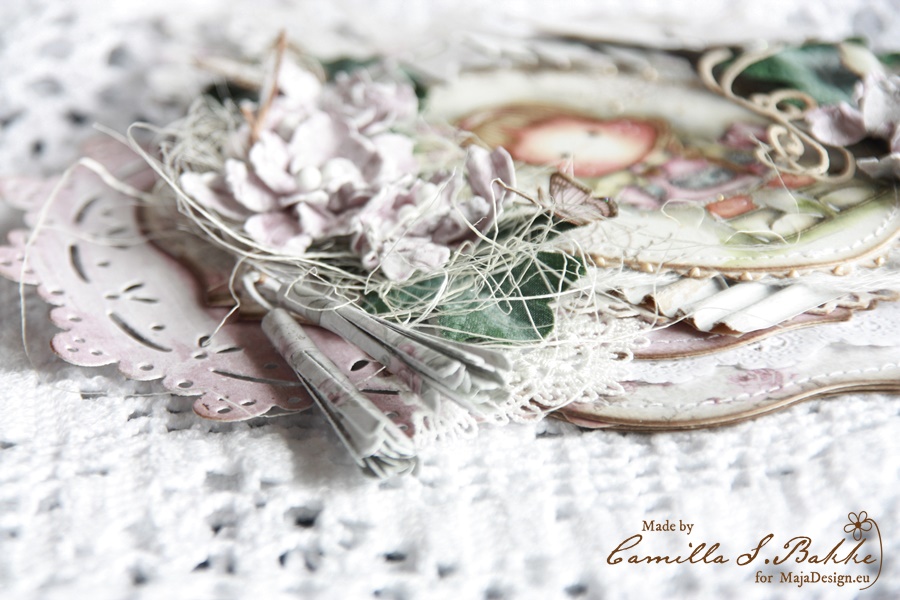
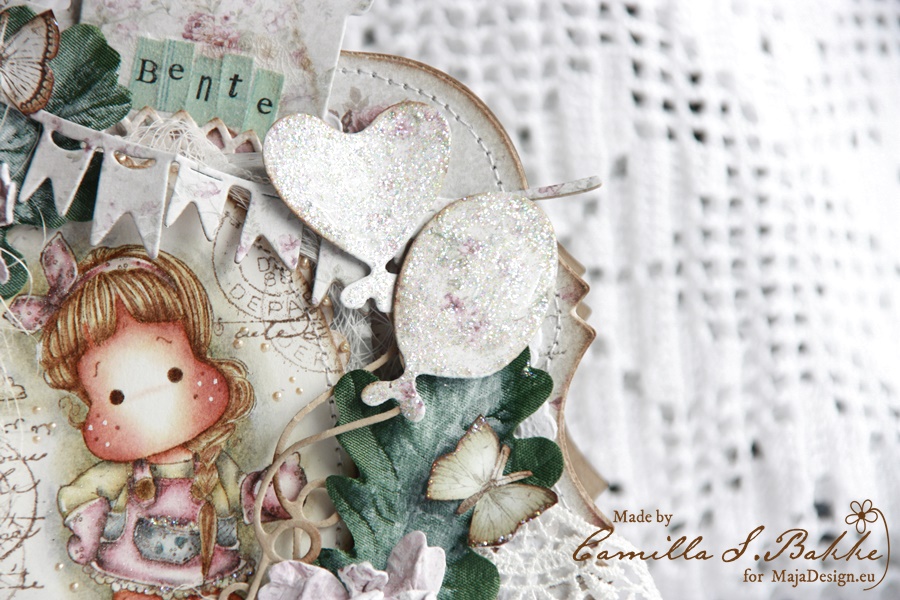
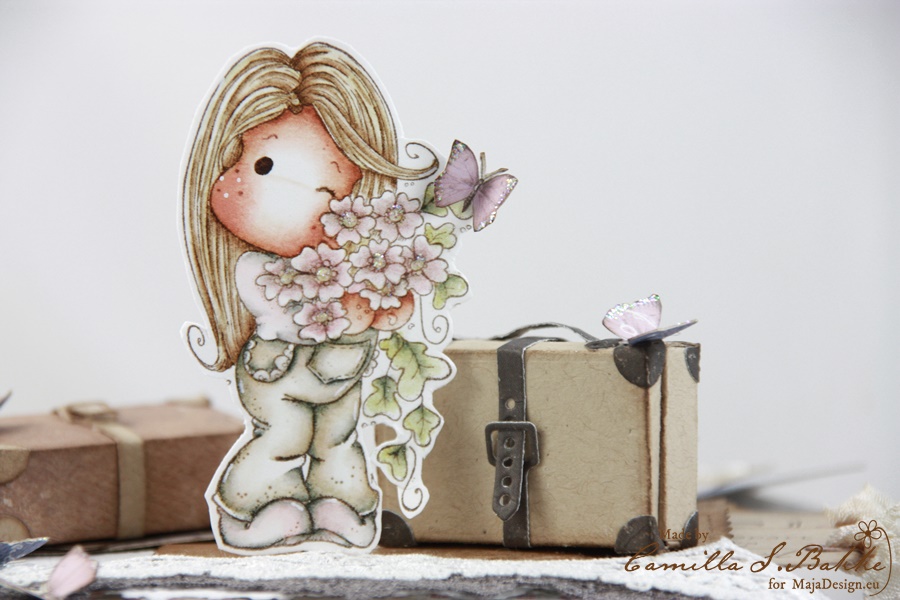
After putting the parts together and decorate them with beautiful Maja Papers, I have decorated the box on the top with different elements made with DooHickey dies from Magnolia (Vintage Box vol 3). I will show you some details:
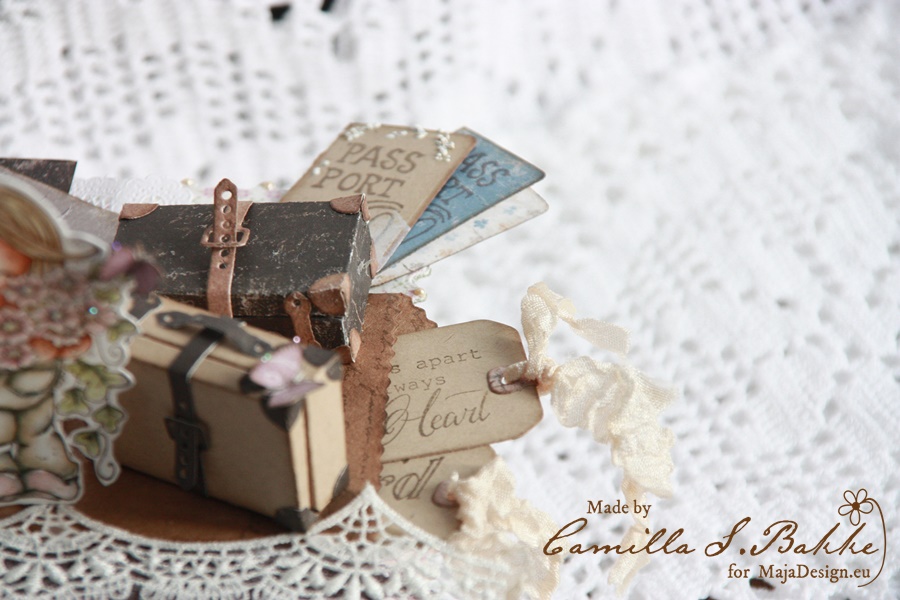
I just felt I had to decorate the whole box with butterflies:)
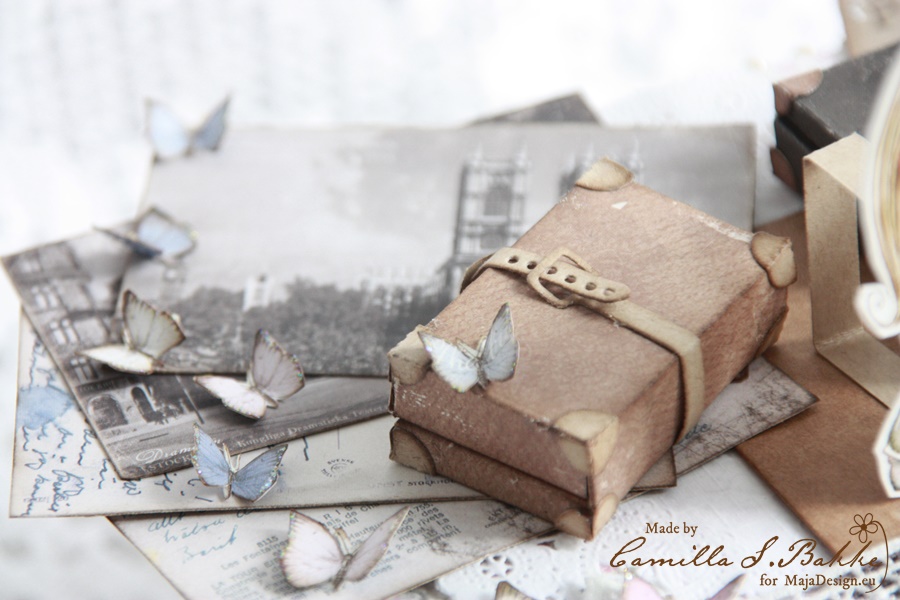
The lovely photos and letters are also Maja Design papers.
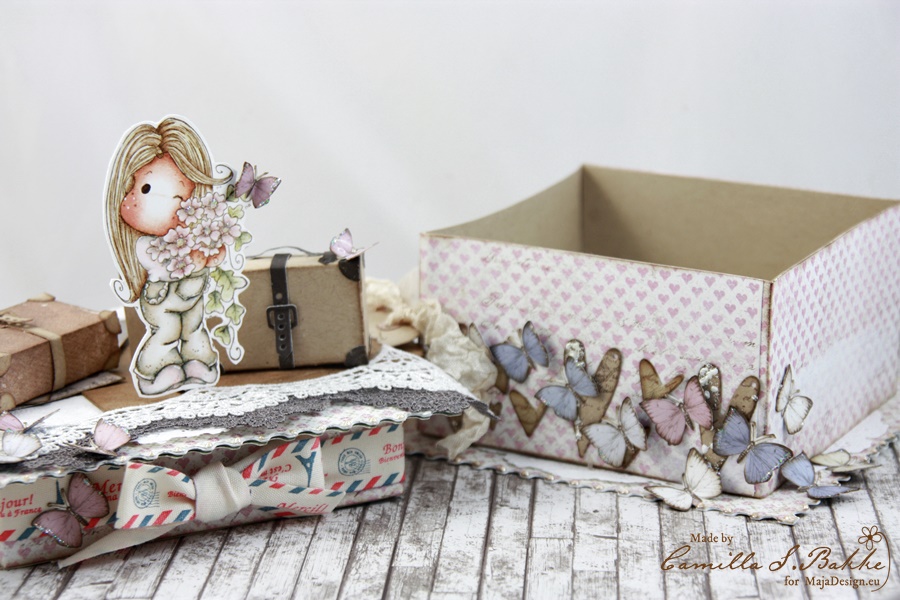
Here with the lid taken of.
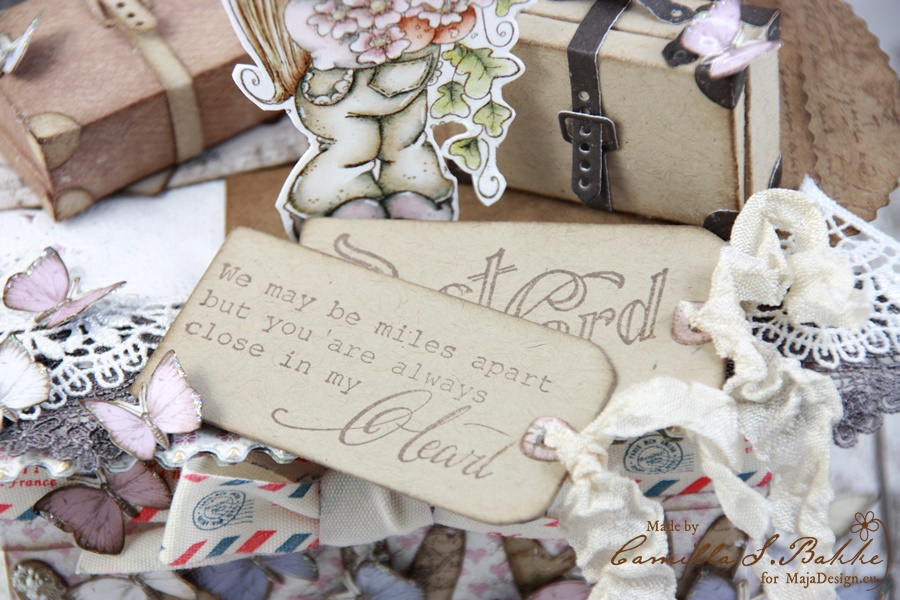
Beautiful sentiment <3
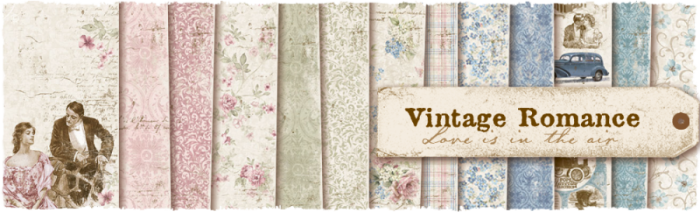
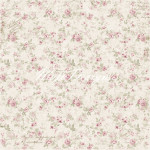
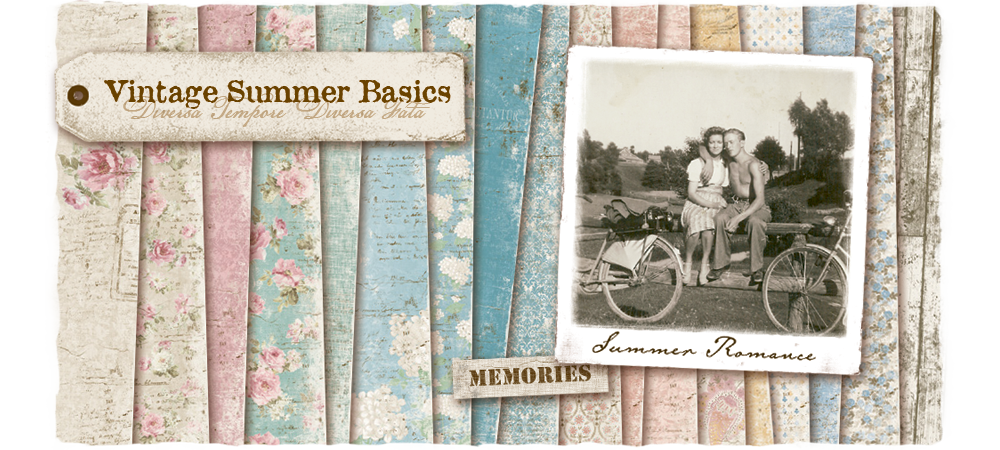
I have used this beautiful collection for my project:
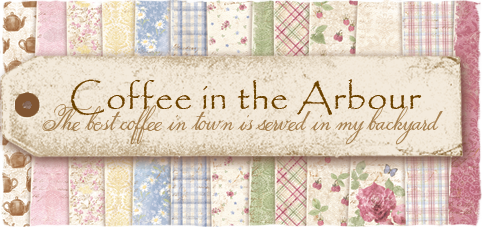
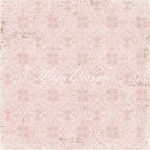
And here are the papers:
-
- Let’s share a cookie – bs
-
- Smell of coffee – bs
-
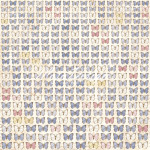
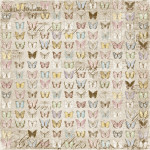
- Butterflies are free
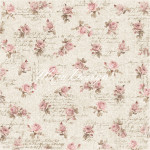
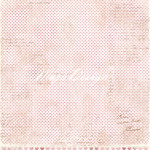
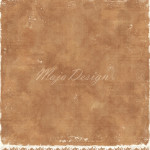
I have also used three sheets from this stunning collection:
Here they are:
-
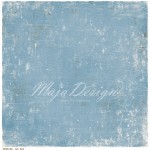
- ”1916” Backside
-
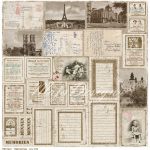
- Minnen

Thank you so much for visiting today! Wish you all a wonderful Christmas, untill I am back for a new post the 28th of December.
Hugs,