Mini Bragbook

1

Posted by Lenet Mos

12 April, 2019 - ,

Write a comment

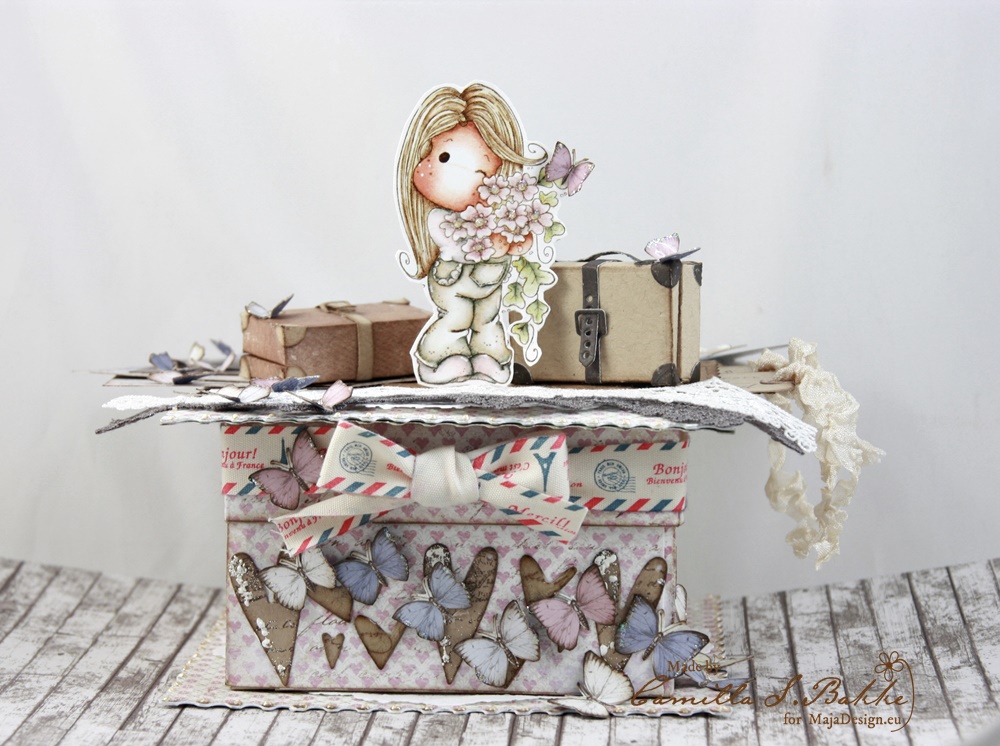
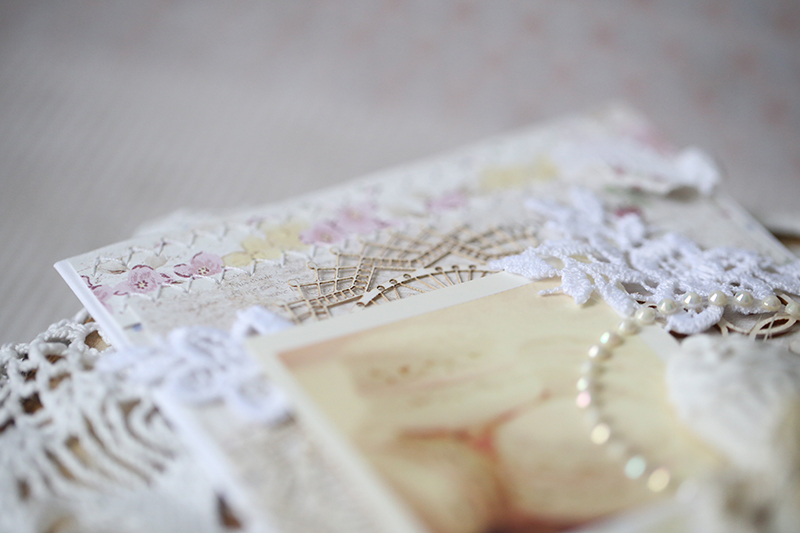
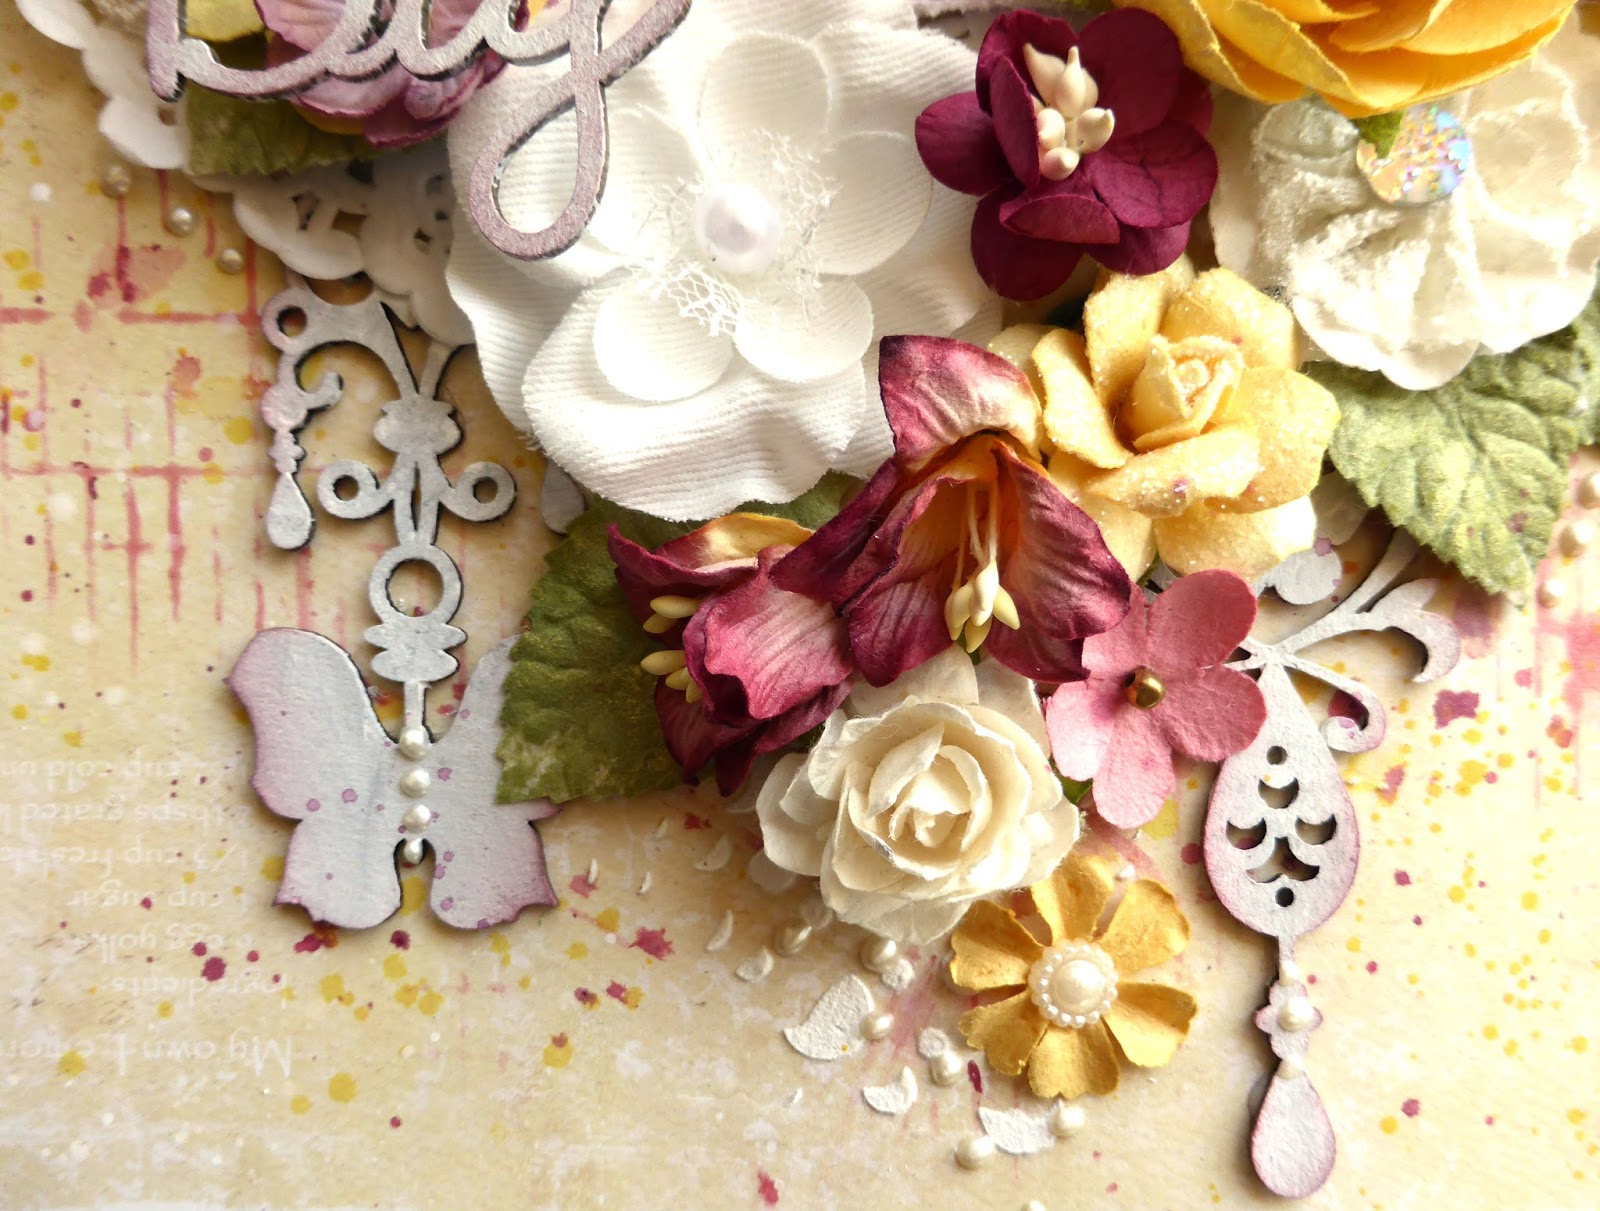
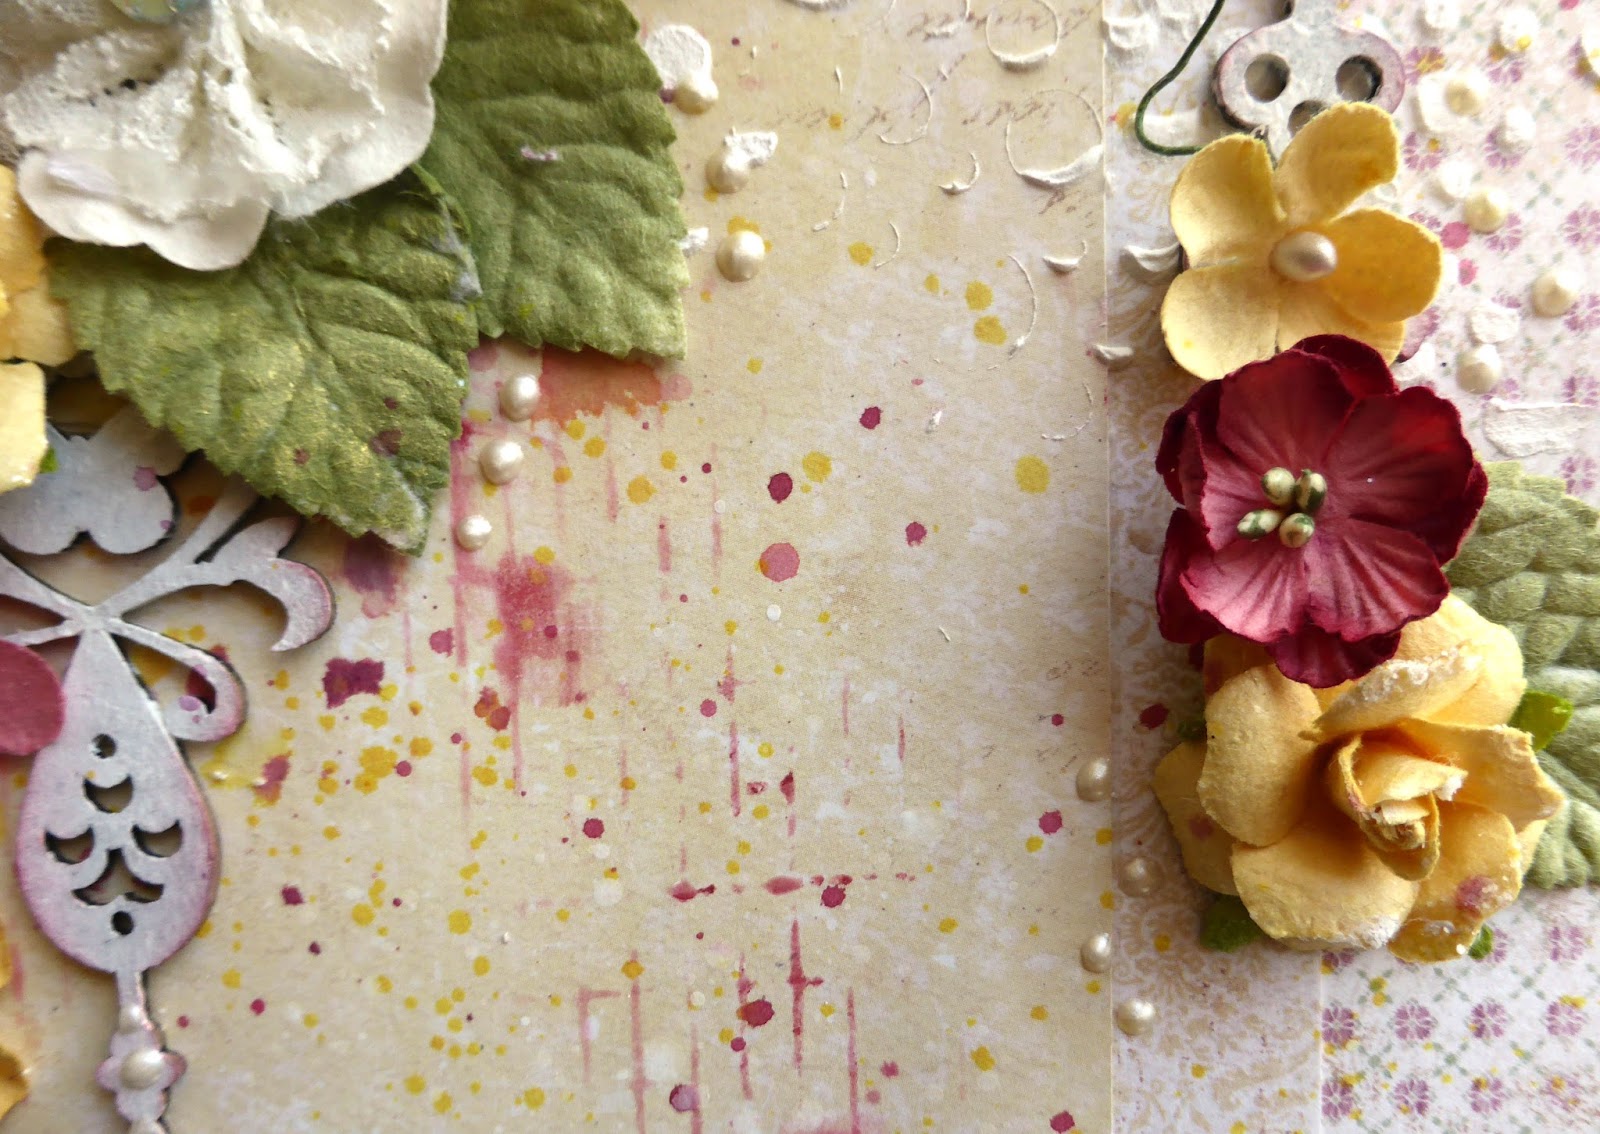
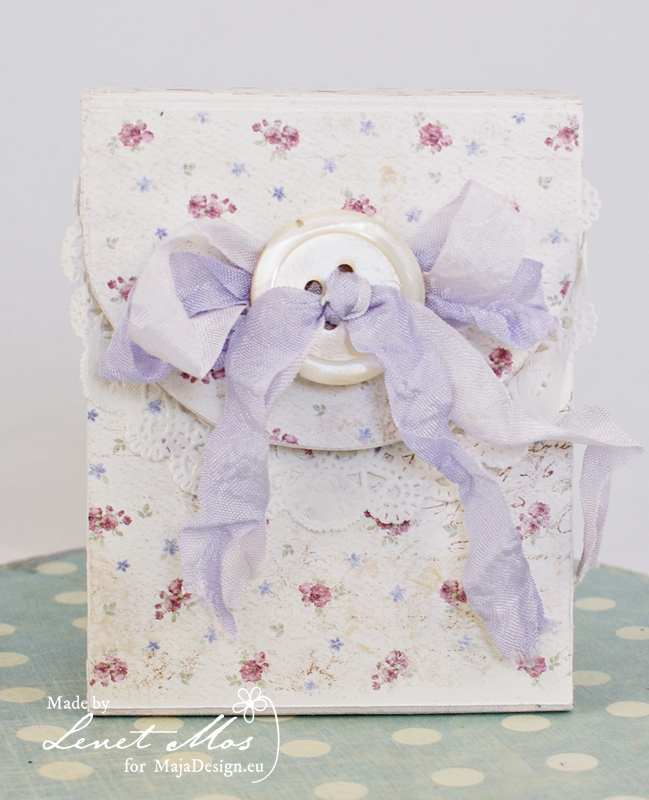
Hello Lenet here  and this time I mad you this brag book.

Because is a minialbum that you carry in your purse so you can show and brag about your Family, pets or Any other thing you want to show or carry with you , I kept it quit simple.

Embellishments will get lose in your bag and destroy  the way  your lovely album looked. It closes with a magnet.


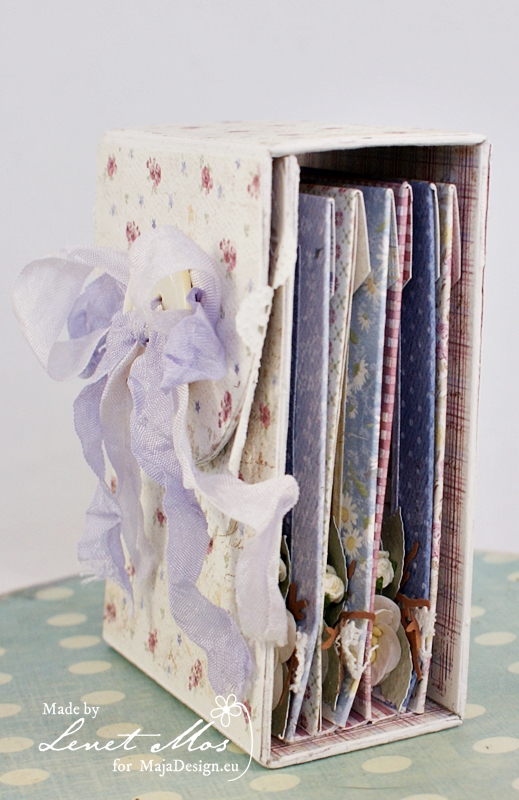
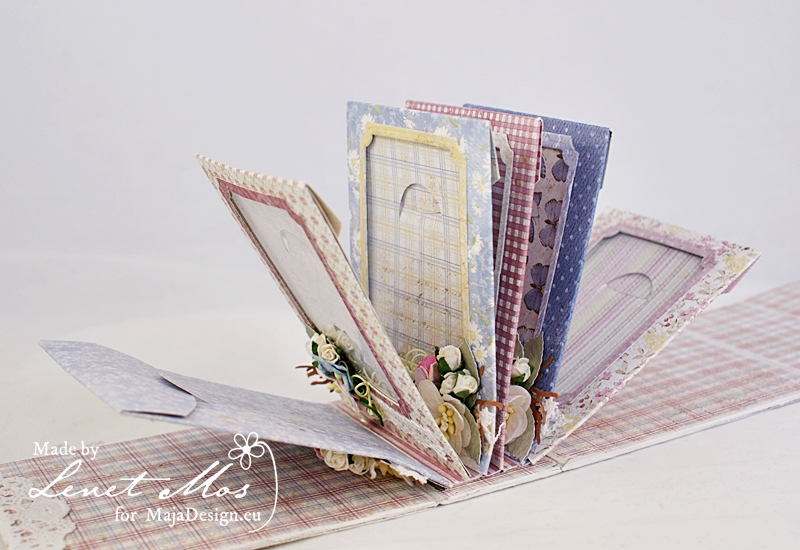
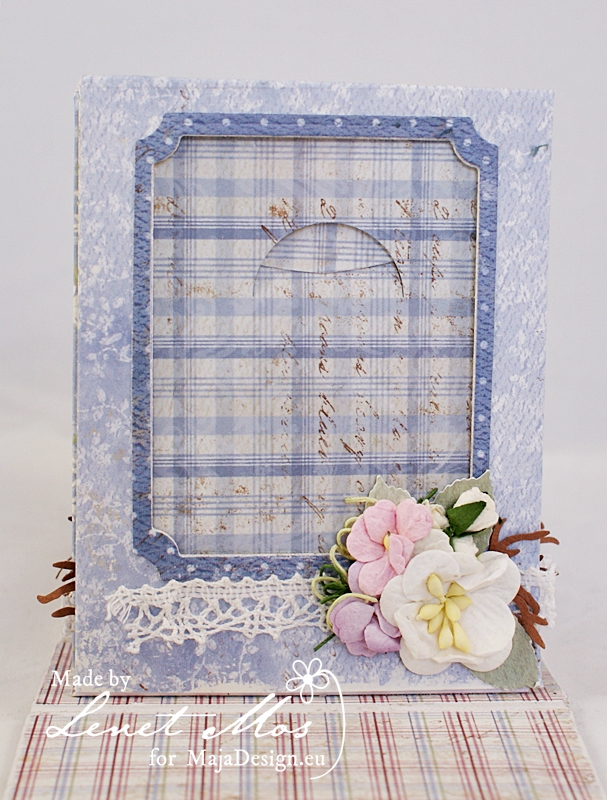
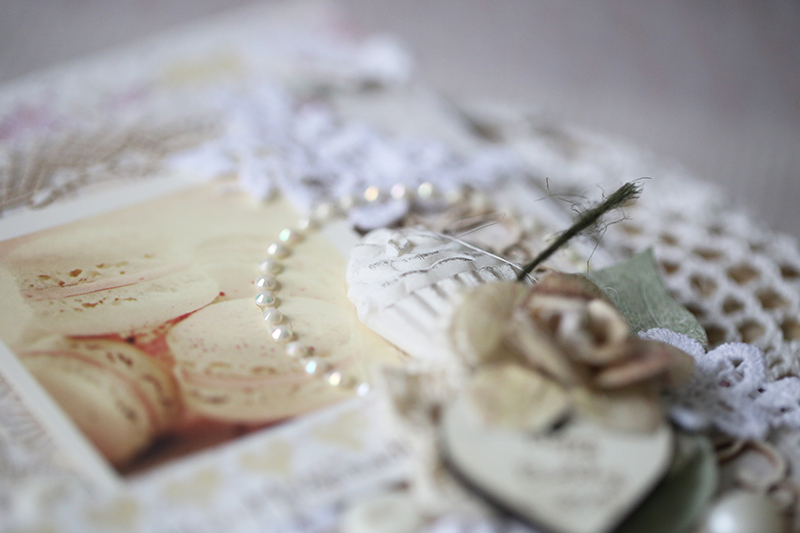
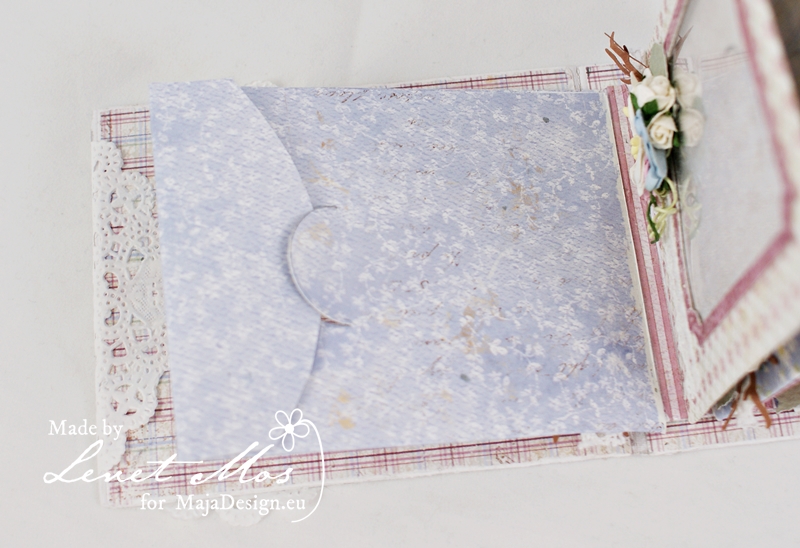
The album contains 6 pockets with a acetate window and  notch closure at the back so the pictures are protected against any “dirt” , dust and other tiny things that can damage the pictures.

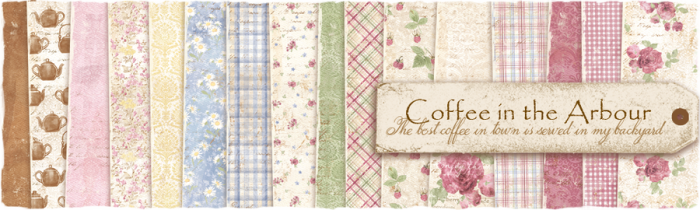
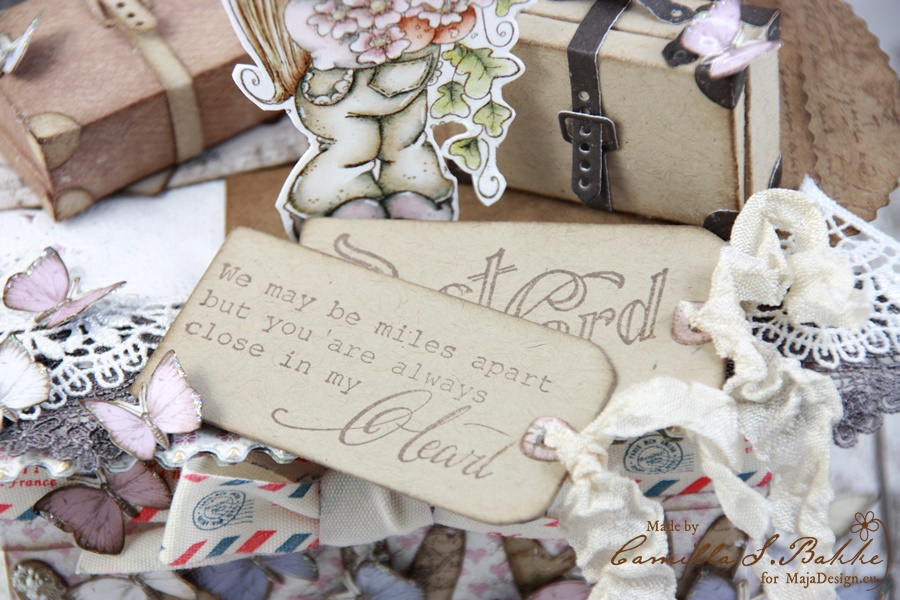
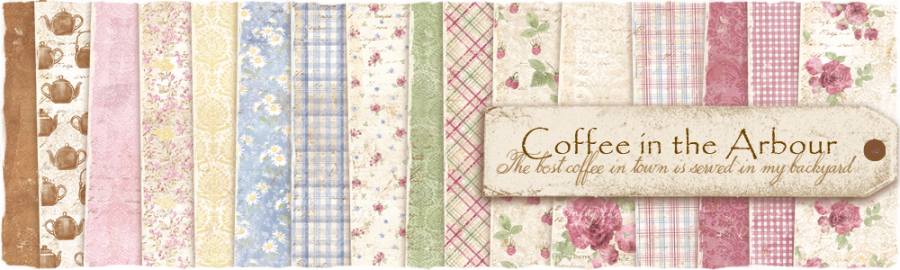
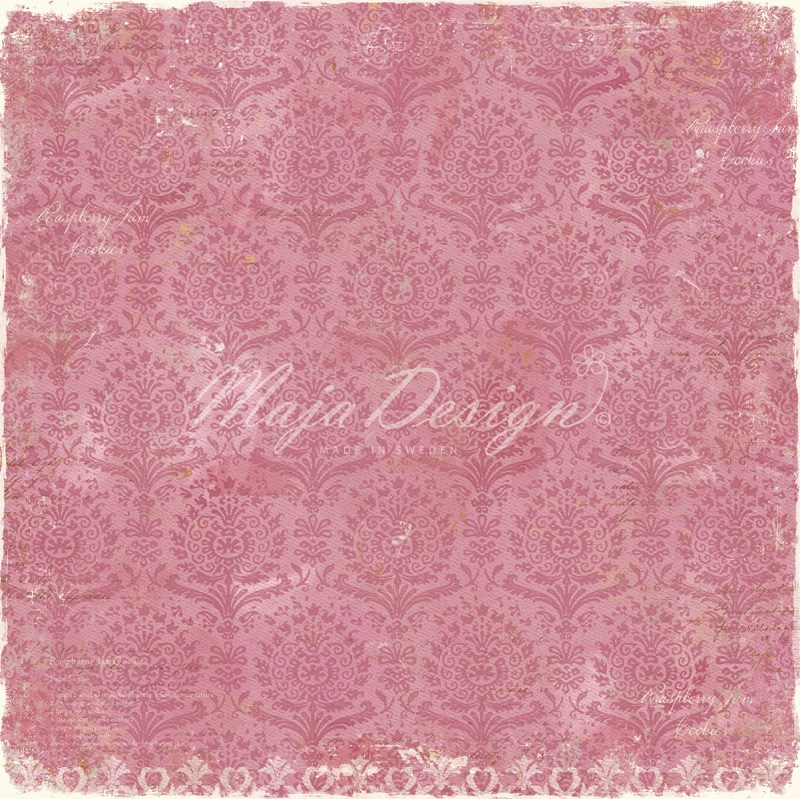
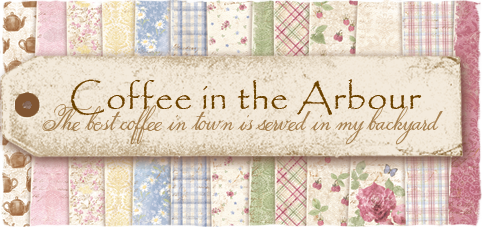
For this Album I used the Coffee in the Arbour collection , thought that was a good one to use for this project because  you share a lot drinking a good cup of coffee with friends right ?

Thank you very much for  visiting.

Hope you like my bragbook . Love to see you next time and don’t forget to comeback to take a peek at the gorgeous projects the other MajaGirls make for you.

Best Friends by Tina Ollett

2

Posted by Tina Ollett

29 August, 2017 -

Write a comment


Hello and a huge welcome to you! Today I am here to share my next project which I created using Maja’s gorgeous Vintage Spring Basics combined with Coffee in the Arbour. If you keep scrolling I will share a few close-ups and more details of how I used these beautiful papers.

2017-08-21 Best Friend 020

“Best Friends”

I love yellows…….. and browns just seems to be the thing I go to next! So for this creation I came across this photo of my gorgeous youngest daughter and our furbaby Rafael some time ago in the back yard at home. It was one of those lucky shots that it was fortunate that they were looking my way at the correct time. I had printed this photo off a few times and I never liked the way this came out in the sepia tone so I had stashed it away. But for these project the colours fit beautifully, wouldn’t you agree?

2017-08-21 Best Friend 006 (600x800)

With papers tearing seems to be a natural progession. My first sheet (background sheet) was  Coffee in the Arbour’s Lemoncurd. The soft tones to this paper drew me to it instantly. I did a little stenciling on it but mainly left it’s beauty remain. I then cut the frame from the Vintage Spring Basics 1st of March Sheet. Did some distressing and adhered it to the background piece. With the remainder of the 1st of March I did some tearing and adhered the torn middle section to the page.  I love the images of the calender and other elements that are this sheet. They are just gorgeous and really lend itself to my project!

2017-08-21 Best Friend 026 (800x635)

I also used the back of 1st of March to help the photo pop a little. Again tearing papers to fit the matting of my photo. The other torn pieces were layered amoungst the chipboards and flowers and clocks that I cut from from the Vintage Autumn Basics No.XVI. These were cut carefully and sanded and distressed to give that worn feeling.

2017-08-21 Best Friend 009 - Copy (800x600)

I used some Dusty Attic chipboards inked with Distress Inks and also some paper moulds that I made a few weeks back along with a charm that I picked up in my travels to Taiwan a few months back. I love the simplicity of it.  When everything was layered I then dry brushed my elements to soften the page and then added in a few microbeads with some 3D Gel.

Materials Used

Vintage-Spring-Basics-P

590-1th-of-March

Maja Design Vintage Spring Basics 1st of March

590-1th-of-March-BS

Maja Design Vintage Spring Basics 1st of March bs

Coffe-in-the-Arbour-P

688-Homemade-lemoncurd

Homemade Lemoncurd

692-Smell-of-coffee-bs

Smell of Coffee bs

Autumn-Basics-P

639-Vintage-Autumn-Basics-no.XVI_

No.XVI

Well that is all from me today. I so hope you have enjoyed my project today. I will see you back here in a couple of weeks! Until then take care and happy scrapping. xoTina-sign

A gift box

2

Posted by Camilla Støen Bakke

14 December, 2016 - , ,

Write a comment

IMG_5622

Hi there! I will show you a giftbox I made with wonderful papers from Maja Design. It is not Christmassy at all, but I will give you the tutorial on how I made the simple box; and who knows, maybe you want to try to make a box like this in a Christmassy style?! 🙂

1

Cut out two papers measuring 30 x 7 cm. Then fold both at 6 cm.

2

Then fold at 10,5 and 21.

3

Make cuts like this.

4

Then start with the lid on the box. Cut out two papers measuring 4 x 30 cm. Also here fold at 1 cm first.

5

Then fold the other way at each 10,6. This is because the lid has to be a bit larger than the bottom part of the box.

6

Make the cuts.

7

Put the parts together like this.

8

And this.

9

Cut out parts to fasten inside the bottom of the box and the lid. (10,4 x 10,4 and 10,5 x 10,5).

10

Like this.

11

Then use the background die to cut out the bottom part and one on the lid. I use a harder cardboard for this.

12

I also have painted the edges with white Gesso.

After putting the parts together and decorate them with beautiful Maja Papers, I have decorated the box on the top with different elements made with DooHickey dies from Magnolia (Vintage Box vol 3). I will show you some details:

IMG_5439

I just felt I had to decorate the whole box with butterflies:)

IMG_5466

The lovely photos and letters are also Maja Design papers.

IMG_5646

Here with the lid taken of.

IMG_5649

Beautiful sentiment <3

IMG_5655

I have used this beautiful collection for my project:

Coffee-in-the-Arbour

And here are the papers:

I have also used three sheets from this stunning collection:

Vintage-Summer-Basics3

Here they are:

Thank you so much for visiting today! Wish you all a wonderful Christmas, untill I am back for a new post the 28th of December.

Hugs,

Camilla

Sweet cards

0

Posted by Evgenia Petzer

23 September, 2016 - ,

Write a comment

Hello dear friends, its Evgenia Petzer with you. I am sharing today two sweet cards that are made from the Coffee in the Arbour collection. When it was just released it became one of my favourites, but I didn’t play with it for quite a while and this time my hands just pulled that paper pad out and then I found those images with macarons in my stash and the cards came out quite quick and easy.

maja_petzer_coffee_in_the_arbour _card1

some close ups:

maja_petzer_coffee_in_the_arbour - 4

the butterflies are again fussy cut from the Maja papers.

The second card is more in yellow tones, again some lace, chipboard and stitching. I love that Maja design papers have those little stripes of paper in the bottom with some matching designs or words, I often use them in my cards.maja_petzer_coffee_in_the_arbour_card2

little details:

maja_petzer_coffee_in_the_arbour - 5 maja_petzer_coffee_in_the_arbour - 7 maja_petzer_coffee_in_the_arbour - 6I have used the Coffee in the Arbour collection for these cards (mainly the paper pad)

Have a lovely weekend that is coming our way!

Dream Big

1

Posted by Bec Genet

12 April, 2016 - ,

Write a comment
Hi, today I have my newest Maja Design layout to share using the Coffee in the Arbour collection.
I love these yellow and maroon colours together, this is a very pretty collection.
I used the Raspberry Lemonade paper as my background, first I cut a square out of the middle to back my photo on.  Next I cut the sides off the Homemade Lemoncurd paper,  I layered the cut pieces under the edges to give more interest.
 I added a little colour to my background with some dark pink and yellow splashes, then a Gelato through a grid stencil and modeling paste with a bubble stencil.
I covered my chipboard in white gesso and them went around the edges with a Gelato
I layered some paper under my photo,  as well as some lace and doilies. I cut two tag shapes from the Delicious Moments paper to also tuck under my photo.
Finally I layered on a generous amount of flowers,  chipboard and pearls.

Coffee in the Arbour Collection Papers: Homemade Lemoncurd (both sides), Raspberry Lemonade – bs, Raspberry Jam Cookies, Delicious Moments

Thanks for stopping by.
Bec-sign